
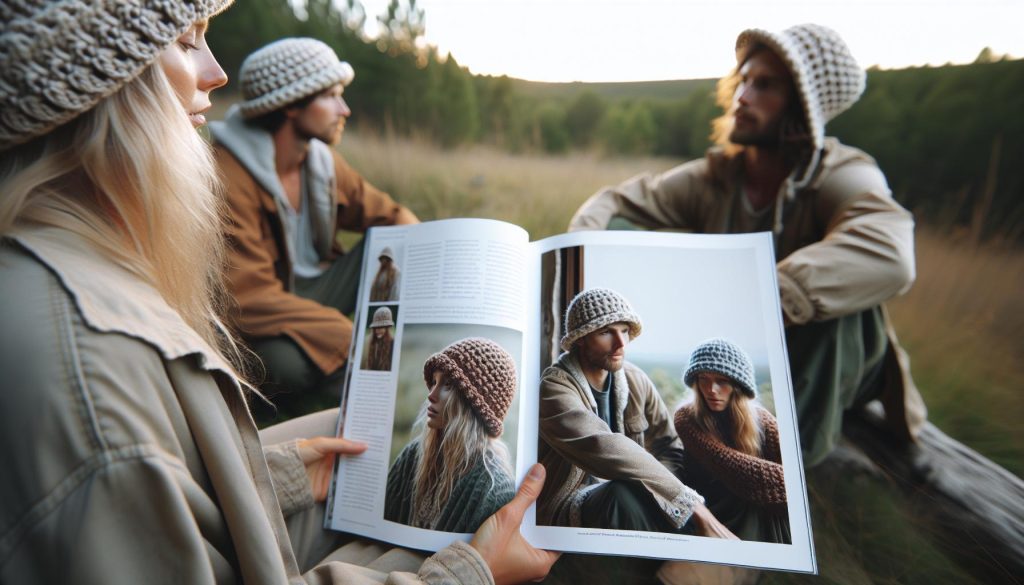
Crocheting your own hat is not only a fun way to express your creativity, but it also results in a cozy accessory you’ll cherish. Did you know that making a crochet hat can be a project you complete in just a few hours? Whether you’re looking to learn a new skill, create a personalized gift, or simply enjoy some quiet time, this guide will take you step-by-step through the process. We’ll cover everything from choosing the right yarn and tools to easy-to-follow patterns suitable for beginners. No matter your skill level, you can do this! By the end, you’ll not only have a stylish hat but the confidence to tackle more complex projects. Let’s dive into the wonderful world of crochet and get started on your hat today!
Essential Materials for Your Crochet Hat
Creating a crochet hat is not just about having the skills-it’s also about gathering the right materials to unleash your creativity and craftsmanship. With a few essential items, you’ll be ready to embark on this fun and satisfying project. Begin by selecting a comfortable crochet hook, typically from sizes G (4.0 mm) to J (6.0 mm) for hats, depending on your yarn choice and desired stitch tightness. If you’re unsure about the right size, yarn recommendations often suggest hook sizes, giving you a helpful starting point.
Next on your list is yarn. For a cozy, warm hat, opt for medium-weight yarn (worsted weight, category 4) like acrylic, wool, or a blend. These materials balance warmth and ease of washing. A ball or skein of yarn weighing between 3 to 5 ounces should suffice for your first hat project. Don’t forget to check the yarn label for gauge information; this will be key in ensuring your hat fits snugly and looks just right.
Additional Tools You Might Need
As you prepare your workspace, consider including the following items to enhance your crochet experience:
- Scissors – for trimming yarn at different stages.
- Tapestry needle – useful for weaving in ends and assembling pieces, if applicable.
- Measuring tape – essential for measuring your head or checking the size of your work.
- Stitch markers – great for marking your rounds or sections, especially if you’re creating patterns.
Finally, grab a pattern-there are countless free options online for all skill levels. Patterns not only guide you with stitch counts and techniques but also help in visualizing the final product. Each of these materials plays a vital role in your crochet hat-making journey, making it smoother, enjoyable, and rewarding. So gather your supplies, and remember, you can do this! Each stitch is a step closer to wearing a creation made by your own hands.
Understanding Basic Crochet Stitches
Understanding the basics of crochet stitches is the foundation of creating beautiful projects, especially a cozy hat. Each stitch not only contributes to the structure of your piece but also defines its texture and style. Whether you’re a complete beginner or brushing up on your skills, getting familiar with these fundamental stitches will empower you to bring your crochet visions to life.
Start with the most essential stitch: the chain stitch (ch). This is your starting point for nearly every crochet project, including hats. To make a chain, simply yarn over and pull through the loop on your hook. Continue this motion until you have the desired length for your foundation chain. From the chain, you’ll typically progress to single crochet and double crochet stitches, which are crucial for adding height and texture to your hat. The single crochet (sc) is often used for tight, dense fabric, while the double crochet (dc) creates a lighter, airy texture that’s great for more intricate designs.
Here’s a quick overview of basic stitches to get you started:
- Chain Stitch (ch): The foundation of all crochet projects.
- Single Crochet (sc): Creates a tight, dense fabric, perfect for beginners.
- Double Crochet (dc): Taller and more open, ideal for adding drape.
- Half Double Crochet (hdc): A middle ground between single and double, blending their properties.
Once you’ve mastered these stitches, you can experiment with combinations and variations. For instance, using a series of double crochets in a row will give your hat an appealing texture, while alternating between single and double crochet can create lovely patterns. Don’t hesitate to practice these stitches on a small swatch before diving into your hat project. The more comfortable you get, the more confident you’ll feel as you crochet your way to a trendy, handmade hat. Remember, every expert was once a beginner-embrace the learning process, and most importantly, have fun with it! You can do this!
Step-by-Step Guide to Starting a Crochet Hat
Starting your crochet hat is an exciting journey that will transform simple yarn and a hook into a cozy accessory! Whether you’re aiming for a classic beanie or a stylish beret, the process is welcoming for all skill levels. Here’s a straightforward step-by-step guide to get you on the right track.
Gather Your Supplies
Before you dive in, it’s essential to have everything ready. You’ll need:
- Yarn: Choose a medium-weight yarn for a basic hat, preferably something soft for comfort.
- Crochet Hook: A size H-8 (5 mm) hook is perfect for most worsted weight yarns.
- Scissors: For cutting your yarn.
- Tapestry Needle: To weave in the ends once you finish your hat.
Step-by-Step Instructions
- Make a Slip Knot: Start with a slip knot on your hook. This will be your first stitch.
- Chain the Foundation: Create a slip knot and then chain 4 to 5 stitches, depending on how wide you want the base of your hat to be.
- Join in the Round: Form a circle by slip stitching into the first chain you made.
- Begin the First Round: Chain 2 (this counts as your first double crochet), then work 11 double crochets into the circle. You should have 12 total stitches.
- Subsequent Rounds: In the next round, double crochet in each stitch, increasing by 12 stitches each round (so 12 in round one, 24 in round two, and continue this pattern until your hat measures the desired depth).
Finishing Touches
Once your hat is the right size, it’s time to finish it. You can choose to keep it simple or personalize it with stitches like single crochet along the brim or adding fun pom-poms. Remember to weave in any loose ends with your tapestry needle to give your hat a neat finish.
With these steps, you’ve laid the groundwork for a fabulous crochet hat! Keep practicing, experimenting with different patterns and colors, and soon enough, you’ll be ready to share your beautiful creations with friends and family. Enjoy the process-you’ve got this!
Tips for Choosing the Perfect Yarn Color
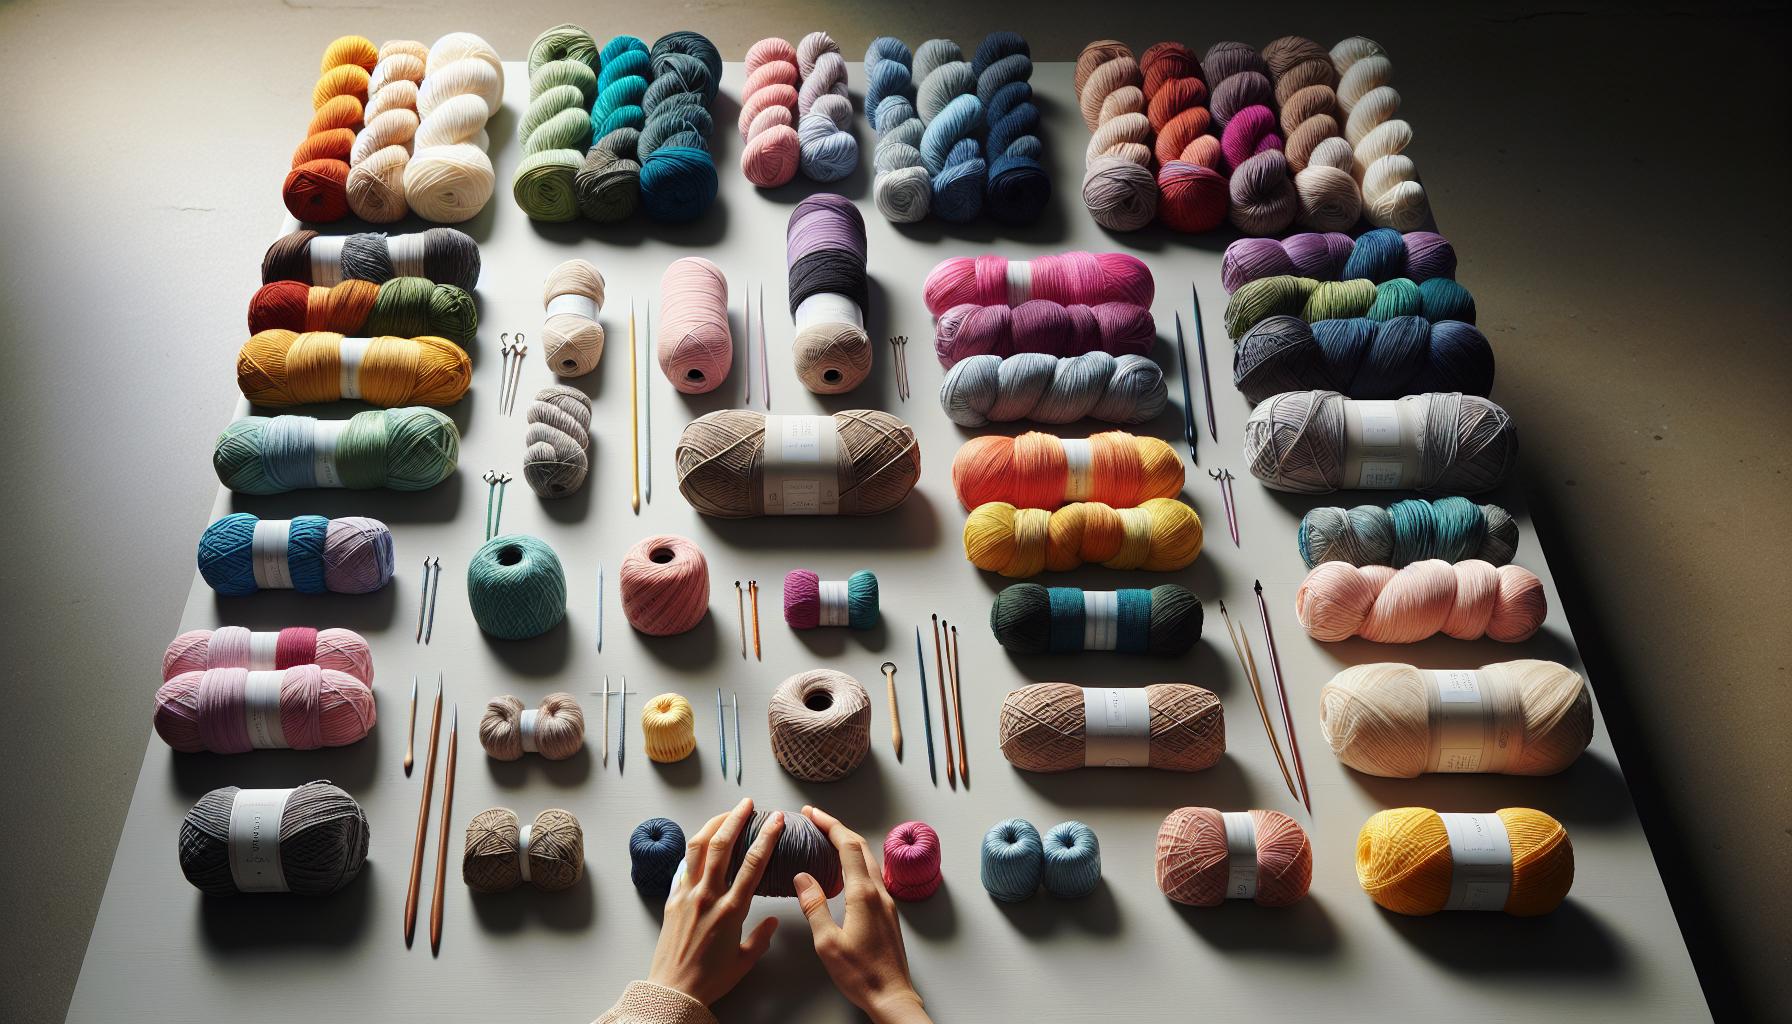
Choosing the right yarn color for your crochet hat is not just a matter of preference; it can transform your project from simple to stunning! With so many shades available, it’s important to consider not only your personal style but also the kinds of moods and themes you want your hat to express. Let’s dive into some tips that will help you pick the perfect hue for your next cozy creation.
Consider the Purpose of the Hat
Before you select a color, think about where and when your hat will be worn. Are you crocheting for daily use, or is this a special event accessory? Bright, bold colors can add fun to casual outings, while more muted shades may be ideal for work or formal occasions. For example, if you’re making a hat as a gift, consider the recipient’s favorite colors or the seasons they might wear it.
Play with Color Combinations
Don’t be afraid to experiment with combinations! A two-tone hat can add depth and interest. Mix and match colors by following a color wheel; complementary colors (like blue and orange) or analogous colors (like blue and green) can create eye-catching effects. Remember, you can also incorporate stripes or patterns into your design, which allows you to use even more colors!
- Monochromatic: Different shades of the same color can create a sophisticated look.
- Rainbow: For a fun and playful design, use multiple bright colors throughout your hat.
Think About Texture and Yarn Type
The type of yarn you choose can influence how colors appear. For instance, chunky yarns may make colors look more vibrant and saturated, while finer yarns might produce a more delicate, pastel appearance. Additionally, pay attention to the texture; variegated or self-striping yarns can create unique patterns and effects without much effort. Whichever yarn you choose, make sure the color complements the style of the hat.
Once you’ve selected your colors, you’re ready to start crafting with confidence! Delighting in the color selection is part of the joy of making a crochet hat, so embrace the process and have fun experimenting with your art! You’ve got this!
Common Mistakes to Avoid in Hat Crochet
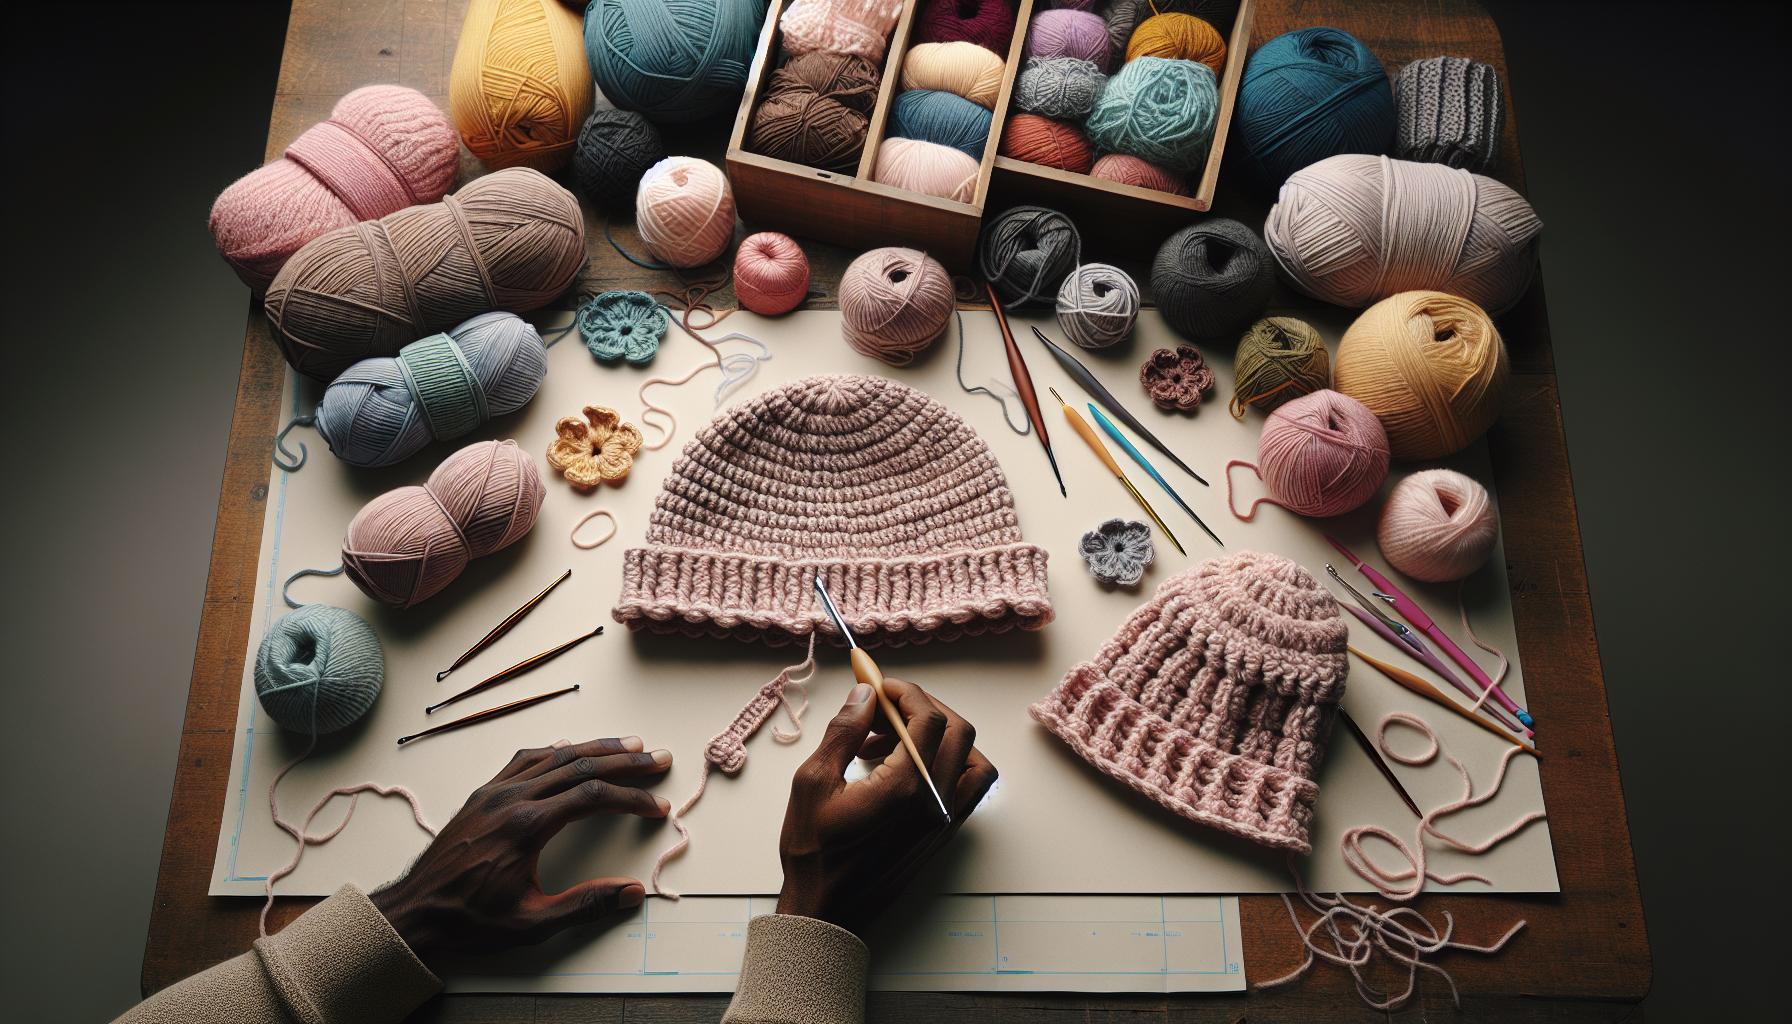
When creating your crochet hat, it’s easy to trip over common pitfalls that can lead to frustration or less-than-perfect results. Whether you’re a newbie or have tackled a few projects before, being aware of these common mistakes can make your crafting experience smoother and more enjoyable. Let’s take a closer look at what to avoid and how to navigate around these obstacles with confidence.
One frequent mistake is not reading the pattern carefully before starting. Patterns often come with important cues about stitch counts, yarn types, and hook sizes. Skimming through these details can lead to significant errors that may not be apparent until you’re further along in your project. Take the time to digest the note section of the pattern, as it can offer critical insights into any special techniques or specific crochet stitches you’ll need to be aware of.
Another common pitfall is misjudging sizing, particularly when making hats. Many crocheters underestimate how much stretch a finished hat will have. If you measure your head but forget to account for ease or personal preference, you might end up with a hat that’s too tight or too loose. A handy rule of thumb is to use a flexible measuring tape and remember that most patterns will advise you on how much ease to add. To ensure the perfect fit, consider making a swatch to see how your stitches translate into the final product.
Lastly, it’s essential not to rush your project. Crocheting can are a meditative and enjoyable experience, but in the frenzy of excitement, mistakes can happen. If you find yourself making errors due to impatience, take a break. Step away, even if just for a few minutes, to clear your mind. Returning to your project with fresh eyes can prevent overlooked stitches or missed pattern changes.
Remember, every crafter has a misstep or two along the way. Embrace these moments as part of your learning journey. With practice and awareness, you’re well on your way to creating beautiful crochet hats that reflect your unique style! You can do this-crochet on!
How to Measure Your Head for a Perfect Fit

When you’re crafting a crochet hat, one of the most critical steps is getting the right measurement for your head. An accurate measurement ensures your hat fits snugly and comfortably, without the annoyance of it slipping off or feeling too tight. Thoughtfully measuring your head can transform a simple hat into a beloved accessory that you’ll wear again and again.
To begin, gather a flexible measuring tape, as it will conform to your head’s shape more easily than a rigid ruler. Here’s how to measure correctly:
Steps for Measuring Your Head
- Find the right position: Stand in front of a mirror to make it easier to see what you’re doing.
- Position the tape: Start by placing the measuring tape just above your eyebrows, wrapping it around your head. This area is typically where the brim of a hat sits.
- Check the measurement: Pull the tape snugly but not too tight. Make sure it stays level all the way around your head, from front to back.
- Take note: Record the measurement in inches or centimeters. For the most accurate fit, measure at least twice, rounding up for any minor discrepancies.
You might also consider measuring different points on your head, such as the forehead and above the ears, if you plan on making a hat with a unique style or brim.
Creating a Perfect Fit
With your measurement in hand, refer to your crochet pattern, as it often includes fitting instructions or ease recommendations. Most crochet patterns will suggest adding a little extra for comfort; this is known as “ease.” A common rule of thumb is to add about 1-2 inches (2.5-5 cm) for a standard fit, but this can vary based on the yarn’s stretchiness and your personal preference.
Lastly, don’t hesitate to craft a swatch with your chosen yarn and hook size. This will give you an excellent idea of how tightly or loosely you crochet and help you adjust your final hat size accordingly. Remember, every stitch you take brings you closer to that perfect hat, and with careful measuring, you can confidently create a cozy masterpiece that fits just right! You got this!
Creative Crochet Hat Patterns to Try
Looking to add some flair to your crochet skills? There’s nothing like the satisfaction of wearing a hat you’ve crafted yourself. Whether you’re gearing up for winter, looking for a fashionable accessory, or simply wanting to use up some yarn stash, there are a myriad of creative crochet hat patterns waiting for you to explore!
The beauty of crochet hats lies in their versatility. From simple beanies to intricate lace designs, you can easily find a pattern that suits your skill level and style. For a relaxed afternoon project, consider trying a classic beanie. It’s a great beginner pattern that typically only involves basic stitches like single crochet and half double crochet. Perhaps you’re ready to challenge yourself a bit more? Dive into a slouchy hat pattern that introduces fun texture techniques like the V-stitch or clusters. These patterns often use a larger hook, giving your hat a light, airy feel that’s perfect for transitional seasons.
For those with a taste for the whimsical, why not try a hat adorned with flowers, pom-poms, or even animal ears? These add a personal touch and can be a hit with kids or as playful gifts. Patterns that feature tapestry crochet allow you to incorporate colorful designs, making your hat truly one-of-a-kind. As you work, remember that adding special elements-such as ears on an adorable cat hat or a sweet bow-can transform a simple project into a standout piece.
Don’t hesitate to experiment with yarns too! Variegated or gradient yarns can create stunning visual effects without requiring complex techniques. Plus, the satisfaction of completing a crochet hat comes with the bonus of being able to wear and show off your creativity. Remember, each stitch is a step towards creating something unique and wearable; enjoy the process as much as the result! You can do this, and each pattern you choose will add to your skills and confidence as a crocheter.
Adding Unique Finishing Touches to Your Hat
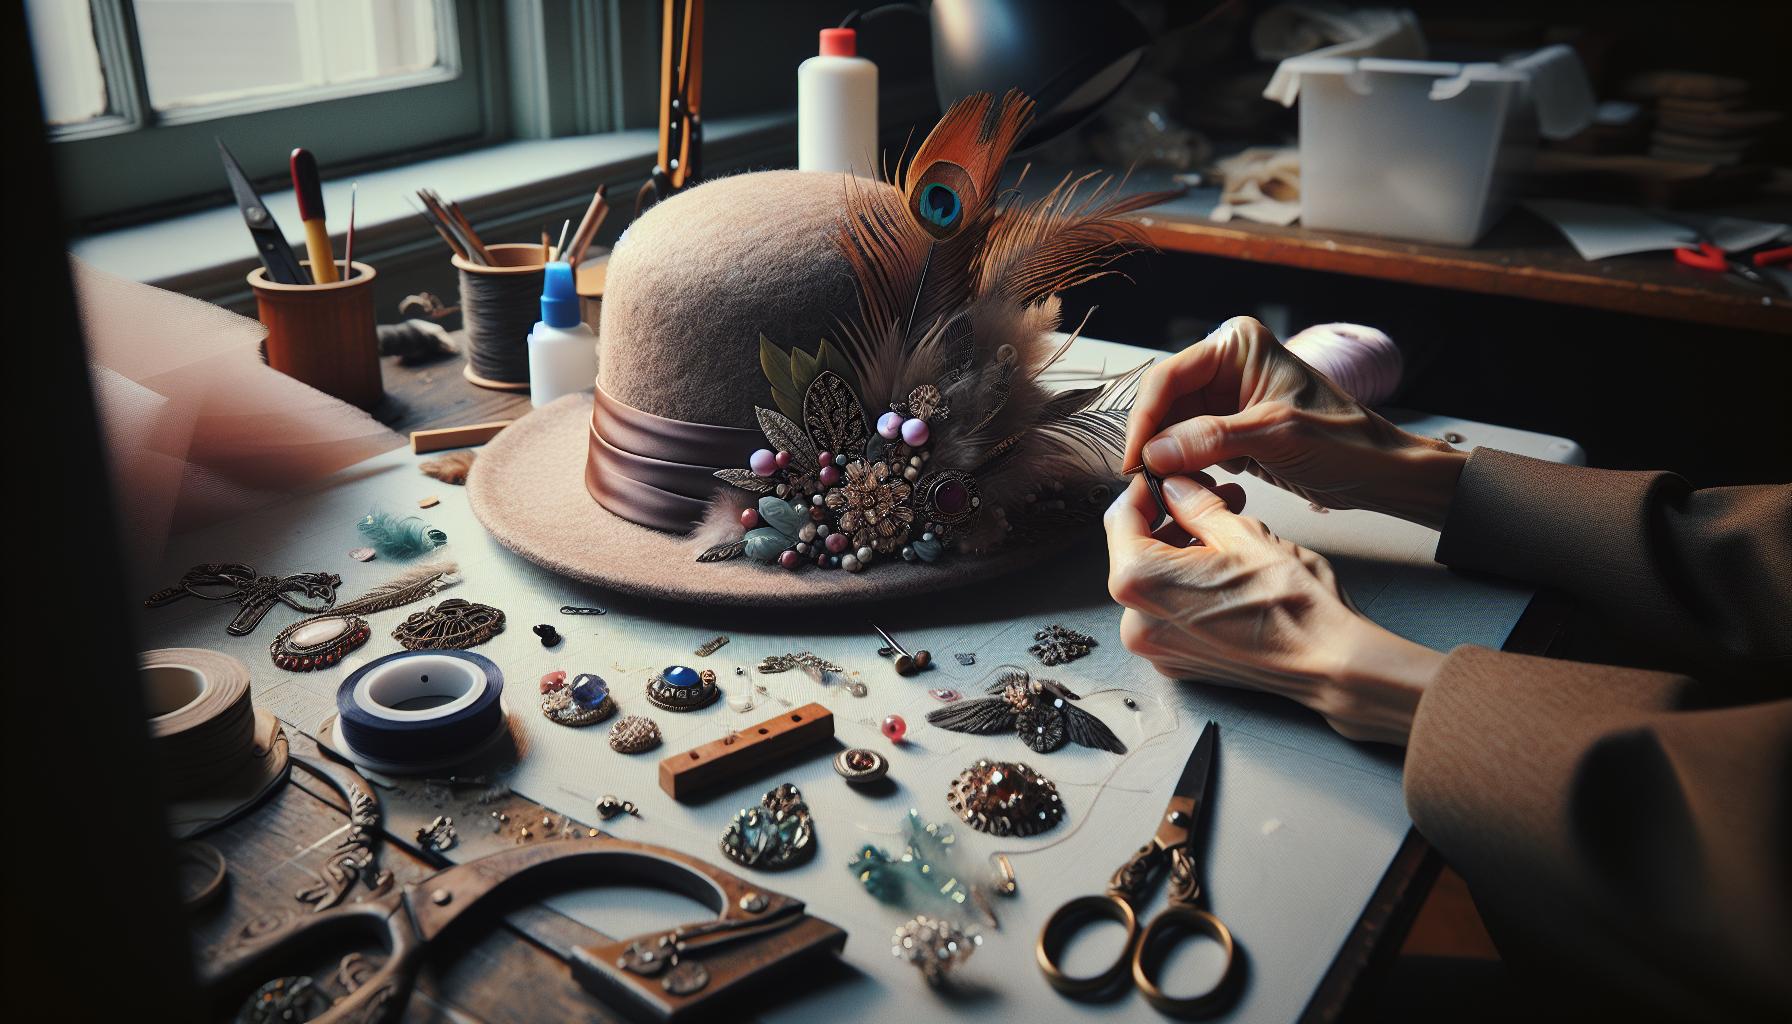
You can elevate your crochet hat from a simple project to a true statement piece by adding unique finishing touches that showcase your personal style and creativity. Whether it’s a playful pom-pom, intricate embellishments, or a touch of texture, these details can make all the difference. Here are some fun and easy ideas to inspire you.
Fun Accents to Consider
Think about what will make your hat uniquely yours. Here are some popular embellishments you might want to try:
- Pom-Poms: A classic choice! Make your own with leftover yarn or buy ready-made ones. Attach a large pom-pom to the top of your hat for a trendy, playful look.
- Flowers: Crocheted flowers add a lovely touch. They can be made in various sizes and colors to match or contrast with your hat.
- Bows: A simple bow can add a dash of charm. Crocheted or fabric bows can be sewn onto the side or the front for a sweet look.
- Buttons: Sew on decorative buttons, possibly vintage or in playful shapes, to give your hat a personalized touch.
Textural Elements
Incorporating texture is another great way to make your crochet hat stand out. Consider these techniques:
- Stitches: Play with different crochet stitches, such as popcorn or bobble stitches, to create raised patterns that catch the eye.
- Stripes or Color Blocks: Alternate colors in stripes or blocks for a bold statement. This is also a great way to use up leftover yarn!
- Edging: Add a contrasting color to the brim with a simple slip stitch or picot edging for a polished finish.
The joy of crocheting your hat is that you can truly make it your own. By experimenting with these finishing touches, you’re not just creating a warm accessory; you’re crafting a unique piece of art that reflects your style. Remember, this is your creative journey, so let your personality shine through!
Troubleshooting: Fixing Mistakes While Crocheting
Mistakes are a natural part of the crafting journey, and when it comes to crocheting a hat, understanding how to troubleshoot issues can help you keep your project on track and maintain your enthusiasm. Whether you’ve accidentally skipped a stitch, tangled your yarn, or are unsure about a pattern error, there are straightforward ways to fix these hurdles and get back to making. Remember, every crocheter-no matter their skill level-faces challenges. The key is to approach these moments with a problem-solving mindset and the confidence that you can correct them!
Identifying Common Issues
First, let’s look at some common mistakes. One frequent issue is ending up with uneven rows. If your hat is suddenly wider or narrower than expected, you might have been skipping stitches or unintentionally adding extra ones. Carefully count your stitches at the end of each row to ensure you’re on the right track. If you find a mistake, unraveling a few rows back can often solve the problem. Use a stitch marker to keep your place, or take a picture of your last correct row-it helps to refer back if you need to unravel and recrochet!
Another common annoyance is tangling yarn. To avoid this, always ensure your yarn ball is freely spinning while you work. If you do find it tangled, pause and gently work through the knots; it’s quicker than you think! For a tangled skein, simply hold the center pull and let the yarn unwind, or try winding it into a ball before starting. Taking a little time to sort out your materials can save a lot of frustration later.
Correcting Errors
If you’ve realized that you’ve made an irreversible error or skipped an entire section of the pattern, don’t panic-there’s a fix for that too! You can often redo the stitches on the row if you catch it early. Simply pull the yarn back until you reach the mistake. If you’ve made several rows and don’t want to unravel too much, consider adding a decorative element like a flower or bow to cover up the error. This not only fixes the issue but turns it into a unique part of your design!
Sometimes you might even want to embrace the “mistake.” A quirky stitch or an unexpected color change can add charm and character to your hat. Remember that your project is a reflection of your creative journey, so don’t be afraid to adapt.
In the world of crochet, every mistake is simply a new opportunity to learn and grow. With these troubleshooting tips, you can confidently navigate any bumps in the road. Celebrate your progress, and remember-you can do this!
Sharing Your Hat-Making Journey Online
can be an incredibly rewarding experience! It not only allows you to connect with fellow crafters, but it also provides the chance to inspire others with your creativity and craftsmanship. Whether you’re a hesitant newbie or a seasoned pro, showcasing your project can foster a sense of community and celebrate the joy of crocheting.
Start by capturing your progress in photos. Document each stage-from the first foundation chain to the final finishing touches. This visual journey not only serves as a reminder of your accomplishments but also engages your audience. When you share images, consider using natural lighting to enhance details and let your colors pop. Use diverse angles to highlight textures and unique stitches. Pair your photos with captions describing your thoughts during the process, what materials you used, and any tips you discovered along the way.
Engaging with the Community
Don’t forget to join crochet groups on social media platforms like Facebook, Instagram, or Reddit. These communities are vibrant and supportive, welcoming makers of all levels. Share your photos, ask questions, and offer advice based on your experiences. Use hashtags related to crochet (#crochethat, #handmadehat) to widen your reach and discover other crafters’ works. Engaging with others can provide feedback, ideas for future projects, and even potential collaborations.
Building Your Online Presence
If you’re interested in sharing more than just a project here and there, consider starting a blog or a YouTube channel dedicated to your crafting adventures! You can post tutorials, share patterns, or discuss techniques. Choose a platform that feels comfortable for you, and remember: the most important thing is to enjoy the process.
In essence, is an opportunity to connect, inspire, and grow as a crocheter. Celebrate your unique style and encourage others by showing that their creativity matters too. Remember, every stitch you share contributes to the larger tapestry of the crafting community-so go ahead, you can do this!
Exploring Advanced Techniques for Experienced Crocheters
Mastering advanced crochet techniques can elevate your hat-making to a whole new level! As an experienced crafter, you can experiment with intricate patterns and textures that challenge your abilities while yielding stunning results. From incorporating unique stitches to managing complex colorwork, the possibilities are endless.
One popular technique is Tunisian crochet, which combines elements of knitting and crochet. This method creates a beautifully textured fabric perfect for hats. You can start by using a standard Tunisian hook and practicing the Tunisian Simple Stitch. Once you’re comfortable, try a combination of stitches like the Tunisian Knit Stitch for added depth. Additionally, consider layering different stitches to construct a hat with a striking visual appeal.
Another advanced technique to explore is colorwork, particularly through methods like fair isle or tapestry crochet. Both approaches allow you to create intricate designs by working with multiple colors within a single row. Begin with two colors and a simple pattern to get the hang of managing your yarns. As you gain confidence, challenge yourself with bolder designs or even seasonal themes. It’s a fun way to personalize your crochet hats and truly make them unique.
When it comes to finishing touches, don’t shy away from embellishments! Adding elements like pom-poms, embroidery, or even appliques can transform a simple hat into a fashionable statement piece. Experimenting with various textures and yarns-such as using a fuzzy yarn for pom-poms or glossy yarns for embroidery-can add that extra flair.
Ultimately, these advanced techniques not only enhance your project but also keep the creative spark alive. Remember, crochet is all about enjoyment and self-expression. So, challenge yourself, explore these methods, and create hats that reflect your unique style!
Faq
Q: What type of yarn is best for crocheting a hat?
A: Acrylic yarn is often recommended for beginners due to its affordability and wide range of colors. However, cotton or wool blends can offer more warmth and comfort. Choose a yarn weight suitable for your pattern, typically worsted weight (4) for hats.
Q: How long does it take to crochet a hat?
A: The time it takes to crochet a hat can vary based on your skill level and the complexity of the pattern. Generally, a simple hat can take 2 to 4 hours for a beginner. As you gain experience, you’ll likely complete projects more quickly.
Q: Can I crochet a hat without a pattern?
A: Yes, you can crochet a hat without a pattern! Start by measuring your head for size, then use basic stitches to create a simple beanie shape. Experiment with stitch counts and styles for a unique design that fits perfectly.
Q: What are some common mistakes to avoid when crocheting a hat?
A: Common mistakes include using the wrong yarn weight, not checking gauge, and not measuring your head accurately. To avoid frustration, always read through your pattern fully and practice the basic stitches before starting.
Q: How do I make my crochet hat more stylish?
A: Add style to your crochet hat by incorporating textured stitches, stripes, or color blocking. You can also attach embellishments like pom-poms, flowers, or buttons. Check out the section on Adding Unique Finishing Touches to Your Hat for more ideas.
Q: What size crochet hook should I use for a hat?
A: The size of your crochet hook typically depends on the yarn weight you’re using. For worsted weight yarn, a 5 mm (H-8) hook is commonly recommended. Always refer to your yarn label or pattern instructions for specific hook size guidance.
Q: How do I properly size a crochet hat for children?
A: To size a crochet hat for children, measure the head circumference and use a flexible measuring tape. Generally, choose smaller sizes, like 16-18 inches for toddlers and 18-20 inches for older children, adjusting as needed based on the age range.
Q: Where can I find creative crochet hat patterns?
A: You can find a variety of creative crochet hat patterns online through crafting blogs and websites. Check out sections dedicated to Creative Crochet Hat Patterns to Try for inspiration. Many sites also offer free patterns along with photos and instructions.
Concluding Remarks
Now that you have the essentials for creating your very own crochet hat, it’s time to get started! Remember, this beginner-friendly project not only allows you to practice your crochet skills but also rewards you with a cozy, personalized accessory. Don’t worry if you hit a snag; you’ve got this! For more crochet tips, explore our guides on basic crochet techniques and troubleshooting common issues to keep you motivated on your crafting journey.
Feeling inspired? Share your hat-making experience in the comments below or connect with fellow crafters in our crochet community. And if you’re ready to expand your skills, check out our articles on advanced crochet stitches and exciting project ideas. Keep your yarn and hook handy-exciting projects await! Embrace the joy of crafting; after all, each stitch brings you closer to your next masterpiece. Happy crocheting!
Get our latest guides, news, and insights highlighted in your Google Search & AI Overviews.