

There’s something truly special about wearing a cozy, handmade beanie. Not only do you keep warm, but you also express your creative flair with every stitch. In this tutorial on crafting your own crochet beanie hat, you’ll discover how simple and enjoyable it can be to create a stylish accessory that fits your personality perfectly. Whether you’re a seasoned crocheter or just starting your crafting journey, this project is doable for all skill levels. By the end, you’ll have your very own beanie to sport on cold days or gift to loved ones. Let’s dive into this rewarding DIY experience that promises to spark joy and warmth, showcasing how a few yarn skeins can transform into a cherished piece you’ll be proud to wear. Embrace the maker in you-you’ve got this!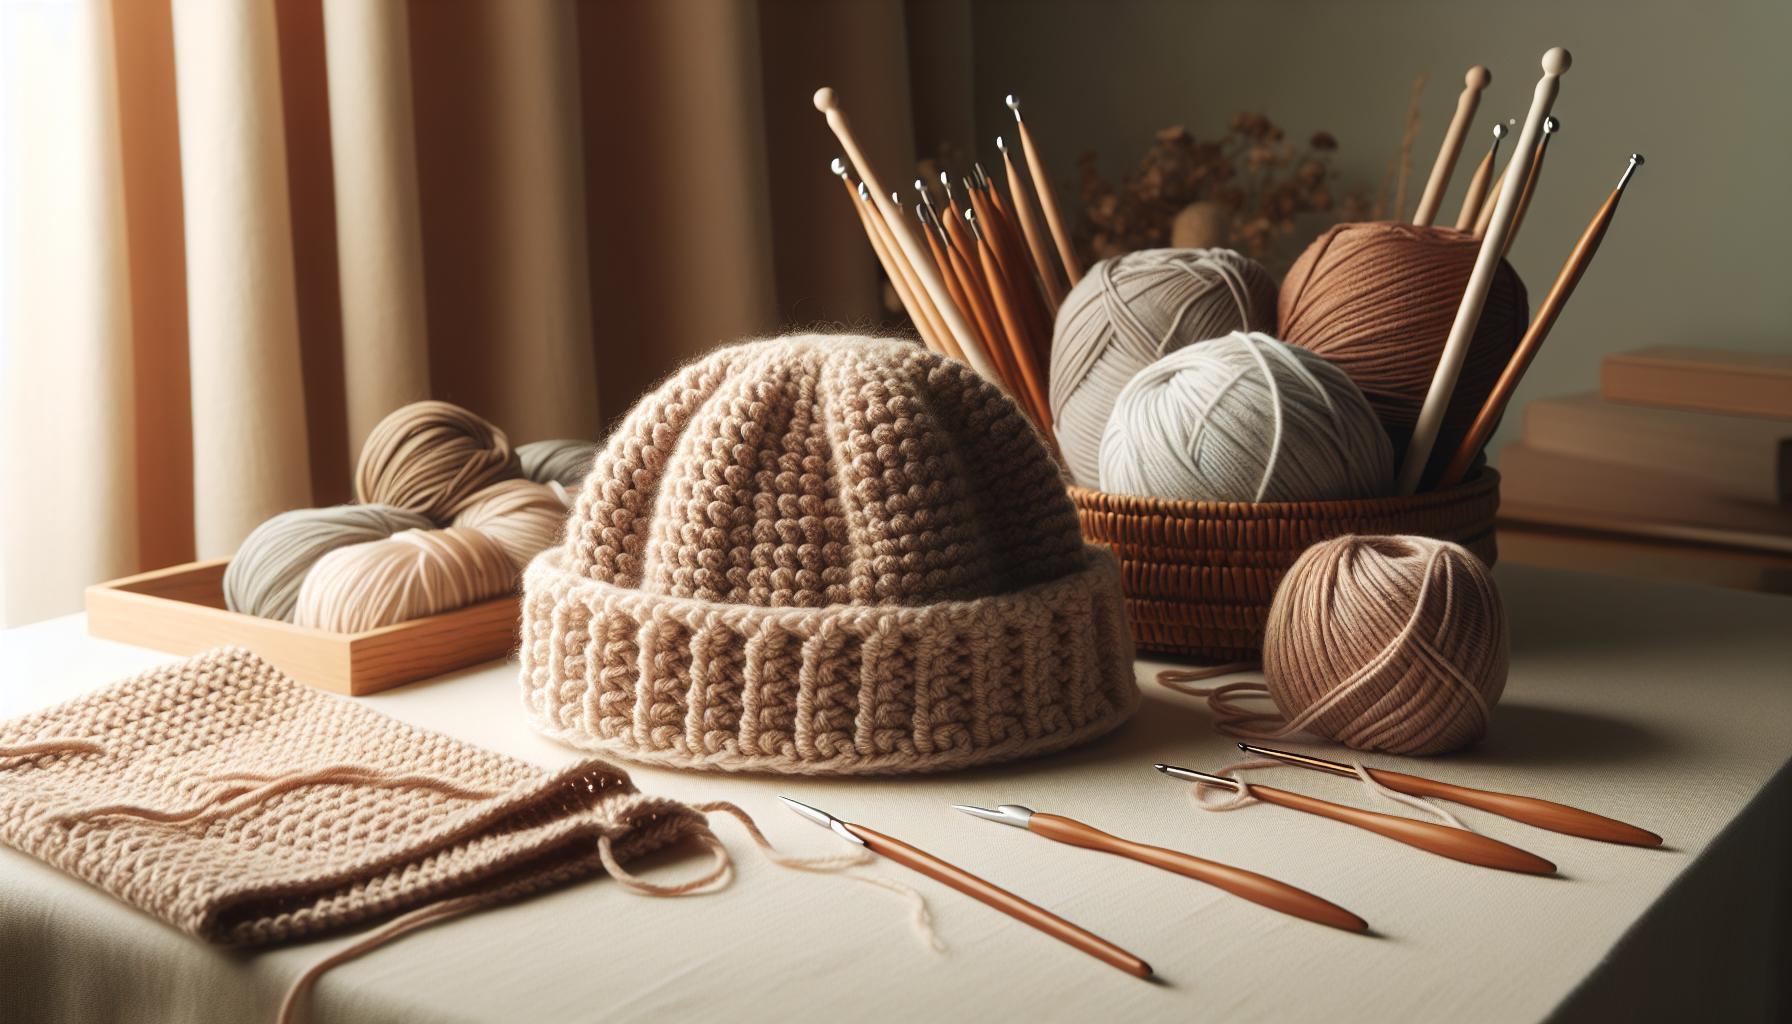
Choosing the Right Yarn for Your Beanie Hat
can make all the difference in your crochet project. The texture, warmth, and overall feel of the finished product depend heavily on your yarn choice. For those chilly days, you want a yarn that is not only comfortable but also provides great insulation. A soft, medium-weight acrylic or wool-blend yarn is a fantastic choice, as it offers warmth without being too heavy. For beginners, opting for a worsted-weight yarn is ideal, as it’s easy to work with and gives you a nice, solid structure.
When selecting your yarn, consider its care instructions and durability. You’ll want something that can withstand regular wear, especially for items like beanies that are often thrown in a bag or washed frequently. Look for yarn labeled as machine washable for hassle-free maintenance. Additionally, pay attention to the yarn’s fiber content: acrylics are budget-friendly and colorfast, while natural fibers like wool or alpaca provide unbeatable warmth and breathability.
Here are a few yarn types to consider:
- Acrylic: Affordable, variety of colors, and machine washable.
- Wool: Excellent warmth and moisture-wicking properties, but may require hand washing.
- Cotton: Lightweight and breathable, ideal for warmer seasons.
- Blends: Combining fibers can result in better durability and warmth.
As you shop for your yarn, keep in mind the weight and gauge. Many patterns will recommend a specific yarn weight, typically worsted (weight category 4) for standard beanies. Always check the yarn label for gauge information and match it to your pattern. This way, you ensure your beanie fits perfectly. Remember, the right yarn not only sets the foundation for your project but also enhances the joy of crafting. So, make your selection with care, and soon you’ll be wearing your cozy, handmade beanie with pride!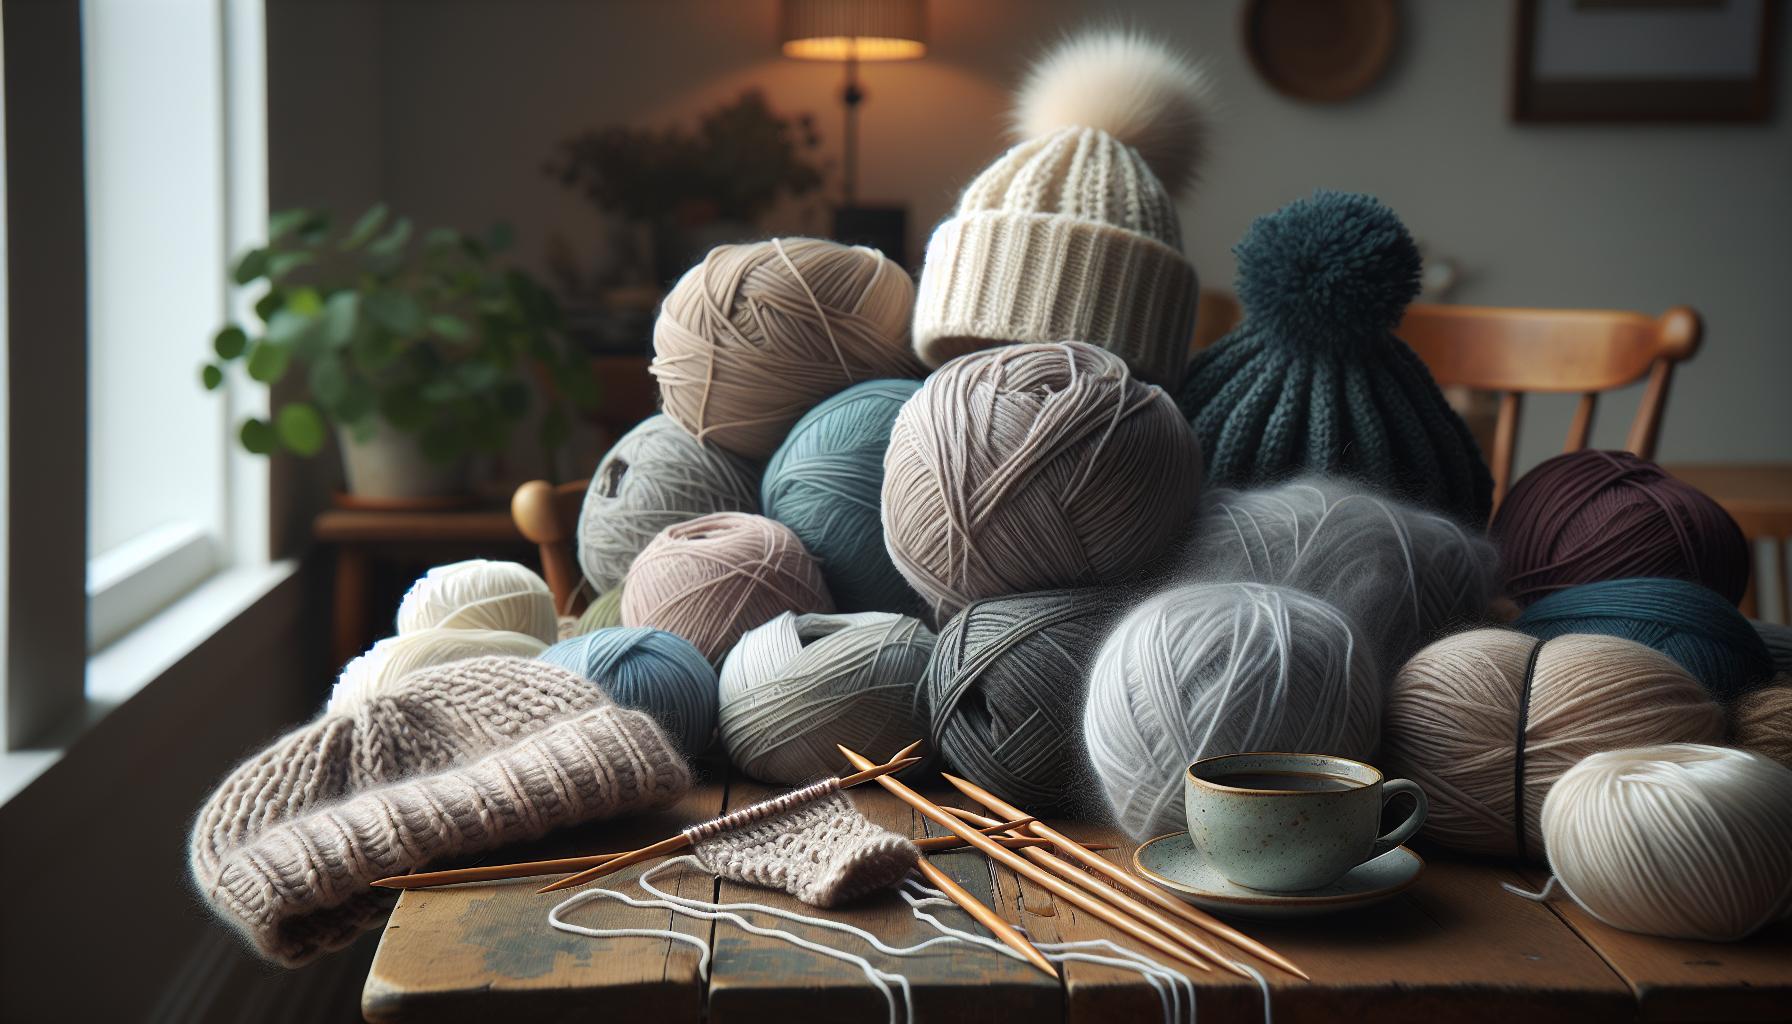
Essential Tools and Supplies You’ll Need
Creating your own beanie is a fulfilling and fun project that welcomes all skill levels. Before diving into the crochet world, you’ll want to gather some essential tools and supplies that will set the stage for your cozy creation. The good news is that you don’t need an extensive toolkit-just a few key items to get started and keep your crafting journey smooth and enjoyable.
First on your list should be a good crochet hook. For most worsted-weight yarns, a size H/8 (5 mm) hook is perfect. This size is comfortable to work with and creates a nice, sturdy fabric for your beanie. If you’re unsure about choosing the right hook, don’t worry! Many yarn labels provide recommendations for hook sizes that will match their specific yarn. Next, consider a pair of scissors for snipping your yarn at the finish, and a yarn needle to weave in the ends neatly, giving your beanie that polished look.
In addition to these basics, it’s helpful to have a measuring tape on hand. This will assist you in ensuring your beanie is the perfect size. Also, a stitch marker can be beneficial for marking the beginning of your rounds, especially if you’re working on more complex patterns. Finally, keep some stitch counters nearby if you’re planning on adding multiple colors or intricate designs-they help track your progress and maintain accuracy without the hassle of counting repeatedly.
With a simple set of supplies, you can start crafting your handmade beanie in no time! Embrace the journey of creating, knowing that each stitch brings you closer to wearing a hat that not only keeps you warm but also showcases your unique style. So gather your tools, and get ready to dive into the cozy world of crochet beanies!
Step-by-Step Guide to Crocheting Your Beanie
Creating your first beanie can be an exhilarating experience, especially as you watch your yarn transform into a cozy accessory. Whether you want to create a simple beanie or a more intricate design, you’ll find that each stitch you make builds your confidence and skills. Here’s a straightforward guide to help you craft your beanie, step by step, ensuring you feel empowered throughout the process.
Gather Your Supplies
To get started, make sure you have the following supplies:
- Yarn: Choose a worsted-weight yarn for a beginners’ friendly project.
- Crochet hook: A size H/8 (5 mm) hook works well.
- Scissors: For cutting your yarn when necessary.
- Yarn needle: To weave in the ends at the finish.
- Measuring tape: To ensure the correct size of your beanie.
- Stitch markers: Useful for marking the beginning of your rounds.
Start Your Beanie
- Create a Foundation Chain: Begin by making a slipknot and chaining 4 to 6 stitches, then join them into a circle with a slip stitch. This gives you a rounded base to work from.
- Work Into the Circle: Chain 2 (this counts as your first double crochet), then make 11 more double crochets into the circle. This will give you a total of 12 double crochets. Slip stitch to the top of the initial chain to close the round.
- Increase for Size: For the second round, chain 2 again and work 2 double crochets in each stitch around (total of 24 stitches). Continue this increasing pattern in subsequent rounds by adding more double crochets in each stitch one round after the other until you reach your desired hat width.
- Start the Body of the Beanie: Once you have the diameter you like, continue working in double crochet without any increases. This will form the main body of your beanie.
- Finish the Beanie: Once you reach the desired height (typically 7-9 inches), you can begin to decrease by skipping stitches. Work this decrease until you close up the top of your beanie completely. Fasten off your yarn, leaving a tail to weave in.
Final Touches
After you finish crocheting, use your yarn needle to weave in the ends neatly. Be proud of your creation! You’ve just made a cozy beanie that showcases your unique style. The best part? You can customize it further, experimenting with colors or even incorporating simple stitches to give it that extra flair.
Remember, every stitch you make brings you closer to mastering the art of crochet. So don’t hesitate-grab your yarn and hook, and dive into the joyful world of beanie-making! You can do this!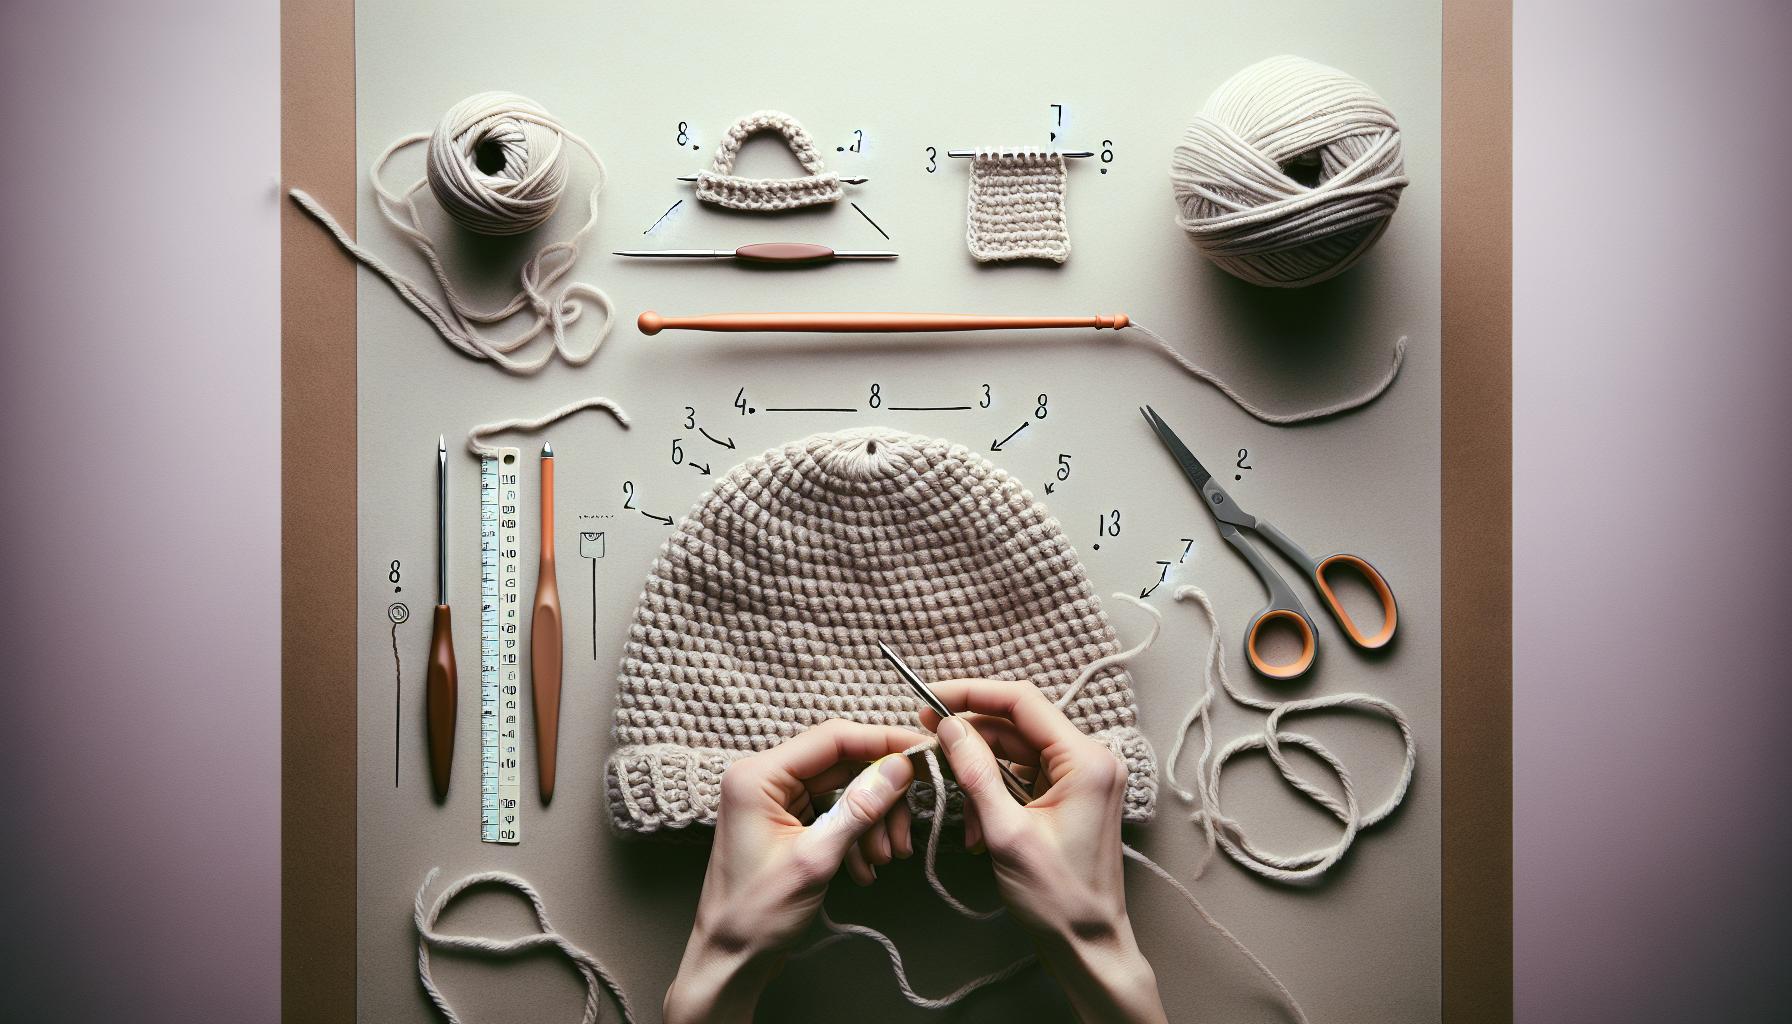
Understanding Basic Crochet Stitches for Beginners
To create your very own cozy beanie, understanding the fundamental crochet stitches is essential. These stitches form the building blocks for most crochet projects, including your stylish hat. Embracing these techniques will help you gain confidence and versatility with each project you take on.
Start by mastering the basic stitches you’ll use regularly. The chain stitch is foundational and is how you’ll begin most projects. To create a chain, simply yarn over (pull the yarn through) to create a loop, then continue pulling the yarn through that loop to form a chain. Next, you’ll often use the slip stitch to join sections or close rounds. This stitch is quick and doesn’t add height, making it perfect for neat finishes.
Moving on, the single crochet is a must-know for beginners. It creates a tight fabric, making it ideal for warm hats. To make a single crochet, insert your hook into the stitch, yarn over, pull up a loop, yarn over again, and finish by pulling through both loops on your hook. As you advance, the double crochet stitch becomes hugely beneficial since it works up faster and gives a lighter, airy texture, which can be perfect if you want a more delicate beanie. The double crochet involves yarn over, inserting your hook, pulling up a loop, then yarning over again to pull through two loops, and repeating until finished.
Practice these stitches with dedicated swatches before diving into your beanie pattern. Each time you stitch, you’ll get more comfortable with tension and technique, essential elements for a polished look. Remember, you can do this! Every crochet project is an opportunity to spark your creativity and personal style. Embrace the process, and soon you’ll be wearing a beanie that bears your unique touch.
Tips for Customizing Your Beanie Design
To create a beanie that truly reflects your style, customization is key! Personalizing your crochet project not only makes it unique but also adds an element of fun to your crafting experience. Whether you want to adjust the fit, add decorative elements, or explore different techniques, the possibilities are endless. Dive into the world of customization with these tips to transform your cozy beanie into a one-of-a-kind accessory.
Consider Your Style
First, think about the look you want to achieve. Are you aiming for something simple and classic or bold and trendy? Choose yarn colors that resonate with your style. You could opt for a monochromatic scheme, a vibrant multicolor blend, or even a gradient effect. If you’re unsure where to start, consult color theory for guidance on complementary shades or browse other makers’ projects for inspiration. The right color can drastically change the personality of your beanie.
Incorporate Unique Textures
Experimenting with texture can also make your beanie stand out. Consider using different crochet stitches or yarn types throughout your project. For example, you might switch to a puff stitch for a chunky, playful pop or a lace stitch for delicate patterns. Mixing yarn weights, such as pairing a soft acrylic with a fuzzy wool, can create an eye-catching visual contrast. Don’t be afraid to play around-try making a swatch using various stitches to see how they change the final look.
Add Embellishments
Another fun way to customize your beanie is by adding embellishments. This could include anything from buttons and patches to a cozy pom-pom on the top. For a festive touch, consider adding some embroidery or even a felt appliqué to the front. If you want to celebrate a special occasion, personalize your beanie with initials or a fun saying. Get creative with embellishments that speak to your personality!
DIY Techniques
Finally, don’t overlook some DIY techniques that can enhance your beanie. Using a simple crochet technique called “faux fur” can give your hat an elegant look without needing to purchase specialty yarns. You can also create braids or fringe at the edges for a boho vibe. For a practical element, adding a lining or adjustable band can improve comfort while giving a neat finish. You can do this! Every customization has the potential to transform your beanie into something remarkable.
By embracing creativity and trying out new ideas, you’ll craft a beanie that’s as functional as it is stylish. Happy crocheting!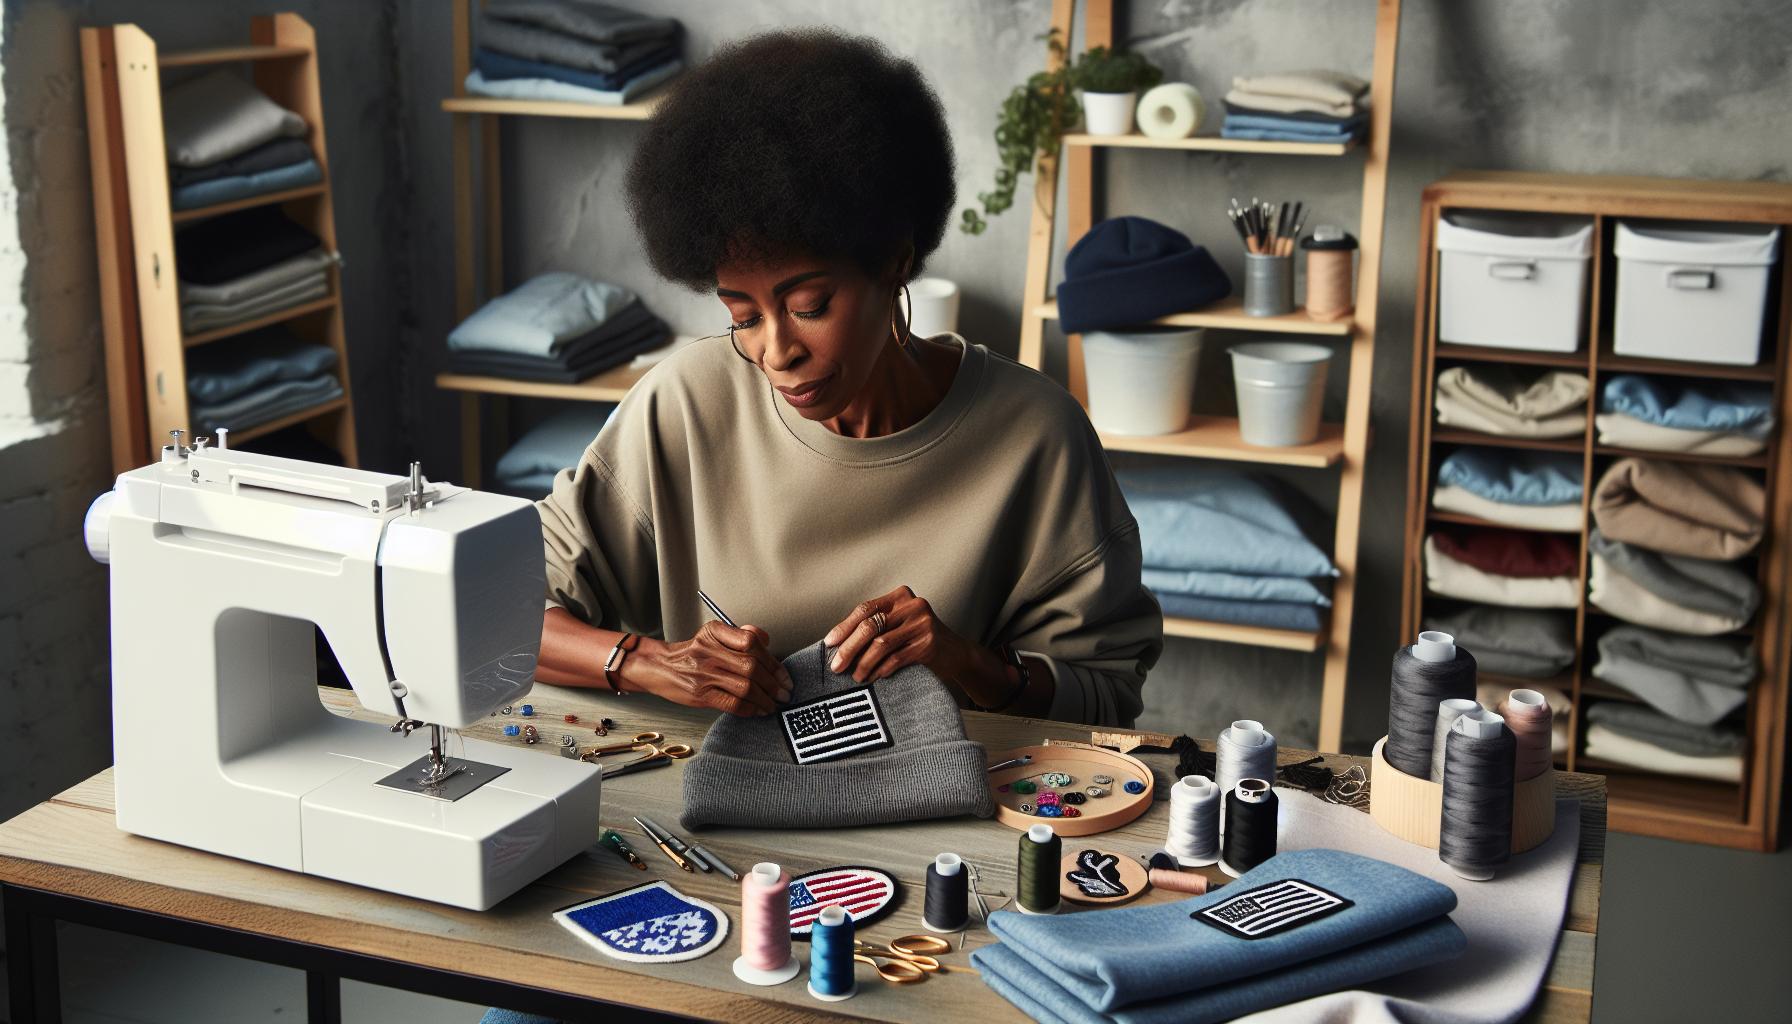
Adding Color and Texture: Advanced Techniques
Adding vibrant color and unique texture to your crochet beanie can elevate a simple project into something truly standout! Whether you want to brighten someone’s day with a colorful hat or craft a cozy accessory that’s uniquely yours, incorporating these advanced techniques can transform your crocheting journey. Let’s dive into how to effectively blend hues and introduce fascinating textures into your next beanie.
To start with color, consider using a technique called color pooling. This method involves strategically working with two or more colors in your yarn to create patterns, like stripes or even spots, depending on the yarn’s color distribution. A great way to practice is using a gradient yarn that gradually shifts colors, which creates a beautiful ombre effect with minimal effort. Also, don’t shy away from using traditional colorwork techniques like Fair Isle or intarsia, which allow you to weave in different colors over sections of your beanie for a unique design. Mixing colors is not just visual; it adds emotional depth to your garment. Play around and see what combinations energize you!
Texture Techniques
Adding texture can enhance the tactile quality of your beanie. Consider introducing stitches like bobbles, shells, or popcorns, which pop out from the fabric, creating a lovely 3D effect. Here’s a quick breakdown of some fun techniques to try:
- Bobbles: A series of double crochets that come together at the top to form a small “bubble”.
- Shell Stitches: A combination of multiple stitches in the same spot for a fan-like appearance.
- Raised Stitches: These are worked into the previous rows, giving an elevated feel.
Another fun way to add texture is by incorporating various yarn types. Try mixing a soft acrylic with a bouncy yarn like a boucle or eyelash yarn. This juxtaposition not only looks visually interesting but also feels delightful against your skin. As you experiment, consider making small swatches before committing to the whole beanie to see how various stitches and combinations pan out.
Remember, you can personalize your beanie even more by adding embellishments such as textured appliqués or embroideries. Imagine a simple beanie adorned with a raised heart or a fun floral motif. You can do this! Embracing color and texture will not only refine your crocheting skills but also spark your creativity, ensuring each finished piece is a true reflection of the joy and craftsmanship you put into it. Happy crocheting!
How to Size Your Beanie Perfectly
Getting the fit just right for your beanie can make all the difference-it’s what turns a good project into a great one! Whether you’re crafting for yourself, a child, or a loved one, measuring accurately is key to achieving that cozy fit. And don’t worry, sizing your beanie is easier than you might think!
Start by measuring the circumference of the head for whom you’re crocheting. Use a flexible measuring tape and wrap it around the widest part of the head, usually just above the ears. Make sure the tape is snug but not overly tight. This measurement will give you the necessary size to base your project on. For a general guide, typical head sizes are as follows:
| Age | Circumference (inches) |
|---|---|
| Newborn | 12-14 |
| Child | 18-20 |
| Teen/Adult | 21-23 |
| Large Adult | 23-25 |
Once you have that measurement, it’s time to choose your crochet pattern. Most patterns will have a recommended size, but you can make simple adjustments to ensure a snug fit. If your gauge swatch indicates larger stitches than the pattern calls for, simply decrease your hook size or switch to a yarn with a different thickness. Conversely, if it’s too small, you can increase your hook size or use a bulkier yarn.
As a helpful tip, keep in mind that a beanie can be stretched slightly when worn, so if you’re aiming for a snug fit, add about 1 inch to your head measurement when determining your starting chain. If you’re unsure, consider trying your beanie on as you go-this is where the joy of crocheting comes into play! Remember, you can do this! Each beanie is a step towards becoming more confident in your craft, and with practice, sizing will become second nature. Happy crocheting!
Common Mistakes to Avoid While Crocheting
Crocheting a beanie can be an enjoyable and fulfilling endeavor, but it’s easy to make a few missteps along the way. Being aware of common mistakes can help you avoid frustration and ensure a smoother crafting experience. One of the most frequently overlooked issues is not reading the pattern closely. Patterns often include specific instructions about stitch counts, yarn type, and gauge. Skipping these details can lead to incorrect sizing or unexpected results. Take a moment to familiarize yourself with every aspect of the pattern before diving in-this small step can save you a lot of rework.
Another common pitfall is neglecting to check your gauge. Gauge is crucial for ensuring your beanie fits as intended. A quick and simple way to measure your gauge is to crochet a small swatch using the recommended stitch for the project and then measure how many stitches you have per inch. If your gauge is off, don’t hesitate to adjust your hook size or change to a different yarn weight. This may feel tedious, but it lays a solid foundation for your project and makes the rest of the process much more enjoyable.
Don’t forget about keeping track of your stitch count during the project! Losing track can lead to uneven sides or a holey beanie. Consider using stitch markers to indicate each round, especially in the beginning. This helps maintain focus and can even enhance your overall experience. A simple reminder: if you ever need to take a break, jot down where you left off. This practice keeps your momentum going and helps you pick up right where you left off with confidence.
Lastly, embrace your mistakes as learning opportunities! If you find that your beanie turned out differently than expected, try to pinpoint what went wrong, reflect on it, and adjust in your next project. Each beanie you make is a step towards mastering your crochet skills. Remember, the joy of crafting often lies in the journey, so keep experimenting and have fun with your creations. Happy crocheting!
Maintenance: Keeping Your Beanie Fresh and Clean
Keeping your beloved crochet beanie looking fresh and vibrant is part of the joy of creating! A well-cared-for beanie will not only retain its shape and beauty but also serve as a cozy companion for many seasons. Whether it’s hand-knitted with love or a trendy design you’ve mastered, maintaining your beanie doesn’t have to be a chore-it can be part of your crafting ritual!
To ensure your beanie stays in top condition, start with a gentle wash. Handwashing is often the best approach for delicate materials like wool or alpaca yarn. Fill a basin with cool water and a few drops of mild detergent, then gently submerge your beanie. Allow it to soak for about 10-15 minutes, giving it time to release dirt and oils. After soaking, rinse thoroughly with cool water until all soap is removed. Avoid wringing out excess water; instead, lay your beanie flat on a clean towel, roll it up, and gently press to absorb moisture.
Drying Your Beanie
When it comes to drying your beanie, laying it flat is crucial. Find a clean, dry surface, like a table or a drying rack. Reshape your beanie to ensure it retains its intended form as it dries. Avoid hanging it up, which can stretch the fabric, leading to an awkward shape. Depending on the yarn, allow it to air-dry completely-this could take a few hours. Patience is key here!
Spot Cleaning and General Care
For minor spills or stains, spot cleaning is your best friend. Simply use a damp cloth with mild soap to gently dab at the affected area, then rinse with a clean, damp cloth to remove any soap residue. Keep an eye out for pilling (those pesky little balls of yarn that can form), especially if you’re wearing your beanie regularly. A fabric shaver can help eliminate these without damaging your work.
Remember to store your beanie properly during the warmer months; keep it in a cool, dry place. Avoid cramming it into tight spaces-this can lead to unwanted creases. Instead, consider using a dedicated hat box or a shelf where it can breathe. By following these simple maintenance tips, you’ll keep your crochet creation looking fabulous, ensuring it continues to bring warmth and style for years to come! Happy crafting!
Inspiration: Unique Beanie Styles to Try
Creating crochet beanies offers an exciting opportunity to express your personal style while keeping cozy during chilly seasons. The beauty of crochet is that it allows for endless variations; each beanie can reflect your unique flair. Whether you’re a seasoned crocheter or just starting, here are some inspiring styles to try that can easily be adapted to any skill level.
One popular trend is the slouchy beanie, which combines comfort and style. This design features a loose fit at the crown, allowing the beanie to drape casually over the head. To make it, choose a soft, worsted-weight yarn for a cozy feel. You can embellish with a pom-pom on top or even a fancy stitch pattern for added texture. If you’re looking for a modern twist, consider using a gradient yarn that changes color as you crochet, adding visual interest effortlessly.
Another captivating option is the ribbed beanie, which has a snug fit and is great for colder months. The ribbing provides elasticity, making it a comfy choice for various head sizes. Use a simple double crochet stitch in the back loop only to create the ribbed effect. This beanie can be crafted with just a few rows depending on the desired width, allowing you to complete it in a couple of evenings. Don’t shy away from experimenting with colors-two-tone or striped designs can make your beanie stand out beautifully.
For those who want to take their beanie to the next level, think about adding textures with advanced crochet techniques. Try incorporating cables or bobbles which give your beanie a distinctive, plush effect. A vintage-inspired beanie with intricate stitches can be both stylish and a delightful challenge. Additionally, integrating a luxurious yarn like alpaca or cashmere feeds the tactile pleasure many crocheters crave while elevating the elegance of the finished product.
Ultimately, the key to creating inspiring beanie styles is to let your creativity shine. Whether you follow a pattern or create your own design, remember: the joy of crocheting lies in the process of making something uniquely yours. So, grab your yarn, find a cozy spot, and let your imagination guide you to your next cozy project! You can absolutely do this!
Exploring Crochet Beanie Patterns for All Seasons
There’s something magical about creating crochet beanies suitable for every season. These cozy accessories not only keep you warm but also allow you to showcase your personality and creativity year-round. Whether you’re looking for a lightweight option for cooler summer nights or a thick, knitted style for winter, there’s a pattern to suit your needs. Let’s explore various beanie styles that you can crochet through every season, allowing each stitch to tell a story of warmth and character.
Spring and Summer Styles
As temperatures rise, consider lighter patterns like a slouchy beanie or a mesh beanie that incorporates openwork stitches. These designs use cotton or bamboo yarn, making them breathable and perfect for sunny outings. For a vibrant touch, try using pastel colors or variegated yarns. You can create a simple slouchy beanie by starting with a foundation chain that fits your head comfortably and then moving into basic double crochet stitches, adding a few rows of mesh for that airy feel.
- Materials: Cotton or bamboo yarn, crochet hook (recommended size based on yarn).
- Approximate Time: 2-3 hours.
Autumn and Winter Warmers
When the chill sets in, it’s time for thicker, cozier beanies. Patterns like the ribbed beanie or cable-knit beanie come into play. These are crafted with worsted or bulky weight yarn, giving you that extra warmth needed during colder months. A ribbed beanie can be achieved by working back loop double crochet stitches, which not only creates a beautiful texture but also allows the hat to stretch snugly around your head. Don’t forget to embellish your winter hats with pom-poms or ear flaps for added flair!
- Materials: Worsted or bulky yarn, crochet hook, optional pom-pom maker.
- Approximate Time: 4-5 hours.
Fun and Unique Patterns
For those looking to experiment, consider trendy designs like the cat ear beanie or beanies with various textures and stitches. These projects can include stitches such as bobbles, cables, or colorwork techniques. Such unique beanies can serve as great gifts or eye-catching accessories that start conversations. Follow patterns that include step-by-step video tutorials, making it easier to learn new techniques while crafting something special.
You can do this! Finding a pattern that matches your skill level and the season is the key. With the right yarn and a bit of dedication, you’ll create beautiful, functional hats that will keep you cozy while reflecting your unique style no matter the time of year. So grab your yarn and hook, and start your next crochet adventure!
Community: Share Your Creations and Ideas
There’s nothing more rewarding than sharing your creative crochet journey, especially when it comes to making cozy beanies! Whether you’re a seasoned crochet artist or just starting, connecting with a community of fellow makers can inspire new ideas and ignite your passion for crafting. Engaging with others can also help you overcome challenges and celebrate your crafting successes together. So, let’s dive into how you can share your creations and get inspired!
One of the best ways to start is by joining online platforms where crafters gather. Consider sharing photos of your finished beanies on social media platforms like Instagram or Pinterest, using hashtags like #CrochetBeanies or #DIYBeanies. This not only showcases your hard work but also allows you to discover countless beanie ideas and styles from other crafters. If you’re looking for feedback or tips, forums like Reddit or dedicated crochet Facebook groups can be fantastic for connecting with experienced crocheters who love to share advice, troubleshoot issues, and offer encouragement. Be on the lookout for specific “make-along” events or challenges they host!
When sharing your projects, consider writing a brief description that includes the yarn you used, the pattern source, and any customizations you made. For instance, if you crocheted a colorful ribbed beanie using bulky yarn, mention the brand and colors you chose. This not only helps others replicate your look but can also spark conversations about yarn preferences and techniques. Plus, don’t hesitate to ask for input on your current projects! Most makers love providing tips or tricks to enhance your beanie.
Another fun way to participate in the crafting community is to host or participate in a “Crochet Night” with friends, or even virtually through video calls. You can practice your skills together while sharing laughter and ideas. If you have tutorials or patterns that you’ve found particularly helpful, consider creating a blog post or a YouTube video that showcases your method. This kind of sharing not only reinforces your own knowledge but also contributes to the vibrant world of crochet enthusiasts, making it even easier for others to dive into their creative expression. Remember, each beanie you create tells a story-share it, and inspire others!
Frequently asked questions
Q: What is the best yarn for a crochet beanie?
A: The best yarn for a crochet beanie is typically a soft, warm, and durable option like worsted weight acrylic or wool. These materials offer both comfort and warmth, making them ideal for hats. Consider your project’s purpose; for outdoor use, choose a blend that includes wool for better insulation and moisture-wicking properties.
Q: How long does it take to crochet a beanie?
A: Crocheting a beanie can take anywhere from 2 to 4 hours, depending on your skill level and the complexity of the pattern. Beginners may require more time, especially when learning new stitches. To streamline the process, familiarize yourself with basic stitches outlined in your tutorial.
Q: What tools do I need to crochet a beanie?
A: You’ll need a crochet hook (typically size 6.5mm for worsted weight yarn), scissors, a yarn needle for weaving in ends, and measuring tape for sizing. Additionally, a stitch marker can help you keep track of rounds. Refer to the Essential Tools and Supplies section of our article for detailed recommendations.
Q: Can I crochet a beanie without a pattern?
A: Yes, you can crochet a beanie without a pattern! Using basic techniques from our Step-by-Step Guide, you can create a simple hat by working in the round, adjusting the size and stitches to your preference. Start with a magic ring and increase for the crown, then work even until you reach the desired height.
Q: How do I size my crochet beanie correctly?
A: To size your crochet beanie correctly, measure the head circumference before you begin. Our How to Size Your Beanie Perfectly section offers detailed steps. Generally, standard adult sizes range from 21 to 23 inches. Adjust your foundation chain and increase rounds accordingly for a better fit.
Q: What are common mistakes to avoid when crocheting a beanie?
A: Common mistakes include crocheting too tightly, which can make the beanie difficult to fit, and neglecting to count stitches, leading to uneven shapes. Ensure you follow our Common Mistakes to Avoid tips for a smoother crochet experience and a better final product.
Q: How can I add a unique design to my crochet beanie?
A: You can add unique designs by incorporating color changes, textured stitches, or embellishments like pom-poms. Explore the Tips for Customizing Your Beanie Design section for creative ideas on how to personalize your beanie while maintaining warmth and comfort.
Q: What maintenance do crochet beanies require?
A: Crochet beanies need regular maintenance like gentle washing and occasional reshaping. Hand wash with mild detergent and air dry to keep the yarn in good condition. Check our Maintenance: Keeping Your Beanie Fresh and Clean section for actionable tips on preserving your hat’s quality.
Concluding Remarks
Congratulations on finishing your cozy crochet beanie hat! You’ve not only created a warm accessory but also gained skills that will boost your confidence in future projects. Remember, crafting is all about enjoying the process. If you’re looking for your next project, why not try our Crochet Scarf Pattern or explore unique Crochet Motifs for inspiration?
Don’t forget to share your completed beanie in the comments below-we love seeing your creativity in action! And if you found this tutorial helpful, subscribe to our newsletter for more patterns and tips that cater to all skill levels. Your next crafty adventure awaits, so keep crocheting and stay inspired!
Get our latest guides, news, and insights highlighted in your Google Search & AI Overviews.