
Are you ready to add a touch of Western flair to your wardrobe? Crocheting a cowboy hat is not just a fun project-it’s an opportunity to express your creativity and style. This Crochet Cowboy Hat Pattern offers everything you need to create a charming, handmade accessory, perfect for sunny days or themed events.
Whether you’re a beginner looking to build your skills or an experienced crocheter eager for a new challenge, this pattern is designed with you in mind. With straightforward instructions and a list of materials, you’ll find that crafting your own hat is both achievable and enjoyable. Plus, you’ll gain a sense of accomplishment each time you wear something you’ve made yourself! So grab your yarn and hook, and let’s dive into this delightful project that blends practicality with personal flair. You can do this!
Choosing the Right Yarn for Your Crochet Cowboy Hat
Choosing the right yarn is crucial to creating a stunning crochet cowboy hat that fits your style and holds up beautifully to the elements. When it comes to a classic western look, you want to balance aesthetics with practicality. The ideal yarns for your cowboy hat should be sturdy yet comfortable, providing a solid structure without sacrificing floppiness or flexibility.
For an authentic cowboy vibe, consider using natural fibers like cotton or wool blends. Cotton is breathable and can absorb moisture, making it a perfect choice for sunny days. A cotton blend can add elasticity, ensuring your hat maintains its shape. Wool, on the other hand, brings warmth and durability-just what you need for those chilly evenings. Look for yarns labeled as worsted weight or heavier; they’ll provide the heft needed for a structured hat.
Recommended Yarn Options
- Cotton Yarn: Ideal for summer wear; look for a soft, sturdy option.
- Wool Blends: Provide warmth and flexibility, perfect for cooler weather.
- Hemp or Bamboo: Eco-friendly choices that are durable and breathable.
- Blends with Acrylic: Often softer and easier to maintain while adding durability.
Before making your final choice, think about the color and texture that resonate with your western style. Darker earthy tones or vibrant southwestern colors can really enhance the cowboy aesthetic. Don’t shy away from experimenting with textured yarns, as they can add depth and character to your hat. With the right yarn in hand, you’ll be ready to tackle this fun and rewarding crochet project!
Essential Tools for Crochet Success
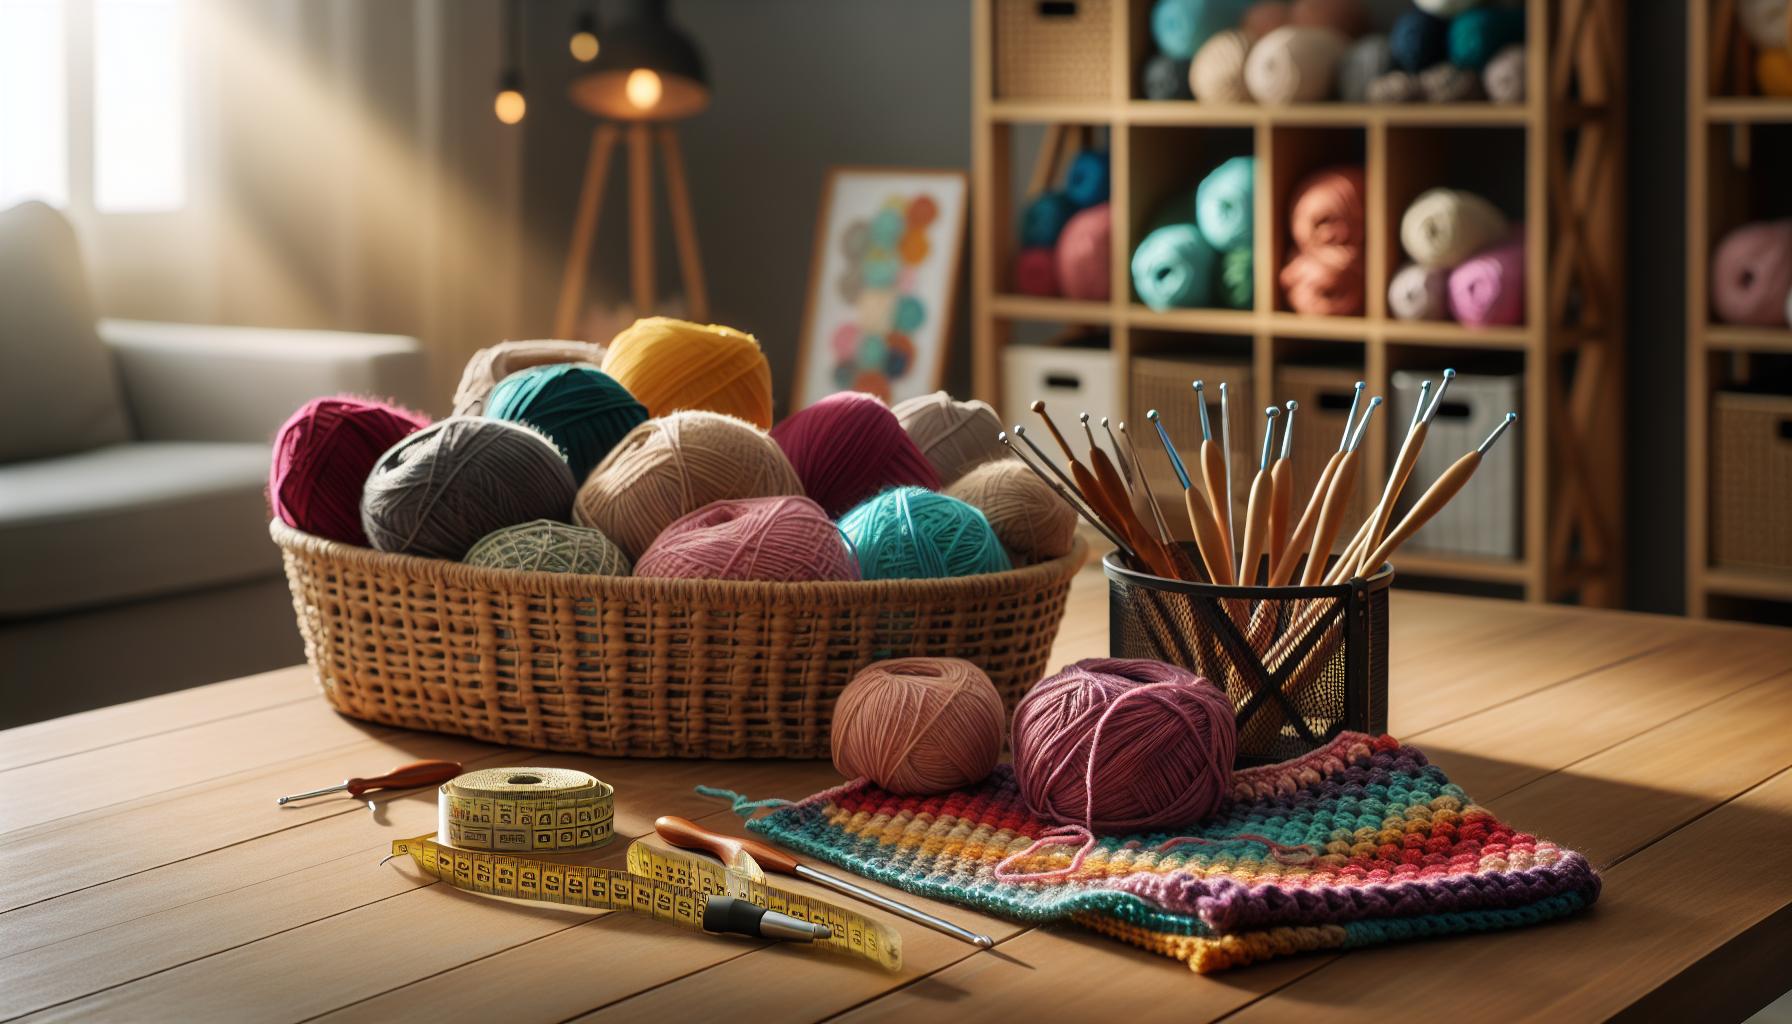
To embark on your crochet cowboy hat journey with confidence, having the right tools at your side can make all the difference. Think of your tools as your trusty sidekick; they not only help you get the job done but also enhance your crafting experience. Here’s what you’ll need to gather to ensure your crocheting adventure is a success.
First and foremost, a good crochet hook is essential. For your cowboy hat, a medium to large-sized hook-around 5.0 mm (H/8) to 6.0 mm (J/10)-works best for worsted-weight yarns. A comfortable grip will make prolonged crochet sessions much more enjoyable, so consider ergonomic hooks if you plan to crochet extensively. Alongside your hook, you’ll also need a pair of scissors to snip your yarn, and a yarn needle for weaving in those pesky ends once you finish your hat.
Don’t forget about stitch markers! These little heroes are invaluable when working on large projects, helping you keep track of where your rounds begin or marking specific stitch counts. A measuring tape will come in handy, too, allowing you to ensure that your hat fits perfectly. And for those who like to keep everything organized, a project bag can help you keep your materials tidy and your workspace clutter-free.
Essential Tools Checklist
- Crochet Hooks: Size 5.0 mm to 6.0 mm for worsted yarn.
- Scissors: For cutting yarn cleanly.
- Yarn Needle: For weaving in loose ends.
- Stitch Markers: To track your progress easily.
- Measuring Tape: To ensure your hat fits perfectly.
- Project Bag: To keep your materials organized.
Getting these tools will not only equip you for a successful project but also make crocheting your cowboy hat a joyous creative endeavor. Remember, every maker started somewhere-don’t worry if you’re new to crochet! With these tools in hand, the possibilities are endless, and you can create a cowboy hat that not only showcases your style but also your newfound skills. You’ve got this!
Step-by-Step: Crafting Your Cowboy Hat
Crafting your own cowboy hat with crochet is like creating a piece of wearable art, blending practicality with personal flair. From the rustic charm of the Wild West to modern-day bohemian vibes, crochet hats are incredibly versatile, and making one is a fulfilling project. Whether you’re a beginner or have some experience, following this step-by-step guide will help you construct a stylish and unique cowboy hat that showcases your creativity.
Start by gathering your materials. You’ll need worsted-weight yarn in your color of choice, a crochet hook sized between 5.0 mm and 6.0 mm, scissors, a yarn needle, stitch markers, and a measuring tape. Aim for a project time of about 3 to 5 hours depending on your skill level and the complexity of the design you choose. Once your materials are ready, you can begin!
Step 1: Create the Hat Base
Begin by making a slip knot on your hook. Chain 4 and join with a slip stitch to form a circle. Inside this circle, work 12 double crochets (dc) to establish your base. For the next round, you’ll increase by crocheting 2 dc in each stitch, giving you a total of 24 stitches. Remember to use a stitch marker to keep track of your rounds. Continue in this fashion, steadily increasing in each round until the base reaches the desired diameter-typically between 9 to 12 inches depending on head size.
Step 2: Build the Sides
Once your base is completed, it’s time to focus on the sides. For the next few rounds, you’ll crochet in the same stitch pattern without increasing, allowing the hat to start forming sides that rise from the base. You can achieve a beautiful western style by switching to a ribbed stitch, such as front post double crochet, after every couple of rounds to create texture and structure.
Step 3: Finishing Touches
After reaching your desired height (about 4 to 6 inches typically), finish off by creating a rounded edge or a brim if you desire. To make the brim, you can crochet a few extra rounds while alternating between increasing and maintaining stitches to give it that perfect cowboy flair. Finally, fasten off your yarn, weave in any ends, and your hat is nearly complete!
With your hat shaped and styled, the fun continues as you personalize it. Consider embellishing your creation with bands made from contrasting yarn or even adding decorative stitches. You’re now on your way to crafting a beloved accessory that reflects your unique style. Remember, this is all about enjoying the process-so take your time, and don’t be afraid to experiment with colors and patterns. You’ve got this!
Understanding Western Style Elements
Understanding the unique elements that define western style can elevate your crochet cowboy hat from a simple project into a standout piece of wearable art. Western fashion is deeply rooted in tradition, capturing the spirit of the Wild West with its rugged charm and practical functionality. As you embark on this creative journey, consider how colors, textures, and specific design features can enhance your cowboy hat, making it truly reflect your personal style.
A cornerstone of western fashion is the color palette. Traditional cowboy gear often features earthy tones like browns, tans, and greens, reflecting the natural landscapes of the West. However, don’t shy away from bold colors like deep reds, blues, or even pastels if they resonate with your style! Choose yarns that not only fit the traditional vibe but also allow you to express your individuality. For instance, using variegated yarns can bring a unique flair to your hat, mimicking the sun-drenched hues of a wide-open prairie.
Texture plays another vital role in western design. Incorporating different stitches can bring depth and interest to your crochet hat. For a classic look, consider using ribbing or textured stitches like front post and back post double crochet. These stitches not only add visual appeal but also help shape the hat to fit snugly. The construction of the brim can also affect the overall style; wide brims are often associated with a more traditional cowboy look, while narrower styles can align with modern interpretations of western wear.
Lastly, don’t forget to consider decorative elements that honor western traditions. Adding a decorative band is a fantastic way to personalize your creation. Materials like leather, faux leather, or simple crochet embellishments can serve as stylish bands around the hat, contributing to its western essence. Explore incorporating beads or metal accents for added flair-these details can transform your hat into a true statement piece. Remember, crafting your cowboy hat is about having fun and making it your own, so feel free to experiment with various elements until you find a look that excites you!
Tips for Customizing Your Hat Design
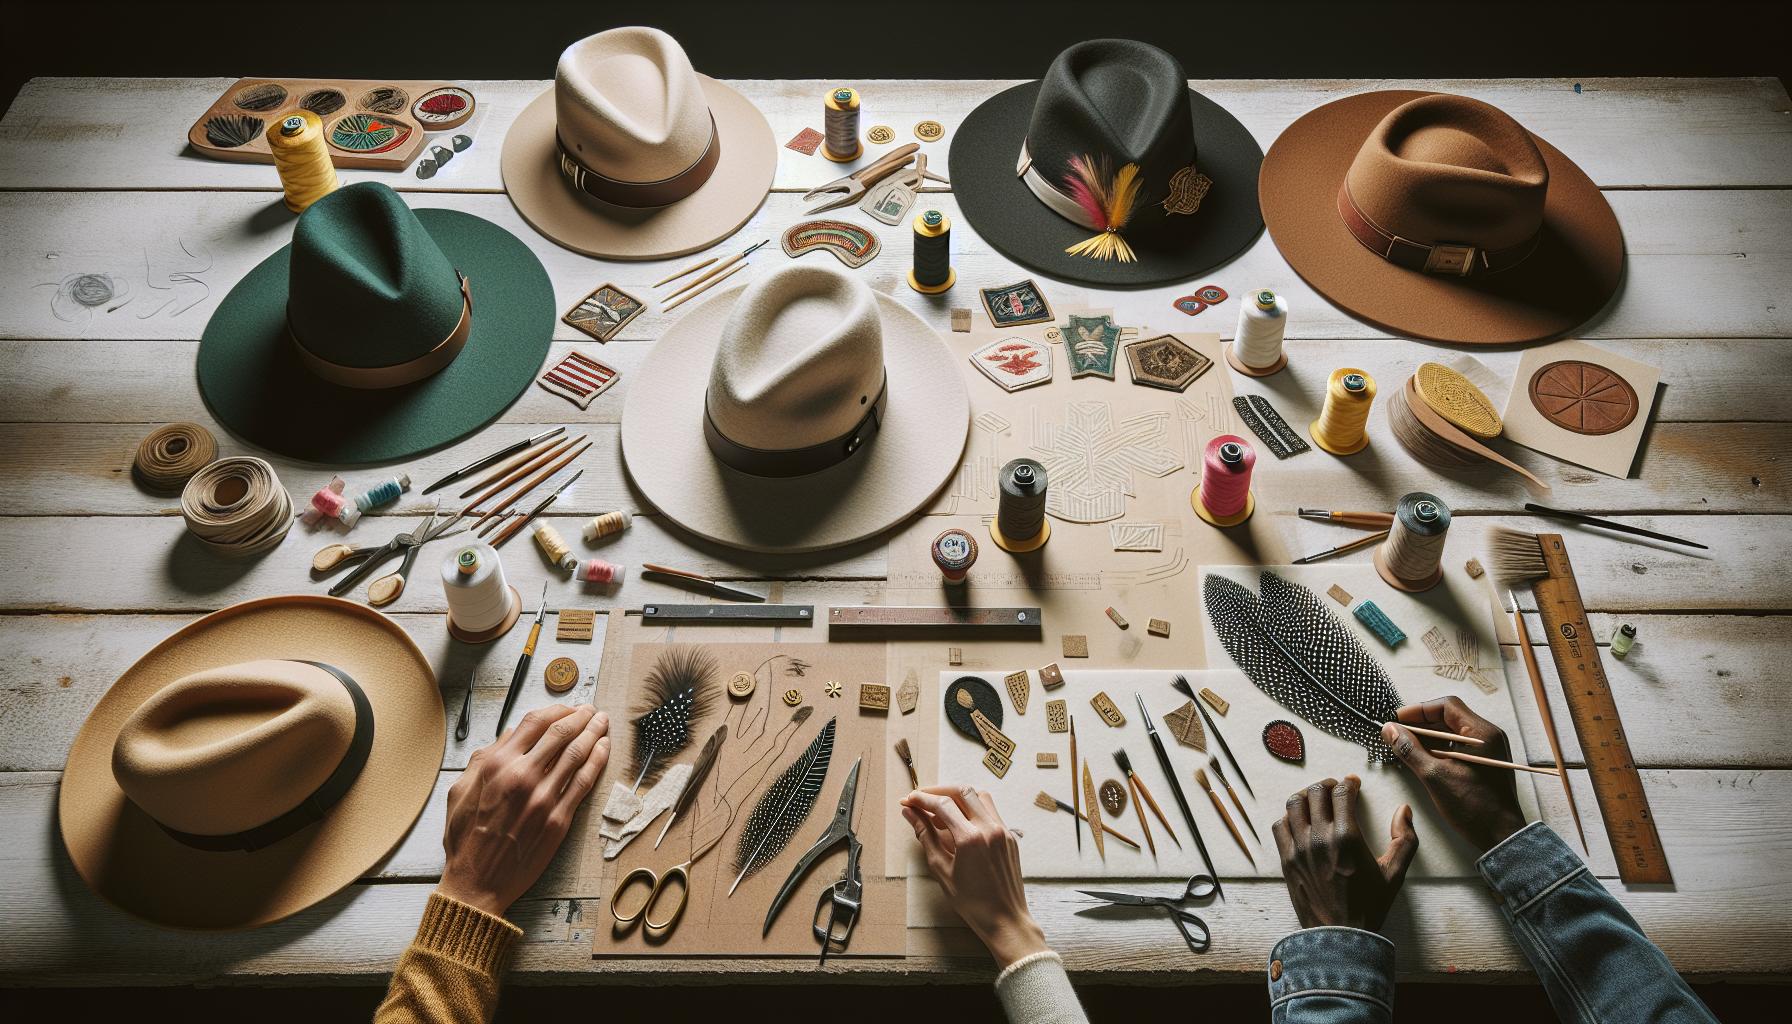
Crafting a crochet cowboy hat allows you to flex your creative muscles and produce a personalized accessory that stands out. One of the best parts of this process is customizing your design to reflect your unique style. Whether you’re aiming for a classic look or something entirely new, there are plenty of ways to infuse your personality into your project.
To begin customizing your hat, think about the shape and size. Experimenting with different brim styles can redefine the entire aesthetic of your hat. For a bold statement, you might opt for a wide brim that exudes traditional cowboy vibes, whereas a shorter brim can create a modern twist. Don’t hesitate to play around with the dimensions until you find the perfect fit for your vision. You can even use techniques like adjusting the stitch count or the depth of the crown to alter the overall look.
Next, consider the color palette and texture of your yarn. Selecting variegated or gradient yarns can introduce an exciting visual element that catches the eye. You can also layer textures by combining stitches-using a combination of single crochet for durability and puff stitches for added intrigue can set your cowboy hat apart. Mixing yarn types, such as transitioning from cotton for the body to a fluffier acrylic for embellishments, also enhances the tactile experience of wearing your hat.
Lastly, decorative touches can elevate your hat from ordinary to extraordinary. Items like leather bands, feathers, or stylish crochet flowers can be added to the hatband to create your signature flair. Don’t overlook the power of embellishments like beads or handmade charms; these small details can significantly enhance the charm and character of your hat. Remember, the process of customizing is about expressing yourself; so gather your materials and let your creativity lead the way-whatever you envision, you can make it happen!
Adding Decorative Touches: Bands and Embellishments
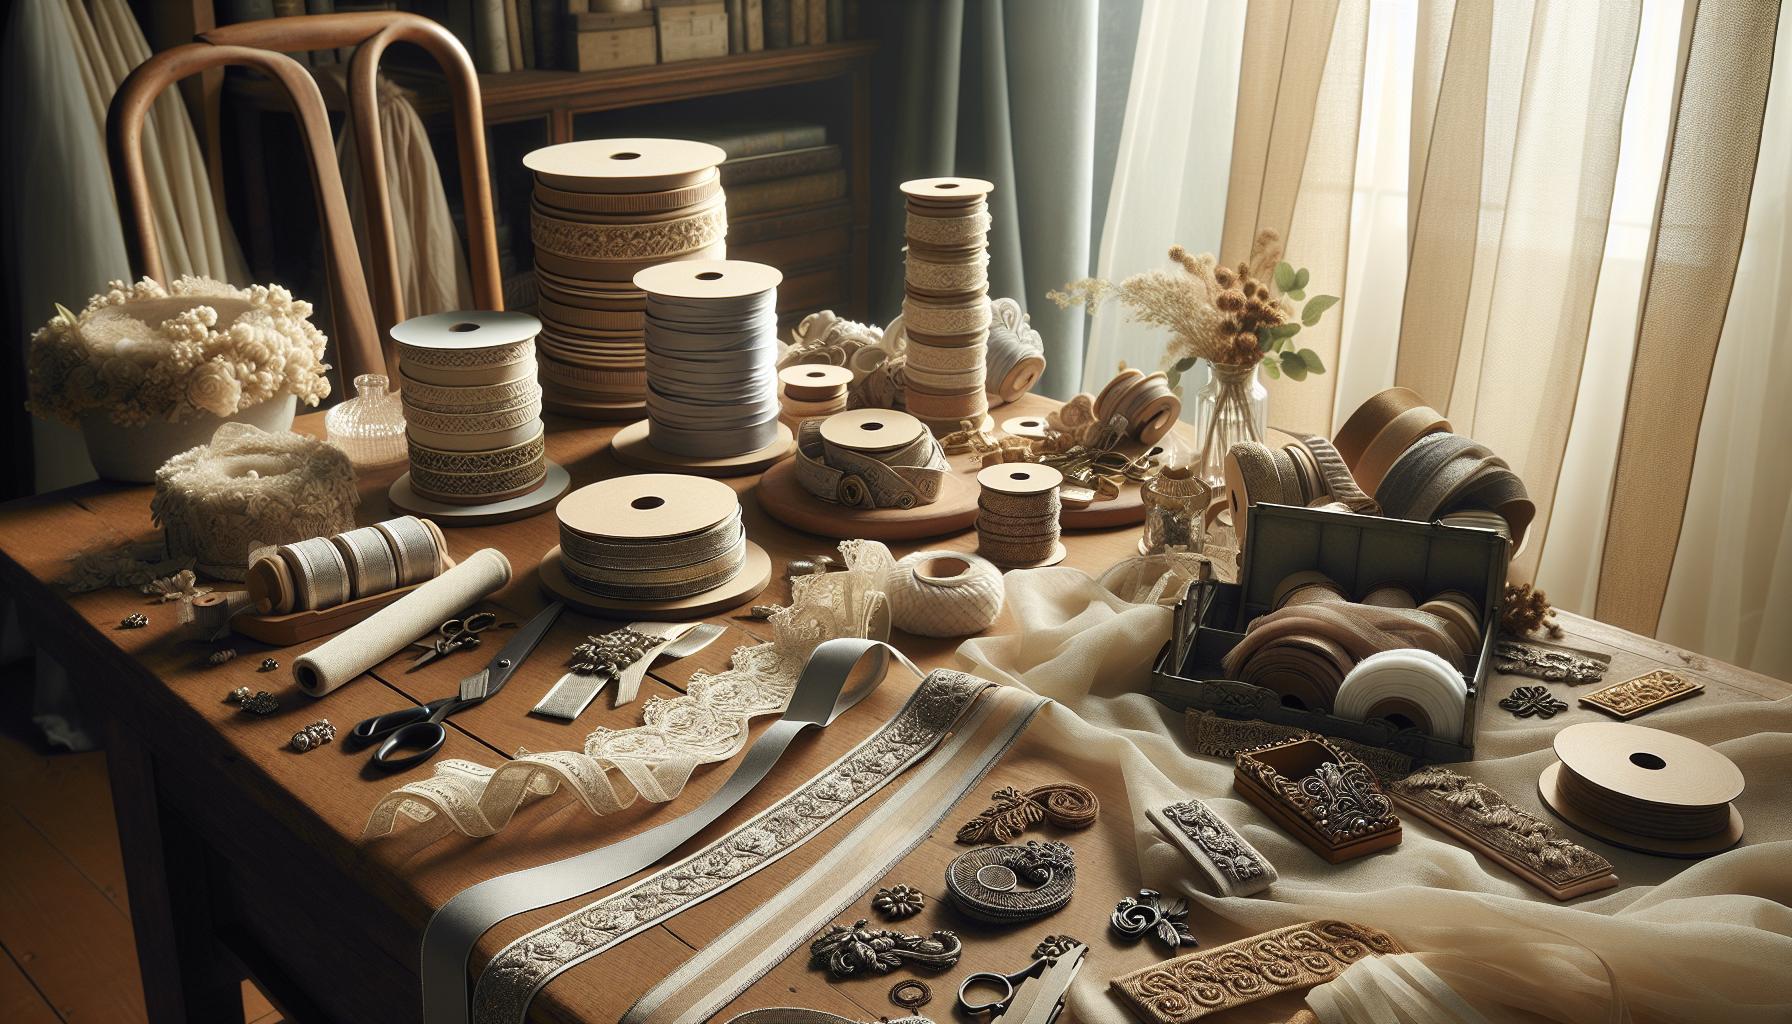
Adding decorative touches to your crochet cowboy hat is where the magic happens! It’s those extra details that transform your creation from a simple garment into a statement piece that showcases your individuality. Whether you’re going for rustic charm or something more modern, embellishing your hat can be one of the most enjoyable parts of the process.
To get started, consider a few key elements that can enhance your design. Hatbands are a fantastic place to begin. You can crochet a band using contrasting yarn or even use non-yarn materials like a strip of leather or faux leather. This not only adds texture but also durability. Use strong adhesive or stitches to attach your band securely. If you’re feeling adventurous, try adding beads or charms to the band for a bit of sparkle. These small additions can make a big impact!
Next, think about additional embellishments that reflect your style. Feathers are classic cowboy accents-attach them to the side of your hat or weave them into your hatband for a dramatic look. Alternatively, crochet flowers or stars can be charming and playful additions. Not only are they easy to create, but they can also be made in colors that complement your hat.
Don’t forget about functional embellishments too! A decorative tie made from a contrasting yarn can help keep your hat secure during breezy days. You can braid together strands of yarn or use tassels at the ends for a fun flair. The key here is to experiment: play around with different materials and techniques. You’ll be surprised at how simple it is to customize your cowboy hat until it feels uniquely yours! Remember, this project is all about expression-don’t shy away from trying something bold!
Troubleshooting Common Crochet Issues
Crocheting your own cowboy hat can be a thrilling adventure, but even the most enthusiastic makers can encounter a few bumps along the way. Whether you’re facing a tricky stitch or an unexpected shape, recognizing and resolving common crochet issues can enhance your crafting experience. Here are some practical tips to ensure your crochet cowboy hat turns out just right!
One frequent problem is uneven tension in your stitches. If you notice that some areas are tighter or looser than others, it could affect the overall look of your hat. Take time to practice your tension with a few test swatches before starting the actual project. Hold your yarn consistently and avoid pulling too tight or letting it go too loose while you work. If you find that your tension varies significantly, try using a smaller or bigger hook, as this can help balance things out.
Another common issue is the dreaded curling of your hat brim. This usually happens when the stitches are too tight or if you’re using a yarn that doesn’t hold its shape well. To combat this, experiment with looser stitches or switch to a sturdier yarn that provides more structure. If your brim is already curling, you can gently block it by soaking the brim in cool water, laying it flat, and reshaping it with your hands. Let it air dry to retain the new shape.
Noticing gaps or holes in your work? This often results from skipping stitches or miscounting. Always keep a close eye on your stitch count, especially when transitioning between different stitch types. A counting stitch marker can be your best friend here, as it allows you to keep track of your progress without losing your place. If you slip up, don’t hesitate to unravel a few stitches back to fix it-you’re crafting a unique item, and a little imperfection just adds to its charm!
Lastly, if you’re struggling to finish your hat because it feels too small or too large, check your gauge! It’s easy to overlook this step, but using the wrong hook size or yarn weight can lead to sizing issues that make or break your project. Always take the time to create a gauge swatch, especially for a project like a cowboy hat that needs to fit just right. Trust me, making that extra effort now will save you time and frustration later!
Remember, making mistakes is just part of the journey. Each challenge you face is an opportunity to learn and grow your skills. Keep experimenting, and soon you’ll have a fabulous crochet cowboy hat that truly reflects your personal style! You’ve got this!
Care and Maintenance of Your Crochet Cowboy Hat
Your handcrafted cowboy hat deserves the best care to keep it looking sharp and extending its life. Whether you sport it at rodeos or wear it as part of a casual outfit, following a few simple maintenance steps can make all the difference. Let’s dive into how to properly care for your crochet cowboy hat, ensuring it remains a cherished part of your wardrobe.
To begin, always check the yarn type used in your hat. Natural fibers such as cotton or wool may require different care than synthetic blends. Here are some easy steps for proper maintenance:
- Washing: If your hat gets dirty, hand wash it gently in cool water with a mild detergent. Avoid wringing or twisting the fabric; instead, let it soak and pat it dry.
- Drying: Air dry your hat flat, reshaping it to maintain the intended form. Avoid direct sunlight, as this can fade the colors. If it’s rainy season or high humidity, consider using a fan to help it dry evenly.
- Storing: When you’re not wearing your hat, store it in a cool, dry place. Avoid crushing it by placing it on a shelf or in a box where it can keep its shape. If available, use a hatbox for maximum protection.
It’s also vital to keep your cowboy hat free from dust and lint. A soft brush or lint roller can effectively remove debris without damaging the yarn. For hats decorated with bands or embellishments, be cautious when cleaning around those areas to prevent any snagging or discoloration.
Knowing how to maintain your crochet cowboy hat not only keeps it looking great but also helps you appreciate the craftsmanship behind your creation. Each wash and careful reshaping adds to the unique character of your piece. By taking these steps, you’re ensuring that you can enjoy your stylish hat for years to come-after all, you put in the hard work to make it, so why not show it off as much as you can? Happy crocheting!
Inspiring Crochet Projects for Western Wear
Creating crochet projects inspired by Western wear is a fantastic way to express your unique style and dive into the vibrant world of cowboy fashion. Apart from the iconic cowboy hat, there’s a treasure trove of crochet projects you can tackle that complement this theme. From vests to bags, each project serves as a canvas for creativity, helping you master new skills while celebrating the charm of Western aesthetics. Plus, you’ll feel a rush of pride wearing pieces that you crafted with your own hands!
One great project to consider is a cozy crochet poncho, perfect for layering over your cowboy outfit. This piece can be made in earthy tones like browns and tans, or vibrant hues reminiscent of a sunset on the prairie. Here’s a simple outline to get you started:
- Difficulty: Easy
- Materials: Bulky yarn, a size N crochet hook, and a pair of scissors
- Time: Approximately 4-5 hours
Begin by creating a large square or rectangle using basic stitches like double crochet or half double crochet. Once you’ve reached your desired width, simply fold it in half, and crochet the sides together, leaving an opening for your head. Add a fringe around the edges for that authentic Western flair!
Another exciting project is the cowboy-inspired bag. This functional accessory is not only practical but also a fun way to showcase your crocheting skills. You might use a variegated yarn to create a bag that mimics the colorful patterns found on traditional cowboy gear. Here’s what you’ll need:
- Difficulty: Intermediate
- Materials: Worsted weight yarn, a size H crochet hook, and a magnetic snap closure
- Time: About 3-4 hours
Start with a round base and work your way up using single crochet stitches. Incorporate a few flower motifs or even appliqués to add a personal touch. Finish off with sturdy handles made from sturdy fabric or crochet chains to give it that rugged cowboy charm.
Don’t forget, every stitch is a step closer to mastering the craft. Embrace the challenge, and remember, you can do this! The joy of crafting your own Western wear not only enhances your wardrobe but also connects you to the rich tradition of handmade goods. So grab your yarn, and let your imagination run wild with these inspiring projects! Happy crocheting!
Advanced Techniques for Experienced Crocheters
Mastering advanced crochet techniques can take your Western-style crochet projects, like a cowboy hat, to the next level. Whether you’re eager to explore different stitches, integrate colorwork, or add intricate details, there are plenty of ways to enhance your skills and personal style in your creations.
One effective technique involves combining stitches to create unique textures and patterns. For example, try alternating between double crochet and front post double crochet. This combination not only provides dimension but also gives a rustic, rugged appearance reminiscent of classic cowboy gear. To incorporate this into your hat, you could start with a series of double crochet rounds for the crown, followed by alternating front post double crochets for the brim. Experiment with the following stitches for added flair:
- Shell Stitch: Creates a lacy, open look that softens the hat’s overall appearance.
- Popcorn Stitch: Adds a fun, bumpy texture, ideal for embellishing or accentuating specific areas.
- Cable Stitch: Offers a sophisticated, braid-like look, perfect for highlighting certain sections of your hat.
In addition to stitch work, explore color techniques like tapestry crochet. This method allows you to incorporate multiple colors into your hat design, creating bold patterns or even images inspired by Western motifs such as stars or horseshoes. Start with a simple chart to map out your color placements, ensuring you select yarns that contrast well to help your designs pop.
Adding Structure and Support
To give your cowboy hat the traditional shape and structure it deserves, you might consider using stiffening agents. Adding a stiffener to your yarn, such as a fabric stiffening spray or a mixture of water and white glue, can transform your soft crochet into a robust accessory suitable for wear. Once you’ve crocheted your hat, spray it lightly, shape it into your desired form (e.g., a classic downturned brim), and allow it to dry completely.
Finally, don’t shy away from embellishments! Adding leather bands, feathers, or decorative stitching can make your cowboy hat distinctively yours. You could crochet a band in contrasting colors and secure it with decorative buttons or beads, tying together your hat with your own unique western touch.
With these techniques at your disposal, remember: every new stitch you learn and every technique you master brings you one step closer to creating a gorgeous, personalized hat. So go ahead and explore! You can do this, and the result will be a striking piece that showcases your skills and your creative spirit.
Exploring Crochet Hat Patterns Beyond Cowboy Style
Exploring various crochet hat patterns can unlock a treasure trove of creativity, especially once you’ve mastered the art of crafting your cowboy hat. The world of crochet is rich with diverse styles that not only allow you to branch out beyond the iconic cowboy look but also enhance your overall crochet skills. From beanies to sun hats, each project offers unique challenges and rewards, ensuring there’s always something new to learn and create.
Take, for instance, the classic beanie. This versatile hat is perfect for all skill levels, requiring minimal materials and time. You can start with a simple half double crochet in the round, adjusting the size to fit any head. As you gain confidence, consider experimenting with stitch patterns, such as the rib stitch or cluster stitches, to add texture. Not only are these beanies practical for colder months, but they also provide a great canvas for color variations and personal touches.
Exploring Different Styles
Another exciting venture is crafting sun hats, which are perfect for warm weather and outdoor activities. Sun hats can be as basic or intricate as you desire. A basic pattern typically features a wide brim and a flat crown. Using cotton yarn is ideal for breathability. You could implement techniques like the popcorn stitch along the brim for a playful look or integrate a decorative band for added flair. Sun hats open up possibilities for embellishments too-think flowers or ribbons-making them a delightful project for summer.
For the more adventurous crocheter, amigurumi hats bring a whimsical twist to your headwear collection. These are not your average hats; they can feature animal shapes or playful designs, captivating children and adults alike. While these projects can be more involved, the joy of wearing or gifting a unique, handmade hat is incomparable. Plus, they provide an excellent opportunity to practice shaping and sculpting with crochet that can enhance your skills significantly.
The key takeaway here is that once you’ve mastered a cowboy hat, the possibilities are endless. Whether you seek comfort in a beanie, wish to stay stylish in the sun, or aim to surprise others with quirky amigurumi creations, you’ll find that each hat you tackle will inspire new ideas and techniques. So grab your hook, pick a pattern, and remember, you can do this! Each stitch is a step closer to your next fantastic piece.
Faq
Q: What materials do I need to crochet a cowboy hat?
A: To crochet a cowboy hat, you’ll need worsted weight yarn, a crochet hook (suggested size H/8 or I/9), and scissors. You may also want a tapestry needle for weaving in ends and optional embellishments like beads or ribbons for decoration. Always refer to the specific pattern for any additional materials.
Q: How long does it take to crochet a cowboy hat?
A: The time it takes to crochet a cowboy hat varies based on your skill level and the complexity of the pattern. Typically, it can take 4 to 8 hours. If you’re a beginner, allow extra time for practice and learning new stitches along the way.
Q: Can I customize my crochet cowboy hat?
A: Absolutely! You can customize your crochet cowboy hat by changing the yarn color, adjusting the size, or adding decorative touches such as bands, tassels, or appliqués. Check the tips for customizations in the article to help personalize your design.
Q: What are the common mistakes to avoid when crocheting a cowboy hat?
A: Common mistakes include not checking gauge, which can lead to incorrect sizing, or using too tight tension, making the hat difficult to shape. Also, ensure you finish off properly to prevent your hat from unraveling. Refer to the troubleshooting section for more tips.
Q: What stitch patterns work best for a cowboy hat?
A: Popular stitch patterns for cowboy hats include the double crochet for body, which offers flexibility, and the slip stitch for creating a firm edge. For added texture, consider using a shell stitch or alternating rows of different stitches to give your hat a unique look.
Q: How can I care for my crocheted cowboy hat?
A: To maintain your crocheted cowboy hat, gently hand wash in cold water with mild soap, then reshape it while drying to retain its form. Avoid wringing it out, and store it in a cool, dry place. Visit the care and maintenance section for detailed instructions.
Q: Where can I find free crochet cowboy hat patterns?
A: You can find free crochet cowboy hat patterns on various crochet websites like Ravelry or LoveCrafts. These sites often offer a range of patterns from simple to intricate, catering to different skill levels. Check the article’s resources for links to these platforms.
Q: How do I adjust a crochet pattern to fit my head size?
A: To adjust a crochet pattern for fit, measure your head circumference and compare it with the pattern’s sizing. You can increase or decrease the number of foundation chains or rows based on your measurements. Use a flexible measuring tape for accuracy, and refer to the sizing tips in your guide.
The Way Forward
Congratulations on creating your very own crochet cowboy hat! With just the right materials and a bit of practice, you’ve turned a simple idea into a fabulous accessory that showcases your unique style. Remember, this is just the beginning-once you master the basics of this pattern, you can explore other Western-themed designs or even venture into different crochet projects like scarves or bags to complement your look.
If you enjoyed this project, check out our other beginner-friendly tutorials, like the “Basic Crochet Stitches Guide” or “How to Crochet for Beginners” for more inspiration and tips. Don’t hesitate to share your finished hat or ask questions in the comments below-we love seeing your creations! And to stay updated on new patterns and special offers, be sure to sign up for our newsletter.
You’ve got this, and we can’t wait to see what you’ll create next! Happy crocheting!
Get our latest guides, news, and insights highlighted in your Google Search & AI Overviews.