
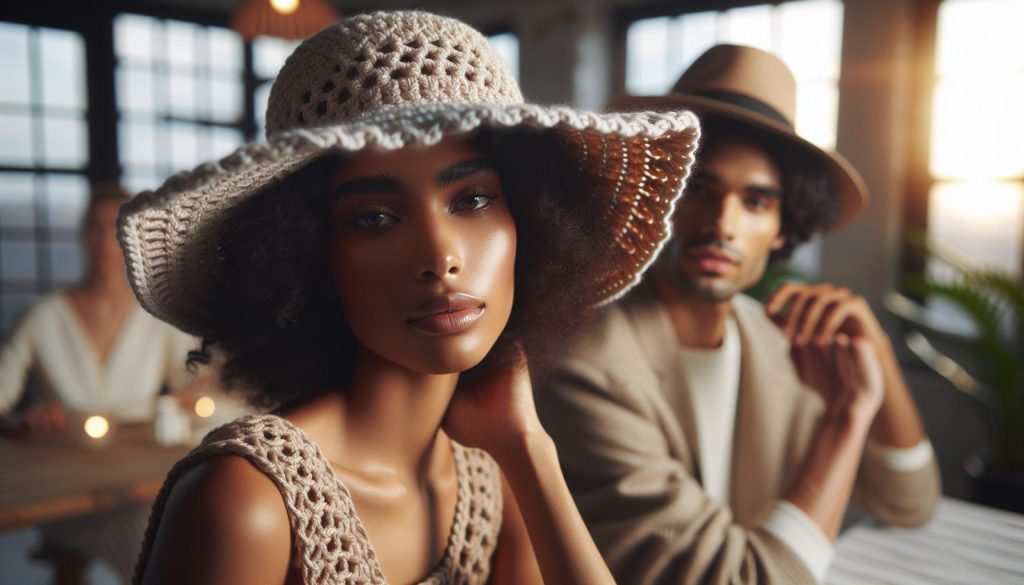
Did you know that crocheting your own hat not only keeps you stylish but also protects you from the sun’s harmful rays? In our “Crochet Hat with Brim Pattern: Stylish Sun Shade Guide,” you’ll discover how to create a chic, functional hat that combines flair with UV protection. This guide is perfect for everyone, whether you’re a seasoned crafter or just starting your crochet journey. Imagine strolling outside with confidence in a hat you’ve crafted yourself-how satisfying is that? We’ll walk you through the materials, offer simple techniques, and show you how to tailor the fit to your needs. With clear instructions and inspiring designs, you’ll see how enjoyable and rewarding this project can be. So grab your yarn and hook, and let’s get started on creating a beautiful sun shade that you can be proud to wear!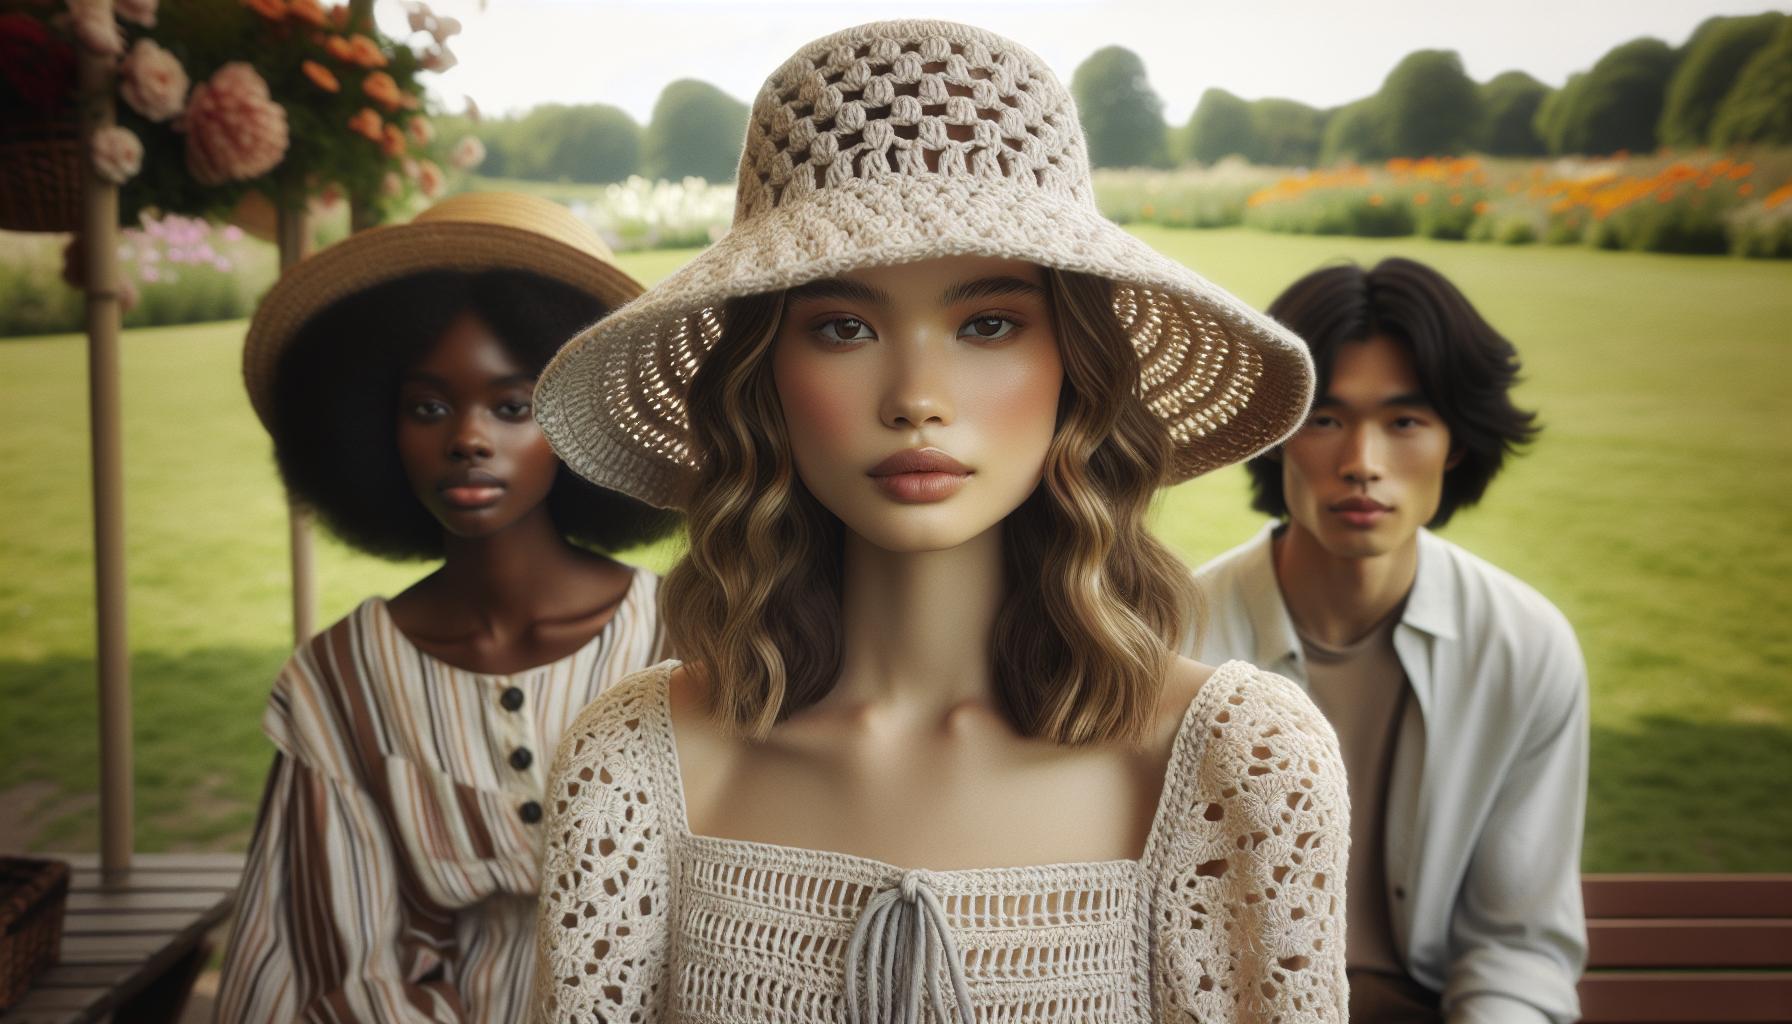
Choosing the Right Yarn for Your Crochet Hat
can transform a simple project into a stunning statement piece. The yarn not only affects the overall look and feel of your hat but also its functionality-especially when it comes to providing sun protection. When selecting your yarn, consider the following factors: fiber content, weight, and texture. Each of these elements plays a crucial role in ensuring your hat is comfortable, durable, and beautiful.
Fiber Content: For a brimmed crochet hat intended for sun protection, natural fibers such as cotton or bamboo are excellent options. They are breathable, lightweight, and provide sun-shielding properties, making them perfect for warm weather. If your project is meant for cooler seasons, look for yarns blended with wool or acrylic, which offer warmth without added bulk. You can also explore specialty yarns with UV protection for extra assurance on sunny days.
Weight: The yarn’s weight will significantly impact the hat’s structure and drape. For a relaxed, slouchy look, opt for DK or worsted weight yarn. These weights create a soft, cozy feel. If you prefer a sturdier hat with a defined brim, consider using bulky yarn. Just remember that heavier yarns may require slightly different techniques to maintain a comfortable fit, especially around the forehead.
Texture: The texture of your yarn can add depth to your design. Yarn with a smooth finish will allow for clean stitches and intricate patterns, while textured yarns-like those with a boucle or ribbon twist-create visual interest and can make a statement all on their own. Before committing, make a small swatch to see how the yarn behaves and feels against the skin.
Choosing yarn is one of the most enjoyable parts of crocheting your hat. Have fun experimenting with colors and styles! You can do this-let your creativity shine through in your unique crochet hat with brim that not only looks great but also provides that vital touch of comfort and protection. Happy crocheting!
Essential Tools for Your Brimmed Crochet Project
When embarking on your crochet hat journey, having the right tools at your fingertips can make all the difference. The joy of creating a stylish sun hat lies not only in your design but also in the ease that comes from using the right equipment. Let’s dive into the essential tools you’ll need to craft your perfect brimmed crochet hat, ensuring a smooth and enjoyable experience.
Key Tools for Crochet Success
To start off, you’ll want to gather these fundamental tools:
- Crochet Hooks: Choose a hook that feels comfortable in your hand and matches your yarn weight. For most brimmed crochet hats, a hook size of 4.0mm to 6.0mm will work well, but always refer to your yarn label for specific recommendations.
- Stitch Markers: These handy little tools will help you keep track of your rounds and any pattern changes. They can be as simple as a piece of yarn or as fancy as locking markers.
- Tape Measure: Accurate measurements are crucial for a well-fitting hat. Use a flexible tape measure to gauge heads and mark where you’d like your brim to land.
- Yarn Needle: A large, blunt-end needle is necessary for weaving in ends and sewing pieces together, helping to achieve a polished finish.
- Scissors: A good pair of scissors will ensure you can snip your yarn with ease, leaving clean edges while working on your project.
Additional Tools to Consider
Once you have your basic tools sorted, consider these extras to enhance your project:
- Blocking Mats: If you’re looking for that perfect finish, blocking your hat can help shape the brim and ensure your stitches look immaculate. Mats provide a stable surface for pinning out your hat.
- Pattern or Guide: Whether you’re following a printed pattern or an online tutorial, having clear step-by-step instructions will guide you through your project smoothly. Look for patterns that also include visuals to help clarify stitches.
- Notebook or Digital Notes: Keep track of your progress, make notes on what works and what doesn’t, and jot down ideas for future hats. This will help you grow as you gain more experience.
With these tools in hand, you’re ready to tackle your brimmed crochet hat project with confidence! Remember, the key is to enjoy the process. You can do this-each stitch is a step closer to creating a fabulous, sun-shielding accessory that reflects your personal style. Happy crocheting!
Step-by-Step Instructions for Crochet Hat Construction
When you’re ready to dive into crafting your crochet hat with a stylish brim, following a structured approach can make the process not only simple but also enjoyable. This step-by-step guide will walk you through everything you need, from the base of the hat to the final embellishments, ensuring you’re not just making a hat, but a beautiful accessory that showcases your crochet skills.
Start by planning out your project. Gather your yarn, which should be suitable for the season-think cotton blends for summer or cozy wool for winter. Choose a hook that matches your yarn weight, typically between 4.0mm and 6.0mm, and have your stitch markers, a tape measure, yarn needle, and scissors on hand. Knowing that this project will take approximately 3-4 hours makes it easy to carve out a time block in your schedule.
Next, let’s jump into construction:
- Creating the Hat Base: Begin by making a magic ring or a chain to the desired diameter of your hat crown. For a standard adult size, aim for around 5-6 inches in diameter. Crochet in the round using your preferred stitch (double crochet is common for height and texture) until it measures approximately 7-8 inches from the center. Don’t forget to place a stitch marker at the beginning of each round to keep track of your progress.
- Forming the Brim: Once the body of the hat is complete, it’s time to create the brim. Increase the stitch count by crocheting into each stitch of the previous round and adding a few more stitches as you round out the brim. For a standard brim, aim for an additional 2-3 inches in width. You can use front and back post stitches to create beautiful texture or simply stitch in rounds to keep it straightforward.
- Finishing Touches: After reaching your ideal brim width, slip stitch or single crochet into the next round to secure the stitches. Now, weave in all loose ends using your yarn needle to keep your hat neat. This is where you can get creative-consider adding embellishments like bows, flowers, or even a contrasting color around the brim.
- Final Fit Check: Before you finish, it’s essential to try on your hat. If it feels snug, remember that it’s normal for crochet to relax a bit, but if it feels too loose, you can always add elastic or a decorative ribbon for a more secure fit.
With a little patience and practice, you’ll find that constructing your crochet hat can be a rewarding creative project. Each stitch brings you closer to a unique piece that reflects your personal style. You can do this-so grab your materials and dive into the joy of crochet! Happy crafting!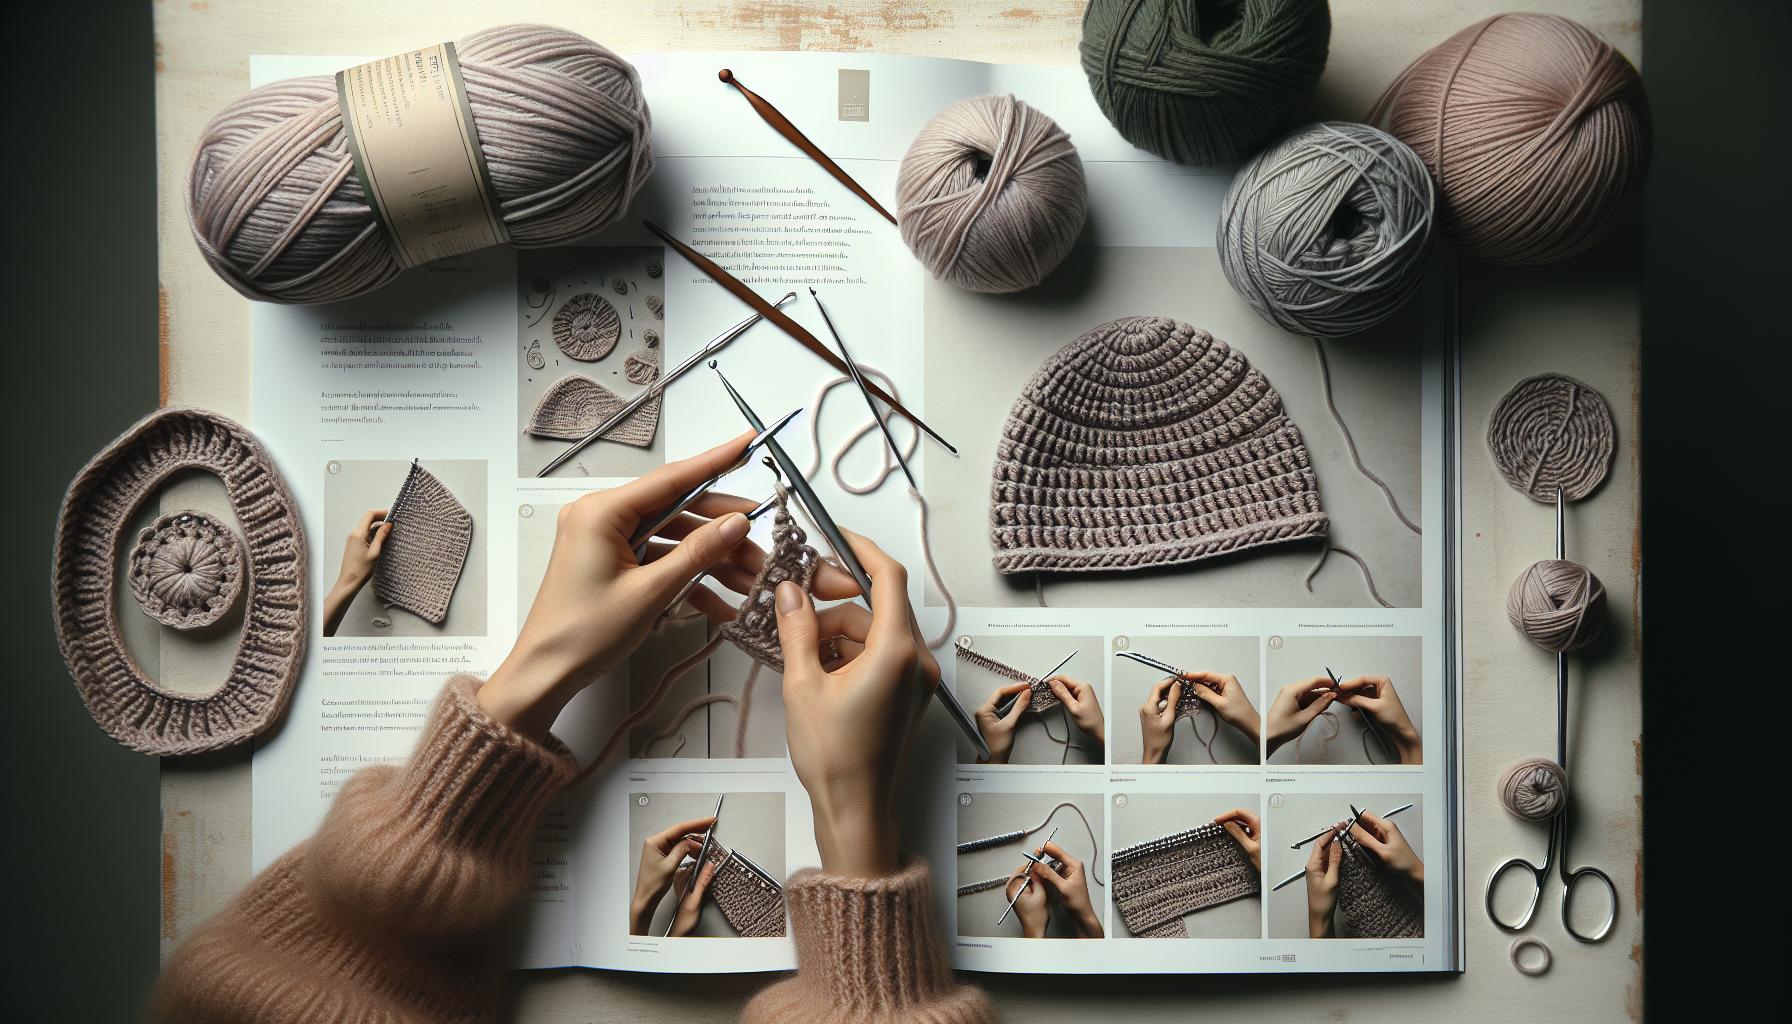
Incorporating Different Brim Styles and Techniques
When it comes to crafting your crochet hat, the brim is where your creativity can truly shine. A well-designed brim can transform a simple headpiece into a stunning accessory that expresses your personal style while providing functional sun protection. There are endless possibilities for brim styles, each offering unique looks and functionality, so let’s explore how you can incorporate different techniques into your crochet hat project.
Classic Brim Styles
- Straight Brim: This is the most straightforward style. Simply crochet the brim in rounds, aiming for a consistent width that extends outward from the hat body. This style is timeless and works well with any yarn type.
- Flared Brim: For a dramatic effect, consider adding a flared brim. After reaching your base width, start increasing the stitch count gradually-adding one or two stitches in each round-to create a flared, wide-brimmed look that’s perfect for sun protection.
- Wavy Brim: Create a fun, playful edge by alternating between increases and decreases as you form the brim. This will give your hat a charming, wavy effect, ideal for casual summer outings.
Each of these styles can be adapted to fit any theme or season. Whether you’re gearing up for sunny days at the beach or creating a cozy winter hat, the brim sets the tone.
Textured Techniques
Incorporating texture into your brim not only adds visual interest but also enhances its durability. Simple techniques can elevate your hat design significantly:
- Front and Back Post Stitches: These stitches create a raised texture that can make your brim stand out. By alternating between front and back post stitches, you can create beautiful ribbing that adds both style and strength.
- Shell Stitch Brim: For a more intricate look, try using shell stitches along the edge. This technique creates scallops that add a delicate touch to your hat, making it perfect for spring brunches or summer events.
Experimenting with these techniques can transform your crochet hat and give it a personalized flair that celebrates your creativity.
Real-World Example
Let’s put theory into practice! For instance, if you want a stylish flared brim, start with a solid base using single crochet for the first few rounds. Then, switch to double crochet and increase your stitch count gradually every few rounds. Finish with front post stitches to add that textured edge. This combination will not only help the brim hold its shape but also give your hat a fashionable, finished appearance that’s perfect for any occasion.
You can do this! Remember, each project is a new opportunity to express your personality through your craft. Embrace the joy of making something unique and beautiful that you can wear or gift. Happy crocheting!
Adding Creative Embellishments to Your Hat
Adding unique touches to your crochet hat can transform it from a simple headpiece into a true expression of your style. Whether you want to infuse color, texture, or a bit of whimsy, there are countless ways to embellish your creation. With just a few materials and a bit of creativity, you can take your crochet hat to the next level.
To start, consider incorporating flowers or appliqués. These can be crocheted or purchased ready-made and sewn onto your hat. They work wonderfully as focal points and can also be adjusted for any season-think pastel blooms for spring or rich, warm colors for fall. To attach your embellishments, simply use a sewing needle and thread or slip stitch them directly onto your hat. If you’re feeling adventurous, you can even create a 3D effect by layering different sized flowers.
Another fun idea is to use colorful yarns or beads. Adding a yarn pom-pom can give your hat a playful flair, while strategically placed beads add elegance. To make a pom-pom, wrap yarn around your fingers and tie it off in the center, then cut the loops to create the fluff. For beads, thread them onto your yarn before beginning your hat or sew them in as accents during the finishing touches. Remember, you can do this! The more personal your embellishments, the more unique your hat will be.
Lastly, don’t shy away from using ribbons or belts as additional embellishments. A simple ribbon tie around the base of the brim can introduce a splash of color and texture. You can also create a stylish belt using crochet techniques or fabric, which can be wrapped and tied around the hat for a fashionable twist.
Embellishing your crochet hat is a great way to express your personality and creativity. Don’t hesitate to mix and match these ideas, or even come up with your own! Whatever you choose, remember that crafting should be fun and fulfilling. Happy crocheting!
Understanding Sizing: How to Perfect the Fit
To create a perfectly fitting crochet hat, understanding how to get the sizing just right is key. An ill-fitting hat can be uncomfortable and may not give you the snug warmth or stylish look you’re aiming for. Fortunately, measuring and adjusting your crochet hat’s size can be straightforward, and with a few handy tips, you’ll have a custom fit that’s uniquely yours.
Start by measuring the circumference of the head that the hat will fit. Using a soft measuring tape, measure around the widest part of the head, which is typically above the eyebrows and ears. Write down this measurement; it’s your baseline. If you’re making a hat for someone else, you can ask them to provide their measurements or, if possible, measure their head directly for accuracy.
When deciding on the pattern, consult the sizing chart usually provided by pattern designers. Most patterns will specify the head circumference measurements needed for different sizes-such as infant, child, adult small, medium, and large. If you’re between sizes, don’t worry! You can adjust your gauge by changing your hook size or yarn weight for a perfect fit. Gauge swatching is an excellent way to ensure that your final product will match the intended measurements. Make a small square using the pattern’s recommended yarn and hook, then measure to see how many stitches and rows you create per inch. This step can save you from ending up with a hat that’s either too tight or too loose.
To further customize the fit, consider the style of the hat. If you’re working on a brimmed crochet hat, be mindful that the brim can add additional length and may influence how well the hat sits on the head. For adjustments, try adding rows to the body of the hat or changing the brim’s width or depth to suit your preference. Remember, every head is unique, and your crochet hat should reflect individuality. Don’t hesitate to try on your project as you go, making small tweaks to ensure it’s just right.
In the world of crochet, resizing is about making it your own. With these measurements in hand, and a flexible approach to your pattern, you can create a beautiful, comfortable hat that you’ll be proud to wear. So gather your materials, measure twice, and remember: you’ve got this! Happy crocheting!
Tips for Customizing Your Crochet Hat Design
Creating a crochet hat is not just about following a pattern-it’s about injecting your personality and style into every stitch. If you’ve ever felt that your handmade hat just didn’t quite reflect your unique flair, you’re in the right place! Here are some exciting tips to help you customize your crochet hat design, ensuring that you create something that’s not only functional but also a perfect reflection of your creativity.
Play with Yarn Choices
The yarn you choose can dramatically change the look and feel of your hat. While cotton or acrylic yarns work great for sunny days, consider using wool blends if you’re looking for something warmer. You can even mix fibers to create a unique texture. Don’t hesitate to experiment with variegated, self-striping, or even glittery yarns to add that special touch. If you want a pop of color, try adding a bright contrasting yarn for the brim or embellishments-it can transform a simple design into something eye-catching.
Alter the Brim Style
Brims can make or break your hat design! Instead of sticking to the classic straight brim, explore different styles like a floppy, wide-brimmed or a structured fedora-style brim. Here’s how you can tweak your brim design:
- Width: Make your brim wider for a sun hat look, or narrow it for a more classic feel.
- Shape: Add curves or angles! You can create a scalloped edge by using shell stitches or make the hat look more bohemian with a flowing band of stitches.
- Height: Adjust the height of the brim for versatility-higher brims may provide more shade!
Embellishments Matter
Adding creative elements can really make your hat stand out. Don’t shy away from personal touches! Consider:
- Flowers or Bows: Crochet flowers or bows can turn your hat into a fabulous statement piece.
- Buttons or Beads: Using decorative buttons or beads gives your hat some sparkle and individuality.
- Stitch Details: Incorporate different stitch patterns into your design-like cables or lacier stitches-to give visual interest.
Fit and Function
To make sure your hat is as comfortable as it is stylish, adjust the crown and brim to suit not just your aesthetic needs but also provide proper fit and function. If you’re adding embellishments, ensure they do not compromise the hat’s snugness. If you decide on a slouchy style, remember to add extra rows to accommodate how it will sit on your head.
With these tips, customizing your crochet hat becomes an enjoyable journey of creativity. Remember, there are no rigid rules in crafting-it’s all about experimenting and finding what works for you. So grab your hook and your yarn, and let your imagination lead the way. You can do this! Happy crocheting!
Care and Maintenance for Your Crochet Hat
Caring for your crochet hat is essential to ensure it remains a cherished accessory for years to come. With the right maintenance, you can keep it looking fresh and stylish, ready to accompany you on every sunny adventure. Regular care is not just about cleaning; it also involves proper storage and handling to maintain its shape and integrity.
Cleaning Your Crochet Hat
To keep your hat in top condition, gentle cleaning is key. Start by checking the yarn label for any specific washing instructions. Most cotton and acrylic yarns can be hand washed or machine washed on a gentle cycle. Here’s how to do it safely:
- Hand Wash: Fill a basin with cool water and add a mild detergent. Submerge your hat and gently swish it around. Avoid wringing or twisting, which can distort its shape.
- Machine Wash: If your hat is machine washable, place it in a mesh laundry bag to protect it. Use a gentle cycle with cold water.
- Air Dry: Once cleaned, reshape your hat and lay it flat to dry. Avoid hanging it up, as this can stretch the fibers and misshape the brim.
Storing Your Hat
Proper storage is just as crucial as cleaning. When you’re not wearing your hat, keep it in a cool, dry place. Here are a few tips:
- Flat Storage: Store your hat flat in a drawer or on a shelf to maintain its shape. Avoid storing it crushed or bunched up.
- Use a Hat Box: If you have a special hat box, use it to keep dust and dirt away. Just make sure it’s not too tight, allowing some air circulation.
- Avoid Sunlight: Keep your hat away from direct sunlight when stored, as prolonged exposure can fade colors, especially if you’ve used vibrant yarns.
By incorporating these simple cleaning and storage routines, you can ensure that your crochet hat remains as delightful and vibrant as the day you finished it. The joy of making and wearing something unique is a wonderful experience, and with proper care, you can enjoy that masterpiece for many seasons ahead. You’ve crafted something special, so take a moment to appreciate it and give it the TLC it deserves!
Troubleshooting Common Crochet Hat Issues
Sometimes, your crochet hat doesn’t turn out exactly as you envisioned. Whether it’s a twist in the brim or a size that’s off, don’t worry-you’re not alone! Many makers encounter similar challenges, and with a little troubleshooting, you can easily fix or prevent these common issues.
One of the most frequent problems is a brim that curls or sags. This can happen if the yarn isn’t sturdy enough, but often it’s due to inconsistent tension. To fix this, check your tension by crocheting a swatch. If your stitches are too loose, try using a smaller hook or keeping a firmer grip on your yarn. If the brim still doesn’t hold its shape, consider adding a stiffening solution-try mixing equal parts water and fabric stiffener to lightly dampen the brim and let it dry in shape. Just be cautious not to soak it too much!
Another common issue is sizing. If your hat feels too tight or too loose, you may need to adjust your starting chain or the number of rounds you work. Every yarn and individual crocheter has their unique gauge, so it’s essential to measure as you go. If you’ve already completed the hat and it feels a bit snug, consider blocking it. Wet the hat, reshape it gently, and allow it to air dry. This can give your project some extra stretch, making it more comfortable to wear.
If you notice uneven stitches throughout your project, this typically stems from shifting focus or changing your grip. To combat this, take a moment during your project to focus on maintaining an even pressure on the yarn. Practice makes perfect, so don’t be hard on yourself-take notes on how your stitches look and adjust as needed.
Lastly, embellishments can sometimes cause trouble if they add unnecessary weight. If your decorative elements are pulling down your hat, consider lighter alternatives or reinforce the hat’s structure with additional stitches around the areas where you’ll attach those embellishments.
Embrace these challenges as part of your crafting journey! Remember, every expert crocheter started where you are now, and with each project, you’ll build more experience and confidence. You’ve got this!
Exploring Variations: Seasonal and Themed Hats
Creating themed and seasonal crochet hats offers a fantastic way to express your creativity and embrace the spirit of different occasions throughout the year. Whether it’s a cozy winter hat adorned with snowflakes or a bright sun hat perfect for summer picnics, the possibilities are endless! Let’s explore how you can infuse your projects with unique touches that celebrate each season.
One exciting approach is to play with yarn colors and textures that reflect the essence of each time of year. When making a spring hat, consider using pastel shades like mint green, soft pinks, and sunny yellows. Add embellishments like crocheted flowers or butterflies for an uplifting touch. For autumn hats, rich hues like burgundy, burnt orange, and earthy browns can create a warm, seasonal feel. Try incorporating leaves using simple stitches or puff stitches to give your hat a bit of texture.
Tips for Seasonal Hat Variations:
- Winter Wonderland: Use thicker yarn and a looser stitch for warmth, perfect for those chilly months. Consider patterns that mimic snowflakes or use sparkly yarn to reflect light, resembling a frosty morning.
- Sunny Vibes for Summer: Opt for lighter weight cotton yarn to keep cool. Big brims can not only add a stylish flair but also provide sun protection. Add a bit of flair with textured stitches or colorful stripes reminiscent of beach umbrellas.
- Festive Flair for Holidays: Think about incorporating seasonal motifs. For Halloween, a black hat with orange accents or spider patterns can be spook-tacular. For Christmas, a classic red and white combination with embellishments like mini pom-poms transforms an ordinary hat into a festive masterpiece.
Another appealing aspect of exploring variations is using different brim styles that suit seasonal needs. A wide-brim hat for summer protects you from harmful UV rays, while a snug-fitting beanie perfect for winter keeps you cozy and warm. You can combine styles for a unique twist; for example, a floppy sun hat can have a structured inner brim that maintains shape even in the breeze. Don’t hesitate to personalize these styles based on your preferences or your recipient’s tastes.
As you embark on these themed designs, remember to enjoy the process. Crochet is about creativity and self-expression, so find joy in experimenting with various stitches, techniques, and embellishments. With practice, you’ll soon develop your signature flair, and before you know it, you’ll have a collection of hats ready for every season and celebration! You can do this!
Showcase: Inspiring Crochet Hat Projects from the Community
Step into the vibrant world of crochet hats, and you’ll quickly discover how this creative outlet can transform simple yarn into stunning, sun-protective pieces. Our crafting community is bursting with innovative projects that showcase not only skill but also heartfelt attention to detail. Whether you’re exploring wide-brimmed sun hats for summer adventures or adding personal flair to a classic beanie, the variety of creations we see will inspire your own designs.
For instance, check out Miriam’s light and breezy sun hat made with natural cotton yarn, featuring breezy stitches that keep it cool in summer heat. She added delicate scalloped edges to the brim, creating a lovely wave effect that draws everyone’s attention at the beach. This project took her just a weekend to finish, emphasizing that beautiful pieces don’t require extensive time commitments.
Another fantastic project comes from Angela, who crafted a playful garden-themed hat perfect for spring outings. Using lively shades of green and floral appliqués, she turned an ordinary hat into a blooming masterpiece. Angela’s use of layered stitches added depth and texture, making her hat not only stylish but also a conversation starter! The best part? She found that using leftover yarn from her stash made this project budget-friendly.
Ready to share your own creativity? Gather your supplies and experiment with different yarn weights, patterns, and embellishments based on the inspirations from fellow crafters in our community. Remember, every project is a chance to express yourself while making something you’ll cherish. So, pick up your hook, and don’t hesitate-your next charming hat is just a few stitches away! You can do this!
Frequently Asked Questions
Q: How do I choose the best yarn for my crochet hat with a brim?
A: To choose the best yarn for your crochet hat with a brim, consider weight, fiber content, and color. A medium-weight yarn (like worsted) works well for structure. Acrylic or cotton blends offer durability and ease of care. Explore different shades to match your style! Check the “Choosing the Right Yarn for Your Crochet Hat” section for more details.
Q: What tools are essential for crocheting a hat with a brim?
A: Essential tools for crocheting a hat with a brim include a crochet hook (size depending on your yarn), scissors, a yarn needle for weaving ends, and measuring tape for sizing. Consider using stitch markers to help you keep track of rows. Refer to the “Essential Tools for Your Brimmed Crochet Project” section for a complete list.
Q: Can I customize the size of my crochet hat with a brim?
A: Yes, you can customize the size of your crochet hat by adjusting the number of starting chains or the number of stitches in each round. Always measure your head circumference and refer to the pattern for guidance. More tips on sizing are available in the “Understanding Sizing” section.
Q: What different brim styles can I incorporate into my crochet hat?
A: You can incorporate various brim styles into your crochet hat, such as a wide-brim, floppy brim, or a stiff brim. Each style alters the look and function, perfect for sun protection or fashion. Explore the “Incorporating Different Brim Styles and Techniques” section for examples and instructions.
Q: How do I add embellishments to my crochet hat?
A: To add embellishments to your crochet hat, consider using flowers, buttons, or ribbons. Sew them on securely or crochet them directly into your design. Creativity is key-let your personal style shine! For more embellishment ideas, check the “Adding Creative Embellishments to Your Hat” section.
Q: What are common troubleshooting tips for crochet hat issues?
A: Common issues include uneven stitches, incorrect sizing, or a loose brim. To troubleshoot, check your tension, count stitches regularly, and compare to the pattern gauge. Solutions are discussed in the “Troubleshooting Common Crochet Hat Issues” section.
Q: How should I care for my finished crochet hat?
A: To care for your crochet hat, handwash it in cold water with mild detergent, then lay it flat to dry. Avoid wringing it out to maintain shape. For specific care tips, review the “Care and Maintenance for Your Crochet Hat” section for guidance.
Q: What are some seasonal variations for crochet hats with brims?
A: Seasonal variations include lightweight yarns and airy patterns for summer hats, or thicker, warmer materials for winter styles. You can also play with colors and motifs to reflect each season. Explore examples in the “Exploring Variations: Seasonal and Themed Hats” section for inspiration.
Insights and Conclusions
Congratulations on creating your stylish crochet hat with brim! You’ve taken a big step in your crochet journey, and we’re excited to see how you make this project your own. Remember, a hat is not just a sun shade, but a statement piece that showcases your creativity and skill. Now, why not explore more crochet patterns that can complement your new hat? Check out our free collection of adorable baby blankets and chic scarves that are perfect for any season [1].
If you’re eager to enhance your crochet skills even further, our beginner’s guide offers step-by-step instructions and video tutorials to tackle new techniques [2]. Don’t miss out on the extensive library of over 700 easy crochet patterns available, providing you with endless project ideas [3].
Join our community by sharing your finished hat and any questions you might have in the comments below. We can’t wait to see your creations! Dive into the world of crochet today, and let’s keep the creativity flowing!
Get our latest guides, news, and insights highlighted in your Google Search & AI Overviews.