
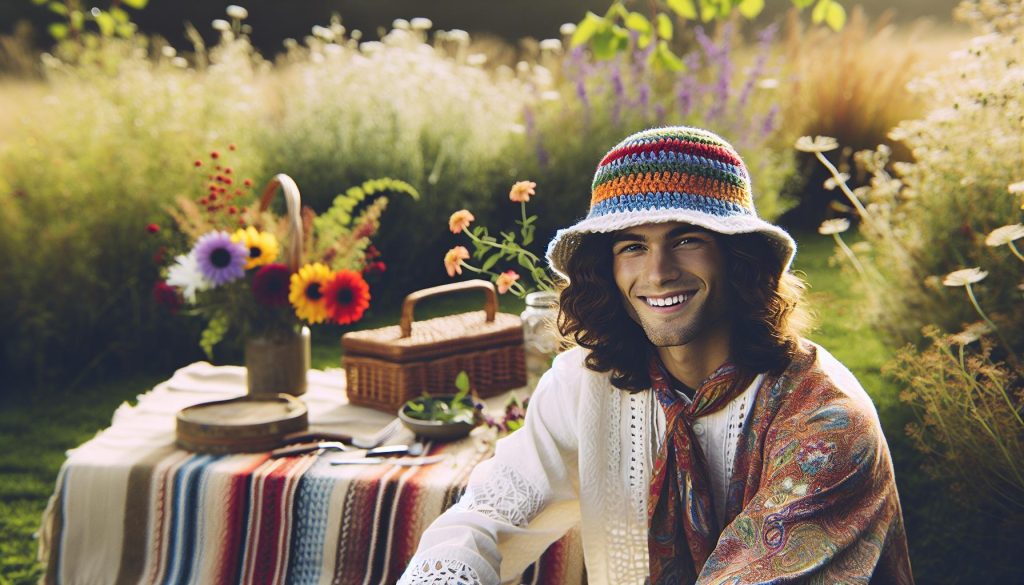
Ready to unleash your inner bohemian spirit? The “Crochet Hippie Hat Pattern Free: Bohemian Vibes Tutorial” invites you to create a stylish accessory that’s both fun and functional. This delightful crochet project is perfect for all skill levels, offering a creative way to express your unique style. Whether you’re headed to a festival or just want to add a splash of flair to your wardrobe, this hat is a must-have.
Imagine wearing a cozy, handcrafted hat that not only keeps you warm but also showcases your personal touch. In this tutorial, we’ll guide you through the process of making this trendy hat, ensuring that even beginners feel confident and supported every step of the way. Gather your materials, set aside a couple of hours, and get ready to craft something special. With clear instructions and encouragement, you’ll discover how easy and rewarding it is to make your own fashion statement. Let’s dive in and start crafting your new favorite accessory!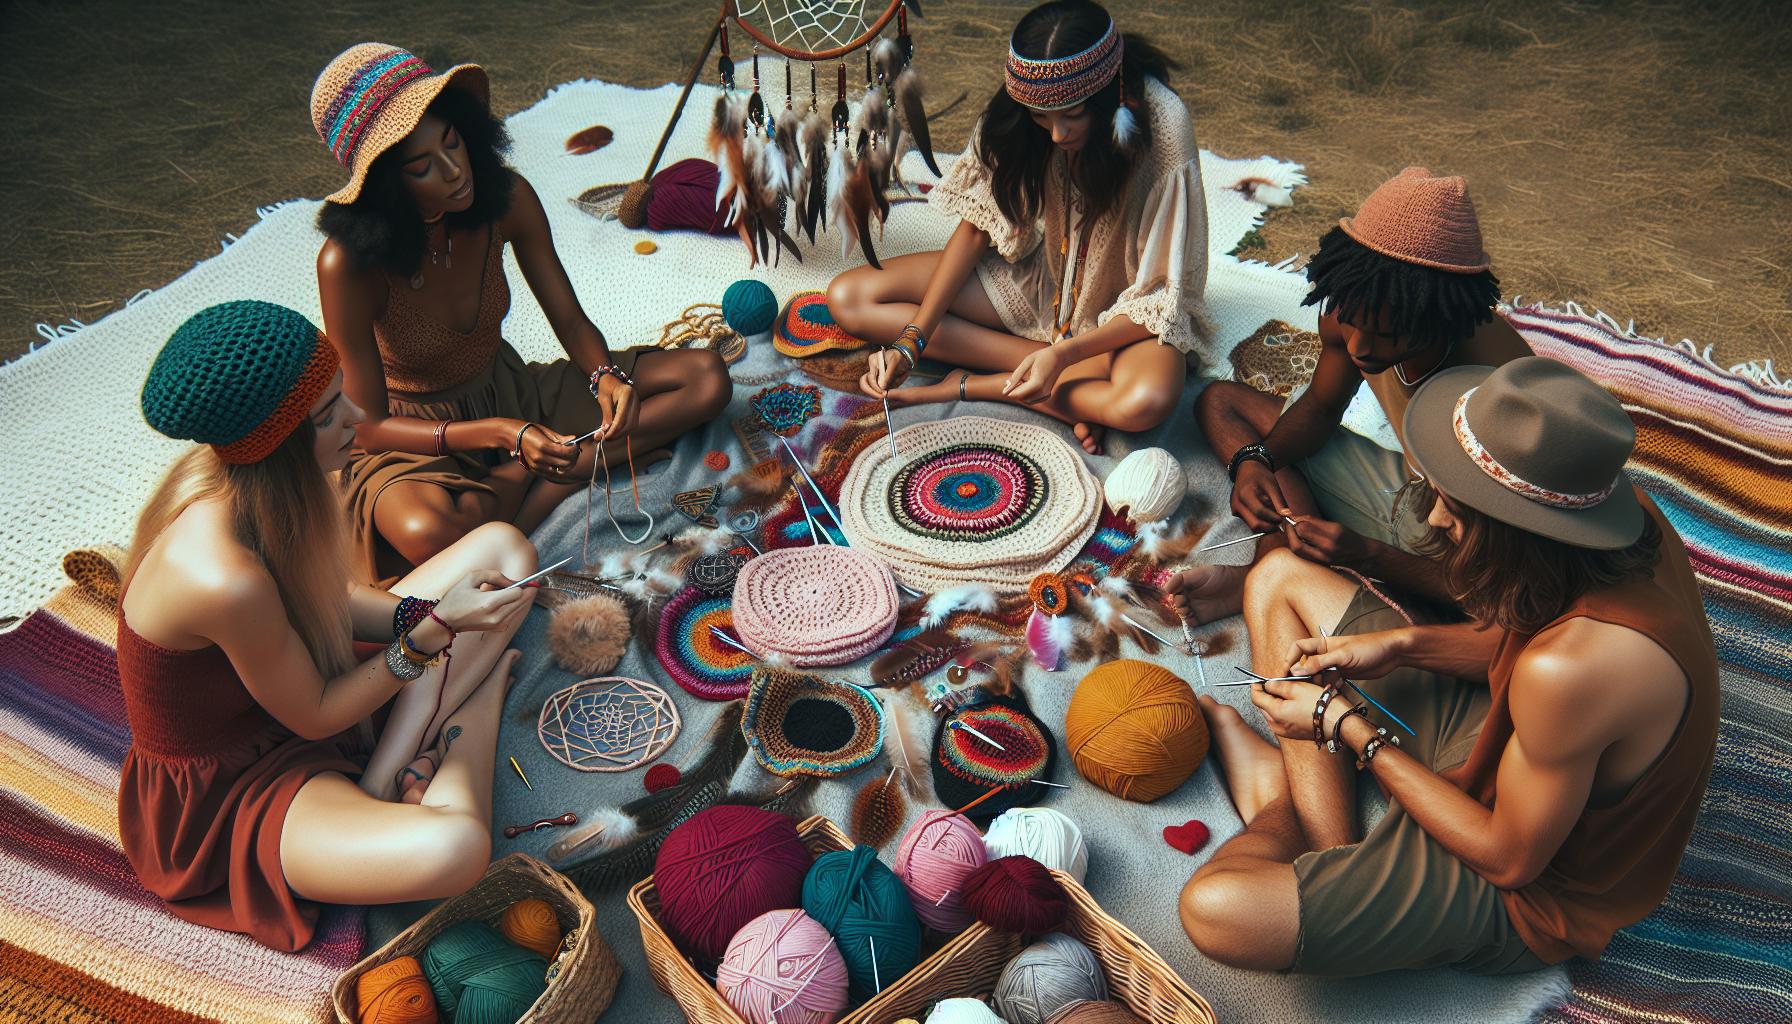
Choosing the Right Yarn for Your Crochet Hat
Choosing yarn for your crochet hat can be an exciting yet challenging task, especially when you want to embody those beautiful bohemian vibes! The right yarn not only affects the feel and appearance of your hat but also its overall comfort and durability. To get started, consider the weight of the yarn. Lighter weights, like DK or worsted, work wonderfully for hats that need to maintain a bit of structure while keeping it cozy.
When it comes to fiber content, you have plenty of options. Cotton is fantastic for a breathable hat, making it perfect for warmer months or layered looks. On the other hand, wool and acrylic blends provide warmth and softness, essential for those chillier days! You might also want to explore specialty yarns with texture, such as boucle or chenille, that can add unique visual interest to your design.
Here are some quick tips to help you choose:
- Consider the season: For summer, lighter yarns like cotton; for winter, opt for wool or acrylic.
- Think about the look: Variegated or hand-dyed yarns can create stunning visual effects.
- Feel the yarn: Always touch different yarns to see which texture you prefer against your skin.
Don’t forget to check the recommended hook size on the yarn label! This will ensure that your stitches come out just right, avoiding any too-loose or too-tight areas. Ultimately, choosing yarn is all about personal preference and the vibe you want to create. Play with different fibers and colors-the joy of crochet is in the experimentation! Remember, you can do this, and every choice you make leads to a truly unique creation.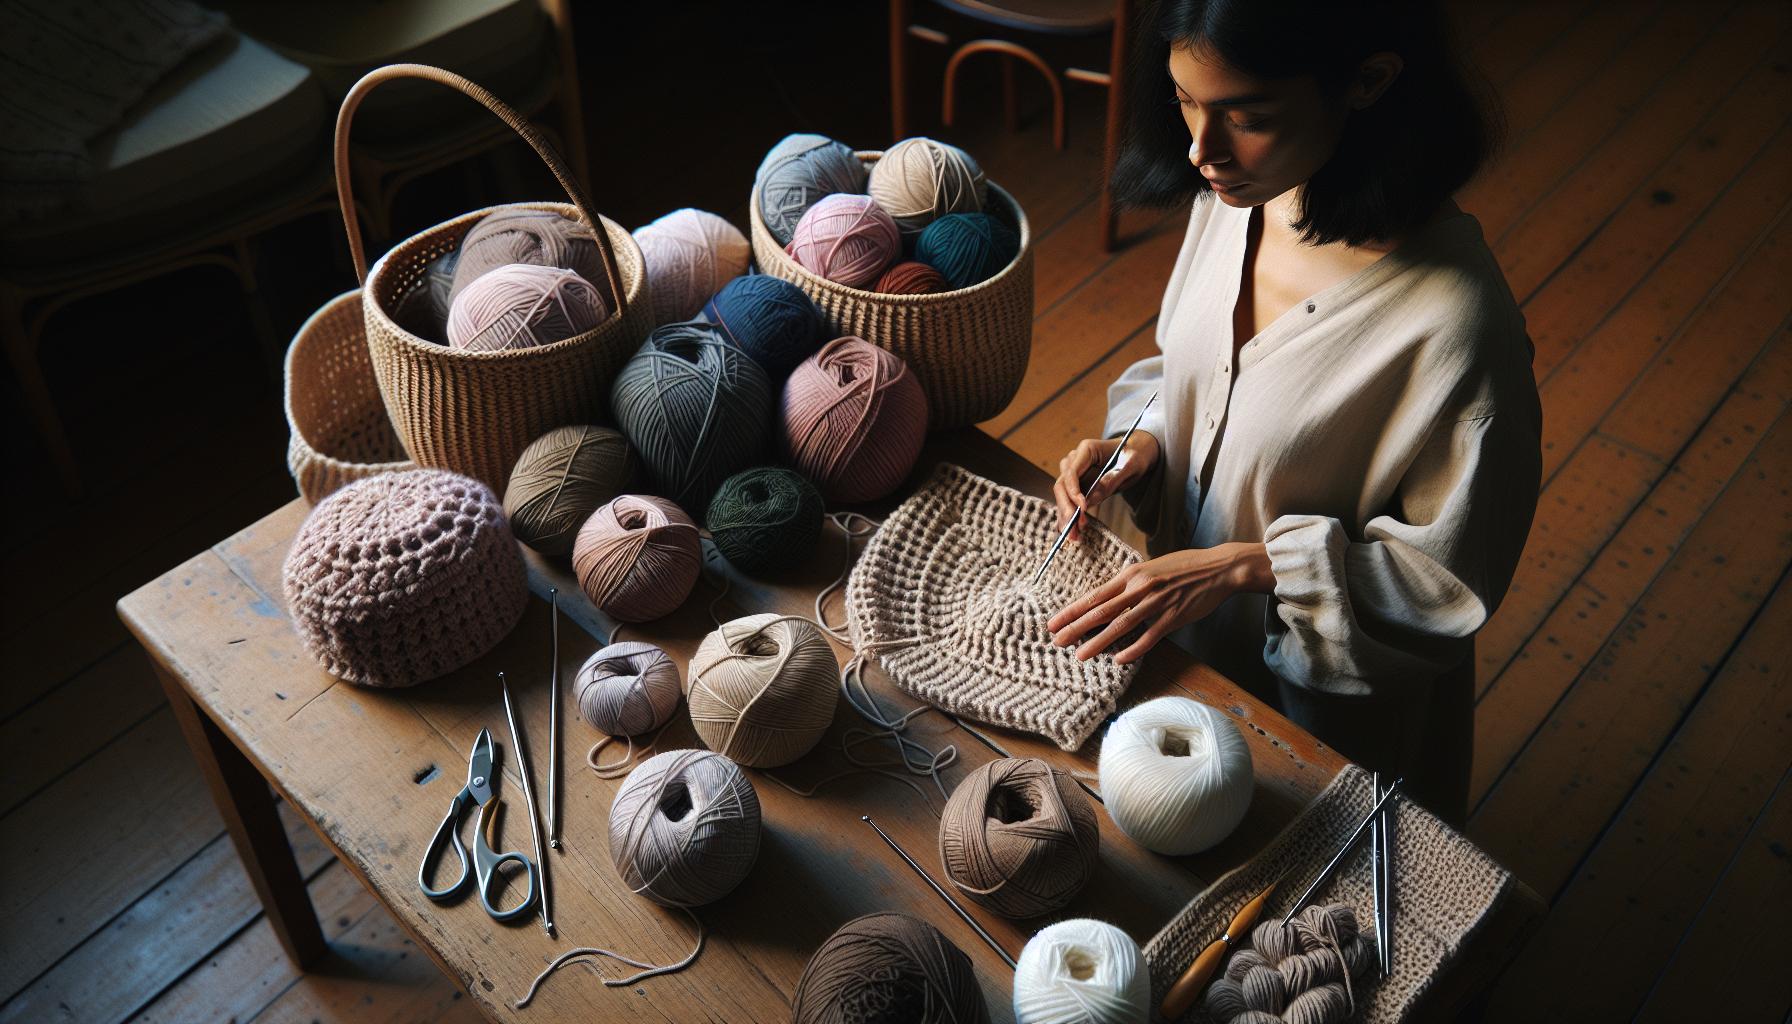
Essential Tools You’ll Need for Crochet
To create a stunning crochet hippie hat that captures those free-spirited bohemian vibes, you’ll need a few essential tools in your crafting arsenal. Having the right supplies not only makes your project smoother but also helps build your confidence as you see your ideas come to life. So let’s get started on what you’ll need!
First and foremost, a good crochet hook is your best friend. The size of your hook should match your chosen yarn weight, typically recommended on the yarn label. For a cozy hat, a 5.0 mm (H) or 6.0 mm (J) hook often works beautifully with worsted weight yarn. Consider ergonomic hooks if you plan to crochet for extended sessions-they can provide added comfort.
Next up is your yarn! Choose one that complements your design and feel for the hat you envision. As mentioned before, lighter weights are excellent for structure while chunky yarns create warmth and texture. Don’t forget a yarn needle for weaving in those ends neatly-no one wants loose threads ruining their stylish creation!
A sturdy pair of scissors is essential for snipping yarn and a measuring tape helps ensure your hat fits perfectly. Finally, keep a notebook handy for jotting down patterns, ideas, or any adjustments you make throughout your project. Just imagine the joy you’ll feel wearing a hat made entirely from your own creative hands! With these tools at your side, you’re ready to embark on your crochet journey. Embrace the process-you’re going to do great!
Step-by-Step Guide to Crochet a Hippie Hat
Creating a crochet hippie hat is not just a project; it’s a chance to express your style and creativity. Whether you’re a seasoned crafter or just starting your journey into the world of crochet, this step-by-step guide will help you craft a beautiful bohemian-inspired hat. With only a few basic stitches and a pinch of patience, you can make a head-turning accessory that reflects your personality.
Materials Needed
To get started, gather these materials:
- Worsted weight yarn (1-2 skeins, depending on the size)
- 5.0 mm (H) or 6.0 mm (J) crochet hook
- Yarn needle
- Scissors
- Measuring tape
- Stitch marker (optional, but helpful)
Step-by-Step Instructions
- Start with a Slip Knot: Form a slip knot on your hook to begin your project.
- Chain the Base: Create a foundation chain that fits comfortably around your head. A good starting point is 72 chains for an adult size. Adjust this number based on your personal fit.
- Row 1: Double Crochet: In the fourth chain from the hook, make a double crochet (dc). Continue dc across the chain. You should have a total of 70 dc by the end of this row.
- Row 2: Build the Body: Turn your work, chain 3 (this counts as your first dc), and dc in each stitch across. Remember to count your stitches for accurate sizing.
- Repeat Rows: Continue this pattern until the hat measures about 8-10 inches tall, depending on how slouchy you want the hat to be.
- Create the Brim: For the brim, you can switch to a more decorative stitch like a shell stitch or ribbing. Just follow your chosen pattern around the last row, making it about 2-3 inches wide.
- Finish Off: When you’re satisfied with the height and style, cut your yarn and pull it through the last loop to secure it. Weave in the loose ends with your yarn needle.
Remember, you can always adjust the length or width of your hat to ensure the perfect fit. Take your time and enjoy the process! Once you’ve completed your hippie hat, consider adding some embellishments, like beads or fringe, to enhance its bohemian flair. With these straightforward steps, you’re well on your way to sporting a charming crochet creation that you crafted with your own hands. You can do this!
Tips for Perfecting Your Crochet Stitches
To create a crochet hippie hat that not only looks fabulous but also showcases your skills, paying attention to your stitches is crucial. Whether you’re a newbie just learning the ropes or a seasoned crocheter, the way you execute each stitch can dramatically affect the final appearance and fit of your hat. Here are some tips to refine your technique and make each stitch count.
First, ensure that your tension is consistent. Tension refers to how tightly or loosely you hold your yarn as you work, and it greatly influences the outcome. To achieve a balanced tension, practice working with your yarn and hook until you find a comfortable grip. A good rule of thumb is to hold the yarn lightly without pulling too tightly on the stitches. If your stitches are uneven, don’t hesitate to unravel and redo sections. Remember, every stitch is a step in your learning journey, and consistency will yield smoother and more professional results.
Another effective way to perfect your stitches is by experimenting with different stitch techniques. For the hippie hat, try incorporating a combination of basic stitches like single crochet, double crochet, or more decorative ones like the shell stitch for the brim. Observing how each stitch looks and behaves can allow you to choose the ideal one for the effect you want to achieve. Keep stitch markers handy; they can help mark your progress and allow you to count stitches more easily.
Practice makes perfect, so don’t shy away from practicing your stitches in swatches before diving into your hat. Create a small swatch, working the stitches you plan to use. This will not only boost your confidence but also help you visualize how the stitches will come together in your final project. Plus, if you’re using new yarn or a different hook size, this swatch can help you determine the best fit for your project.
Lastly, embrace the community! Join crochet groups or forums where you can share your work, get advice, and learn from others. Often, fellow crafters can offer tips and tricks that have worked for them, which could spark new ideas for your project. Always remind yourself: you can do this! With patience and practice, your crochet skills will flourish, making your hippie hat a unique expression of your creativity.
Incorporating Bohemian Patterns and Colors
To create a truly captivating hippie hat, is essential. The beauty of the bohemian style lies in its vibrant mix of textures, colors, and artistic designs that reflect a free-spirited aesthetic. Think of your hat as a canvas, where each stitch and color choice can express your unique creativity. This section will explore how to select patterns and colors that embrace and enhance that boho vibe.
Start by choosing a color palette that embodies the essence of bohemian style. Rich, earthy tones like browns, greens, and rusts paired with bright pops of color-turquoise, fuchsia, or mustard-can create a stunning visual impact. Utilize techniques like color blocking, where you alternate between different colors in defined sections, or ombre effects that transition from one shade to another smoothly. Here’s a quick tip: create a small swatch with your chosen colors to visualize how they interact. This will help ensure your final piece aligns with your vision.
Next, dive into patterns that complement the bohemian style. Consider integrating classic motifs such as the granny square, rippled shells, or textured popcorn stitches. These not only add dimension to your hat but also channel that playful, carefree spirit associated with hippie culture. For instance, a hat featuring a granny square band can serve as a beautiful focal point while allowing for creative color combinations. You can layer different patterns too; perhaps a base of double crochet for the body with a shell stitch brim-this layering effect adds depth and interest.
Finally, don’t shy away from mixing stitch techniques to create unique textures. A combination of basic and decorative stitches will keep the crafting process engaging and result in a one-of-a-kind creation. Looking for ways to incorporate embellishments? Adding fringes, beads, or tassels can elevate your hippie hat to a new level of artistry, making it a statement piece in any outfit. The key here is experimentation-don’t be afraid to play with different ideas until you find the combination that feels just right. With each stitch, you’re not only crafting a hat but a personal piece of art that resonates with your bohemian spirit!
Adding Embellishments for Unique Style
Adding unique embellishments to your hippie hat can transform it from a simple project into a personal statement piece that truly reflects your individual style. The beauty of bohemian culture lies in its eclectic mix of colors and textures, so don’t hesitate to think outside the box! This is your opportunity to be creative, using a variety of materials that resonate with the free-spirited vibe of boho fashion.
Start by exploring natural elements for your embellishments. Items like shells, feathers, and wooden beads can be effortlessly integrated into your design. For a simple yet eye-catching addition, consider making a fringe from yarn or fabric scraps. A fun tip: experiment with varying lengths of fringe to create movement and a relaxed feel, reminiscent of a carefree day in the sun. You can attach these fringes along the brim or at the crown of the hat for a playful touch.
Another great option is to use crochet flowers or motifs as decorative elements. These can be made in different sizes and colors, adding both dimension and interest to your piece. Sew or glue them onto the hat, arranging them in clusters for a more vibrant and enriched effect. If you’re feeling adventurous, try adding beads to the center of your flowers or intertwining them with the yarn of your hat. This little detail can effectively elevate the overall aesthetic.
Layering Techniques for Depth
Consider layering your embellishments for an even more dynamic look. Combine different types of embellishments-like a row of beads atop a strand of fringe-to create depth. Adding a crochet headband or bandana around the base of the hat can also contribute to the overall appeal while allowing for additional embellishments such as buttons or patches that showcase your personality.
Remember to keep your design balanced. While it’s tempting to add as much as possible, aim for a cohesive look that highlights your unique style without overwhelming the overall design. Trust the process, enjoy experimenting, and keep in mind that every stitch and embellishment is a step towards creating a one-of-a-kind masterpiece. You can absolutely do this! With each addition, you’re not just crafting a hat but creating a vibrant reflection of your bohemian spirit.
Adjusting the Size of Your Crochet Hat
When embarking on your crochet hat journey, finding the perfect fit is essential. A well-adjusted hat not only enhances comfort but also showcases your craftsmanship beautifully. Whether you’re making a snug fit for chilly weather or a looser style for a sunny day, is a straightforward process that can be mastered with a few simple techniques.
To get started, measure the head circumference of the intended wearer. A standard measurement is around 21-23 inches for adults, but it’s always best to confirm. Once you have this measurement, you can adjust your crochet pattern accordingly. If your pattern is designed for a specific size, simply refer to the gauge indicated in the instructions. Crochet a test swatch to check your stitch tension-it should match the specified gauge so that the final hat fits perfectly.
Adjusting Pattern Size
If your gauge is different, you can adjust your hat size by altering your hook size or yarn weight. For larger hats, use a bigger hook or a thicker yarn. Conversely, for smaller sizes, try a smaller hook or a lighter yarn. Here’s a quick guide to help you visualize the changes:
- Increase Size: Move up a hook size or switch to a bulkier yarn.
- Decrease Size: Use a smaller hook or choose a lighter weight yarn.
Another smart trick is to modify the number of foundation chains or increase/decrease your stitches in each round. For example, adding extra stitches in the first few rounds can accommodate larger heads or layers of hair.
Finishing Touches
As you stitch, continuously check the fit by trying the hat on. This is particularly important for hats that require a snug fit like beanies, as you want to ensure they won’t slip off easily. If the hat seems tight, you can gently stretch it while it’s still damp during blocking, or if it’s too loose, consider incorporating a simple band or adjustable ties made from the same yarn.
Enjoying the process is key! With some adjustments and a little trial and error, you’ll create a crochet hat that fits beautifully and enhances your unique style. Remember, every maker has their own flair, and finding the perfect size is just another step on your creative journey. You can absolutely do this! Happy crocheting!
Troubleshooting Common Crochet Issues
Every crocheter encounters some hiccups along their creative journey, especially when crafting the perfect hippie hat. Whether you’re working on bohemian patterns or experimenting with funky colors, understanding how to troubleshoot common issues will keep your project enjoyable and stress-free. Remember, mistakes are just opportunities to learn, and each challenge can lead to a more polished result!
One of the most recurrent issues is uneven tension in your stitches, which can affect the overall look of your hat. If you notice that some rows appear tighter or looser than others, take a moment to assess your grip on the yarn and hook. A relaxed hold usually leads to more uniform stitches. If you’re using different yarn types, you might want to switch back to a single kind to maintain consistency. A good practice is to crochet a test swatch to help visualize your tension before diving into the main project.
Another common concern is reaching the right fit. If your hat is turning out too small or too large despite your adjustments, consider these steps: recheck your gauge to ensure you’re using the correct hook size. Sometimes, even slight changes in your yarn thickness can impact the final size. If your hat is too tight, you can also incorporate a few extra stitches in the next round, while a loose fit can often be corrected by adding a simple adjustable tie at the base.
Lastly, don’t be afraid to embrace creative solutions. If you find yourself stuck with a pattern, look for video tutorials that illustrate tricky stitches or techniques. There are fantastic online communities full of fellow crochet enthusiasts who are eager to help. Reach out, share your experience, and celebrate those little victories together! Keep pushing through each project, and remember-this is all part of the beautiful crafting adventure. You’ve got this!
Care and Maintenance for Your Crochet Hat
Taking care of your crochet hat is just as important as the joy of making it! Proper maintenance ensures your creation stays vibrant and visually appealing, ready to bring those bohemian vibes to any outfit. Since crochet hats are often made from various yarn types, each requires a little TLC to keep it looking fabulous. Whether you’ve crafted a chic hippie hat to wear sunny days or a cozy version for cooler evenings, here’s how you can keep it in tip-top shape.
Washing and Drying Your Hat
When your hat needs cleaning, start by checking the yarn label for washing instructions. Many cotton and acrylic blends can be machine washed on a gentle cycle, but it’s always safe to err on the side of caution. If you’re unsure, hand washing is the best bet. Simply fill a basin with lukewarm water and a mild detergent, then let your hat soak for about 10-15 minutes. Rinse thoroughly to remove all soap, and never wring out your crochet-this can distort its shape! Instead, gently press out water using your hands and lay it flat on a clean towel to dry. Reshape your hat as it dries to ensure it maintains the desired fit.
Storing Your Crochet Hat
To preserve the shape and integrity of your crochet hat, store it properly. Avoid squashing it into tight spaces; instead, try to keep it on a hat stand or in a cool, dry area. If space is tight, consider placing your hat inside a breathable cotton bag to prevent dust buildup. A little tip: if your hat has a particularly charming design like floral appliques or fringe, make sure those details aren’t getting squished. Giving them space helps maintain their boho charm!
Dealing with Snags and Pilling
It’s natural for crochet hats to develop snags or pills over time, especially if they see a lot of use. If you spot a snag, use a crochet hook or a sewing needle to gently pull the yarn back through the fabric, ensuring it doesn’t create a larger hole. For pilling, lightly shave the surface with a sweater shaver or pill remover-just be careful, as you don’t want to accidentally damage the yarn!
Enjoy your crochet hat with these simple care tips; you’ll find that investing a little time in maintenance leads to a hat you’ll love wearing for seasons to come. Remember, every stitch you made holds a story, and with the right care, your creation will shine brightly, maintaining those inviting bohemian vibes!
Inspiration: Variations on the Crochet Hat
Exploring different variations of crochet hats can spark your creativity and bring a personalized twist to your bohemian-inspired creations. With just a few adjustments, you can transform a basic pattern into something unique that truly reflects your style. Whether you’re looking to add flair with colors, textures, or shapes, each variation allows you to explore new techniques and express your artistic vision.
One delightful approach is to experiment with yarn choices. While a soft cotton or bamboo yarn works beautifully for a traditional hippie hat, why not mix it up? Try a textured yarn like boucle or even a sparkly blend to give your hat a whimsical feel. Moreover, consider alternating between different fibers within the same hat. For example, a woolen base with a cotton brim can switch up the look and provide added warmth. The contrast in textures can create an eye-catching design.
Incorporating different stitch patterns is another fantastic way to diversify your crochet hats. Instead of sticking with simple single or double crochet stitches, test out shell stitches, granny squares, or even lacework. These variations not only add visual interest but also create a new level of complexity suited for your skill level. Take a basic hippie hat silhouette and elevate it with these intricate designs. If you need inspiration, consider using vibrant colors and playful motifs reminiscent of a carefree summer festival.
Finally, embellishments can truly make your crochet hat stand out. Consider adding tassels, fringe, or even appliques like flowers or feathers that resonate with the bohemian aesthetic. These decorative elements not only enhance your design but also make your hat more functional-like adding a bit of extra warmth or shade when needed. You can also personalize your hat further with beads or charms sewn into your work, allowing you to carry little treasures that tell your story.
Embrace the process and remember that every stitch adds to your unique creation. Try out these variations and let your creativity flow; each crochet hat you create can be a reflection of your personality and the joyful spirit of making things yourself. You’ve got this!
Community and Resources for Crochet Enthusiasts
It’s a wonderful time to dive into the vibrant world of crochet, especially when creating your own hippie hat! With a thriving community of crochet enthusiasts, the support and resources available make it easier than ever to get inspired and improve your skills. Whether you’re a novice or have some projects under your belt, engaging with fellow crafters can spark new ideas and techniques for your bohemian creations.
One great way to immerse yourself in the crochet community is through online platforms like Facebook groups, Reddit, or Instagram. Search for hashtags like #CrochetCommunity or #BohoCrochet to find endless photos, tutorials, and tips. You’ll discover passionate creators sharing their own hippie hat designs, valuable advice, and even free patterns! Don’t be shy-post your progress, ask questions, and don’t forget to celebrate your successes with others.
In addition to social media, websites dedicated to crochet offer a plethora of resources. For instance, sites like Joy of Motion Crochet provide free tutorials that can help you master new stitches and techniques, perfect for elevating your hippie hat project. Tutorials often include step-by-step videos, which can make learning much more manageable. If you prefer reading, blogs such as Bella Coco Crochet feature comprehensive guides including everything from choosing the right yarn to troubleshooting common crochet issues.
Finally, consider local crochet meetups or craft stores that host classes. These in-person connections can lead to lasting friendships and foster an environment of collaboration and creativity. Learning from someone face-to-face can often help solidify concepts that are difficult to grasp through online resources. In essence, the crochet community is a space where you can grow, share, and express your individuality through your bohemian-inspired projects. Remember, every stitch you take brings you closer to not just creating a beautiful hat, but also to enriching your crafting journey alongside others who share your passion. You can do this!
Frequently asked questions
Q: What materials do I need for a Crochet Hippie Hat?
A: To create a Crochet Hippie Hat, you’ll need worsted weight yarn, a crochet hook (typically size H/8 or 5mm), scissors, and a yarn needle. You may also want decorative elements like beads or ribbons to add bohemian flair. For more on yarn selection, see the section on Choosing the Right Yarn for Your Crochet Hat.
Q: How long does it take to crochet a hippie hat?
A: Crocheting a hippie hat usually takes about 2-4 hours, depending on your skill level and the complexity of the pattern. If you’re a beginner, it may help to break it into sessions. Check the Step-by-Step Guide to Crochet a Hippie Hat for helpful pacing tips.
Q: Can I adjust the size of my crochet hippie hat?
A: Yes, you can easily adjust the size of your crochet hippie hat by adding or removing rows. For a snug fit, reduce the number of stitches. For more guidance, refer to the section on Adjusting the Size of Your Crochet Hat.
Q: What are some tips for beginners crocheting a hippie hat?
A: Beginners should begin with simple stitches and patterns. Practice basic crochet techniques before attempting the hat. Watching video tutorials can also be very beneficial. See our Tips for Perfecting Your Crochet Stitches section for more practical advice.
Q: How do I incorporate different colors into my crochet hat?
A: To incorporate different colors into your crochet hat, you can use a technique called color changing, where you switch yarn colors at the beginning or end of a row. Choose a color palette that resonates with bohemian vibes. For color inspiration, refer to Incorporating Bohemian Patterns and Colors.
Q: Are there any common mistakes to avoid when crocheting a hippie hat?
A: Common mistakes include incorrect stitch counts, inconsistent tension, and neglecting to check gauge. Always count your stitches and maintain a steady hand for even results. Refer to Troubleshooting Common Crochet Issues for more detailed tips.
Q: How can I embellish my crochet hippie hat uniquely?
A: You can embellish your crochet hippie hat by adding flowers, feathers, or buttons. Use a yarn needle to attach embellishments securely. Check out the Adding Embellishments for Unique Style section for creative ideas.
Q: Where can I find free crochet hippie hat patterns?
A: Free crochet hippie hat patterns are available on various crafting websites and blogs. Searching terms like “free crochet hippie hat pattern” will yield numerous results. You can also find inspiration in the Inspiration: Variations on the Crochet Hat section of our article.
Wrapping Up
Congratulations on crafting your very own Crochet Hippie Hat! Embrace those bohemian vibes and enjoy the creative process-remember, practice makes perfect, and you can customize your hat to reflect your unique style. If you’re eager to expand your crochet skills, check out our collection of free crochet patterns at AllFreeCrochet, or explore foundational techniques at the Crochet Guild of America.
Feeling inspired? Don’t stop here! Dive into our other favorite projects like the vibrant Blanket Stitch Scarf or the stylish Bohemian Bag to keep that crochet momentum going. If you have any questions or want to share your finished hat, drop a comment below; we love hearing from you! Remember to sign up for our newsletter for more delightful patterns and tips. Get crocheting, and let your creativity shine!
Get our latest guides, news, and insights highlighted in your Google Search & AI Overviews.