
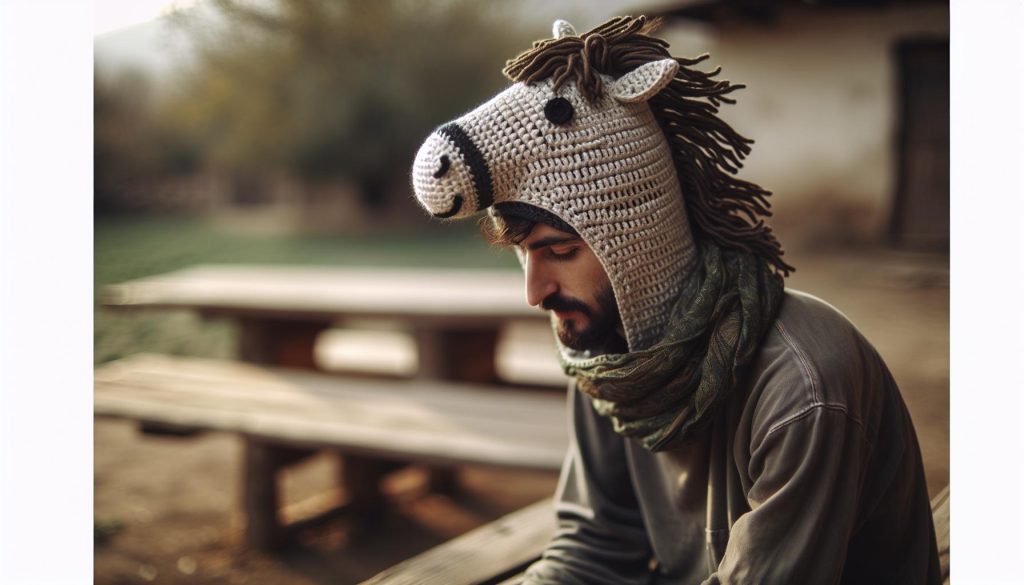
Are you ready to add a touch of whimsical charm to your crochet repertoire? The “Crochet Horse Hat Free Pattern: Galloping Mane Design” is a delightful project that captures the fun and imagination of horse lovers everywhere. With just a bit of yarn and your trusty hook, you can create a playful accessory that not only showcases your craftsmanship but also brings joy to anyone lucky enough to wear it.
Whether you’re crafting for a child’s dress-up party, a fun photo shoot, or simply to express your love for horses, this project is perfect for all skill levels. You’ll enjoy the ease of following the pattern, complete with step-by-step instructions that make the process enjoyable and accessible. Imagine the smiles you’ll inspire with this unique creation!
So grab your favorite yarn and let’s dive into the galloping world of crochet. You can do this, and I promise it will be worth the effort! Keep reading to discover all the materials you’ll need and the straightforward steps to create your own Galloping Mane Horse Hat.
Crochet Horse Hat Materials You’ll Need
Creating your own crochet horse hat is not only a delightful project but also an expression of your creativity. Before you dive into this fun craft, it’s essential to gather all the materials you’ll need. Having everything at hand will make your crocheting experience smoother and more enjoyable!
Here’s what you’ll need to get started:
Essential Materials
- Yarn: Choose a medium-weight yarn (worsted weight #4). A blend of acrylic and wool works well for both softness and durability. You might want to pick colors that reflect the theme of your hat, like browns for a horse or vibrant shades for a fun twist.
- Crochet Hook: A size H/8 (5 mm) crochet hook is ideal for this project. It’s a great size for beginners and collects stitches nicely.
- Scissors: A sturdy pair of scissors will help you snip your yarn when you finish.
- Tapestry Needle: This is essential for weaving in ends and sewing parts of the hat together.
- Stitch Marker: If you’re new to crochet, a stitch marker can help you keep track of rounds or specific stitches as you work.
- Measuring Tape: To ensure the hat fits just right, measuring your own head or that of a child will guide your sizing.
Once you have your materials, you’re ready to embrace this fun and fulfilling project! Feel the excitement as you turn simple yarn into something special-your very own horse hat that can spark joy in anyone who sees it. Whether you’re new to crochet or honing your skills, rest assured that with a bit of practice, you’ll create a hat you can be proud of. Enjoy the process, and remember: you can do this!
Perfect Crochet Techniques for Beginners
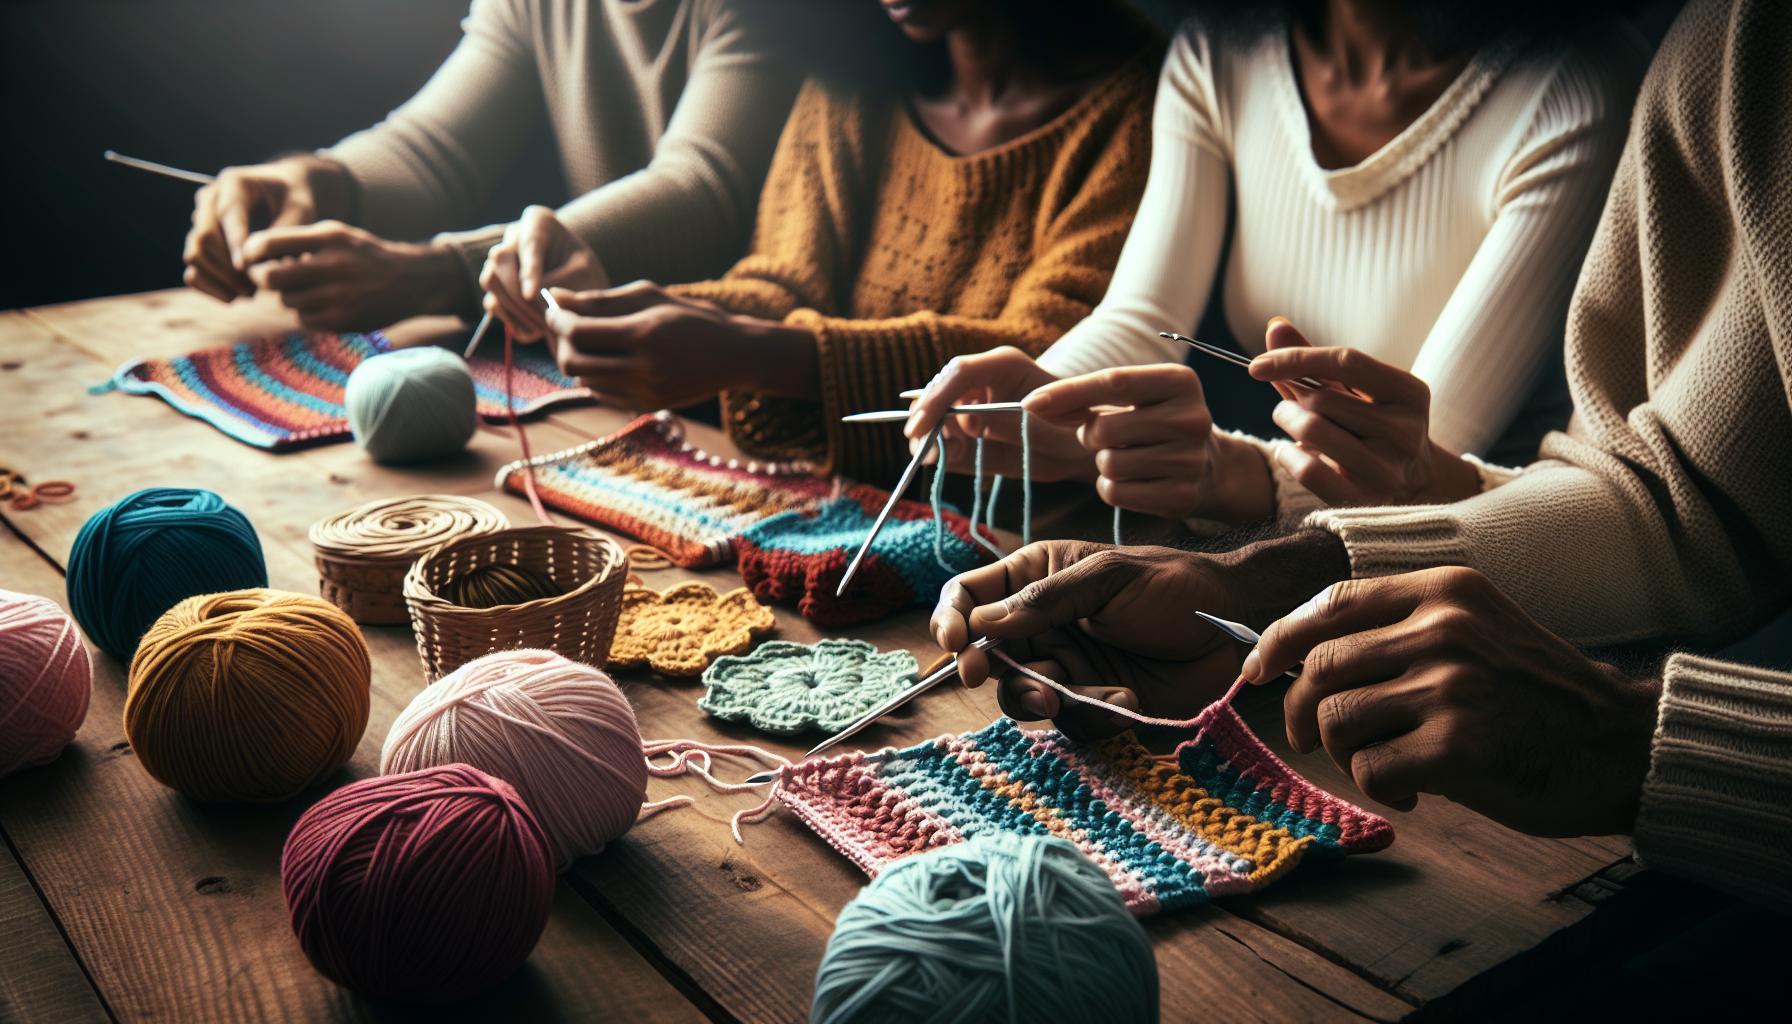
Learning to crochet can feel like stepping into a magical world where every twist and turn of yarn brings you closer to creating something special. Whether you’re tackling your first project or refining your skills, there are a few techniques that can take your crocheting to the next level, making the process enjoyable and your final product truly delightful.
To begin, familiarize yourself with the basics of tension and stitch technique. Holding your yarn and hook comfortably is crucial. Maintain an even tension by not pulling the yarn too tightly; this will help you avoid awkwardly shaped stitches. Practice chaining, the foundational step in crochet, by creating a series of loops before transitioning to single and double crochet stitches. This practice allows you to build confidence as you start forming shapes for your horse hat.
Another tip is learning to read patterns. Understanding the abbreviations used in your crochet pattern is a game changer. This knowledge will help you follow along with patterns readily, especially when working on the intricate details like the galloping mane design. Take your time to read through the entire pattern before starting. Highlight or jot down any tricky sections that may require extra attention. Remember, it’s perfectly okay to make mistakes-they’re just steps on the path to mastering the craft!
Finally, consider using stitch markers. These handy tools will help you keep track of your rounds and identify where you need to make increases or decreases. As you work through your horse hat pattern, placing a stitch marker at the beginning of each round will ease your transition between them and ensure your hat maintains its shape. You can do this!
With practice, patience, and these simple techniques, you’ll find that crocheting your horse hat is not just achievable but a source of joy and pride. So, grab your materials and let the creative process unfold; you are on your way to crafting something truly unique!
Step-by-Step Guide to the Galloping Mane Design
Creating the galloping mane for your crochet horse hat is an exciting feature that adds a whimsical touch and lets your creativity shine. This step-by-step guide will empower you to craft a stunning mane that looks lively and dynamic. With just a few materials and techniques, you’ll bring your crochet horse hat to life!
To begin, you will need the following materials: some worsted weight yarn in colors of your choice (think of vibrant horse colors like chestnut or white), a corresponding crochet hook (usually size H or I), scissors, and a yarn needle. The difficulty level for creating the mane is easy to moderate, making this project accessible to beginners and a fun challenge for more experienced crocheters. Estimate around 1-2 hours to complete this part of your horse hat.
Step-by-Step Instructions
- Choose Your Color Palette: Select 2-3 contrasting colors for depth and interest. For instance, if your hat is brown, a cream or light gray can create a striking effect.
- Make the Base: Start with a long chain of about 30-40 stitches-this will determine the length of your mane.
- Create the Strands: For each piece of mane, you will crochet chains for the main length-around 12 chains will create a good length. Make several of these; the more strands, the fuller the mane will look.
- Attach the Mane to the Hat: Insert the hook into the top of your hat, pull the yarn through, and secure each strand in your desired position. You might want to cluster them to one side for a dynamic look.
- Add Texture: To give your mane a flowing appearance, you can alternate single crochet and double crochet stitches along each strand of the mane. This will add dimension and flair to your design.
- Finishing Touches: Finally, use your yarn needle to weave in any loose ends, ensuring everything is neat and secure.
The joy of crocheting is in the details and the personal touches you can add! Feel free to mix, match, and experiment with different stitch combinations. As you work, remember to have fun-each twist of the yarn is a step towards creating something uniquely yours. You can do this! Embrace your inner creator, and those galloping manes will surely turn heads!
Creative Variations for Your Horse Hat
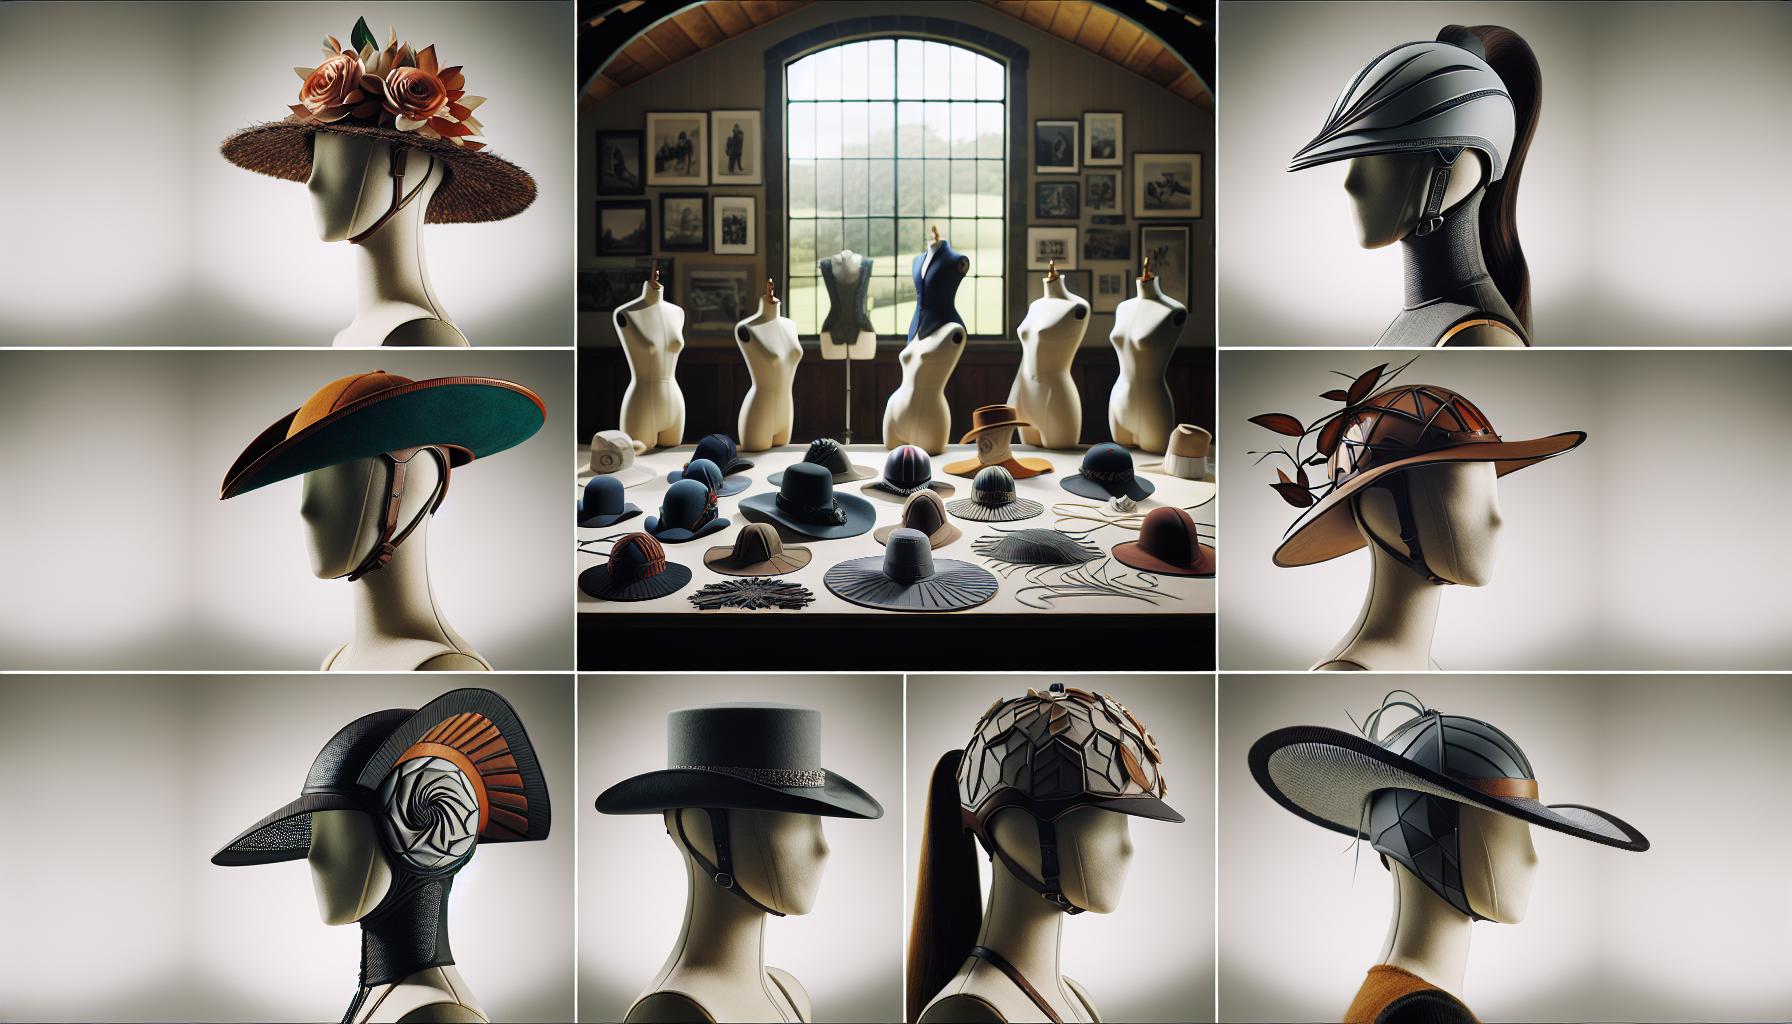
Exploring variations for your crochet horse hat can elevate your project from ordinary to extraordinary! The beauty of crochet lies in its versatility, allowing you to experiment with different styles, colors, and textures, which can make your creation truly one of a kind. Whether you’re looking to add a playful twist or a touch of elegance, there are countless ways to express your creativity while crafting that stunning galloping mane.
One exciting variation is to play with the texture of the mane itself. Instead of the usual single and double crochet combination, why not try adding a few rows of popcorn stitches? This technique gives a playful, bouncy feel to the mane, mimicking the look of a wild horse’s flowing locks. If you want to create a more luxurious touch, consider using a fluffy yarn for certain strands, which can mimic the look of a soft mane in a real horse. You can also incorporate textured yarns, such as eyelash or boucle, to add depth and an unexpected twist to your design.
Color choices are another fantastic way to personalize your horse hat. Rather than sticking to browns and creams, think outside the box! Experiment with vibrant colors or gradients to create a truly magical look. Maybe you want a unicorn-inspired hat? Use pastel shades and add sparkly yarns for extra shine! Moreover, don’t hesitate to integrate some glittery or metallic fibers into the mane for that additional pizzazz. Using variegated yarn can also lend a beautiful multi-tonal effect to your hat, making it even more eye-catching.
Lastly, accessorizing your crochet horse hat can set your design apart even further. Consider adding fun embellishments like flowers, bows, or even tiny crochet apples for a whimsical touch. You can also create smaller matching items, like a cozy scarf or mittens, to complete your look. The possibilities are endless, and remember, every little addition or variation makes your project uniquely yours. So, gather your materials, and let your imagination run wild-because you can truly do this! Embrace your creativity and watch your crochet horse hat transform into a spectacular masterpiece.
Troubleshooting Common Crochet Issues
When diving into the wonderful world of creating a crochet horse hat, it’s not uncommon to encounter a few bumps along the way. Embracing the process means knowing how to troubleshoot common crochet issues that may arise. Whether you’re a novice just starting or an experienced crocheter, resolving these hurdles can boost your confidence and keep your creative juices flowing.
One frequent issue is uneven tension, which can lead to distorted shapes or sizes in your project. If you notice that your stitches are tighter in some areas, try to consciously relax your grip on the yarn as you work. Another great tip is to take short breaks; this will help you return to your project with fresh hands and a more relaxed hold. Remember, crochet is all about rhythm-finding yours can greatly improve your stitch consistency.
Another problem might be running out of yarn mid-project, an all-too-common scenario that can be distressing. To prevent this, check your pattern beforehand and estimate how much yarn you’ll need based on gauge swatches. If you do find yourself short, don’t panic! You can create a fun contrast by switching yarn colors or textures in a planned way, transitioning into a unique design element rather than a mistake.
Lastly, if you find your horse hat looking less than spectacular, whether due to shape or embellishments, don’t hesitate to experiment. Crochet allows for so much creativity! Consider adjusting the size of the gauges, adding decorative elements, or even reworking a portion if the design doesn’t align with your vision. If your galloping mane isn’t turning out as you imagined, perhaps explore alternate stitch patterns like popcorns or textural yarns, as they can add character and a unique flair to your creation.
So remember, encountering challenges is a natural part of crafting. Embrace each hiccup as a learning opportunity, and don’t hesitate to un crochet a few stitches and start again. With patience and practice, you can master your crochet horse hat and make it a true reflection of your creativity! Keep crocheting, and most importantly, enjoy the process-because you absolutely can do this!
Adding Personal Touches with Yarn Choices
There’s something magical about selecting the perfect yarn for your crochet projects, and when it comes to your horse hat, your choices can truly make it unique! The yarn not only affects the look and feel of your creation but also influences how easily you’ll work through the pattern. Imagine a vibrant coral horse hat with a dramatic galloping mane in contrasting colors-your horse hat will be a delightful showpiece that stands out wherever you go.
When choosing yarn, consider the following factors:
- Material: Soft, durable yarns like acrylic or cotton blends are fantastic for hats since they offer comfort and are easy to wash. If you’re aiming for luxury, wool or a wool blend can provide warmth and a beautiful drape.
- Color: Think about what colors resonate with you or the recipient. You might opt for traditional browns and blacks or go wild with bold purples and blues. Don’t shy away from variegated yarns; they can add a stunning depth to your galloping mane!
- Weight: The thickness of your yarn will change the dimensions of your hat. Worsted weight is a reliable choice, but adjusting to a lighter or heavier yarn can create different effects. Just make sure to check your gauge to keep your design proportional!
Another great way to personalize your horse hat is through embellishments. Consider adding decorative elements such as crochet flowers, buttons, or even additional textures using different yarn techniques like puff stitches. Not only do these additions make your project stand out, but they also enable you to express your creativity. Think about a multicolored mane that complements your color choices, or create a sparkly effect with yarn that has sequins woven into it!
Embrace the joy of crafting-every choice you make is a step towards your unique creation. You’ve got this! No matter your skill level, picking out yarn should be a fun process that adds to the excitement of your project. Enjoy experimenting and don’t forget: this is your masterpiece in the making!
Estimating Time: How Long Will It Take?
Creating your own crochet horse hat with a galloping mane design is not just a craft project, it’s a delightful journey into the world of yarn and creativity! One common question that arises when starting such a project is, “How long will it take?” The answer can vary based on several factors, but having an estimate helps you plan your crafting time effectively.
Typically, if you’re a beginner, you might find that completing a crochet horse hat can take anywhere from 5 to 10 hours. This estimate includes time spent learning, practicing, and actually crocheting. For more experienced crafters, the process can be quicker, perhaps around 3 to 6 hours, depending on your familiarity with the stitches and techniques used in the pattern.
Here are a few aspects to consider that may adjust your time frame:
- Your Skill Level: If you’re new to crochet, expect to take a bit longer as you familiarize yourself with basic stitches and patterns. Don’t rush; enjoy the learning experience!
- Complexity of Design: The galloping mane design may involve advanced stitches or color changes that can add to your project time. Simpler designs or modifications can speed things up.
- Distractions and Breaks: Crocheting should be enjoyable, so if you’re working at a leisurely pace or taking breaks to chat with friends or enjoy a cup of tea, factor that into your overall time.
- Preparation Time: Don’t forget to account for time spent selecting your yarn and materials, as well as any potential swatching to check your gauge.
To make the most of your crafting time, setting aside dedicated blocks of time can be immensely helpful. For instance, if you allocate a few evenings to this project, you might find completing it to be less daunting and more enjoyable. Set personal milestones, like finishing the hat body one evening and the mane the next, to keep the project engaging and structured. Remember, the joy of crocheting lies in the process as much as the finished product. Now grab your yarn and hook-you’re ready to create something truly special!
Sharing Your Finished Crochet Creations
Once you’ve crafted your crochet horse hat with the charming galloping mane, it’s time to share your joyous creation with the world! You might be amazed at how fulfilling it is to display your handiwork, whether that means sporting it yourself or showcasing it online. Plus, your unique design could inspire others in the crafting community to embrace their creativity too!
To effectively share your finished piece, consider taking high-quality photos that capture the details of your work. Good lighting is crucial-try natural light from a window or outdoors, and take multiple angles to highlight textures, colors, and the intricate design of the mane. You can also photograph your hat in action; perhaps your favorite toy horse or a cozy pet modeling it can add a playful touch. Sharing the story behind your creation can create an emotional connection, so feel free to mention any challenges you faced or what inspired the design.
Once your pictures are ready, explore various platforms to share your work. Social media sites like Instagram and Pinterest are perfect places to showcase your creativity using relevant hashtags such as #CrochetHorseHat or #GallopingManeDesign. You could also join crochet communities on platforms like Facebook or Ravelry where enthusiasts gather to share their projects, tips, and encouragement. These platforms allow you to receive feedback, suggestions, and support from fellow crafters who appreciate the hard work that goes into each creation.
Lastly, consider writing a blog post or creating a tutorial to share your pattern with others-this empowers fellow crafters who may want to give it a try! Remember, the crochet community thrives on sharing and celebrating creativity, so don’t hesitate to show off your masterpiece and connect with others who share your passion!
Inspiring Ideas for Matching Accessories
Creating a crochet horse hat is just the beginning of your crafting adventure! Once you’ve mastered the galloping mane design, you can expand your creativity by crafting matching accessories that elevate your horse-themed ensemble. Imagine your little one sporting a whimsical horse hat paired with equally charming items that tie the whole look together!
Accessory Ideas to Consider
Here are some fun and easy accessory ideas you can crochet to complement your horse hat:
- Horse-Themed Scarves: A soft, cozy scarf featuring alternating horse motifs or a simple color pattern that matches your hat can be a delightful balance to your outfit.
- Wrist Cuffs: Small, embellished wrist warmer cuffs that mimic the hat’s mane or incorporate similar yarn colors can add a whimsical touch.
- Funky Horse Ears Headband: Crochet a headband with horse ears to complete the look-this is particularly fun for costume events or playful outdoor gatherings.
- Matching Tote Bag: Create a small tote bag adorned with horse appliqués or stripes that complement the hat. Perfect for carrying around crafting supplies or snacks!
Color and Yarn Choices
Choosing the right yarn and color palette can enhance the overall aesthetic of your matching accessories. Consider using the same type of yarn for all items to ensure consistency in texture and durability. For a cohesive look, stick to a color scheme that reflects traditional horse colors like browns and whites or go bright with cheerful shades that pop!
Don’t be afraid to experiment with different crochet techniques for your accessories. Each piece can teach you new stitches or methods that will build your skills while adding more flair to your crochet collection. Remember, the goal is to make something that feels joyful and fun-after all, crafting should be as enjoyable as wearing your creations! With these ideas, you’re not just making accessories; you’re creating a delightful ensemble that showcases the charm of your crochet horse hat. You can do this!
Tips for Hosting a Crochet Party
Hosting a crochet party can be an excellent way to share your love for crafting and connect with fellow enthusiasts! Whether your guests are seasoned crocheters or complete beginners, this social gathering can foster creativity, skill sharing, and lots of fun as everyone works on their own unique projects, like the adorable horse hat designed with a galloping mane. With the right preparation, your crochet party can be both enjoyable and productive.
Start by gathering your supplies in advance. You’ll want to have ample yarn in various colors, crochet hooks of different sizes, scissors, and stitch markers on hand. Consider providing a few project kits with all the necessary materials to make the crochet horse hats. This way, guests can easily follow along without the stress of sourcing their materials. A comfortable workspace is crucial, so arrange seating that encourages conversation while making it easy for everyone to see and share their work. If possible, choose a space with natural light-a bright, airy atmosphere can make the crafting experience even more enjoyable!
Next, set the mood with fun decorations and snacks! A horse-themed cake or snacks with hoof prints can tie into your project, making it even more special. Music in the background can help keep the energy up, but make sure it’s soft enough not to distract from conversations. Consider preparing a simple tutorial or a demonstration of the galloping mane design to kick off the event. This can help beginners feel more confident and give everyone a common starting point for their creations. Remember, it’s all about the experience-encourage your guests to ask questions and share tips as they crochet along.
Lastly, make room for sharing! Designate time for everyone to showcase their creations, which can be incredibly rewarding and inspire new ideas. You might even consider organizing a mini-contest with playful categories like “Most Creative Design” or “Best Color Combination.” Encourage your guests to connect beyond the party! Set up a group chat or social media page where everyone can share their progress and support each other in future projects. With some thoughtful planning and a welcoming atmosphere, your crochet party will be a delightful gathering full of creativity and laughter. You can do this!
How to Sell Your Crochet Horse Hats Online
Have you ever thought about turning your crochet passion into a small business? Selling your unique crochet horse hats online can be a rewarding way to share your creations while also making some extra cash. With the rise of e-commerce platforms, it’s never been easier to showcase your handmade goods to a wider audience. Here’s how you can get started!
First, choose the right platform to sell your hats. Sites like Etsy are perfect for handmade items, providing a large audience of people looking for unique crafts. Other options include eBay, your own website, or platforms like Facebook Marketplace and Instagram Shops. Make sure to set up your shop with a catchy name that reflects your brand and the whimsical nature of your crochet horse hats. Additionally, take clear, vibrant photos of your creations from various angles; good visuals can make a huge difference in attracting buyers.
Next, consider your pricing strategy. Assess the market by looking at similar products and set your prices accordingly. Factor in the cost of materials, your time, and any fees associated with the selling platform. It’s important to find a balance where your prices reflect the quality of your work while still appealing to potential customers. Consider offering various sizes or customizable options for your hats to attract a wider audience; who wouldn’t want a personalized gift for their friends or loved ones?
To drive sales, actively promote your hats through social media. Use platforms like Instagram and Pinterest to share beautiful images of your hats being worn, or feature them in playful settings-perhaps a horse-themed photoshoot! Engage with your audience by sharing your creative process, offering crochet tips, or showcasing happy customers wearing your hats. Regularly update your followers about new designs and any promotions you may have. This builds a connection that can lead to more loyal customers.
Lastly, don’t underestimate the power of excellent customer service. Respond to inquiries promptly and courteously, and handle any issues with care. Encouraging reviews and feedback can also enhance your store’s reputation. Happy customers are likely to return and recommend your hats to others. By creating a positive buying experience, you ensure that your crochet horse hats will not just be a trend, but a beloved favorite for many!
You really can do this! Selling your crochet creations is a journey filled with creativity and opportunity. Embrace the process, learn as you go, and don’t forget to celebrate each sale-it’s a testament to your hard work and craftsmanship. Happy selling!
Frequently asked questions
“`markdown
Q: What materials do I need for the Crochet Horse Hat Galloping Mane Design?
A: To create the Crochet Horse Hat with Galloping Mane Design, you’ll need worsted weight yarn, a crochet hook (size H or I), a yarn needle for weaving in ends, and scissors. Optionally, you may want to use a stitch marker to keep track of your rounds.
Q: How long does it take to crochet the Galloping Mane Horse Hat?
A: The time it takes to crochet the Galloping Mane Horse Hat varies by skill level, but most beginners complete it in about 4-6 hours. Plan for additional time if you’re customizing or adding decorations, as detailed in the “Estimating Time” section of the article.
Q: Can I customize the colors of my horse hat?
A: Yes! You can absolutely customize the colors of your Crochet Horse Hat. Choosing unique colors can enhance your design and reflect your personal style. Refer to the “Adding Personal Touches with Yarn Choices” section for tips on color selection.
Q: What skill level is required to make this Horse Hat?
A: The Crochet Horse Hat with Galloping Mane Design is suitable for beginners, as the pattern includes easy-to-follow instructions. If you’re new to crochet, check the “Perfect Crochet Techniques for Beginners” section for helpful guidance.
Q: Are there variations of the Galloping Mane design I can try?
A: Absolutely! There are several creative variations you can experiment with for the Galloping Mane design. Explore the “Creative Variations for Your Horse Hat” section for inspiration on how to personalize your hat with different mane styles or embellishments.
Q: How can I sell my finished Crochet Horse Hats online?
A: To sell your Crochet Horse Hats online, start by setting up an Etsy shop or using social media platforms like Instagram or Facebook. The “How to Sell Your Crochet Horse Hats Online” section provides detailed strategies for marketing and showcasing your creations effectively.
Q: Where can I find free crochet patterns for beginners?
A: For free crochet patterns suitable for beginners, visiting sites like Easy Crochet is a great option. They offer a wide range of patterns, including various animal hats. Check out their collection at [Easy Crochet](https://easycrochet.com/all-free-crochet-patterns/) for inspiration.
Q: What should I do if I encounter problems while crocheting?
A: If you run into issues while crocheting, refer to the “Troubleshooting Common Crochet Issues” section of your article. This section covers common problems and solutions to help you get back on track.
“`
The Way Forward
Now that you’ve discovered how to crochet the delightful Galloping Mane Horse Hat, it’s time to unleash your creativity! This fun and relatively easy project promises satisfaction as you bring it to life. Don’t forget to explore our other free crochet patterns, like the cozy baby blankets or stylish hats, to expand your crafting skills and try new designs [[3]].
If you’re looking for high-quality materials or tools, check out our curated selection at Crochet.com, where you’ll find everything to elevate your crochet game [[1]]. Feeling inspired? Leave a comment below sharing your thoughts, tips, or pictures of your finished projects! And remember, joining our newsletter keeps you updated on our latest patterns and crafting secrets. You can do this, and we’re excited to see what you create next!
Get our latest guides, news, and insights highlighted in your Google Search & AI Overviews.