
Are you ready to channel your inner ogre with a whimsical Shrek hat that features adorable crochet ears? This fun project not only brings a bit of fairy tale magic to your craft but also makes for a fabulous costume accessory for parties, Halloween, or just playful days at home. You’ll learn how to create a unique hat that showcases your crochet skills while tapping into your creative side.
Whether you’re a seasoned crocheter or just starting out, this pattern is designed to be accessible and enjoyable for all skill levels. The materials are simple, and the techniques will guide you step-by-step through the process, ensuring that you can proudly wear your handmade creation. So grab your crochet hook and yarn-let’s dive into this delightful project that celebrates the joy of making something special just for you! You can do this!
Understanding Crochet: Essential Techniques You Need
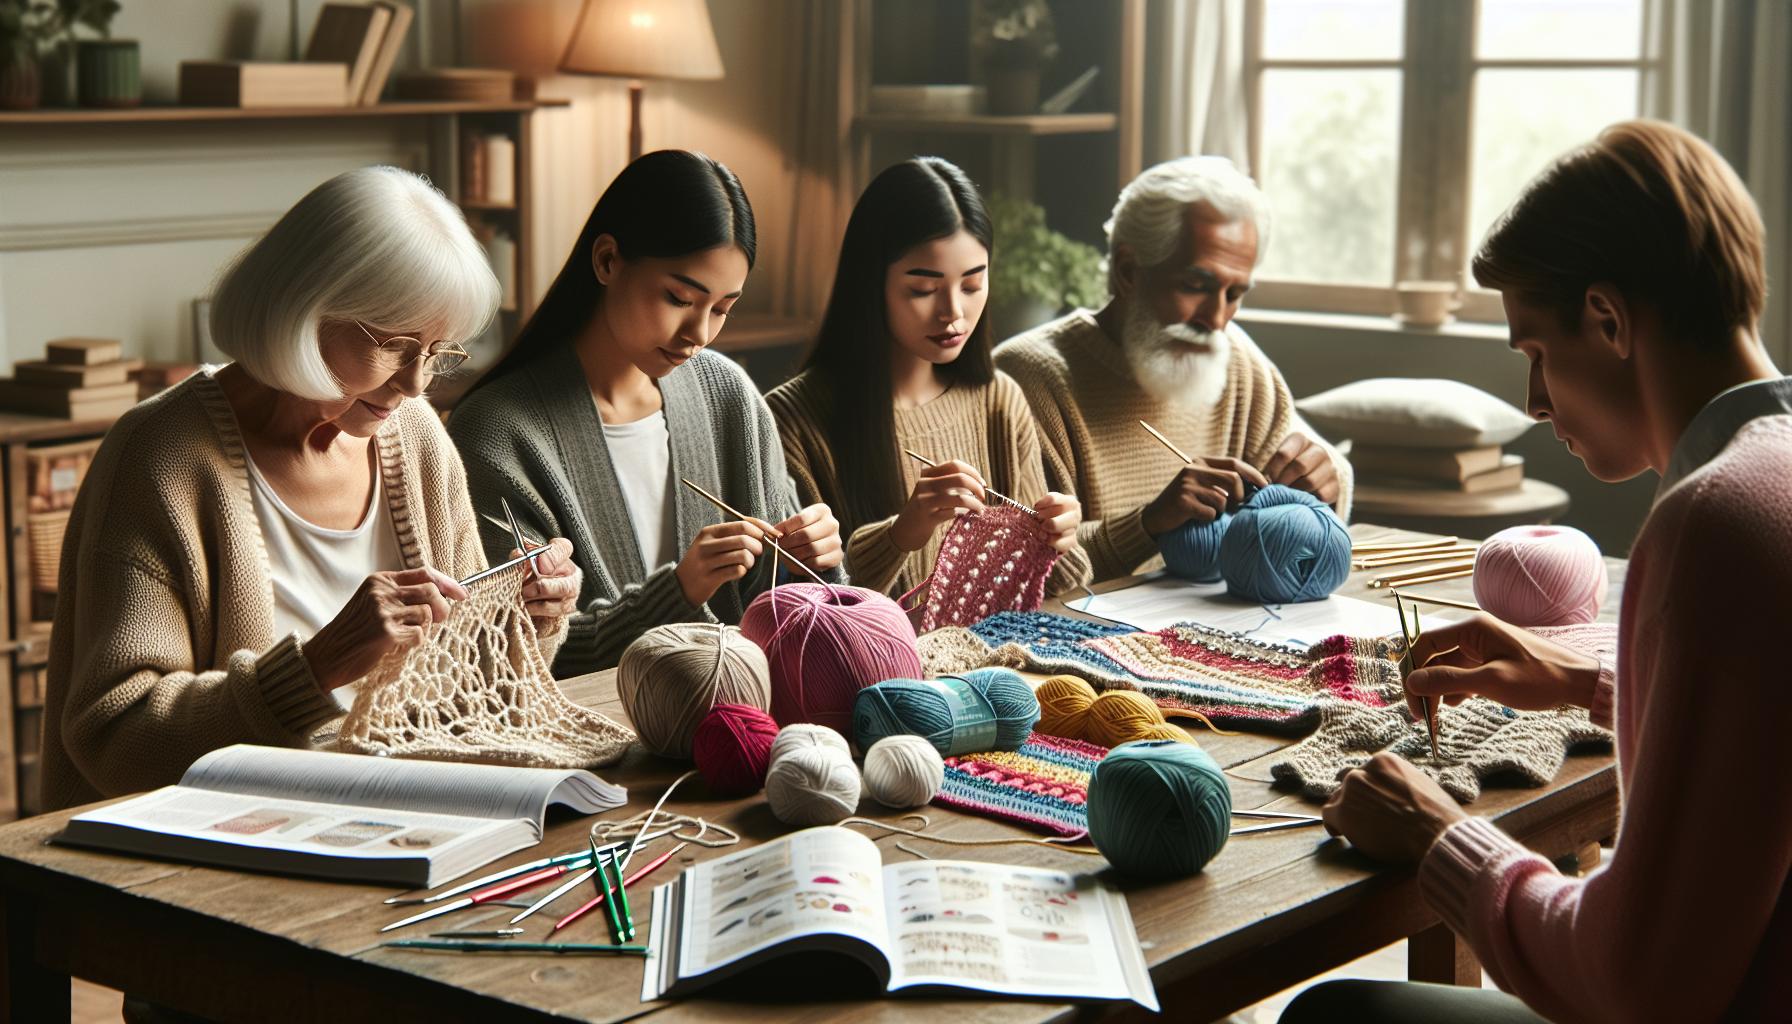
When embarking on your journey to crochet a delightful Shrek hat, understanding some essential techniques can make the process not only smoother but also incredibly enjoyable. Crochet isn’t just a craft; it’s a method of transforming yarn into a whimsical creation, and the techniques you’ll learn can apply to countless projects beyond just this hat. Let’s dive into the fundamental skills that will empower you to create your own unique piece.
The first crucial technique is the foundation chain, which establishes the base of your project. This is where your hat begins, and it’s important to keep it loose enough to allow for easy stitching later on. Follow this up with mastering basic stitches such as single crochet (sc) and double crochet (dc)-these are the building blocks of most crochet patterns. As you become comfortable with these stitches, you can start experimenting with increases and decreases, which will help shape your hat. Remember, practice these stitches on a swatch before diving into the actual project; this will boost your confidence and skill!
Next, familiarize yourself with reading crochet patterns, as they often use specific abbreviations for stitches. These include terms like sl st for slip stitch and dc for double crochet. Understanding these notations will be invaluable, especially in a project like the Shrek hat, which combines basic stitches with some fun shaping for those ogre ears. To avoid frustration, keep your pattern close by for reference and highlight the stitches as you go to keep track of your progress.
Lastly, don’t underestimate the importance of tension. Maintaining even tension across your stitches not only makes your hat look neater but ensures that it fits well too. If you find that your stitches are too tight or too loose, adjust your grip or try a different hook size to see what works best for you. Remember, crochet is all about finding your rhythm, and with practice, you’ll soon be creating hats that not only look great but also fill you with pride! You’ve got this, and by honing these essential techniques, you’re on your way to crafting a fabulous Shrek hat that will delight anyone who sees it.
Materials List: What You’ll Need for the Shrek Hat
When you’re ready to tackle the delightful task of crafting a Shrek hat, gathering the right materials will set you on the path to success! This fun project typically takes around 2-4 hours depending on your skill level so having everything prepared can help keep the momentum going.
Here’s a straightforward list of what you’ll need:
Basic Materials
- Yarn: You’ll need two colors for your hat: a vibrant green for the main body and a contrasting shade, like brown or dark green, for the hat brim and ogre ears. A medium worsted weight yarn (like a size 4) works wonderfully.
- Crochet Hook: A size H (5mm) hook is ideal for keeping your stitches uniform and your project manageable.
- Scissors: Essential for cutting your yarn once you’ve completed your project.
- Tapestry Needle: Use this to weave in any loose ends. It’s a small but mighty tool that keeps your hat looking tidy.
Optional Accessories
- Stitch Markers: These can be handy for marking your rounds, helping you keep track when you’re working on the round body of the hat.
- Pom-pom Maker: If you want to add a playful pom-pom to the top of your hat, a pom-pom maker can make this easy!
With these materials in hand, you’ll be more than ready to dive into your crochet adventure. Each step will bring you closer to creating a hat that not only showcases your crochet skills but also brings a bit of ogre charm to your wardrobe! Embrace the joy of creativity and know that you can do this! Happy crocheting!
Step-by-Step Instructions for the Hat Base
Crafting the base of your Shrek hat is where the magic begins! With each stitch, you’ll feel the excitement as your creation starts to take shape. Ready to jump in? This step is suitable for all skill levels and should only take about 30-60 minutes, depending on your pace.
Start by creating a magic ring (also called a magic circle) to form the top of your hat. This will make a snug and tidy closure. Here’s how:
- Form the Magic Ring: Wrap your yarn around two fingers to create a loop. Insert your crochet hook through the loop, yarn over, and pull through to create your first stitch.
- Chain One: This first chain will count as your starting stitch.
- Single Crochet Stitches: Work 6 single crochets (sc) into the ring. Pull the tail end of your yarn to tighten the ring.
- Join the Round: Use a slip stitch to join the last stitch to the first single crochet. You’ll now have a tight circle to build on.
- Increase Rounds: For the next round, you’ll want to increase the number of stitches in your circle to create a wider base. To do this, simply work 2 single crochets into each stitch around. Join again to close the round.
- Repeat Increases: For the following rounds, you can increase stitches gradually-1 in the first stitch, 2 in the next, and so on-until you reach the desired width for your hat base, typically around 5-6 inches in diameter.
- Continue the Body: Once the base is wide enough, continue crocheting without increases. Work in a simple round of single crochet stitches until you reach your desired height for the hat, around 8-10 inches depending on how snug you want it.
- Finish Off: When you’re happy with the height, cut the yarn, leaving a long tail for sewing. Pull the tail through the last loop and tighten it.
Your hat base is now ready for the ogre ears and other fun accessories! This step is simple yet fundamental, and each round you work adds not only size but also personality to your project. Remember, if you’re ever unsure, just pull out your work to the last stitch and try again. You can do this, and soon your Shrek hat will be taking form with each stitch! Happy crocheting!
Creating Ogre Ears: A Detailed Tutorial
Building the ogre ears for your Shrek hat is where you can truly let your creativity shine! These charming ears add the perfect whimsical touch, transforming your hat into a delightful homage to everyone’s favorite green ogre. Don’t worry if you’re new to crocheting; this project is beginner-friendly and can typically be completed in about 30-45 minutes. Gather your materials, and let’s get started!
Materials You’ll Need
- Green yarn (any medium weight will do)
- Matching crochet hook (typically size H/5.0mm)
- Yarn needle for weaving in ends
- Scissors
Step-by-Step Instructions for Ogre Ears
- Start with a Magic Ring: Just like the hat base, begin with a magic ring to create a solid starting point. This keeps the stitches tight and secure.
- Create the Ear Shape:
– Round 1: In your magic ring, crochet 6 single crochets (sc).
– Round 2: Work 2 single crochets in each stitch around (12 sc).
– Round 3: Increase by crocheting 1 sc in the first stitch, then 2 in the next. Repeat around (18 sc).
– Round 4: Sc around without increases (18 sc).
- Form the Point of the Ear:
– Round 5: Work 1 sc, 1 decrease (sc2tog) in the next stitch; repeat around (12 sc).
– Round 6: Sc around (12 sc).
– Round 7: Work 1 sc, then decrease in the next stitch; repeat around (8 sc).
- Finishing Up: Cut the yarn, leaving a long tail for attaching the ear to the hat. Pull the tail through the last stitch and tighten.
- Repeat for the Second Ear: The next one should mirror the first, ensuring both ears have the same delightful shape.
Attaching Ears to the Hat
Once your ears are complete, position them on top of your hat. Use the yarn tail to sew each ear securely in place, adjusting their angles for the best ogre look. Feel free to experiment with the positioning until it feels just right!
Creating these playful ears is an enjoyable step in crafting your Shrek hat, warmly encouraging you to embrace any quirks and variations as part of your unique style. Don’t hesitate to make them bigger, smaller, or even in different hues if you’re feeling adventurous. You can do this, and soon enough, you’ll have an adorable Shrek hat ready for costume parties or fun outings! Happy crocheting!
Color Choices: Best Yarns for Your Shrek Hat
Choosing the right yarn for your Shrek hat not only ensures the best look but also affects the comfort and wearability of your creation. The color green is, of course, iconic for any Shrek-inspired project! However, don’t be afraid to explore different yarn textures and shades to capture the essence of Shrek’s playful vibe. Consider going with medium-weight acrylic yarn for both durability and ease of handling, making it perfect for beginners and experienced crafters alike.
Recommended Yarn Colors
- Lime Green: This vibrant shade reflects Shrek’s cheerful personality and works great for the main hat body.
- Forest Green: A deeper hue that can be used for detailing or shadowing effects on the hat, capturing a more dimensional look.
- Light Green or Mint: Use this for any embellishments you might want to add for hats intended for children or for a more whimsical design.
- Blacks or Browns: Perfect for adding accents or creating ogre-like facial features on your hat for added fun.
In addition to color, the texture of your yarn can enhance your hat’s overall appeal. Yarns that are soft and plush will feel cozy on your head, making your Shrek hat a delight to wear. Look for yarns labeled as “soft” or with a cashmere blend if you’re after a luxurious touch. If you plan to wear your hat at parties or Halloween events, a yarn blend with some elasticity can help maintain the hat’s shape.
As you embark on this crochet adventure, remember, you can do this! Pick colors that resonate with you, and embrace your creativity. Whether you choose the classic green palette or decide to experiment with other whimsical colors, have fun making your Shrek hat a unique expression of your personality. Happy crafting!
Adding Fun Details: Eyes and Accessories Ideas

Adding whimsical eyes and fun accessories to your Shrek hat is what truly brings your creation to life! These details not only enhance the personality of the hat but also make it instantly recognizable. Whether you’re going for a classic Shrek look or putting your own spin on it, you can create playful features that really pop.
Start with the eyes: safety eyes are a fantastic choice because they are durable and easy to attach. You can find them in different sizes to match your design vision. If you prefer to crochet your eyes, here’s a quick method:
- Create a small circle for the white part using white yarn.
- For the iris, use black or green yarn to make a smaller circle, and then stitch it onto the white circle.
- For added dimension, use a bit of yarn or felt to create eyelids or eyelashes. This small detail can add so much character!
Once your eyes are secured, consider adding fun accessories for a little more flair. You might crochet a pair of exaggerated eyebrows to emphasize Shrek’s expressive face or make a small plushie of another character, like Donkey, to sew onto the side of the hat. Here are some fun ideas:
- Headband or Hat Band: Crochet a band around the base of your hat using different yarn textures for a playful contrast.
- Spiky Hair: Use tassels of yarn for hair sticking out, mimicking Shrek’s wild look.
- Floral Embellishments: Crochet small flowers or mushrooms to give your hat a fun, ogre-like forest vibe.
These charming details not only personalize your hat but also elevate its playful spirit. Remember, every stitch is a chance for creativity! Don’t hesitate to experiment with colors, textures, and shapes. Whether you keep it simple or go all out with accessories, you’re crafting something uniquely you. Enjoy the process, and know that every little addition makes your Shrek hat even more special. You can do this! Happy crafting!
Troubleshooting Common Crochet Problems
As you dive into crafting your Shrek hat, you may encounter a few bumps along the way, but don’t worry-every crocheter faces challenges! Whether you’re struggling with uneven tension or trying to figure out an elusive stitch, troubleshooting is all part of the creative journey. Let’s tackle some common crochet problems that might come up while making those adorable ogre ears and the hat itself.
One of the most frequent issues is inconsistent tension, which can lead to one ear being larger than the other. To remedy this, make a conscious effort to keep your grip on the yarn steady throughout your project. If you notice a difference in size, take a moment to check your stitches. It might help to use a stitch marker to track the start of each round. If the problem persists, try frogging (undoing) a few rows to evaluate where the tension slipped, and re-crochet those areas with more mindfulness. Remember, practice makes perfect, and with each project, your skills will grow!
Another potential hiccup is the dreaded yarn twist. If you find that your yarn is getting tangled as you crochet, it might be the way it’s wrapped or how it’s being fed from the skein. To avoid this, unroll the yarn from the outside of the skein rather than from the center, or utilize a yarn bowl to keep your yarn from tangling. If you do encounter a twist, simply stop, gently unwind the tangles, and continue. A moment of patience here will save you time in the end!
Finally, aligning your crochet work can sometimes feel off, especially when aiming for details like the ogre ears. If your ears look uneven or floppy, don’t hesitate to adjust them after finishing! Secure them better to the hat using a few discreet stitches, or enhance their shape by steaming them slightly with a warm iron, using a cloth to protect your yarn. This can help give them a firmer appearance. Remember, crafting is about enjoying the process, so embrace these moments and learn from them. You’ve got this!
Personalization: Make Your Hat Unique
Bringing your Shrek hat to life with unique personalization touches can make your creation stand out and reflect your individual style. Adding personal elements not only enhances the visual appeal but also transforms the hat into a one-of-a-kind masterpiece that showcases your creativity and effort. So, let’s dive into some exciting ways to make your Shrek hat uniquely yours!
One fantastic way to personalize your hat is by experimenting with colors and patterns. While you might consider using the classic green and brown tones reminiscent of your favorite ogre, why not spice it up? Choose different shades of green for a multi-dimensional look or incorporate fun colors like bright yellows or reds for the ears. Stripes, polka dots, or checks can each add a whimsical flair. You can even use variegated yarns that change colors as you work-they add an element of surprise with every stitch!
Accessorizing your hat is another brilliant way to make it shine. Consider attaching small crochet items such as flowers, insects, or even tiny Shrek characters to the side or front of your hat. You could also fashion a detachable bow or a cute little crown to add personality, especially for themed parties or Halloween. For a playful twist, try adding googly eyes or pom-poms to mimic the character’s features, creating a fun, interactive element for both kids and adults.
Lastly, don’t shy away from customizing the size and fit. If you’re making a hat for a child, consider adding adjustable features like a crochet band or ties. For adults, embellish your Shrek hat with a trendy brim or a slouchy fit. Each alteration can create a unique look while ensuring the hat remains comfortable.
Personalizing your Shrek hat not only shows off your crafting skills but also makes it a cherished item you’ll love wearing. With just a bit of creativity and the willingness to experiment, you have the power to transform a simple crochet project into a unique expression of who you are. So grab your yarn, let your imagination run wild, and remember-this is your adventure in crafting! You can definitely do this!
Sharing Your Finished Project: Join the Community
There’s something magical about community when it comes to crafting. Sharing your finished crochet Shrek hat not only allows you to showcase your hard work, but it also opens the door to connect with fellow crafters who share your passion. Online platforms and local groups are bursting with creativity and inspiration, making them perfect places to celebrate your projects and gather feedback or ideas.
One of the best ways to join the community is by sharing photos of your completed hat on social media platforms like Instagram or Facebook. Use hashtags such as #CrochetShrekHat or #OgreEars to help others find your projects. Engage with other crocheters by commenting on their posts-this creates a welcoming environment where knowledge and inspiration flow freely. You might also stumble upon useful tips or discover different styles that can enhance your own crochet skills.
Consider diving into dedicated crochet forums or groups, where members frequently share their projects, techniques, and challenges. Websites like Ravelry have thriving communities that cater to crocheters of all levels. You can start a discussion about your Shrek hat, seek advice for future projects, or even collaborate on fun ideas with others who love the whimsical ogre just as much as you do. These connections not only make the crafting experience more enjoyable but also promote a culture of support and encouragement.
Don’t forget to celebrate your accomplishments! Participate in local craft fairs or workshops where you can display your creations. Many communities host events where crafters can gather, share ideas, and showcase their work. By putting yourself out there, you’ll not only gain confidence in your crafting abilities, but you might also inspire someone else to start their own crochet journey. Remember, whether you’re a newcomer or a seasoned crocheter, your projects and experiences can foster a vibrant, sharing community that celebrates creativity and joy in making. You can do this, and the community is here to cheer you on every step of the way!
Exploring Other Crocheted Shrek-Themed Accessories
Imagine stepping out wearing a delightful crocheted Shrek hat, and accessorizing it with a range of whimsical Shrek-themed creations! Once you’ve mastered that charming hat and ogre ears, consider expanding your crochet adventures with complementary items that can really bring your Shrek look to life. From finger puppets inspired by Shrek characters to cozy blankets perfect for movie nights, the possibilities are as endless as your creativity!
Start with adorable character keychains. Crochet small figures of Shrek, Fiona, Donkey, or even Puss in Boots! These quick projects can be completed in an afternoon and make fantastic gifts or fun accessories to attach to bags. All you need is some yarn in the right colors, a small crochet hook, and a little stuffing to give them shape. Don’t worry about perfection-quirky, handmade characters capture the charm of their animated counterparts beautifully.
Shrek-Themed Blankets and Throws
If you’re looking for a bigger project, creating a throw blanket featuring Shrek’s face can be both fun and functional. Choose a soft, warm yarn and plan a simple granny square pattern, using green, beige, and brown for an authentic look. As you work on your blanket, think about ways to incorporate other character motifs or quotes from the movies-like “What’s up, Donkey?”-for a truly personalized touch. With each square, you’re not just crafting a blanket; you’re weaving together memories from your favorite films.
Another popular idea is to create themed crochet bags. You could crochet a roomy tote featuring Shrek’s iconic green or Fiona’s lovely dress colors. These bags are perfect for carrying your crocheting supplies or for a trip to the local farmer’s market to grab some “swamp goodies.” Using patterns available on various crafting websites can guide you in forming the structure, and you can embellish them with crocheted flowers or other motifs for that extra Shrek flair.
No matter which direction your creativity takes, the goal is to create joy through your projects. You can do this! Each accessory you make can be another stepping stone in your crafting journey, serving as a fun way to express your love for Shrek while honing your crocheting skills. Share your creations with fellow crafters to inspire others and keep the Shrek-themed crafting spirit alive!
From Beginner to Pro: Skill-Building Techniques
Crocheting is an art that welcomes creators at every skill level, from beginners to seasoned pros. To level up your crochet game, it’s vital to embrace new techniques and challenge yourself with projects like the adorable Shrek hat and its charming ogre ears. If you’ve mastered the basics and are ready to enhance your skills, there are plenty of practical strategies to transform your creations from simple to spectacular!
Start by exploring your tension. Keeping a consistent tension is crucial for creating even stitches and a polished finish. To practice this, try crocheting swatches using different hook sizes and yarn weights. You’ll notice how the fabric’s drape and texture change, helping you understand how to control tension in various projects. Aim to find the sweet spot where your stitches are neither too tight nor too loose, allowing your work to have a beautiful flow that fits comfortably.
Next, focus on mastering different stitches that can add unique textures to your Shrek hat. Beyond the basics like single and double crochet, consider incorporating stitches like the bobble or shell stitch for visual interest. These stitches can be utilized in the body of the hat or as accents on the ogre ears, making your projects not only functional but also a visual delight. Don’t shy away from experimenting! Each stitch you learn opens a new avenue for creativity.
To put your newfound skills into practice, engage with the crochet community. Sharing your journey with others can elevate your experience. Join online forums or social media groups dedicated to crochet; you’ll find a treasure trove of inspiration and tips from fellow crafters. Consider participating in crochet alongside others, whether in person or virtually, as you can exchange ideas and techniques. The support you find there can motivate you to tackle projects that might seem daunting at first.
Lastly, don’t forget to celebrate each completed project, regardless of its complexity. Each stitch you crochet brings you closer to becoming the confident maker you aspire to be. From simple hats to intricate blankets, every creation contributes to your growth as a crafter. Embrace mistakes as learning opportunities, and remember: with each new project, you’re adding to your skills-so keep crocheting and let your creativity shine!
FAQ
Q: What yarn is best for making a Crochet Shrek Hat?
A: For a Crochet Shrek Hat, it’s ideal to use medium-weight yarn, such as worsted or acrylic blends. Look for shades of green for the base and light colors for the ears. Always check the pattern for specific yarn recommendations to achieve the best results.
Q: How long does it take to crochet a Shrek hat?
A: The time to crochet a Shrek hat varies by skill level. Typically, it takes about 2-4 hours for beginners and 1-2 hours for more experienced crocheters. Consistent practice can help you become faster as you gain confidence in your skills.
Q: What tools do I need to crochet a Shrek hat with ears?
A: To crochet a Shrek hat, you’ll need a crochet hook (size H or I), scissors, a yarn needle for weaving in ends, and stitch markers. These tools help streamline the process and keep your project organized.
Q: Can I customize my Crochet Shrek Hat?
A: Yes! Personalizing your Crochet Shrek Hat can include adding unique colors, embellishments, or different ear shapes. Explore our section on Personalization: Make Your Hat Unique for creative ideas that enhance your design.
Q: What if I struggle with the ear pattern?
A: If you find the ear pattern tricky, try breaking it down into smaller steps and practicing each stitch type separately. Utilizing our Troubleshooting Common Crochet Problems section will also provide helpful tips to overcome challenges.
Q: Is this hat suitable for beginners?
A: Absolutely! The Crochet Shrek Hat pattern is designed with beginners in mind, providing clear instructions and step-by-step guidance. Embrace the process, and remember, with practice, you will improve your crochet skills.
Q: Where can I find patterns for other Shrek-themed accessories?
A: You can discover more Shrek-themed accessory patterns in our Exploring Other Crocheted Shrek-Themed Accessories section. These patterns can complement your hat, allowing for a full Shrek cosplay!
Q: How do I join a crochet community to share my Shrek Hat?
A: Joining a crochet community is easy! Engage in local craft groups or online forums where you can share projects and tips. Check our Sharing Your Finished Project: Join the Community section for specific platforms to get started.
Wrapping Up
Congratulations on mastering the crochet Shrek hat with those adorable ogre ears! This fun project is perfect for any occasion, whether you’re dressing up for a party or just enjoying some creative time at home. If you’re eager to dive into more crochet fun, check out our collection of easy crochet patterns [2] or explore free crochet patterns tailored for beginners [1].
Don’t stop here! Share your creations in the comments below, or ask questions if you’re unsure about your next project. Remember, every stitch you make builds your skills-so keep crafting! Be sure to subscribe to our newsletter for more creative inspirations and tips, because your next crochet adventure is just around the corner. You’ve got this, and we can’t wait to see what you make next!
Get our latest guides, news, and insights highlighted in your Google Search & AI Overviews.