
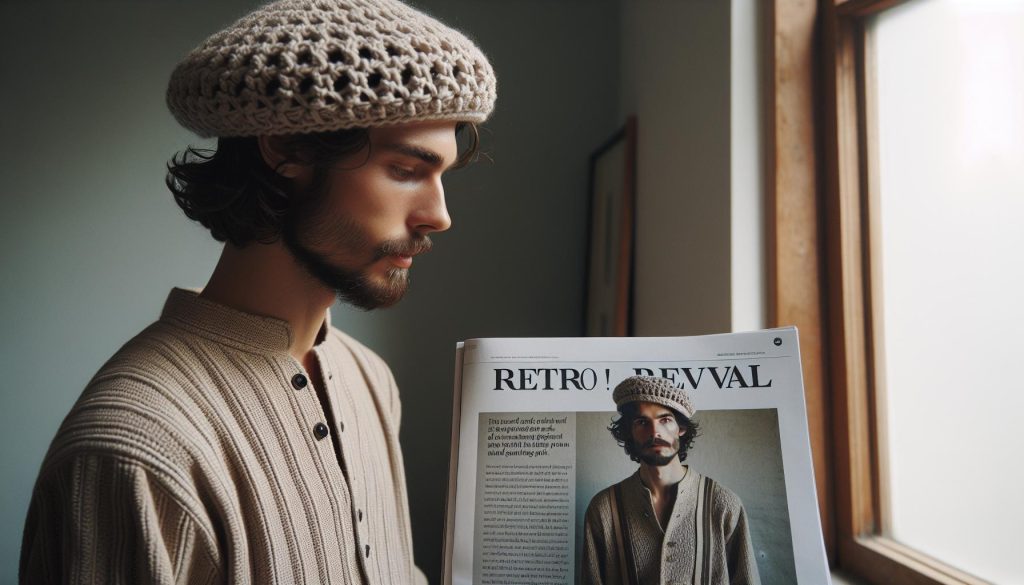
Are you ready to transport yourself to a bygone era with a cozy, handcrafted touch? Crochet vintage hat patterns are not only a delightful way to express your creativity, but they also allow you to add some retro flair to your wardrobe. Whether you’re an experienced crocheter or just starting your journey, the charm of these designs can inspire you to take on a new project that’s both stylish and fulfilling.
Creating a vintage hat isn’t just about making a fashion statement; it’s about embracing the art of crafting with your own hands. Imagine donning a hat that reflects nostalgia while adding warmth to your outfit. Plus, the satisfaction of seeing your unique creation come to life is unbeatable! In this guide, you’ll discover free patterns for hats that range from elegant cloches to playful beanies, each perfect for injecting a touch of retro revival into your life. So gather your yarn and hook-let’s dive into the enchanting world of crochet vintage hats!
Crochet Basics: What You Need to Start Creating
To dive into the world of crochet vintage hats, you only need a few essential items and a sprinkle of enthusiasm! Whether you’re a beginner or looking to polish your skills, starting this creative journey is both exciting and rewarding. A vintage hat can add a unique flair to any outfit, making it well worth the effort.
First and foremost, gathering your materials is key. For crochet, you’ll primarily need yarn, a crochet hook, and a pair of scissors. Here’s a quick list of what to get started:
- Yarn: Opt for a medium-weight yarn (like worsted weight), which offers a good balance between ease of use and versatility for different styles.
- Hook: Select a crochet hook that corresponds to your yarn weight, commonly an H/8 (5.0 mm) for medium yarn.
- Scissors: A sharp pair of scissors will help you cleanly cut yarn, ensuring neat finishes.
- Measuring Tape: Useful for ensuring your hat fits just right!
The process can be broken down into simple steps. First, familiarize yourself with basic crochet stitches-these will form the foundation of your hats. A slip knot and the chain stitch are your starting points. Once you’re comfortable, try creating a simple beanie or cloche. If you’re looking for patterns, many free resources are available online, complete with detailed instructions that guide you through each stitch and technique.
Don’t feel overwhelmed! Remember, crafting is about progress, not perfection. You can easily customize your designs with unique color schemes or embellishments, while vintage aesthetics often embrace a bit of whimsy. So pick up that hook and yarn, and create something beautiful-you’ve got this!
Top Vintage Hat Styles to Crochet Today
The charm of vintage hats is timeless, and crocheting your own allows you to add a personal twist to classic styles. Whether you’re drawn to the elegance of a cloche or the playful vibe of a floppy sun hat, there are countless vintage designs to explore and recreate. Each hat not only serves as a chic accessory but also as a canvas for your creativity, making it a delightful project for crafters of all levels.
For a casual, bohemian look, consider the wide-brimmed floppy hat. This style is perfect for summer outings and can be finished in a couple of afternoons. Use a lightweight yarn and a larger hook for a breezy feel. Add a few crochet flowers or vintage buttons as embellishments, and you’ll have a piece that captures the essence of retro fashion. If you’re feeling adventurous, try working with a gradient yarn that shifts colors for added interest!
Another exquisite option is the crochet cloche hat, which has soared in popularity since the 1920s. It typically features a snug fit and a rounded crown, perfect for vintage-inspired outfits. This project is moderately challenging but incredibly rewarding. Use medium-weight yarn and a size I (5.5 mm) hook, allowing for a structured finish. During the final rows, experiment with different stitch patterns-shells or bobbles can give your cloche a distinctive flair.
For those who enjoy a bit of whimsy, a newsboy cap is a fun project that combines vintage style with modern flair. This hat features a bill and an adjustable band, which makes it not only stylish but also highly functional. You can craft this using a durable yarn and incorporate ribbing for a snug fit around the head. Don’t shy away from adding a decorative button on the side for that authentic touch.
Lastly, remember that personalization is key in vintage crochet. You can always mix and match different styles or add unique embellishments to make each piece your own. Grab your yarn and hook, and start creating these delightful hats that celebrate the joy of craftsmanship while channeling the spirit of the past. You’ve got this-turn those old-world designs into something uniquely yours!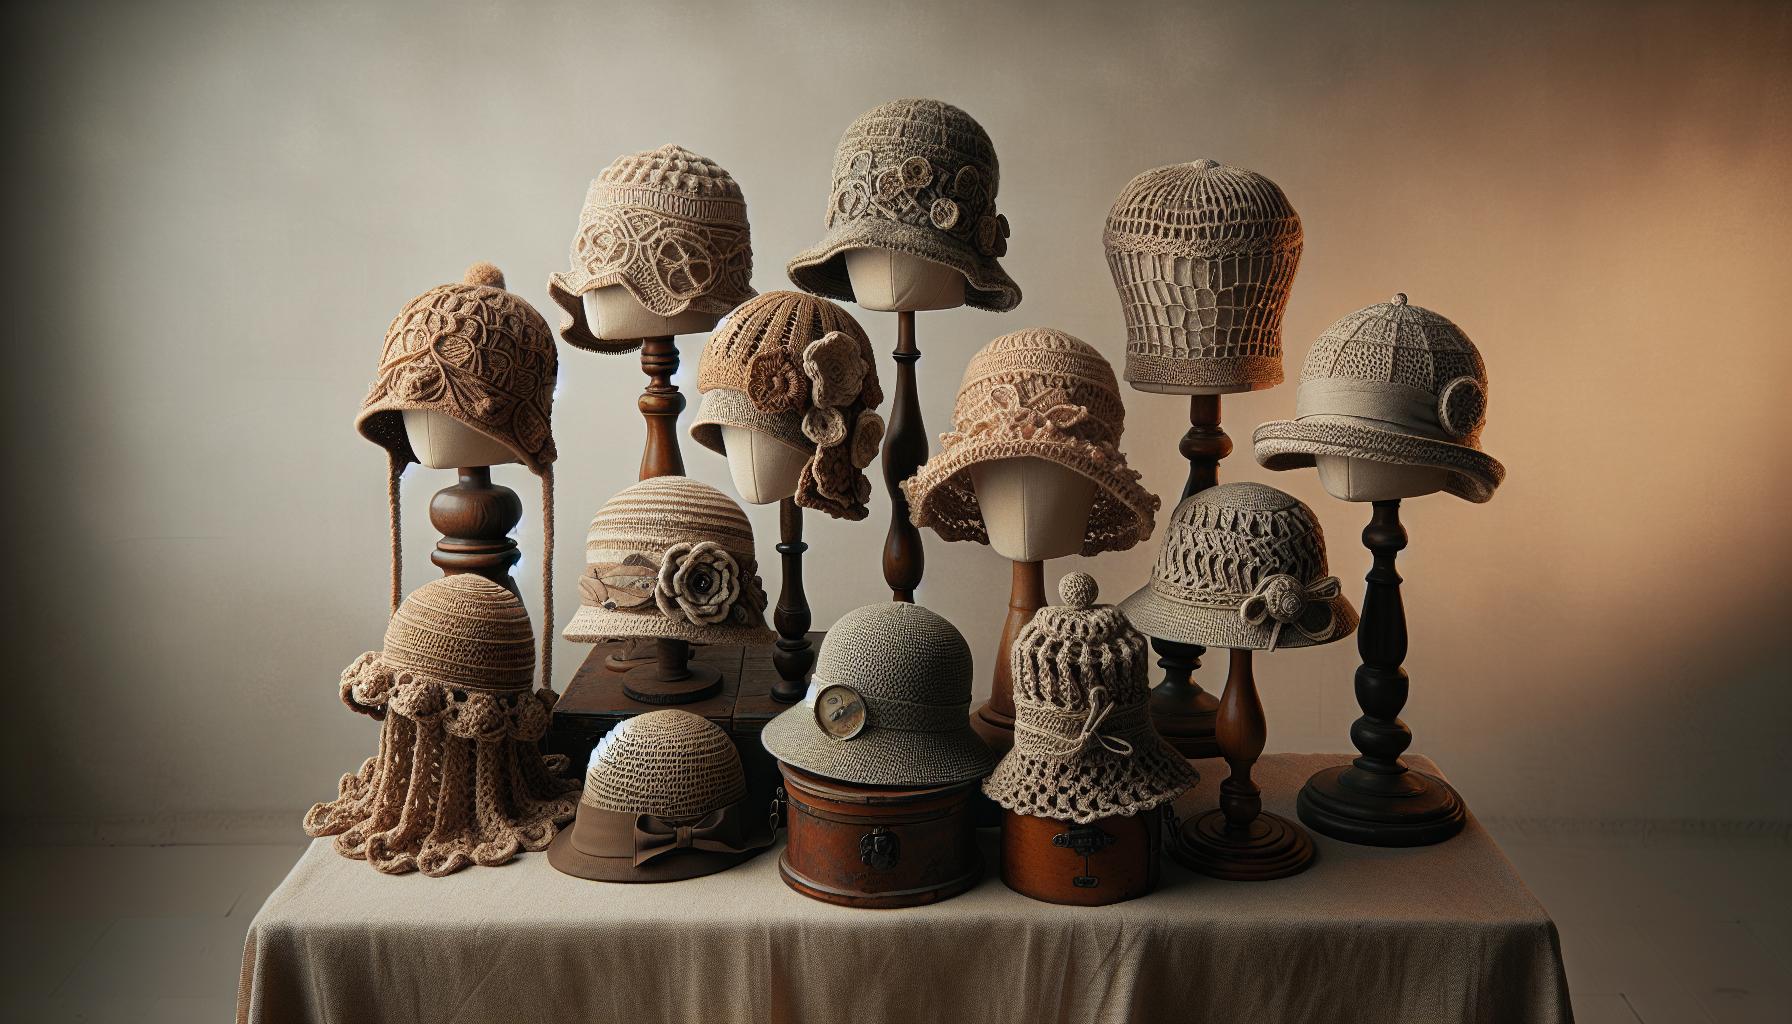
Essential Crochet Stitches for Retro Hats
When you’re diving into the world of vintage crochet hats, mastering a few essential stitches can transform your projects from simple to stunning. These stitches not only add character but also allow you to replicate the intricate detailing often seen in retro designs. Whether you’re embellishing a cloche or crafting a playful floppy hat, knowing these key techniques will empower you to bring your creative visions to life.
First up is the double crochet (dc) stitch, a staple in many hat patterns. It’s relatively easy to learn and produces a lovely height, making it perfect for creating structure. To work a double crochet, yarn over, insert your hook into the stitch, yarn over again, pull through, yarn over once more, and pull through the last two loops on your hook. This stitch is ideal for the body of a hat where you want to achieve a light, airy feel while still retaining width.
Adding Texture with Stitches
Next, consider incorporating stitches like the shell stitch and bobble stitch for added texture and nostalgic charm. The shell stitch forms clusters of double crochets that create a flared effect, reminiscent of the decorative edges of vintage hats. To create a single shell, you’ll yarn over and make five double crochets in the same stitch. This gives the fabric a lovely, scalloped look.
The bobble stitch is another fantastic option. It adds dimensionality and whimsy-perfect for retro styles! To make a bobble, yarn over and pull through the first two loops on your hook in the same stitch five times, then pull through all remaining loops together. These textured stitches can be used around the brim or as part of the body of hats, making each piece unique and visually appealing.
Finishing Touches
Finally, don’t overlook the slip stitch, which is invaluable for joining rounds and ensuring clean edges. This stitch can make a significant difference in finishing your hats smoothly, especially at the joins where rounds meet or for detailing on the brim. Use it to attach decorative elements or to create a tight finish around openings.
By incorporating these essential stitches into your vintage hat creations, you can elevate your work and embrace the retro revival with confidence. Remember, practice makes perfect, and every stitch is a step toward creating something beautiful. So grab that yarn and hook-you’ve got this! Embrace the joy of crafting and let your creativity shine through in every hat you make.
Trending Yarn Choices for Vintage Styles
Choosing the right yarn is crucial for crafting beautiful vintage-style hats that not only look stunning but also feel great to wear. Whether you’re aiming for the refined elegance of the 1920s cloches or the whimsical charm of 1970s floppy hats, the yarn you select will influence the drape, texture, and overall aesthetic of your project. Here’s a look at some trending yarn options that will elevate your crochet creations.
For a classic, soft finish reminiscent of vintage styles, consider using acrylic blends that mimic wool properties without the fuss. Yarn brands often mix acrylic with natural fibers like wool or cotton, resulting in a yarn that’s both warm and lightweight. Look for worsted weight options that are easy to work with and come in a variety of muted vintage colors, such as dusty pinks, soft blues, and creamy neutrals. These shades perfectly capture the essence of retro fashion and are versatile enough for many styles.
Another excellent option is cotton yarn, which is ideal for creating breathable hats, especially for warmer seasons. Cotton provides a crisp texture that holds shape beautifully, making it perfect for structured styles like fedoras or berets. Choose mercerized cotton for a slight sheen that adds a touch of sophistication, or opt for unmercerized cotton for a more matte, vintage look. Besides, cotton yarn is commonly available in bright, cheerful colors that hark back to the vibrant hues of past eras.
If you’re feeling adventurous, why not experiment with specialty yarns? Boucle and novelty yarns are fantastic for adding unique texture to your hats. Boucle yarn, which features loops along the strand, creates a delightful fuzzy finish reminiscent of vintage hats. Use it sparingly for accents, or go all out for a cozy, fluffy look. Just keep in mind that textured yarns can be tricky to work with, so it’s best to choose simple stitches that showcase the yarn’s beauty.
No matter which yarn you choose, always consider the weight and fiber content to make sure it aligns with the style and function of your vintage hat. Remember, the joy of crochet lies in experimentation. So gather your materials, let your creative spirit flow, and soon you’ll have charming hats that evoke the nostalgia of yesteryears. You’ve got this!
Step-by-Step Guide to Basic Hat Patterns
Creating your own vintage hats is not only a fun project but also a rewarding journey into crochet. The beauty of crafting a hat lies in the simplicity of the basics, which makes it perfect for all skill levels, from beginners to seasoned crafters. In just a few steps, you can transform yarn into a stylish accessory, honoring the timeless elegance of retro fashion. So, let’s jump into the crafting process!
First things first, gather your materials. You’ll need:
- Yarn: Choose a soft worsted weight acrylic or cotton-both are excellent for beginners.
- Hook: A size H (5mm) hook usually works well for most patterns.
- Scissors: For cutting your yarn.
- Tapestry needle: To weave in ends once your hat is complete.
- Measuring tape: To ensure the correct fit.
Now, let’s break down the basic steps to crochet a simple vintage-style hat:
Step 1: Start with a Foundation Chain
Make a slip knot, then chain 4 and join with a slip stitch to form a ring. This small circle is where we’ll build our hat.
Step 2: Build the Body
In your ring, crochet 6 single crochets (sc). Pull the tail of the yarn to tighten the ring. In the next round, increase by placing two single crochets in each stitch (12 stitches total). Continue increasing each round by adding one more sc between increases. Repeat this until you reach the desired crown diameter, which typically ranges from 5 to 6 inches for an average adult hat.
Step 3: Create the Side Brims
Once you’ve reached the desired diameter, switch to regular single crochet without increasing for several rounds. This will create the side of the hat. Aim for a height of about 5 to 7 inches, depending on your style preference.
Step 4: Finishing Touches
Once you’ve achieved your desired height, fasten off, leaving a long tail. Use the tapestry needle to weave in any loose ends and secure the top of the hat. If you want to add embellishments like a bow or ribbon, now is the time!
Congratulations! You’ve just completed your first vintage crochet hat. Don’t be afraid to experiment with different colors or embellishments to truly make it your own. Remember, every hat you create is a reflection of your unique style, and the joy lies in the making. You’ve got this!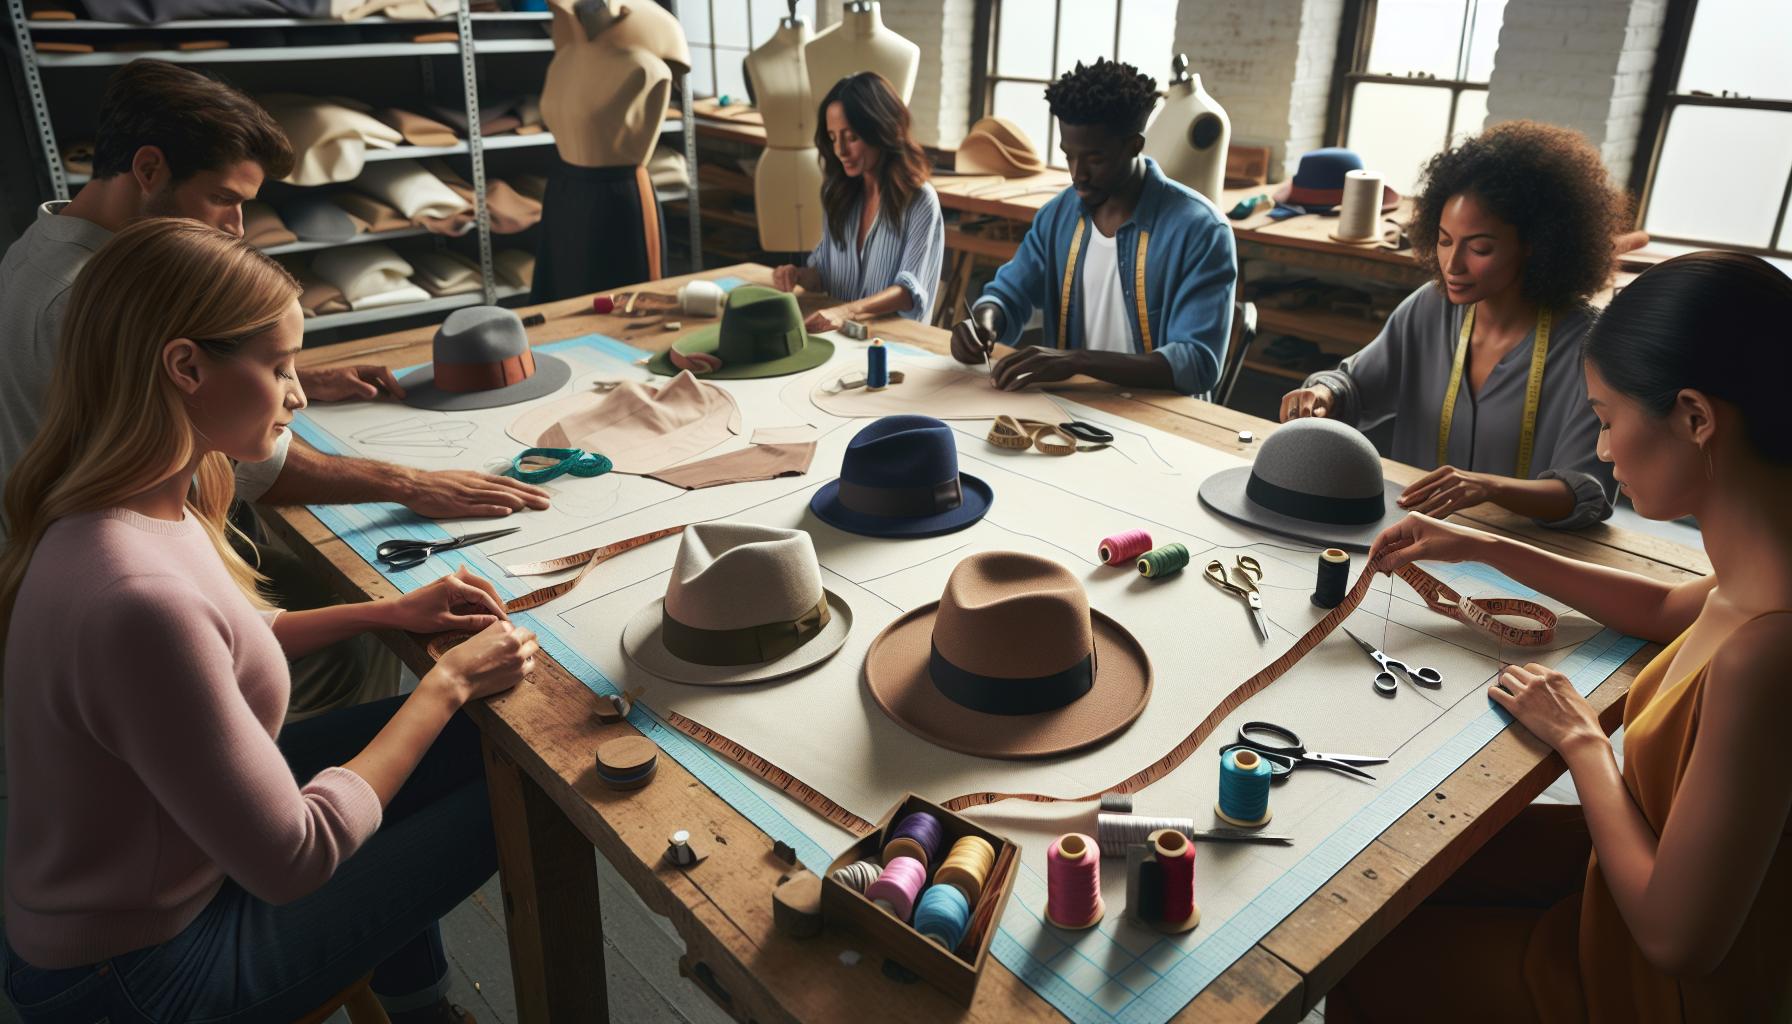
Advanced Techniques for Unique Retro Designs
To elevate your vintage crochet hat designs beyond the basics, exploring advanced techniques can truly transform your work into something unique and stunning. Techniques such as colorwork, texture enhancement, and intricate stitch combinations can add depth and character to your hats, making them stand out. Plus, diving into these methods can be incredibly rewarding, allowing you to express your personal style and creativity.
One way to add a unique twist is through colorwork techniques like fair isle or tapestry crochet. By selecting a palette of colors that evoke vintage vibes-think warm browns, soft pastels, or bold primary colors-you can create patterns that mimic the styles of different eras. Start by planning your design on graph paper or using a crochet design app. Once you have your color scheme and pattern, you can work through the hat by carrying the unused yarn along the inside, ensuring a neat finish on the outside. This method not only looks intricate but is also a wonderful opportunity to use up leftover yarn from previous projects!
Textured stitches are another fantastic way to enhance your hats. Incorporating stitches like shells, bobble, or crochet popcorn can provide visual interest and tactile sensation. Imagine a classic cloche hat adorned with textured rows that catch the eye in just the right way. If you’re new to these stitches, take a few moments to practice them separately before integrating them into your hat design. And remember, while some techniques may seem tricky at first, practice makes perfect-and you’ll be amazed at what you can create.
As you experiment with advanced techniques, don’t forget the finishing touches. Adding elements such as a vintage-inspired brim, using contrasting colors for piping, or embellishing with flowers or buttons can significantly enhance your piece. Consult resources like video tutorials or community forums if you hit a snag-after all, the crochet community is full of friendly faces ready to share tips and inspiration. With each project, you’ll find that you’re not just making a hat but are creating an heirloom that embodies your artistic journey. So grab your hook, unleash your imagination, and get ready to craft some retro magic!
Tips for Customizing Your Vintage Crochet Hat
To elevate your vintage crochet hat to a personalized masterpiece, customizing is key! Adding your own flair not only makes your hat unique but also ensures it reflects your style. Whether you’re a seasoned pro or just starting out, these tips will guide you through fun, achievable modifications that can enhance your creation.
Play with Colors
Start by selecting a color palette that embodies the vintage aesthetic you love. Think about using warm earthy tones, soft pastels, or vibrant primaries reminiscent of different decades. A simple way to introduce color is through stripes or color blocking. You can even use a technique called *tapestry crochet* for more intricate designs. For example, if you want to honor the Art Deco style, consider using deep blues and golds in a geometric pattern. Gather inspiration from vintage fabric patterns or historical color charts and remember, you can always test out your colors against one another by making small swatches first.
Add Unique Textures
Textures can completely transform the feel of your hat. Incorporating different stitches such as shells, bobbles, or even popcorn stitches can create visual intrigue and tactile appeal. Imagine a cloche hat featuring rows of bobbles for a playful effect! If you’re venturing into textured stitches, practice them separately before integrating them into your design. This way, you build confidence while ensuring that the textures work together beautifully in your final piece.
Accessorize Your Hat
Once your base is complete, think about embellishments that can really bring your hat to life. Adding a vintage-inspired brim, sewing on a decorative flower, or using different yarn weights for a unique design can create focal points on your hat. An embroidered vintage logo, a cluster of buttons, or even a ribbon can layer in style and personality. Remember to keep your embellishments cohesive with the overall aesthetic of the hat. For instance, a wide-brimmed sun hat could be adorned with a patterned fabric band and a few sprigs of faux flowers for a charming garden party look.
With these customizable tips, you’re well on your way to crafting a vintage crochet hat that is truly one-of-a-kind. Each addition not only enhances your work but also infuses it with your creativity and personal touches. So grab your yarn and hooks, and let your imagination run wild-you can absolutely create something that showcases your unique style and passion!
Inspiration: Real Projects from the Community
Diving into the world of vintage crochet hats is not just about the final product; it’s about the community and the shared passion among makers. Real projects from fellow crafters can spark your creativity and motivate you to try your own hand at these charming retro styles. Whether you’re looking for simple patterns or advanced designs, you’ll find inspiration in the stories and successes of others.
One vibrant project shared by a member of the crochet forum featured a stunning cloche hat that beautifully captured the 1920s aesthetic. This particular hat was made using a soft, fluffy yarn in a rich burgundy color, perfect for autumn outings. The crafter used a combination of double crochet and shell stitches to create a pattern that not only showcased their skill but also resulted in a cozy, stylish accessory. The finished product was complemented by a vintage-style ribbon around the brim, adding an elegant touch. This project highlights how easy it is to transform basic stitches into something spectacular with a personal twist.
Another fantastic example comes from a beginner who tackled a simple sun hat pattern inspired by the 1960s. They chose to use cotton yarn in sunny yellows and soft whites, embodying the fun spirit of the era. By experimenting with color blocking and even adding a wide brim, they made the hat both functional and fashionable-perfect for sunny days at the beach. This project reminds us that you don’t need to be an expert to create something beautiful; everyone starts somewhere, and the journey is just as important as the outcome.
Sharing your own creations is equally rewarding. Consider posting your finished hats in community groups or on social media platforms dedicated to crochet. You never know who you might inspire or what tips you may receive in return. Plus, seeing what others have achieved can provide valuable insights into different techniques and styles, encouraging you to experiment with your own designs. Remember, the more you engage with the crochet community, the richer your crafting experience will become. The world of vintage crochet hats is waiting for your creativity-let’s get crafting!
Maintenance and Care for Hand-Crocheted Hats
Taking care of your hand-crocheted hats is essential to keep them looking vibrant and lasting for years to come. Whether you’ve crafted a stunning cloche or a playful sun hat, proper maintenance will ensure your vintage creations retain their charm. The key is a gentle approach, since many crochet hats are made from delicate yarns that can easily lose their shape or texture if mishandled.
To start, always check the yarn label for specific washing instructions-this will guide your cleaning methods. In general, hand washing is the safest option. Fill a basin with cool water and a mild detergent, then gently submerge your hat. Avoid scrubbing or twisting; instead, let it soak for about 10-15 minutes. Rinse thoroughly with cool water to remove any soap residue. Remember, never wring out your hat! Instead, gently press the water out by pressing it between two clean towels to avoid damaging your stitches.
Once clean, reshape your hat. Lay it flat on a towel, gently mold it back to its original shape, and then allow it to air dry away from direct sunlight. This helps prevent fading and ensures that your hat won’t lose its form. For hats made from natural fibers like cotton or wool, a light steam can help to de-wrinkle without harming the fabric. Just be careful to keep the steamer a safe distance from the yarn-about 6 inches should do the trick.
For everyday upkeep, store your hats in a cool, dry place, ideally in a shape-preserving manner such as on a hat rack or within a spacious box. Avoid stacking them to prevent distortion. If you notice any lint or pilling, gently remove it using a fabric shaver or a lint roller. This will keep your vintage hats looking as fresh as the day you made them!
Taking these simple steps will not only maintain your vintage crochet hats’ aesthetic but will also keep the joy of your crafting alive for many seasons to come. With a little love and care, your handmade treasures will remain a testament to your creativity and hard work!
Crochet Hat Pattern Resources: Where to Find More
If you’re on the hunt for crochet hat patterns that embrace vintage flair, you’re in luck! There are a plethora of resources available that cater to various skill levels, ensuring that everyone can find something to fit their creative desires. From online databases to community networks, the crochet world is rich with inspiration and knowledge waiting to be tapped into.
One fantastic starting point is Easy Crochet, which boasts a library of over 700 free patterns. This site is perfect for exploring a range of styles, including adorable vintage hats. You’ll discover patterns ranging from beginner-friendly beanies to more intricate designs that reflect retro styles. The organized sections allow you to quickly find exactly what you’re looking for, whether it’s a classic cloche or a playful sun hat.
Another valuable resource is My Crochet Space, which offers detailed tutorials that can help ease you into crocheting vintage hat patterns. Their step-by-step guides are not only suitable for beginners but also include tips and tricks for adding your own unique flare to standard designs. Videos alongside written instructions make figuring out new techniques a breeze, ensuring that you can tackle any project with confidence.
Don’t underestimate the power of social media and crafting communities! Platforms such as Instagram, Pinterest, and Facebook have numerous crochet groups where members share their projects and favorite patterns. YouTube is another treasure trove of crochet tutorials-search for playlists dedicated to vintage hat styles, and you might find exactly the inspiration you need to start your next joyful creation. And remember, participating in these communities not only helps you find patterns but also connects you with fellow crochet enthusiasts who can offer support and advice as you embark on your crafting journey.
Showcase: Your Finished Vintage Hat Creations
There’s something incredibly satisfying about finishing a crochet project, especially when it’s a vintage hat that embodies that charming nostalgia. When you create a beautiful hat, you’re not just crafting a piece of clothing; you’re weaving stories and memories into every stitch. Whether it’s a flapper-inspired cloche, a classic beret, or a playful sunhat, showcasing your creations can inspire others and remind you of your own journey in the craft.
If you’re eager to share your finished hats, consider gathering a collection of photos that capture different angles and highlights of your unique creations. A neatly styled photo shoot can really make your hat shine! Use natural lighting to enhance colors and textures, and add a few props that match the vintage theme, like old books or flowers. This not only makes your hats visually appealing but also gives potential viewers ideas on how they can incorporate similar styles into their wardrobe.
Once you have your pictures, sharing them on social media platforms like Instagram or Pinterest can connect you with a vibrant community of fellow crochet enthusiasts. Don’t forget to use relevant hashtags like #VintageCrochetHat or #RetroCrochet, so your projects find the right audience. You might even inspire someone else to pick up yarn and hooks and start crafting. Engage with comments and feedback, as this interaction can spark new ideas and techniques for your next projects.
Remember, every hat tells a story-a story of creativity, effort, and a little bit of love. Celebrate that by sharing not just the end product but the journey it took to get there, including any challenges you faced and how you overcame them. This narrative, paired with your gorgeous pictures, can really resonate with others, making them feel part of your crafting adventure. So grab your camera, take those photos, and let your vintage hats shine brightly in the crochet community!
Join the Crochet Community: Share and Connect
There’s a vibrant community of crochet enthusiasts just waiting for you to join! Whether you’re a seasoned pro or just starting with your first vintage hat, sharing your progress and finished creations can enhance your crafting journey. Online platforms provide a treasure trove of support and inspiration, connecting you with fellow makers who share your passion for retro crochet styles.
Start by documenting your work with photos that tell your story. Capture the intricate details of your stitches or showcase your hat in a beautiful setting. Um, natural light really brings out the colors and textures of your yarn! When you’re ready to share, social media platforms like Instagram, Facebook groups, or Pinterest are fantastic outlets. Use hashtags like #VintageCrochet and #CrochetCommunity to help your work reach others who appreciate the same style. Engaging with your audience can spark collaboration, tips, and new ideas, making the experience richer for everyone involved.
Connect and Collaborate
Don’t just share; interact! Comment on others’ posts, start discussions about different patterns, and ask for feedback on your work. Perhaps you want to learn a new technique or style-there’s always someone in the community who would be thrilled to help you out! In fact, many crafters find it delightful to offer tips on yarn choices or stitch methods. By engaging in this way, you’re not just showcasing your creations; you’re building relationships that can lead to exciting collaborations or challenges.
Lastly, consider participating in crochet-along events. These can range from casual challenges to organized group projects where everyone works on the same pattern and shares their progress. The camaraderie and encouragement from fellow participants can boost your confidence and inspire you to take on more complex projects that you’ve always wanted to try. Remember, the crochet community is an inclusive space where every stitch counts, and every creator has a valuable story to tell. So pick up your hooks, join the conversation, and let’s celebrate the wonderful world of crochet together!
Frequently Asked Questions
Q: What are some popular vintage hat styles that can be crocheted?
A: Popular vintage hat styles to crochet include the cloche hat, beret, and newsboy cap. These designs showcase retro elegance and charm, making them perfect for a retro revival. Check out the section on Top Vintage Hat Styles to Crochet Today for more details.
Q: Where can I find free crochet vintage hat patterns?
A: You can find an array of free crochet vintage hat patterns on websites like AllFreeCrochet and Bella Coco Crochet. These resources offer a variety of styles, techniques, and skill levels to match your abilities. Explore the Crochet Hat Pattern Resources section of the article for specific links.
Q: What materials do I need to crochet a vintage hat?
A: To crochet a vintage hat, you’ll need yarn (preferably lightweight or medium), a crochet hook (size varies by pattern), and scissors. Depending on the design, additional materials may include buttons, embellishments, or ribbon. Refer to the Crochet Basics section for a detailed list.
Q: How do I customize my crocheted vintage hat?
A: You can customize your crocheted vintage hat by adding personal touches like unique colors, different stitch patterns, or decorative elements like flowers and beads. Check out the Tips for Customizing Your Vintage Crochet Hat for inspiration and techniques.
Q: What are the basic stitches used in vintage crochet hat patterns?
A: Basic stitches used in vintage crochet hat patterns include the chain stitch, single crochet, double crochet, and slip stitch. Mastering these will help you create beautiful hats. Visit the Essential Crochet Stitches for Retro Hats section for detailed instructions.
Q: How long does it usually take to crochet a vintage hat?
A: The time it takes to crochet a vintage hat varies based on complexity and your skill level. Typically, a simple hat can take 3-5 hours, while more intricate designs may take longer. Refer to the Step-by-Step Guide to Basic Hat Patterns for estimated times per project.
Q: Can beginners crochet vintage hats successfully?
A: Yes, beginners can definitely crochet vintage hats successfully! Start with simpler patterns and gradually build up to more complex designs. The article provides a Step-by-Step Guide that’s perfect for beginners. Remember, practice is key-you can do this!
Q: What is the best type of yarn for vintage crochet hats?
A: The best yarn for crocheting vintage hats depends on the desired look and feel. Light and medium weight yarns like cotton or acrylic are popular for their versatility and ease of care. Explore the Trending Yarn Choices for Vintage Styles section for more specific recommendations.
To Wrap It Up
As you dive into the world of Crochet Vintage Hat Patterns, remember that each stitch brings you closer to creating something uniquely yours. Whether you’re wrapping up your first project or refining your skills, these retro revival styles are perfect for every level. Don’t wait to start crafting your own cozy creations; your next favorite hat is just a pattern away!
For more inspiration, check out our collection of free crochet patterns for beginners, where you’ll find a plethora of projects that spark joy and creativity. If you’re looking to expand your crochet skills, explore our expertly curated tutorials designed for all skill levels. And don’t forget to subscribe to our newsletter for the latest patterns, tips, and exclusive content straight to your inbox.
Join the conversation by sharing your finished hats or asking questions in the comments below! Your crochet journey is just beginning, and we’re here to cheer you on every step of the way. Happy crocheting!
Get our latest guides, news, and insights highlighted in your Google Search & AI Overviews.