
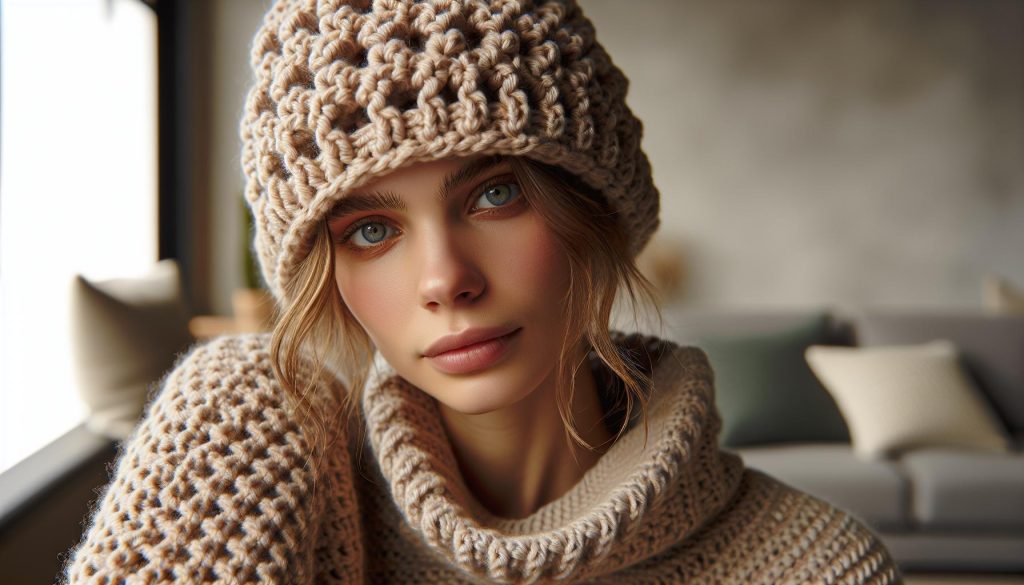
Are you ready to create your own cozy crochet waffle stitch hat? This textured design not only keeps you warm but also adds a stylish touch to your winter wardrobe. Whether you’re a beginner or a seasoned crocheter, this project is a fantastic way to practice your skills while making something practical and beautiful. The waffle stitch creates a captivating texture that’s both fun to make and delightful to wear.
In just a few hours, you can whip up a hat that’s perfect for yourself or as a thoughtful gift. All you need are some basic materials and a little bit of time. So grab your yarn and hook-let’s dive into this satisfying project that promises to keep you snug and stylish all season long. You can absolutely do this!
Choosing the Right Yarn for Your Crochet Hat
can truly make or break your project. Your yarn selection not only impacts the hat’s appearance but also its comfort, warmth, and durability. With so many options available, it’s essential to understand the qualities of different types of yarn and how they can enhance the textured cozy design of the waffle stitch hat.
When selecting yarn, consider fiber content. For a cozy hat, you might lean towards natural fibers like wool or alpaca, known for their warmth and softness. If you’re looking for something more budget-friendly, acrylic yarn is an excellent choice-it’s durable, easy to care for, and available in a vast array of colors. Remember that the yarn’s weight is also crucial; for a thick and plush hat, medium (worsted) weight yarn works beautifully. Always check the yarn label for the recommended crochet hook size, as this will help you achieve the right tension.
Next, think about color and texture. When working with the waffle stitch, a slightly textured or variegated yarn can add depth without overwhelming the stitch pattern. Hand-dyed yarns often bring unique color shifts that can make your hat one-of-a-kind. Moreover, if you plan on personalizing your hat with embellishments or stitches, choose a yarn that contrasts well with your planned additions.
In conclusion, your yarn choice sets the foundation for your crochet hat’s success. By paying attention to fiber, weight, and color, you can create a beautiful and functional piece that not only showcases your skills but also keeps you warm. Embrace the joy of selecting the perfect yarn, and remember, you can do this!
Essential Tools for Crochet Success
When diving into the world of crochet, particularly for a textured piece like a waffle stitch hat, having the right tools at your fingertips can make all the difference. Think of your tools as an extension of your creativity. They can help you translate that vision in your mind into a beautiful, warm accessory you’ll be proud to wear or gift. Let’s explore the must-have tools that can elevate your crochet experience!
Essential Crochet Tools
- Crochet Hooks: Start with a set of crochet hooks that includes various sizes. For a medium weight yarn, a 5.0 mm (H-8) hook is usually perfect for waffle stitch hats. Aluminum or ergonomic hooks are great choices, as they provide comfort and smooth stitching.
- Yarn: As discussed earlier, choose high-quality yarn that complements your project. A worsted-weight, soft yarn will not only feel good but also showcase the stitch texture effectively.
- Stitch Markers: These little tools are invaluable! Use them to mark the start of rounds or to keep track of your stitch count, ensuring that your hat maintains the right shape.
- Scissors: Keep a pair of sharp scissors handy for snipping yarn. Clean cuts will prevent unraveling and ensure a neat finish.
- Tapestry Needle: Use this for weaving in ends once your project is complete. A larger eye makes threading a breeze, especially with thicker yarns.
- Measuring Tape: A flexible measuring tape helps ensure your hat is the right size. It’s also great for adjusting as you go!
Creating Your Cozy Waffle Stitch Hat
Before you start, make sure you have a comfortable working environment. A good light source, a comfy chair, and maybe some music or a podcast can make your crafting time enjoyable. Remember, the more relaxed you are, the better your stitches will flow.
Gather your materials, set aside some time (a couple of hours depending on your pace), and remember that the journey is just as rewarding as the finished product. As you start your hat, don’t hesitate to refer back to your tools to help solve any little challenges that might arise. Whether it’s checking stitch counts with markers or making adjustments with your measuring tape, these essential tools will help ensure your waffle stitch hat turns out beautifully.
You can do this! Every stitch brings you closer to your unique creation, and with these tools by your side, your crochet journey will be both successful and rewarding. Happy hooking!
Step-by-Step Guide to Crochet Waffle Stitch
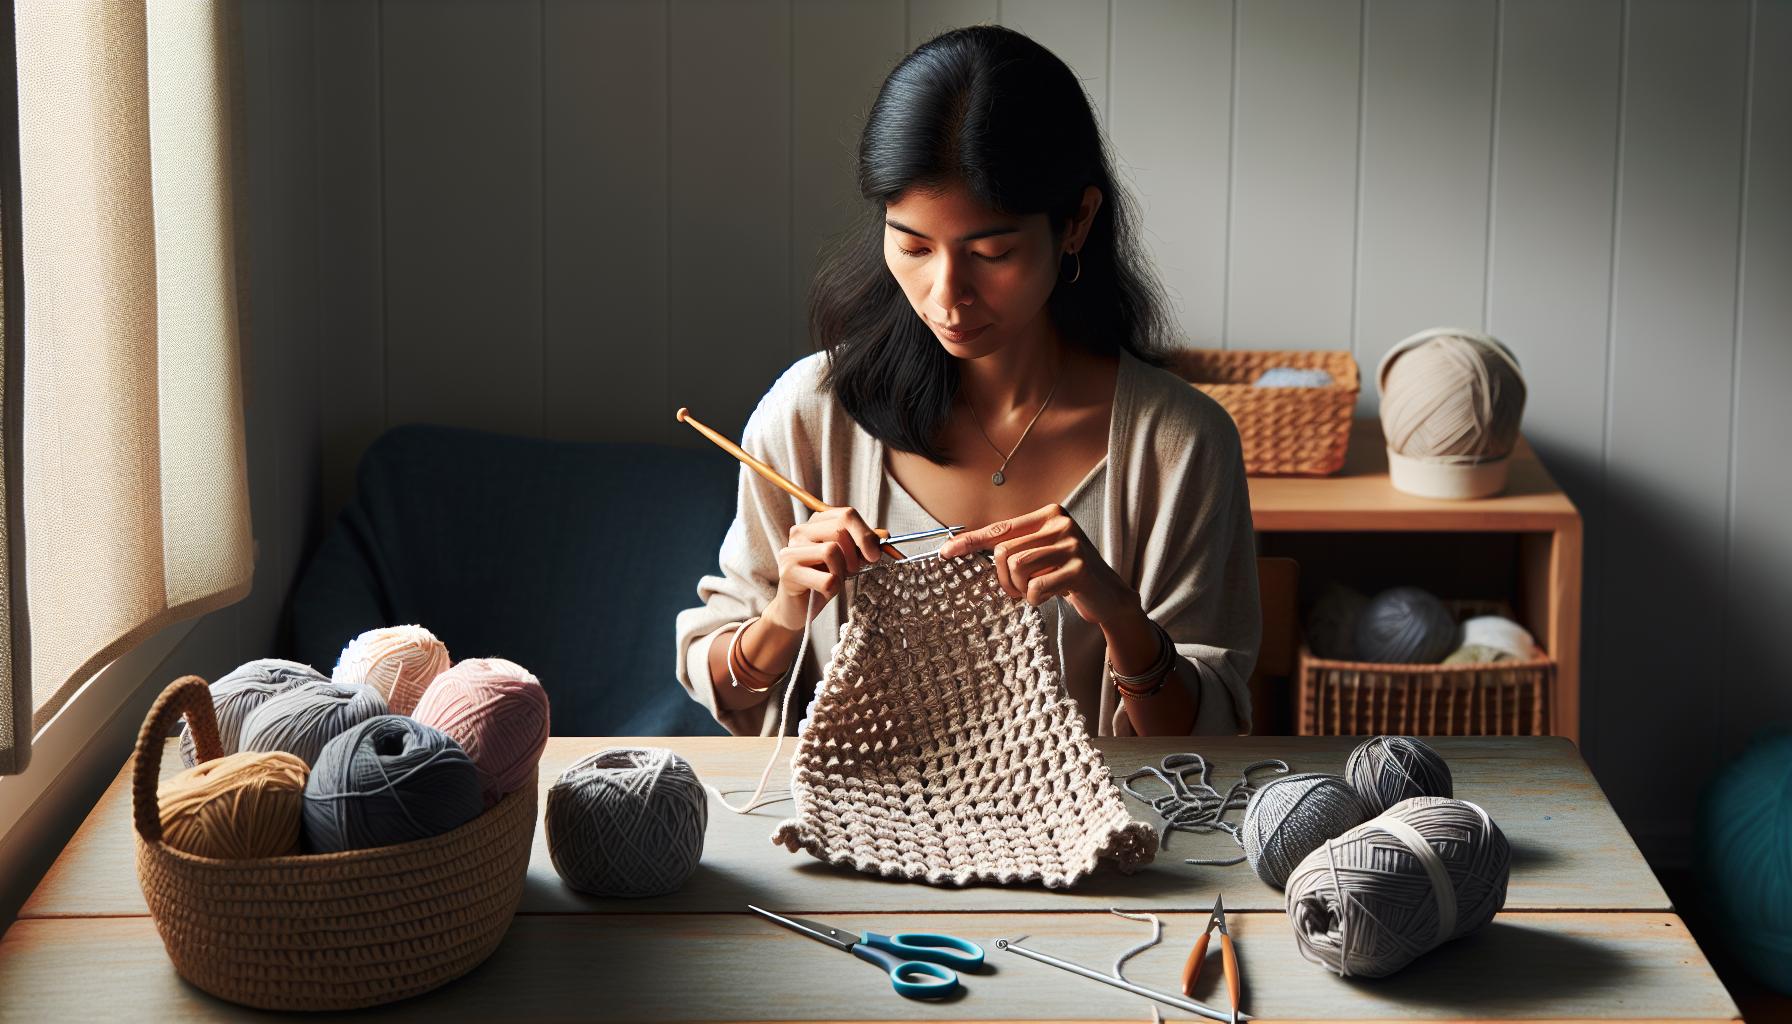
To create a beautifully textured waffle stitch hat, you’ll relish the satisfaction of watching your work transform into a cozy accessory. This stitch is not only visually appealing but also offers warmth and elasticity, making it perfect for hats. Let’s dive into the steps that will guide you through crafting this delightful piece, ensuring that both beginners and seasoned crafters can join in the fun!
Start by gathering your materials: worsted-weight yarn, which provides that lovely squishiness, and a 5.0 mm (H-8) crochet hook for the right balance of tension and flexibility. To make your hat, you’ll also need a tape measure, stitch markers, and a tapestry needle for finishing touches. The process usually takes a few hours, so find a comfy chair and some good lighting, and let’s begin!
- Start With a Foundation Chain: Begin by making a slip knot and chaining a multiple of 3 plus 2 to reach your desired width. For a standard adult size, you might aim for around 60 to 66 chains.
- First Row – Single Crochet (SC): In the 2nd chain from the hook, work a single crochet in each chain across. Chain 1 and turn. This establishes a solid base for your waffle pattern.
- Creating the Waffle Pattern: The magic happens in the following rows. For the second row, chain 1, skip the first stitch, then work 1 double crochet (DC) in the next stitch, followed by two single crochets in the following stitches-repeat this pattern across the row. Always end with a single crochet in the last stitch.
- Repeat Rows: For the next row, chain 1, but this time, you will alternate between single and double crochets to create the waffle texture. Continue this pattern, alternating every row until your piece measures about 9 inches from the foundation or until you reach your desired length for the hat.
- Finishing Off: Once you’ve reached the ideal length, cut the yarn, leaving a long tail for sewing. Fold your piece in half and use a tapestry needle to whip stitch the edges together, forming a seamless cylinder. You can gather the top edges to close it off, securing with a few stitches.
- Weave in Ends: Finally, weave in any loose ends with your tapestry needle to give your hat a clean finish.
As you progress through these steps, remember that patience and practice make perfect. You can do this! Each stitch you make brings your cozy hat to life, and soon you’ll have a unique accessory that not only looks great but also keeps you warm. Once you’ve completed your hat, don’t forget to personalize it by adding embellishments like pom-poms or buttons. Happy crocheting!
Tips for Beginners: Mastering the Waffle Stitch
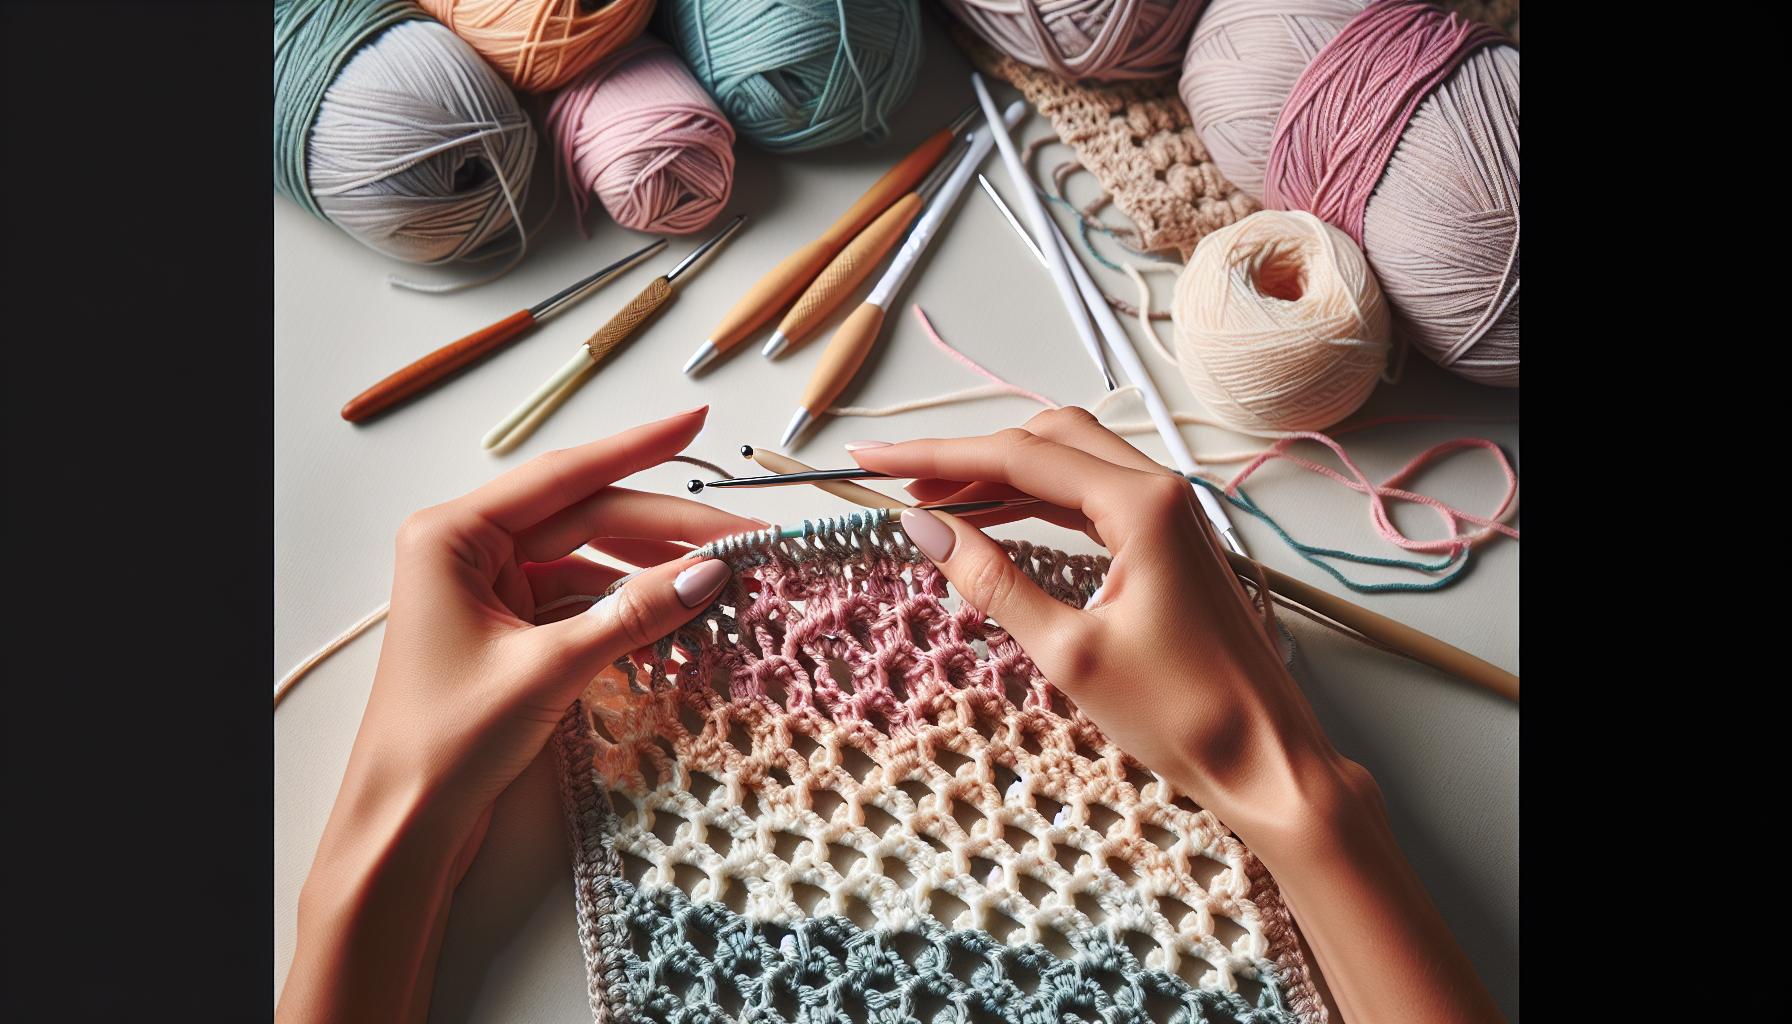
Mastering the waffle stitch is a delightful journey that opens the door to many textured crochet projects, especially cozy hats. While it may look intricate, the key lies in understanding the rhythm and flow of the stitch pattern. The waffle stitch combines double crochets and single crochets, creating a plush texture that’s both beautiful and functional. If you’re a beginner, approach this stitch with confidence. The more you practice, the more natural it will feel.
Start with a clear understanding of your materials. Using a worsted-weight yarn is highly recommended as it provides just the right amount of loft and warmth for hats. Make sure your hook size matches the yarn-typically a 5.0 mm (H-8) will do the trick. Familiarize yourself with the basic stitches before diving into the waffle pattern. Knowing how to perform single crochet (SC) and double crochet (DC) will ensure you’re comfortable as you move into the pattern.
When beginning your project, remember to count your stitches carefully. The waffle stitch often relies on an even number of stitches for the pattern to repeat correctly. Use stitch markers to designate the beginnings of rows. This will help keep your place, especially as the rows begin to stack. If you notice your tension is uneven, don’t hesitate to adjust your grip or relax your hold on the yarn. Tension consistency is essential for achieving the fluffy, uniform texture that the waffle stitch is known for.
As you become more familiar with the stitch, don’t shy away from experimenting. If you’re feeling adventurous, try alternating colors every few rows, or add some texture by incorporating a ribbing at the bottom of your hat. And when you finish, take a moment to admire your handiwork-you’ve created something uniquely yours! Remember, you can do this, and each project is a step toward mastery. Enjoy the process, and happy crocheting!
Enhancing Your Hat with Personal Touches
There’s something truly special about putting your personal stamp on a crochet hat. It’s not just a hat; it’s a reflection of your unique style and creativity. Once you’ve mastered the waffle stitch, consider these fun and simple ways to elevate your creation and make it truly yours.
One of the easiest ways to customize your hat is through color. Experiment with different shades or even variegated yarns to give your waffle stitch a vibrant twist. You can opt for a monochromatic look using different shades of one color for a subtle transition, or mix bold, contrasting colors to create a playful statement piece. Here are a few styles to consider:
- Striped Variation: Introduce stripes by switching yarn colors every few rows. This technique works beautifully with the waffle stitch and adds visual interest.
- Ombre Effect: Use a gradient yarn that transitions from light to dark. It will lend a soft, artistic quality to your hat.
- Contrast Brim: For a chic touch, crochet the brim of your hat in a contrasting color, enhancing the overall design.
Adding embellishments is another fantastic way to personalize your hat. From pom-poms to buttons, small touches can bring your piece to life. Consider creating a matching pom-pom from your yarn and attaching it to the top for a playful finish. Alternatively, you can sew on a decorative button or patch, or even crochet a flower or other motif to secure at the side for a darling accent. Each of these little additions can transform a basic design into a standout accessory.
Lastly, think about functional touches that also enhance aesthetic appeal. Adding a subtle lining can not only provide extra warmth but give your hat a polished look. You might also consider making a longer brim that can be turned up or down, allowing for versatility in style. Crochet a simple ribbed band for a snug fit, ensuring comfort along with fashion.
Overall, remember that your crochet hat is your canvas. Don’t hesitate to express your personality through choices that resonate with you. Keep experimenting, and have confidence in your unique vision-you can absolutely do this! Happy crocheting!
Troubleshooting Common Crochet Problems
Crocheting can sometimes feel like a dance with yarn-elegant, but occasionally a bit clumsy. If you’ve found yourself wrestling with common crochet problems while working on your waffle stitch hat, don’t worry! Every crocheter faces challenges, and troubleshooting them can turn a frustrating situation into a rewarding learning experience.
One common issue is uneven tension, which may lead to a hat that looks lopsided or has varying stitch sizes. To combat this, take a moment to assess your grip on the yarn and hook. Here are some helpful tips to achieve consistency:
- Relax Your Grip: Holding your yarn too tightly can result in snug stitches that don’t flow. Practice holding the yarn with a relaxed grip, allowing it to slide through your fingers more easily.
- Check Your Hook Size: Using a hook that’s too small for your yarn will also create tight stitches. Make sure you’re using the recommended hook size for the yarn you’ve selected.
- Practice Makes Perfect: Consider practicing on a small swatch before diving into your main project. This will help you find a comfortable rhythm.
Another issue you might encounter is the dreaded curling edges. This is especially common with textured stitches like the waffle stitch, which can leave your hat edges looking a bit unruly. To minimize this, you can:
- Add a Border: A simple border of single crochet stitches around the edge can help flatten and stabilize the edges.
- Block Your Project: Once you’re finished, gently blocking your hat can help it hold its shape. Just wet it lightly, shape it to your desired size, and lay it flat to dry.
- Use Stitch Markers: As you crochet, place stitch markers at intervals to make it easier to count your stitches and maintain evenness.
And if you ever find yourself needing to fix a mistake-like accidentally double crocheting when you meant to use a single-don’t fret! Every crocheter has been there. Simply unravel your work to the last good stitch, and then take a deep breath and continue.
Remember, the key to troubleshooting is patience. Take your time, enjoy the process, and celebrate each small victory. You’re creating something beautiful and unique, so allow yourself the grace to learn and grow along the way. Happy crocheting!
Exploring Variations of the Waffle Stitch
The waffle stitch is not just a single pattern; it opens up a world of creative possibilities for your crochet projects, especially when crafting cozy hats. By tweaking your approach, you can explore various delightful variations that can elevate your waffle stitch hat to a whole new level of sophistication and style.
One popular variation is the multi-colored waffle stitch, where you introduce different yarn colors in your rows. This technique creates a stunning visual effect, reminiscent of a deliciously layered cake. To achieve this, simply switch colors at the beginning of each row, ensuring you carry the yarn along the edge to keep things neat. This method not only enhances the aesthetic appeal but also allows you to experiment with color combinations that reflect your personal style or seasonal themes.
Another variation to consider is the slip stitch waffle stitch, which incorporates a slip stitch into the standard technique. This adds an even more textured finish and gives a fresh twist to the traditional look. To create this, you would typically work a slip stitch between each of the foundation stitches of your waffle stitch, resulting in a tighter fabric that still maintains the signature depth of the waffle pattern. It’s perfect for projects where you want extra warmth without sacrificing style.
For those looking to challenge themselves further, try combining the waffle stitch with additional stitch types, like the shell stitch or cable stitch. You can alternate rows of waffle with rows of shells to create a beautiful contrast that is both versatile and eye-catching. Alternatively, adding cables can introduce dimension and structure to your design, making your hat stand out even more.
Incorporating these variations into your crocheting will allow you to personalize your projects, making each piece uniquely yours. Don’t shy away from experimenting; the joy of crocheting lies in the creative journey and the sense of accomplishment you feel as you craft something wonderful. Dive in, play around with these ideas, and remember: each stitch you take brings you one step closer to mastering your craft. Happy crocheting!
Warmth and Style: Hat Design Inspirations
When it comes to creating a crochet hat that’s both cozy and stylish, the waffle stitch is a fantastic choice that combines texture with warmth. The raised pattern creates a lovely dimensional look that not only helps retain heat but also adds a flair of uniqueness to your designs. Here’s how you can infuse warmth and style into your crochet hats while exploring the versatile waffle stitch.
Choosing Your Yarn Wisely
A crucial aspect of designing your hat is selecting the right yarn. Opt for medium-weight yarn that offers a balance between warmth and comfort. Acrylic blends or wool are great options as they keep the hat lightweight while providing insulation. For a little extra personality, consider experimenting with multi-colored yarns. A gradient or variegated yarn can enhance the visual appeal of the waffle stitch, giving your hat a vibrant look that stands out.
Add Fun Details
Don’t hesitate to incorporate additional elements that elevate your piece, such as pom-poms or unique edging. A simple ribbed or scalloped brim can complement the texture of the waffle stitch beautifully. You can also play with mixed stitch patterns. For example, combine the waffle stitch with a row or two of shell stitches to create a striking contrast that adds depth. This combination can be a fun way to practice new techniques while enhancing the hat’s overall design-a perfect project for crafters of all levels!
Inspiration from Nature
Take a cue from your surroundings for design inspiration. Think about autumn leaves, snowy landscapes, or the rich hues of winter sunrises. You could create a hat that reflects these natural color palettes. Use warm, earthy tones for the body of the hat and pop in a cheerful color for the band or pom-pom. This approach not only makes your project more meaningful but also connects your artistry with the world around you.
Stay Comfortable with Fit
Always keep fit in mind, especially when working on hats. Ensure that your hat has enough stretch for comfort without being too loose. Testing the fit while you work will save you from having to unravel stitches later on. You can also include a lining, such as a soft fleece, for extra comfort against the skin-especially beneficial for those chillier days outside.
By embracing the versatility of the waffle stitch and allowing your creativity to flow, you’ll craft hats that are not only functional but also a true expression of your style. So grab your favorite yarn, let your imagination run wild, and enjoy the process of making something uniquely yours. Remember, each project is an opportunity to learn and grow as a maker-so have fun with it!
Caring for Your Handmade Crochet Hat
Taking care of your handmade crochet hat is just as important as the creative process that went into making it. Proper maintenance ensures your cozy creation retains its charming appearance and functionality for many seasons to come. Whether you’ve opted for a classic color or a vibrant blend, here are some simple, effective ways to keep your hat looking its best.
To begin, washing your crochet hat correctly is crucial. Most materials, especially wool and acrylic blends, can withstand gentle washing. To keep your hat in shape and free from pilling, follow these steps:
- Use cold water and a mild detergent.
- Hand wash your hat gently without twisting or wringing it, as this can stretch the fibers.
- For machine washing, opt for a delicate cycle inside a mesh bag to protect your handiwork.
After washing, avoid direct heat while drying. Reshape your hat on a flat surface and allow it to air dry, which helps maintain the structure you crafted. If your hat has a lining or any embellishments, make sure these also dry thoroughly to prevent any dampness from affecting the fibers.
Now that it’s clean, consider how you can prevent future wear and tear. Storing your hat properly will help keep it in top shape. Instead of hanging it, fold it gently and place it inside a cotton bag or a drawer. This avoids distortion of the shape, especially for hats with delicate stitch patterns like the waffle stitch.
If your hat accumulates lint or pet hair, a simple lint roller or a fabric shaver can work wonders without damaging the fibers. And remember, each time you pull on your cozy hat, you’re not just wearing a piece of art; you’re expressing your creativity! Embrace the joy of your handmade accessory, and with a little care, it will stay as beautiful and functional as the day you finished it.
Sharing Your Crochet Creations Online
Sharing your crochet projects online can be an exciting way to connect with fellow crafters and showcase your hard work, especially when it comes to a cozy waffle stitch hat-something that not only provides warmth but also showcases your creativity! Social media platforms like Instagram, Facebook, and Pinterest are perfect places to highlight your creations. Each of these platforms has its distinct vibe, so let’s explore how you can effectively share your handmade hat.
Start by taking clear, well-lit photos of your waffle stitch hat. Natural light works wonders, so snap your pictures outdoors or near a window. Aim for various angles: a flat lay, a close-up of the stitch texture, and a picture of someone wearing the hat can provide a complete picture for your followers. Don’t forget to edit your images lightly to enhance their appeal. Use apps like Canva or Lightroom to add a touch of brightness or contrast without overwhelming the natural colors of your yarn.
When posting, use relevant hashtags to reach a wider audience. Tags like #CrochetHat, #WaffleStitch, and #HandmadeWithLove can attract other crochet enthusiasts. You can also join crochet groups or forums where makers share their work and get feedback. Engaging with others by commenting on their posts and sharing your tips will help build a supportive community around your passion.
Interactive Engagement
Encourage your followers to interact by asking questions or hosting challenges. For example, you might post a picture of your finished hat and ask, “What color should I try next?” or share a step in your crochet process and invite others to share theirs. Consider creating short video tutorials of the waffle stitch, showcasing how to achieve that lovely texture. Platforms like TikTok and Instagram Stories are perfect for this quick format, and they make learning crochet accessible to newcomers.
By sharing your crochet creations, not only are you celebrating your craft, but you’re also inspiring others to pick up their hooks and yarn. Remember, every post is not just a showcase-it’s an opportunity to create conversation, share knowledge, and build a network of like-minded crafters. So, snap those photos, write thoughtful captions, and let your creativity shine online!
How to Read Crochet Patterns Effectively
Understanding how to navigate crochet patterns can feel like deciphering a secret language at first, but the beauty of it is that once you crack the code, a whole world of creativity opens up. Especially when it comes to projects like a waffle stitch hat, being able to read patterns effectively will boost your confidence and help you enjoy the process even more. It’s all about breaking it down into manageable parts and embracing the journey of making something unique.
To get started, familiarize yourself with the basics of crochet abbreviations and symbols. Common terms you’ll encounter include “ch” for chain, “sc” for single crochet, and “st” for stitch. Most patterns will start with a materials list-pay close attention to this, as it will guide you on what yarn and hooks you need. When you see a row of instructions, take a moment to decode it. For instance, if the pattern reads “R1: ch 2, 12 sc in 2nd ch from hook,” this means you will create a chain of 2 stitches and then work 12 single crochets into the second chain. This buildup will create the base of your hat.
As you follow along, don’t hesitate to highlight or take notes on tricky sections. If a pattern demonstrates a stitch you’re not familiar with, refer to video tutorials online. Platforms like YouTube are treasure troves of tutorials that can visually guide you through new techniques. This is a great way to connect the written instruction with the actual crochet motion, helping you solidify your understanding and gain confidence in your skills.
Lastly, remember that crochet is about creativity and enjoyment, not just perfection. If you make a mistake, it’s all part of the process-simply unravel and try again! Keep a notebook nearby to jot down modifications you make as you work through your waffle stitch hat. This will not only help you on future projects but can also inspire you to experiment with your own designs. You’ve got this; every stitch is a step towards mastering the art of crochet!
Gift Ideas: Crochet Hats for Every Occasion
Crafting a crochet hat is not just a project; it’s an opportunity to create something heartfelt and special for your loved ones. Whether you’re looking to gift a cozy beanie for winter or a stylish slouch hat for a friend, there are endless possibilities with crochet, especially when you utilize the waffle stitch for texture and warmth.
When gifting, consider personalizing the hat to the recipient’s style. Use their favorite colors or add embellishments like a unique pom-pom or a leather tag with their initials for that extra touch. If you’re making a hat for a child, opt for bright colors and fun patterns. For adults, a more muted palette may work better, or you could choose trendy shades that match this season’s styles. Here are some ideas to suit any occasion:
- Birthdays: A warm waffle stitch hat in their favorite color can make for a thoughtful birthday gift. Pair it with matching mitts for a complete set.
- Holidays: Crochet festive hats featuring seasonal colors or patterns can bring joy and warmth during the colder months. Think red and green for Christmas or a pastel palette for springtime celebrations.
- Graduations: Celebrate their achievement with a custom-made hat in their school colors. You could even add a little charm to signify their degree!
- Just Because: Sometimes the best gifts are those given without a reason. A cozy hat made with love and care can brighten someone’s day unexpectedly.
No matter the occasion, remember the joy of making something by hand is what truly shines through. Each stitch you create is imbued with your unique touch, making every hat not just an accessory but a cherished keepsake. So grab your yarn and hook-you can absolutely create a beautiful gift that shows just how much you care!
Frequently asked questions
Q: What is the crochet waffle stitch?
A: The crochet waffle stitch is a textured pattern created using a combination of double crochets and front post double crochets. This stitch results in a cozy, raised pattern that adds warmth and style to hats. It’s perfect for beginners looking to enhance their skills.
Q: How do I change colors in a crochet waffle stitch hat?
A: To change colors in your crochet waffle stitch hat, complete the last double crochet of the current color, then pull the new color yarn through the last loop. This creates a seamless transition. Remember to secure the loose ends later for a neat finish!
Q: What size crochet hook is best for a waffle stitch hat?
A: A 5.0mm (H-8) crochet hook is commonly used for waffle stitch hats, providing a balanced tension. However, you may need to adjust based on your yarn’s weight and your personal crochet style. Check your gauge before starting!
Q: Can I use different yarns for a waffle stitch hat?
A: Yes, you can experiment with different yarns! Wool and acrylic are great choices for a warm, durable hat. Make sure to check the yarn label for recommended hook sizes and gauge to ensure your finished hat fits well.
Q: How can I make my waffle stitch hat more warm?
A: To increase warmth, use a thicker yarn or add a lining to your hat. Also, consider wearing a double layer of the waffle stitch. This style not only looks stylish but also provides extra insulation against cold weather.
Q: What are some common mistakes to avoid when crocheting a waffle stitch hat?
A: Common mistakes include miscounting stitches and not checking your gauge. Both can lead to a hat that is too big or too small. Always count your stitches after each row and keep an eye on your tension!
Q: How long does it take to crochet a waffle stitch hat?
A: The time it takes to crochet a waffle stitch hat varies based on your skill level and the complexity of the design, but expect to spend about 2 to 4 hours for a simple adult-sized hat.
Q: What can I add to a crochet waffle stitch hat for personalization?
A: You can personalize your waffle stitch hat with embellishments like pom-poms, flowers, or buttons. Adding a contrasting band or using variegated yarn can also make your hat unique and stylish.
Feel free to explore more about crochet in our sections on Choosing the Right Yarn for Your Crochet Hat and Tips for Beginners: Mastering the Waffle Stitch for additional insights!
Wrapping Up
Congratulations on completing the Crochet Waffle Stitch Hat! This cozy, textured design not only keeps you warm but is also a fantastic way to hone your crocheting skills. Don’t hesitate to share your finished project in the comments below-your creativity inspires others!
If you’re curious about more crochet techniques, check out our guide on creating beautiful stitches and explore a collection of free crochet patterns that will keep your crafting journey exciting. Remember, the more you practice, the more confident you’ll become, so dive into your next project today!
Don’t forget to subscribe to our newsletter for tips, patterns, and exclusive offers that will enhance your crochet experience. Happy crocheting, and keep creating!
Get our latest guides, news, and insights highlighted in your Google Search & AI Overviews.