

Did you know that a well-aerated lawn can absorb more water and nutrients, leading to healthier grass? If you’ve noticed patchy, dry spots in your yard, creating a DIY aerator might be the perfect solution to boost your lawn health without breaking the bank. For under $30, you can easily construct an effective tool that helps to improve airflow to the roots and enables better nutrient absorption. As a weekend project, it’s not just budget-friendly but also a rewarding way to enhance your outdoor space. Whether you’re a seasoned DIYer or just starting out, this project is manageable and will bring great satisfaction as you watch your lawn thrive. Let’s dive into the simple steps to creating your very own aerator and transforming your lawn into the lush, green paradise you’ve always wanted!
DIY Aerator Basics: What You Need to Know
Creating your own lawn aerator can not only save you money but also boost your lawn’s health dramatically. Did you know that aeration allows for better air, water, and nutrient penetration into the soil, crucial for promoting robust grass growth? With just a few materials and tools, you can whip up a DIY aerator for around $30! Embrace the satisfaction of making something that benefits your greenery. Whether you’re a seasoned DIY enthusiast or just starting out, the joy of improving your lawn’s health with your own hands is incredibly rewarding.
Before you dive into building your aerator, it’s essential to understand what types are most effective and how they work. Aerators function by creating holes in the soil to relieve compression and encourage deeper root growth. There are several designs you can consider, such as spike or plug aerators, each serving a unique purpose for various soil types. If your lawn feels compacted or waterlogged, diving into aeration will definitely help. You can typically find clip-on, push-behind, or even tow-behind options depending on your lawn size and comfort level.
For a simple DIY project, start by gathering basic materials like PVC pipes, a sturdy lawnmower or garden cart, and some concrete weights to add weight to the aerator. Cut the pipes into desired lengths for tines, then attach them to a sturdy frame. Weigh it down for effectiveness and voila! You’ve crafted your own aerator. Don’t worry if it feels intimidating at first-just take it step by step, and remember, you can do this! Aerating your lawn will not only keep your grass lush and vibrant but also empower you as a handy homeowner.
Essential Materials for Your DIY Aerator
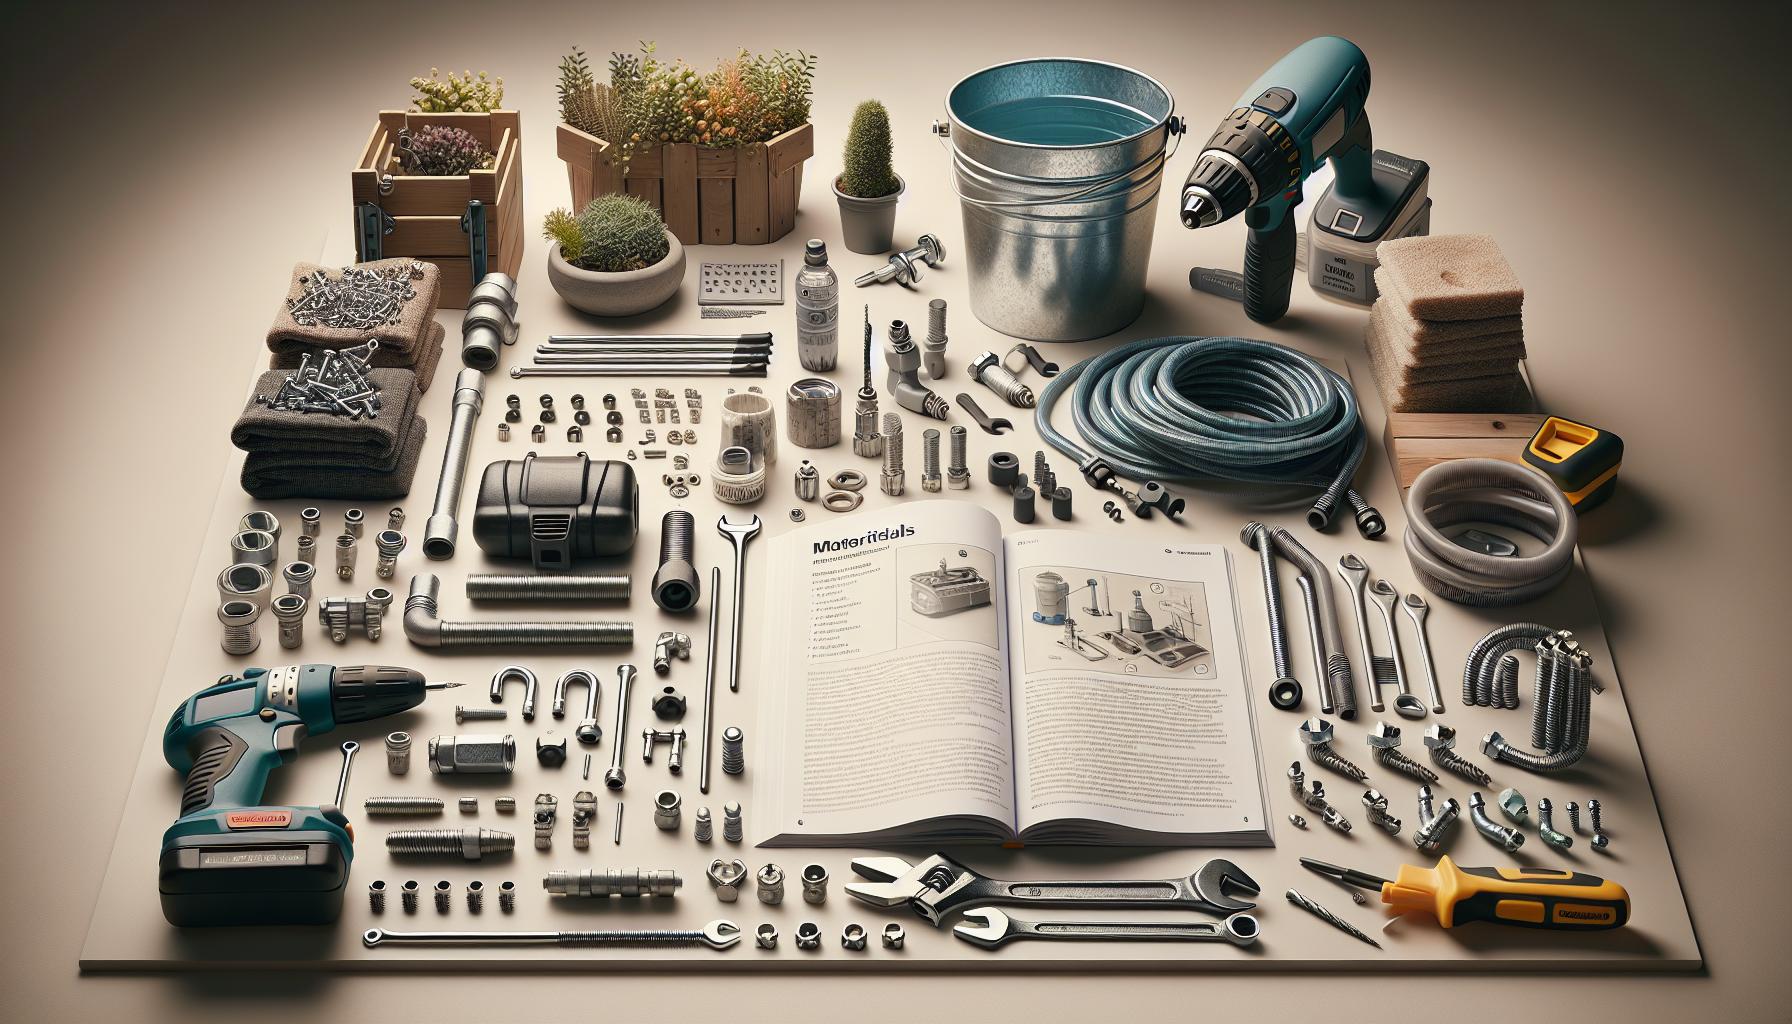
To build your own lawn aerator for under $30, it’s crucial to gather the right materials. This project is not only budget-friendly but also rewarding, as creating it with your own hands enhances your lawn’s health significantly. You might be surprised by how easy it is to assemble everything you need. Here’s a quick rundown of what you should have on hand before you start:
- PVC Pipes: These will serve as the tines of your aerator. Standard 1-inch diameter PVC pipes are ideal. You can cut them to your desired lengths-typically around 8 to 12 inches, depending on your lawn’s needs.
- Wooden Frame: A sturdy wooden board or frame will provide the base for your aerator. Aim for something manageable that can hold the pipes securely. Using reclaimed wood is both cost-effective and environmentally friendly.
- Concrete Weights: To ensure your aerator penetrates deep into the soil, adding weights is essential. You can use concrete blocks or bags of soil to weigh down the frame. This extra weight will help the tines create sufficient holes in compacted soil.
- Drill and Drill Bits: A power drill will be needed to make holes in the frame for attaching the PVC pipes. Ensure you have appropriate drill bits that can handle both wood and PVC.
- Angle Brackets or Screws: These fasteners will help secure the structure. Using angle brackets increases stability, and screws provide a strong hold, ensuring everything stays in place even when in use.
- Garden Cart or Old Lawn Mower (Optional): If you’re looking to create a tow-behind aerator, repurposing a garden cart or attaching it to an old lawn mower can streamline the process and make aeration easier.
Putting these materials together successfully will enable you to craft a functional aerator designed specifically for your lawn type. Don’t be deterred if you’re a beginner; assembling a DIY aerator is an accessible project that encourages hands-on learning and promotes a beautiful lawn. Enjoy the satisfaction that comes from both the process and the results-you can do this!
Step-by-Step Guide to Building Your Aerator
Building your own aerator can be a fun and rewarding project that transforms your lawn from ordinary to extraordinary. By investing a little time and creativity, you can craft a garden tool that improves soil health and optimizes lawn care without breaking the bank. Here’s how to create a functional, DIY aerator step by step!
Start by laying out your materials. You’ll need PVC pipes, a sturdy wooden frame, concrete weights, and your trusty drill. Remember to keep the PVC pipes at about 1-inch in diameter and cut them into lengths of around 8 to 12 inches to serve as your aerating tines. The number of tines can vary based on how much area you plan to cover, but aim for a balance that allows for effective aeration.
Next, it’s time to assemble your aerator. Begin with the wooden frame-this is the backbone of your aerator and should be solid enough to withstand some pressure. Use the drill to create holes in the frame where you’ll insert your PVC tines. Space them evenly for optimal airflow and soil penetration. Once the holes are made, secure the PVC pipes into the frame with screws or angle brackets, making sure they fit snugly.
Now it’s time to add the weights. This is a crucial step because the extra weight helps the tines penetrate deeper into the ground, creating sufficient holes to relieve soil compaction. Stack concrete blocks or bags of soil on top of your frame. If you’re feeling adventurous and want a tow-behind option, consider attaching your aerator to a garden cart or an old lawn mower for ease of movement-just ensure it’s stable and secure.
Before you head out to tackle your lawn, give your new aerator a test run! Check that all components are firmly in place and make any adjustments as needed. Once you’re satisfied, take it for a spin across your yard, watching as it works its magic. With this DIY approach, you not only save money but also gain a great sense of accomplishment. Remember, as you dig in, you’re making strides toward a healthier, more vibrant lawn. Enjoy the process-you can do this!
Choosing the Right Design for Your Lawn

Choosing the right design for your DIY aerator can make a significant difference in how effectively you boost your lawn’s health. An effective aerator doesn’t just poke holes; it penetrates deep enough to alleviate soil compaction, allowing air, water, and nutrients to reach the roots. With a few thoughtful considerations, you can create a design that meets your lawn’s unique needs while staying well within your budget.
When selecting your aerator design, think about the size and terrain of your lawn. For small areas or lawns with various obstacles, a manual aerator that you can walk behind might suffice. This simple design is typically lighter and easier to maneuver, especially in tight spots around flower beds or trees. Conversely, if you have a larger lawn with a flat terrain, a tow-behind aerator that attaches to a lawn tractor or garden cart can be a time-saver and is perfect for covering more ground quickly. This design can easily be modified to include adjustable weights, enhancing its soil penetration capabilities.
Consider also the type of soil you have. For dense clay soils, a heavy-duty aerator built with thicker tines can be beneficial as they can break up tough compacted ground. You might also want to incorporate a series of weighted blocks or bags of sand on your aerator frame. This added weight will help drive the tines into the soil more effectively, enabling you to create deeper holes. On the other hand, if your soil is sandy and drains well, you might not need as heavy of a design since aeration requirements will differ.
Lastly, think about how much time and effort you’re willing to invest. A basic model, utilizing PVC and a wooden frame, can be completed in just a few hours. However, more intricate designs with additional features could take a day or two. Begin with what feels manageable and gradually build your skills as you get more comfortable with tools and construction. Remember, no matter which design you choose, the key is that you can do this! Celebrate each step and enjoy the process of crafting a tool that will help your lawn thrive.
Testing Your Aerator: How to Gauge Effectiveness
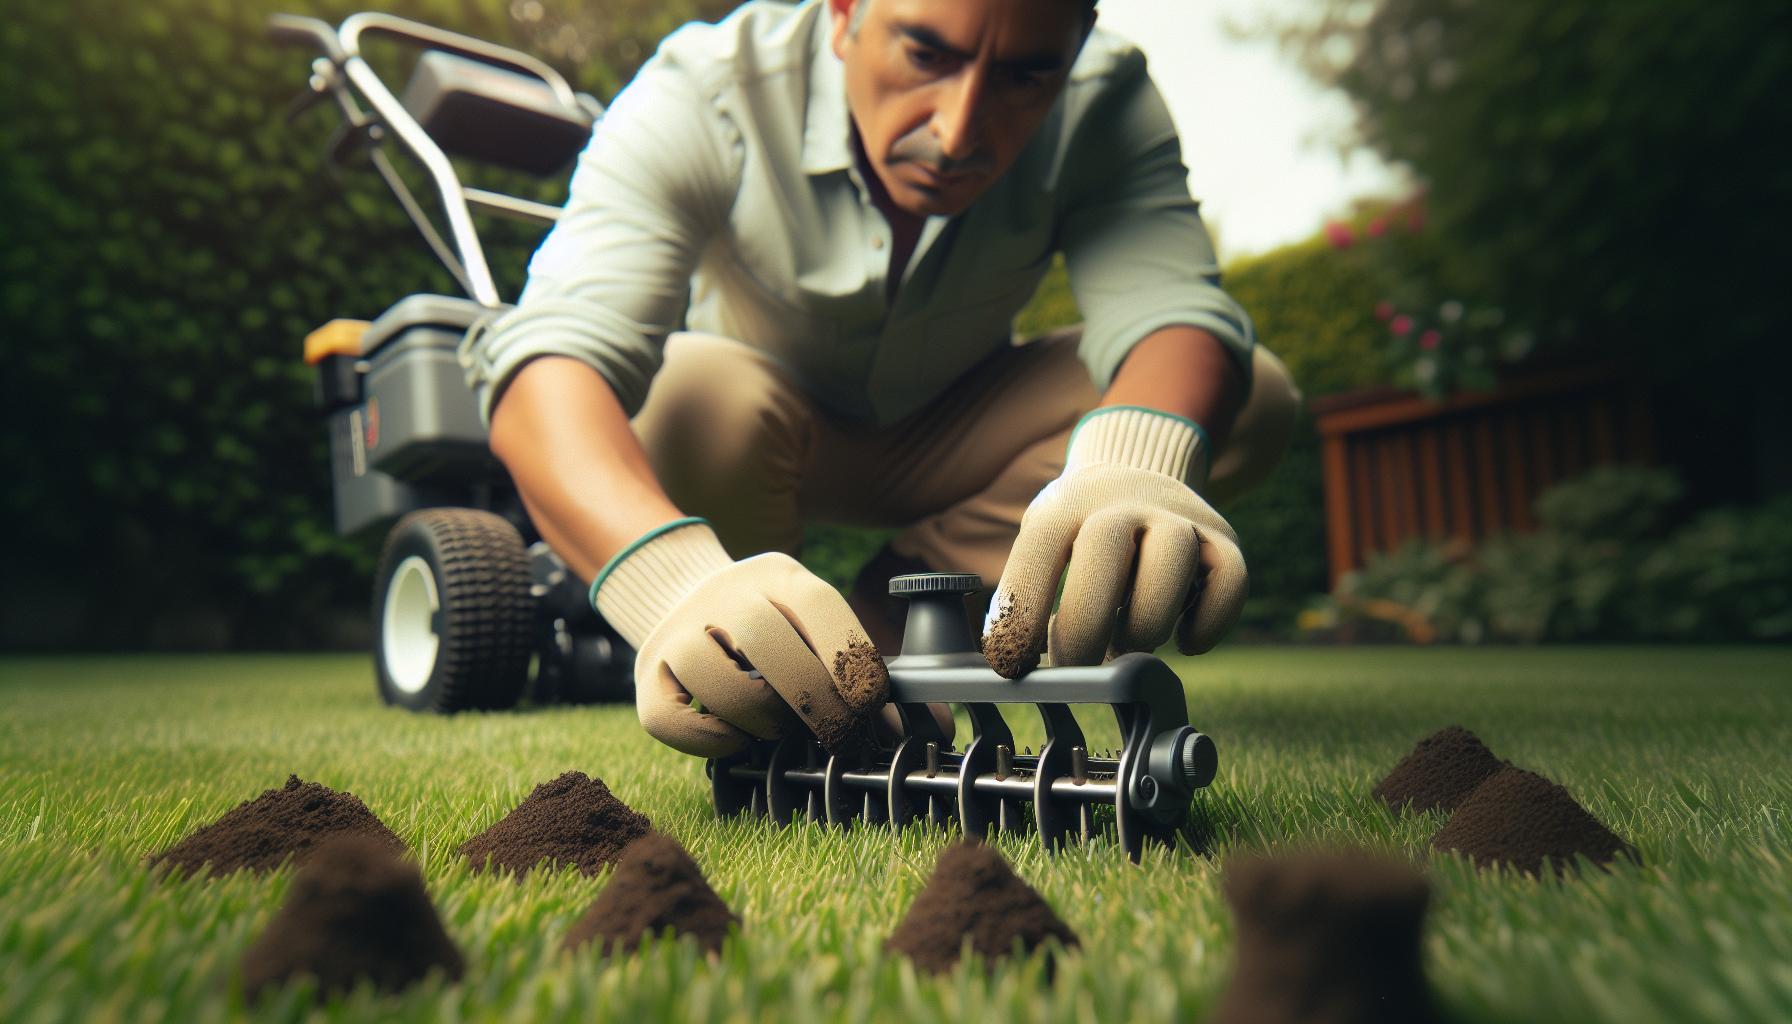
Testing your DIY aerator is a crucial step to ensure you’ve made a tool that’s effective in boosting your lawn’s health. After putting in the time and effort to construct your aerator, you want to see that it delivers the results you’re after. A reliable way to gauge effectiveness is to visually assess the aeration pattern and to monitor how well your lawn responds to the aeration process.
Start by first using your aerator in a test area of your lawn. As you run the aerator over the grass, pay attention to the holes it creates. Ideally, you should see a pattern of evenly spaced holes with depths measuring about 2-4 inches. If the holes are too shallow or sparse, you may need to adjust added weight or your technique to ensure deeper penetration into the soil.
Monitoring Lawn Response
Once you’ve aerated, the next phase involves observing how your lawn reacts. Look for changes in your grass over the following weeks. A well-aerated lawn should exhibit healthier growth, increased greenness, and improved water retention. Here are some indicators that your aerator is doing its job:
- Improved Drainage: After a rain, check if water is soaking into the ground more efficiently.
- Healthier Grass: Your grass should become lush and green, showing signs of growth where it might have struggled before.
- Roots:**> With better aeration comes deeper roots; you might notice clumps of grass holding firmer in the soil.
Remember, effective testing of your aerator isn’t just about checking the holes-it’s about witnessing the transformation in your lawn. If you notice these positive signs, then congratulations-you’ve crafted a successful aerator that can help your lawn thrive! Keep refining your technique with each aeration, and don’t hesitate to make adjustments to your design as you learn what works best. Your DIY journey is all about experimentation and growth, and you can definitely do this!
Aeration Techniques to Maximize Lawn Health
To truly elevate your lawn, mastering aeration techniques can make all the difference. Think of aeration as giving your lawn a refreshing breath of air! By creating holes in the soil, you enhance water and nutrient absorption, boost root growth, and combat compacted soil. Let’s explore some effective strategies to maximize the benefits of your DIY aerator while keeping the experience enjoyable and rewarding.
One approach to effective aeration is to choose the right time of year for your lawn type. For cool-season grasses, early spring and fall are ideal, while warm-season grasses thrive with aeration in late spring and early summer. Consider the weather as well-avoid aerating when the ground is too dry or excessively wet, as either condition can hinder penetration. Additionally, try aerating when the grass is actively growing; this will help it recover quickly and benefit from the newfound air and nutrients.
Next, focus on the pattern of your aeration. Aim for even coverage across your lawn, moving in parallel lines and slightly overlapping your passes. If you’re aerating a larger area, consider breaking it into smaller sections to ensure thorough work. Don’t rush; the more even the distribution of holes, the better the results. A common technique involves using added weight-such as sandbags on your DIY aerator-to increase the penetration depth, especially in harder soils.
After aeration, don’t forget to follow up with care. Applying a quality fertilizer or compost can further nourish the soil and grass, taking advantage of the holes you’ve made. Water your lawn well after aeration to help the grass bounce back and signs of growth become visible. Keep monitoring your lawn for signs of improvement, and adjust your techniques as necessary. Remember, each lawn has its unique needs, so stay flexible and attentive to what your grass is telling you.
By incorporating these techniques, you empower your DIY endeavors to deliver real results for your lawn’s health. Stay engaged, experiment, and most of all, enjoy the green journey of nurturing your own patch of paradise. You’ve got this!
Common DIY Mistakes to Avoid When Aerating
When it comes to aerating your lawn, doing it yourself is an empowering task that can have transformative effects-if done correctly! However, many DIY enthusiasts may encounter common pitfalls that can undermine their hard work. Steering clear of these mistakes can help you achieve the lush, vibrant lawn you’re aiming for while ensuring your effort doesn’t go to waste.
One frequent error is aerating when the soil is too dry or too wet. Timing is crucial; aeration needs soil that is moist enough to allow penetration but firm enough to support your weight. A soggy lawn can lead to turf damage, while overly dry soil may resist penetration, making your efforts futile. Always check the forecast and aim for a day after rain or a thorough watering session to hit that sweet spot.
Another common misstep is neglecting proper aeration patterns. When you’re out there with your DIY aerator, aim for even spacing and coverage. Skipping sections or aerating in random patterns can leave parts of your lawn untouched, leading to uneven nutrient and water absorption. Approach your lawn methodically: start at one corner and work your way across, slightly overlapping your passes to ensure comprehensive coverage. This will maximize the benefits and encourage healthy growth throughout your lawn.
Lastly, many DIYers forget about the follow-up care after aeration. It’s not enough just to poke holes in your lawn; you need to nurture it afterward! Applying a high-quality fertilizer or compost within a day or two of aeration can significantly enhance its effectiveness. Watering afterward is just as vital-this helps the grass recover and encourages root growth into those newly opened paths. By avoiding these common mistakes, you’re not just aerating; you’re setting your lawn up for lasting health and vibrancy. So grab your aerator and dive in-every step you take is a step towards a thriving green space!
Maintenance Tips for Your Aerator After Use
Maintaining your DIY aerator after use is crucial for ensuring it operates efficiently the next time you tackle your lawn. A well-kept aerator can prolong its life and enhance its effectiveness, ultimately leading to a healthier lawn for you! Let’s dive into how you can keep your aerator in tip-top shape, so it’s always ready when you are.
First off, once you finish aerating, be sure to clean your aerator thoroughly. Soil, grass clippings, and debris can accumulate on the equipment and impact its performance. Use a stiff brush or a hose to remove any leftover material. This simple step helps avoid rust and decay, especially if you’ve used your aerator in wet conditions. Drying your aerator completely after cleaning is also important-this prevents moisture buildup that could lead to rusting.
Next, consider inspecting the aerator for any signs of wear or damage. Look for loose screws, bent tines, or any parts that may need replacing. Taking time for a quick check-up can prevent bigger issues down the line. If you notice any minor repairs needed, tackle them before your next use; it’ll save you time when you’re ready to aerate again.
You can also apply a light coat of lubricant to metal parts to help prevent future rust and ensure all moving components work smoothly. Remember, a little bit of preventative care goes a long way in maintaining your tools. Not only will this keep your aerator performing at its best, but it’ll also make the next aeration process easier and more effective.
So, roll up your sleeves, give your aerator some love after each use, and keep that luscious lawn thriving! You’ve got this!
Understanding Lawn Compaction and Aeration Benefits
Did you know that compacted soil can lead to a host of problems for your lawn? Just like a tight pair of shoes can cause discomfort, compacted soil restricts the movement of water, air, and nutrients that vibrant grass needs to thrive. Aeration is your lawn’s best friend in this situation; it helps alleviate compaction by creating holes that allow essential elements to penetrate deeper into the soil. Let’s explore how understanding compaction and the benefits of aeration can transform your lawn into a flourishing landscape that you’ll love.
Soil compaction typically occurs in high traffic areas, such as pathways and where heavy equipment has been used. The structure of the soil becomes denser, making it challenging for grass roots to expand and absorb water. This ultimately leads to dull, patchy grass that can struggle to survive. Aerating your lawn creates channels for air, water, and nutrients to access the root zone effectively. This process not only boosts grass growth but also helps break down that dense layer of soil, allowing roots to spread more freely.
When you use a DIY aerator, you’re not just poking holes in the ground; you’re enhancing your lawn’s health significantly. Aeration helps to reduce thatch buildup, a layer of organic matter that can suffocate your soil. By breaking it up, you encourage beneficial microorganisms to thrive, which further promotes healthy turf. Additionally, aerating allows your grass to consume fertilizers more efficiently, leading to a lusher green lawn without the risk of oversaturating the soil.
By understanding the issues at play with lawn compaction, you can take proactive steps to ensure a lush, thriving lawn. Regular aeration, especially in the spring and fall, can keep your yard looking its best. Believe it or not, tackling this problem can be a fun, rewarding DIY project that empowers you to enhance your outdoor space without breaking the bank. Grab your materials, follow a simple aeration routine, and watch your lawn flourish! You can absolutely do this!
How to Aerate Different Types of Soil
Compacted soil can be a tricky adversary, but understanding how to aerate different soil types can make a significant difference in your lawn’s health. Whether you have sandy, clay, or loamy soil, aeration can help alleviate compaction and promote robust grass growth. Each type of soil will respond differently to aeration, but with the right techniques, you can effectively enhance your lawn’s vitality.
For sandy soil, which typically drains well but can have issues with nutrient retention, aerating is relatively straightforward. A simple DIY aerator, such as a handheld or spike aerator, can be used. Just push the aerator into the soil consistently, focusing on high-traffic areas where compaction occurs. Since sandy soils dry out quickly, aerating during the growing season, especially after a good rain when the soil is moist but not muddy, will yield the best results. This allows for better air and nutrient absorption, giving your grass a boost without risking overdoing it.
When dealing with clay soil, however, things get a bit trickier. Clay tends to compact easily, leading to drainage issues. Here, the best technique is to use a core aerator that removes small plugs of soil as you work through your yard. This lets air, water, and vital nutrients infiltrate deeper levels of the root zone. Target areas that get the most foot traffic or where you notice water pooling after rainfall. Aerate when the soil is slightly moist-perhaps a day or two after rain-so you can pull out those cores without too much resistance, effectively reducing compaction and improving overall lawn health.
For loamy soil, which is a balanced mix of sand, silt, and clay, aeration will primarily help manage thatch buildup. Use the same core aerator technique, but don’t hesitate to aerate more frequently, especially in the spring and fall. This will keep your lawn looking lush while allowing your grass to penetrate deep into the rich soil layers. Regardless of your soil type, remember to avoid working the aerator too aggressively; gentle, consistent patterns will achieve the most success.
Aerating your lawn is a fantastic DIY project that can bring your yard back to life, regardless of the soil type you’re working with. With a little bit of effort and the right tools, you can create a healthier, greener outdoor space that you can be proud of! So gather your materials, pick the right time based on your soil type, and get started-you can do this!
Enhancing Lawn Care: Aeration and Beyond
Improving the health of your lawn isn’t just about aeration; it’s part of a larger symphony of care that your greenery craves! Aeration can be a game-changer, but coupling it with supportive practices amplifies its benefits and promotes lush growth. With your DIY aerator in hand, you’re on the path to mastering a healthy yard, but remember, there’s so much more you can do to enhance your lawn care routine.
Post-Aeration Additions
Once you’ve aerated, consider enriching your lawn with compost or topsoil. This not only adds nutrients but also helps improve soil structure. Spread a thin layer over your lawn post-aeration-ideally at a rate of around 1/4 inch. This gives those new channels created by aeration a nutrient boost and promotes stronger root growth. Additionally, applying a natural fertilizer can help revive grass tired by summer heat while supporting new growth. Look for slow-release options to provide steady nourishment.
Watering Wisely
Timing your watering after aeration is crucial for maximizing results. Water your lawn thoroughly after aerating to help the soil absorb nutrients and moisture quicker. Aim for about 1 inch of water per week, adjusting based on weather conditions. A simple method is to check your soil’s moisture by sticking a finger an inch deep; if it’s dry, it’s time to water. Avoid shallow watering, which can lead to shallow roots, making grass more vulnerable in drought conditions.
Seeding Opportunities
Aeration is also a prime opportunity for overseeding. With those holes providing access to the soil, seeds can germinate more effectively. Choose grass seed that complements your lawn type, and scatter it evenly across the aerated areas. Be sure to follow up with light watering until the seeds establish. Doing this in the fall or spring ensures your new grass seedlings have the best chance to thrive.
With these practices, you’re setting your lawn up for success. Embrace the joy of enhancing your outdoor space; your DIY efforts will shine through, resulting in a vibrant green lawn that rivals those professionally maintained. With a little care and the right techniques, you absolutely can create a lawn you love. Keep experimenting, learning, and sharing the DIY spirit with your neighbors. You can do this!
Creating a Seasonal Lawn Care Schedule
Creating a lawn care schedule is like crafting a recipe for success-each season requires specific ingredients to keep your grass lush and vibrant. Planning out your lawn care activities not only ensures your yard remains healthy but also helps you stay organized throughout the gardening year. With your DIY aerator ready to go, let’s dive into how to effectively design your seasonal lawn care calendar.
Spring: Awakening and Aeration
As the snow melts and temperatures rise, your lawn will come alive again. This is the perfect time to aerate! Start by aerating your lawn when the grass begins to grow, typically in early spring. Follow your aeration with fertilization to kickstart growth, and consider overseeding if your lawn has bare patches. Keep an eye on watering; aim for about 1 inch per week to keep the soil moist.
Summer: Nourishment and Maintenance
During the hotter months, your lawn needs attention to thrive. Regular mowing is essential; keep your grass at a height of about 2.5 to 3 inches to ensure roots remain protected from extreme heat. Water deeply but less frequently-allowing the soil to dry slightly between watering sessions strengthens roots. If you missed aerating in spring, summer is a good time for a light aeration, especially before watering or fertilizing.
Fall: Preparation for Rest
Fall is your lawn’s second chance! Aerate once more to relieve any soil compaction from summer traffic. This is also a great opportunity to apply a high-phosphorus fertilizer to promote root growth and prepare for winter. Overseed again, using a seed blend suited for your region, to fill in any gaps. Water adequately to help the seeds germinate and establish before the frost.
Winter: Rest and Repair
While your yard may seem dormant in winter, it’s crucial to keep the area clear of debris and leaves to prevent mold and disease. Use this time to plan for next year-analyze what worked well and what didn’t. As you gather your thoughts for spring projects, maintain your aerator and other tools, ensuring they’re ready for the new growing season.
By creating and sticking to a seasonal lawn care schedule, you not only ensure your lawn gets the attention it needs but also help manage your time effectively. Celebrate each season’s distinct contributions to lawn health, and remember, with a bit of planning, your yard can be the envy of the neighborhood! You can absolutely do this!
Q&A
Q: What tools are essential for building a DIY lawn aerator?
A: To build a DIY lawn aerator, you’ll need basic tools like a drill, screwdrivers, and a hammer. Additionally, gather PVC pipes, corrosion-resistant screws, and a sturdy base material for durability. These tools will help you construct an effective aerator that suits your lawn needs. For a detailed guide on essential materials, refer to the Essential Materials for Your DIY Aerator section.
Q: How often should I aerate my lawn for optimal health?
A: Aerate your lawn once or twice a year for optimal health, preferably during the growing season in spring or fall. This frequency allows the soil to rejuvenate, improves drainage, and promotes healthy root growth. Refer to the Creating a Seasonal Lawn Care Schedule section for personalized timing.
Q: Can I use a homemade aerator on clay soil?
A: Yes, a homemade aerator can be effective on clay soil, but it’s essential to aerate in moist conditions. This makes penetrating the dense soil easier and allows air and nutrients to reach the roots. Check the How to Aerate Different Types of Soil section for techniques tailored for your lawn.
Q: What are the benefits of lawn aeration?
A: Lawn aeration improves soil drainage, enhances nutrient uptake, and promotes a healthier root system. This process reduces lawn compaction, encourages deeper grass roots, and can lead to a lush, green lawn. Learn more in the Understanding Lawn Compaction and Aeration Benefits section.
Q: Is it better to rent an aerator or make my own for small lawns?
A: For small lawns, making your own aerator is often more cost-effective and convenient. DIY aerators can be tailored to specific needs for under $30, while rentals may incur higher costs and logistical challenges. Check the Step-by-Step Guide to Building Your Aerator for easy instructions.
Q: How can I tell if my lawn needs aeration?
A: Signs your lawn needs aeration include water pooling, patchy growth, and compacted soil. If your grass feels spongy or has a hard surface, those are indicators. For specific testing methods, see the Testing Your Aerator: How to Gauge Effectiveness section.
Q: What mistakes should I avoid when aerating my lawn?
A: Common mistakes when aerating include over-aerating, neglecting to water beforehand, and skipping areas. Ensure you aerate when the soil is moist and follow a systematic approach across your lawn. For more tips, refer to the Common DIY Mistakes to Avoid When Aerating section.
Q: How do I maintain my DIY aerator after use?
A: Keep your DIY aerator in good condition by cleaning it after each use, checking for rust, and securely storing it away from moisture. Regular maintenance ensures its effectiveness for future lawn care. More maintenance tips can be found in the Maintenance Tips for Your Aerator After Use section.
Wrapping Up
Congratulations on taking the first step toward a healthier lawn with your DIY aerator! Remember, this simple project not only boosts soil health but can be done for under $30, making it an affordable solution for any homeowner. Once you’ve aerated your lawn, consider exploring our detailed guide on “Lawn Care Essentials” to learn about the best fertilizers to use or check out “The Best Lawn Maintenance Tips” for ongoing care strategies.
Don’t forget to share your results or any challenges you face in the comments below! We love hearing from our DIY community, and your insights could inspire others. If you found this project helpful, be sure to sign up for our newsletter for more engaging DIY tips and tricks. Keep turning your DIY dreams into reality-you’ve got this!
Get our latest guides, news, and insights highlighted in your Google Search & AI Overviews.