

Are you tired of cornhole bags that just don’t feel right? The perfect weight and toss can make or break your game, enhancing fun and competition alike. Thankfully, crafting your own DIY cornhole bags is not only doable but also incredibly rewarding. With a little bit of fabric, some filling, and your creativity, you can create bags that are perfectly tailored to your playing style. This guide will walk you through the simple process, celebrating the joy of making something uniquely yours. No matter your skill level, you’ll find that mastering this project will elevate your next backyard gathering and impress your friends. So grab your materials and let’s get started; you can do this!
Choosing the Right Materials for DIY Cornhole Bags
When it comes to crafting your own cornhole bags, the choice of materials is crucial for achieving the perfect balance between durability and playability. The right fabric and filling can make all the difference in your gameplay experience. Start with a strong, durable fabric that can withstand repeated tossing. Canvas or duck cloth are popular choices for the outer layer due to their strength and resistance to wear and tear. Aim for a weight of around 10 to 12 ounces per square yard, as this provides a nice heft without being too rigid.
For the filling, you have a few options that impact how your bags perform. Most players prefer polypropylene beads or corn kernels, as these materials offer good weight distribution and can easily conform to the surface of the board. Poly beads are particularly advantageous because they resist moisture and will not rot or decay over time, making them ideal for outdoor use. Aim for bags that weigh between 14 to 16 ounces when filled, as this is the standard size that many players find optimal for tossing and aiming accuracy.
Putting It All Together
You can easily combine these elements to create bags that suit your style. Here’s a quick checklist for choosing your materials:
- Fabric: Choose between canvas or duck cloth.
- Weight: Opt for 10 to 12 ounces per square yard for durability.
- Filling: Go for polypropylene beads for moisture resistance or corn for a traditional feel.
- Total weight: Ensure the finished bag weighs 14 to 16 ounces.
By selecting the right materials, you’re setting yourself up for a fantastic game! Remember, every throw will be a chance to show off your handiwork. So gather your supplies and get started on crafting cornhole bags that not only perform well but also showcase your personal style! You can do this!
Understanding the Ideal Weight for Cornhole Bags
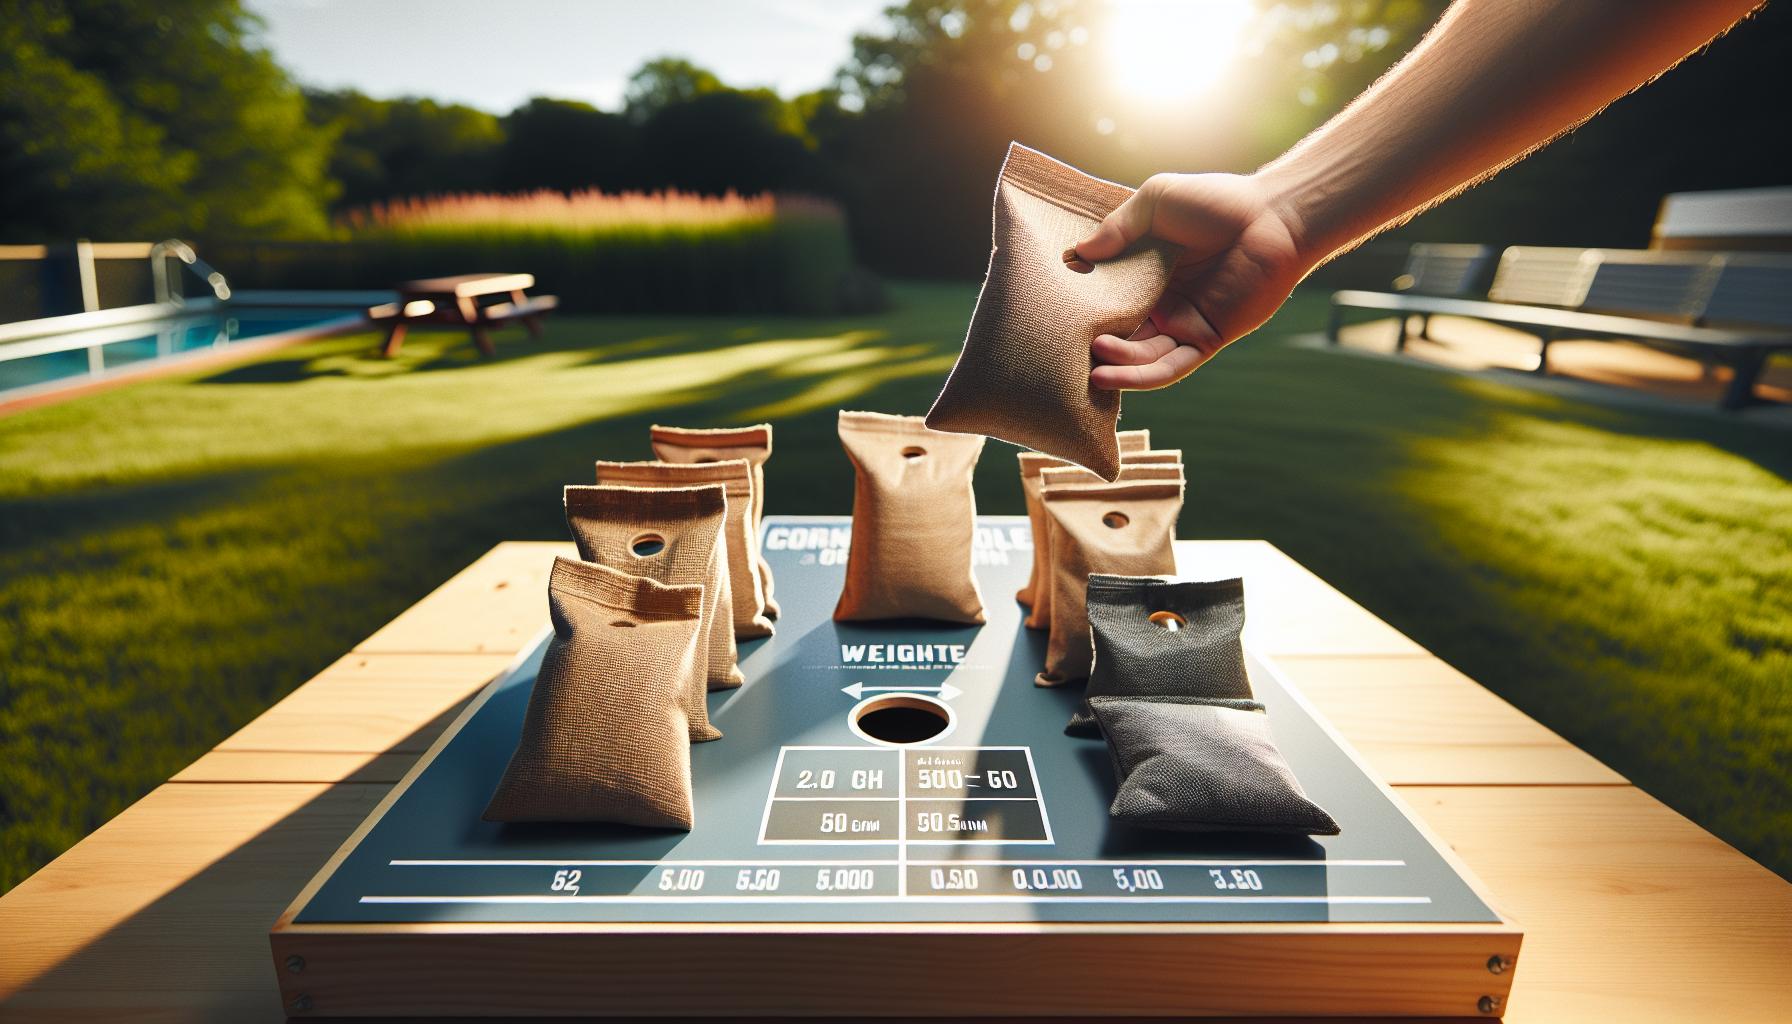
When crafting your cornhole bags, understanding the ideal weight is crucial for both playability and performance. The standard range for filled cornhole bags is typically between 14 and 16 ounces. This weight strikes a perfect balance: it’s heavy enough to handle the toss without being overly cumbersome, allowing for precise aiming and better gameplay.
Why does weight matter so much? A bag that’s too light may float unpredictably, making it difficult to control your toss. On the other hand, a bag that’s too heavy can be cumbersome and hard to throw effectively. Therefore, hitting that sweet spot is essential. Players often find that cornhole bags weighing 15 ounces provide just the right amount of heft, allowing for both power and finesse in their throws.
To achieve this ideal weight, it’s essential to choose the right filling material. Options like polypropylene beads or corn kernels not only help you reach your desired weight but also affect how the bags perform. Polypropylene beads are popular due to their moisture resistance and durability, ensuring your bags hold up over time and maintain their weight in various weather conditions.
As you embark on your DIY cornhole bag project, keep this weight guideline in mind. It’ll help ensure your bags not only look great but also toss perfectly! So, gather your materials, measure carefully, and remember: you can create cornhole bags that enhance your game and showcase your creativity!
Step-by-Step: Filling Your Cornhole Bags Perfectly
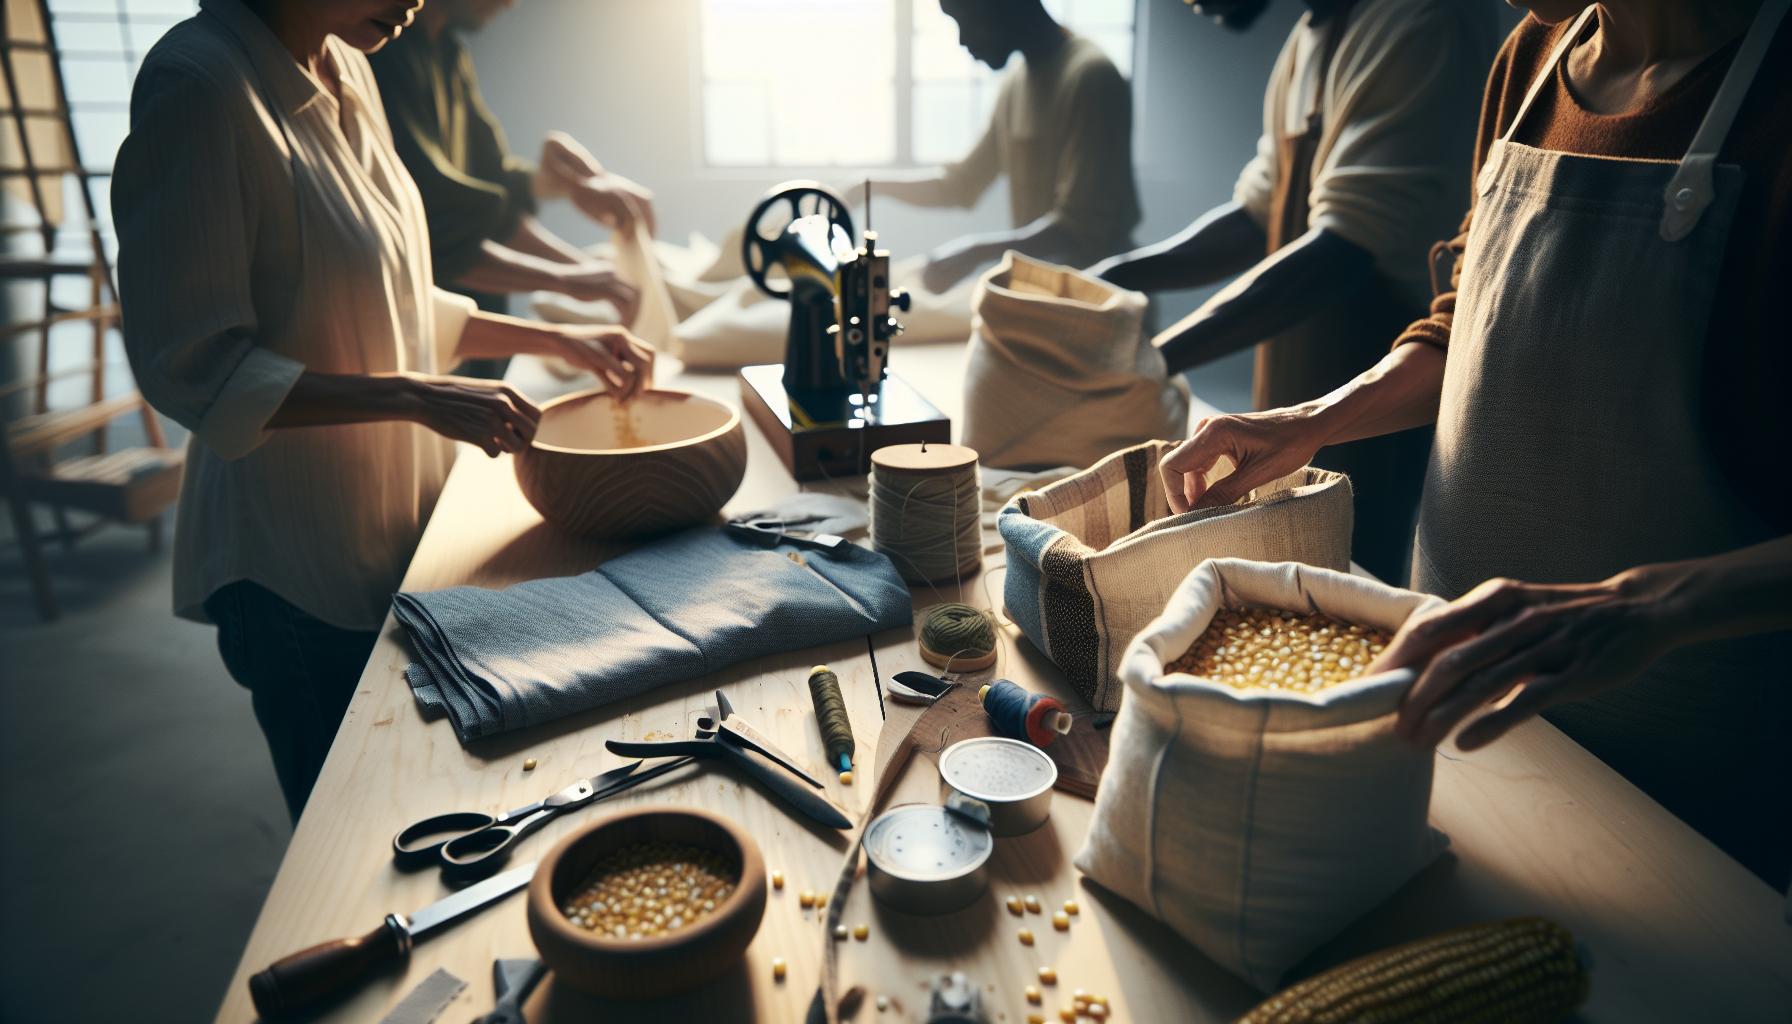
Filling your cornhole bags perfectly is not just about getting the weight right-it’s about achieving that ideal combination of ease of toss and accuracy. Getting it right can feel satisfying and greatly improve your game. Here’s how to ensure your bags are packed just right for the ultimate playability.
Start by gathering your materials before you begin. You’ll need the following:
- Your empty fabric cornhole bags
- Your chosen filling (like polypropylene beads or corn kernels)
- A kitchen scale for precise measurement
- A funnel or a ziplock bag with the corner cut off to help pour the filling
- A sewing machine or needle and thread for closing the bags, if necessary
Once you have everything ready, it’s time to get started. First, lay out your empty cornhole bags flat on a clean surface. Weigh out the filling material to ensure it’s in the range of 14 to 16 ounces. A kitchen scale will help you achieve that perfect target weight. Fill each bag lightly, aiming for around 15 ounces for optimal tossing. Don’t overstuff! This can make the bags too hard and detract from your control when throwing.
Now it’s time for the filling technique. Using your funnel or cut ziplock bag, pour the filling slowly into each cornhole bag, ensuring an even distribution. As you fill, gently shake the bag to help settle the filling, allowing it to take shape. After you’ve added your desired amount, seal the bags tightly. If you’re using a sewing machine, stitch securely across the opening to prevent any spills. If sewing by hand, double knot the thread for added strength.
Finally, take a moment to test your bags! Toss a few to see how they feel. If they seem too light or heavy, don’t be afraid to adjust the filling slightly. Remember, this crafting venture is all about finding what works best for you-and you can do this! Each bag should enhance your gameplay, offering that perfect balance of weight and control. Enjoy the process, and soon you’ll have a stylish, personalized set of cornhole bags ready for a fun game day!
Mastering the Art of Tossing Cornhole Bags
The beauty of cornhole lies in its simplicity, yet mastering the toss can take your game to the next level. A successful throw blends technique with practice, making it essential for any aspiring player to develop their skills. Whether you’re tossing for fun at a backyard barbecue or aiming to impress at local tournaments, understanding the nuances of your throw will enhance your performance and enjoyment.
Start by positioning yourself correctly. Stand with your feet shoulder-width apart and align your body with the cornhole board. Balance is vital, so keep your weight evenly distributed. Gripping the bag with a relaxed hand allows for greater control; hold it snugly without squeezing too tightly. As you prepare to toss, consider your stance and use your non-dominant arm to help guide you. This can help maintain focus and stability throughout your motion.
When you start your toss, focus on using your legs and core rather than just your arm. Bend your knees slightly and engage your core as you bring the bag back to initiate your throw. As you release, aim for a smooth, upward motion. A gentle flick of your wrist can help provide additional loft, allowing the bag to land softly on the board. Practice different angles and speeds; some prefer a flat toss while others may opt for a slight arc. Regular practice is key-take time to throw bags regularly, adjusting based on feedback from your own performance.
Lastly, don’t shy away from making adjustments based on your practice. Each player has a unique style, so what works for one may not work for another. Observe how your bags react when they hit the board. If they slide off, adjust the power and angle of your toss. If they land but don’t stick, consider a straighter release. By analyzing your throws and making small adjustments, you can refine your technique and improve overall consistency. Remember, every toss is a chance to learn, and the joy of making your own cornhole bags adds personal satisfaction to perfecting your game. Keep practicing, and soon enough, you’ll be tossing with confidence and flair!
Common Mistakes to Avoid When Making Cornhole Bags
Creating your own cornhole bags can be an incredibly rewarding project, but skipping just a few key steps can lead to frustration during gameplay. To help you craft bags that not only look great but also perform well, let’s explore some common pitfalls and how to avoid them.
One of the most frequent mistakes is choosing the wrong fabric. Not all materials hold up against the wear and tear of tossing! Opt for durable fabrics like duck cloth or canvas, which will withstand the elements and frequent use. Failing to pre-wash your fabric can also lead to issues-if it shrinks after your bags are sewn, you’ll find yourself with an unexpected fit. Always wash and dry your fabric before cutting to avoid surprises later on.
Another common error is miscalculating the weight of your cornhole bags. Remember, bags should ideally weigh between 14 and 16 ounces when filled. If your bags are too heavy, they might land flat and bounce off the board; too light, and they might not stick when they land. It’s a good idea to measure your filling material (like corn, beans, or synthetic pellets) and weigh your bags before sealing them, adjusting as needed to hit that sweet spot.
Finally, neglecting proper sewing techniques can lead to bags that burst open mid-game! Always use a strong thread and double-stitch your seams to reinforce the edges. Leaving too small of an opening to turn your bags right-side out can be another frustration, making it hard to get a nice, clean finish. Aim for an opening of at least 3-4 inches to make this step easier. By paying attention to these details, you’ll find that the crafting process not only gets simpler but the resulting cornhole bags are much more enjoyable to use. Happy crafting!
Customizing Your Cornhole Bags: Patterns and Designs
Crafting cornhole bags is not just about functionality; it’s also about expressing your personal style! With a myriad of patterns and designs to choose from, you can transform your DIY project into a reflection of your personality, favorite sports team, or even the theme of your outdoor gatherings. Creating custom designs doesn’t have to be daunting. Let’s dive into some accessible materials and techniques to ensure your cornhole bags stand out on the playing field.
Start with selecting fabrics that resonate with your desired aesthetic. You’ll want to balance visual appeal with durability. Look for bright, fun patterns or muted tones; maybe even consider fabric paint for a one-of-a-kind touch! Print shops often offer custom fabric printing if you’re keen on a completely unique design featuring your artwork or logos. Once you’ve chosen your fabric, apply any embellishments like patches or embroidery before assembling your bags. This way, you work on a flat surface, making it easier to stitch neat details.
Here’s a quick guide to personalizing your cornhole bags:
- Fabric Selection: Choose between cotton canvas, denim, or waterproof materials for outdoor play.
- Design Options: Utilize stencils or stamps for consistent patterns. Fabric paints are great for freeform designs.
- Incorporate Themes: Tailor your bags for events-match them to your favorite holiday or family gathering.
- Team Spirit: Use your favorite team colors and logos to show off your loyalty while you play.
Once your bags are sewn, consider using fabric sealant to help protect any designs and ensure they last through countless games and washes. Don’t forget that an important part of customization can also be choosing the right filling! If your bags carry your unique style, they should perform consistently well too. For example, using recycled pellets not only supports the environment but can also add a quirky touch when viewed through a semi-transparent fabric.
By embracing your creativity, you’ll not only manufacture cornhole bags that are functional but also captivating. Remember, each bag reflects the effort and spirit you bring to the game. Happy crafting, and enjoy the compliments that come with your personalized play!
Maintaining and Repairing Your Cornhole Bags
Maintaining your cornhole bags is essential to ensure they offer consistent performance and continue to look great for many games to come. Regular care can prevent wear and tear while keeping your personalized designs intact. Here are some practical tips to keep your cornhole bags in top shape!
Start by checking your bags for any visible wear, such as fraying seams or fabric damage. If you notice any unravelling, a simple solution is to re-stitch the affected areas. Use a thread that matches your fabric; this way, repairs blend seamlessly with your custom designs. Additionally, keeping a small sewing kit handy for quick fixes can save you from last-minute scrambles before a game.
For the fabric, spot clean any dirt or stains rather than throwing them in the wash, which can wear down the material. A cloth dampened with mild soap works wonders on most stains. If your bags require a deeper clean, hand washing is the way to go. Avoid harsh detergents and always air dry them; this helps preserve the fabric’s integrity and vibrancy of colors. If your bags have been exposed to moisture, let them dry fully to prevent mold and bad odors.
Storage plays a crucial role in the longevity of your cornhole bags. Ideally, store them in a cool, dry space, away from direct sunlight, which can fade colors over time. Using a breathable bag or container can help maintain their shape and prevent unnecessary squeezing or flattening.
Finally, don’t forget to occasionally refresh your filling. If you notice your bags are not tossing the way they used to, consider replacing or adding to the filling to achieve the desired weight and toss. Materials like synthetic pellets or corn fill are great options that can boost performance and adjust the bags’ feel at your discretion.
By following these simple yet effective maintenance tips, you’ll ensure your cornhole bags remain as impressive as the day you crafted them. Remember, taking care of your creations not only enhances their performance but also showcases the love and effort you put into making them. Happy tossing!
Exploring Advanced Techniques for Experienced Crafters
When you’re ready to elevate your DIY cornhole bags game from good to exceptional, exploring advanced techniques can make all the difference. Whether you’re looking to customize the performance or add a personal flair, there are countless ways to experiment. You might think you need to be a seasoned expert, but with some creativity and a few new approaches, you can take your cornhole bags to new heights.
One of the key areas to focus on is the fill material. While corn kernels and synthetic pellets are popular, experienced crafters often implement unique fillings like glass beads or weighted sand for added versatility. This can change not only the weight of your bags but also how they handle different environments. On a breezy day, heavier bags tend to be more stable, while lighter ones might be better suited for calm conditions. Experimenting with different fillings and combinations can help you find the perfect balance for your playing style and local weather conditions.
Additionally, mastering the sewing techniques of your bags can result in a significant performance boost. Consider using a reinforced double stitch or even a zigzag stitch along the seams for extra durability. If you want to add a touch of pizzazz without compromising functionality, try decorative stitching on the edges. This not only adds personality but also strengthens the seams, ensuring they hold up during intense games. For the best results, use high-quality thread suited for your fabric type; this small tweak can enhance the lifespan of your cornhole bags remarkably.
For those wanting to branch out even further, think about your design and aesthetic choices. Why not swap the standard square shape for something more unconventional-like a rounded or oval bag? Such shapes can offer unique aerodynamic properties, which can change how they fly through the air. If sewing is your forte, creating bags with patterns that reflect your personality or a themed design for a special event can make your bags not only functional but a conversation starter!
Lastly, practice makes perfect! Spend some time tossing different designs at various weights to see how they perform under different conditions. Continuous tweaking of your bags in terms of fill and fabric will help you develop an instinct for the ideal combination for your playing style. Remember, crafting is a journey, and the joy of DIY comes from experimenting and learning along the way. Embrace the process, and soon enough, you’ll be crafting cornhole bags that are not just competitive but also uniquely yours.
DIY Cornhole Bags: Budget-Friendly Tips and Tricks
Crafting your own cornhole bags doesn’t just save you money; it allows you to create something that’s uniquely your own. With a little creativity and resourcefulness, you can make high-quality bags without breaking the bank. Let’s explore some budget-friendly tips and tricks that will help you achieve perfect weight and optimum toss every time.
First, consider your fabric choices. Instead of buying expensive specialty fabrics, look for durable cotton or canvas options at your local craft store. You can often find remnants or discounted fabrics that are perfect for cornhole bags. Choose materials with different textures as they can influence gameplay. Additionally, don’t shy away from using old canvases from tents, or upholstery fabrics-these can be cut down and still provide that sturdy feel needed for cornhole bags.
When it comes to filling the bags, creativity is key. While traditional fillings like corn kernels are common, you can substitute with items you already have at home or can find cheaply. Try using dried beans, rice, or even old socks filled with a suitable material. Just make sure whatever you choose offers a consistent weight and solid feel. If you’re concerned about moisture, consider double-bagging your fills or using waterproof materials for your interior bags. This way, you’ll ensure your fills stay dry and your bags maintain their quality over time.
Here are a few more cost-efficient tips:
- Get a group together for a DIY project. This way, you can buy materials in bulk and share costs.
- Incorporate fun designs using fabric paint or markers rather than purchasing pre-printed fabrics.
- Be resourceful with tools; you don’t need a fancy sewing machine-straight seams can easily be done by hand if necessary.
Remember, the goal is to have fun and create something you love. The satisfaction of making your own cornhole bags is priceless, and with these tips, you’ll have no trouble achieving the perfect weight and toss on a budget. So gather your materials, invite some friends, and enjoy the crafting process-you can absolutely do this!
Different Filling Options: Which is Best for You?
Finding the right filling for your DIY cornhole bags is essential for achieving that perfect weight and toss you’re aiming for. While many people swear by traditional corn kernels, the truth is there are plenty of other creative alternatives that may be more accessible or suited to your crafting style. Experimenting with different fillings can not only give your bags a unique feel but also allow you to customize them based on your preferences and available materials.
One popular option beyond corn is dried beans. They offer a similar weight and consistency and can often be found in bulk at a low cost. Black beans, pinto beans, or even lentils can all work well. When choosing beans, aim for ones that are uniform in size to ensure even weight distribution within each bag. Another interesting choice is rice-white, brown, or even wild rice. It’s inexpensive and provides a satisfying heft, making it a great filling for both beginners and seasoned crafters alike. Just remember to secure your bags well to prevent any spillage!
If you’re looking for something a little more unconventional, consider using clean, small pebbles or gravel. This option creates a unique and bounce-friendly bag, perfect for outdoor play. However, ensure they are well-contained to prevent wear on your bags. Recycled materials can also make an eco-friendly choice; for instance, stuffing your bags with old socks filled with fabric scraps or shredded paper. These can be great for reducing waste while giving each bag a personal touch. To prevent moisture and maintain quality, double-bagging is a smart strategy regardless of your filling.
In the end, the best filling really comes down to your specific needs and what you find enjoyable. Whichever option you choose, the key is consistency-ensuring that all bags are filled similarly for balanced gameplay. So gather your materials, let your creativity flow, and remember that this part of the process is just as rewarding as the final product. You can absolutely do this!
FAQ
Q: How do I choose the right fabric for DIY cornhole bags?
A: To choose the right fabric for DIY cornhole bags, opt for heavy-duty materials like duck cloth or canvas. These fabrics are durable and resistant to wear. Look for a weight of at least 10-12 oz per square yard for the best results. For a detailed guide, check out the Choosing the Right Materials for DIY Cornhole Bags section.
Q: What is the recommended weight for filled cornhole bags?
A: Filled cornhole bags should weigh between 15 to 16 ounces for regulation play. This weight ensures the bags are easy to toss while still providing good stability on the board. Refer to the Understanding the Ideal Weight for Cornhole Bags section for more information.
Q: Can I use other materials inside my cornhole bags instead of traditional fill?
A: Yes, you can use alternatives like plastic pellets, beans, or sand, though they may change the bag’s texture and handling. Experimenting with different fillers can create unique performance characteristics. Explore Different Filling Options: Which is Best for You? for more insights.
Q: How can I personalize or decorate my DIY cornhole bags?
A: You can personalize cornhole bags by using fabric paint, embroidery, or iron-on patches. Choose designs that reflect your style or team colors. For tips on customization, see the Customizing Your Cornhole Bags: Patterns and Designs section.
Q: What common mistakes should I avoid when making cornhole bags?
A: Common mistakes include using low-quality fabric, neglecting to secure seams properly, and overfilling the bags. These can affect durability and performance. Review the Common Mistakes to Avoid When Making Cornhole Bags section for a comprehensive guide.
Q: How do I maintain and repair my cornhole bags?
A: To maintain your cornhole bags, spot-clean them with mild soap and water, and store them in a dry place. For repairs, hand sew any tears promptly to avoid further damage. Visit the Maintaining and Repairing Your Cornhole Bags section for detailed care instructions.
Q: What are some budget-friendly tips for making cornhole bags?
A: Consider using fabric remnants and buying filling in bulk to save costs. You can also repurpose materials from old projects. For more cost-saving strategies, check out DIY Cornhole Bags: Budget-Friendly Tips and Tricks.
Q: How do I ensure my cornhole bags are perfectly filled?
A: To achieve perfect fill, use a kitchen scale to measure the desired weight, ensuring each bag is consistent. Distribute the filling evenly and avoid overpacking. Review the Step-by-Step: Filling Your Cornhole Bags Perfectly section for detailed instructions.
Key Takeaways
Congratulations on taking the first step towards creating your own DIY cornhole bags with perfect weight and toss! Remember, each bag not only enhances your game but also adds a personal touch that store-bought options just can’t match. If you have any lingering questions or need inspiration for your next project, feel free to explore our guides on making your own cornhole board or learn how to customize your bags further for that extra flair.
Feeling motivated? Grab your materials and get started today! You’ll be able to elevate your outdoor gatherings and impress your friends with your craftsmanship. Don’t forget to share your thoughts and results in the comments below-we love hearing from our community! Plus, if you enjoyed this guide, consider signing up for our newsletter for more fun DIY tips and tricks, or check out our resources for easy crafts that suit all skill levels.
You’ve got this, and remember, the journey of making things yourself is just as rewarding as the end result! Happy crafting!
Get our latest guides, news, and insights highlighted in your Google Search & AI Overviews.