
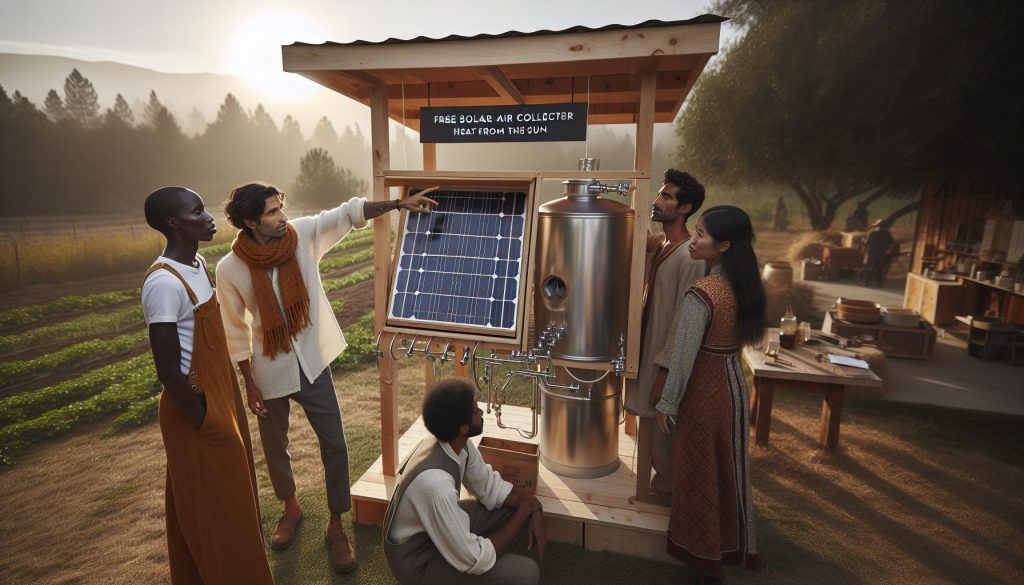
Imagine harnessing the sun’s free power to warm your home, reduce energy bills, and embrace a sustainable lifestyle! A DIY solar air collector does just that, allowing you to transform sunlight into an efficient heating source without costly technology. This engaging project is perfect for anyone interested in renewable energy, from novices to seasoned makers.
Building your own solar collector requires minimal materials and can be completed in just a few hours. You’ll enjoy the satisfaction of creating something beneficial while gaining hands-on skills. Plus, it’s a fantastic conversation starter and a way to take action against climate change. Dive into the world of DIY solar heating and discover how simple it is to bring warmth and comfort to your space-because if you’re ready to try, you can absolutely do this! Keep reading to find out step-by-step how to get started on your very own solar air collector project.
Understanding DIY Solar Air Collectors: How They Work
Harnessing the sun’s energy to heat your home is not just an idea limited to scientists or corporations-it’s a hands-on project that anyone can tackle. DIY solar air collectors are ingenious devices that collect warmth from sunlight and transfer it to air, making them a fantastic way to reduce energy costs and promote sustainable living. Whether you’re looking to warm your garage, workshop, or even your living space, understanding how these systems operate can get you excited about the possibilities.
So, how do these solar air collectors work? Essentially, they capture solar energy using a flat surface that absorbs sunlight, usually black to maximize heat absorption. As sunlight hits the collector, the surface heats up and warms the air that’s circulated through it. This heated air can then be directed into your space through a series of ducts or simply released into the room. The basic principle at work here is the greenhouse effect-sunlight enters the collector and gets trapped, raising the temperature inside. This method is particularly efficient since it doesn’t require heavy machinery or special skills to set up.
A successful DIY solar air collector setup involves a few key innovations and materials that you can easily source. To create your collector, you’ll typically need materials like plywood or metal for the frame, clear plastic or glass for the covering, and insulation to minimize heat loss. Many DIYers have had success using recyclable materials, such as pop cans or old windows, enhancing both creativity and sustainability. With a little bit of planning and some elbow grease, you can create an effective air heating system that smiles back at efficiency.
If you’re looking for inspiration, you might want to check out videos that walk through real-world examples of DIY solar air heaters. These resources showcase various projects that not only illustrate the process in action but highlight the satisfaction of crafting something that harnesses free energy from the sun. This project can be as simple or complex as you choose, and getting started is just a matter of gathering your materials and committing to the process. Remember, each step you take not only contributes to your own comfort but also supports a sustainable future!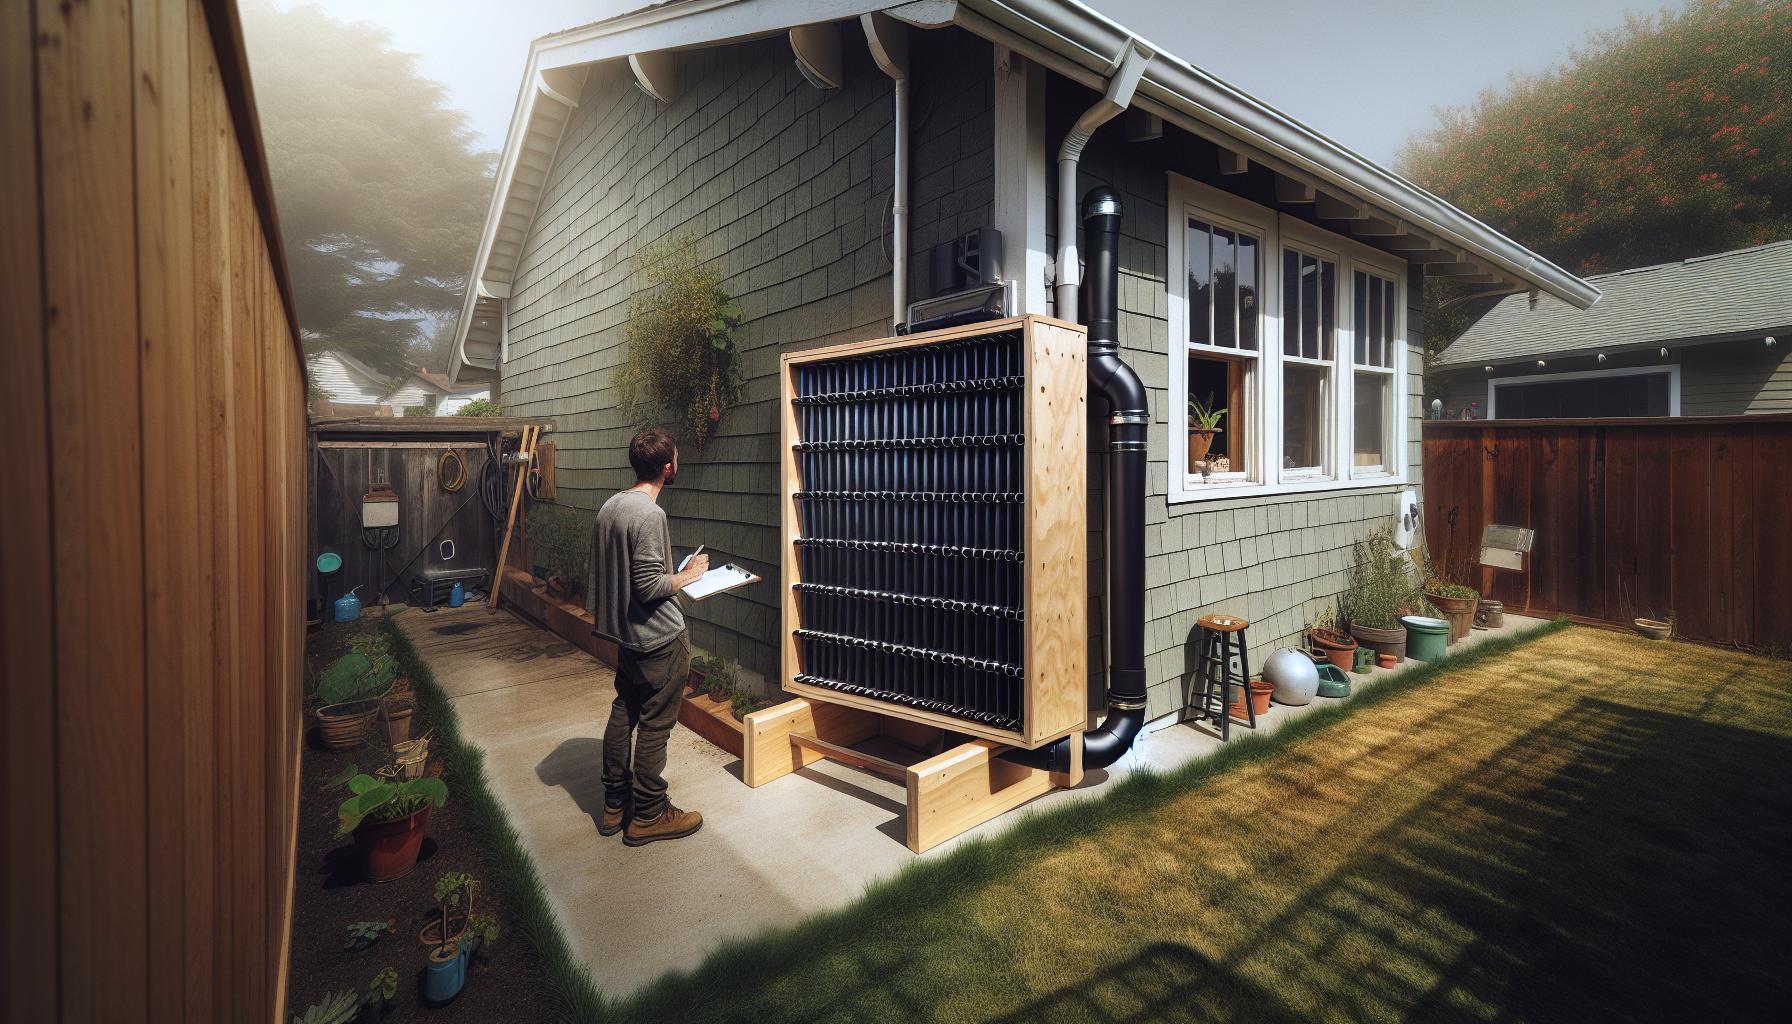
Essential Materials for Your Solar Air Collector Build
To create an effective solar air collector, gathering the right materials is key to ensuring success. Imagine harnessing the sun’s power for free heat in your own home-what an exciting project! The materials you select will not only impact the efficiency of your collector but also influence the overall costs and ease of construction. Luckily, you don’t need fancy or expensive items to get started; many can be sourced locally or even salvaged from what you might have lying around.
Here’s a rundown of essential materials you’ll need:
Frame and Structure
The frame is the backbone of your collector. You can use:
- Plywood or plywood sheets: These are inexpensive and relatively easy to work with.
- Metal or steel frame: If you’re looking for durability, repurposed metal frames provide excellent longevity.
Heat Absorber
The part of your collector that absorbs heat needs to be efficient:
- Black paint or aluminum sheets: Black surfaces absorb heat best. You can paint sheets or use coated aluminum.
- Recycled materials: Think old cans or solar air heater designs that utilize old windows or metal containers for innovative heat capture.
Covering
You’ll want something transparent to allow sunlight in but sturdy enough to withstand the elements:
- Clear polycarbonate sheets: Lightweight and incredibly durable, these can last for years.
- Glass panels: Repurposed window glass works wonders if you can source it from a renovation project.
Insulation
To keep your collected heat from escaping, insulation is crucial:
- Foam board insulation: Easy to cut and fit into your design, preventing heat loss.
- Old quilts or blankets: If you have these lying around, they can serve as an excellent, eco-friendly option!
Miscellaneous Supplies
Other supplies you’ll likely need include:
- Ducts or piping: For directing heated air into your home.
- Sealants and screws: To ensure your collector is airtight and structurally sound.
With these materials in hand, you’re well on your way to constructing a solar air collector that will provide warmth for your space. Tapping into renewable energy sources not only benefits your pocketbook but also contributes to a more sustainable world. Remember, the beauty of DIY projects is that they can be adapted with materials that work for you-so let your creativity flow!
Step-by-Step Guide to Building Your Own Collector
Building your own solar air collector can be an incredibly rewarding project that harnesses renewable energy to warm your home-all while saving you money! You’ll be pleasantly surprised at how straightforward the steps are, even if you’re new to DIY. This guide will walk you through the process in a way that’s easy to understand. Grab your materials, and let’s get started!
First, you’ll want to gather all your essential materials. Prepare your frame by cutting plywood or using a repurposed metal frame to build a sturdy base. Aim for a size that fits your space but provides enough surface area for effective heating. Once your frame is ready, it’s time to create your heat absorber. Whether you choose to paint aluminum sheets black for maximum efficiency or use recycled items like old cans, ensure that the absorption surface is well prepared.
Once your frame and absorber are ready, it’s time to add the covering. Position your clear polycarbonate sheets or repurposed glass panels securely over the top of your heat absorber to allow sunlight in while protecting the inner components. Seal any gaps to prevent air leaks, using weatherproof sealant around the edges. Insulation comes next-make sure to cover the back and sides of your collector with foam board insulation or even a layer of old blankets to keep the heat from escaping.
Finally, connect your finished collector to a duct system that channels warm air into your living space for the best results. Test it out during a sunny day to ensure good airflow and adjust the angle of your collector towards the sun for optimal heating. Remember, this is a learning process, so don’t hesitate to make adjustments based on your initial results!
By following these steps, you’ll create a functional solar air collector that’s not only efficient but also a source of satisfaction, knowing you’ve built it with your own hands. Keep an eye on its performance, and enjoy those cozy, sunshine-filled days ahead!
Effective Design Tips for Maximum Efficiency
When it comes to maximizing the efficiency of your DIY solar air collector, a few thoughtful design choices can make all the difference. Choosing the right angle for your collector is crucial: ideally, it should be tilted towards the sun at an angle equal to your latitude during the winter months. This ensures you capture the most sunlight possible. For the best results, monitor the sun’s path and adjust the angle of your collector throughout the day as necessary.
Another key factor is the size and placement of your heat absorber. If you’re using cans, for example, arrange them in a way that optimizes airflow while maximizing surface area exposed to sunlight. Black-painted aluminum sheets can also work wonders for heat absorption-just ensure they are adequately painted to eliminate any reflective surfaces. Additionally, the insulation behind your collector will prevent heat loss. Cover the back with foam board or recycled materials to create an airtight space.
Lastly, consider experimenting with passive ventilation systems to enhance airflow. Using simple vents or ducts can help channel warm air from your collector into your living space more efficiently. Some DIYers have found that incorporating small fans can help circulate air, especially on days when sunlight is less intense.
Remember, the joy of DIY solar projects comes with trial and error! Don’t hesitate to tweak your design based on performance feedback. Each adjustment you make brings you closer to that ideal balance of efficiency and usability. You got this!
Installation Tips for Optimal Solar Gain
To harness the sun’s free energy effectively, getting your DIY solar air collector installed correctly is key. One of the most critical factors is to position your collector at the right angle. Aim for a tilt that matches your geographical latitude during the winter months. This alignment helps you capture the maximum sunlight throughout the day. Don’t hesitate to make adjustments based on the sun’s path; a simple tilt can significantly boost performance, especially in different seasons.
Another vital aspect is choosing a suitable location for your collector. Ideally, it should be placed in a sunny spot free of overhanging branches or nearby structures that could cast shadows during the day. If possible, install your collector on a south-facing wall for optimal sun exposure. For added efficiency, ensure that your air collector is securely mounted and stable. This minimizes vibrations and other disturbances that could reduce its effectiveness over time.
Consider the materials you’re using in your build. A good air seal is necessary to prevent heat loss; use high-quality insulation behind your collector. Foam boards work well here, creating an airtight barrier that helps keep the warmth in. When attaching the heat absorber, ensure that it’s tightly sealed to prevent any leaks that could diminish airflow.
Lastly, explore the option of incorporating passive ventilation systems. Small vents can allow warm air to flow naturally into your living space without the need for additional power. For those days when the sunlight is less intense, a small DC fan can be a game-changer, circulating warm air efficiently. The goal is to create a system that not only captures solar energy but also uses it effectively, keeping your space warm and comfortable. With a little trial and error, you can tweak these elements to fit your specific needs perfectly. Remember, this is all about making things work for you-you’ve got this!
DIY Solar Air Collector Maintenance: Keeping It Working
To keep your DIY solar air collector functioning at its best, regular maintenance is key. Think of your collector as a hardworking friend: it deserves a little love and attention to keep it performing optimally! Thankfully, maintaining your collector isn’t complicated, and with a few straightforward practices, you can ensure it continues to harness the sun’s energy efficiently year after year.
Start by inspecting your air collector at least once a season. Look for any debris, such as leaves or dirt, that may have collected on the surface. A clean collector can absorb sunlight more effectively. Use a soft brush or a garden hose to gently wash away any buildup. Be cautious not to use abrasive materials that could scratch the surface and reduce efficiency. Additionally, check the seals around the edges. If you notice any cracks or gaps in the insulation or seals, reapply caulk or replace the foam as needed to prevent heat loss.
Monitor Performance
Keeping an eye on the performance of your solar air collector will help you catch issues early. Pay attention to how warm the air is coming out of your collector compared to the outside temperature. If it’s not as warm as expected, it may be time to troubleshoot. Possible issues could include blockages from dust or debris, or significant wear and tear on components like the fan system if you have one. Consider keeping a simple log of the temperatures and performance throughout the seasons to identify trends or potential problems.
Seasonal Adjustments
Make seasonal adjustments to your collector as needed. In winter, when the sun is lower in the sky, consider tilting your collector or adjusting its angle. You might also want to add a protective cover during heavy snow or ice to protect any exposed components. If you live in an area with heavy winds, ensure that the structure is secure and stable; reinforce it if necessary.
Don’t hesitate to experiment! Effective maintenance is about what works best for your specific setup. With a little observation and minor adjustments, you’ll be well on your way to enjoying the benefits of free heat while keeping your DIY solar air collector in top shape. Remember, you can do this-maintaining your project just adds to the joy of creating your own sustainable energy solution!
Exploring Different Types of Solar Collectors
When diving into the world of solar air collectors, it’s exciting to discover the variety of designs that can help you harness the sun’s energy for heating your space. Each type of solar collector has its own set of benefits and challenges, making it essential to choose one that aligns with your DIY skills, availability of materials, and specific heating needs. Let’s look at some of the popular types of solar air collectors and their unique characteristics.
One widely used design is the flat plate collector. This type consists of a large, rectangular box covered with glass or plastic to trap sunlight. Inside, there are absorber plates painted black to maximize heat absorption. Flat plate collectors are relatively easy to construct and are effective in moderate climates. They work best for heating air and can be made from readily available materials, making them a great project for DIY enthusiasts looking to create their first collector.
Another interesting option is the evacuated tube collector, which features a series of tubes that each contain a glass tube around an absorber. This design minimizes heat loss thanks to the vacuum between the tubes. While these can be more complex to build, they offer high efficiency, especially in colder regions where they can collect solar energy even on cloudy days. For those interested in a hands-on project and who have the right materials, this type could prove to be a rewarding challenge.
For more ambitious makers, the parabolic collector can be a captivating project. This design uses a curved surface to focus sunlight onto a small area, significantly increasing the heat concentrated in that spot. Parabolic collectors can be used for heating air or even water. Websites and communities dedicated to DIY solar projects often feature plans and tips on constructing these types of collectors, allowing you to tap into that exhilarating experience of building something that not only serves a purpose but also showcases your craftsmanship.
As you consider which type to build, think about your specific needs, the climate in your area, and the resources you have on hand. Experimenting with different designs can be incredibly rewarding, and whether you start with a flat plate or challenge yourself with an evacuated tube or parabolic setup, remember: you can do this! Your journey into solar air collection will not only help you save on heating costs, but it will also deepen your understanding of sustainable energy practices.
Cost Analysis: Is DIY the Right Choice for You?
When considering the costs associated with building your own solar air collector, it’s essential to weigh the investment against the long-term benefits. DIY solar air collectors can offer significant savings on utility bills, reduce reliance on fossil fuels, and contribute to a greener environment. But how do the upfront costs stack up? Let’s break it down!
First, you’ll want to account for the essential materials needed for construction. Prices can vary based on local availability and the specific design you choose. A basic flat plate collector may require simple items like plywood, black paint, a glass cover, and insulation. Typically, you might spend between $100 to $300 for a small collector. More advanced designs like evacuated tube or parabolic collectors can increase costs significantly, ranging from $300 to over $1,000, depending on complexity and efficiency features. However, remember that the initial investment can recoup over time through energy savings.
One of the best aspects of DIY projects is the ability to utilize recycled materials, which can drastically lower your costs. For instance, repurposed windows for glass covers or scavenging for old appliances can help keep expenses down while adding a personal touch to your build. Communities around solar energy share countless stories of successful projects done on a shoestring budget, highlighting that it’s entirely possible to create an efficient system without breaking the bank.
After you’ve calculated your costs, it’s beneficial to consider local incentives or tax credits available for renewable energy projects, which can further enhance your investment’s value. Many regions offer rebates or point programs for homeowners who install solar devices, which could diminish that initial outlay. By balancing material costs, potential savings, and available incentives, you can determine whether embarking on a DIY solar air collector project is the right choice for you.
In summary, while the upfront costs can seem daunting, the potential savings and benefits make DIY solar air collectors a worthwhile consideration for many. Plus, think of the joy in creating something with your own hands that not only warms your space but also makes a positive environmental impact. Remember, you can do this! Whether you’re a beginner or more experienced, diving into this project can be both rewarding and educational.
Troubleshooting Common DIY Solar Air Collector Issues
Building your own solar air collector is an exciting journey, but like any DIY project, issues can arise along the way. Don’t worry-most problems can be resolved with a bit of troubleshooting! Keeping your solar air collector in top shape will ensure you get the maximum benefits from your efforts.
One common issue is inadequate heating. If you find that your collector isn’t generating enough warm air, check for obstructions such as dirt or debris blocking the solar panels. Ensure that your panels are oriented correctly to the sun and free from shading caused by trees or buildings. Another factor to consider is the insulation. Poor insulation can lead to heat loss, so double-check that your collector is properly insulated, especially around joints and edges.
Sometimes, air flow can be suboptimal, which might be due to the fans you’re using. If you notice that air isn’t circulating well, remember to check the fan orientation-they should be blowing air out of the collector rather than pulling air in. It’s a good idea to use a multimeter to check the voltage on your fans and ensure they are receiving enough power. If fans are the issue, consider upgrading to more efficient models that can handle the airflow requirements of your collector.
Finally, keep an eye on the overall moisture levels in your system. Humidity can lead to mold and mildew within the collector, diminishing efficiency. If you discover dampness, consider adding ventilation to allow excess moisture to escape. You could leave a small gap at the bottom of the collector for air to circulate, or install drain holes to let condensation escape.
Quick Troubleshooting Checklist
- Check for obstructions or dirt on collectors.
- Ensure proper orientation towards the sun.
- Inspect insulation for gaps and weaknesses.
- Verify fan operation and orientation.
- Monitor humidity and introduce ventilation if needed.
These adjustments are part of the learning curve that comes with your DIY solar air collector project. Remember, every challenge is an opportunity to enhance your skills, and there’s a vibrant community out there ready to share tips and successes. You’ve got this!
Real-Life Examples: Successful DIY Projects
The world of DIY solar air collectors is brimming with inspiring stories of creativity and resourcefulness. One standout project comes from a gardener who transformed an unused greenhouse into a cozy space all year round. By constructing a simple solar air heater using reclaimed materials, including old windows and black paint, they not only harnessed solar energy but reduced heating costs significantly. During sunny winter days, this collector managed to reach an impressive 160°F (74°C), demonstrating the potential of DIY solutions to create sustainable warmth in any space.
Another compelling example can be found in a community project that engaged local families in building solar air heaters for their homes. The group used a combination of aluminum cans and plywood to craft a series of efficient collectors, learning valuable skills along the way. Not only did the project foster a spirit of collaboration, but it also resulted in reduced energy bills for every participating household. The success of this initiative highlights how shared knowledge and teamwork can lead to practical solutions that benefit everyone involved.
For the tech-savvy maker, a Reddit user showcased their innovative approach by integrating standard square 12-volt computer fans into their solar air collector design. This adaptation not only improved air circulation but also ensured their system effectively heated two small bedrooms. By sharing photos and tips on air flow management, they demonstrated the importance of adapting designs to fit personal needs while encouraging others to experiment with their own designs.
In these projects, the underlying message is clear: whether you’re working solo, collaborating with others, or enhancing your setup with technology, you can build a functional and effective solar air collector. Embrace the challenge, learn from others, and remember that every effort you make brings you one step closer to harnessing the sun’s free heat. You’ve got this!
Enhancing Your Collector with Smart Technology
Incorporating smart technology into your DIY solar air collector can elevate your project from good to great. By adding basic automation and control systems, you can optimize performance, enhance convenience, and even monitor efficiency. Whether you’re a novice or a seasoned maker, integrating these technologies can make your solar project more effective and easier to use, ultimately boosting the benefits you gain from the free heat of the sun.
One of the most accessible upgrades you can make is to install temperature sensors linked to a simple microcontroller, like an Arduino or Raspberry Pi. These devices can track the temperature of the air entering and leaving your collector, allowing you to monitor performance in real-time. To get started, you’ll need a basic temperature sensor, some jumper wires, and the microcontroller itself. Follow these steps to set it up:
- Connect the temperature sensor to your microcontroller.
- Write a simple program to read temperature data and display it on a screen or even send it to your smartphone.
- Install the microcontroller near your solar collector with appropriate shielding.
This upgrade not only gives you insights into your collector’s effectiveness but can help you tweak its design or operation for maximum efficiency.
Another exciting enhancement involves using automated fans to improve air circulation. For example, integrating a standard 12-volt computer fan can significantly increase the air throughput, allowing your collector to work more effectively, especially when temperatures dip. To achieve this, you can wire the fan to activate based on the temperature readings you’ve gathered. This way, the fan runs only when the collector reaches a certain temperature, conserving energy when it’s unnecessary.
To implement this, you would typically:
- Connect the fan to a relay circuit controlled by your microcontroller.
- Set the programming logic to activate the fan when the solar air collector reaches a pre-set temperature.
You’ll enjoy a more efficient system that actively responds to changing conditions, ensuring you get the most heat possible from your solar collector.
Lastly, you might want to explore remote monitoring options. By adding Wi-Fi capabilities to your microcontroller, you can check performance and temperature data from anywhere-the perfect way to ensure your collectors are working optimally without having to trek outdoors, especially on chilly days.
Remember, the integration of smart technology into your DIY solar air collector is not just about complexity; it’s about enhancing functionality and efficiency. By exploring these options, you’re not only improving your project but also engaging with the cutting-edge of DIY solar energy solutions. You’ve got the creativity and the tools-dive in and transform your solar heating experience!
The Environmental Impact of Solar Air Collectors
Utilizing solar air collectors provides a remarkable opportunity to harness renewable energy while positively impacting the environment. By converting sunlight into usable heat, these systems help reduce reliance on fossil fuels and lower greenhouse gas emissions. Not only does this contribute to a cleaner atmosphere, but it also supports sustainable living practices that promote energy independence and ecological preservation.
One of the most notable environmental benefits is the reduction in carbon footprint. Conventional heating methods often involve burning fossil fuels, which release substantial amounts of CO2 into the atmosphere. In contrast, solar air collectors operate without emissions, allowing you to heat your space using nothing but the sun’s energy. This shift reduces the demand for non-renewable resources, supports climate stability, and mitigates the effects of climate change.
Moreover, building your own solar air collector reinforces a culture of self-sufficiency and resourcefulness. Projects like these not only empower individuals to take charge of their energy needs but also inspire others to consider solar technology in their homes. As more people adopt such practices, the collective impact on reducing environmental harm becomes significant. Here are a few practical steps you can take to amplify the eco-friendly impact of your solar air collector:
- Use Recycled Materials: Consider using old windows, scrap wood, or upcycled materials in your construction to minimize waste.
- Optimize Efficiency: Regular maintenance and periodic tuning can enhance your collector’s performance, ensuring you extract the most energy with the least environmental cost.
- Promote Awareness: Share your DIY journey and the benefits of solar energy with your community; you might just spark someone else’s interest in building their own collector!
In summary, integrating solar air collectors into our lives is more than just a personal energy solution-it’s a commitment to environmental stewardship that encourages sustainable practices. By tapping into free and plentiful solar energy, you can actively participate in a greener future while enjoying the many benefits that DIY projects bring. So roll up your sleeves, grab your materials, and start making a positive change, both in your home and for the planet!
Frequently asked questions
Q: What materials do I need to build a DIY solar air collector?
A: To build a DIY solar air collector, you will need basic materials such as plywood, reflective insulation or aluminum foil, a fan, and clear plastic sheets. Additionally, tools like a saw, drill, and screws are essential. For guidance, check our section on Essential Materials for Your Solar Air Collector Build.
Q: How much time does it take to build a solar air collector?
A: Building a solar air collector typically takes 1 to 2 days, depending on your skill level and the complexity of your design. Plan for additional time for installation and testing, especially if you’re a beginner.
Q: Can a DIY solar air collector really heat a room efficiently?
A: Yes, a well-designed DIY solar air collector can significantly boost a room’s temperature. When positioned correctly and optimized for sunlight exposure, it can provide considerable heat, making it an effective solution for supplemental heating.
Q: What are common issues encountered with DIY solar air collectors?
A: Common issues include insufficient heat output, leaks, and improper installation. Regular maintenance and using quality materials can mitigate these problems. For troubleshooting tips, refer to our section on Troubleshooting Common DIY Solar Air Collector Issues.
Q: How can I enhance my DIY solar air collector’s performance?
A: To enhance your solar air collector’s performance, consider adding insulation, using reflective materials, and incorporating a thermostatic fan to optimize air circulation. Explore our Effective Design Tips for Maximum Efficiency for more strategies.
Q: Is it cost-effective to build a DIY solar air collector?
A: Yes, building a DIY solar air collector is often more cost-effective than purchasing a commercial unit. The initial material cost is low, and it can lead to savings on energy bills. Analyze your specific needs in our Cost Analysis: Is DIY the Right Choice for You? section.
Q: Where is the best location to install my solar air collector?
A: The best location for a solar air collector is a southern-facing wall or roof, where it receives maximal sunlight exposure throughout the day. Ensure it’s free from obstructions that could cast shadows, optimizing solar gain.
Q: What are the environmental benefits of using a solar air collector?
A: Using a solar air collector reduces reliance on fossil fuels, leading to lower greenhouse gas emissions. It harnesses renewable energy, contributing to a more sustainable environment. For a deeper understanding, check our section on The Environmental Impact of Solar Air Collectors.
In Summary
You’ve taken a significant step toward harnessing free heat from the sun with your DIY solar air collector! Remember, this project is not just about saving on energy costs-it’s also a great way to contribute to sustainability. If you’re looking for further assistance, check out our additional resources on optimizing your solar heater’s efficiency and exploring different design variations to suit your needs.
Ready to dive deeper? Sign up for our newsletter for more tips and tutorials, and don’t hesitate to share your experiences or ask questions in the comments below! The DIY community thrives on sharing, so your insights could help others on their journey. Whether you’re a seasoned DIYer or just starting, you can bring the warmth of the sun into your home. Stay motivated and keep creating-every project makes a difference!
Get our latest guides, news, and insights highlighted in your Google Search & AI Overviews.