
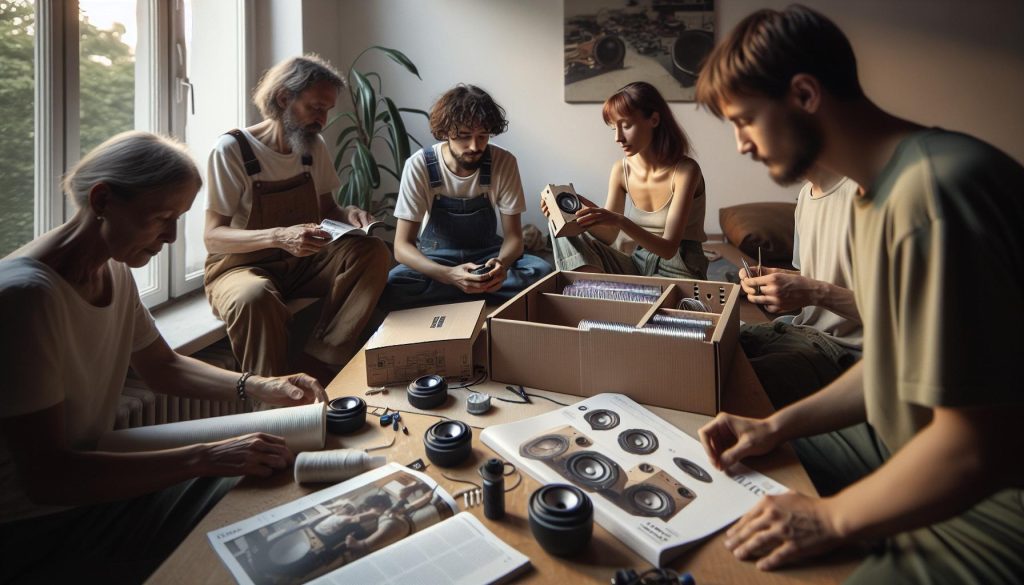
Did you know that the sound quality of your favorite music can significantly improve with just a little bit of DIY magic? With a DIY speaker kit, you can create audiophile-level sound right in your living room. Building your own speakers not only enhances your listening experience but also allows you to customize the design and sound to suit your preferences. This rewarding project is perfect for beginners and seasoned makers alike, providing a hands-on experience that combines creativity and craftsmanship. By diving into this guide, you’ll discover the materials you need, the process to create speakers tailored to your audiophile dreams, and tips to make it all achievable, no matter your skill level. So grab your tools and let’s turn your audio ambitions into reality-you can do this!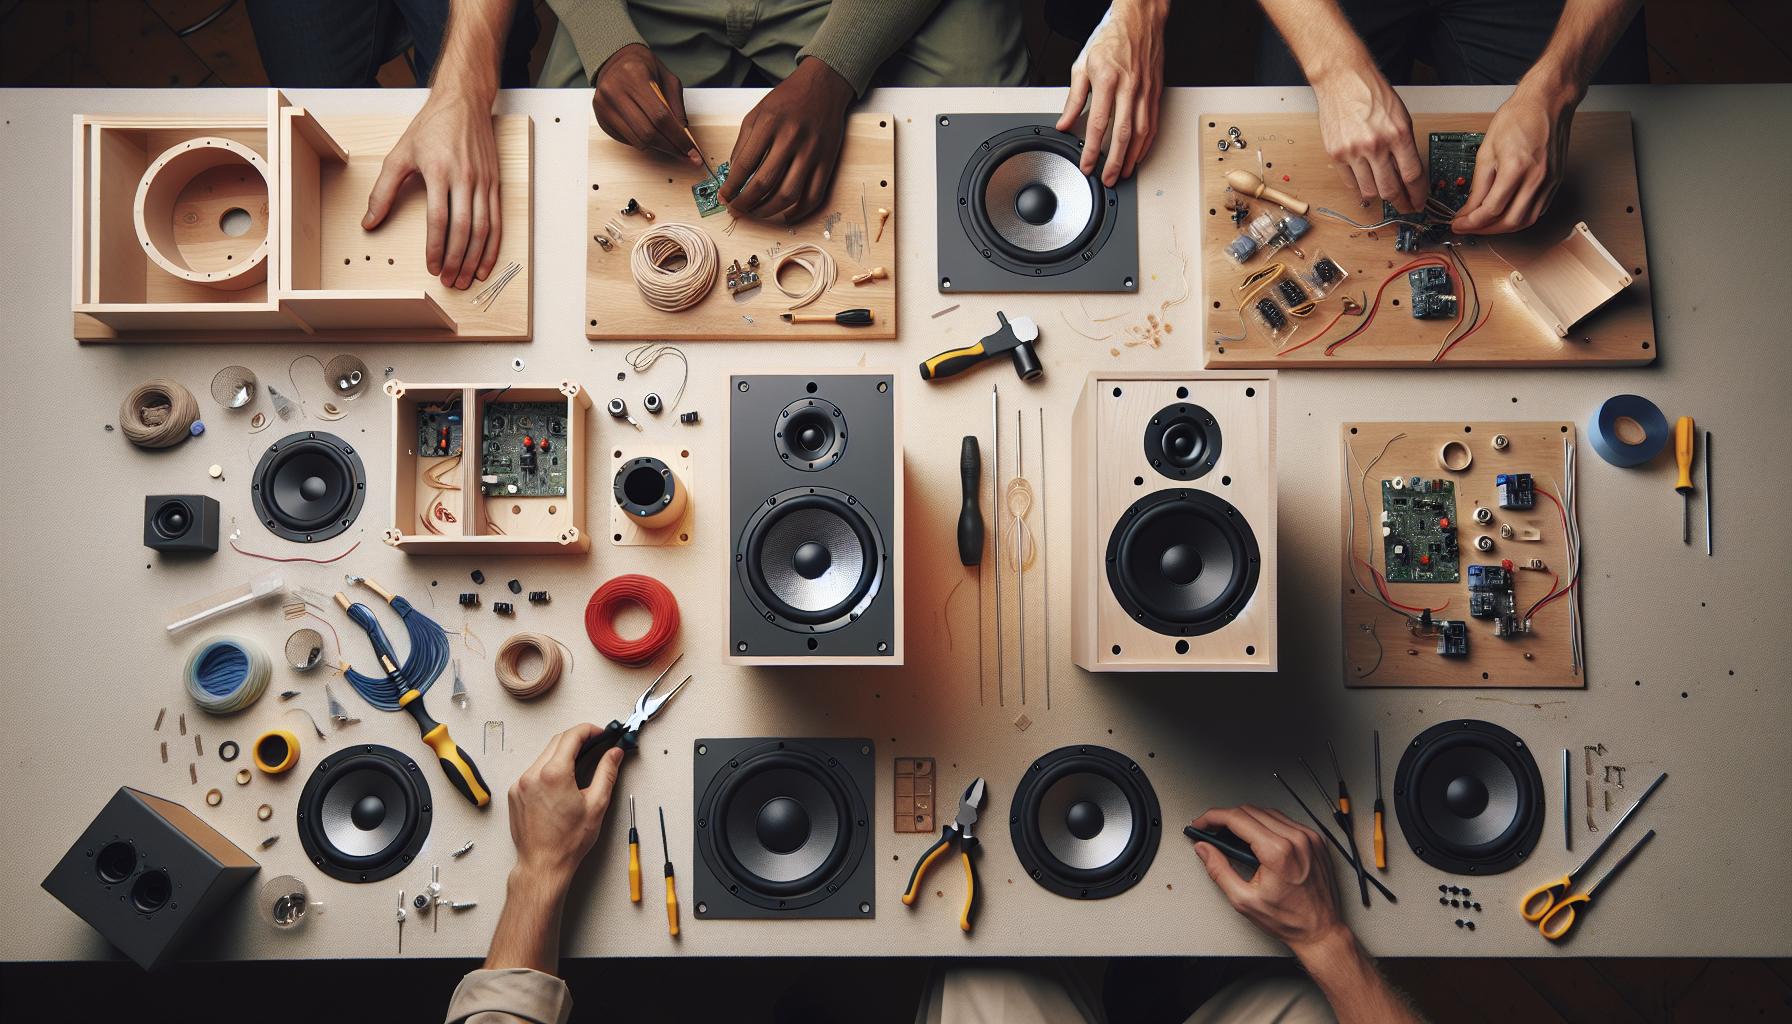
Choosing Your DIY Speaker Kit: Types and Features
Building your own speakers is an exhilarating journey that allows you to blend creativity with technical skills. If you’re looking to dive into the world of DIY speaker kits, knowing the different types available can greatly enhance your experience and the quality of sound you achieve. Each kit comes with its own features, catering to various preferences and audio needs, which means there’s something out there for everyone-from the casual listener to the audiophile.
When choosing a DIY speaker kit, consider the type of speakers you want to build. Here are some popular options you might encounter:
- Bookshelf Speakers: Compact and versatile, perfect for small spaces. They often provide good sound quality without overwhelming your room.
- Floorstanding Speakers: These larger units deliver powerful sound and are ideal for creating a home theater experience.
- Subwoofers: Designed to reproduce low frequencies, adding depth to your audio setup.
- Center Channel Speakers: Essential for a surround sound system, these speakers handle dialogue and make movie watching more immersive.
Next, pay attention to the features of the kits. Some come with pre-cut wood, while others might offer a complete driver and crossover setup, making your build simpler. Look for kits that include detailed instructions and diagrams, as these can be invaluable-especially if you’re a beginner. For instance, the DIY Sound Group’s Titan speaker kits are well-regarded and provide comprehensive guidance for enthusiasts at any skill level, ensuring your project runs smoothly and results in great sound quality [[1]].
Ultimately, the right kit combines the type of speaker you want with the features that suit your building style and audio needs. So, keep your goals in mind, and don’t hesitate to reach out to online communities for advice-there’s a wealth of shared experiences and tips that can help you along your DIY path. Whether you’re starting with a simple bookshelf model or tackling a more complex floorstanding speaker, know that you have the tools and resources to create something truly remarkable that you can be proud of. You can do this!
Essential Tools and Materials You Need
Building your own speakers not only allows you to customize your sound experience but also gives you a satisfying sense of accomplishment. To help you get started on this exciting endeavor, it’s essential to gather the right tools and materials before diving into the project. Knowing what you need upfront can make the assembly process smoother and more enjoyable.
To begin with, here are some key tools that will help you along your journey:
- Woodworking Tools: A circular saw or jigsaw for cutting your speaker enclosure material, and a router for smoothing edges are fundamental. If you’re venturing into more complex designs, having a drill and bit set on hand will be invaluable.
- Hand Tools: A set of screwdrivers, clamps to hold pieces together while they are joined, and a measuring tape for accuracy are crucial. A level will ensure your speaker cuts are straight and your enclosure is perfectly balanced.
- Electrical Tools: A soldering iron and solder for connecting wires; a multimeter is also handy for checking electrical connections.
In addition to tools, gather the necessary materials for your speaker builds:
- Speaker Kit Components: Most kits will include the drivers (woofers and tweeters), crossover networks, and connectors. Research which components suit your sound preferences and budget.
- Enclosure Material: MDF (medium-density fiberboard) is a common choice for speaker cabinets due to its density and acoustic properties. Plywood is another good option if you want something lighter but still sturdy.
- Acoustic Dampening Materials: Consider adding insulation materials like foam or fiberglass to reduce vibrations inside the cabinet, helping enhance sound quality.
With these tools and materials in hand, you’re well-equipped to start your DIY speaker kit project. The process of building can be as thrilling as the final result. Take your time, follow the instructions carefully, and don’t hesitate to seek advice from online communities. As you piece everything together, you’ll gain skills that will serve you in future projects. Remember, you can do this-your audiophile sound is just a few steps away!
Step-by-Step Guide to Building Your Speaker
Building your own speakers is an exhilarating project that combines creativity and engineering. Imagine hearing your favorite tunes come to life through a sound system you crafted with your own hands! This step-by-step guide will walk you through the process, ensuring that even if you’re a beginner, you’ll feel empowered to complete this DIY adventure.
First things first, gather everything you need. Set up a clean workspace that allows you to move around easily. You’ll need your tools and materials as mentioned earlier, plus the DIY speaker kit components that will make your audio dreams a reality. Before diving in, take a moment to familiarize yourself with the instructions included in your kit; this will help you visualize the assembly process and prepare for the steps ahead.
Now, let’s move into the assembly phase. Start by cutting the enclosure material to the dimensions specified in your kit’s instructions. It’s crucial to be precise, so take your time with measurements. Assemble the cut pieces to form the box, securing them with screws and wood glue. While you wait for the glue to set, you can begin preparing the internal components. Install any acoustic dampening material if your design includes it, as this will minimize vibrations and enhance sound quality.
Once your enclosure is ready, it’s time to install the drivers and crossover. Carefully secure the woofers and tweeters into their designated places. Make sure to connect the wires from the drivers to the crossover network, following the colors for positive and negative connections outlined in the kit’s instructions. If soldering is required, remember to use your soldering iron safely and allow time for everything to cool.
Before sealing the enclosure, double-check all connections with a multimeter to ensure everything is in good working order. Once you’re satisfied with the internal setup, attach the back panel. Take a moment to admire your handiwork; you’re almost there! Finally, plug in your new speakers and test them with your favorite tracks. Adjust any settings on your audio source until the sound meets your expectations.
Building your own speakers is not just about assembling parts; it’s about learning, experimenting, and enjoying the entire process. So don’t hesitate to make adjustments or try different acoustic materials in future builds. Remember, every project refines your skills and brings you one step closer to audiophile perfection-you can absolutely do this!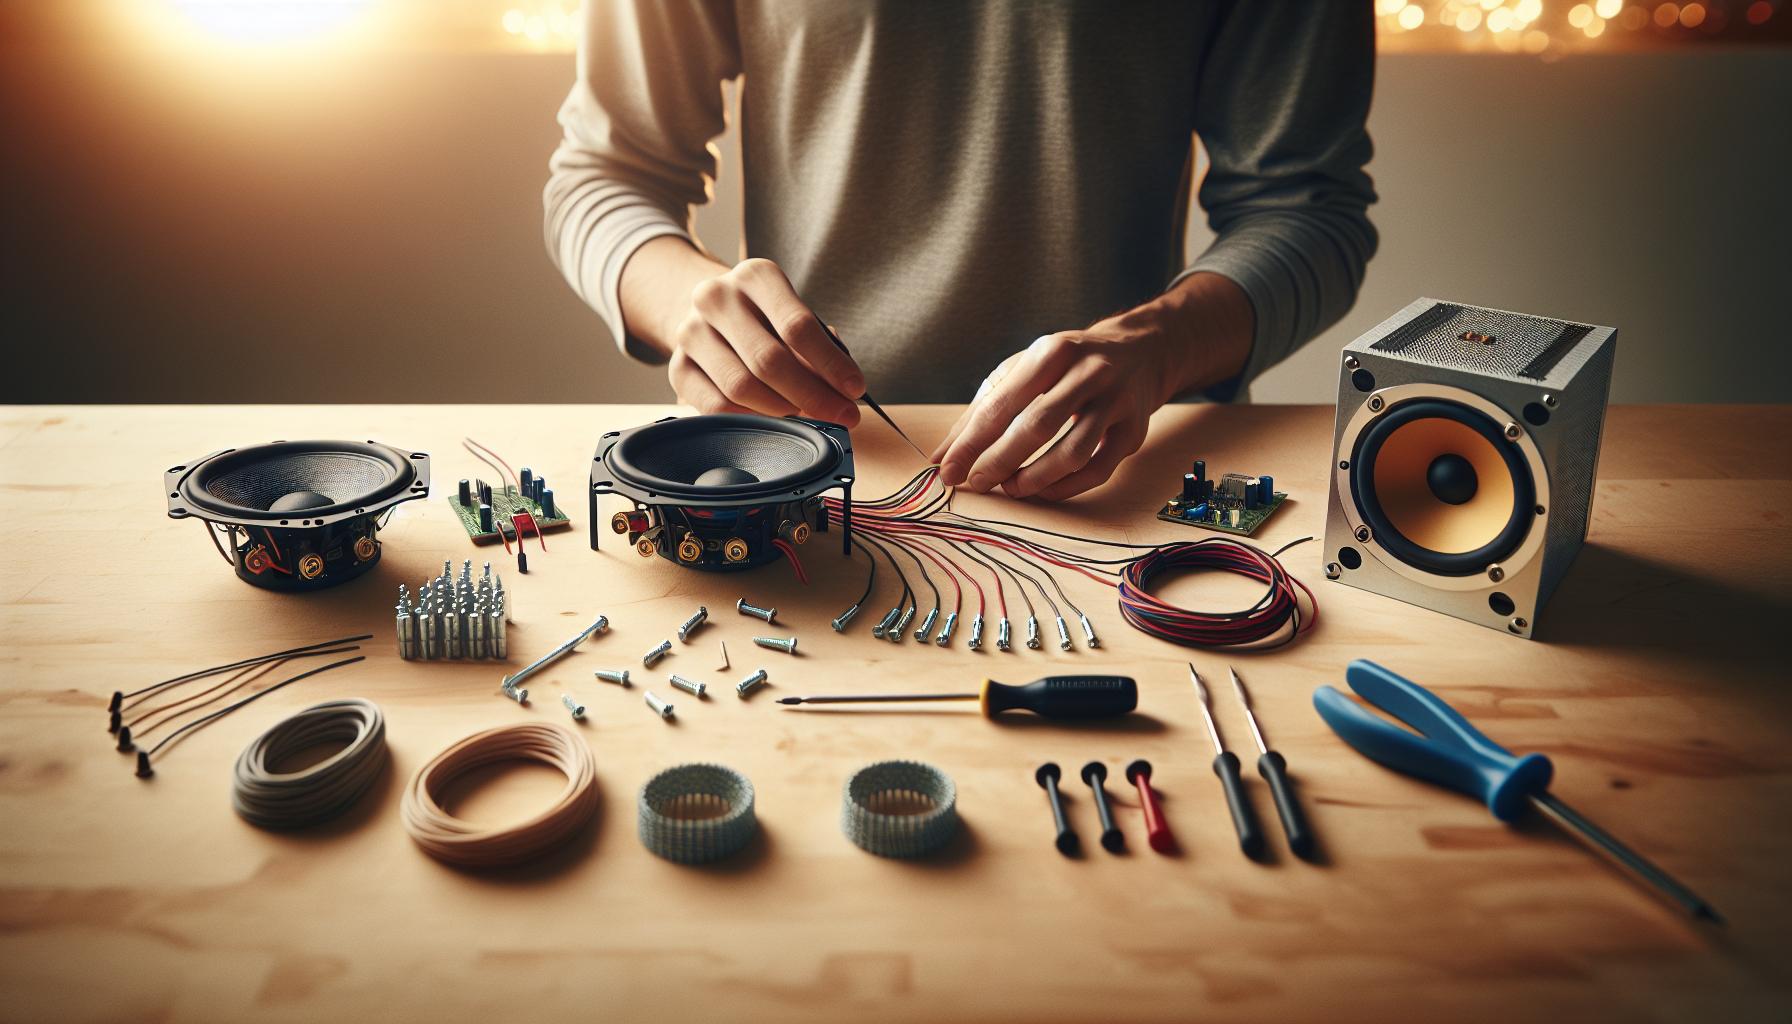
Understanding Speaker Components: What You Should Know
Building your own speakers means diving into a fascinating world where each component plays a critical role in crafting the perfect sound experience. Understanding these parts not only empowers you to assemble your DIY speaker kit effectively but also allows you to appreciate the intricate design behind quality audio systems. Whether you’re tinkering with your first build or looking to refine your existing setup, let’s explore the essentials of speaker components.
Key Speaker Components
At the heart of any speaker are its drivers-the elements that convert electrical signals into sound. Here are the main types you’ll encounter:
- Woofers: Designed to handle low frequencies, woofers produce the deep bass sounds that add depth to music. The size of the woofer affects how much bass you can generate; larger woofers typically provide more powerful sound.
- Tweeters: These are responsible for high frequencies, bringing clarity to vocals and high notes in your music. Their size is usually smaller than woofers, and they complement woofers perfectly in a speaker system.
- Midrange Drivers: If your design includes them, midrange drivers fill in the gaps between woofers and tweeters, handling frequencies that are neither too low nor too high. They help produce a fuller sound spectrum.
- Crossover: This electrical circuit directs specific frequencies to the appropriate drivers-sending lows to woofers, highs to tweeters, etc. Properly setting up a crossover ensures that each driver performs optimally, maintaining sound quality.
Allocating your budget judiciously among these components can significantly impact the overall sound quality. Consider how you want to balance bass, treble, and clarity based on the types of music you enjoy most. For instance, if you love rock or hip-hop, investing in a higher-quality woofer may be your priority.
Connecting It All
Once you have your components, understanding how they connect is vital. Each driver will connect to the crossover with specific wiring. Take your time tracing the positive and negative leads to avoid any issues later on. Correct wiring ensures your speakers will perform at their best, preventing phase cancellation-where two drivers unintentionally work against each other, resulting in a muddled sound.
As you delve into your DIY project, remember this is a learning journey. Every step allows you to experiment and discover the nuances of sound design. Enthusiastically adjust and refine your configurations after listening tests. You’ll find joy not just in the final product, but in the crafting itself-each speaker is not just a product, but a unique piece of your auditory art. You can absolutely do this!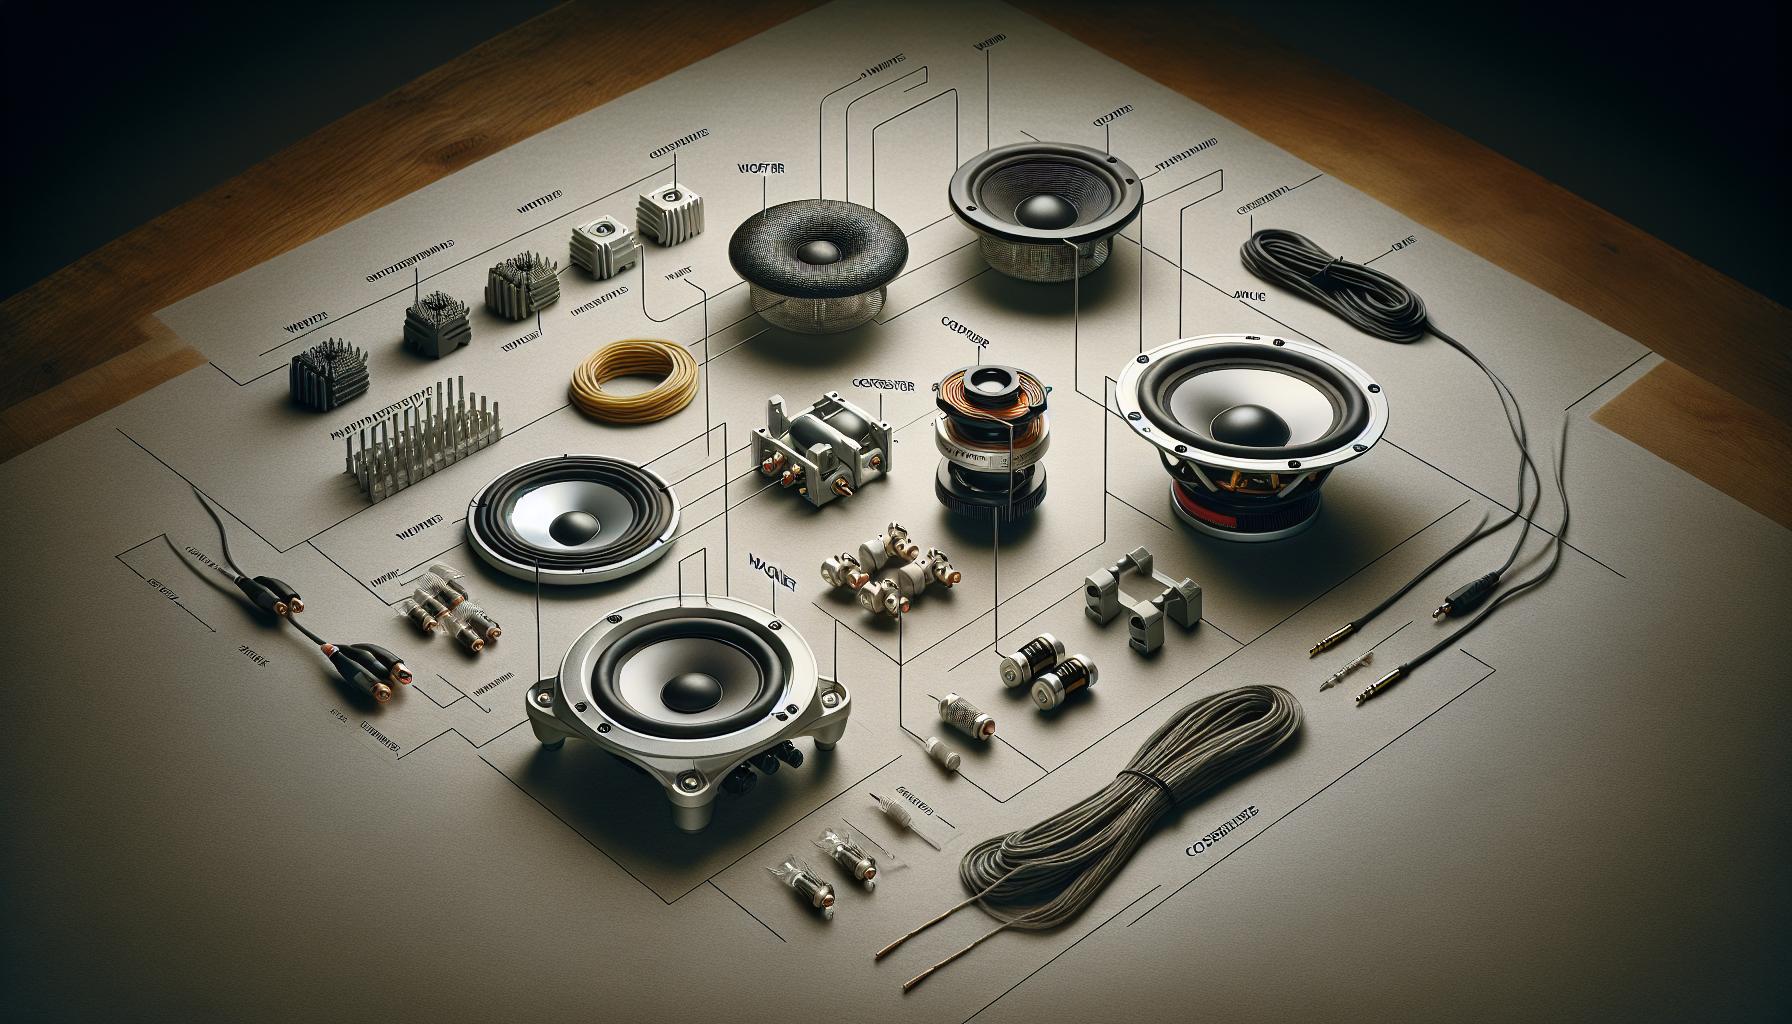
Tips for Achieving Audiophile Sound Quality
Achieving that coveted audiophile sound quality doesn’t have to be a daunting task. With the right mindset and approach, you can fine-tune your DIY speaker kit to deliver audio that rivals more expensive commercial options. Start by paying attention to speaker placement; the position of your speakers in the room can significantly impact sound quality. Experiment with different placements to find the ideal spot. Generally, placing them at ear level and away from walls can help reduce unwanted reflections and enhance clarity.
Next, consider the materials used in your speaker enclosure. A solid, well-constructed cabinet can dramatically influence the sound. Use materials like MDF (Medium Density Fiberboard) or plywood, as they are dense and minimize vibrations that can muddy the audio. Additionally, ensure that all seams are sealed tightly to prevent air leaks, which can lead to phase issues that degrade sound quality. If you want to go a step further, internal bracing can help reduce resonance and improve the overall sound.
Connecting Quality Components is another key aspect. Invest in good-quality wiring and connectors; they play a crucial role in sound transmission. Higher gauge wires can impact resistance, which in turn affects performance. Connectors should be soldered for the best conductivity since this ensures a reliable connection. When wiring, take care to maintain correct polarity; reversing the positive and negative leads can lead to phase cancellation, which detracts from the sound staging and clarity.
Lastly, don’t underestimate the power of tuning your speakers. Once you have assembled your kit, take the time to test and adjust. Use various genres of music to assess different aspects of the sound, and tweak the crossover settings to optimize performance across all frequencies. Be patient and willing to make changes; the iterative process of listening and adjusting is what will bring your DIY speakers to life. Enjoy the journey, embrace experimentation, and remember-each step you take builds not just a speaker, but your skills as a maker. You can absolutely do this!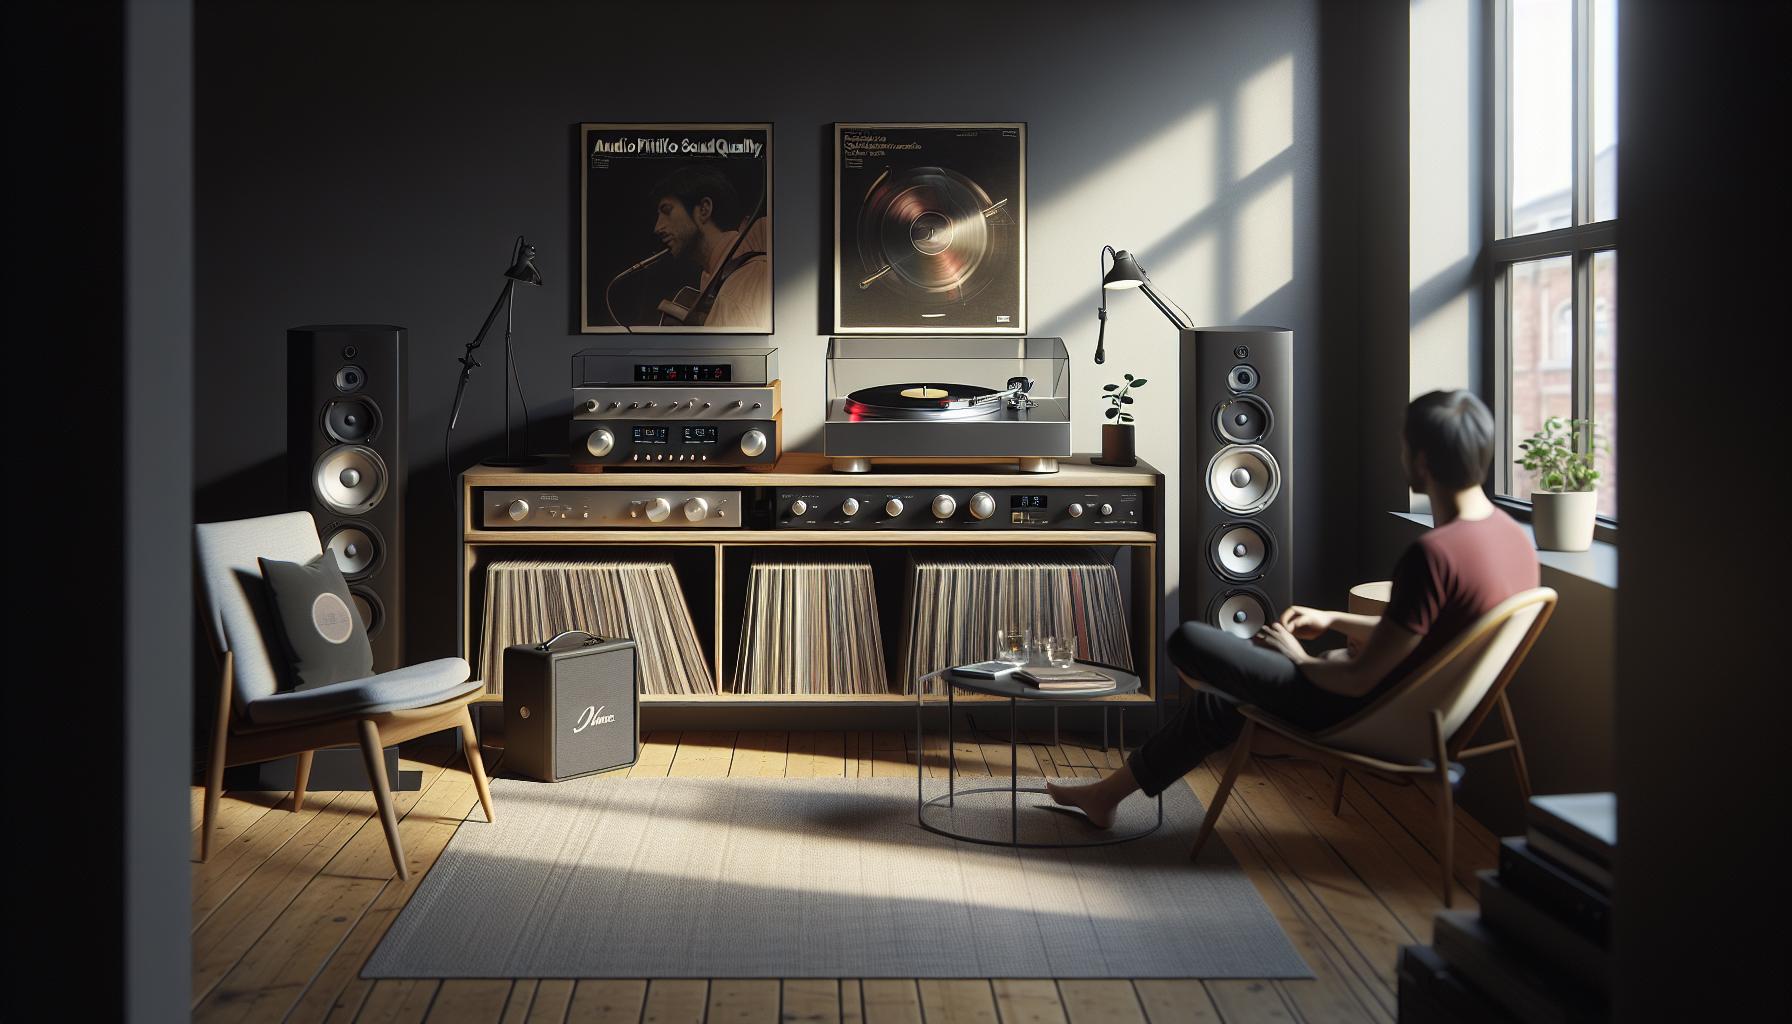
Common Mistakes and How to Avoid Them
Building your own speakers can be an incredibly rewarding and enjoyable project, but even seasoned makers can stumble on a few common pitfalls. Understanding these common mistakes can save you time, effort, and prevent frustration. Let’s dive into some key areas where things can go awry, along with tips on how to sidestep them effectively.
One major error is underestimating the importance of your speaker enclosure. A poorly constructed cabinet can lead to resonance and distortion, undermining your audio quality. Always use high-quality materials like MDF or plywood for your enclosure. Ensure that all joints are tight and that there are no air leaks. Consider using screws along with wood glue for stronger seams. Moreover, don’t skip the internal bracing; it adds significant stability and minimizes unwanted vibrations that can muddy the sound.
Another frequent mistake is neglecting the correct wiring and connections. It’s easy to overlook the cables and connectors, but they can significantly affect overall performance. Always use suitable gauge wire and ensure high-quality connectors. Be meticulous about maintaining proper polarity when wiring your speakers-reversing the connections can lead to phase cancellation, drastically reducing sound quality. Solder connectors rather than using crimped connections for the best conductivity. If you’re unsure, a quick test with a multimeter can save you from headaches later on.
Finally, many builders rush the tuning process, thinking the job is done once the speakers are assembled. Take the time to test your speakers with various music types to assess different frequency responses. Adjust the crossover settings carefully, and don’t hesitate to tweak until you find the sweet spot that delivers that desired audiophile quality. This iterative process is where the magic happens, enhancing your listening experience. Remember, patience pays off in sound quality and satisfaction when enjoying your creations! You’ve got this; making music through your own DIY speakers is just around the corner!
Upgrading Your DIY Speaker: Advanced Techniques
Building your own speakers is an amazing journey that can lead you to audiophile-quality sound with the right adjustments and upgrades. Once you have a solid foundation, there are numerous ways to enhance your speakers to really get them singing. Exploring methods such as upgrading components and fine-tuning your setup can transform your listening experience into something truly extraordinary. Here’s how to take your DIY speaker project to the next level.
Upgrade Your Components
One of the most significant ways to enhance your DIY speakers is by upgrading key components. Start with the drivers. Consider investing in higher-quality woofers and tweeters, as these parts are crucial for overall sound fidelity. Look for drivers that fit your cabinet but offer better sensitivity and frequency response. Pairing quality drivers with a well-designed crossover can notably improve performance. If your current crossover isn’t cutting it, consider DIYing a new one using premium capacitors and inductors for clearer sound.
- Drivers: Research brands like Peerless, Dayton Audio, or Focal for quality options.
- Crossover Components: Use low-loss capacitors and air-core inductors to enhance clarity and transient response.
Internal Modifications
Another vital area to focus on is the internal cabinet acoustic treatment. Adding damping materials, such as acoustic foam or polyester fiberfill, can reduce resonance and unwanted internal reflections. These materials absorb specific frequencies, leading to a smoother sound. Additionally, you might want to implement internal bracing if you haven’t already – this can prevent cabinet vibration and further improve audio clarity.
Tuning for Perfection
Tuning your speakers should be one of the last steps, but it’s essential for getting maximum performance. Using a Real Time Analyzer (RTA) or an audio spectrum analyzer app on your smartphone can help you see how your speakers are performing across various frequencies. This information can aid in adjusting the crossover settings, ensuring smooth transitions between drivers. Don’t hesitate to make multiple adjustments, either. Remember, refining your sound is a process that benefits from time and patience.
Experiment with Placement and DSP
Lastly, the physical placement of your speakers in the room can dramatically impact sound quality. Experiment with various positions and angles to find the sweet spot where you’ll experience the best soundstage and imaging. Utilizing Digital Signal Processing (DSP) is another advanced technique that allows for equalization and tailoring your sound environment.
As you dive into these advanced techniques, remember: each upgrade and adjustment is a step towards achieving that beautifully rich and immersive sound experience. Embrace the journey, make it your own, and watch as your DIY speakers transform into a finely-tuned musical instrument. You have the skills; now let your creativity shine!
Testing and Tuning Your Finished Speaker
To get the most out of your DIY speakers, testing and tuning are crucial steps that can make a remarkable difference in sound quality. Start by gathering a few essential tools: a sound level meter app (many are available for free or at low cost on smartphones), a measurement microphone if you want to be more precise, and some music tracks that you know well. This equipment will help you assess how your speakers perform across different frequencies and volume levels.
Begin the testing process by setting up your speakers in the space where you plan to use them. Room acoustics play a significant role in how your speakers sound, so it’s beneficial to simulate real-world conditions. Play a variety of music genres and pay attention to how the sound changes based on your listening position. Are the highs crisp and clear? Do the lows have the punch you were hoping for? If some frequencies sound weaker or muddier than others, it may be time to make some adjustments.
Once you have a feel for the overall sound, consider using a Real Time Analyzer (RTA) or a similar app to visualize how your speakers are performing. This step involves measuring the sound frequency response and comparing it to an ideal curve. Adjust the crossover settings for your drivers to flatten out any bumps in frequency response, ensuring a smooth transition from lows to highs. Don’t be afraid to switch up placements or angles too-sometimes just moving the speakers a few inches can reveal an entirely new sound profile.
Finally, fine-tuning your speakers is an iterative process, so give yourself permission to experiment! Test different materials for damping within the cabinet, try out various EQ settings, or even add external DSP if you’re feeling adventurous. With each adjustment, you’ll inch closer to that audiophile-quality sound. Remember to jot down your changes and keep track of what works best; this way, you can replicate successful setups in the future. Happy tuning-your ears will thank you!
Creative Customization Ideas for Your DIY Speakers
Exploring creative customization for your DIY speakers opens up a world of possibilities to enhance both their aesthetic appeal and acoustical performance. From tailoring the enclosure materials to adding unique finishes, these personal touches can set your speakers apart and improve their sound quality. Whether you’re on a budget or looking to invest in a high-end look, you can achieve fantastic results by thinking outside the box.
One easy way to personalize your speakers is through the type of wood or laminate you use for the enclosure. Choosing materials like bamboo, walnut, or even reclaimed wood not only gives your speakers a beautiful finish but can also affect audio quality based on density and resonance characteristics. If you’re feeling adventurous, you might try using composite materials for a modern, sleek appearance. To add even more character, consider incorporating vintage fabrics or paint techniques, such as distressing or stenciling, to create a unique texture that fits your home decor.
Enhancing Sound with Damping Materials
Alongside aesthetics, the choice of damping materials can significantly affect sound quality. By experimenting with different materials such as acoustic foam, felt, or even carpet remnants inside the speaker enclosure, you can modify the internal acoustics. This process helps control resonances and reduces unwanted vibrations, allowing for cleaner sound playback.
- Acrylic: Offers a modern look and high clarity.
- Textured cloth: Adds a warm touch and can improve sound diffusion.
- Custom grille designs: Create a unique front for your speakers, enhancing both style and protection.
Tech Upgrades for Audiophile Quality
For those interested in pushing the envelope of their DIY speaker project, adding digital signal processing (DSP) can provide significant benefits. Incorporating an external DSP allows you to fine-tune frequencies and adjust the sound profile to your room’s characteristics. This can be done with minimal expense by using a simple self-managed DSP software or hardware module. Not only do these technological upgrades enhance sound quality, but they also provide the flexibility to tweak performance according to your listening preferences.
Most importantly, remember that the journey of creating your DIY speakers is just as rewarding as their final sound. Don’t hesitate to try out different designs and materials-you might just stumble upon an incredible sound you weren’t expecting. Embrace your creativity, and have fun while doing it! You’ve got this!
Maintenance Tips to Keep Your Speakers Sounding Great
Keeping your speakers in top shape ensures that you continue to enjoy audiophile-quality sound long after your initial build. Regular maintenance is key to preserving and even enhancing your speakers’ performance. Plus, it’s a rewarding process that deepens your connection with your creation. Here are some practical tips for maintaining your DIY speakers, ensuring they sound great for years to come.
First, consider the physical environment where your speakers reside. Dust and dirt can accumulate quickly, potentially affecting sound quality. Make it a habit to gently wipe down the exterior surfaces with a soft, lint-free cloth to remove dust and fingerprints. For the speaker grills, if applicable, vacuum them lightly or use a brush attachment to clear away any buildup. It’s also wise to keep them away from direct sunlight or extreme temperatures, which could warp materials or fade finishes over time.
Next, pay attention to the internal components. Opening up your speakers every once in a while can help you catch potential issues before they become bigger problems. Check for any loose connections on the drivers and ensure the damping materials inside are in good condition; if they degrade, they could affect sound quality. If you notice any buzzing or distortion in the sound, it might signal that drivers need to be replaced or repaired.
Finally, consider upgrading components as a form of maintenance. Your speakers are a work in progress, and swapping out capacitors or adding better internal wiring can further enhance sound quality. If you’ve invested in good signal processing equipment, ensure that your settings are optimized for your environment. It’s a fun project to revitalize your speakers without having to build a new set entirely.
By incorporating these simple maintenance practices, you can help ensure that your DIY speakers continue to deliver that incredible sound you initially created. Remember, this journey is all about exploration and experimentation, so enjoy discovering what works best for you and your unique setup!
Where to Source Quality Parts for Your Project
When setting out on your DIY speaker project, sourcing high-quality parts can make all the difference in sound performance and craftsmanship. You don’t need to break the bank or settle for mediocre components; there are plenty of avenues available filled with hidden gems for your speaker-building needs. By knowing where to look, you can assemble an impressive setup that pays homage to audiophile standards without sacrificing your budget.
One of the best routes to source quality components is through specialized electronics retailers and online marketplaces. Websites like Parts Express and Madisound offer extensive catalogs of speaker drivers, crossovers, and related accessories specifically tailored for speaker building. At these sites, you can find both entry-level and high-end components. Additionally, forums like DIYAudio or AVS Forum can be invaluable. Community members often share trusted suppliers and their personal recommendations, making these platforms great for guidance on what to look for when selecting your materials.
Local thrift stores or garage sales can also be surprising treasure troves for sourcing parts. Old speakers, for instance, can often be repurposed for their drivers, enclosures, and even wiring. If you’re lucky enough to come across a vintage piece, you might find high-quality components that would cost significantly more if bought new. Always be prepared to take a leap of faith; sometimes, just disassembling a low-cost old speaker can lead to discovering high-end parts that can elevate your own builds.
Moreover, don’t underestimate the value of online marketplaces like eBay or AliExpress. They can offer everything from unique speaker kits to niche components at competitive prices. Look for user ratings and reviews to ensure you’re purchasing from reputable sellers. As you browse, keep an eye out for shady listings or unclear descriptions to avoid potential pitfalls. This research way will help you secure the best deals and parts for your project.
In summary, the key to assembling your DIY speaker kit is knowing where to look. By leveraging both online resources and community feedback, you can collect amazing components that will help you achieve that crisp, clear sound. Embrace this adventure with a spirit of exploration, and remember-each component you purchase is a step closer to your unique audio masterpiece!
Q&A
Q: What are the benefits of building your own DIY speaker kit?
A: Building your own DIY speaker kit offers several benefits, including cost savings, customization options to suit your preferences, and the satisfaction of creating something unique. Additionally, you’ll gain hands-on experience in audio engineering, allowing you to understand sound dynamics better.
Q: How do I choose the right components for my DIY speaker kit?
A: Choosing the right components involves considering the speaker size, power handling, and types of drivers (e.g., woofers, tweeters). Research the compatibility of these components and aim for quality brands to ensure optimal sound performance. For details on critical components, check the section on Understanding Speaker Components.
Q: What are some common mistakes when building a DIY speaker?
A: Common mistakes include poor soldering techniques, mismatched component specifications, and neglecting enclosure design. Plan your project thoroughly and consult the Common Mistakes and How to Avoid Them section for insights to prevent these issues.
Q: How can I test my DIY speaker after assembling it?
A: To test your DIY speaker, connect it to an audio source and play a range of frequencies. Check for sound clarity and any distortion. Gradually increase the volume to ensure it handles power well. Refer to the Testing and Tuning Your Finished Speaker section for more tips.
Q: What is the best way to achieve audiophile sound quality?
A: Achieving audiophile sound quality involves selecting high-quality components, precise speaker placement, and proper tuning. Implement sound dampening techniques in the room to minimize interference, and consult the Tips for Achieving Audiophile Sound Quality section for detailed advice.
Q: Can I upgrade my DIY speaker kit later on?
A: Yes, upgrading your DIY speaker kit is very possible. Start by replacing drivers or adding a subwoofer for improved bass response. Explore Upgrading Your DIY Speaker: Advanced Techniques to learn more about effective upgrades.
Q: Where can I find quality parts for my DIY speaker project?
A: You can find quality parts at local audio shops or online retailers specializing in audio components. Websites like Parts Express and Amazon often have a wide selection. For detailed suggestions, see the section on Where to Source Quality Parts for Your Project.
Q: How often should I maintain my DIY speakers?
A: Regular maintenance is crucial for longevity; ideally, check your DIY speakers every few months. Inspect for dust accumulation, tighten any loose connections, and test sound quality. For comprehensive care tips, refer to the Maintenance Tips to Keep Your Speakers Sounding Great section.
In Retrospect
Ready to immerse yourself in stunning sound? With your DIY Speaker Kit, creating an audiophile experience at home is not just a possibility-it’s an adventure waiting to unfold! Don’t let anything hold you back; gather your materials and start building today! If you’ve got questions or want to share your experience, drop a comment below or explore our community forum for more insights.
While you’re here, why not check out our guides on enhancing your audio setup with acoustic treatments and tips for maintaining your equipment? They’re perfect companions to your speaker project. Plus, signing up for our newsletter will keep you updated on all things DIY and sound-related!
Remember, every expert was once a beginner. Trust in your creativity-you’ve got this! The joy of crafting your own audiophile speakers is just the start; your next project could be a customized audio cabinet or an upgraded sound system. Keep exploring and making, and let’s craft a sound experience like no other!
Get our latest guides, news, and insights highlighted in your Google Search & AI Overviews.