
Are you ready to take your shooting practice to the next level? Building your own DIY target holder is not only a fun project, but it also gives you the freedom to create a portable range stand tailored to your needs. With just a few materials and some basic tools, you can save money and gain the satisfaction of crafting something useful. Whether you’re a beginner looking to improve your skills or an experienced marksman wanting to customize your setup, this project is approachable for all skill levels. In the following steps, I’ll guide you through the process, offering tips and tricks to make your target holder sturdy and functional. So grab your tools, and let’s dive into this rewarding DIY adventure-you can do this!
Choosing the Right Materials for Your DIY Target Holder
When it comes to constructing your own target holder, the materials you choose can make a world of difference in terms of durability, portability, and ease of use. A well-built target holder not only enhances your shooting experience but can also save you money compared to store-bought options. Let’s dive into the best materials to consider for your DIY target holder, ensuring you create a lasting and effective stand.
Frame Material
A sturdy frame is vital. Consider using either PVC pipes or wood. PVC is lightweight, durable, and resistant to weather, making it an excellent choice for outdoor ranges. Alternatively, wood can provide a traditional look and added stability-pressure-treated lumber works best for outdoor use due to its resistance to rot. Make sure the frame is robust enough to withstand wind and impacts.
Target Backing
For the target backing, you have several options depending on your shooting style. Some popular choices include plywood, cardboard, or even old blankets. Plywood offers great durability and can handle repeated shots. Cardboard is lightweight and very portable, ideal for practice targets. If you’re shooting with lower-caliber firearms, blankets can serve to absorb sound and reduce ricochet while being easy to set up.
Fasteners and Supports
Don’t underestimate the importance of fasteners! Use screws or bolts for wood frames to ensure stability; with PVC, you can utilize connectors and tees. Additionally, enhance portability and adjustability of your target holder with extra support braces-these can easily be added using adjustable clamps or brackets.
In summary, the right materials are key to creating a reliable DIY target holder. Choose durable, weather-resistant options for the frame, practical materials for the backing, and solid fasteners for assembly. This approach not only makes your project functional but also an enjoyable crafting experience. Remember, whatever materials you select, your creativity and hands-on effort are what truly bring your target holder to life.
Step-by-Step Guide to Building Your Portable Range Stand
Building a portable range stand can be an exciting and rewarding project that enhances your shooting experience, whether you’re practicing at the range or exploring the outdoors. It’s a project that welcomes all skill levels, and with just a few materials and some straightforward steps, you’ll have a functional and sturdy target holder in no time. Plus, there’s nothing quite like the satisfaction of saying, “I made that!”
To kick things off, gather your supplies. You’ll need materials based on your earlier choices-either PVC pipes or pressure-treated wood for the frame, a backing material like plywood or cardboard, and fasteners such as screws, bolts, or connectors. The estimated time to complete this project is about 2-4 hours, depending on your familiarity with the tools and materials. Let’s get into the step-by-step process:
1. Prepare Your Frame
– Start by cutting your frame to the desired height and width. For a standard target holder, aim for around 5-6 feet tall and 3-4 feet wide.
– If you’re using PVC, cut the pipes to the same lengths and use connectors to build the frame. For wooden stands, use sturdy right-angle brackets at each corner for added stability.
2. Assemble the Frame
– Connect the pieces according to your design. For PVC, refer to the instructions on your connectors; for wood, drill pilot holes before inserting screws to avoid splitting.
– Ensure everything is square by measuring diagonal corners. This will help your stand stand straight and true.
3. Attach the Target Backing
– Secure your chosen backing material to the frame. If using plywood, screw it into place; for cardboard, use heavy-duty staples or strong adhesive. Make sure it’s taut and positioned at a height that suits your shooting preference.
4. Add Supports and Stability
– Consider adding cross bracing on the back or additional support legs if necessary, especially if you’re planning to shoot in windy conditions. These supports can be cut from leftover materials.
5. Final Touches
– Once your stand is fully assembled, give it a once-over to secure any loose parts. You might also want to paint or treat your wood for weather resistance if you plan to use it outdoors.
– Before heading out, set up your target holder and test its stability by gently pushing on it. It should be solid and not wobble.
By following these steps, you’re building not just a target holder but a project that reflects your personal touch and dedication. Enjoy the thrill of watching your targets get hit while taking pride in a stand you created with your own hands. Happy shooting!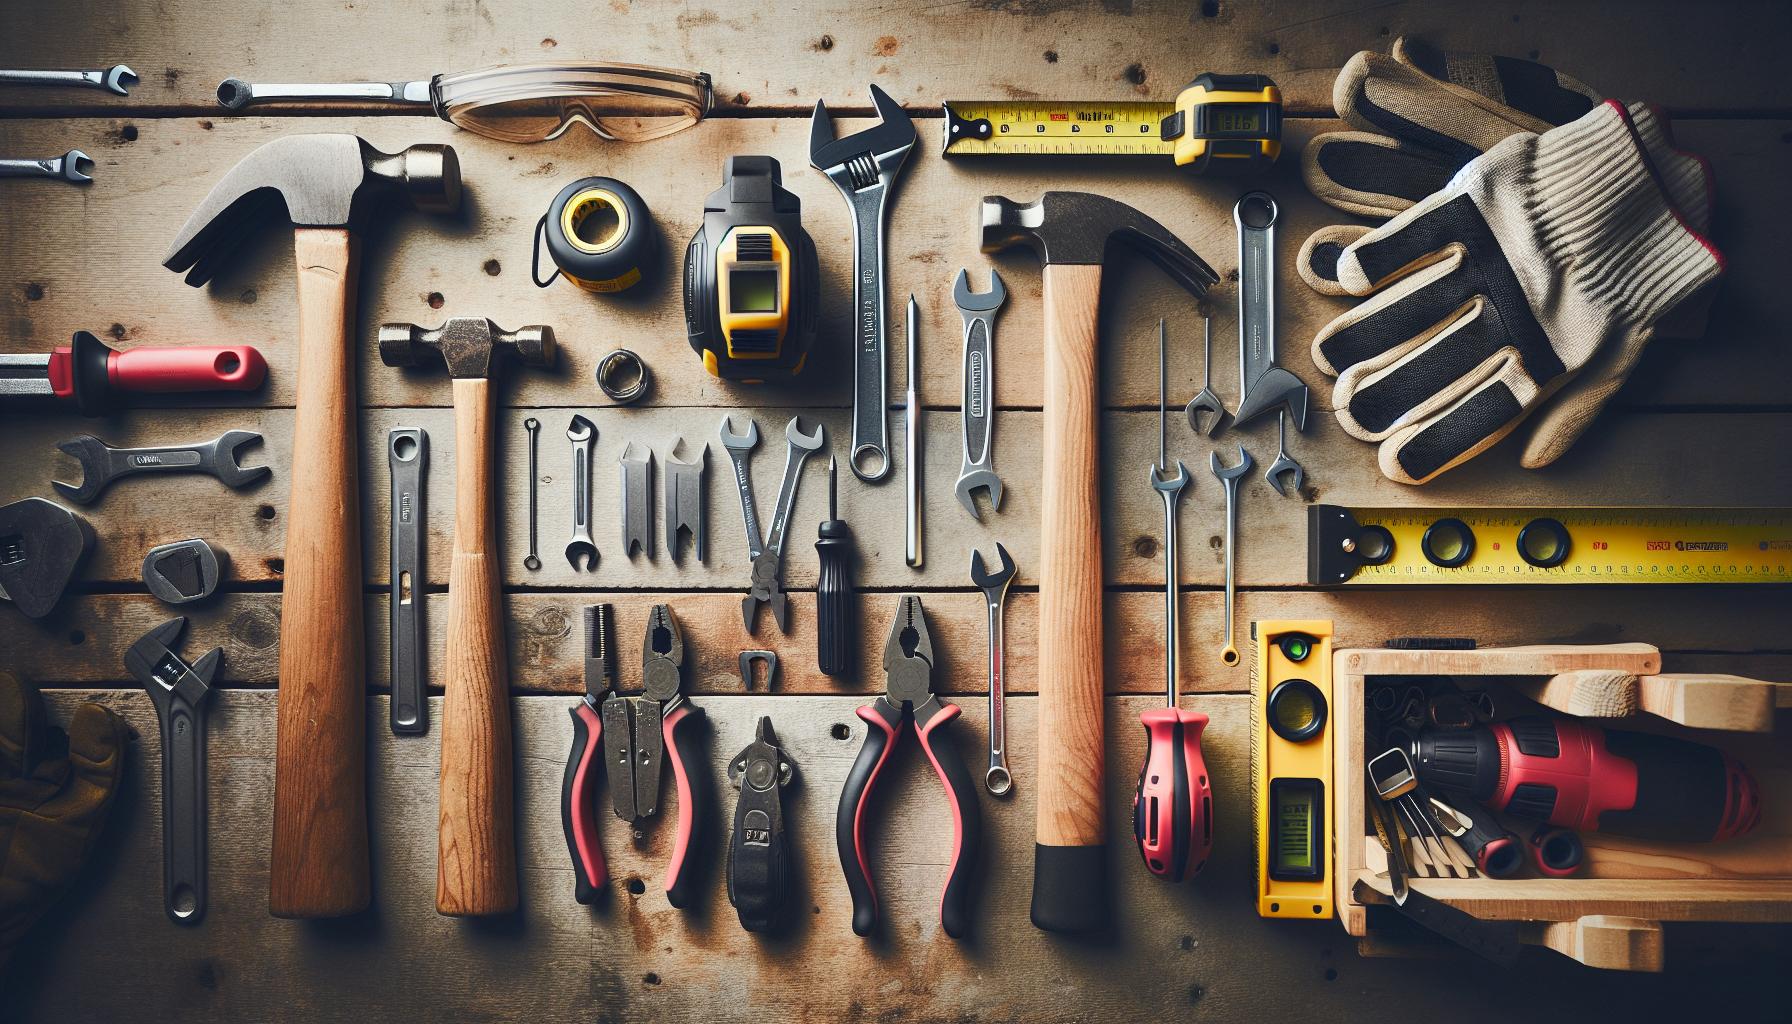
Essential Tools You Need for Your Project
Creating your own portable target holder is not just a fun project; it’s a great way to enhance your shooting experience. To successfully build your stand, having the right tools on hand is essential. Fortunately, you don’t need an extensive toolbox. Here’s a straightforward list of the essential tools you’ll need, designed to make your project enjoyable and achievable for all skill levels.
Basic Tools
- Measuring Tape: Accurate measurements are crucial. A good measuring tape will help you cut your materials to the right lengths.
- Square: This ensures that your frame is assembled at perfect right angles. It’s a simple but effective tool for ensuring your stand is straight.
- Handsaw or PVC Cutter: Depending on your material, a trusty handsaw for wood or a PVC cutter for plastic will suit your needs for precise cuts.
- Drill: A cordless drill is invaluable for making holes and driving screws. It speeds up the assembly process and makes securing pieces together much easier.
- Screwdriver: Have a basic set of screwdrivers ready-both Phillips and flathead- to help with any fasteners.
Fastening Tools
- Screws/Bolts: Pick fasteners that are suitable for your materials. Wood screws for wood projects and bolts for heavy-duty support are ideal. Aim for outdoor-rated versions if you’ll be using your target holder outside.
- Brackets: Right-angle brackets provide additional support at joints, especially crucial for a sturdy stand.
Optional Tools
- Level: This tool is helpful for ensuring that your stand is perfectly vertical and doesn’t wobble when set up.
- Paintbrush/roller and outdoor paint: If you choose to add a weather-resistant coat to your stand, have these tools handy for a clean finish.
With these tools at your disposal, you’re well-equipped to embark on your DIY target holder project. Remember, the goal is to have fun and enjoy the process. Each step you take not only builds your stand but also your confidence as a maker. You’ve got this! Happy crafting!
Creative Design Ideas for Custom Target Holders
Think of your DIY target holder as a canvas where you can express your creativity and tailor functionality to your shooting needs. There are countless ways to customize your target holder, making it not only effective but also a unique reflection of your personal style. By simply tweaking dimensions, materials, and aesthetics, you can create a target stand that’s not only practical but also a conversation starter at the range.
One way to enhance your target holder’s design is to incorporate adjustable height features. This allows for easy customization based on your shooting stance or the type of firearms you’re using. Consider using telescopic poles-these can be sourced from local hardware stores or repurposed from old equipment. Just imagine being able to quickly adapt your setup for everything from handguns to rifles without needing to completely disassemble your stand. Another fun idea is to add interchangeable target backers made from different materials, like cardboard, foam, or even metal, depending on the type of training you want to do. This not only provides versatility but also a chance to practice shooting at varying levels of difficulty.
For those who enjoy adding a bit of flair to their projects, think about personalizing your target holder with a vibrant paint job or decals that reflect your interests-be it wildlife, sports teams, or patriotic symbols. Weatherproof paint is a must if you plan on leaving your holder outside. Additionally, integrating a compartment for storing extra targets or other gear can streamline your shooting sessions and keep everything neat and organized. This could simply be a small shelf or a bag attached to the side of your stand.
Lastly, don’t overlook the potential for added safety features. Consider designing your target holder to absorb and redirect bullets-using materials like rubber mats or ballistic nylon can help minimize ricochet and debris. This not only makes your target stand safer for you but also for those around you, showcasing a responsible approach to shooting sports. Remember, the heart of crafting your own target holder lies in blending functionality with your personal touch. Go ahead, let your creativity shine-you’ve got this!
Safety Tips for Using Your DIY Target Holder
Ensuring safety while using your DIY target holder is paramount not just for your well-being, but for everyone around you. When you head to the range, you’re not just bringing a piece of equipment-you’re carrying responsibility. First things first, always identify a safe shooting area with a solid backdrop that can safely stop bullets. Make sure your target holder is set up in a location where stray rounds won’t pose a threat to people or property.
To ensure stability, secure your target holder with stakes or weights, particularly in windy conditions. A wobbly setup can lead to misaligned shots and potential accidents. Use materials that can withstand repeated impacts, such as plywood or solid wood, and if you have the space, consider adding a protective barrier behind your target holder, like sandbags or a thick plywood backer. This will help catch any ricochets and provide an extra layer of protection.
Regular maintenance goes a long way in promoting safety. Before each shooting session, inspect your target holder for any damage or wear. Look for cracks, unstable joints, or loose screws-anything that could compromise its integrity. Keep your target area clean and free of debris. A clutter-free environment reduces distractions and hazards.
Finally, never forget the importance of appropriate personal protective equipment (PPE). Ear and eye protection are non-negotiable regardless of your shooting experience. Encourage friends or family members you’re with to do the same. Remember, safety is a collective effort, so don’t hesitate to lead by example and remind others of best practices. You’ve put in the effort to create your target holder, so ensure every session at the range is as safe as it is enjoyable!
How to Adjust Your Target Holder for Different Shooting Styles
Adjusting your target holder to accommodate different shooting styles can greatly enhance your practice sessions and improve your shooting performance. Each shooting technique-from standing to prone, or from using a rifle to a pistol-has its own unique demands on target height and distance. Your DIY target holder is adaptable, meaning you can customize it easily to meet those needs.
To adjust your target holder for various shooting styles, begin by determining the ideal height for your target. For instance, if you’re shooting from a standing position, you might want the target at eye level-usually about 5 to 6 feet off the ground. For kneeling or prone shooting, lowering the target to 3 or 2 feet can help replicate real-world scenarios and improve accuracy. Here’s a simple method to modify the height of your target holder:
- Measure and Mark: Use a tape measure to mark the desired height on the main support beam of your target holder.
- Adjust Support Legs: If your design allows, adjust the legs’ lengths or add removable extensions to set your target at the right height.
- Secure the Target Board: Ensure the target board is firmly attached to avoid any wobbling that might affect your shots.
Another crucial aspect is adjusting your target distance. When practicing with handguns, the target might be set at closer ranges, while rifles might call for longer distances. To make this adjustment, simply slide your target holder on its base or add a wheeled attachment to easily roll it to the necessary distance without heavy lifting.
Keep in mind that practice should mimic the conditions you’ll face in the field. If you’re preparing for competitive shooting, set your target holders up according to match specifications. By adjusting these elements, not only do you create a more versatile target holder, but you also ensure that every practice session is focused and productive. Embrace the challenge, and remember-you can do this! Adjusting your target stand is all about trial and error, leading to improvements every step of the way.
Maintenance and Care for Longevity of Your Target Stand
Maintaining your DIY target holder is essential for ensuring it remains functional and safe for your shooting sessions. Regular care not only extends the lifespan of your target stand but also enhances your shooting experience. One key point to remember is that the materials used in your target holder may be susceptible to wear and tear, especially when exposed to outdoor elements. Regular inspections of the structure will help you catch any issues before they escalate.
Start by checking all joints and connections for sturdiness. If you’ve used screws or nails, ensure they haven‘t loosened over time. Tighten any loose connections, and consider applying some weatherproofing sealant to metal parts that might rust. Wooden elements can be treated with a wood preservative to prevent rot and decay. This is particularly important if the target stand is left outside frequently.
Routine Cleaning: Aim to give your target holder a good cleaning after each shooting session, especially if you’ve been outdoors. A simple wipe-down with a damp cloth can clear away dust and debris that might accumulate. For wooden stands, avoid soaking them-use a gentle cleaner if necessary, but make sure everything dries completely to prevent moisture damage.
Inspecting Moving Parts
If your design includes moving parts or adjustable components, take the time to lubricate these sections with a suitable lubricant. This keeps everything operating smoothly and reduces the chances of wear. If you notice any components that are damaged or overly worn, consider replacing them rather than trying to repair them. It’s always better to ensure your target stand is fully functional and safe to use.
In summary, by establishing a solid maintenance routine-including regular inspections, cleaning, and lubrication-you can ensure that your DIY target holder stays reliable and serves you well for years to come. Embrace the process! Enjoy that sense of accomplishment each time you care for your creation, knowing you’ve put in the effort to keep it in top form. You can do this, and your future self will thank you!
Troubleshooting Common Issues with DIY Range Stands
Building your own portable range stand can be a rewarding project, but even the best-crafted DIY target holders may run into some common issues over time. Don’t worry-troubleshooting these problems is often straightforward and can help you maintain a fun and safe shooting experience. Let’s dive into some frequent challenges and how to resolve them!
One issue you might encounter is instability. If your target holder wobbles or tips over, it can throw off your aim and distract your focus. Begin by checking the base-make sure it’s level and that all feet are firmly placed on the ground. You might need to adjust the ground support or add weights to the base to increase stability. If you’re shooting in windy conditions, consider using sandbags or weighted objects to hold the stand down.
Another common headache is the deterioration of materials, especially if you’ve opted for wood or other weather-sensitive materials. Over time, wood can warp or rot due to exposure to moisture. If you notice any signs of decay, it might be time to replace those parts. Make it a habit to use a wood preservative on wooden components and inspect them regularly for signs of wear. If you use metal parts, check for rust and apply rustproof paint if necessary to keep your stand in top condition.
Moving parts can also pose problems; if you have adjustable sections that start to stick or loosen, it could hinder your ability to accurately set your targets. The solution is often as simple as a bit of lubrication. Use a silicone spray or grease on joints and hinges to ensure everything moves smoothly. If adjustments don’t feel secure, you might want to replace screws or bolts that can wear down and compromise the integrity of your target holder.
Lastly, if your very own DIY creation doesn’t seem to hold targets securely, it might be time to rethink your attachment method. Depending on the type of target you’re using (paper, cardboard, or steel), affix a backing board or modify clips to ensure everything stays in place during use. Create a system that not only secures targets but allows for easy changes between shooting sessions.
With a little troubleshooting and regular maintenance, your DIY target holder can continue to serve you well. Remember, every challenge is a learning opportunity, so embrace the process and enjoy the satisfaction that comes with creating and perfecting your own shooting setup. You’ve got this!
Upgrading Your Portable Target Holder: Advanced Features
When it comes to elevating your DIY target holder, adding advanced features can significantly enhance usability and versatility, making your shooting experience even more enjoyable. Upgrades don’t need to be daunting; they can be surprisingly simple and immensely rewarding! Whether you’re after convenience, safety, or some flair, the following ideas can inspire your creative upgrades.
Incorporating Adjustable Height
One fantastic upgrade is to add an adjustable height feature to your target stand. This allows shooters of different heights to easily modify the target position for optimal aiming. You can achieve this by using telescoping poles or a set of notches that lock the support beams into place at various heights. This way, you can cater to both adults and children or simply adapt to different shooting styles. Ensure that any locking mechanism you design is sturdy to maintain stability while shooting.
Adding Target Variety with Swappable Brackets
Another impressive enhancement is creating swappable target brackets. Imagine an easy way to switch between paper, cardboard, and steel targets without needing additional tools! You can construct a universal mounting system using adjustable clips or a sliding rail on your main support frame. This will allow you to change your target types based on your training needs or preferences. You could even get creative and paint your targets with different colors or designs that reflect your personal style!
Implementing a Collapsible Design for Easier Transport
A portable range stand should be easy to carry. Upgrading to a collapsible design can make transporting your target holder a breeze. Consider using folding legs or a compact frame that can be easily disassembled. There are many lightweight materials available today, such as aluminum or high-grade plastics, that maintain strength without adding significant weight. Having a carry bag or storage solution is a great way to keep all components together, so you’re always ready for your next outing.
Installing Safety Features for Enhanced Security
Lastly, don’t overlook safety! Adding features like protective covers for sharp edges and securing mechanisms to prevent accidental collapses can help protect both you and your equipment. Consider integrating reflectors or bright colors on your stand, making it more visible, especially in low-light conditions. Having visible indicators increases safety for you and fellow shooters at your range.
These upgrades can transform your ordinary portable target holder into a standout piece of equipment, enhancing both functionality and safety. Imagine the pride you’ll feel every time you set up your upgraded stand! With a little creativity and effort, you can make DIY projects not just useful but also tailored uniquely to your shooting style. So dive in and embrace these enhancements-you’ve got this!
Using Your Target Holder for Outdoor vs. Indoor Ranges
When it comes to shooting, the environment plays a significant role in how you set up your target holder. Whether you choose to shoot indoors or outdoors can affect not just your target’s stability but also the overall experience. Understanding the distinct needs of each setup can ensure you make the most out of your DIY target holder, enhancing both functionality and safety.
Indoor ranges often prioritize compactness and stability due to limited space. Your target holder should be designed to prevent wobbling on hard surfaces; consider using wider bases or adding weight to the bottom. Bright colors can also be beneficial indoors to ensure the target is easily visible against the backdrop. Keep in mind the noise level, as some indoor ranges may have restrictions on certain types of ammunition or targets; it’s wise to confirm these details beforehand. For example, using paper targets with a well-constructed holder can minimize noise and allow for easier cleanup.
On the other hand, outdoor ranges provide more versatility but come with their own challenges like wind and uneven terrain. A broader, sturdier base is essential to withstand gusts and maintain balance. It’s also useful to consider materials that hold up against the elements; weather-resistant paints or coatings for your target holder can prolong its lifespan. Outdoor setups often benefit from adjustable height features, as varying distances and shooting positions are common. Incorporating a collapsible design can also enhance portability, making it easier to transport your holder to different outdoor sites.
By tailoring your target holder design to suit either indoor or outdoor ranges, you can enhance your shooting experience significantly. Remember, with a little creativity and resourcefulness, you can build a target holder that meets all your shooting needs, transforming what could be a standard task into a fun, engaging project. So gear up, get crafting, and enjoy the satisfaction that comes with shooting targets you’ve set up yourself!
Real-Life Examples of Successful DIY Target Holders
Creating your own DIY target holder not only saves you money, but it also enhances your shooting experience and provides a satisfying project to tackle. Many enthusiasts have successfully built their own target holders, and their creative solutions can inspire you to do the same!
One impressive example comes from a DIYer who constructed a collapsible PVC target stand. This design features lightweight yet sturdy PVC piping, making it easy to transport while maintaining stability on uneven outdoor terrain. The builder outlined the steps clearly: cutting the pipes to size, using T-connectors to form the base and uprights, and adding hooks for securing targets. This project took about two hours and cost less than $30, demonstrating that you can achieve a functional and portable target holder without breaking the bank.
Another great illustration is the use of wooden pallets to create a rustic yet effective target holder. A shooter repurposed a couple of old pallets, reinforcing them with additional planks to create a solid frame. This project utilized simple hand tools and took an afternoon to complete. The wooden structure was treated for weather resistance, ensuring longevity for outdoor use. This example highlights how using reclaimed materials can not only be budget-friendly but also environmentally conscious.
For those looking for more advanced features, one crafty individual adapted a magnetic target holder. Using a metal plate attached to a sturdy frame, they integrated magnets to hold steel targets securely. This design not only adds an element of versatility-allowing for quick target changes-but also provides a satisfying sound upon impact. The project required some basic welding skills and took a weekend, making it suitable for those with a bit more experience.
Whether you choose PVC, wood, or even metal, the key takeaway is that building your DIY target holder can be both accessible and rewarding. With countless designs and materials to choose from, you can customize your project to fit your specific needs and shooting environment, all while enjoying the satisfaction that comes from crafting your own gear!
Q&A
Q: What is the best height for a DIY target holder?
A: The best height for a DIY target holder typically ranges from 4 to 6 feet off the ground, depending on your shooting position and preferences. Adjust the height to match your comfort level and shooting style, ensuring that targets are easily visible without straining.
Q: How can I ensure my DIY target holder is stable?
A: To ensure stability, use heavy-duty materials for the base, such as wooden pallets or metal framing. Additionally, you can add weights or sandbags to the base, and use cross-bracing to prevent swaying. This will help maintain balance during use.
Q: What types of targets can I use with a DIY target holder?
A: You can use various types of targets with your DIY target holder, including paper targets, metal silhouettes, and self-healing rubber targets. Ensure the target material is suitable for your shooting style to maximize durability and effectiveness.
Q: How do I transport my DIY target holder easily?
A: To transport your DIY target holder easily, make it modular or collapsible. Utilize hinges to fold components, or design it to be lightweight. Adding brackets or handles also facilitates easier lifting and moving for outdoor activities.
Q: Can I customize the design of my DIY target holder?
A: Yes, you can customize your DIY target holder by altering the size, shape, and color to fit your style. Consider adding features like adjustable angles or interchangeable target mounts to enhance versatility and creativity in your designs.
Q: How often should I maintain my DIY target holder?
A: Regular maintenance of your DIY target holder should be performed at least once every few months or after heavy use. Check for wear and tear, tighten bolts, and replace any damaged components to ensure it remains safe and functional for your shooting sessions.
Q: What materials are best for building a durable DIY target holder?
A: The best materials for building a durable DIY target holder include treated wood, metal piping, or PVC plastic. These materials provide strength and resilience, offering longevity especially in outdoor conditions where exposure to elements is a factor.
Q: Are there any safety tips for using a DIY target holder?
A: Absolutely! Always position your DIY target holder in a safe shooting zone, away from bystanders. Use signs to mark the area, and regularly check that the structure is stable. Following local laws regarding shooting ranges is also crucial for safety.
To Wrap It Up
Congratulations on building your portable target holder! This project not only enhances your shooting experience but also boosts your DIY skills. Remember, you can easily adapt this design for different ranges or materials, making it versatile for any shooting enthusiast. If you enjoyed this build, check out our guide on crafting customized shooting accessories and learn how to create a complete DIY shooting range setup.
Before you head out to the range, make sure to subscribe to our newsletter for more exciting DIY projects and expert tips straight to your inbox. Have questions or want to share your own variations? Drop a comment below-we love to hear from fellow makers! Keep exploring and expanding your DIY journey-your next project is just a click away!
Get our latest guides, news, and insights highlighted in your Google Search & AI Overviews.