
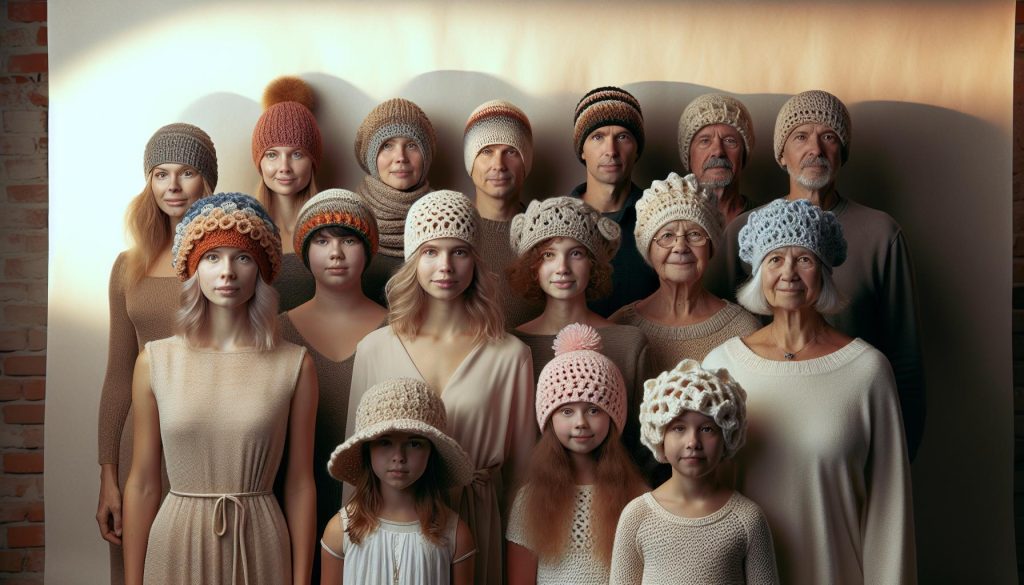
When it comes to crocheting hats, one of the most common questions is, “How long should my crochet hat be?” Understanding the right length for different ages ensures that your handmade gifts fit perfectly and bring joy to their recipients. Whether you’re crafting for a newborn or an adult, each size comes with unique considerations that can make or break your project.
Think about it: a snug baby beanie can keep a little one warm, while a floppy summer hat needs the right dimension for comfort. This guide will walk you through the ideal lengths for crochet hats for all ages, so you’ll feel confident in your stitches and create pieces that look great and fit well. Ready to dive in and master the art of hat sizing? Let’s get started!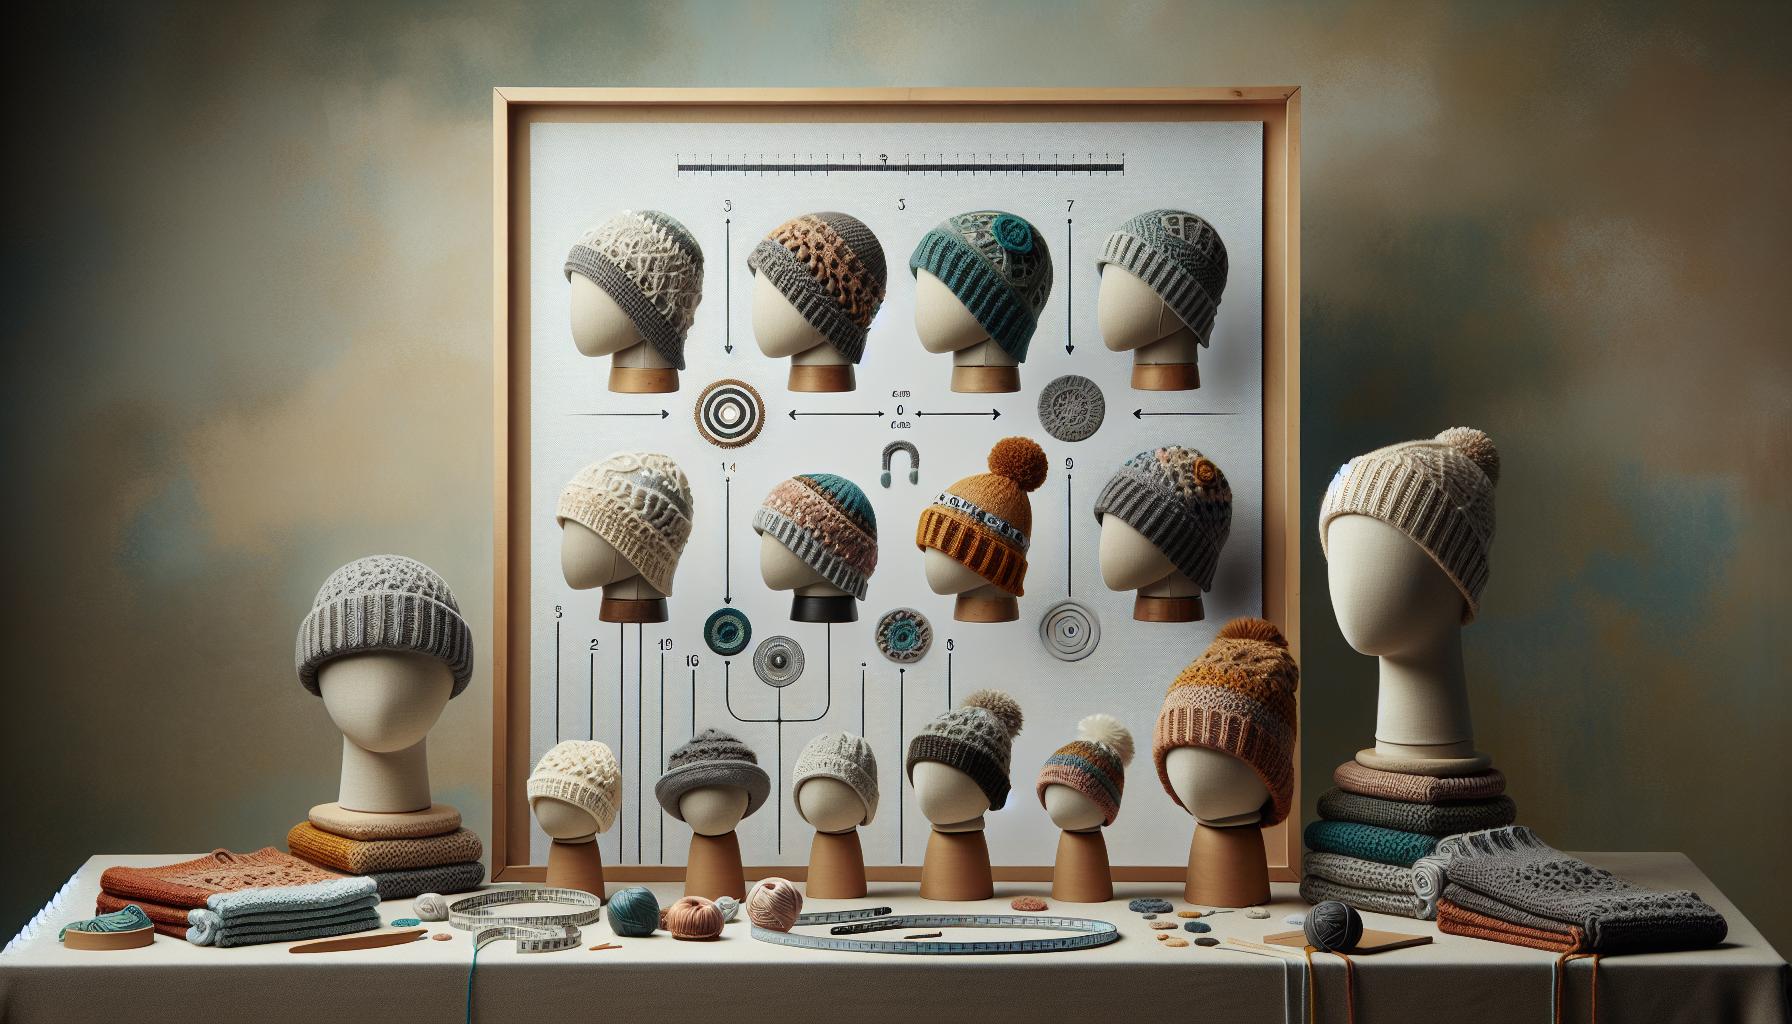
Choosing the Right Length for Crochet Hats
When it comes to crocheting hats, getting the length just right can dramatically affect both comfort and style. An ideal crochet hat doesn’t just keep you warm; it also reflects your personality and taste. A well-fitted hat can elevate your outfit, while a poorly sized one might sit forgotten in the back of your closet. This is why understanding how to choose the right length for crochet hats is crucial, whether you’re whipping up a cozy beanie or a trendy slouchy style.
Understanding Ideal Lengths
The length of your crochet hat largely depends on the age of the wearer and the specific style you’re aiming for. For instance, a snug beanie for a child typically measures about 7-8 inches from the top of the head to the base of the hat, while an adult version might range from 9 to 11 inches. Slouchy hats, which are designed to sit lower on the back of the head, often need to be longer-around 11 to 14 inches for adults. Keep in mind that these are starting points. Adjustments can be made based on individual preferences and head sizes.
- Child Beanie: 7-8 inches
- Teen Beanie: 8-9 inches
- Adult Beanie: 9-11 inches
- Slouchy Hat: 11-14 inches
Personalizing Length
Don’t hesitate to personalize the length even further! If you’re making a gift, for instance, consider the recipient’s style. Some might prefer a snug fit while others enjoy a relaxed, slouchy look. Use a measuring tape to gauge the head circumference and decide based on how fitted or loose you want the hat to be. Remember, crochet hats tend to stretch with wear, so factor in a little extra if you’re unsure. Above all, enjoy the process! Each stitch brings you closer to a piece that’s uniquely yours.
Age-Specific Length Guidelines for Crochet Hats
When it comes to crocheting hats, one size does not fit all-especially when you’re creating for different age groups. Each stage of life comes with its own styling preferences and head sizes, making it essential to choose the right length for your projects. Understanding these age-specific guidelines will not only help you create well-fitting hats but also ensure your finished pieces are both comfortable and stylish for their intended wearers.
For young children, snug beanies should typically measure around 7 to 8 inches from the crown of the head to the base of the hat. This allows the hat to stay securely in place while keeping little heads warm. As children grow into their teenage years, they may prefer slightly larger hats, so measuring in the range of 8 to 9 inches is ideal. Adults generally find that beanies ranging from 9 to 11 inches fit comfortably, providing enough coverage without feeling too tight. Meanwhile, slouchy hats, which are all the rage for their relaxed aesthetic, can be any length from 11 to 14 inches for adults, allowing for that stylish drape at the back.
It’s also important to keep in mind that head sizes can vary significantly even within these age ranges. Using a soft measuring tape to check the circumference of the recipient’s head can help you assess how much stretch is needed in your design. This ensures that you not only achieve the desired length but also a comfortable fit that won’t leave your hat slipping off or feeling constricting. Happy crocheting!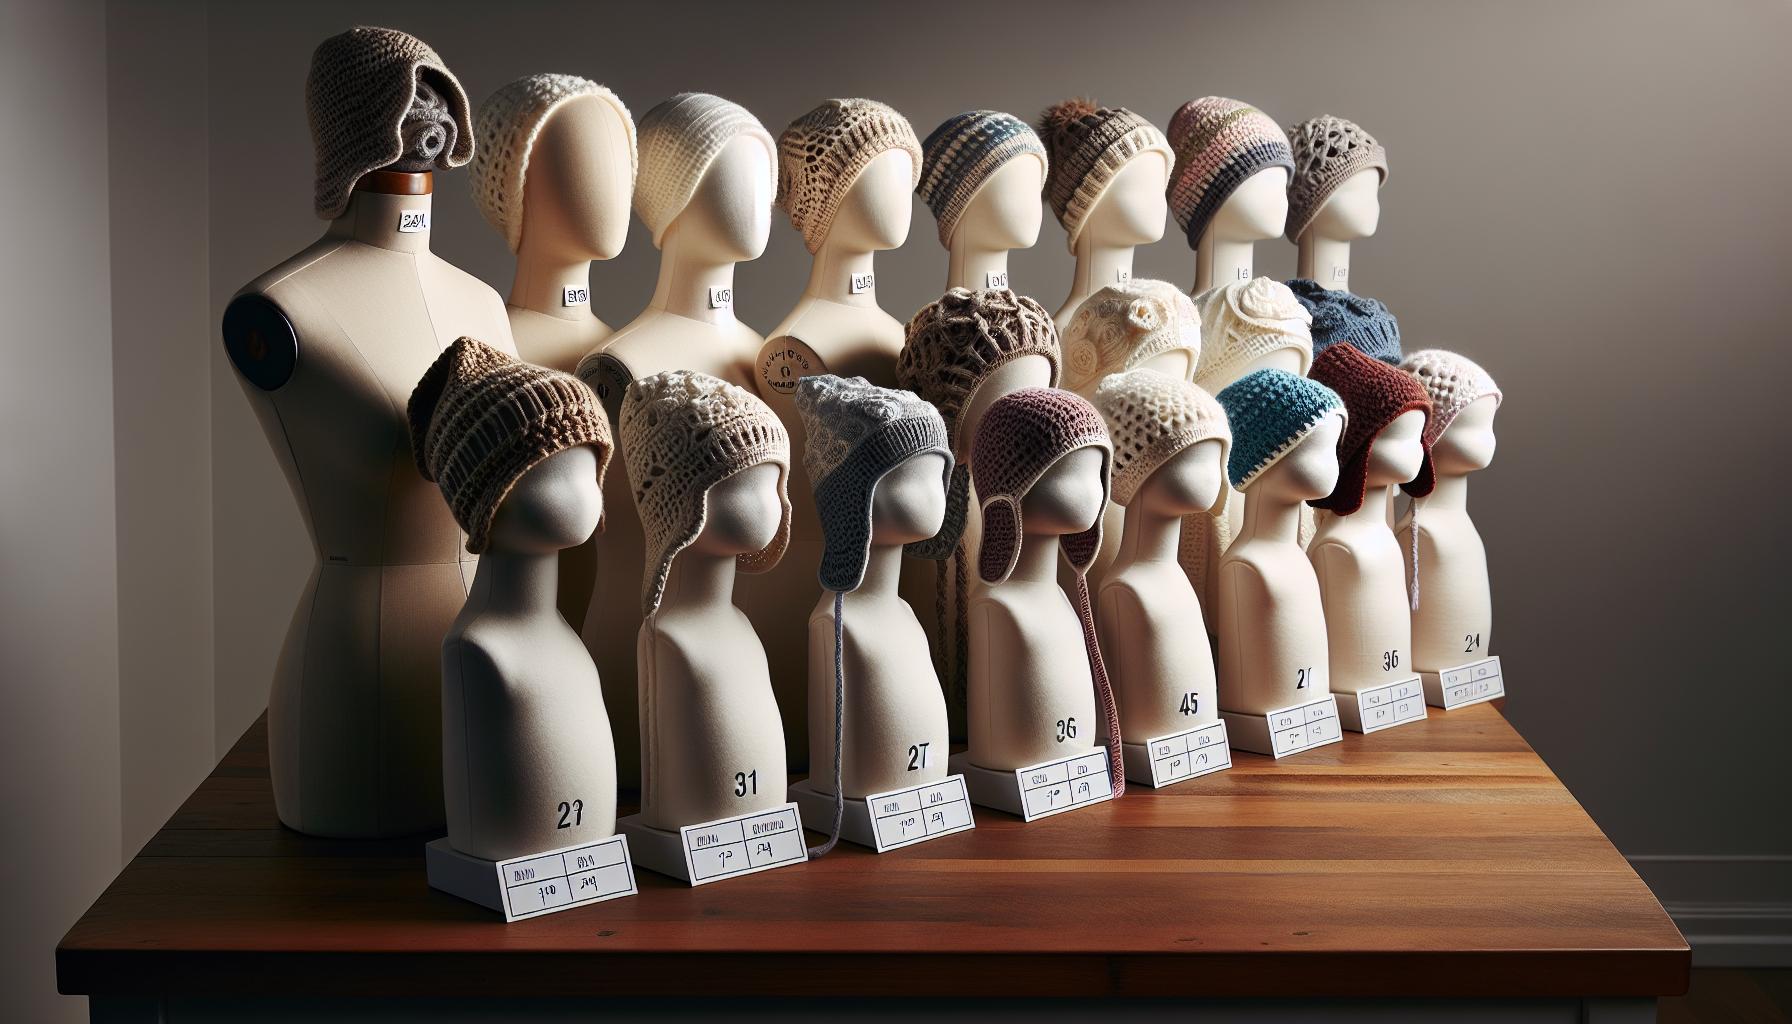
Measuring Head Size: A Simple Guide
To create the perfect crochet hat, measuring the head size is vital. It’s the cornerstone of your project that ensures your hat not only looks great but fits comfortably, making it a practical yet joyful process. Whether you’re crafting a cozy beanie for a child or a stylish slouch for an adult, an accurate measurement can be the difference between success and frustration.
To start, gather your materials: a flexible measuring tape, a pen, and some paper for jotting down measurements. You can also use string if a measuring tape isn’t available-just measure the string against a ruler later. Aim for the widest part of the head, which is typically just above the ears and across the forehead. It’s helpful to ask the person wearing the hat to relax their head to avoid extra tension, as this can lead to inaccurate measurements.
Here’s a simple step-by-step process for measuring head size:
- Step 1: Wrap the measuring tape around the head, keeping it level and snug but not too tight. Ensure that it sits just above the ears and across the forehead.
- Step 2: Record the measurement in inches or centimeters, depending on your preference.
- Step 3: If you’re making the hat for someone else, involve them in the process! This not only ensures accuracy but also builds excitement for their new accessory.
For those crafting for children, it’s wise to measure while they’re seated, as this can lead to a more reliable result. Babies and toddlers have quite specific sizes, so taking multiple measurements can be beneficial. Remember, everyone’s head is unique, and it’s perfectly okay to adjust your pattern to accommodate slightly larger or smaller measurements. A hat that fits well will be worn more often, so your effort will definitely pay off!
With these simple measurements in hand, you’re well on your way to crafting crochet hats that not only look fabulous but fit perfectly. Plus, don’t forget to factor in the stretchiness of your yarn; if you’re using a stretchy blend, you might opt for a snugger fit. Keep it fun and remember, each hat you create is a reflection of your skilled hands and creative heart! Happy crocheting!
Adjusting Length for Different Styles
When it comes to crocheting hats, the length can significantly impact the style and comfort of your finished product. A well-adjusted length not only enhances the overall aesthetic but also ensures that the hat sits snugly without being too tight or too loose. Whether you’re going for a classic beanie, a trendy slouchy style, or even a whimsical pom-pom cap, knowing how to adjust the length is key to making a hat that will be loved and worn often.
Understanding the style you’re aiming for is the first step. For a fitted beanie, aim for a length that covers the ears but doesn’t extend too far down the neck. Generally, this is about 8 to 10 inches from the brim to the crown. If you’re crafting a slouchy hat, however, you’ll want to add more length-about 10 to 12 inches allows for that relaxed, laid-back look while still looking intentional. Slouchy hats often have a bit of extra fabric at the back, so incorporating a few additional rounds after reaching your initial measurement can create that desired drape.
To adjust the length based on different styles, start by deciding the look you want to achieve. Here’s how you can effectively adjust:
- Fitted Beanie: Keep the length around 8 to 10 inches, and add a bit of negative ease for a snug fit.
- Slouchy Hat: Aim for 10 to 12 inches, plus some additional rows to create that relaxed shape.
- Pom-Pom Cap: Typically 9 to 12 inches, depending on how much slouch you want or how large the pom-pom is.
Don’t hesitate to try on your hat as you go-this is one of the joys of crocheting! Simply try it on after finishing a few rows to see how it feels and to make sure you’re happy with the length. Remember, you can always add more length, but it’s much harder to take it away. Enjoy the process of experimenting; each adjustment teaches you something new and builds your confidence. Making hats should be a fun and rewarding experience, and with these tips, you’re well-equipped to create pieces that not only fit well but also express your unique style. Happy crocheting!
Common Mistakes to Avoid When Crocheting Hats
When crocheting hats, it’s easy to stumble into a few common pitfalls that can turn an exciting project into a source of frustration. One of the most significant mistakes is not accurately measuring the head size before starting. Head sizes can vary widely among individuals and across age groups. To avoid this, always have a flexible measuring tape handy. Measure the widest part of the head, usually just above the ears, and don’t forget to factor in the style of the hat you’re making. A snug fit is essential for beanies, while slouchy styles require a bit more room.
Another misstep many crocheters encounter is misunderstanding the relationship between stitch tension and hat length. If you crochet too tightly, your hat may turn out smaller than intended, while a loose stitch can lead to an oversized finish. To achieve the best results, start with a tension swatch – that’s a small sample where you work a few rows to check if you’re staying true to the desired gauge. If your swatch doesn’t match the recommended gauge from your pattern, adjust your hook size. Sticking to the correct tension will ensure your hat fits perfectly and falls within the suggested length guidelines.
It’s also common to overlook the importance of trying on your work as you go. You might think, “I’ll just measure it later,” but slipping the hat on frequently while working allows you to make real-time adjustments. This is especially true when modifying lengths based on personal preferences or styles, like adding extra rows for a slouchy look. Another critical area to keep in mind is the fabric’s stretch. Various yarns have different stretch characteristics depending on their fiber content; know your yarn and adjust expectations accordingly.
Finally, be mindful of finishing techniques. Don’t skip on the last few finishing rows or rounds, as they can drastically affect the final look and fit of your hat. Incorporate a sturdy edge that prevents stretching at the brim and adds to the overall durability. Also, don’t be shy about personalizing your piece – consider adding embellishments or using different yarns for color blocking. Remember, each tiny change enhances your unique style, making your crochet project truly one of a kind. Keep these tips in mind, and you’ll avoid common mistakes, ensuring your crochet hats are both stylish and functional!
The Best Yarns for Different Lengths
To perfectly complement your crochet hats, selecting the right yarn is crucial. The type of yarn you use can significantly affect the drape, warmth, and overall look of your creation. Each yarn type interacts uniquely with crochet techniques and contributes to how the hat fits and feels when worn. Here’s what you need to know to ensure your hats turn out beautifully, no matter their intended length.
Weight Matters: Choosing Yarn by Length
When determining which yarn weight to use, consider the desired hat length and style. For snug beanies, opt for medium-weight yarns, like worsted or Aran weight, which provide warmth without too much bulk. These weights typically lend themselves well to standard adult sizes, resulting in a clean finish. On the other hand, if you’re crafting a longer, slouchy hat, go for a lighter worsted or sport weight yarn. This will give your hat a nice drape, allowing it to flow naturally while still keeping its shape.
If you’re venturing into more complex designs, like textured or lace stitches, you might consider using a DK (double-knit) weight yarn. It’s light yet versatile, making it perfect for intricate stitch patterns, especially if you plan to add length by incorporating additional rows. Remember, the lighter the yarn, the more rows you’ll need to achieve your desired effect without compromising on comfort and fit.
Consider Fiber Content
While yarn weight is essential, the fiber content can transform your hat’s feel and functionality. For cold-weather hats, a wool or wool-blend yarn offers superior warmth and stretch, making it ideal for cozy, fitted hats. If you’re looking for something softer, less itchy, and more breathable, cotton or bamboo blends work great for warmer months and are perfect for lighter, more open stitch patterns.
Lastly, think about how your yarn choice aligns with the hat’s intended use. If the hat needs to be durable and withstand the elements, acrylic blends are not only affordable but also resilient, making them great for everyday wear. You might also explore yarns with some elastic fibers, which help retain the hat’s shape after washing, especially useful if you add length and need extra stretch around the brim.
Experiment and Enjoy!
Choosing the right yarn might seem daunting, but have fun with the selection process! Don’t hesitate to experiment with different textures and colors; you can create unique hats that reflect your personal style. As you become familiar with how different yarns behave, you’ll gain confidence in making choices that align with your vision. Remember, each crochet project is an opportunity to learn and grow. So grab your hook, select your yarn, and embark on your hat-making adventure-you’ve got this!
How to Personalize Hat Length Based on Preferences
Personalizing the length of your crochet hats can be a fun and rewarding process, helping to create unique pieces that suit your specific style and comfort needs. One great tip is to start with a basic pattern and then adjust it based on how you want the finished hat to fit. For example, if you’re aiming for a snug beanie, you might want to follow standard measurements, but if you envision a cozy slouchy hat, extend the length accordingly before you start your stitches.
When deciding on the perfect length, consider the wearer’s age and personal style. Children typically prefer hats that are just above the ears for comfort, while adults may enjoy a more versatile approach. You could opt to make a beanie that hugs their head closely or a longer slouchy style that can be adjusted for warmth and fashion. To make this adjustment easier, keep a *simple measuring tape* handy, and measure from the crown of the head to the desired point on the ears or the nape of the neck.
Tips for Tailoring Length
- Add Rows for Slouch: For a slouchy look, simply add a few more rows than the basic pattern suggests. This will give a lovely drape to the hat hanging down the back.
- Reduce for Fitted Styles: If you prefer a more fitted style, you can eliminate a few rows or only make it a little longer than the head measurement.
- Consider the Brim: If your pattern includes a brim, gauge how deep you want it to be. A wider brim will naturally require more overall length.
To personalize further, think about yarn choices and their behaviors based on length. If you’re creating a longer hat, using a lighter weight yarn can help ensure the hat doesn’t become too heavy or lose shape. Experimenting with different textures and colors can also embody the wearer’s personality. It’s all about enjoying the crafting process-so feel free to make adjustments until it feels just right for you or the lucky recipient! Remember, you can do this, and with every stitch, you’re getting one step closer to crafting a hat that is not only warm but uniquely yours.
Tips for Making Easy Adjustments in Pattern Length
Making simple adjustments to the length of your crochet hats can elevate your projects from good to truly fabulous. Whether you’re crafting for an adult looking for a snug winter beanie or a child wanting a fun, slouchy style, these adjustments can really personalize your piece. One straightforward approach is to consider the type of hat you wish to create, and then play around with the number of rows. If you aim for a relaxed slouchy hat, adding just a few more rows than indicated in your pattern can suffice to achieve that dreamy draped effect.
You can also take advantage of a few visual cues for guidance. For instance, look at a store-bought hat that fits the desired style. Measure its length and then replicate that measurement in your crochet project. A reliable way to enhance the fit is to use a simple ruler or measuring tape to check your work as you go. If you find your hat feels a bit too short or long, don’t fret! Simply adding or removing a couple of rounds towards the end can make a significant difference.
It’s also wise to keep in mind the type of yarn you are using. Thicker yarns can have more stretch, while lighter yarns may require slightly more length for a similar look. If you are making a hat for an active child, consider their tendency to outgrow items quickly. Crocheting with a bit of extra length can allow for a longer wear time, making your beautiful creation last through a few growth spurts.
Lastly, be open to experimenting! Don’t hesitate to try different lengths until you find what feels right. Many crafters find joy in refining their projects through trial and error. Remember, every adjustment you make is a step towards crafting something uniquely suited to the wearer. Celebrate those little victories and embrace the creative process-you’ve got this!
Experimenting with Length: Creative Projects
Experimentation is a fantastic way to enliven your crochet hat projects, and the beauty of crochet is that there are no strict rules-just endless possibilities! Have you ever thought about how fun it might be to create hats that not only fit but also express someone’s personality or style? Whether you’re dreaming of a cozy, oversized beanie for winter warmth or a lightweight slouchy hat for summer outings, adjusting the length can transform your vision into reality. Let’s dive into some creative projects that will inspire you to experiment with hat lengths.
Start with simple projects that allow you to play with length easily. For instance, you might try making a basic beanie pattern. To experiment, make one hat as per the pattern and then create another by adding an extra few rounds. Notice how this simple adjustment changes its look and feel. You could give this simple beanie a twist by adding a vibrant pom-pom on top, or maybe some cute appliqués to personalize it further! In this process, you are not only exploring the aesthetic aspects but also observing how different lengths affect the fit and wearability.
Consider also experimenting with color transitions along with length changes. Choose your favorite gradient yarn and crochet a hat that starts with a short length and transitions into a longer style-like a tapered beret. You could create striking visual impacts while learning which lengths work best for specific styles. This approach reveals the versatility of hat making; a playful, creative mind can produce unique hats that are both stylish and functional.
Don’t forget to involve family or friends in your projects! For instance, if you typically crochet for children, create a series of hats in different lengths tailored to various ages. You might find that a slightly longer hat works perfectly for a toddler who loves to wear hats slightly slouched. Share your creations, and you might inspire others to join in your crafting journey, making each project more enjoyable and fulfilling.
Remember, the key to creative crochet is confidence. You can do this! Embrace the process of trial and error; every new technique or length you explore adds to your skills and experiences. The more you play around with different styles and approaches, the more unique creations you’ll end up with. Enjoy each stitch, and celebrate the joy of crafting!
Understanding Stretch and Fit in Crochet
When you’re creating a crochet hat, understanding how stretch and fit work can dramatically impact the finished product. It’s crucial to remember that crochet stitches have inherent elasticity, meaning that your hat will stretch as it’s worn. This quality can be both a blessing and a challenge. The perfect fit not only depends on how long the hat is but also how well it conforms to the head shape of the wearer.
To start, it’s important to consider the yarn and stitch type you’ve chosen. For example, using a yarn with a higher elastic content, like a blend with acrylic, can produce a snug fit compared to a cotton yarn, which may not have the same stretch. Experimenting with different stitches can also yield varied results. For a tighter fit, explore stitches such as single crochet or half double crochet. On the other hand, looser stitches like double crochet can allow the hat to have a more relaxed, slouchy appearance.
Another key factor is the ribbing-this is what can allow your hat to hug the head comfortably. Incorporating ribbed stitches at the brim can provide a better fit while keeping the hat secure as it stretches with wear. If you’re incorporating decorative stitches or colorwork, ensure these designs are balanced with the overall stretch; overly tight patterns can restrict the hat’s size when pulled on. As you work, try periodically trying the hat on to monitor how it fits-it’s an effective method to ensure the final product meets your expectations.
Finally, don’t hesitate to adjust your length based on how much stretch you anticipate. If you foresee a lot of stretch, you might want to make the hat slightly shorter than the standard recommendations. Remember, this is all part of the fun! You can do this, and each piece you make will only improve your skills and confidence. Embrace your creativity and make that perfect fit for everyone who wears your unique designs!
Using Patterns to Achieve Ideal Hat Length
When it comes to creating the perfect crochet hat, using the right patterns can significantly help you achieve the ideal length tailored to your needs. Patterns are not just guidelines; they’re a treasure map that leads you to your crafting goals. Many crochet patterns come with specific measurements and stitch counts that make it easier to determine how long a hat should be for various age groups. By following these patterns, you’ll not only save time but also ensure that your finished product has the right fit and style.
To start, consider finding patterns that offer length measurements for different sizes. Many crochet pattern websites provide detailed sizing charts, like those found on crochet resource sites. For instance, patterns often break down adult, child, and baby sizes, outlining the recommended lengths for each. Here’s a quick reference for hat lengths:
| Age Group | Hat Length (inches) |
|---|---|
| Newborn | 5-6 |
| Baby (0-6 months) | 6-7 |
| Toddler (1-3 years) | 7-8 |
| Child (3-10 years) | 8-9 |
| Adult | 9-10 |
Once you find a pattern that resonates with you, it’s essential to take note of any notes on stitch types as they can influence the hat’s final length. If the pattern uses a stitch that tends to stretch, like a double crochet, you might want to follow the pattern closely. However, if you’re choosing tighter stitches, like single crochet, you might need to elongate your project slightly to ensure comfort.
Always feel free to modify the patterns to fit your preferences. If you want a slouchier look, you can add length by including extra rows; just remember that adjustments can be made as you go. Regularly try the hat on (if it’s for yourself or a fitting model) during your crafting to gauge the fit as you progress. The joy of crocheting is in the journey of creation – don’t hesitate to play with the lengths and understand how your yarn behaves with various stitches and patterns. You can absolutely do this, and every hat you create is not just a project; it’s a step toward honing your craft!
Resources for Further Learning and Inspiration
Whether you’re just starting your crochet journey or looking to expand your skills, having the right resources at your fingertips can make all the difference. The internet is brimming with communities, tutorials, and patterns that can inspire your next crochet hat project. Dive into forums and social media groups where you can connect with fellow crafters, share your progress, and ask questions. Platforms like Facebook and Reddit have active crochet communities eager to lend a hand or share their tips.
One excellent starting point is to explore dedicated crochet websites. These platforms often feature comprehensive guides, free patterns, and troubleshooting advice tailored to all skill levels. For instance, visiting sites like My Crochet Space and Bella Coco Crochet can provide you with invaluable tutorials and step-by-step patterns specifically designed for beginners. You’ll not only find written instructions but also engaging video tutorials that demonstrate techniques live – great for visual learners!
Additionally, consider leveraging social media platforms like Instagram and Pinterest for inspiration. You can search hashtags like #CrochetHat or #CrochetPattern to uncover a treasure trove of creative ideas and see what others are making. This visual approach often sparks new ideas for your projects and helps you visualize how different stitches and modifications can affect the overall look and fit of your hat. Remember, exploring various styles can lead to exciting creativity!
Lastly, don’t overlook the power of books. There are countless crochet books filled with patterns, tips, and advice on achieving the perfect fit for your hats. Titles designed for all ages and experience levels can guide you in selecting yarn types, understanding gauge, and experimenting with lengths. Libraries or local craft stores often have a great selection, and borrowing books can be an economical way to test which ones resonate with your style.
You can do this! With these resources, you’ll be inspired to experiment, learn, and create beautiful crochet hats that not only fit well but are unique to your crafting journey. Happy crocheting!
Frequently Asked Questions
Q: How do I determine the right length for a crochet hat based on age?
A: To determine the right length for a crochet hat by age, use general guidelines: Babies (6-9 inches), Children (8-10 inches), Teens (9-11 inches), and Adults (10-12 inches). Measure the head circumference first and adjust length accordingly to ensure a snug fit. Refer to the Age-Specific Length Guidelines for Crochet Hats section for details.
Q: What is the best way to measure head size for a crochet hat?
A: The best way to measure head size is by using a flexible measuring tape. Wrap the tape around the widest part of the head, just above the ears. Record the measurement, which will guide your hat size and help you create a proper fit. More details can be found in the Measuring Head Size section.
Q: When should I adjust the length of a crochet hat?
A: Adjust the length of a crochet hat if you’re making a style like a beanie or slouchy hat, where you may want extra length or for specific preferences like covering the ears. Always check the wearer’s comfort and style preferences! Refer to Adjusting Length for Different Styles for tips.
Q: Are there different styles of crochet hats that require different lengths?
A: Yes, styles like beanies, slouchy hats, and berets require varying lengths. Beanies typically range from 8-10 inches, while slouchy hats may need an additional couple of inches for the right look. Explore the Adjusting Length for Different Styles section for variations.
Q: How do I personalize crochet hat length for individual preferences?
A: Personalizing crochet hat length involves considering the wearer’s comfort and style. Adjust the base measurements by adding or removing rows based on their feedback. Experiment with styles in real-time to find the best fit. Check the Personalize Hat Length section for more customization tips.
Q: What common mistakes should I avoid when crocheting hat lengths?
A: Common mistakes include not measuring head circumference accurately, assuming one length fits all, and neglecting to adjust for yarn stretch. Always double-check your gauge and measurements during your project. Find more insights in the Common Mistakes to Avoid section.
Q: How does yarn choice affect the length of a crochet hat?
A: Yarn choice affects stretch and drape, which can impact how a crochet hat fits and feels. Thicker yarns may require fewer rows, while lighter yarns might need more. Always refer to your yarn’s specifications and the Best Yarns for Different Lengths section for guidance.
Q: Can I use a standard pattern for different head sizes and lengths?
A: Yes, a standard pattern can be adapted for various head sizes and lengths. Adjustments like changing hook size or modifying the stitch count can help accommodate different measurements. See the Using Patterns to Achieve Ideal Hat Length section for detailed instructions.
Key Takeaways
Now that you know how long a crochet hat should be for all ages, it’s time to put your skills into action! Whether you’re crafting for yourself or making a thoughtful gift, the right length is crucial for comfort and style. Don’t hesitate to experiment with different yarns and colors to personalize your hats. Remember, you can do this, and each hat you create brings you one step closer to mastering your crochet craft!
For more inspiration and guidance, check out our collections of free crochet patterns or visit our how-to crochet videos for beginners. If you’re eager to expand your crochet skills, consider exploring our tips for creating custom fits. Don’t forget to leave a comment below sharing your favorite projects or any questions you have-we’re here to help! Stay connected by subscribing to our newsletter for exclusive tips and the latest patterns. Happy crocheting!
Get our latest guides, news, and insights highlighted in your Google Search & AI Overviews.