
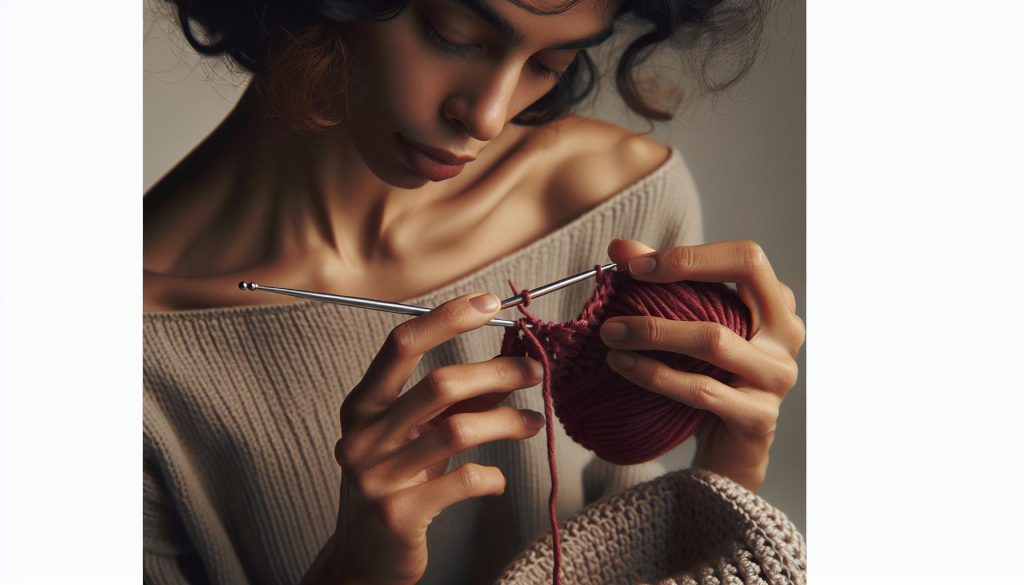
Cinch the top of your crochet hat like a pro and create a beautifully finished crown that showcases your hard work! This step is crucial for giving your hat that polished look, and it’s easier than you might think. Whether you’re making a cozy beanie or a cute accessory, mastering the gathering technique will elevate your crochet projects. If you’ve ever struggled with how to neatly close a crochet hat, you’re not alone. Many crafters find this part intimidating, but I’m here to simplify the process for you. With just a few easy steps, you’ll achieve a stunning hat that not only fits well but also feels rewarding to wear or gift. Let’s dive in, and soon you’ll be surprised at how easily you can create that professional finish! You can do this!
Choosing the Right Yarn for Your Crochet Hat
isn’t just about color-it’s also about texture, weight, and how it will behave when worked up. The yarn you select can dramatically influence the look and feel of your finished hat. You’ll want to pick something that is comfortable to wear and has enough structure to hold a shape, especially when you cinch the top to create that signature crown. Different yarn fibers-such as acrylic, cotton, or wool-each offer unique benefits, so let’s explore what might work best for your next project.
Start by considering the hat’s intended use. If you’re making a cozy winter hat, choose a warmer option like wool or an acrylic blend that provides excellent insulation while remaining soft against the skin. For summer hats, a lightweight cotton yarn can keep things breathable and cool. Check the yarn weight, too! Worsted weight (medium) is a popular choice for hats because it offers a good balance of warmth and ease of working up. If you’re feeling adventurous, experimenting with bulky yarn can create a thick, chunky hat that works up quickly.
Next, think about the color and texture. Solid colors are reliable and classic, but variegated or self-striping yarns can add visual interest and make your project stand out. If you’re using textured yarn-like boucle or tweed-keep in mind that intricate stitches may not be as visible, so simpler patterns often work better. Always consult the yarn label for care instructions, especially if you’re making a gift; you want to ensure your creation can be easily maintained.
Lastly, don’t forget to swatch! This may seem like a tedious step, but creating a small gauge swatch allows you to see how the yarn behaves when crocheted. This will help you determine if you need to adjust your hook size for a tighter or looser fabric. Remember, the right yarn can elevate your crochet hat from good to great, so take your time exploring options and enjoy the process! You got this!
Essential Tools for Crocheting the Perfect Crown
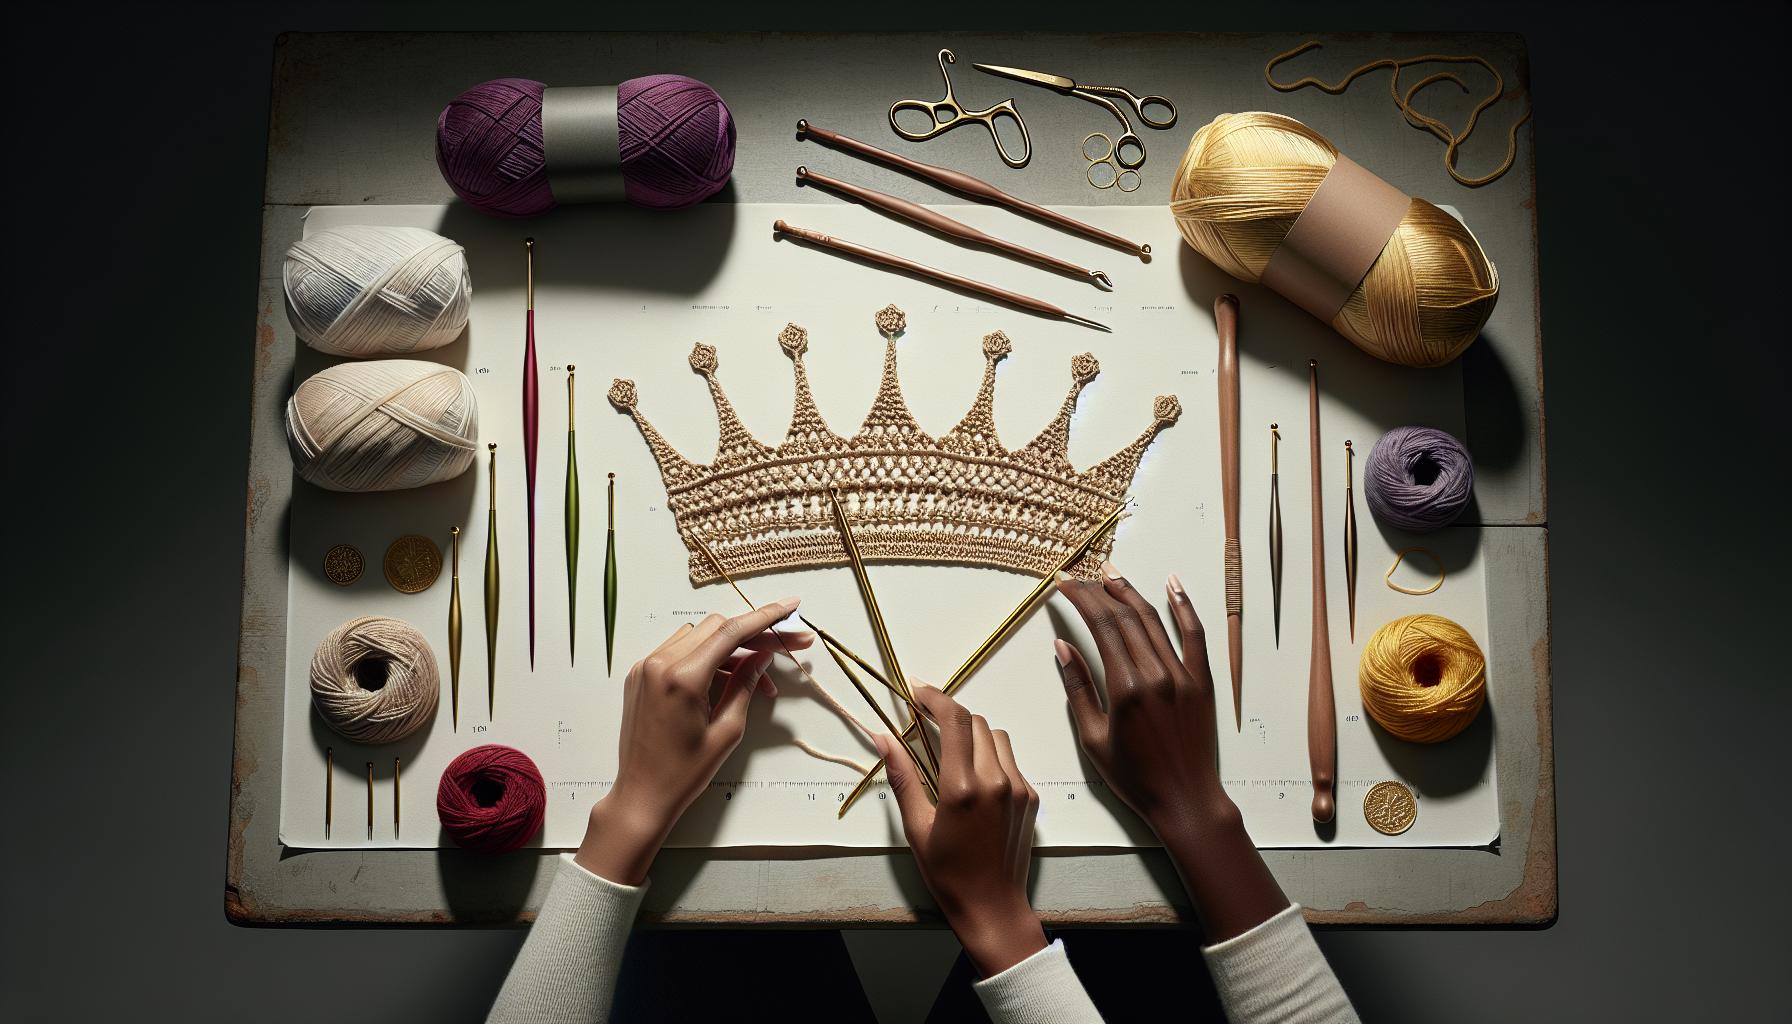
To achieve the perfect crown on your crochet hat, having the right tools is essential. Just like the chef needs their knives and pans, you need specific crochet gear to ensure smooth sailing through the gathering and closing process. Start with a solid pair of crochet hooks that match your yarn weight-this not only applies to size but also to comfort. Each crocheter is different, so try out a few to see which feels best in your hand. The typical sizes for hat-making hover around H (5.0 mm) to J (6.0 mm), but it’s a good practice to check your pattern for recommendations.
In addition to hooks, keep a sharp pair of scissors handy for snipping yarn and a yarn needle (also known as a tapestry needle) for weaving in those pesky ends. Stitch markers can also be a lifesaver-use them to mark where you’ll cinch the top, especially if you’re working in rounds. This visual cue helps you maintain an even tension and finish the top smoothly. Don’t forget a measuring tape so you can keep tabs on your progress and ensure your hat is the perfect fit. Keeping these tools organized in a dedicated crochet bag can help streamline your crafting process and keep everything at your fingertips.
When gathering the crown, you might consider using a piece of clear fishing line or strong thread instead of yarn to cinch the top. This helps create an invisible closure, which looks cleaner and neater. Simply thread it through the last few stitches and pull gently to gather-easy peasy! Lastly, make sure you have a comfortable workspace-good lighting and the right chair can make all the difference in your crochet marathon.
You absolutely got this! With the right tools and a bit of practice, you’ll be creating perfectly crowned hats in no time. Enjoy the journey, and don’t forget to celebrate your progress along the way!
Step-by-Step Guide to Gather the Hat Top
Gathering the top of your crochet hat can feel like a magical moment in your crafting journey. It’s the step that transforms a simple piece of fabric into a polished, finished product! Whether you’re a beginner or have some crochet experience, the process is straightforward and fun. Let’s break it down step-by-step, making it as easy as pie.
Start by ensuring you have the right tools on hand. You’ll need a tapestry needle, which has a large eye to accommodate your yarn, and a length of yarn or, for a smoother finish, a piece of clear fishing line. This technique will help you achieve an almost invisible close at the crown. Make sure your last round of stitches is secure before you begin gathering.
Now, let’s get to the gathering part! Follow these simple steps:
- Prepare the Yarn: Cut a length of yarn that is about 3 times the circumference of your hat top. If you’re using fishing line, the same length will work well.
- Thread the Needle: Pass one end of the yarn or fishing line through the tapestry needle. If you’re using a thicker yarn, you might want to double it for added strength.
- Stitch Around the Top: Insert the needle into the last row of stitches at the top of your hat. Weave the needle in and out through each stitch. Make sure to keep your stitches evenly spaced-about every 1-2 stitches works well.
- Pull and Gather: Once you’ve gone all the way around, pull gently on the yarn or fishing line to gather the stitches. As you do this, the top of the hat will begin to form a closed crown. Take your time here-too much pulling can cause the yarn to break or the stitches to slip out.
- Secure the Gather: Once the top looks nicely gathered, knot the yarn securely. You can do this by tying several knots or weaving the ends back into some of the stitches to hide them. If you’re using fishing line, make sure to tie it tightly with a few knots as it tends to slip.
- Finish Off: Snip any excess yarn or line, but leave a small tail if you need to weave it in for a cleaner finish.
With these straightforward steps, you’re on your way to mastering the art of gathering. This technique not only helps secure the hat but also gives it that professional finish that everyone loves. Remember, practice makes perfect! Don’t hesitate to try this method a few times to get comfortable. You can absolutely do this, and soon you’ll be wearing your beautifully finished hat or gifting it to someone special! Keep crafting and enjoying the process!
Techniques for Closing Your Crochet Hat
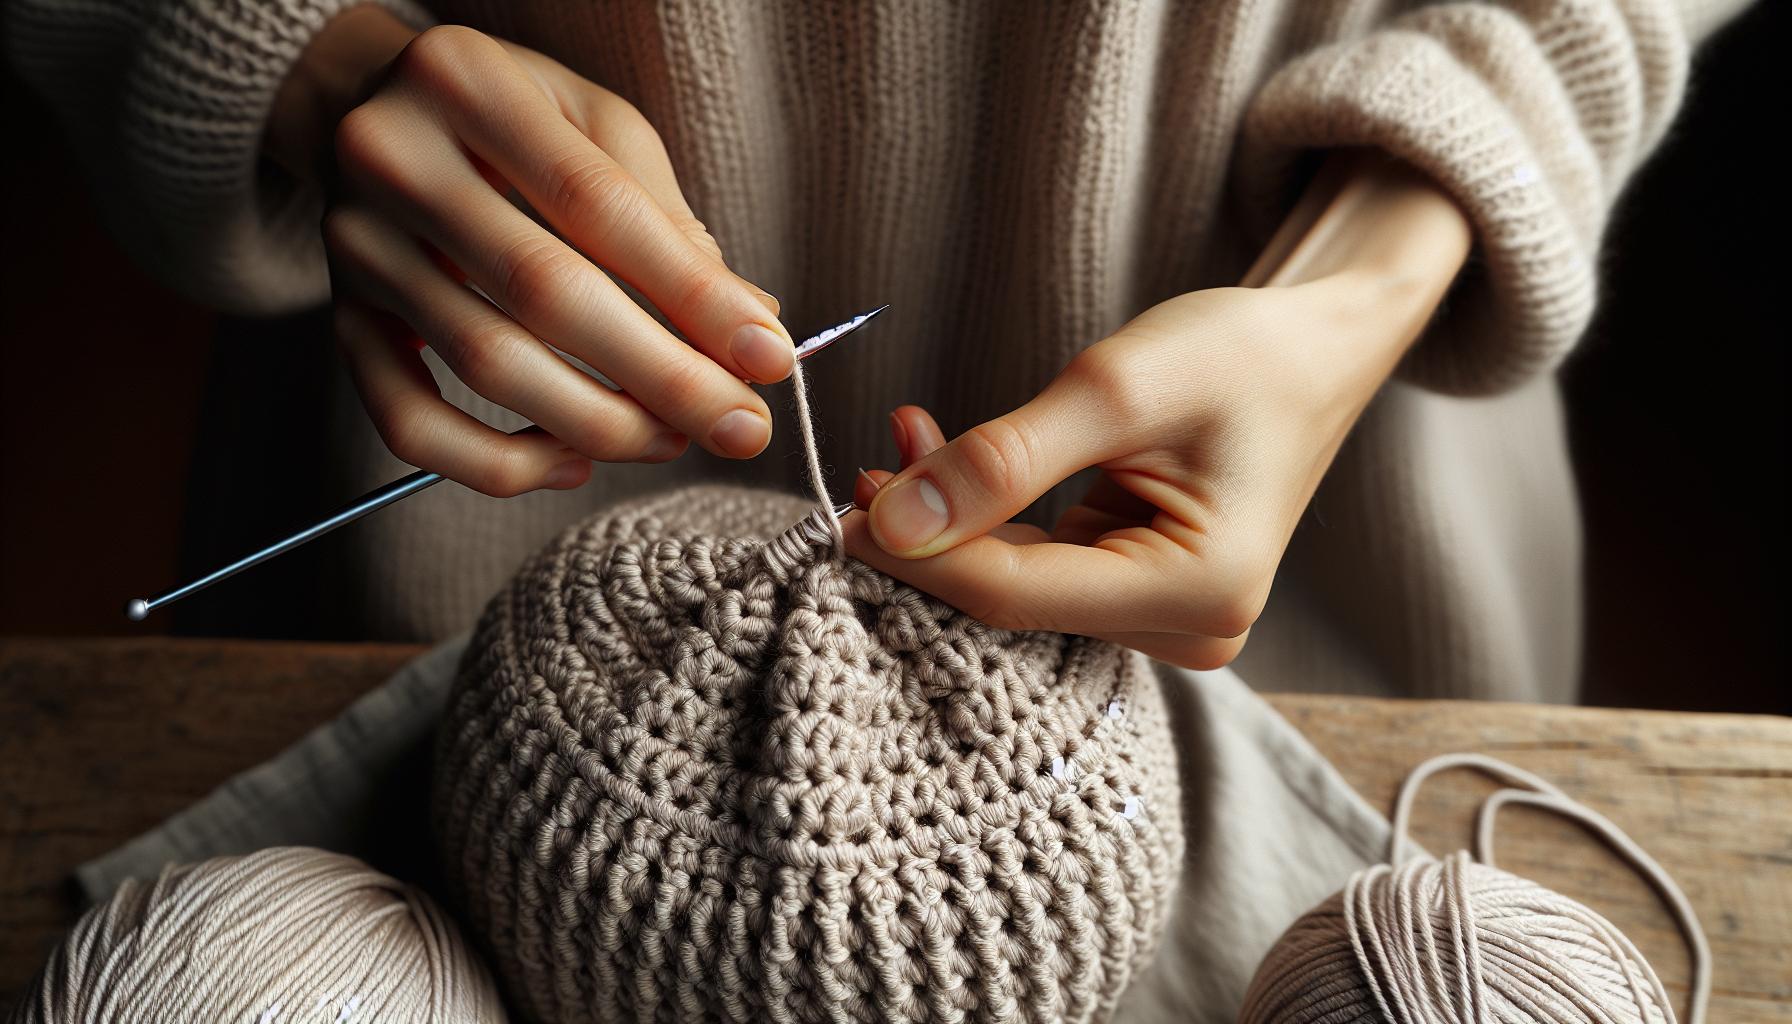
Closing the top of your crochet hat is like putting the final stunning touch on a beautiful masterpiece. It transforms your hard work into something you can proudly wear or gift. This process, known as cinching or gathering, is essential for achieving that perfect crown shape, and anyone can master it with a little bit of practice. The great news is that the techniques involved are both simple and satisfying. Let’s explore how to do it seamlessly!
First, to ensure a smooth closure, start with the right materials. You’ll need a tapestry needle, some trusty yarn that matches your project, and possibly a length of clear fishing line for those who prefer an almost invisible finish. Make sure your last round of stitches is secure, as this will be your foundation for gathering.
Once you have everything prepped, follow these steps:
- Prepare Your Yarn: Cut a length of yarn about three times the width of your hat’s circumference. If you’re using fishing line, cut the same length. This will give you enough leeway to gather it snugly.
- Thread the Needle: Insert one end of the yarn or fishing line through the tapestry needle. If the yarn is thick, consider doubling it for additional durability.
- Stitch Around: Working your way around the top, carefully weave the needle in and out of the last row of stitches. Aim for spacing your stitches about 1-2 stitches apart, which helps create a neat gathering.
- Pull and Gather: Once you’ve stitched all the way around, gently pull on the yarn to gather the fabric together. Go slow here-too much tugging can risk fraying or even breaking your yarn!
- Secure the Gather: When the top looks well-gathered, secure your work by tying a few knots or weaving the ends back into the stitches to hide them. Remember, if you opted for fishing line, give it a few tight knots to keep everything in place.
- Finish Off: Trim any excess yarn, leaving just a small tail if you may need it for weaving into other stitches.
With these methods in mind, you’ll find that gathering the top of your crochet hat is not only achievable but also rewarding. Remember, this is all about enjoying the process and the creativity that comes with it. So, don’t be shy-practice your technique! Each attempt will make you more confident, and before you know it, you’ll be crafting beautiful hats that showcase your unique style. Get ready to wear your finished piece with pride or share it with someone special. Happy crocheting!
Adding Decorative Finishes to Your Hat
Adding the final decorative touches to your crochet hat can elevate it from a simple piece to a stunning accessory! There are countless ways to personalize and enhance your creation, so let’s dive into some fun and easy techniques that will make your hat truly unique.
One of the simplest and most effective decorative finishes is adding a stylish brim or band. A contrasting color or textured yarn can create a striking visual element. To apply this technique, you can:
- Select Your Yarn: Choose a color that complements your hat.
- Attach the Yarn: Use a slip knot to attach your new yarn at the base of your hat.
- Start Crocheting: Use a simple stitch, like single crochet or half double crochet, to work around the hat’s base. This will create a finished edge while adding length and style.
Another fantastic way to finish your hat is by adding embellishments. Pom-poms, flowers, or buttons can give your hat a playful look. For a pom-pom, you can easily make one with just yarn and scissors:
- Cut Yarn: Wrap yarn around your fingers or a pom-pom maker about 50 times.
- Tie Off: Carefully remove the yarn from your fingers, tie it tightly in the center, and cut the loops to create a fluffy ball.
- Attach the Pom-Pom: Use a tapestry needle to secure your pom-pom to the top of your hat.
Hats can also shine with the addition of embellishments like crochet flowers or appliqués. You can create a small flower with a few simple rounds of double crochet, then sew it onto your hat. Not only does this show off your skills, but it also adds charm to a basic design.
Finally, don’t underestimate the power of embellishing with special stitches or techniques! Incorporating surface crochet or adding beads as you go can create a standout look without requiring extra materials. Remember, the goal is to enjoy the process and make your hat reflect your personal style. Whether you’re a newbie or an experienced crafter, these tips will help you finish your crochet project beautifully. You can do this!
Troubleshooting Common Crochet Hat Issues
When it comes to finishing your crochet hat, gathering and closing the crown can be surprisingly tricky. If you find that your hat top isn’t coming together as you envisioned, don’t worry-most issues can be resolved with a little troubleshooting! Let’s tackle some common concerns that many crocheters face during this final stage.
One frequent problem is having a larger hole at the top than expected. This can happen if your stitches are too loose or if you skipped rounds when decreasing. To fix this, first, ensure you’re using the right tension. If needed, switch to a smaller hook to create tighter stitches. When you gather the hat top, use a strong working yarn; this way, when you cinch the crown, you can pull it more securely to close that gap. Remember to take your time as you gather the stitches; work from the outer edge towards the center to ensure that you’re collecting all stitches evenly.
Another typical issue is the crown being too pointy or uneven after gathering. If your hat resembles more of a wizard’s hat than a cozy beanie, it’s a good idea to alter your decrease technique. Consider using a series of slip stitches to bring in the crown more gradually instead of pulling all stitches at once. After securing the center, gently reshape the crown with your hands, feeling free to adjust until it sits correctly. Blocking your hat after finishing can also help smooth out any bumps and shape it to perfection.
Lastly, if you find the gathered top puffs up too much, try a slightly different approach when closing. Instead of pulling the yarn tightly, leave a little slack to create a flatter finish. This can give your crochet hat a snug and finished appearance without that bulky crown. Lastly, don’t shy away from embellishments or decorative stitching that can help disguise any imperfections up top. Creating a flower or even a few stitches around the crown can draw attention away from minor flaws while making your hat uniquely yours.
You can do this! Troubleshooting is a normal part of the crafting process, and each adjustment you make leads to a better crochet hat. Enjoy the journey, and remember-practice makes perfect.
Exploring Various Hat Styles and Patterns
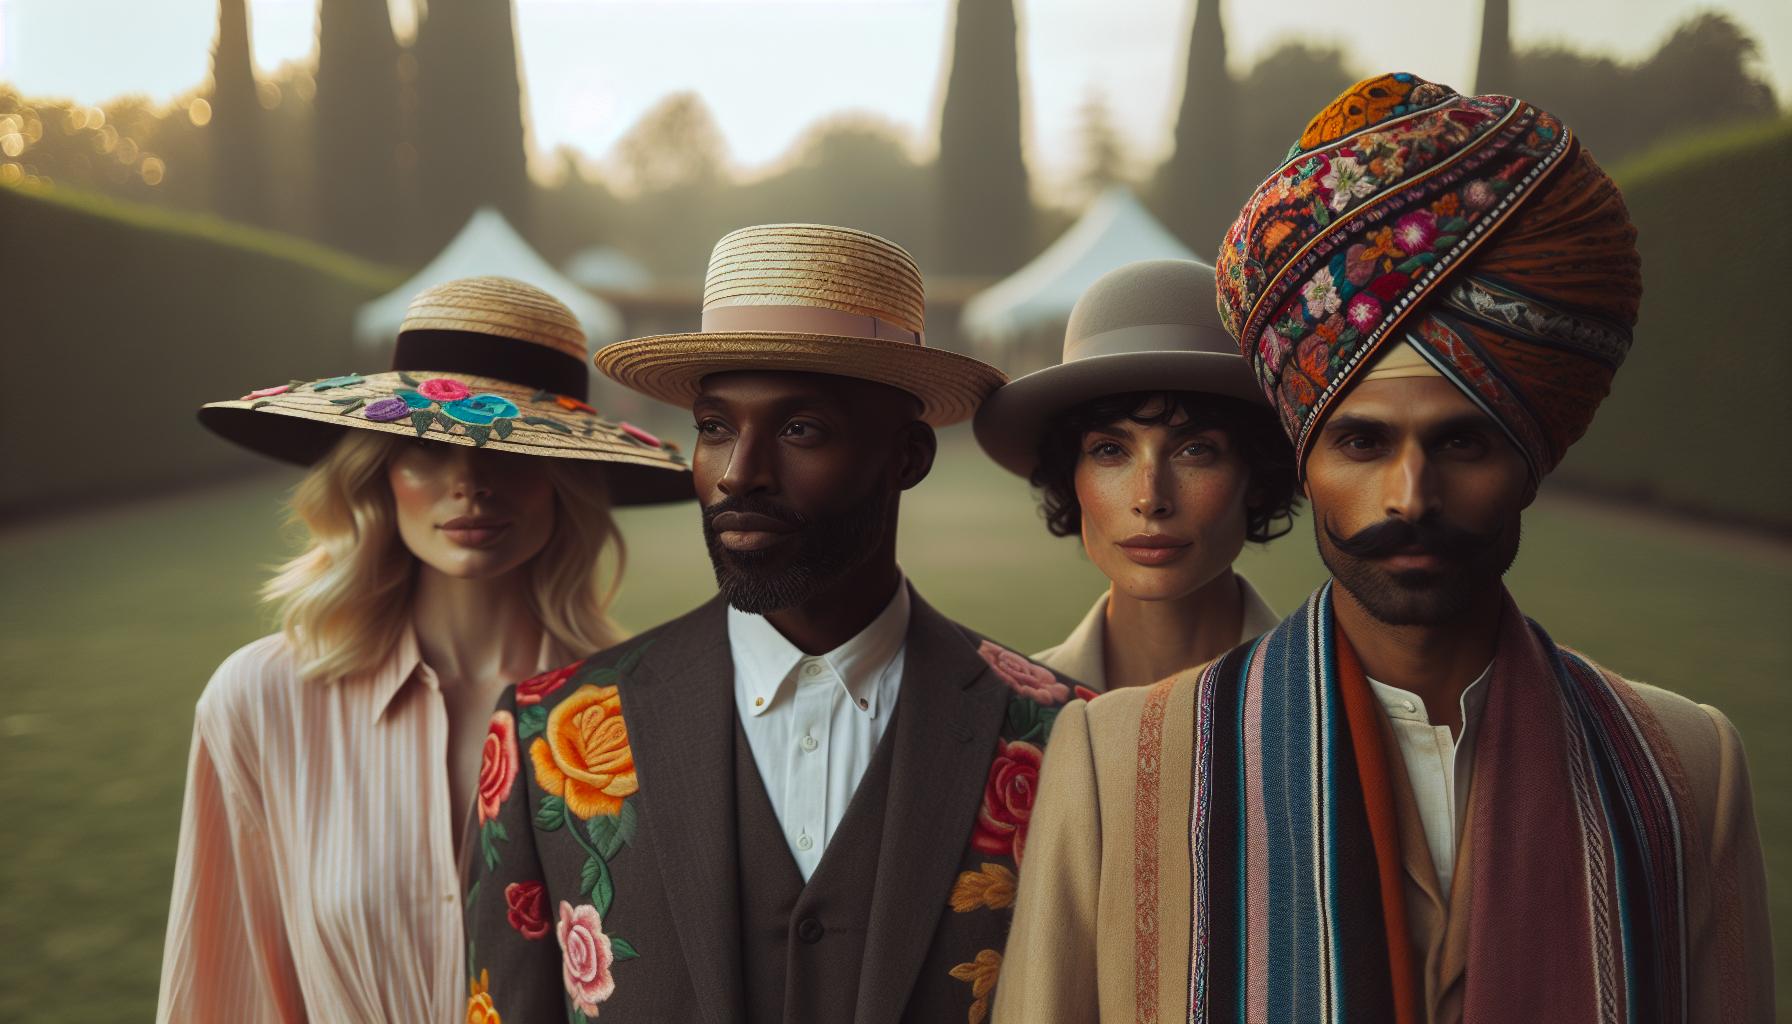
Every crocheter loves the thrill of creating something unique, and hats are a fantastic project to showcase your creativity! From cozy beanies to stylish wide-brimmed hats, the variety of styles and patterns available means you can express yourself in countless ways. Whether you’re a beginner or looking to enhance your skills, exploring different hat styles can inspire and challenge you.
To help you get started, here are a few popular hat styles you might want to try:
Classic Beanies
These simple, snug-fitting hats are perfect for beginners. You can customize the size and fit easily by adjusting the number of stitches and rows. Add a folded brim or keep it simple, and don’t forget to cinch the top neatly for a polished look!
Cable Knit Hats
If you’re ready to level up, try your hand at cable stitches! These hats have a textured look that adds character and warmth. While they may seem complex, once you grasp the cable technique, you’ll find it quite rewarding.
Slouchy Hats
Embrace a relaxed style with slouchy hats. These are wonderfully forgiving regarding size; they’re perfect for using up leftover yarn while giving you a chic and casual vibe. Pay special attention to how you gather the top to maintain that soft drape.
Wide-Brimmed Hats
For those sunny days, wide-brimmed hats offer not just shade but also a bold fashion statement. These require a bit more skill in shaping the brim but offer a fantastic way to showcase vibrant colors and intricate patterns.
Each style offers an opportunity to explore different crochet techniques, allowing you to experiment with yarn weight, hook size, and stitch patterns. Plus, think about how color choices can transform your hat’s appearance! Mixing and matching yarns can lead to breathtaking results that reflect your unique style.
As you create, don’t hesitate to personalize your hats with embellishments like pom-poms, flowers, or even beads. These little touches can turn a simple project into a one-of-a-kind accessory. Remember, the most important part is to enjoy the process. You can do this, and the more you create, the more your skills will flourish! So grab your yarn, pick a pattern, and let’s get crocheting!
Caring for Your Crochet Hat: Tips and Tricks
To keep your crochet hat looking fabulous and extend its lifespan, it’s crucial to master the art of caring for it. Hats endure plenty of wear as they’re often worn in various conditions, from chilly outdoor adventures to cozy indoor lounging. Whether your hat is a treasured handmade gift or a freshly crocheted piece, knowing how to properly wash, store, and maintain it will keep it in top shape for seasons to come.
- Washing: Most crochet hats can be gently hand washed. Use cool water with a mild detergent and avoid any harsh chemicals that could cause damage. After washing, squeeze out excess water without wringing or twisting the fabric, which can distort its shape.
- Drying: Always lay your hat flat to dry, reshaping it if necessary. Hanging or using a dryer may stretch out the fibers. If you’ve used wool or other delicate fibers, consider air drying in a shaded area to prevent fading.
- Storing: Store your hat in a cool, dry place, preferably in a breathable bag to keep dust away. Avoid hanging it, as this can lead to unwanted stretching. For those tightly packed places, a convenient trick is placing your hat upside down on a bowl to maintain its shape.
Additionally, consider the environment your hat will be exposed to. If you live in an area with extreme weather conditions or high humidity, it might require more frequent care. Checking for signs of wear-like pilling or fading-can help you decide when it’s time for a little TLC. And remember, for any decorative finishes, make sure they are securely attached but also removable if necessary to preserve the hat’s design during cleaning.
With these easy tips, you can care for your crocheted creations with confidence. Embrace the process of maintaining your hat as part of the joy of crafting. Your hats should not only look stunning but also last for years, so with a little care, you’ll always have that perfect accessory to complete your outfit. Keep crocheting and sharing your beautiful creations with the world-you’ve got this!
Enhancing Your Skills: Advanced Techniques for Hat Making
When it comes to crafting the perfect crochet hat, cinching and closing the crown isn’t just a finishing touch-it’s an art form that can take your project from simple to stunning. Mastering this technique opens up a world of possibilities, helping you achieve that polished look that makes your hats stand out. With just a few advanced methods in your toolkit, you can elevate your creations and showcase your knitting skills. The exciting part? You can absolutely do this, and I’m here to guide you!
To start off, consider the materials you’ll need for this technique. You’ll require a tapestry needle, the same yarn used for your hat, and a little bit of patience. It’s best to work with a worsted-weight yarn for a solid finish. The process is typically straightforward and can take about 15-30 minutes once your hat is ready.
Step-by-Step Technique
- Prepare Your Hat: Once your hat is fully crocheted, identify the last row of stitches. This is where you’ll begin your cinching process.
- Thread Your Needle: Using a tapestry needle, thread a long piece of yarn that’s about three times the diameter of your hat opening. This ensures you have enough length to gather the top seamlessly.
- Make Your Stitches: Insert the needle through the front loop of each stitch along the last row, working from one side to the other. Take care to keep your stitches evenly spaced for a uniform gather.
- Pull Tight: Once you’ve made your way around, gently pull on the yarn to tighten the opening. Adjust the gathers to your liking, creating a beautiful fullness at the top of your hat.
- Secure the Yarn: After you’ve achieved your desired shape, tie a secure knot at the top, being careful not to pull too tight, which could distort the fabric.
Finishing Touches
Now comes the fun part-adding your personal flavor! You can create a pom-pom for the top, attach a button, or even stitch on a decorative flower. These small additions can really showcase your creativity. If you’re feeling ambitious, explore layering different shades or textures of yarn for a unique finish.
This is your moment to shine! Experimenting with these advanced yet accessible techniques not only enhances your skills but also boosts your confidence in your crafting abilities. Remember, every project is a step forward on your crochet journey, so celebrate your progress and creativity every stitch of the way. You’ve got this!
Sharing Your Crochet Creations: How to Connect with Others
Sharing your crochet creations can be one of the most fulfilling parts of your crafting journey. It’s a chance not only to celebrate your hard work but also to connect with fellow makers who share your passion for crochet. Whether you’ve just cinched the top of your latest hat or you’ve mastered the technique, showcasing your projects can inspire others and allow you to learn new tips and tricks in return.
One fun way to start sharing is by joining online communities dedicated to crochet. Platforms like Instagram and Pinterest are fantastic for visual inspiration. Use hashtags such as #CrochetHat or #CinchTheCrown to reach like-minded creators. You can also find Facebook groups where crocheters exchange ideas, patterns, and advice. Don’t hesitate to share your finished hats, and be sure to include a brief story of your making process. Everyone loves to see the creativity involved, and your experience might just motivate someone else to take on a new project.
Connecting with others can also happen offline. Consider local crafting groups or crochet meet-ups in your community. Many yarn shops host events where enthusiasts gather to crochet and chat. These gatherings are excellent opportunities to show off your creations in person and exchange insights and techniques. Plus, you might discover new patterns or yarns that you hadn’t considered!
Lastly, consider starting a blog or vlog about your crochet experiences. Documenting your projects allows you to capture your journey, from the yarn selection to the final cinching. It’s a wonderful way to reflect on your progress and offers a platform for feedback and interaction with a broader crochet community. Remember, sharing isn’t just about showcasing your work; it’s about building connections and inspiring one another along the way. You absolutely can do this, and your creations deserve to be celebrated!
Inspiration: Creative Variations for Your Hat Design
Creating a crochet hat is not just about following a pattern. It’s a canvas for your creativity! Once you’ve mastered the technique of cinching the top of your hat, it’s time to explore unique variations that can make your project truly one-of-a-kind.
Consider experimenting with different yarn blends and textures for various effects. You might choose a soft, fluffy yarn for a cozy winter hat or a lightweight cotton blend for a summer accessory. Abstract color patterns, such as ombre or striping, can also radically change your hat’s appearance. Here are some ideas to spark your inspiration:
- Add a Brim: Incorporate a brim at the base of your hat for a stylish twist. You can crochet a wide flat brim for a sun hat or a smaller, subtle edge for a beanie.
- Layered Textures: Combine different stitches in your design. Try alternating between single and double crochet or adding in front and back post stitches to create depth.
- Funky Finishes: Don’t shy away from quirky additions like pom-poms, tassels, or even ears for a playful look!
Your hat can become a reflection of your personality. If you love floral designs, think about adding crocheted flowers or leaves as embellishments. This not only enhances the aesthetic but also allows you to practice various crochet techniques while having fun. Using contrasting colors for flowers can make them pop against the main hat color, elevating your design to a new level.
Lastly, take inspiration from different hat styles around the world. Explore berets, beanies, and bucket hats, then mix and match elements from each. You can achieve something magnificent by blending features from various patterns into your creation. Remember, there are no strict rules in crochet, and every twist you add brings you closer to a unique masterpiece that reflects your style. Dive in, and let your imagination lead the way-you can absolutely create something beautiful!
Frequently Asked Questions About Crocheting Hats
When it comes to crocheting hats, cinching the top to gather and close the crown can be one of the more intimidating tasks, especially for beginners. However, it’s a rewarding process that can lead to beautifully finished projects. Here are some frequently asked questions to help you navigate this technique with confidence.
- What is the best way to cinch the top of a hat? To cinch your hat, use a long length of yarn and thread it through the top loop of your last round. Tighten gently, pulling the yarn to cinch the fabric together. Secure it by tying a knot and weave in the ends for a seamless finish.
- How do I ensure the top of my hat is neat? Start by making sure your final round is not too tight. If you’re struggling to create an even gather, try using a larger hook for the last few rounds before cinching. This gives the fabric some extra flexibility.
- What if my hat is too tight or too loose? If your hat turns out too tight, consider using cotton yarn for a larger hook size to give structure without stiffness. Conversely, if it’s too loose, check your gauge and adjust your tension as needed, or consider adding a lining for added body.
- Can I decorate the top of the hat after cinching? Absolutely! Once you cinch the top, you can embellish it with pom-poms, crocheted flowers, or use decorative stitches to hide any imperfections, turning them into features.
Don’t worry if it feels a bit tricky at first; practice makes perfect! You can gradually improve your technique, and soon enough, you’ll be cinching like a pro. Plus, every hat you make is a chance to experiment and learn. Embrace the process, and before you know it, you’ll have a delightful collection of hand-crocheted hats that reflect your unique style. Keep crocheting and enjoy each moment of creativity!
Frequently asked questions
Q: How do you properly close the top of a crochet hat?
A: To close the top of a crochet hat, first, gather your last row of stitches using a yarn needle. Thread the needle with the yarn and pass it through each top stitch, pulling tightly to cinch the crown. Tie a secure knot to finish. For detailed steps, see the section on Techniques for Closing Your Crochet Hat.
Q: What is the best method for gathering the crown of a crochet hat?
A: The best method for gathering the crown is to use a yarn needle and thread it through the top stitches. Pull gently to gather the fabric, ensuring an even cinch. This method creates a neat and professional finish for your crochet hat’s crown.
Q: Can I use any yarn to cinch the top of my crochet hat?
A: Yes, you can use any yarn to cinch the top of your crochet hat, but it’s best to use the same yarn you used for the hat. This ensures color consistency and an even finish. Make sure the yarn is sturdy enough to handle the tension when pulling.
Q: What should I do if my crochet hat top does not gather evenly?
A: If your hat top does not gather evenly, check for any skipped stitches or uneven tension. You can also redo the gathering process, adjusting the tension as you pull the thread. For troubleshooting tips, refer to the Troubleshooting Common Crochet Hat Issues section.
Q: When is the best time to cinch the top of a crochet hat?
A: The best time to cinch the top is after completing the main body of the hat. Ensure all stitches are secure and you’re ready to close off the last row. This is typically the final step before finishing touches, like decorative finishes.
Q: Why is it important to cinch the top of a crochet hat?
A: Cinching the top of a crochet hat is important for achieving a finished look and maintaining the structure of the hat. It prevents the top from appearing floppy and ensures the hat fits snugly on the head. For further guidance, check the Step-by-Step Guide to Gather the Hat Top.
Q: What tools do I need for closing the crown of my crochet hat?
A: You will need a yarn needle and the remaining yarn from your project. A pair of scissors may also be helpful for trimming excess yarn after cinching the crown. These tools allow for precise gathering and finishing.
Q: Can I add embellishments after cinching the top of my crochet hat?
A: Yes, you can add embellishments after cinching the top. Options include bows, flowers, or beads to enhance your hat’s design. Check out the Adding Decorative Finishes to Your Hat section for creative ideas on embellishments.
In Summary
Congratulations on mastering how to cinch the top of your crochet hat! You’ve not only closed the crown but also added a personal touch to your handmade creation. Now, take your skills to the next level: why not explore our tutorials on making matching crochet scarves or fun amigurumi characters? Both projects are perfect for practicing your new skills and can spark your creativity further!
If you have questions or want to share your completed projects, leave a comment below-we love seeing what you create! Make sure to check out our beginner’s guide to crochet for more tips on mastering basic stitches or our library of over 175 free crochet patterns to keep your crafting journey exciting. Remember, every stitch you make brings you closer to becoming the confident crocheter you aspire to be. Happy crocheting, and see you in the next project!
Get our latest guides, news, and insights highlighted in your Google Search & AI Overviews.