
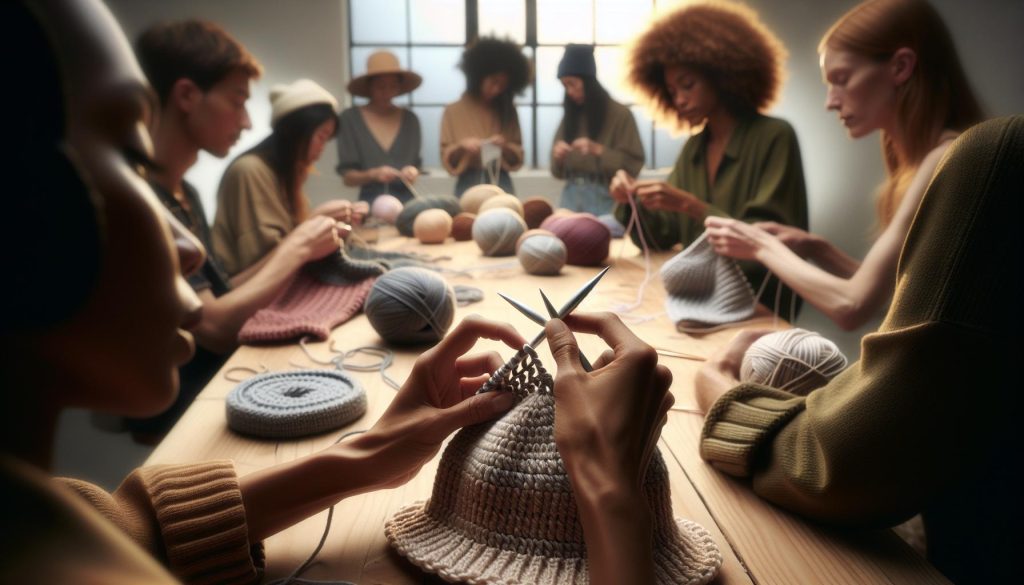
Have you ever wanted to add a personal touch to your favorite baseball cap? Crocheting the bill (or visor) of a hat is not only a fun way to express your creativity, but it also allows you to customize your look while enjoying a soothing craft. This project is perfect for crafters of all skill levels and provides a great opportunity to enhance your crochet skills while creating a functional accessory.
In this guide, we’ll walk you through the step-by-step process to crochet a bill for your hat, ensuring you gain confidence and a sense of accomplishment. You’ll learn about the materials needed, the techniques involved, and tips to make your project stand out. Whether you’re preparing for a sunny day outdoors or just want to add flair to your wardrobe, this technique is both achievable and rewarding. So grab your crochet hook, and let’s dive into this exciting project-because you can do this!
Choosing the Right Yarn for Your Crochet Bill Project
is crucial for achieving that perfect visor look while ensuring it stands up to wear. The yarn you select can impact not only the aesthetics of your hat but also its durability and comfort. As you embark on this creative journey, consider these key factors to find the best yarn for your baseball cap visor.
Start with the yarn weight. For a structured visor, a medium-weight yarn (usually a worsted weight, labeled as 4) works wonderfully. It provides the right balance of thickness and flexibility, allowing your visor to maintain its shape without being too heavy. However, if you prefer a lighter, breezier feel, go for a sport weight (3) yarn instead. Just remember, different fiber compositions can also affect the overall structure. Acrylic yarn is a popular choice due to its durability and ease of care, but a cotton or cotton blend can offer a softer, breathable finish that’s perfect for warmer weather.
When it comes to color and texture, the world is your oyster! Bold colors can make a vibrant statement, while subtle hues can create a classic look. Don’t shy away from experimenting with textures-consider mixing yarns, like combining a soft cotton yarn with a more rugged acrylic for visual interest. A variegated yarn can add depth to your design, making it visually striking without the need for complex stitches. Ultimately, choose what resonates with your personal style; after all, this is a project you’ll want to show off!
Before you dive into your project, it might be useful to swatch your chosen yarn. Create a small sample to see how it behaves with your hooks and stitches. This practice helps to confirm your gauge and gives you a sense of how the finished bill will look and feel. Once you’re comfortable, you’ll be ready to create a standout piece that’s not just a hat, but a reflection of your unique crafting spirit! So gather your materials, trust your instincts, and remember, you can do this!
Essential Tools for Crocheting a Baseball Cap Visor
To create a stunning crochet bill for your baseball cap visor, having the right tools is essential. With the correct supplies at hand, you’ll feel empowered to tackle this project, no matter your skill level! Start with the basics and build your toolkit to ensure you have everything needed right at your fingertips.
First and foremost, a good-quality crochet hook is your best friend. Depending on your chosen yarn weight, you’ll typically use a hook size ranging from 4mm to 6mm. Make sure your hook is comfortable to hold, as you’ll be using it quite a bit! Consider ergonomic hooks if you’re prone to hand fatigue. Alongside your hook, a pair of scissors is crucial for cutting yarn when necessary, and a yarn needle will help you weave in any loose ends for a polished look.
Another practical tool to enhance your crocheting experience is a measuring tape. This will assist you in keeping track of your project size and ensuring that your bill is the correct length. Additionally, stitch markers can be invaluable if you’re working with complex patterns or want to keep track of your rows. They make it easy to mark important points in your work, especially where increases or decreases occur.
Lastly, consider having a notebook or digital app handy to jot down notes and track your progress. This is particularly useful if you plan to personalize your visor or try new techniques. Documenting your adventure will not only keep you organized but also help you build on your skills for future projects. Remember, you can do this! Embrace the joy of creating and watch your unique crochet bill come to life. Each stitch you make brings you one step closer to a functional and stylish baseball cap visor!
Step-by-Step Guide: Crocheting the Bill of a Hat
Creating the bill of a baseball cap visor might seem daunting at first, but once you get the hang of it, you’ll find joy in every stitch. This part of your hat not only adds style but also provides function, helping to shield your eyes from the sun. Let’s break down this process into manageable steps so you can craft a bill you’ll be proud of!
Before you start, gather your materials. You will need your chosen yarn, a suitable crochet hook (typically 4mm to 6mm), a pair of scissors, a yarn needle for weaving in ends, and a measuring tape. If you’re looking for firmness in your bill, you can also consider using a bit of plastic canvas or a similar stiffening material.
Start by chaining a foundation row. Here’s a simple step-by-step guide to get you going:
Step-by-Step Instructions
- Chain the Foundation: Create a chain that matches the desired width of your bill, usually around 10-12 inches long, depending on how wide you want the visor to be.
- Row 1: Turn your work and single crochet into the second chain from the hook. Continue single crocheting across the chain until you reach the end.
- Row 2: Chain one and turn your work. Begin to create a series of half double crochets (HDC) across the previous row, which will give your bill some height. Work slightly more rows for a deeper bill-typically 5-7 rows should be sufficient.
- Shape the Bill: To add curvature, you can decrease your stitches as you reach the end of your final rows. This can create a sloped effect that mimics the shape of a traditional visor. For example, you can decrease by working two stitches together at the beginning and end of your row.
- Final Touches: Once you’ve reached the necessary shape and size, fasten off your work and shape the bill gently. Consider blocking it if you want to ensure the structure holds well.
Enhancing Your Project
Don’t forget, you can personalize your visor by incorporating different stitch patterns or colors. Try adding a contrasting color during certain rows to create stripes, or use a fun textured stitch to add some character.
The beauty of this process is that even if you’re new to crocheting, following these simple steps allows you to create something functional and unique. Each stitch is an opportunity to express your creativity, so have fun with it! Remember, you can do this-every hat is a testament to your skills and imagination. Enjoy your crafting journey!
Enhancing Your Skills: Advanced Techniques for Visors
When it comes to crafting a standout bill for your crochet hat, embracing advanced techniques can elevate your design from simple to stunning. These techniques may seem intimidating at first glance, but they offer a fantastic way to explore your creativity while honing your skills. Plus, you’ll be pleasantly surprised by how rewarding it is to tackle new challenges!
Start by experimenting with different types of stitches to achieve unique textures and visual effects. For example, using the crab stitch (reverse single crochet) along the edges of your bill can create a beautiful, twisted border that adds personality. You might also consider integrating bobble stitches intermittently to introduce a playful pop of dimension. These small alterations can transform your visor into a true statement piece.
In addition to stitch variety, color play can significantly enhance your project. Consider incorporating a gradient or variegated yarn that subtly shifts shades as you crochet. This adds depth and visual interest to your visor, making it a topic of conversation. If you’re feeling adventurous, try using the Fair Isle technique to knit in designs or patterns that contrast with your main color. It’s a perfect way to tell a story or showcase your style through your crochet.
Lastly, don’t underestimate the importance of blocking your finished bill. This technique improves the structure and shape, ensuring your visor looks polished and professional. Blocking helps even out any discrepancies in tension and gives your piece a finished quality that you can be proud of. So, gather your supplies, step outside your comfort zone, and enjoy the process-each stitch brings you closer to creating a masterpiece that reflects your personal touch. Remember, you can do this!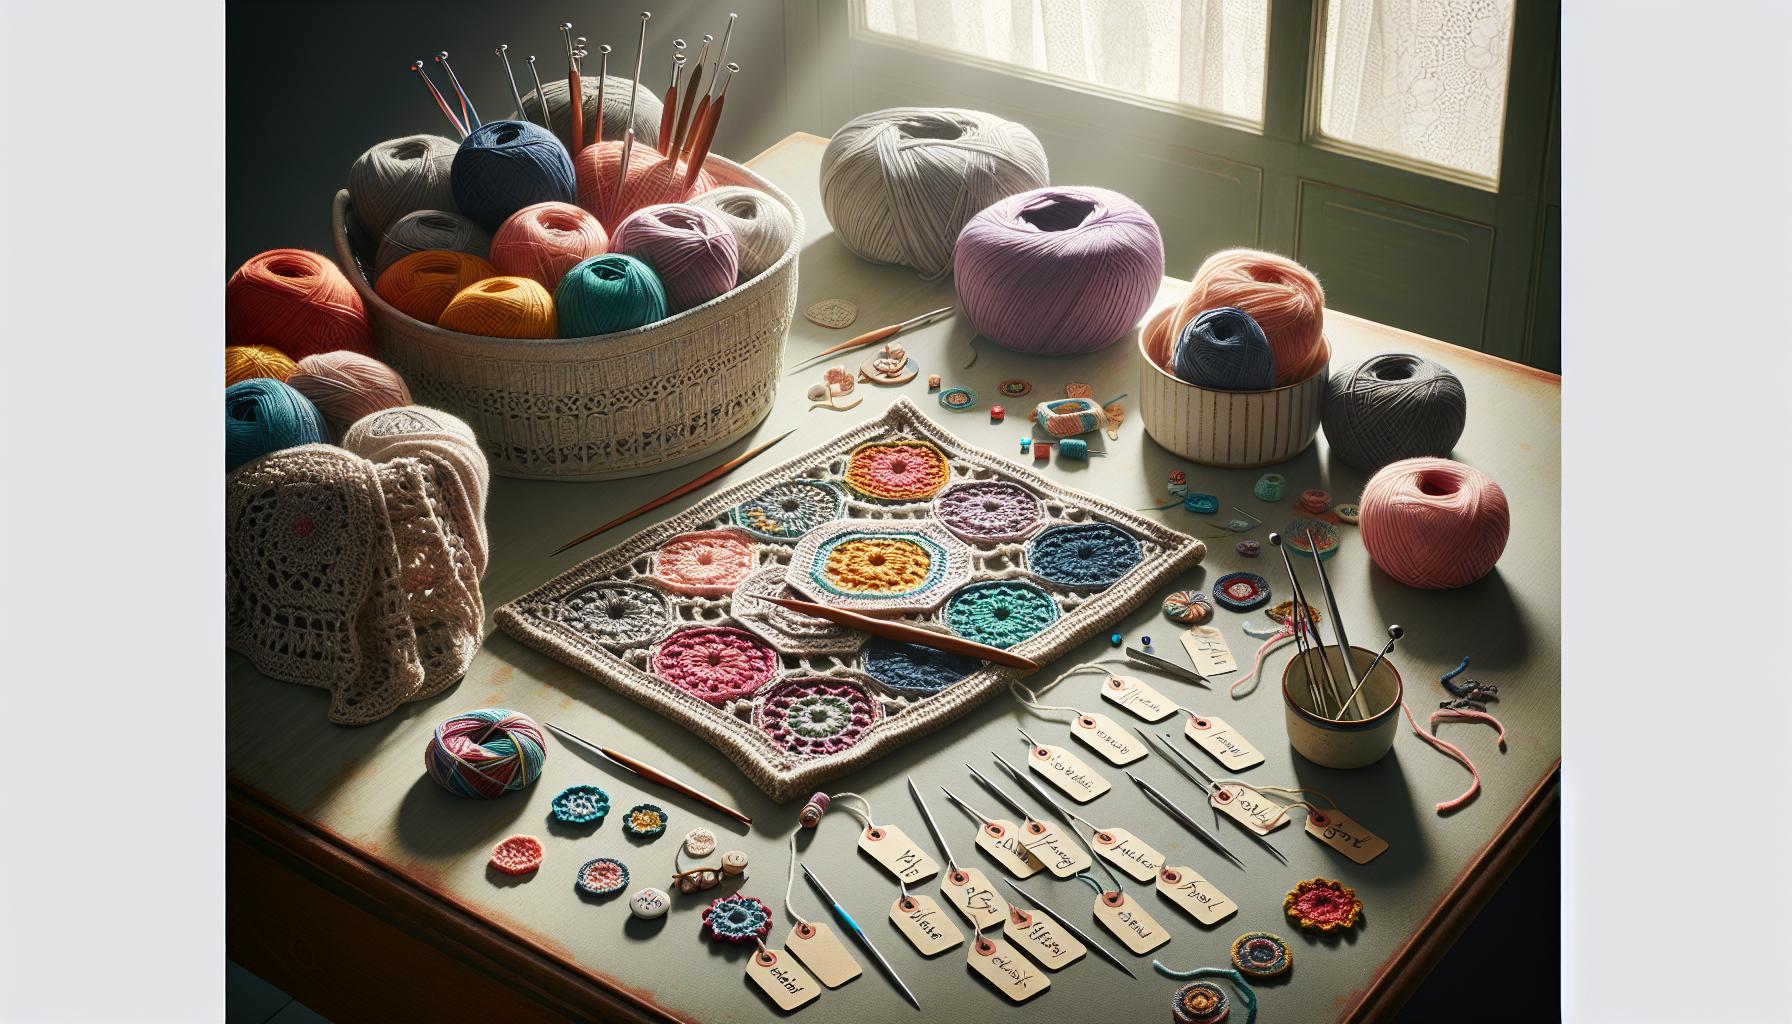
Adding Unique Designs: Personalize Your Crochet Bill
Crafting a personalized crochet bill for your hat is an exciting way to express your creativity and style. With just a bit of imagination and a few easy techniques, you can create a unique piece that truly stands out. Whether you’re new to crochet or an experienced maker, adding special designs allows you to showcase your personality while enhancing the visual appeal of your project.
Start by considering color combinations. Using multiple colors can create stunning effects. You could opt for a solid base color and add contrasting stripes or even a fun polka-dot pattern. If you’re feeling adventurous, explore gradient yarns that transition seamlessly from one hue to another. This clever choice can give your visor an eye-catching depth that draws attention. Try experimenting with a mixture of brighter shades for a playful summer cap or earthy tones for a cozy fall look.
Now, let’s talk about stitch techniques. There’s no need to stick to standard stitches; this is your chance to go wild! Incorporating puff stitches or alternating rows of double crochet and single crochet can create varied textures that enhance the overall design. Don’t shy away from adding embellishments like crocheted flowers or appliques. A small flower sewn onto the side of your bill or some embellished edges can transform an ordinary hat into something truly special. Plus, these techniques are accessible to all skill levels-if you can manage a basic stitch, you can branch out into more intricate designs at your own pace.
Finally, remember that the finishing touches can make all the difference. Consider using buttons, beads, or even embroidery to personalize your creation more. Each little addition tells a story and brings a unique flair to your crochet bill. Keep in mind that the best part of crocheting is the ability to make it your own-you set the rules! So grab your yarn, pick up your hook, and dive into the world of personalized crochet; you’re going to love every minute of it. You can do this!
Troubleshooting Common Mistakes in Visor Crocheting
When you’re getting into crocheting a visor for your hat, it’s completely normal to run into a few bumps along the way. The good news? Most mistakes are easily fixable or can be avoided with a bit of foresight. Let’s dive into some common issues you might encounter and how to troubleshoot them effectively.
One of the most frequently faced challenges is uneven tension. It’s essential to keep your stitches consistent, as uneven tension can lead to a bill that rolls or bows in unexpected ways. If you notice this happening, take a moment to assess how tightly you’re holding your yarn and hook. Loosen up a bit, if necessary! Additionally, consider using a different size hook for specific areas of your project. A smaller hook can help tighten stitches if they are too loose.
Another common hiccup is miscounting stitches, which can drastically alter the size of your visor. To avoid this, employ a few handy techniques: use stitch markers to keep track of your counts, and regularly pause to count your stitches every few rows. If you find you’ve miscounted after some rows, you can backtrack and undo the stitches gently, or you can adjust the rest of your project to maintain symmetry. It’s a part of the creative journey, and you’ve got this!
Color transitions can also be a source of frustration. If your yarn changes don’t flow well together or if you aren’t satisfied with the color changes, don’t hesitate to experiment! Before starting your final project, try making small swatches using your chosen colors to see how they work together. Sometimes, a little swatch can save you from a big mistake later on in your actual project.
If your visor ends up being too floppy or lacks structure, consider the stiffness of your yarn. Some yarns are naturally softer and may not hold their shape as desired. You might want to try using a cotton blend or a yarn with a bit more structure. Additionally, adding a lining or interfacing can give your visor that professional touch.
Finally, if your finished bill doesn’t quite fit the hat as expected, don’t despair! You can use a flexible laundry tape measure to check your measurements while crocheting. Rather than relying solely on gauge swatches, measuring while you crochet ensures that your visor fits perfectly. Remember, every mistake is just a lesson in disguise. Embrace the process, keep experimenting, and soon you’ll be creating visors that are not just functional but also fabulous! You can do this!
Finishing Touches: Attaching Your Visor to the Hat
Attaching your crocheted visor to your hat can feel like the final puzzle piece clicking into place. This step not only secures the bill but also showcases your hard work and creativity. Let’s dive into the best practices to ensure a seamless attachment that makes your handmade hat shine!
Start by laying your hat flat on a clean surface, ensuring that the crown is held securely. Next, take your crocheted visor and align it with the front of the hat. It’s important that you center the visor to maintain balance. To help achieve this, you might want to pin it in place with some small clips or stitch markers. This will allow you to visualize how it looks before you make any permanent decisions.
Once you’re satisfied with the alignment, grab a length of yarn that matches your hat. Using a yarn needle, begin by sewing the visor to the hat, working through both the top of the visor and the base of the hat. Use a simple whip stitch that goes through both layers, spacing your stitches evenly-this helps reinforce the structure and gives your visor a polished finish. Aim for about 1/4 inch between each stitch for a neat appearance.
When securing the visor, take care to not pull too tightly; you want to avoid distorting the shape of the bill. As you work, periodically check the fit to ensure the visor remains straight and securely attached. Once you reach the ends, tie a strong knot on the inside of the hat, and weave in any loose ends using your yarn needle. Voila! You’ve successfully attached your visor, making your hat not only functional but fabulously stylish.
To enhance the final look, consider adding a touch of flair. You could use a contrasting yarn for stitching that pops or personalize it with a decorative button or applique. Remember, this is your creation, and every little detail adds to its charm.
Now proudly wear your unique hat or gift it to someone special-how rewarding is that? You’ve not only completed a beautiful project but refined your skills along the way. Keep creating, because you can absolutely do this!
Exploring Different Styles: Visor Shapes and Variations
Choosing the right shape for your crochet visor can transform your hat from ordinary to extraordinary! Visor styles not only reflect your personal flair but also serve different functional needs. Whether you’re crafting a classic baseball cap, a trendy sun hat, or something entirely unique, exploring styles enables you to make informed choices tailored to your project goals.
Common Visor Shapes
There are several popular shapes to consider when crocheting your visor:
- Straight Visor: This simple and traditional shape extends directly from the front of the hat. Great for a clean, sporty look!
- Curved Visor: Known for its classic charm, this shape arches slightly, providing a stylish silhouette while offering better sun protection.
- Wide Brim Visor: Perfect for sun hats, this wider option provides extra shade and can give a whimsical touch to your designs.
- Pointed Visor: A fun alternative, it adds an edgy flair, making it perfect for trendy designs or themed hats.
Each style presents a different challenge, so choose one that excites you and fits your skill level. For beginners, starting with a straight visor may be less intimidating. As you gain confidence, exploring curved and unique shapes will help you build your skills and showcase your creativity.
Personalizing Your Visor Design
Adding your unique spin to these basic styles allows for endless creativity! Here are some ways to give your visor that special touch:
- Color Choices: Use contrasting colors for the visor and the hat for a bold statement, or go for a gradient effect for a more subtle look.
- Textures: Combine different crochet stitches to create texture-think bobbles, shells, or lacy patterns that stand out.
- Embellishments: Consider adding appliqués, embroidery, or buttons to enhance the style. Personal touches can reflect your personality or the theme of the hat.
Remember, the beauty of crochet is in the details. By playing with shapes and adding your creative flair, you can craft a visor that truly represents you. No matter what style you choose, the most important part is to enjoy the process and embrace every stitch. You’ve got this, and your next crochet project will surely turn heads!
Caring for Your Handmade Crochet Hat
Taking care of your handmade crochet hat not only keeps it looking great but also ensures it lasts for many seasons to come. Just like any special garment, a little TLC can make a world of difference. Whether you’ve crafted a classic baseball cap visor or a trendy sun hat, proper care helps to maintain the integrity and appearance of your hard work.
To start, always check the care instructions based on the yarn you used. Some materials, like cotton or acrylic, can withstand machine washing, while others-such as wool-may require a more gentle approach. Here are some simple steps to keep your cap in prime condition:
- Hand Washing: For most crochet hats, especially those made from delicate fibers, hand washing is the safest option. Use cool water and a mild detergent, gently rubbing the fabric to remove dirt without stretching or distorting its shape.
- Air Drying: After washing, reshape your hat and lay it flat to dry. This prevents any misshaping that can occur from hanging it up or using a dryer. Avoid direct sunlight which can cause colors to fade.
- Dealing with Stains: If you encounter stains, spot cleaning with a little diluted detergent can work wonders. Act quickly, and be gentle to avoid damaging the stitches.
For storage, consider placing your crochet hat in a breathable bag or on a hat stand to maintain its shape. Avoid crushing it between other items in your wardrobe, which could lead to unwanted creases or squishing. Additionally, if you live in a dusty area, a protective cover can keep your cap clean and fresh until you’re ready to wear it again.
Lastly, always handle your crochet hat gently as you wear it. Regularly check for loose threads or stitches, and if any issues arise, make small repairs to extend its life. Remember, your cap is not just an accessory-it’s a piece of your creative journey, and with a little love and care, it will continue to be a statement piece for years to come. Enjoy showing off your beautiful work knowing it’s well taken care of!
Sharing Your Creation: Tips for Showcasing Your Hat Online
When you’ve finished crafting your crochet hat with a stylish bill, sharing it online is a fantastic way to connect with fellow crafters and showcase your handiwork. Whether you’re a seasoned maker or just starting out, there’s nothing quite like the buzz of showing off a project you’re proud of. The key is to capture your creation in a way that truly reflects the love and effort you’ve put into it. Here are some tips to help you present your crochet hat in all its glory!
Start with great photography. Good lighting is crucial-try to take your photos in natural light for the best results. Position your hat in an uncluttered background, perhaps against a wall or on a simple table. Experiment with different angles to highlight unique features like stitching patterns or the shape of the bill. You can even style the hat on a model or a mannequin to give it a real-life context. Don’t forget about fun shots too! Capture your hat in use: outdoors, at a café, or during a casual family gathering.
Next, tell a story with your post. Alongside your photos, share a bit about your crafting journey. What inspired you to crochet this particular hat? Did you face any challenges while making it? These personal touches make your post relatable and engaging. You might include details about the materials you used or notes on your design process, which can inspire others. Plus, questions at the end of your post can invite interaction. Ask for feedback or suggestions-this can foster a sense of community among your followers.
Lastly, don’t forget about hashtags and tags. Using relevant hashtags like #CrochetHat or #HandmadeFashion can greatly increase your post’s visibility. Tagging crochet-related accounts can also draw attention from like-minded individuals who might appreciate your work. Platforms like Instagram, Pinterest, and Facebook are fantastic for sharing visual content, so take advantage of them.
With these tips, you’re not just showing off a hat; you’re sharing a piece of your creativity and connecting with a community that appreciates the art of crocheting. So go ahead, snap that photo, and let the world see your amazing crochet talent!
Crochet Visor Patterns: Where to Find Inspiration
When it comes to finding inspiration for your crochet visor projects, the world of creativity is virtually limitless. The key to crafting a unique crochet bill lies in exploring diverse styles, patterns, and techniques that resonate with your personal flair. Whether you prefer a classic baseball cap feel or something more avant-garde, there are resources galore waiting to spark your imagination.
Start by exploring a variety of crochet pattern websites. Some popular online destinations feature extensive databases of free patterns, tailored specifically for visors and hats. Websites like Joy of Motion Crochet and LoveCrafts offer abundant choices, ideal for all skill levels. You can filter projects by difficulty, which is especially helpful if you’re looking to level up your skills or experiment with advanced techniques. Don’t forget to check out community forums on platforms like Ravelry, where fellow crafters share their creations and you can gain insights into new stitches and styles directly from those in the know.
Visual platforms like Pinterest and Instagram serve as fantastic wells of inspiration, showcasing projects from enthusiasts around the globe. Search for hashtags like #CrochetVisor or #CrochetHat to stumble upon a treasure trove of ideas. These platforms allow you to see how others have personalized their visors, integrating color combinations, unique stitch patterns, and embellishments. Take notes on what catches your eye, whether it’s a clever use of color or a fun motif, and use these ideas to fuel your own creative process.
Always remember, the most important aspect of your crochet journey is to enjoy the process. Feel free to mix and match patterns, add your own twists, and let your creativity shine. You can do this! Embrace the artistic journey, and don’t hesitate to share your evolving ideas with friends or in online communities. Who knows? Your next unique visor design might just inspire someone else to start their crochet adventure!
Level Up: Transitioning to More Complex Crochet Projects
Once you’ve mastered the basics of crocheting a bill for your hat, it can be thrilling to dive into more complex projects that not only challenge your skills but also allow for creative expression. Transitioning to intricate designs or techniques is like unlocking new levels in a game-each new challenge enriches your crochet journey and boosts your confidence. If you’re ready to level up, here’s how to approach complex crochet visor patterns and designs.
Expanding Your Skills
To tackle more advanced projects, it’s crucial to understand the materials and stitches that will elevate your work. Consider exploring new yarn types such as cotton blends or specialty fibers that offer differing textures and drapes. You might also want to experiment with different hook sizes to see how they affect the fabric’s outcome.
Here’s a handy tip: choose a project that incorporates a mix of stitches-like combining double crochet with puff stitches or cluster stitches. This approach not only makes your piece visually interesting but also enhances your skill set. For example, creating a visor with a ribbed border can help you practice back-and-forth rows, adding depth and versatility to your repertoire.
Advanced Techniques to Consider
When you’re ready for more intricate patterns, think about implementing techniques like colorwork or textured stitches. Colorwork can transform a simple visor into a bold statement piece, while textured stitches create a tactile experience that’s delightful to touch and wear. A skillful way to practice would be to create a two-toned bill, where you switch colors mid-project, keeping the transitions smooth and intentional.
- Incorporate cables: Learn to crochet basic cables to give your visor a knit-like texture.
- Explore lace accents: Lacy details can add an airy touch to your visor, perfect for summer hats.
- Integrate unique embellishments: Add flowers, buttons, or patches that reflect your personality.
You’ll find that these complexities not only hone your crochet skills but also inspire confidence. Remember, these elevated projects might take more time, but that’s part of the joy! Celebrate each completed section as a mini milestone on your larger crafting adventure. And don’t forget-every expert was once a beginner. So gather your materials, set aside some time, and get ready to create something amazing. You can do this!
Frequently Asked Questions
markdown
Q: What materials do I need to crochet a bill for a baseball cap?
A: To crochet a bill for a baseball cap, you'll need yarn (preferably with some stiffness), a crochet hook that matches your yarn size, scissors, and a yarn needle for weaving in ends. Consider using a more durable yarn like cotton or acrylic for a structured finish.

Q: How long does it take to crochet a visor for a hat?
A: The time to crochet a visor for a hat can vary based on your skill level and the complexity of the design. Generally, it takes 1 to 3 hours for most beginners to complete a basic visor. Plan accordingly and enjoy the process!

Q: Can I add embellishments to my crocheted bill?
A: Absolutely! You can enhance your crocheted bill with embellishments like buttons, embroidery, or even beads. For best results, add these after finishing the bill and securing all ends. Check the section on Adding Unique Designs in your article for more ideas.

Q: What stitch patterns work best for a hat visor?
A: Popular stitch patterns for a hat visor include single crochet, half double crochet, and shell stitches. Each creates a different texture, with single crochet providing a tight and sturdy feel, which is perfect for a baseball cap visor.

Q: How can I adjust the size of my crocheted bill?
A: To adjust the size of your crocheted bill, simply increase or decrease the number of stitches in your foundation chain and subsequent rows. For customization, refer to the Step-by-Step Guide section for tips on measuring and fitting.

Q: Are there common mistakes I should avoid when crocheting a bill?
A: Yes, some common mistakes include using the wrong yarn type or hook size, not counting stitches carefully, and underestimating the need for structure. Refer to the Troubleshooting Common Mistakes in Visor Crocheting section for details on how to avoid these pitfalls.

Q: Where can I find crochet visor patterns for inspiration?
A: You can find crochet visor patterns in various crafting magazines, online crochet platforms, and community blogs. Exploring the Crochet Visor Patterns section of your article can also provide many fresh ideas and links to great resources.
To Conclude
Congratulations on mastering the crochet bill technique for your baseball cap! Now that you’ve learned how to create a functional and stylish visor, it’s time to put your newfound skills to the test. Don’t hesitate to experiment with different colors or patterns to make your cap truly unique. Remember, crafting is all about creativity and personal expression-you’ve got this!
If you found this guide helpful, check out our tutorials on crocheting different hat styles and embellishments to elevate your projects even further! Explore our collection of free crochet patterns to keep your crafting journey going strong. And don’t forget-subscribe to our newsletter for exclusive tips and new patterns straight to your inbox!
Share your creations with us in the comments or on social media; we love to see what you make! Keep crocheting, and happy crafting!
Get our latest guides, news, and insights highlighted in your Google Search & AI Overviews.