

Crocheting a birthday hat is a delightful way to add a personal touch to celebrations, not to mention it’s a fun project for crafters of all skill levels! This celebration cone pattern is easy to follow and can be customized in vibrant colors to suit any birthday theme. Whether you’re preparing for a child’s party or adding a whimsical accessory for an adult celebration, this crochet project allows you to showcase your creativity and thoughtfulness. Imagine the smiles as you place a handmade hat on someone special’s head-the joy of gifting something you’ve made is truly wonderful! Ready to dive into this engaging craft? Grab your yarn and hooks, and let’s get started on creating a charming centerpiece for any birthday bash. You can do this!
Understanding the Celebration Cone Pattern for Hats
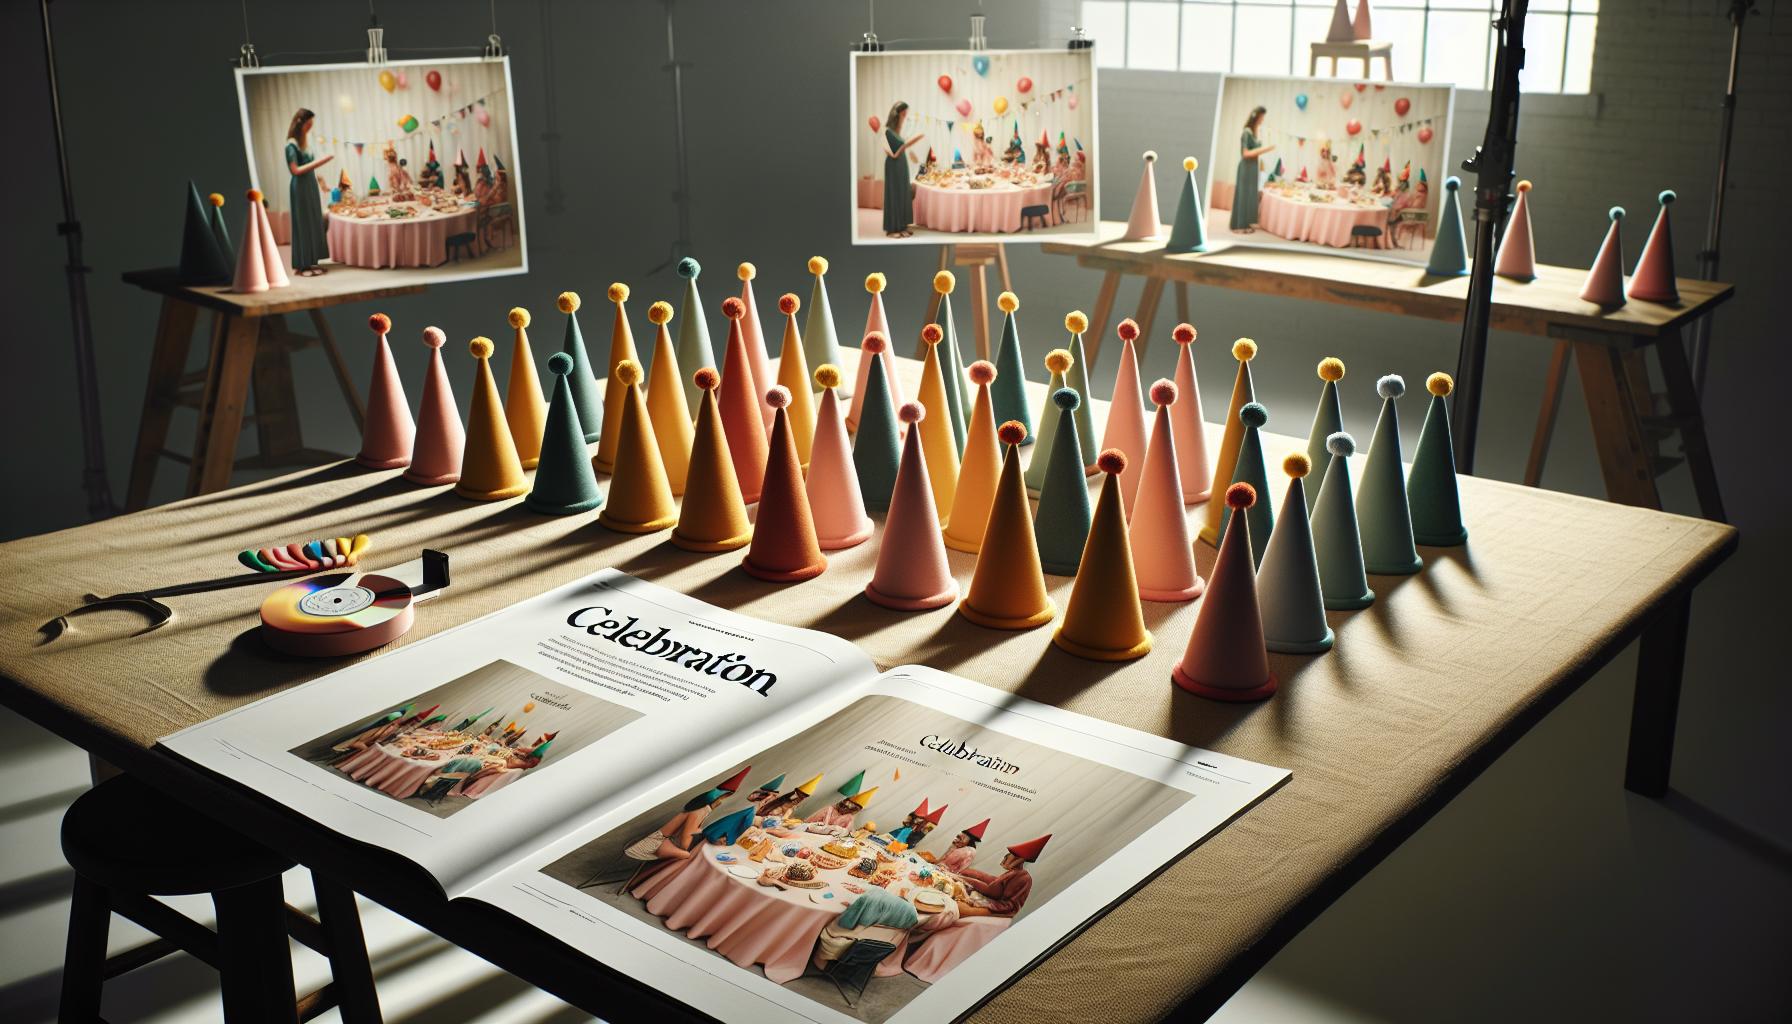
To create a delightful birthday hat, understanding the Celebration Cone pattern is essential. This fun and vibrant design not only encapsulates the joy of celebrating special moments but also offers a straightforward construction method that beginners can easily grasp. The design mimics a whimsical cone shape, reminiscent of traditional party hats, making it a festive choice for any birthday gathering. By incorporating a few basic crochet stitches, you can achieve this playful look that will surely light up any party!
The Celebration Cone pattern is typically worked in rounds, which provides a seamless and polished finish. Most patterns will start with a simple foundation chain that forms the base, followed by increasing rows to expand the diameter to the desired size. Depending on the thickness of your yarn and the hook you use, you may find that this project can be completed in just a couple of hours, giving you a quick win that builds confidence in your crochet skills.
As you begin, don’t forget to check your tension to ensure that your hat fits comfortably once completed. Using a combination of basic stitches, often single crochet and double crochet, creates a sturdy fabric that holds its shape beautifully. If you’re looking to personalize your hat, consider customizing the length of the hat as you crochet, allowing you the freedom to create a shorter, more whimsical cone or a taller, more traditional party hat style.
With each stitch, you’re not just making a hat, but also crafting a piece of joy that celebrates the special moments in life. So gather your materials and get ready to enjoy the process-it’s a fun project you can complete with ease, and the end result will bring smiles to all who wear it!
Essential Materials for Crocheting a Birthday Hat
Gathering your materials is a crucial step toward crocheting a charming birthday hat that everyone will adore. The right tools and supplies not only set you up for success but also make your crafting journey enjoyable. Whether you are a seasoned artisan or embarking on your very first crochet project, having the essentials at hand is the key to unlocking your creativity.
To jump-start your birthday hat project, you’ll need the following materials:
- Yarn: Choose a medium-weight yarn (worsted weight) for your hat. Popular options include acrylic or cotton blends. You will need about 100-150 yards. Pick fun, festive colors or patterns to match the celebration!
- Crochet Hook: A 5 mm (H/8) crochet hook is typically ideal for medium-weight yarn. If you’re using a thicker yarn, you may want to go for a larger hook.
- Scissors: A good pair of scissors is essential for snipping yarn and finishing off your project neatly.
- Tapestry Needle: This tool is great for weaving in ends and sewing any embellishments onto your hat.
- Stitch Markers: Helpful to keep track of rounds, especially if you’re using a stitch pattern that increases in size.
- Measuring Tape: Useful for ensuring your hat fits perfectly, whether you’re making it for a child or an adult.
Once you have gathered your materials, set aside a cozy spot to create. The crochet process can be wonderfully relaxing, so don’t hesitate to personalize your workspace with your favorite crafting supplies nearby. A good light source can also help you see your stitches clearly, especially if you’re working with darker yarns.
This project is perfect for beginners and can usually be completed in just a few hours, making it a rewarding pastime that celebrates creativity and craftsmanship. Don’t be afraid to experiment with colors and textures-in the world of crochet, your possibilities are limitless. Happy crocheting, and remember, with each stitch, you’re not just crafting a hat; you’re creating a cherished memory for someone special!
Step-by-Step Guide: Start Your Birthday Hat
There’s something so special about creating a birthday hat that embodies the joy of celebration. With the Celebration Cone Pattern, you’ll craft a fun, festive headpiece that’s perfect for parties, photographs, or just to bring smiles to your loved ones. This project is beginner-friendly, typically taking just a few hours from start to finish. So grab your yarn and let’s get started!
To begin, make a magic ring with your yarn. This will serve as the base of your hat. If you’re unfamiliar with the magic ring technique, it allows you to start crocheting in the round without leaving a hole in the center. After creating the magic ring, chain 2 to begin your first round. You’ll then work double crochets into the ring-about 10-filling it up nicely. Pull the tail of the yarn to close the circle, and don’t forget to slip stitch into the top of your first DC to join the round.
Next, you’ll want to increase your stitches for the cone shape. In the following round, start by chaining 2 again, then double crochet (DC) into the same stitch. This time, alternate between one double crochet in the next stitch, then two in the following stitch. Repeat this pattern around the circle, which will give you a larger base. Continue increasing in this manner for several rounds until your hat reaches the desired width, which is usually about 6-8 inches across for a child-sized hat.
Once your hat has achieved the desired diameter, it’s time to work on the body of the hat itself. For the next rounds, you will simply crochet one double crochet in each stitch around until the hat measures about 7-10 inches in height, depending on the size you’re aiming for. When it’s long enough, finish off your work by cutting the yarn and pulling the end through the last stitch to secure it.
Congratulations! You’re well on your way to creating a delightful birthday hat that will be cherished for years to come. Keep your creativity flowing as you personalize your project with colors and embellishments that truly make it your own!
Stitch Techniques and Patterns for Your Hat
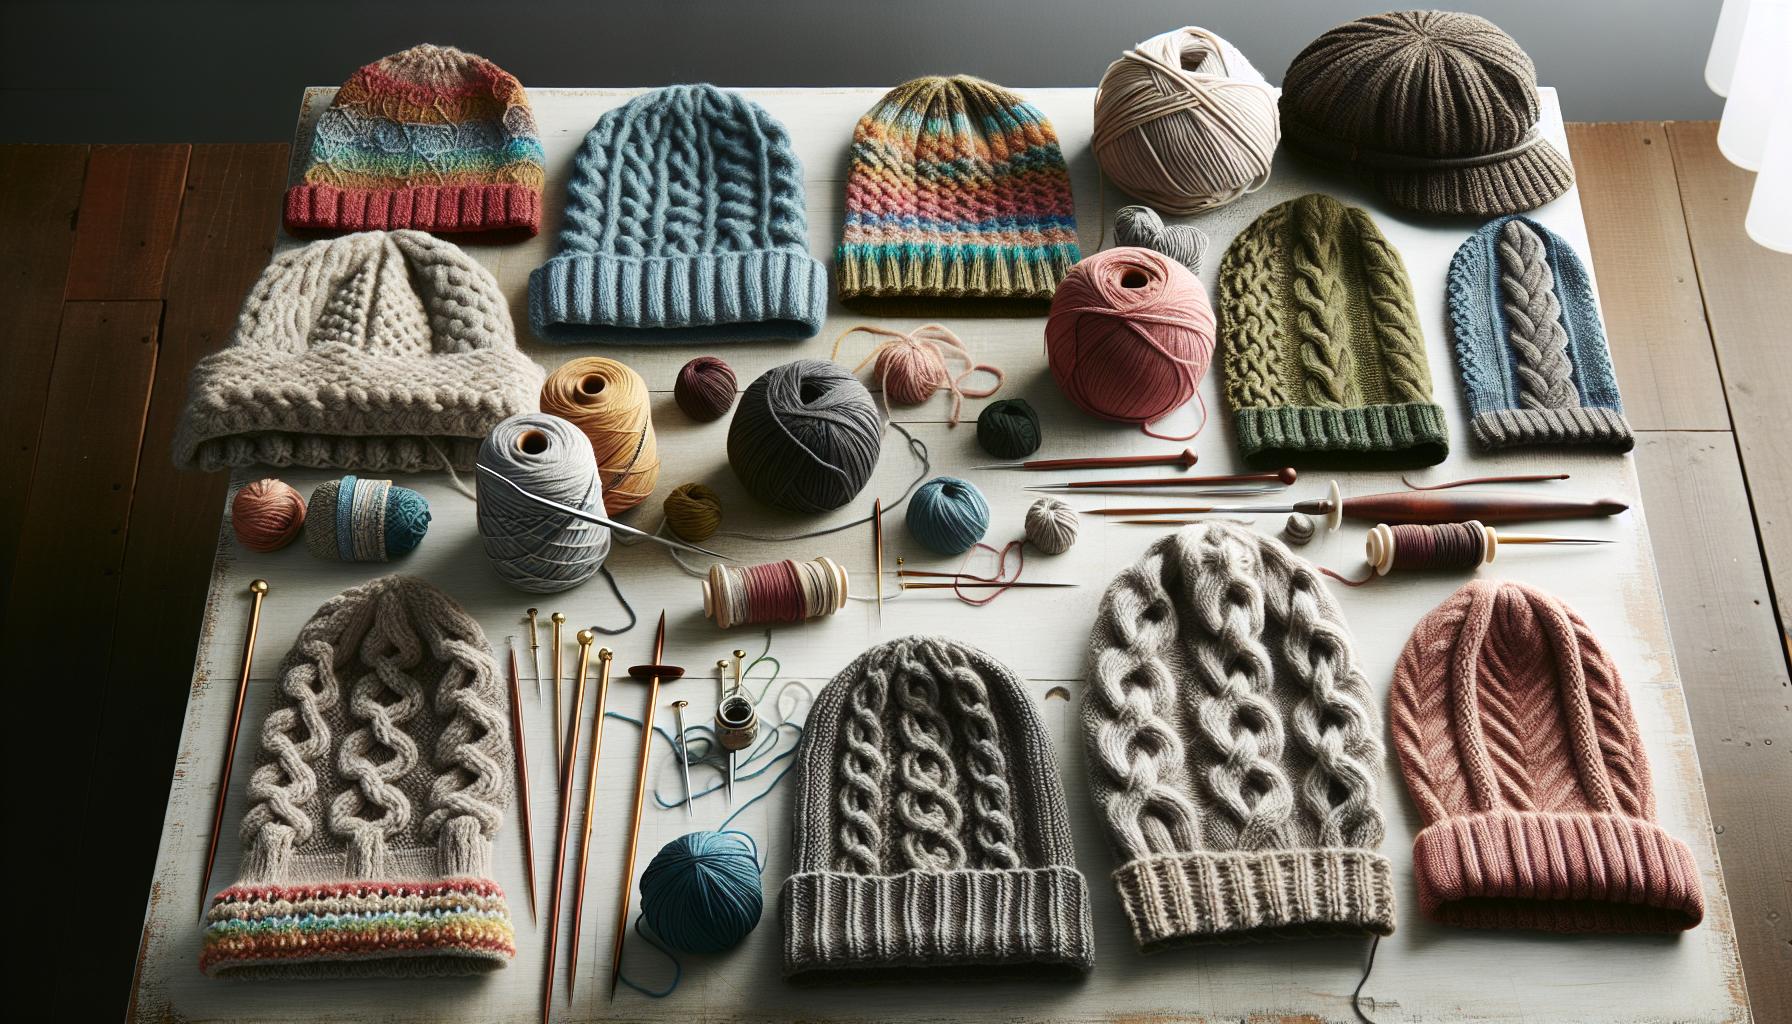
Crafting the perfect birthday hat using the Celebration Cone Pattern combines creativity with fundamental crochet techniques that will elevate your project. Understanding the right stitch techniques not only helps your hat take shape but also allows for personalized flair that reflects the fun of any birthday celebration.
The foundation of your birthday hat lies in mastering a few essential stitches. The double crochet (DC) is your primary stitch, providing a cozy and slightly airy texture perfect for festive headwear. As you increase your stitches to form the cone shape, it’s beneficial to understand the concept of stitch counts. You will typically begin with 10 DC in your magic ring and gradually increase by alternating single and double crochet stitches in each round. This method helps create a structured base that expands as you crochet upwards.
Additional Stitch Techniques to Enhance Your Hat
- Half Double Crochet (HDC): For a textured look and softer feel, experiment by integrating half double crochets in certain rounds. This stitch creates a snugger fit, perfect for keeping the hat secure.
- Slip Stitch (SL ST): Use slip stitches to join rounds smoothly, especially when transitioning to a different color or embellishment. This technique ensures that your transitions look clean and professional.
- Single Crochet (SC): For the hat’s brim or edge, single crochet provides a tighter finish that keeps the style crisp and defined. It’s also an excellent choice for adding a decorative border.
Don’t be afraid to mix and match techniques! For instance, you might start with DC for the main body of the hat and switch to HDC near the top for a unique texture. Each variation adds depth and character to your crochet project, allowing you to customize your hat further.
Patterns and Ideas for Personalization
Using the basic cone shape as your foundation, the possibilities are endless! Here are a few ideas to inspire you:
- Striped Patterns: Alternate colors every few rows to create fun stripes. This simple technique can transform a single-tone hat into a vibrant statement piece.
- Embossed Patterns: Incorporate basic stitch patterns like shells or clusters to create texture. For instance, a row of shell stitches can outline the edge beautifully, giving it a delightful finish.
- Color Blocks: Consider creating blocks of color by changing yarn mid-round. This can create a playful and modern look that suits any birthday theme.
Embrace your creativity and don’t hesitate to try new stitches or patterns. Remember, it’s all about expressing joy through your crafting. You can absolutely do this, and your unique birthday hat will bring smiles and laughter to all celebrations!
Customizing Your Hat: Sizes and Styles

When crafting a birthday hat with the Celebration Cone Pattern, embracing customization is key to making a unique piece that reflects the birthday celebration spirit. One of the most significant advantages of crocheting your hat is the flexibility to adjust sizes and styles to fit any individual, regardless of age or head size. It’s an empowering experience to create a hat that’s perfectly suited to your vision and the recipient’s style!
To start, measure the head circumference of the person who will be wearing the hat. This simple step can be done with a soft measuring tape. Once you have the measurement, you can adjust your starting chain to achieve the perfect fit. For instance, if the standard circumference of your pattern is 20 inches, and you want to fit a child’s head at 18 inches, decrease the initial chain by about 1-2 inches. Remember, as you crochet upward and the hat takes shape, you’ll add stitches for the cone, so it’s easy to accommodate varying head sizes.
Exploring Styles
In addition to size adjustments, stylistic choices can transform your finished hat from basic to extraordinary. Consider the following elements to play with:
- Brim Variations: The brim can be an integral part of your hat’s personality. Adding a wide, floppy brim can give a whimsical look, while a tighter, more structured edge can maintain a cleaner and more modern aesthetic.
- Height Adjustments: If you prefer a shorter hat, simply reduce the number of rows you crochet. Conversely, add a few extra rows for a more dramatic cone shape. This flexibility allows you to customize the look while ensuring it remains practical for the wearer.
- Neckline Integration: For some festive flair, consider integrating a neckline piece or a collar fashion that can add depth and texture to the hat. This can make a simple project feel much more elaborate and personalized.
Don’t hesitate to experiment with different yarns, as that alone can dramatically change the hat’s appearance. Using chunky yarn can create a bold, cozy hat, while sport-weight yarn lends itself to a lighter, airy feel.
Ultimately, the joy of crocheting your own birthday hat is not just in the finished product but in the process of making something special. You can mix and match these ideas to create a unique celebration hat that showcases your personal touch and creativity. Remember, you can do this, and the recipient will treasure the thought and effort you put into every stitch!
Adding Fun Embellishments to Your Birthday Hat
There’s nothing like adding some fun embellishments to truly make your crochet birthday hat a standout piece! Whether it’s a festive pom-pom, cheerful appliqués, or even a jaunty ribbon, these little additions can elevate your project to a spectacular celebration accessory. The best part? You don’t need to be a crochet pro to pull off these delightful details!
Start with some vibrant yarns that complement your main design. For instance, contrasting colors for pom-poms and embellishments can make them pop against the base color of your hat. To create a pom-pom, cut several strands of yarn about 6-8 inches long, bundle them together, and tie them in the center. Then, trim the ends to achieve that fluffy look. Securely stitch the pom-pom to the top of your hat for a playful touch!
Appliqués are another fabulous way to personalize your creation. Whether you’re looking to add stars, hearts, or even birthday-themed motifs like balloons or cakes, there are countless crochet patterns available online. Just crochet your chosen shapes separately and then attach them to your hat with a simple whip stitch or slip stitch. This can be a great way to use up yarn scraps and add a unique flair to every hat!
Don’t forget about ribbons and other adornments! A simple satin ribbon tied around the base of the hat can provide an elegant touch. Alternatively, you can use fabric flowers or buttons to further enhance the birthday theme. Just remember to securely sew any embellishments to ensure they stay put, especially if you’re planning to wear it during some lively festivities!
Adding these fun embellishments not only makes your hat special but also allows you to express your creativity. Dive into this process with confidence-experimenting with various designs and colors will guarantee a hat that’s not just worn but cherished! You’ve got this, and your handmade birthday hat will surely be the highlight of the celebration!
How to Properly Finish and Secure Your Crochet
When you reach the final stitches of your birthday hat, you might feel a mixture of excitement and slightly anxious about how to finish it off neatly. Proper finishing is crucial not just for the look of your project but also for its durability. A well-finished hat can withstand all the joyful celebrations it is made for, making those finishing techniques even more worthwhile. Let’s dive into the best practices for securing your crochet work and ensuring your birthday hat is ready to shine!
First, take a moment to double-check your last row of stitches. Are they even and consistent? If everything looks good, it’s time to cut your yarn. Leave a long tail-about 6 inches is a good rule of thumb-this will make it easier to weave in later. Use a yarn needle to thread the tail through the last loop of your hat. This secures the stitch so your work doesn’t unravel. Now for the important part: weaving in the ends. To do this, turn your hat inside out, and using the yarn needle, weave the tail through several stitches in the nearby rows. This helps to camouflage the yarn and secure it well. You can even go back through the same stitches more than once for added security, especially if you’re using a yarn that tends to unravel.
Securing Your Stitchwork
Next, let’s talk about those pesky loose ends. You’ll want to ensure they’re blended in seamlessly. For bulky yarns or thicker fibers, simply weaving through a few stitches may be enough. However, with finer yarns, it can be helpful to use a technique called “duplicate stitch.” This method involves following the path of the stitches below your loose ends, allowing the strands to mimic the surrounding stitches, making them less noticeable.
Additionally, if you’ve used any embellishments or unique stitch patterns that require extra securing, now is the time to reinforce those. For instance, if your hat features a pom-pom, make sure you securely stitch it through multiple layers of the hat fabric, ensuring it will withstand all the fun it’s about to encounter during parties.
Finally, once everything is secured and you’ve trimmed away any excess yarn, give your hat a gentle block if needed. This means you might lightly dampen your hat and shape it to your desired style-this is especially useful for ensuring your hat takes on the perfect cone shape!
Now sit back and admire your work! With just a few simple finishing techniques, your birthday hat is ready for fabulous photos and endless fun. Remember, it’s all about practice and enjoying the process. With each piece you create, you’ll build confidence and skill-it’s the joy of crocheting made simple! You can do this, and your finished birthday hat will surely be a showstopper at any celebration!
Troubleshooting Common Crocheting Issues
As you create your birthday hat using the celebration cone pattern, you may encounter a few common crocheting issues that can feel daunting but are entirely manageable with a little guidance. Remember, every crocheter has faced these hiccups, and the key is to approach them with confidence and creativity.
One frequent problem is uneven stitches, which can lead to a hat that’s lopsided or has a wavy edge. If you notice that your rows are not coming out the same size, take a moment to pause. Ensure you’re using a consistent tension-this means not pulling your yarn too tightly or leaving it too slack as you crochet. If you find you’re consistently struggling, consider switching to a different hook size; sometimes a larger or smaller hook can dramatically change your tension and improve your stitching consistency.
Another issue is when your hat has holes between the stitches. This can occur if you’re skipping stitches or not working the correct number in each row. Double-check your pattern instructions carefully and count your stitches at the end of each row. If you do find you have gaps, you can fill them in by carefully working more stitches into that section or using a slip stitch to bridge the gap.
Lastly, don’t fret if your finished hat is a bit too big or just too snug. Fortunately, crocheting is flexible-literally! If the hat is too big, consider adding a simple band of single crochet around the base to pull it in a bit. If it’s too tight, you could gently block your piece after completion, which can help it relax into shape. So, whether it’s tweaks in technique or solutions for fit, every crafting challenge is an opportunity to grow your crochet skills. Embrace the process, and remember that every hat you make will be a unique creation, filled with your personal touch!
Inspiring Examples: Unique Birthday Hat Variations
Creating a birthday hat using the celebration cone pattern offers endless opportunities for personalization and creativity. The beauty of crocheting is that you can infuse your projects with your unique style, ensuring that every hat is as special as the occasion it celebrates. From color choices to embellishments, let’s explore some inspiring variations that can take your birthday hats to the next level!
Colorful Cone Creations
One fun way to make your birthday hat stand out is through colorplay. Consider using a gradient yarn that shifts from one vibrant hue to another, creating a beautiful ombre effect. Alternatively, you could crochet stripes of contrasting colors for a bold visual impact. For a whimsical touch, try mixing and matching leftover yarn from previous projects; this is a great way to reduce waste while adding a creative flair. Remember, using a vibrant color palette can set the mood for any birthday party, making your hat a delightful focal point!
Festive Embellishments
To elevate your birthday hat, think about adding playful embellishments. Pom-poms, ribbons, and crochet flowers are all fantastic choices! Here are some ideas to get you started:
- Pom-Poms: Attach a large pom-pom to the tip of the cone for a fun and festive finish.
- Ribbons: Create a bow at the base of the hat or weave ribbons throughout the design for a more dynamic look.
- Flowers: Crochet small flowers and attach them around the brim or on top to add a touch of charm.
These personal touches not only enhance the aesthetic but also make the hat a cherished keepsake after the party.
Size Adjustments and Themed Designs
Think about who will be wearing the hat! If you’re crafting for a baby or young child, adapt the size accordingly, and consider incorporating designs that reflect their interests. For example, a hat themed around their favorite cartoon character or a whimsical animal can be incredibly appealing. To resize your hat, simply adjust the number of rows or stitches according to your measurements, allowing you to create a unique piece perfect for any age.
With these ideas in hand, you’re ready to create stunning, personalized birthday hats sure to be the highlight of any celebration. The joy of crocheting comes from your inspiration and creativity, so let your imagination flow. Remember, each hat you make will carry your personal touch and the joy of the occasion! You can do this-happy crocheting!
Caring for Your Crochet Creations: Tips and Tricks
Taking good care of your crochet creations ensures that they remain beautiful and last for years to come. When it comes to your colorful birthday hats made with the celebration cone pattern, proper maintenance is not only practical but also enhances the joy of your handmade gifts. Here are some tips to keep your hats looking fresh and fun after all the celebrations.
First, it’s essential to consider the materials used in your hat. If you chose yarn that is machine washable, you’re in luck! Always read the care label to understand the best cleaning method. For delicate fibers or those decorated with embellishments like pom-poms or ribbons, hand washing is the safest route. Simply fill a basin with lukewarm water and a gentle detergent, gently agitate the hat in the water, and rinse thoroughly. Avoid wringing or twisting your creation, as this could distort its shape.
Storage Tips
When it’s time to store your birthday hat after the party, keep it in great shape by avoiding cramped spaces. Instead of folding it, try using a hat box or a wide shelf to maintain its cone shape. If you don’t have a dedicated box, consider stuffing the inside with tissue paper to help it hold its form. This prevents creasing and maintains the hat’s festive appeal for future use. For added protection, you can store them in a cool, dry place, away from direct sunlight to prevent fading.
Regular cleaning and careful storage will ensure that your birthday hats remain as special as the memories they’ve helped create. Remember, the effort you put into caring for your creations adds to their value-making them beautiful keepsakes for parties to come. You can do this! Embrace the joy of crochet and enjoy every stitch, knowing that you’re crafting memories that will last!
Sharing Your Success: Show Off Your Birthday Hat!
Showcasing your crochet birthday hat is not just a celebration of your hard work; it’s an opportunity to inspire others in the crafting community! Whether it’s your first creation or a stunning design with personalized flair, sharing these moments can help foster connections and encouragement among fellow crafters. Imagine the joy in watching someone else find motivation to start their own crochet journey just because they saw your beautiful hat!
One fantastic way to share your success is through social media platforms like Instagram or Facebook. Snap a bright, cheerful photo of your finished hat, perhaps alongside a festive cake or balloons. Utilize popular crochet and crafting hashtags such as #CrochetHat #HandmadeBirthday, and don’t forget to share some behind-the-scenes shots-maybe a quick clip of you working on the project or the materials you used. This invites others to relate to your process and feel motivated to join in on the fun!
Engage with the Community
Joining online crochet groups or forums can further expand your reach. Share your hat in a dedicated post, or participate in discussions about techniques or projects. Many crocheters enjoy seeing what others are making and often share their tips or variations. You can even consider writing a blog post about your experience making the birthday hat, detailing your journey from the first stitch to the final product.
Lastly, consider hosting a “show and tell” event with friends or family, perhaps over a video call if they’re far away. It’s an informal way to celebrate your craft and encourage others to showcase their own creations. Remember, every shared success builds the spirit of creativity and community-so go ahead, show off that marvelous birthday hat! You can do this! Embrace the joy of sharing your crafting adventures!
Join the Crochet Community: Where to Share and Learn
Connecting with fellow crochet enthusiasts can make all the difference in your crafting journey, especially when it comes to creating festive projects like a birthday hat using the Celebration Cone Pattern. By joining a variety of online platforms and local groups, you will find a supportive community eager to share tips, tricks, and inspiration. One of the best parts about crochet is the way it brings people together-from beginners to seasoned pros, everyone has something to contribute and learn.
To find your crochet tribe, start by exploring social media platforms like Instagram, Pinterest, and Facebook. Look for groups focused on crochet or specific patterns. For instance, participating in or following hashtags such as #CrochetBirthdayHats and #CelebrationCone can show you the multitude of creative ways others have interpreted this fun project. You can share images of your finished hat or even ask for guidance if you’ve hit a snag. Engaging with these communities can spark new ideas and help you overcome challenges you might face.
In addition to social media, consider joining local crafting circles or craft fairs where crochet enthusiasts gather. These meet-ups are fantastic for showing off your creations, like that joyous birthday hat you worked so hard on! Not only will you receive feedback and encouragement, but you might also discover new techniques and materials that you hadn’t considered. Sharing your work in person can be incredibly fulfilling and can even inspire others to pick up a crochet hook.
Finally, take advantage of platforms dedicated specifically to crochet, such as Ravelry and crochet blogs or forums. These resources are invaluable for finding patterns, sharing your projects, and learning from fellow crafters. Don’t hesitate to contribute your own tutorials or tips after completing your project; the encouragement you provide can be just as beneficial as the help you receive. Remember, the crochet community thrives on shared knowledge and support-your experience could spark joy and inspiration in someone else’s crochet journey!
Frequently Asked Questions
Q: What type of yarn is best for crocheting a birthday hat?
A: The best yarn for crocheting a birthday hat is a medium-weight (Worsted) acrylic yarn. Acrylic is durable, easy to wash, and comes in vibrant colors perfect for festive occasions. For a softer and more luxurious feel, consider using a cotton blend yarn.
Q: How long does it take to crochet a birthday hat?
A: Crocheting a birthday hat typically takes about 2 to 4 hours, depending on your skill level and the complexity of the design. If you’re a beginner, breaking the project into manageable sections can make it feel less daunting.
Q: Can I customize the size of my birthday hat?
A: Yes, you can easily customize the size of your birthday hat by adjusting the number of stitches at the base and the height of the cone. For a child’s hat, reduce the number of rows, while adults may require additional stitches for a larger hat. Refer to the Customizing Your Hat: Sizes and Styles section for detailed guidance.
Q: What embellishments can I add to my crocheted birthday hat?
A: Adding embellishments like pom-poms, ribbons, or crocheted flowers can enhance your birthday hat’s festive look. You can sew or glue these decorations onto your hat, as detailed in the Adding Fun Embellishments to Your Birthday Hat section.
Q: How do I troubleshoot common issues when crocheting a hat?
A: Common issues include uneven stitches or a misshapen hat. To troubleshoot, count your stitches regularly and check your tension. If you encounter problems, refer to the Troubleshooting Common Crocheting Issues section for specific fixes.
Q: Is it difficult to learn the celebration cone pattern?
A: The celebration cone pattern is beginner-friendly, making it an excellent choice for new crocheters. With clear instructions in the Step-by-Step Guide, even novice crafters can create their own birthday hat with confidence.
Q: Where can I find inspiration for unique birthday hat designs?
A: You can find inspiration for unique birthday hat designs by exploring various online platforms and crochet communities. Check out the Inspiring Examples: Unique Birthday Hat Variations section for creative ideas and styles to replicate or adapt.
Q: How should I care for my crocheted birthday hat?
A: To care for your crocheted birthday hat, hand wash it in cold water and lay it flat to dry. This will help maintain its shape and prevent damage. For more tips, visit the Caring for Your Crochet Creations: Tips and Tricks section.
Key Takeaways
Congratulations on completing your very own Celebration Cone Birthday Hat! This project not only showcases your crochet skills but also brings joy to any birthday celebration. Remember, you can customize this hat with different colors and embellishments to match any theme! If you’re inspired to keep crafting, check out our guides on how to make a matching crochet gift bag and party decorations – you’ll find everything you need to elevate your celebrations!
Don’t forget to share your finished project with us in the comments below! We love seeing your creative twists. Want more crochet tips and free patterns? Sign up for our newsletter for exclusive access to new patterns and tutorials straight to your inbox. Keep crocheting, and enjoy the process – you’re doing great!
Get our latest guides, news, and insights highlighted in your Google Search & AI Overviews.