
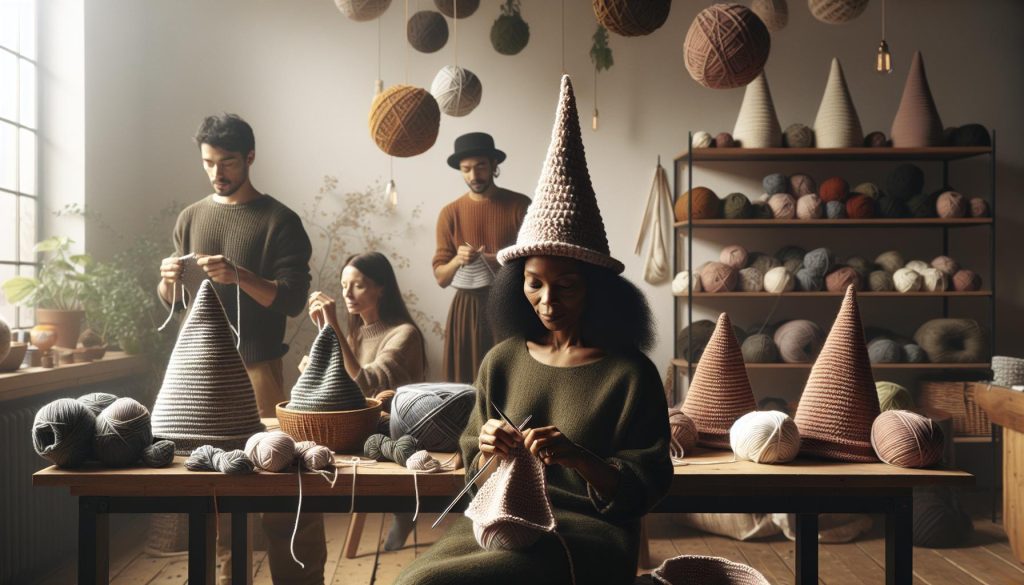
Are you ready to craft a charming cone hat that will add a whimsical touch to any costume or celebration? Crocheting a cone hat, whether it’s for a wizard, a party, or just for fun, is a delightful project that anyone can tackle! Using straightforward techniques and basic materials, you can create a playful accessory that’s perfect for kids’ dress-up, Halloween, or themed parties.
This project is not just a creative outlet; it’s also an opportunity to enhance your crochet skills while making something truly special. Picture the smiles when your little ones wear their new hats, or the laughter at a party as friends don matching cone hats! With a little guidance and a few easy steps, you’ll discover how to make a striking cone hat in no time. So grab your yarn and hook, and let’s dive into this rewarding crafting adventure together-you can do this!
Choosing the Right Yarn and Hook for Your Cone Hat
can make all the difference between a whimsical creation and a frustrating experience. Your choice of materials not only influences the texture and look of your project but also affects how easy and enjoyable the crafting process will be. For most cone hats, especially the pointed wizard or festive party types, you’ll want a yarn that holds its shape well while still being soft enough for comfortable wear.
When selecting yarn, consider the following types:
- Acrylic Yarn: This is a popular choice due to its affordability, ease of care, and wide range of colors. It’s great for beginners and holds its shape well, making it ideal for structured designs like cone hats.
- Cotton Yarn: Perfect for warmer climates, cotton yarn is breathable and has a lovely drape. However, it may not hold its shape as effectively as acrylic, so if you’re after that pointed look, blend it with a sturdier yarn.
- Wool or Blends: Consider using soft wool for added warmth and comfort. Wool can hold shape beautifully but might be pricier. Merino wool provides great elasticity, which is fantastic for crafting a snug fit.
Next, you’ll need to choose the right hook size. Generally, the ideal hook size depends on the weight of the yarn. For worsted weight yarn, a size H (5 mm) or I (5.5 mm) hook works well for most projects. If you’re using a chunky yarn for a thicker, more structured cone hat, you might venture up to a size J (6 mm) or K (6.5 mm). Experimenting with different hook sizes can also create unique textures, so don’t hesitate to try out what feels best for you.
Always make a gauge swatch before diving into your project; this small test piece can save you from potential sizing issues later on. You can do this by crocheting a small square to see how many stitches you get per inch with your chosen yarn and hook. Adjust your hook size or yarn choice based on these results to ensure your hat comes out just right. Remember, the world of crochet is all about fun and creativity-so gather your materials, and let’s get crafting!
Basic Crochet Stitches You’ll Need to Master
To craft a stunning cone hat, whether it’s a whimsical wizard or a fun party hat, mastering a few basic crochet stitches is essential. You’ll find that these stitches not only form the foundation of your project but also give it character and flair. Don’t worry if you’re still getting comfortable with your crochet skills; you can definitely do this! Let’s break down the key stitches you’ll need.
Start with the chain stitch (ch), the foundation of most crochet projects. To create your base, you will make a series of chain stitches. This stitch is straightforward and should feel quite familiar, making it a perfect starting point. Next, you’ll want to master the single crochet (sc). This stitch gives your work density and is often used to shape the hat. To do this, insert your hook into the next stitch, yarn over, and pull through. You’ll have two loops on your hook-yarn over again and pull through both loops. Easy, right?
Once you’ve got the hang of these, the double crochet (dc) will elevate your hat’s design. It’s taller than the single crochet and can add much-needed height to a cone. Yarn over, insert your hook into the stitch, yarn over again (you’ll have three loops on your hook), pull through the first two loops, then yarn over and pull through the last two. This stitch is integral for when you want to create that dramatic pointed top or a fun texture.
As you’re working on your cone hat, experimenting with the slip stitch (sl st) is also handy. It can be used to connect rounds or create neat edges. Simply insert your hook, yarn over and pull through both the stitch and the loop on your hook.
Practice Makes Perfect
Remember, take your time with these stitches. Practicing will help solidify your skills and boost your confidence. Gather some yarn and try each stitch separately; practicing will not only make you more comfortable, but also enhance your ability to create beautifully shaped hats. There are countless resources, including online tutorials, where you can see these stitches in action. Before long, you’ll be stitching your way to a fabulous cone hat that reflects your personal style. Enjoy this creative journey, and keep pushing your crochet limits-you’ve got this!
Step-by-Step Guide to Shaping a Cone Hat
Shaping a cone hat is an exciting and rewarding endeavor that can elevate your crochet skills and bring your creative vision to life. Whether you’re crafting a whimsical wizard hat or a cheerful party cone, the process of shaping it correctly can make all the difference in the final look. The best part? Anyone can do it! Let’s break it down into simple steps, so you feel confident as you crochet your very own cone hat.
Start by gathering your materials. You’ll need some yarn-worsted weight is a great choice for beginners-and a corresponding hook (typically an “I” or “J” hook works well). The size of your hat will influence how you begin shaping; for a small hat, start with a smaller number of stitches, and for larger sizes, you can increase the beginning stitches. Remember, this is a creative journey, so it’s perfectly fine to play around with the stitch count!
Now, let’s get into the steps of shaping your hat:
- Create a Magic Ring: Begin by making a magic ring (or adjustable loop) as your starting point. This gives a nice, tight finish.
- Round One: Inside the magic ring, crochet 6 single crochets. This tightens the circle and forms the base of your cone.
- Increase Rounds: For the next round, you’ll want to increase your stitches. Work two single crochets in each stitch around. This will create the base of the cone and widen it out. You’ll have 12 stitches now.
- Continue Increasing: In the next few rounds, keep increasing your stitches gradually. For example, in round three, you might crochet one single crochet in the first stitch, then two in the next, repeating around. This gives a gentle slope upwards and should feel quite manageable.
- Shaping the Cone: As you proceed, decrease the frequency of your increases until you reach your desired width. You’ll want to shape the hat taller by adding rounds without extra increases. This creates the pointed tip of the cone hat. Keep an eye on your height; you can try it on as you go to check the fit!
- Finishing Touches: Once you achieve that perfect pointy shape, finish off your last round with a slip stitch and weave in your ends. You can add a brim or leave it as is for a traditional wizard look.
With a little practice and patience, you’ll find that creating the shape of your cone hat becomes second nature. If you decide to personalize or embellish your hat later, that’s just icing on the cake! Embrace the joy of crafting and remember, you can do this! Each stitch you make brings you one step closer to a unique creation that you can proudly wear or share. Happy crocheting!
Designing Your Own Pointed Wizard Hat
Creating your very own pointed wizard hat is a delightful project that allows for a ton of creative expression! Not only does it serve as a practical accessory for a costume party or Halloween, but it also provides an opportunity to showcase your personality through yarn choices, colors, and embellishments. The magic starts with the right materials, and it’s important to choose yarn that provides structure while still being comfortable. Worsted-weight acrylic or wool works wonderfully, as it holds its shape well and is easy to work with for all skill levels.
Before diving into the actual crochet, think about the aesthetic you want to achieve. Do you envision a classic black wizard hat with a wide brim, or perhaps a colorful, whimsical design accented with glittery yarn? Once your vision is clear, you can outline your hat’s dimensions: a taller hat will require more rows for increased height, while a wider base can be achieved with more initial stitches. Start with a magic ring and gradually increase your stitches to build that iconic cone shape, using the shaping techniques you’ve already learned.
As you crochet, don’t be afraid to add your personal flair. Consider incorporating stitches like bobbles or shells to give texture and interest to your fabric, or use color changes to create stripes or patterns. If you’re looking to take it a step further, think about finishing touches-like a colorful ribbon around the base or little stars and moons sewn onto the hat. Remember, the sky’s the limit when it comes to designing your pointed wizard hat!
Most importantly, have fun with this project. Unearth your inner creativity, and remember, each crafted item tells a story-yours! Whether it’s whisking away to a fantasy world or making a statement at a party, your unique hat will surely turn heads. So grab your hook, pick out that perfect yarn, and let’s get crocheting-you can do this!
Creative Ideas for Festive Party Cone Hats
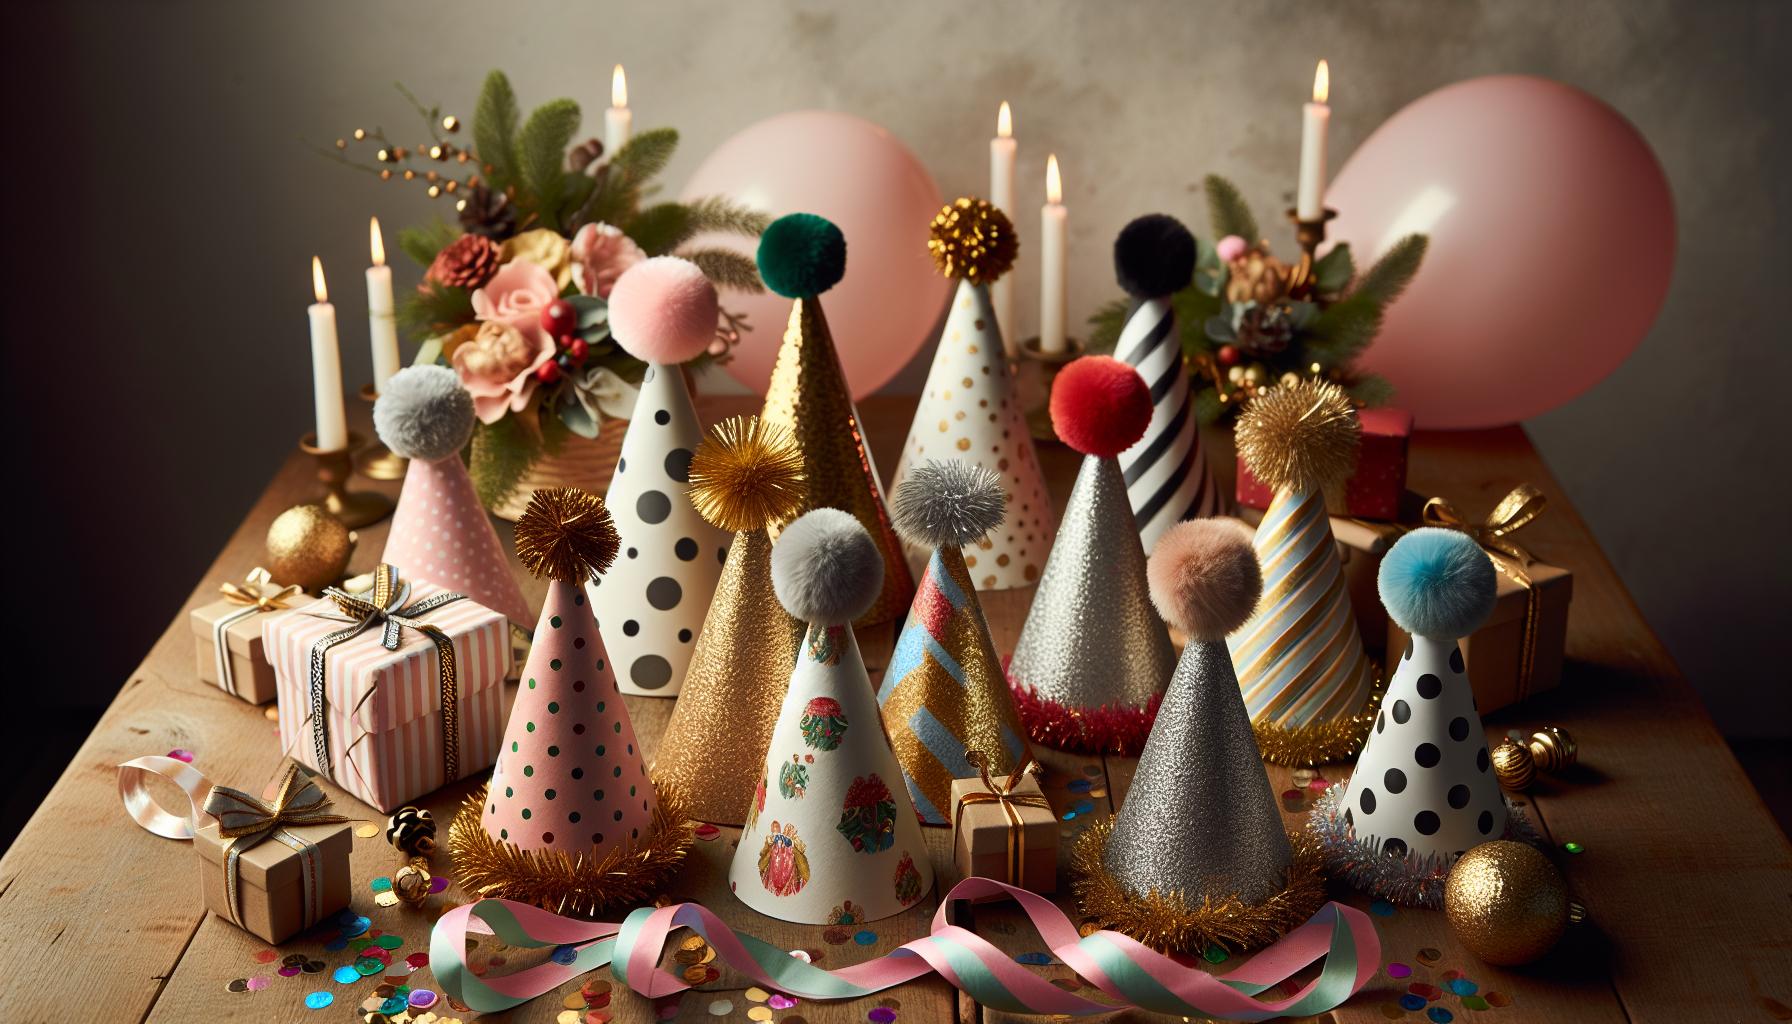
Imagine stepping into a festive party wearing a handmade cone hat that reflects your unique style! Cone hats are perfect for celebrations, whether it’s a birthday bash, a New Year’s Eve gathering, or a whimsical costume party. With just a bit of creativity and some basic crochet skills, you can craft hats that are as fun to wear as they are to make.
To kick-start your festive hat creation, consider using a vibrant blend of colors. Stripes can add a classic yet playful touch, while solid bright colors can make a bold statement. Try using a gradient yarn that transitions from one color to another for a stunning effect. Mixing textures can also elevate your design. Combine smooth yarn with a fluffy or sparkly yarn to create visual interest and a fun tactile experience.
Adding festive embellishments is a surefire way to make your party hats stand out. Here are some ideas to personalize your crochet hats further:
- Pom-poms: Attach pom-poms at the top or around the base for a playful touch.
- Ribbon: Wrap colorful ribbons around the base or along the sides. You can even create a bow for a sweet finish.
- Seasonal Decor: Glue or sew on small felt shapes like stars, snowflakes, or flowers that match the party theme.
- Strings of Lights: Use LED lights for a bit of sparkle. Just ensure they are lightweight and battery-operated!
If you’re aiming for interactive fun, consider making hats that double as party accessories. For example, create a hat with pockets or loops for holding small treats or party favors. You could even crochet mini hats that can be worn by dolls or stuffed animals to match your own.
No matter your ideas, remember: there’s no wrong way to express yourself through crochet. Embrace the process, experiment with designs, and don’t be afraid to let your imagination run wild. Whether it takes an afternoon or a few days, putting your creative spin on a festive cone hat will be a rewarding endeavor. So grab your hooks, select those vibrant yarns, and get ready to craft a hat that’s sure to spark conversations at your next gathering! You can do this!
Adding Unique Embellishments to Your Cone Hat
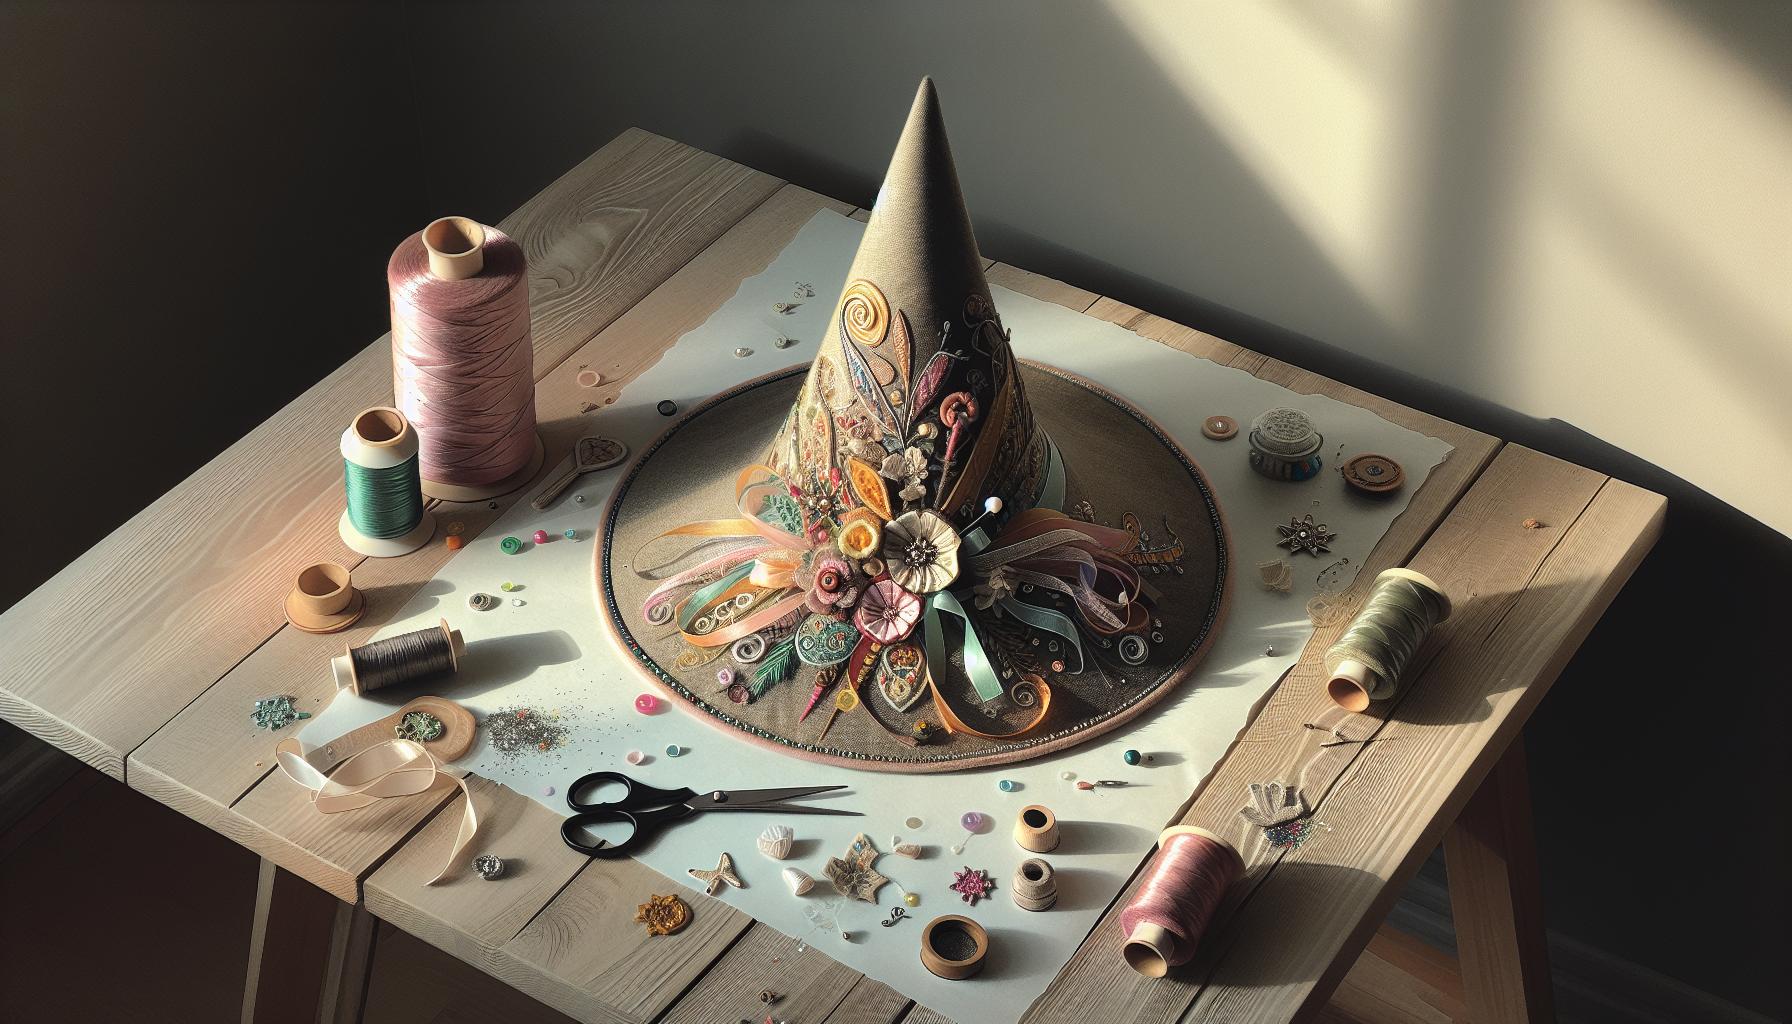
Creating a cone hat is just the beginning of your crafting adventure; adding unique embellishments can transform it into a true work of art. These little details not only enhance the visual appeal of your hat, but they also express your personality and style. Whether you’re crafting a whimsical wizard hat or a vibrant party piece, there are countless ways to make your crochet creation shine.
Start by considering some fun textures and contrasting materials. For instance, you can attach a soft, fluffy yarn pom-pom to the tip of your hat for a playful touch. Try using a compact stitch to ensure the pom-pom stays securely attached. Explore the inclusion of shimmering ribbons or lace; simply wrap them around the base of the hat or drape them down the sides for a romantic flair. You can even create bows or cascading streams of fabric for a more elaborate look. Don’t forget to think seasonally-small felt decorations like pumpkins for Halloween or flowers for spring can really highlight your project’s theme.
Another exciting idea is to incorporate light elements. Adding a string of battery-operated LED lights can bring a magical glow to your hat, creating an eye-catching accessory that’s perfect for nighttime events. Be sure to choose lightweight lights so they don’t weigh down your hat; you can use hot glue to secure them discreetly along the brim or inside the hat. For a truly unique touch, consider crafting a small pocket on the inside of the hat to hold treats or tiny treasures-great for adding a functional element to your festive accessory!
Lastly, don’t shy away from using unconventional materials. Feathers, beads, or even fabric flowers can add a burst of color and interest. Simply sew or glue these embellishments on in clusters for a fuller effect. You may even want to theme your decorations based on festivities or a favorite character. Remember, every touch you add lets your creativity shine. So gather your materials, get inspired, and let your imagination lead the way-your conical creation will be a delightful standout!
Tips for Personalizing Your Crochet Cone Hat
When it comes to personalizing your crochet cone hat, the possibilities are as limitless as your imagination! Whether you’re crafting a whimsical pointed wizard hat or a dynamic party hat, the key to making your project truly unique lies in the details. A few thoughtful touches can transform your hat from simply charming to a statement piece that reflects your personal style. Here are some fun and engaging ways to add personality to your creation.
Start with color choices! The yarn’s color can set the tone for your project. Opt for vibrant colors to create a bold and eye-catching party hat or go for deeper, more mystical hues for a wizard hat. Consider ombré effects by combining two or more shades, which can add depth and intrigue. If you’re feeling adventurous, why not try using variegated yarns that shift colors as you work? This will give your hat a playful and dynamic look, perfect for festive occasions.
Next, incorporate textural elements to make your hat stand out. Experiment with different stitch patterns to create raised and textured surfaces. Using a combination of basic stitches and more complex ones like shell stitches or popcorn stitches can add dimension. You might also try mixing yarn weights; a thicker yarn combined with a thinner one can create fascinating contrasts. Additionally, don’t forget to add fun embellishments like sequins, beads, or even fabric patches that can be sewn or glued on. These extras can really make your hat sparkle, especially in the light!
Another approach is to embrace thematic elements. If you’re designing for a specific event or season, think about incorporating symbols or motifs associated with that theme. For example, small felt shapes like bats or ghosts can be added for Halloween, while flowers could be perfect for spring or summer celebrations. You can also consider adding a playful touch with accessories like detachable pin badges or small charms that clip onto the hat, allowing you to customize it further based on your mood or the occasion.
Lastly, get inspired by your favorite characters or styles. If there’s a beloved book, movie, or even a fairy tale, draw inspiration from that world! You can recreate a character’s iconic look or put your spin on a classic design. Visiting local craft stores or browsing online marketplaces can also spark ideas for unique materials or embellishments you hadn’t considered before. Remember, the goal is to have fun and let your creativity shine. With these tips, you’ll create a crocheted cone hat that’s not only beautiful but distinctly yours. So grab your yarn and hook-your personalized masterpiece is waiting to come to life!
Common Mistakes to Avoid When Crocheting
Starting a project like a crocheted cone hat can be an exciting journey, but there are a few common pitfalls that can turn fun into frustration. Understanding and avoiding these mistakes can help you create the wonderful wizard or party cone hat you’ve envisioned without the added stress.
One frequent issue new crocheters encounter is tension. If your stitches are too tight, the hat can become stiff and uncomfortable, while overly loose stitches can result in an unshapely hat that doesn’t hold its form. To combat this, practice maintaining a consistent tension as you crochet. A quick tip is to take breaks to stretch your fingers and practice your grip. If you notice unevenness in your work, consider revisiting the basics of holding your yarn and hook. Using the right crochet hook size is crucial to achieving uniform stitches. When following patterns, ensure you’re using the hook size recommended for your yarn to avoid these common pitfalls.
Another potential hiccup revolves around counting stitches. It’s easy to lose track, especially when you’re focused on following a pattern. Missing or adding a stitch can drastically change the shape of your cone hat. To help with this, count your stitches at the end of each row. If you’re working on a more complex design, it might also be helpful to use stitch markers to keep sections separate. This not only aids in keeping your place but also adds an extra layer of organization to your project.
Don’t overlook the importance of swatching. Before diving into your cone hat, take the time to create a small swatch to check your gauge. This can save you from unpleasant surprises down the line, such as your hat being too big or too small. Taking just a little extra time upfront can ensure a perfect fit for your creative masterpiece.
Lastly, remember that making mistakes is a natural part of the crafting process. If you find yourself making errors or feeling overwhelmed, take a step back and breathe. Every crafter faces challenges, and learning how to overcome them is what makes the creation process so rewarding. You’ve got this! With patience and practice, your crocheted cone hat will turn out beautifully. Happy crocheting!
Troubleshooting Crochet Issues in Cone Hats
When you’re deep into crafting your cone hat, it’s not uncommon to run into a few hiccups along the way. But fear not; troubleshooting crochet issues is part of the journey, and with a little guidance, you’ll soon be back on track. One common issue that can arise is uneven stitching, where some areas of your hat look looser or tighter than others. This often stems from varying tension, which can be influenced by how you’re holding your yarn or how consistently you’re pulling your stitches. Keep a relaxed grip on your yarn, and consider practicing each stitch to find a comfortable rhythm. If you’re still struggling, try switching to a larger hook for a bit of give in your stitches.
Another frequent concern is missed or extra stitches, which can drastically alter the shape of your hat, especially if you’re aiming for that perfect pointed wizard design. It’s easy to get distracted by the fun of crocheting and lose track, so regularly counting your stitches at the end of each row can be a lifesaver. Using stitch markers to mark important sections helps maintain your count and organization. If you spot a mistake, don’t despair! You can always frog (rip out) your work back to the error and re-crochet that section. Remember, every seasoned crocheter has been there, and it’s all part of the crafting experience!
To address another concern, gauge issues can lead to a hat that doesn’t fit. Always take the time to make a gauge swatch with your chosen yarn and hook, checking if your stitches match the required dimensions in the pattern. This small but mighty step ensures that your finished hat will have the right proportions. If your swatch is off, don’t hesitate to adjust by either changing your hook size or your tension.
Lastly, don’t forget to enjoy the process! Crafting is meant to be fun, and every mistake is an opportunity to learn. If you’re feeling overwhelmed, take a break, stretch those fingers, and come back with fresh eyes. Celebrate every step, whether it’s completing a row or correcting a mistake. With patience and practice, you’ll have a stunning cone hat to showcase in no time!
Showcasing Your Finished Cone Hat Creation

There’s nothing quite like the moment when you finish your crochet cone hat and see your creation come to life. Whether you’ve crafted a whimsical pointed wizard hat or a festive party cone, showcasing your work is just as satisfying as making it! To highlight your efforts, think about creating a visually appealing display that draws attention to the unique features of your hat.
Start by finding the right setting for your showcase. Natural light is your best friend for photography, so head outside or set up near a window. Use a simple backdrop-a solid color or a textured knit blanket can work wonders-to make your cone hat pop in the photos. If you’re feeling creative, consider using props that match the theme of your hat. A storybook next to a wizard hat can evoke an enchanting atmosphere, while colorful party decorations can add a festive touch for a party hat.
Creative Presentation Ideas
- Photo Shoots: Capture different angles and close-ups to show off details like unique stitches or embellishments.
- Hat Models: Use friends or family as models; it adds a fun dynamic to your photos and shows how the hat looks in action.
- Social Media: Share your finished project on Instagram or Facebook. Use hashtags like #crochetcone hat to connect with other crafters.
Once you’ve captured that perfect shot, consider writing a caption that tells your story. Share the yarn you used, any challenges you faced during the project, or why you chose that specific design. Sharing the journey of your craft not only connects you with others but also inspires them to take on similar projects. Your enthusiasm can encourage beginners and seasoned crocheters alike to pick up their hooks and start creating, knowing that they too can craft something extraordinary. You created something amazing-so let the world see your beautiful crochet cone hat!
Sharing Your Cone Hat Project on Social Media

After you’ve lovingly crafted your cone hat, sharing it with the world is the perfect way to celebrate your hard work! Social media platforms like Instagram, Facebook, and Pinterest are fantastic outlets for showcasing your creativity and connecting with fellow crafters. It’s not just about displaying your finished product; it’s an opportunity to inspire others and engage with a vibrant community of makers!
To kick off your social media sharing, capture some stunning photos of your cone hat. Use natural lighting for a soft, flattering look-early morning or late afternoon can be ideal times. Try different angles and close-ups to highlight any unique details, such as intricate stitches or creative embellishments. If you have a themed hat, integrate props that complement the design; for a wizard hat, a spellbook beside it can add a whimsical touch.
When posting your photos, write a caption that tells your story. Share details like the yarn and hook you used, any challenges you faced, and what inspired your design. This personal touch not only draws viewers into your crafting journey but also encourages beginners who might be hesitant to start their own projects. Remember, your enthusiasm can be contagious! Utilize relevant hashtags such as #CrochetConeHat or #HandmadeMagic to reach a wider audience and connect with others who share your passion for crochet.
Engaging with your followers is just as important as sharing your work. Respond to comments, ask questions, or organize a fun challenge, like encouraging others to share their cone hat projects. This interaction builds community and makes your crafting journey more enjoyable. So go ahead, show off that beautiful creation and inspire others to pick up their hooks. You’ve got this!
Frequently Asked Questions
Q: What materials do I need to crochet a cone hat?
A: To crochet a cone hat, you need worsted-weight yarn, a suitable crochet hook (typically size “I” or similar), a yarn needle for weaving in ends, and scissors. Having a stitch marker handy can also help to keep track of rounds.
Q: How long does it take to crochet a cone hat?
A: Crocheting a cone hat can take between 3 to 5 hours, depending on your skill level and the complexity of the design. Beginners may take longer as they learn the stitches and techniques involved.
Q: Can I customize the size of my cone hat?
A: Yes, you can customize the size of your cone hat by adjusting the number of stitches and rows. For larger sizes, add more chains at the beginning, and for smaller sizes, reduce the number of increases. Check the ‘Step-by-Step Guide to Shaping a Cone Hat’ for detailed instructions.
Q: What stitches are best for a cone hat?
A: The best stitches for a cone hat are single crochet and double crochet. These stitches provide a sturdy structure while allowing for flexibility. Explore basic stitches in the “Basic Crochet Stitches You’ll Need to Master” section for guidance.
Q: How do I add embellishments to my cone hat?
A: Adding embellishments like pom-poms, patches, or beads can enhance your cone hat’s appeal. Use a yarn needle to sew on items securely. Check the “Adding Unique Embellishments to Your Cone Hat” section for more creative ideas.
Q: What common mistakes should I avoid when crocheting a cone hat?
A: Common mistakes include not checking your tension, forgetting to count stitches, and not following the pattern closely. Refer to the “Common Mistakes to Avoid When Crocheting” section for tips on ensuring a perfect finish.
Q: How do I fix mistakes in my crochet cone hat?
A: If you notice a mistake, you can unravel your work back to the error and redo that section. For minor issues, use a stitch marker to help identify where to correct. The “Troubleshooting Crochet Issues in Cone Hats” section will provide more solutions.
Q: Where can I share my finished cone hat project?
A: You can share your finished project on social media platforms like Instagram or Pinterest, using hashtags related to crochet and your specific hat design. Consider visiting the “Sharing Your Cone Hat Project on Social Media” section for tips on showcasing your work.
Wrapping Up
Congratulations on crafting your very own cone hat! Whether you chose the whimsical wizard style or the festive party shape, you now have a unique piece to show off. Remember, this project is just the beginning of your crochet journey. Enhance your skills by exploring our guides on creating cozy blankets or mastering intricate stitches-there’s so much more to discover!
Feeling inspired? Share your hat creations in the comments below and connect with fellow crafters in our community. Don’t forget to subscribe to our newsletter for exclusive tips and projects straight to your inbox. Join the fun today and turn your crochet dreams into reality. You’ve got this, and we can’t wait to see what you’ll create next!
Get our latest guides, news, and insights highlighted in your Google Search & AI Overviews.