
Crocheting a hat is not just a fun project; it’s a gateway into the wonderful world of crafting. If you’ve ever wanted to create a cozy accessory that showcases your unique style, you’re in the right place! This beginner-friendly guide will walk you through the simple steps to crochet your very own hat, no experience required. With just a few materials and basic techniques, you’ll discover the joy of making something special with your hands. Whether you’re looking to keep warm during chilly days or gift a handmade creation to a loved one, crocheting a hat is a satisfying and achievable goal. So grab your yarn and hook, and let’s dive into this delightful craft together-because you can absolutely do this!
Choosing the Right Yarn and Hook for Your Hat Project
sets the foundation for a successful crochet experience, especially for beginners. With a myriad of yarn types and hook sizes available, it can be overwhelming. However, understanding some basic concepts will boost your confidence and lead you to create a beautiful hat you’ll be proud to wear or gift.
When selecting yarn, consider the fiber content and weight. For hats, you usually want something warm yet breathable, so look for worsted weight or bulky yarns made from materials like acrylic, wool, or a blend. Acrylic is budget-friendly and easy to care for, while wool offers excellent warmth and elasticity. Always check the yarn label for recommended hook sizes to ensure your chosen yarn matches your project’s needs.
For your crochet hook, the size typically correlates with the yarn weight. A larger hook will create a looser fabric, great for airy, relaxed hats, while a smaller hook tightens the stitches, resulting in a denser, warmer hat. If you’re unsure, starting with a size H (5mm) hook for worsted-weight yarn is a safe bet to achieve a good balance between warmth and flexibility. Don’t hesitate to experiment with different sizes to find what feels comfortable in your hands-after all, the best tool for the job is the one you enjoy using!
Here’s a quick overview of yarn types and their recommended hook sizes:
| Yarn Weight | Recommended Hook Size | Fiber Content |
|---|---|---|
| Worsted Weight | H (5mm) to I (5.5mm) | Acrylic, Wool, Cotton Blends |
| Bulky Weight | I (5.5mm) to J (6mm) | Acrylic, Wool, Alpaca |
As you begin your project, remember that choosing yarn and hook size isn’t just about following rules; it’s about finding what resonates with your creative style. So grab your favorite yarn and hooks, start experimenting, and before you know it, you’ll be confidently crocheting your stylish hat!
Essential Crochet Techniques for Beginners
Starting your crochet journey can be tremendously exciting, especially when it leads to creating something as cozy and functional as a hat! The joy of seeing your yarn transform into a warm accessory is unmatched. To ease you into this delightful craft, mastering a few essential techniques will greatly improve your skills and confidence.
First up, learning how to create a magic circle is vital for starting most hat patterns. This technique gives you a tight closure at the top of the hat, preventing any gaps. To make a magic circle, simply wrap your yarn around your fingers to form a loop, pull up a working loop, and start crocheting your stitches into the circle. As you practice this, you’ll find your handmade hats looking more polished and professional.
Another fundamental skill is working in the round, which is essential for hat making. Instead of making flat pieces, you’ll be creating a tube-like structure. To do this effectively, remember to place a stitch marker at the beginning of your round. This small step keeps track of where each round begins, allowing you to measure your progress accurately and ensure even dimensions. As you become comfortable with this technique, you can start experimenting with various stitch patterns for added texture and style.
Lastly, don’t underestimate the importance of tension! Keeping your stitches uniformly tight or loose will ensure your hat fits well and looks consistent. If you find some areas looser than others, practice maintaining even pressure on your yarn throughout your project. Remember, it’s all part of the learning journey-embrace the process, celebrate your progress, and soon enough, you’ll be ready to adorn your head with your very own crochet creations!
Step-by-Step: How to Read Crochet Patterns
Understanding how to read crochet patterns is like having a secret blueprint to unlock your creative abilities! Crochet patterns bring your yarn to life, guiding you from the first stitch to the final flourish. While they may initially seem overwhelming, they become second nature with just a little practice. Each pattern comprises specific abbreviations, stitch counts, and row instructions that will help you bring your vision-like that cozy hat you’ve been dreaming about-to reality.
To get started, familiarize yourself with common crochet abbreviations. For instance, “ch” stands for chain, “sc” is single crochet, and “dc” denotes double crochet. These abbreviations are the shorthand that makes patterns easier to follow. It’s also essential to pay attention to the gauge specified in the pattern, which indicates the number of stitches and rows per inch. This measurement ensures that your final piece is the right size. For a practical example, if the pattern suggests using a certain size of yarn and hook, sticking to this will yield the best results.
Next, take a look at the pattern layout. Most crochet patterns are structured with a series of numbered rows or rounds, guiding you through the construction of your project step-by-step. Start at the beginning, and don’t skip any instructions-even the small notes are there for a reason! As you follow along, jot down notes or highlight sections to keep track of your progress. If a section feels tricky, don’t hesitate to refer to beginner tutorials and online videos. Many crochet communities also share tips and tricks for interpreting specific patterns, which can be invaluable as you learn.
Finally, remember that practice makes progress. Each time you tackle a new pattern, you’ll find yourself becoming more fluent in crochet language. Celebrate each completed project, no matter how small. You can absolutely do this! Embrace the joy of creating from patterns, and before you know it, you’ll be designing your hats with unique styles and textures, blending creativity and technique seamlessly. Keep crocheting, and enjoy your crafting adventure!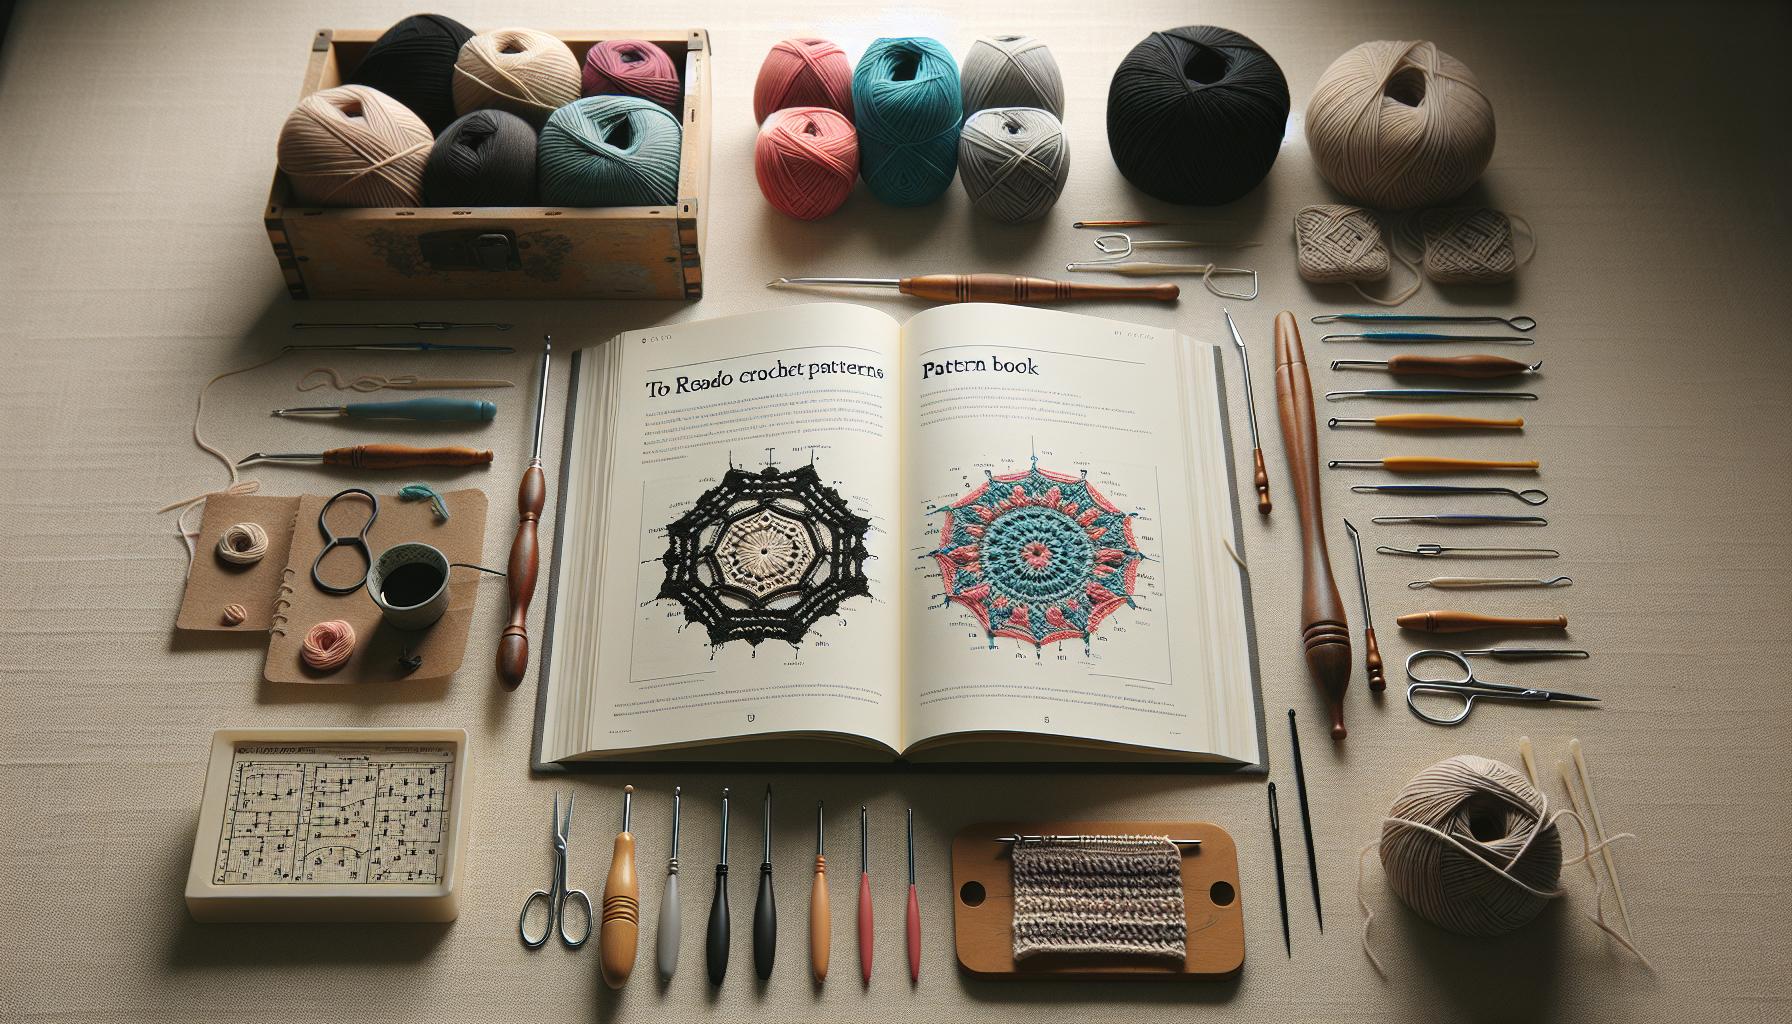
Getting Started: Basic Crochet Stitches You Need
Getting started with crochet can be an exciting adventure, especially when you’re aiming to create a beautiful hat from scratch! Before diving into your hat project, you’ll want to familiarize yourself with a few foundational stitches. These basic stitches are the building blocks of your upcoming masterpiece, and they will empower you to tackle not only hats but a variety of other crochet projects too.
Let’s start with the most essential stitch: the chain stitch (ch). This stitch is your gateway to every crochet project. To make a chain, simply yarn over the hook and pull the loop through. Repeat this action until you have a desired length. From there, you’ll move onto the single crochet (sc), which is a must-know for creating that solid, cozy fabric for your hat. Insert your hook into the next chain, yarn over again, pull through, yarn over one last time, and pull through both loops on your hook. This creates a dense and warm stitch that’s perfect for hats.
Next up is the double crochet (dc). This stitch is taller than the single crochet, giving your hat a bit of drape. To execute a double crochet, yarn over, insert your hook into the stitch, yarn over again, pull through (you’ll have three loops on your hook), yarn over, pull through the first two loops, then yarn over once more to pull through the last two loops. This stitch can add texture and style to your project, especially if you play with the yarn weight or colors. Lastly, don’t forget about the slip stitch (sl st); it’s a handy stitch for joining rounds and can be used when you want to create a smooth transition between different rounds or sections of your hat.
Here’s a quick overview of the stitches you’ll need:
- Chain Stitch (ch): Foundation of your project.
- Single Crochet (sc): Dense fabric for your hat.
- Double Crochet (dc): Adds height and texture.
- Slip Stitch (sl st): Perfect for joining rounds.
With these stitches under your belt, you’re well on your way to crocheting your first hat! Remember, practice is crucial-so don’t hesitate to try these stitches out on a swatch before you dive into the actual hat. You can do this! Each stitch you master brings you closer to creating beautiful, handmade gifts for yourself or loved ones. Embrace the learning process, and most importantly, enjoy the creative journey ahead!
Creating the Perfect Fit: Measuring Your Head
To ensure your hat fits perfectly, measuring your head accurately is crucial and it’s simpler than you might think! Many new crocheters fret over whether their hat will be snug enough or, conversely, too tight. But fear not, with just a tape measure and a bit of guidance, you’ll be well on your way to crafting a hat that feels custom-made.
Start by gathering your materials. You’ll need a flexible tape measure, which you can find at any fabric or craft store. This type of tape is essential as it will easily curve around the contours of your head. Next, I recommend using a mirror, although it’s not strictly necessary-you can also just have someone help you with the measuring.
When you’re ready to measure, follow these steps:
- Wrap the Tape: Place the tape measure around your head, just above your ears and across your forehead. This spot is usually the widest part of your head.
- Note the Measurement: Ensure the tape fits snugly but isn’t too tight. Record the measurement in inches or centimeters-whichever you prefer.
- Adjust for Fit: Depending on the style of hat you’re making, you might want to subtract a little from your measurement. For a snugger fit, consider taking off about 1 to 2 inches to allow for negative ease, which helps your hat stay on without feeling suffocating.
Understanding Size Ranges
Once you have your measurement, you can easily refer to a hat size chart to determine what size to crochet. The average adult head circumference ranges from about 21 to 23 inches (53 to 61 cm). Here’s a simple size breakdown to keep in mind:
| Size | Head Circumference (inches) | Head Circumference (cm) |
|---|---|---|
| Child | 18-20 | 46-51 |
| Teen | 20-22 | 51-56 |
| Adult Small | 21-22 | 53-56 |
| Adult Medium | 22-23 | 56-58 |
| Adult Large | 23-24 | 58-61 |
By taking the time to measure your head carefully and understanding how those measurements correspond to sizes, you are setting yourself up for success. Remember, don’t be afraid to try on the hat as you crochet; you can always adjust as needed. You can do this, and soon you’ll be wearing-and showing off-your beautifully crafted hat!
Building the Base: Starting Your Hat
Starting your crochet hat is where the magic happens! It’s exciting to see your yarn transform into something wearable, and the best part is that you don’t need to be an expert to get going. This phase requires just a few materials, some basic stitches, and a sprinkle of enthusiasm. Generally, you’ll want to allocate about an hour to get through the initial steps when starting your hat.
First things first, grab your yarn, a matching hook (typically, worsted weight yarn pairs well with a size H-8/5mm), and a pair of scissors. A stitch marker can also be handy to identify your rounds. You can choose any yarn color you love and let your creativity shine right from this beginning stage.
Now, let’s dive into how to start! Follow these steps closely to create the foundation for your hat:
- Make a Slip Knot: Start with a slip knot on your hook. This is your first stitch and will set the tone for your hat.
- Chain Stitches: Next, crochet a chain of stitches. For a beginner beanie, aim for around 4-6 chains, depending on how loose you want the opening to be. This acts as your foundation.
- Join in the Round: To create a circle, join the last chain to the first chain using a slip stitch. This is crucial, as it will allow you to work continuously in the round without any seams!
- Work Your Basis: Now, you’ll begin your first round of stitches. You can work single crochet, half double crochet, or double crochet-whatever you’re comfortable with. For beginners, a single crochet is a great choice. Make sure to crochet into the circle at the center of your loop, and don’t forget to count your stitches; you’ll want a consistent number as you build your hat.
- Continue the Rounds: As you go, keep working in the round until the base reaches your desired diameter, typically between 4 to 6 inches depending on your hat size.
An easy trick is to use a stitch marker to mark the beginning of each new round. It’ll help you keep track as you build your hat higher. Each time you complete a round, just move the marker up to your last stitch, ensuring you maintain the shape and avoid any crooked lines.
Creating the base is a significant first step, as it sets up the hat’s overall structure. With a bit of practice, you’ll find yourself gaining confidence, knowing that you’re one step closer to a fun, finished project that you can wear with pride. Remember, as you get used to the process, relax and enjoy the rhythm of crocheting; you can absolutely do this!
Working in the Round: Mastering the Technique
It’s remarkable how working in the round can elevate your crochet game from simple chains to stunning hats with seamless flair! Whether you’re creating beanies, berets, or slouchy styles, mastering the technique of circular crocheting opens a world of possibilities. This method not only eliminates pesky seams but also allows you to design hats that fit snugly without compromising on style.
To begin, ensure you have your project base ready, with all your stitches joined in a smooth circle. Here’s a step-by-step approach to guide you through the round:
- Start with a Slip Stitch: After completing your foundation chain and joining it, always start your rounds with a slip stitch to keep the work continuous and seamless.
- Use Stitch Markers: Place a stitch marker at the beginning of your round. This simple tool will help you track where each new round begins, making it easier to keep count.
- Consistent Stitches: As you work in the round, focus on maintaining consistent stitch counts. Mistakes here can lead to an uneven shape or increases that will throw off your entire project.
- Practice Changing Directions: When moving from one round to another, don’t be afraid to experiment with different stitch heights-like switching from single crochet to half double crochet for a subtle texture change!
One of the beauties of crochet is the freedom to personalize your project. For instance, consider introducing a new color during the round to create stripes or patterns. You might also find yourself drawn to textured stitches that add depth and dimension to your hat. Remember, the hat you are crafting is a reflection of your personality-don’t hesitate to let it shine through your yarn choices and stitching style!
As you get comfortable working in the round, the excitement will grow. You’ll realize that each turn is another step closer to a unique piece, all made by your own two hands. Embrace the journey, and trust in the process. Enjoy every moment, because you absolutely can do this!
Adding Creative Stripes and Colors
There’s something so gratifying about adding stripes and pops of color to your crochet hat. Not only do they bring a playful vibe to your project, but they also provide a fabulous way to express your personal style! Whether you’re going for a classic two-tone look or a rainbow of hues, creating stripes is easier than you might think, and it can be a wonderful introduction to colorwork.
To begin, gather your yarns in colors of your choice. Using two or three contrasting colors can yield a striking effect. As you work your rounds, decide how you want to incorporate the colors. One popular method is to alternate colors every few rows, creating horizontal stripes. For instance, you might crochet two rounds in your first color, then switch to the second color for two rounds, continuing this pattern until your hat reaches the desired length. You can also get creative by mixing in textured stitches or varying the height of stitches for added dimension.
When changing colors, it’s important to carry your yarn correctly to avoid tangles and ensure a neat finish. Here’s a simple method to follow:
- Plan Your Color Changes: Decide in advance where you’d like to switch colors to maintain a smooth flow.
- Complete the Old Stitch: Work to the last yarn over of the stitch before your color change.
- Yarn Over with New Color: Instead of pulling the old yarn through to finish the stitch, grab your new color and pull it through to complete the stitch. Now you’ve seamlessly blended in your new shade!
You can also experiment with textures by combining different stitches in various colors. Try adding a ribbed effect by crocheting a few rows of front post double crochet in a contrasting color. The possibilities are endless! Remember, the goal here is to have fun and let your creativity shine. As you mix and match colors and techniques, you’ll not only craft a unique hat but also gain confidence in your crochet abilities. Trust the process-you’re creating something beautiful!
Finishing Touches: Adding a Brim or Pom-Pom
Adding the final flourishes to your crochet hat can truly elevate your creation from simple to stylish! Whether you opt for a snug brim or a playful pom-pom, these finishing touches allow you to express your personal flair as a crocheter. It’s the perfect opportunity to showcase your creativity while adding a functional element to your hat.
To create a brim, start by determining how deep you want it to be. A common depth is around 2-3 inches, but feel free to adjust it to your preference. Here’s how to crochet a simple brim:
- Pick Up Stitches: After finishing the main body of your hat, use your crochet hook to pick up stitches along the bottom edge. You might want to use a smaller hook to create a tighter edge.
- Work in Rows: Crochet in rows to create the brim. You can use single crochet or half double crochet, depending on the thickness you desire. Flip your work at the end of each row until you’ve reached your desired width.
- Finishing the Brim: Once you’ve reached the end of your rows, fold the brim up (or down, depending on your style), and either slip stitch it in place or attach it with a few stitches from the inside to keep it secure.
For the pom-pom, which adds a delightful pop of charm, follow these easy steps:
- Cut Yarn: Cut a length of yarn about 12 inches long for tying the pom-pom, then wrap your yarn around a piece of cardboard (or your fingers) about 30-40 times.
- Secure the Center: Carefully slide the wrapped yarn off and tie the center tightly with the piece you cut earlier, securing it well.
- Shape Your Pom-Pom: Trim the ends to create a fluffy sphere. Attach the finished pom-pom to the top of your hat using the remaining yarn tails, weaving in ends securely.
No matter how you choose to finish your hat, whether with a brim, a pom-pom, or both, the key is to have fun! Experiment with different yarn textures and colors to truly make the hat your own. You’ve already created something beautiful from scratch, so embrace this final step with joy and excitement! You’ve got this!
Troubleshooting Common Crochet Issues
When you’re pouring your heart into crocheting a hat, a few hiccups can feel daunting, but they’re all part of the crafting journey! Here’s a treasure trove of troubleshooting tips to help you navigate the common challenges and keep your creative spirit high. Remember, every crocheter encounters these issues; it’s all about how you tackle them!
One frequent problem is the hat being too small or too large. This often arises from misunderstanding stitch counts or gauge. If your hat feels too snug, try using a larger hook or adding a few extra stitches to your row count. Conversely, if it’s too loose, using a smaller hook or adjusting your tension can help. Don’t hesitate to reach out to your fellow crocheters in online forums or groups; they can offer insights based on their own experiences!
Another common issue is uneven stitches or holes in your work. If you notice this happening, it’s a good idea to take a moment to check your tension. Consistency is key in crochet! Each stitch should be uniform in size, so if you find yourself getting too tight or too loose, consciously adjust your grip or the way you wrap the yarn around the hook. Also, consider using a stitch marker to help keep track of your rounds; this can prevent confusion that leads to missed stitches.
Finally, if your hat ends up with a strange shape-like a hat that flares at the top or has wavy edges-don’t panic! This can often be fixed by blocking the hat after it’s completed. Simply wet the hat and shape it to the desired form, allowing it to dry. This technique can work wonders for achieving a polished and professional look! Remember, every step is a chance to learn, and the best part about crochet is getting to express your unique style. You’ve got this! Keep those hooks moving and let your creativity shine!
Advanced Tips: Personalizing Your Hat
Making your crochet hat truly your own is half the fun! Once you’ve got the basic pattern down, it’s time to explore ways to personalize it, turning a simple project into something that reflects your unique style. Personalization can be as straightforward as choosing the right yarn to intricate details like adding embellishments or unique stitches that give your hat a special flair. You can do this, and it’s easier than you might think!
Start by experimenting with different yarns. Opt for a plush, chunky yarn for a cozy winter hat, or try a lighter, cotton blend for a breezy summer accessory. Each yarn has its texture and drape, affecting how your hat feels and looks. Color selection is also crucial: play with bold hues, pastels, or patterned yarns. If you’re feeling adventurous, consider color pooling techniques, where you can create stunning patterns based on how the colors in the yarn distribute as you crochet.
Next, think about incorporating various stitches to give your hat an interesting texture. Instead of sticking to standard stitches, try a rib stitch for a stretchy fit or a puff stitch for a bit of puffiness. You can even mix different stitch patterns to create stripes or panels. Adding a simple border or a decorative edge can also elevate the overall look.
Adding accessories like a pom-pom, tassels, or even embroidery can personalize your hat further. A fluffy pom-pom on top can introduce a playful touch, while embroidered initials or motifs can make the hat feel uniquely yours. Don’t be afraid to experiment and try different combinations! Remember, there are no strict rules here, just opportunities to express your creativity. So grab your yarn, pick up that hook, and let your imagination run wild-it’s all about having fun and making something beautiful that truly represents you!
Resources and Community for Beginner Crocheters
Finding a supportive community can be a game-changer on your crochet journey, especially when you’re just starting out with projects like hats. Joining groups or forums dedicated to crocheting can provide not only inspiration but also answers to your burning questions. Whether it’s a local stitch-n-bitch gathering, an online forum, or social media groups, connecting with fellow crafters fosters camaraderie and can simplify your learning process. You can share photos of your project, ask for advice, and even trade yarn or patterns. Engaging with others who share your passion makes the craft even more enjoyable!
Online Resources for Learning and Inspiration
There’s a wealth of online resources at your fingertips! Websites like YouTube offer countless tutorials that can guide you through every stitch and technique. For instance, if you’re struggling with reading patterns or mastering a specific stitch, simply search for those terms on YouTube. You’ll find demos that break down complex processes into easy-to-follow instructions. Additionally, sites like Yarnspirations provide free crochet patterns ranging from beginner to advanced levels, giving you plenty of options to choose the perfect hat project for your skills and interests [[1]].
Local and Online Communities
Don’t underestimate the power of local yarn shops (LYS)! Many of them host classes, workshops, and social gatherings where you can meet other crocheters and learn in a supportive environment. If you prefer online interaction, Facebook has numerous crochet groups where members share their creations, offer tips, and provide encouragement. Platforms like Reddit also have dedicated threads for crochet enthusiasts, making it easy to dive into discussions about techniques, patterns, and yarns. Finally, consider following crochet influencers on Instagram or Pinterest for daily doses of creativity and motivation.
Remember, you are not alone in this journey. With each hat you make, you’re not only honing your skills; you’re becoming part of a vibrant community where every stitch tells a story. So grab your yarn, reach out to fellow crafters, and keep learning. You’ve got this!
Frequently Asked Questions
Q: What materials do I need to crochet a hat as a beginner?
A: To crochet a hat, you’ll need basic materials such as yarn, a crochet hook (usually size H or I for beginners), and scissors. Optionally, a yarn needle for weaving in ends and a measuring tape for fitting can be very helpful. Check out the section on Choosing the Right Yarn and Hook for more specifics.
Q: How long does it take to crochet a hat for the first time?
A: Crocheting your first hat typically takes 2 to 4 hours, depending on your speed and the complexity of the pattern. Starting with simple designs will help you build confidence and skill. Take breaks to avoid frustration!
Q: Can I use any type of yarn to crochet a hat?
A: While you can use various types of yarn, medium weight (worsted) yarn is ideal for beginners. It provides the right balance of thickness and ease of handling. Refer to the Choosing the Right Yarn section for suitable options.
Q: What is the easiest crochet hat pattern for beginners?
A: The easiest crochet hat pattern is often a basic beanie, as it requires only simple stitches like single crochet or double crochet and can be made flat or in the round. Check the Building the Base section for straightforward patterns.
Q: What common mistakes should I avoid when crocheting a hat?
A: Common mistakes include twisting your work when starting to crochet in the round and miscounting stitches. Always double-check your stitch count and take time to understand the Essential Crochet Techniques section to minimize errors.
Q: How do I know what size hat to crochet?
A: Measure the circumference of your head using a measuring tape-this will determine the size. For standard beanie sizes, about 20-22 inches is common, but consult the Creating the Perfect Fit section for exact measurements.
Q: What can I do if my crochet hat is too tight?
A: If your crochet hat is too tight, try using a larger hook for your next project to create looser stitches. You can also tweak the pattern’s starting chain length to add more stretch. For troubleshooting tips, see the Troubleshooting Common Crochet Issues section.
Q: How can I add decorations to my crochet hat?
A: You can personalize your hat by adding embellishments like pom-poms, buttons, or stripes. For creative ideas, refer to the Adding Creative Stripes and Colors section to get inspired on how to enhance your design.
Wrapping Up
Congratulations on taking your first steps into the wonderful world of crocheting a hat! Remember, with just a few basic materials and a little practice, you can create beautiful homemade accessories that show off your unique style. If you found this tutorial helpful, don’t forget to leave a comment below about your experience or any questions you might have. Your feedback motivates us to create even more beginner-friendly content!
For those ready to expand their skills, check out our next video on “How to Crochet a Scarf-Perfect for Beginners!” or explore our comprehensive guide on crocheting techniques. Don’t forget to sign up for our newsletter where you’ll receive exclusive tips, patterns, and updates straight to your inbox! Remember, you’ve got this, and we’re here to support your crafting journey every step of the way. Happy crocheting, and see you in the next project!
Get our latest guides, news, and insights highlighted in your Google Search & AI Overviews.