
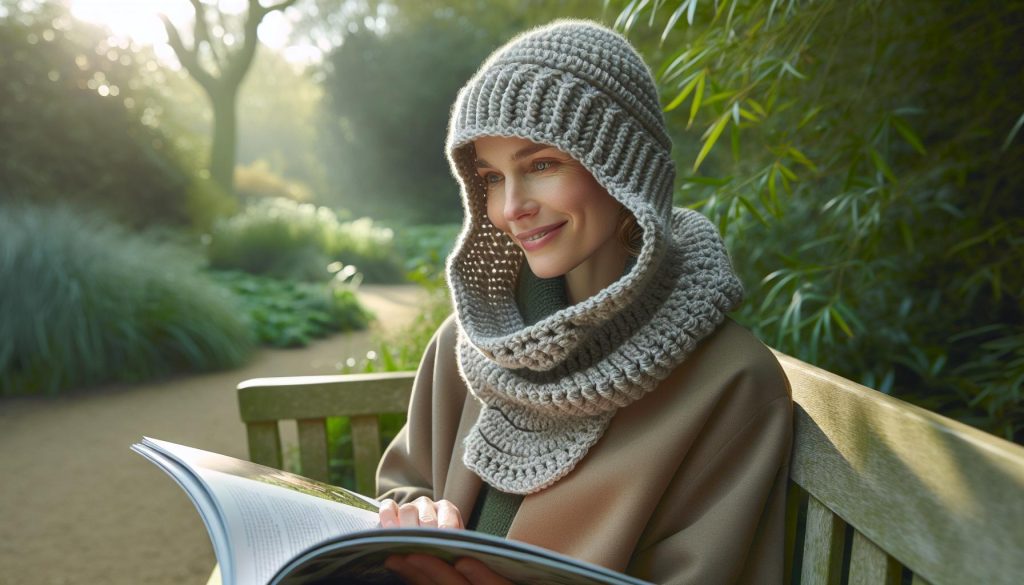
Imagine stepping out into a chilly day, wrapped in a cozy combination of a hat and scarf, all crafted by your own hands. In this guide, you’ll learn how to crochet a stylish attached hood and scarf combo, a perfect project for beginners and experienced crafters alike. This fun, creative endeavor not only enhances your skills but also results in a unique accessory that keeps you warm and fashionable.
Crocheting your own hat and scarf means you can customize colors and styles that reflect your personality while providing the warmth you need in colder weather. Plus, it’s a fantastic way to unwind and express your creativity. With clear steps, helpful tips, and all the essentials laid out for you, this project is approachable and rewarding. So, grab your yarn and hook-let’s dive into creating a beautiful attached hood and scarf combo that you’ll love to wear and showcase. You can do this!
Understanding the Materials: What You’ll Need
When you embark on the delightful journey of crocheting a hat scarf combo with an attached hood, gathering the right materials is essential for making the process smooth and enjoyable. You’ll want to start with your choice of yarn, which not only contributes to the overall look but also affects how warm and comfortable your creation will be. A medium weight yarn, such as worsted weight or bulky yarn, is often ideal for this type of project, providing just the right amount of warmth without making it overly heavy. Look for yarns made from acrylic blends or wool, as they offer both softness and insulation.
Next, equip yourself with the essential tools to turn your yarn into a beautiful hat scarf. You’ll need a crochet hook, typically a size H (5.0 mm) or I (5.5 mm) for worsted weight yarn, but always refer to your yarn label for specific recommendations. A measuring tape will help ensure your pieces are the right size, while scissors will come in handy for finishing your project. Don’t forget a yarn needle for weaving in the ends-a crucial step that not only tidies up your work but also helps secure your stitches.
For those looking to add personal flair, consider including embellishments like pom-poms or appliqués, which can easily transform your basic hat scarf into a unique fashion statement. Use stitch markers to keep track of your progress and ensure an even design throughout your work. Remember, gathering all these materials before you start not only sets the stage for a successful project but also enhances the creative experience. So, prepare your workspace, lay out your materials, and get ready to create something truly special-you can absolutely do this!
Choosing the Right Yarn for Your Hat Scarf
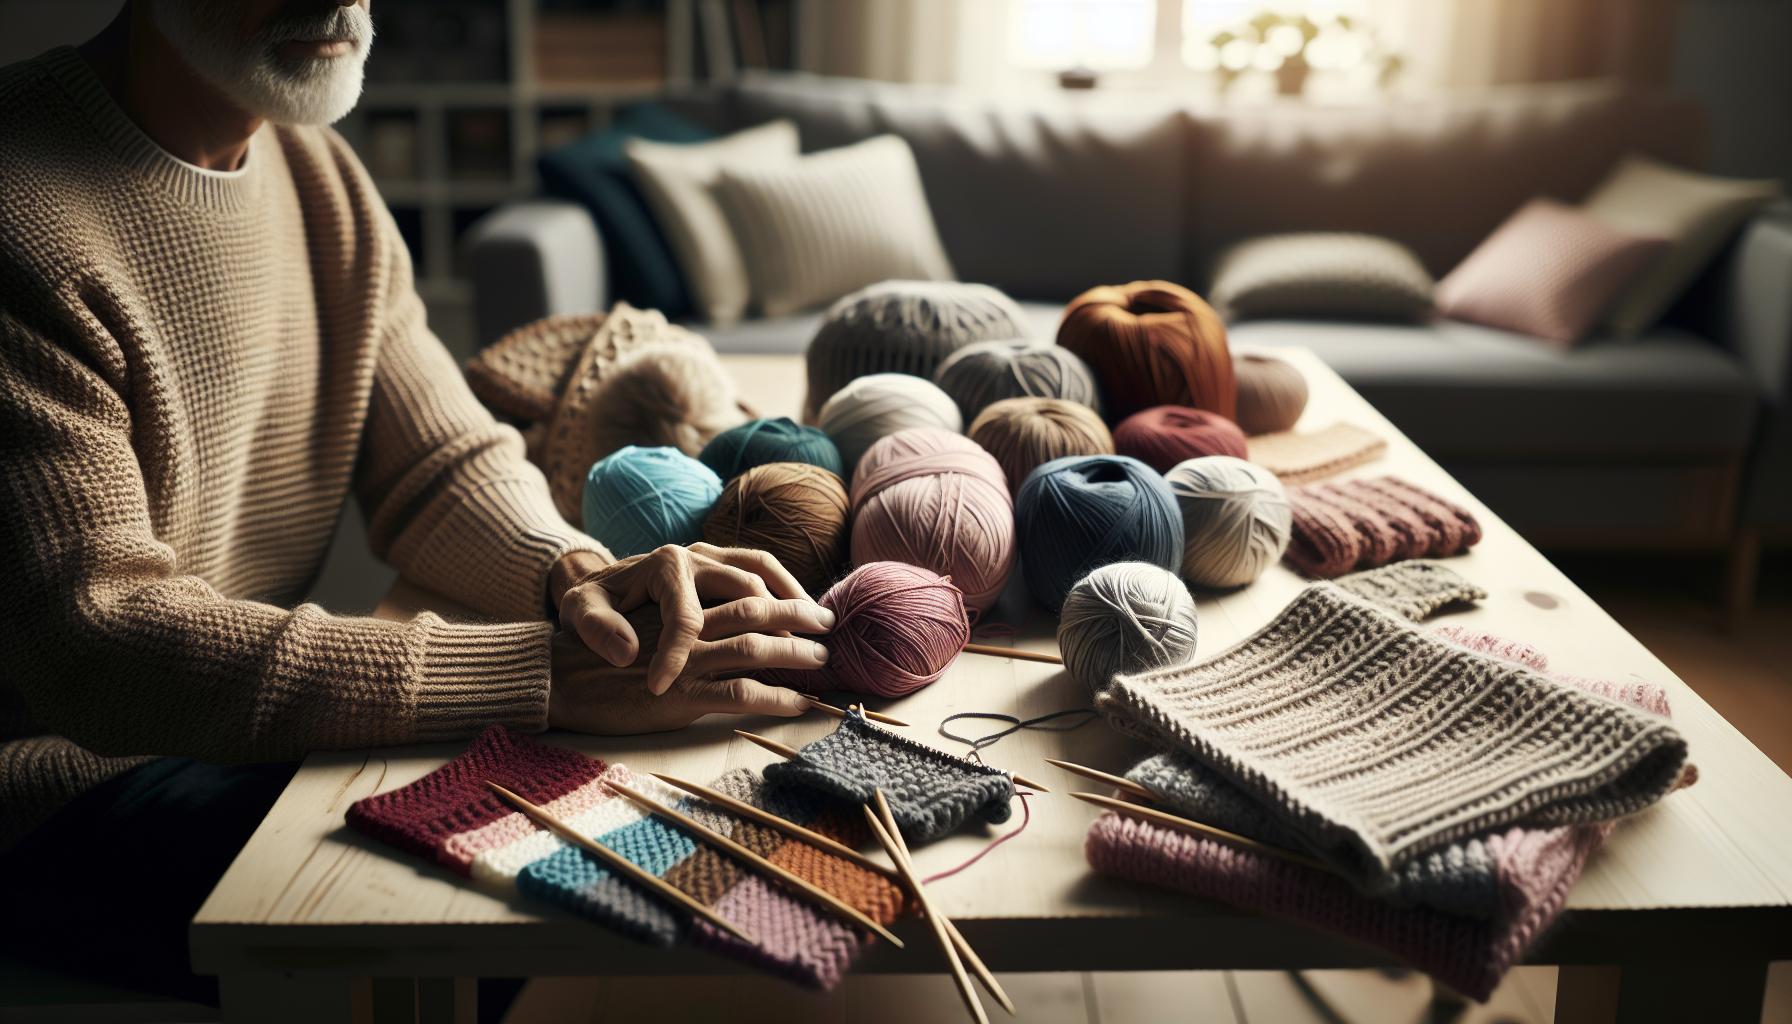
When selecting the perfect yarn for your hat scarf combo with an attached hood, think of it as the foundation of your project. The right yarn not only influences the look but also greatly impacts the comfort and warmth of your finished piece. For a cozy and snug experience, medium weight yarns, such as worsted weight or bulky yarn, are excellent choices. They provide warmth without the heaviness that can make wearing multiple layers cumbersome. Plus, these yarns work up quickly, which is a bonus if you’re eager to see your creation come to life!
When it comes to fiber content, consider the climate in which you’ll be wearing your hat scarf. Yarn made from acrylic blends is not only soft and comfortable but also incredibly durable and easy to care for. Alternatively, wool or wool blends offer natural insulation and breathability. If you have sensitivity to certain materials, a good acrylic or bamboo blend can provide that gentle touch against your skin. For a fun twist, look for self-striping yarns that can add a beautiful color pattern without the need for changing skeins.
Yarn Selection Tips
Here are some tips to help you choose the right yarn:
- Check the Label: Always refer to the yarn label for the recommended hook size and care instructions.
- Color and Texture: Choose colors that resonate with your style. Textured yarns can add visual interest to your project.
- Test a Swatch: Crocheting a small swatch helps you ensure that you’re satisfied with both the yarn’s texture and drape.
Remember, choosing yarn is all about personal preference and the vibe you want for your finished hat scarf. The variety of yarn available today means there’s something for everyone, whether you prefer elegant neutrals, vibrant colors, or playful prints. So, gather your materials, let your creativity flow, and embrace the joy of crocheting something uniquely yours-you can do this!
Essential Crochet Tools for Your Project
To embark on your exciting journey of crocheting a hat scarf with an attached hood, you’ll need a few essential tools that will make the process smooth and enjoyable. Having the right tools not only makes crocheting easier but also enhances your crafting experience, allowing you to focus more on creativity than on frustrations.
The first must-have is a good crochet hook. For most worsted-weight yarns, a hook size between G (4.0 mm) and J (6.0 mm) will work well. If you’re brave enough to switch to thicker yarns for extra warmth, consider using a larger hook. It’s also wise to have a couple of hooks in different sizes on hand, as gauge can vary between yarn brands.
Next, don’t forget about yarn needles! These large-eyed needles with blunt tips are perfect for weaving in your ends neatly, ensuring that your project looks polished and professional. Scissors are another practical tool that will be invaluable as you cut yarn and snip away any pesky loose threads. If you’re someone who loves to keep track of your progress, a measuring tape or ruler will help you ensure your scarf and hood are the perfect lengths.
Extra Tools to Consider
- Stitch Markers: These are great for keeping track of specific stitches, especially when you’re working on complex patterns or increasing stitches for the hood.
- Row Counters: If you tend to lose your place (we’ve all been there!), a row counter is a simple way to keep track of how many rows you’ve completed.
- Blocking Mats: Once you finish, blocking your hat scarf will help define your stitches and give it a beautiful finish – especially important for decorative work.
With these tools in hand, you can tackle your hat scarf project with confidence. Every stitch will bring you closer to your cozy creation, and remember: every maker started somewhere. Whether you’re crafting for yourself or someone special, enjoy each moment and know that you can do this!
Step-by-Step Guide: How to Crochet the Attached Hood
Crocheting an attached hood to your scarf can create a wonderfully cozy accessory perfect for chilly days. This innovative design not only keeps your head warm but also adds an element of style to your winter wardrobe. Best of all, this project is accessible for all skill levels, giving you the chance to express your creativity while crafting something functional. Gather your materials, and let’s jump into the steps to crochet your own cozy hood.
Begin by making a foundation chain that matches the width of your scarf. For instance, if your scarf is 10 inches wide, chain enough stitches to reach this length, usually around 40-60 stitches depending on your tension and yarn type. Once your foundation is established, it’s time to create the hood itself. Work in rows using a combination of double crochet and half double crochet stitches to build a structured, yet soft fabric. Aim for a height of around 8 to 12 inches, depending on how deep you want your hood to be.
To attach the hood to your scarf, simply align the top edges of your hood with the bottom edge of your scarf. Using slip stitches, join the two pieces together. Make sure your seams are secure, as this area will see a lot of movement. Once attached, you can add a decorative edge or border to both the scarf and hood for a polished finish. Experimenting with different stitch patterns or even adding fringe can make your creation truly unique.
As you progress, remember that the joy of crochet lies in the journey, not just the final product. Don’t hesitate to adjust your stitches, try new colors, or incorporate different textures. Every little change brings your personality into the piece, making it your own. Plus, with every completed row, you’re one step closer to enjoying your lovely new winter accessory! You can do this, and the warmth of your handmade creation will be worth every stitch.
Creating the Scarf Portion: Techniques and Tips

Creating a cozy and stylish scarf portion for your hat scarf combo is an exciting part of this crochet project that allows you to express your creativity while keeping warm. Whether you’re a seasoned crocheter or just starting out, this part of the project is accessible and allows for plenty of personalization. Let’s dive into the techniques and tips to make your scarf truly shine!
Start with the foundation chain as it sets the stage for your entire piece. The length of your chain should correspond to how wide you want your scarf to be. A good rule of thumb is to chain about 10 to 12 inches wide, which usually translates to 40-60 chains depending on your yarn and hook size. Once you’ve established your foundation, choose your stitch pattern. Half double crochet stitches are perfect for adding warmth and texture, while a simple double crochet stitch can provide a more open and airy feel. Using a combination of both can help create visual interest and a lovely drape.
As you crochet the rows, remember to keep your tension consistent-this will ensure your scarf has a uniform look. You can personalize your scarf by incorporating stripes or color blocks. Just swap yarn colors as you go, and don’t worry about being too precise; this method celebrates the handmade look! Adding textures through different stitches, like front or back post double crochet, will also enhance the overall design. As you progress, don’t hesitate to create a scalloped or ribbed edge for that added touch of finesse.
Once your scarf achieves the desired length-about 60-80 inches is ideal-you can begin considering the finishing touches. Fringes or tassels tied at the ends can create a playful vibe. If you want something a bit more polished, try adding a border all around using slip stitches or a contrasting yarn to frame your scarf nicely. This is also a good time to reflect on how it will pair with the hat and the attached hood you’ve created.
Remember, every crochet project is a journey of self-expression. The beauty of this craft lies in the ability to make something uniquely yours. Enjoy the process, embrace the little mistakes, and celebrate the progress you make with each stitch. Together, your scarf and hat will not only keep you warm but also serve as a testament to your creativity and hard work! Happy crocheting!
Adding Unique Designs: Customizing Your Hat Scarf
Getting creative with your crochet projects not only brings a personal touch but also makes the process incredibly enjoyable. When it comes to customizing your hat scarf combo, the world is your oyster! Whether you’re looking to add colorful elements, unique textures, or playful motifs, there are countless ways to make your creation stand out. Embrace the chance to showcase your personality through these fun styling tips and tricks.
One of the easiest and most impactful ways to customize your hat scarf is by playing with color. You can opt for a gradient effect, where the colors shift gradually from one shade to another, or use a contrasting color for borders and detailing. Imagine a cozy cream hat scarf with a vibrant burgundy border-that visual pop can truly elevate your project. You can also incorporate various color patterns, such as stripes or checks, which not only look great but also help you practice different crochet techniques. Don’t hesitate to mix yarns of varying textures-that combination can create depth and interest in your piece.
Another fantastic approach is to experiment with stitch patterns. If your project uses basic stitches, try incorporating popcorn stitches or shell stitches to add dimension. You can even create small design elements, like flowers or stars, using basic embroidery or appliqué techniques to attach to your scarf and hat. Each added detail not only personalizes the piece but provides an opportunity to enhance your crochet skills simultaneously, making it a rewarding challenge.
Remember, the beauty of crochet lies in its versatility. You could choose to add pockets to your scarf for functionality-a great spot to tuck your hands into during chilly weather! Don’t shy away from adding embellishments, such as buttons or decorative pins, which are simple yet effective ways to personalize your items. As you stitch, keep in mind that each choice you make is a step in your creative journey. Your hat and scarf will reflect your style and serve as a cherished accessory for years to come, reminding you of the joy of crafting and the personal touches you imbue within your work. You can absolutely do this-let your imagination run wild!
Troubleshooting Common Crochet Issues
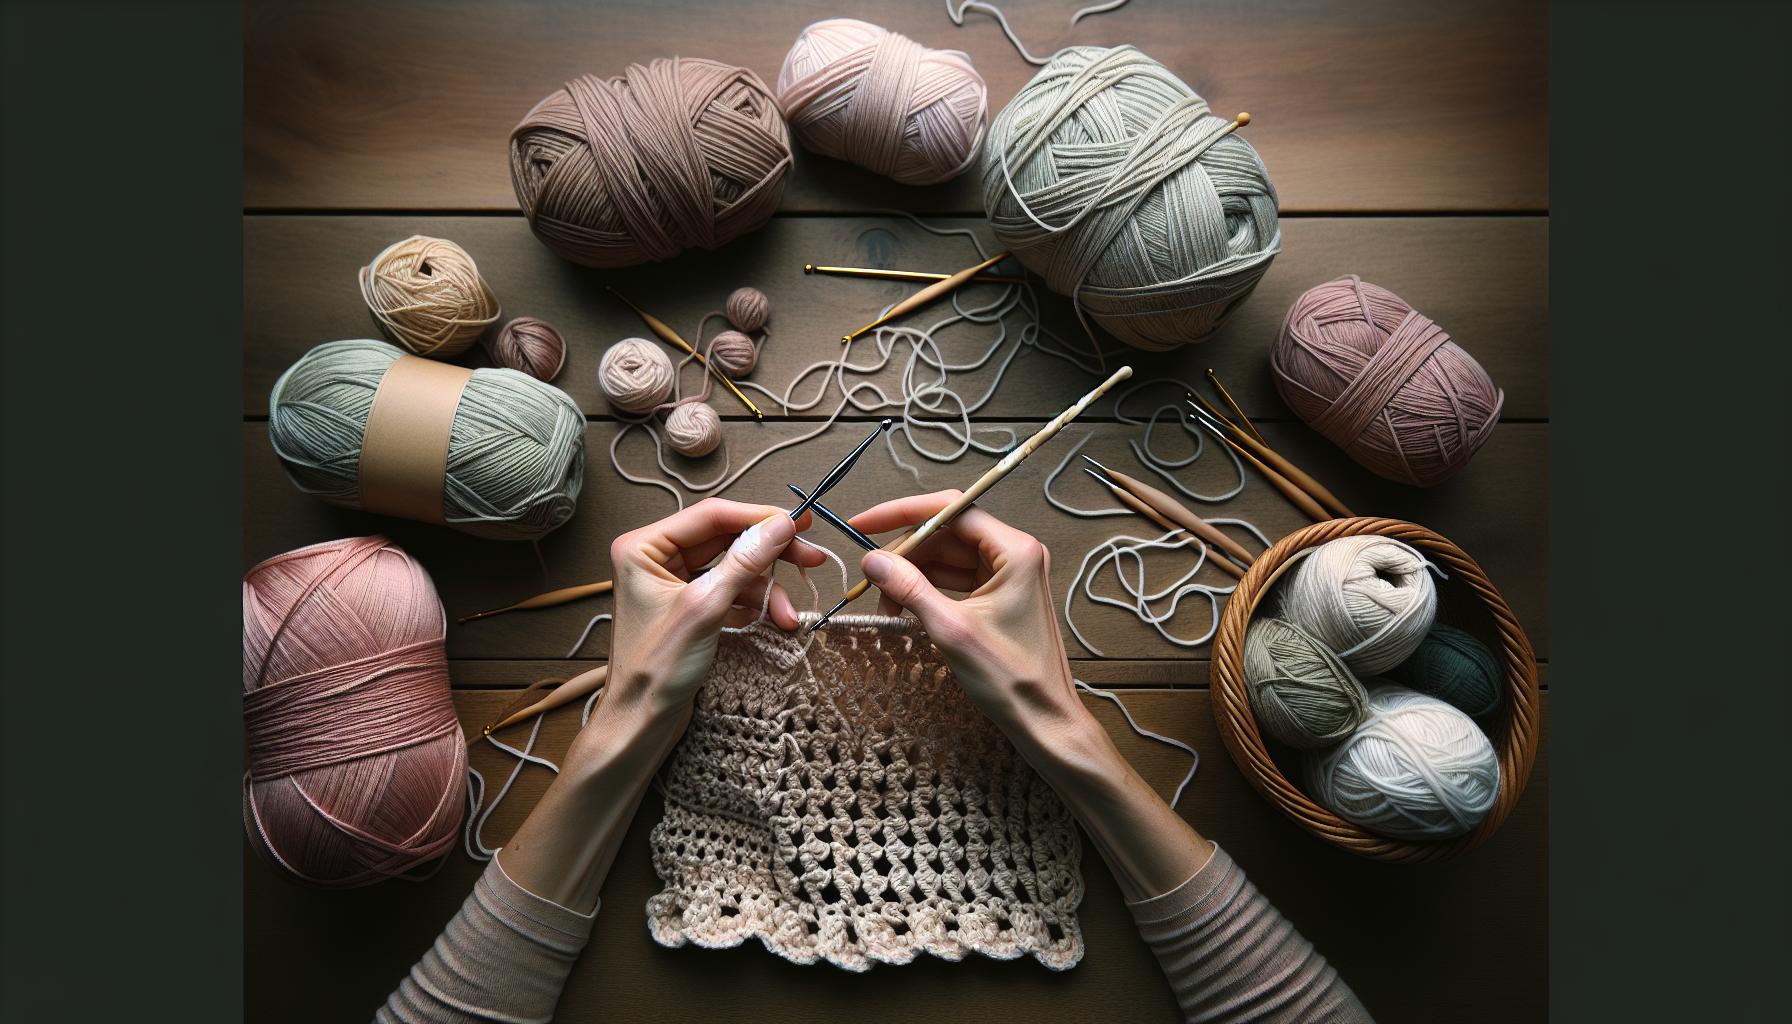
Crocheting can be a joyous and fulfilling craft, but even the most enthusiastic makers can run into a few hiccups along the way. When creating a hat scarf combo, it’s vital to be prepared for common issues that can arise. Luckily, many of these problems have straightforward solutions, allowing you to keep your project moving forward with confidence. Here, we’ll delve into some frequent crochet challenges and how you can overcome them.
First, let’s consider the dreaded loose or uneven tension. This tends to happen when you’re getting comfortable with your crochet rhythm. To fix this, regularly check how tightly or loosely you’re holding the yarn as you work. A quick tip is to practice a tension swatch before jumping into your hat scarf. Chain a few rows of stitches and assess your tension-adjust your grip until you find a balance that feels comfortable and consistent. Remember, maintaining even tension will help your final piece look cleaner and more polished.
Another common issue is shaping-especially for the hood of your hat scarf. If you find that your hood is turning out too small or too large, don’t panic! Measure your work against your head circumference before you finish the hood section. If you’re nearing the end and it’s too small, you can always add a few more rows of stitches to accommodate your size. Conversely, if it appears too large, consider adding a few decreases to your next round and tightening your stitch count. Small adjustments like these can make a big difference in achieving the fit you desire.
Don’t forget about those pesky mistakes during stitching, like accidentally skipping stitches or miscounting. This often leads to unexpected gaps or uneven patterns. If you notice an error, take a deep breath-you’ve got this! You can frog (rip out) a few rows back to where the mistake occurred. Use a stitch marker to keep track of where you are, and don’t hesitate to count your stitches frequently as a preventative measure. Embracing the process means being kind to yourself when things don’t go perfectly!
By recognizing these common crochet hurdles and knowing how to tackle them, you’ll cultivate a sense of confidence as you craft your hat scarf combo. Remember, every maker encounters challenges, and each one is an opportunity to learn and improve your skills. So grab your hook, keep these tips in mind, and enjoy the creative journey!
Finishing Touches: Weaving in Ends & Blocking
Completing your crochet hat and scarf combo is such an exhilarating moment, but the finishing touches are what truly elevate your project from good to great! Taking the time to weave in the ends professionally and blocking your piece will not only enhance its appearance but also ensure durability. Let’s dive into some simple yet vital steps for achieving that polished look.
Start with weaving in the ends. This step is essential for a clean finish. Using a tapestry needle, thread the loose yarn tails into the adjacent stitches-this helps to secure them while keeping your work looking seamless. Make sure to go back and forth a few times with each tail and trim any excess length when you’re done. For the best results, aim to weave the ends into the same color sections of the yarn to minimize visibility.
Next up is blocking. While blocking might sound intimidating, it’s a straightforward process that can dramatically improve the shape and drape of your crochet. To block your project, simply dampen it gently with water-you might spritz it lightly or soak it briefly depending on the fiber type for your hat and scarf. Then, lay it flat on a clean towel to shape it according to your desired dimensions. Using pins, you can secure specific points or edges to define the shape better, which is especially helpful if you made stitches with a lot of texture. Let it dry completely before unpinning to maintain your adjustments.
Finally, enjoy the moment of admiration. Once your hat scarf combo is complete and looking fabulous, take a moment to appreciate your hard work! Whether you wear it yourself or gift it to someone special, the joy of seeing a completed project is truly rewarding. Keep in mind that variations in fiber may slightly change how your piece holds its shape, but this creativity is part of the fun in your crochet journey. Happy crafting, and remember-you’ve got this!
Styling Your Hat Scarf: Fashion Tips and Ideas
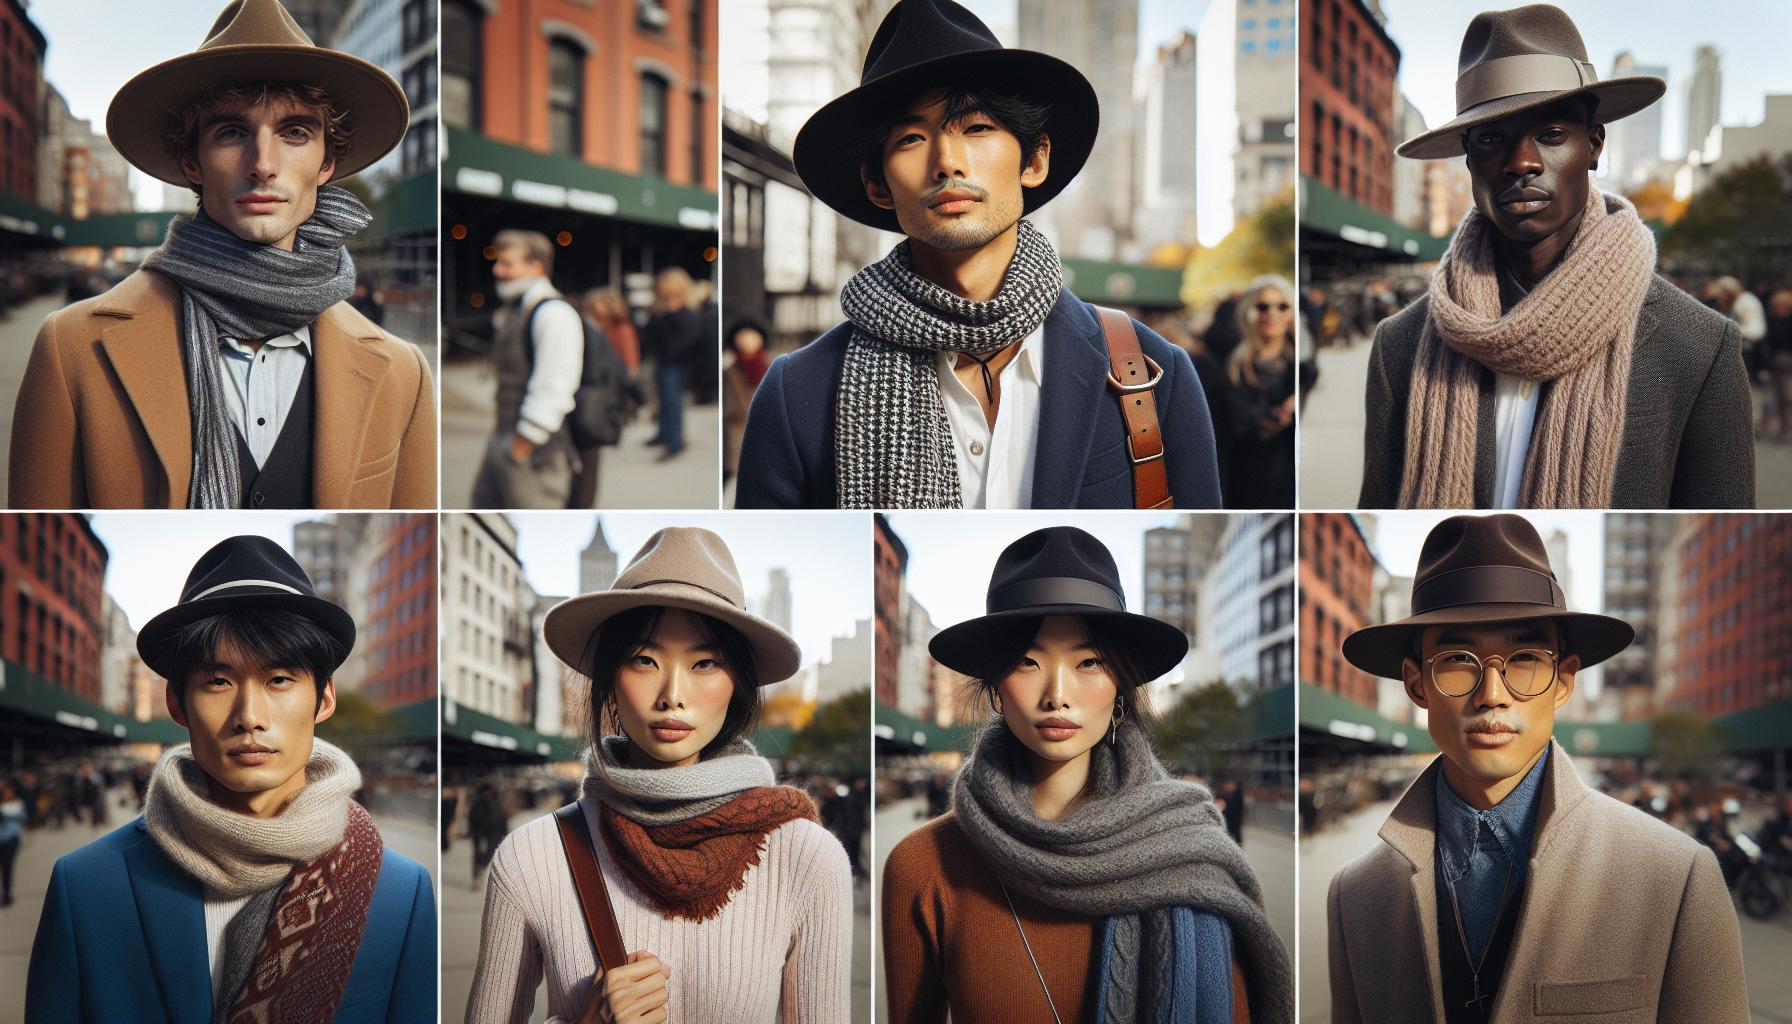
Wearing your handmade hat scarf combo is not just about warmth; it’s an opportunity to showcase your creativity and style! Whether you’re heading out for a winter walk or lounging by the fireplace, your crochet creation can make a bold statement. Let’s explore some fashion tips to make the most of your stylish accessory.
To make your hat scarf truly pop, consider the color palette. Choose hues that complement your winter wardrobe. If you love neutral tones, don’t shy away from adding a splash of color with a bright scarf or hat to create a striking contrast. Use bold patterns or two-toned techniques in your crochet to add texture and visual interest. For instance, pairing a vibrant scarf with a solid-colored hat can create a fun balancing act that lifts your entire look.
Accessorizing with Confidence
When styling your hat scarf combo, think of layering. Pair it with a stylish coat or jacket-be it a classic trench, a chic puffer, or a cozy knit cardigan. Let your scarf drape casually around your neck, in front or wrapped once for a more structured silhouette. Experiment with how you wear your hat, too. A beanie pulled down slightly over your ears gives off a relaxed vibe, while a fitted beret can lend a touch of elegance to your outfit. Remember, the fit of the hat can dramatically change the overall look, so choose a style that resonates with your personality.
Showcasing Your Unique Style
Don’t hesitate to incorporate other accessories such as gloves or earmuffs that match or contrast your crochet pieces. Consider a matching pair of mittens to create a harmonious look, or try a bold pair of snowflake-patterned gloves for added flair. Playing with proportions is also key-if your scarf is chunky, go for a simpler hat style. Conversely, if your hat has lots of details, opt for a more understated scarf.
Ultimately, trust your instincts and wear your crochet pieces with confidence! Creating these unique items is a labor of love, so flaunting your handmade accessories not only highlights your crafting skills but also reflects your personal style. Embrace the joy of combination, layering, and accessorizing, and remember-you’ve created something special that no one else will have. Happy styling!
Caring for Your Crochet Creations: Maintenance Tips
Taking care of your crochet creations, especially your gorgeous hat scarf combo, not only keeps them looking fabulous but also extends their life. Treat your handmade items with the same love and care you put into creating them. After all, a few simple maintenance steps can preserve the integrity of your work and ensure that you enjoy wearing your beloved pieces for many seasons to come.
Start by understanding the materials you’ve chosen. If you used wool, acrylic, or a blend, each fiber has its own specific needs. Always check care labels on the yarn for washing instructions; this will guide you on whether your item can withstand machine washing or if it needs a gentle hand wash. When it’s time to clean your hat scarf, opt for cool water and a mild detergent. Avoid bleach, as it can damage the fibers. Lay your item flat to dry instead of hanging it, which can stretch out the shape.
Storage Strategies
When the chilly season rolls around and it’s time to tuck your hat scarf combo away, storage is crucial. Keep your creations in a cool, dry place away from direct sunlight, which can cause colors to fade. A breathable cotton bag works wonders for keeping dust at bay. Also, consider using cedar blocks or lavender sachets to deter moths-no one wants unwelcome little critters munching on their hard work!
It’s also smart to give your items a quick inspection each season. Look out for loose threads or any signs of wear and tear. If you spot a loose thread, gently pull it back into place and secure it with a tiny stitch if needed. A quick comb with a fabric shaver can work wonders for any pilling that arises from regular wear. Remember, your handmade pieces are investments, and a little upkeep goes a long way in keeping them looking brand new.
Embrace these caring habits, and your crochet hat scarf combo will remain a vibrant and stunning addition to your wardrobe for years to come. Because each stitch you’ve crafted holds a story, and preserving that story makes every moment spent crocheting even more worthwhile. Happy crafting and caring!
Inspiring Ideas: Variations on the Hat Scarf Combo
Explore the endless possibilities of crafting your very own hat scarf combo! This lovely accessory is not just about keeping warm; it reflects your individual style and creativity. The best part? You can customize it in countless ways, ensuring that your creation is as unique as you are.
One fantastic variation is to experiment with yarn textures and colors. For a vibrant, playful look, consider using multiple yarns, such as a funky multicolored yarn for the scarf section and a solid coordinating color for the hat. You could even try out different yarn weights to achieve contrasting effects. A chunky scarf paired with a finer hat can create stunning visual interest. Moreover, consider using textured stitches in certain areas. For example, a popcorn stitch can give your scarf a delightful three-dimensional effect while simple double crochets keep it smooth and stylish.
You might also want to integrate functional features like pockets or buttons into your design. Adding a small pocket to your scarf for storing essentials like lip balm or a small key can be incredibly practical. Additionally, incorporating buttons can allow you to adjust the scarf’s fit or even transform it into a piece that doubles as a wrap for cooler evenings. Just think of the convenience, especially when you’re out and about!
Lastly, don’t shy away from incorporating playful embellishments. Think about adding appliqués-such as flowers, leaves, or whimsical shapes-on your hat or scarf. These personalized touches can make your piece stand out and showcase your personality. Alternatively, consider embroidery to add patterns or initials that signify your journey as a crafter. Embrace these creative variations, and remember, the joy of crafting lies in the freedom to express yourself. You can do this! Happy crocheting!
FAQ
Q: What is the best way to start crocheting a hat scarf combo?
A: To start crocheting a hat scarf combo, gather your materials and choose a simple pattern. Begin with a chain stitch for your foundation. Following a step-by-step guide will help you shape both the hat and scarf parts effectively. Focus on mastering basic stitches first.
Q: How long does it typically take to crochet a hat scarf combo?
A: Crocheting a hat scarf combo usually takes between 4 to 8 hours, depending on your skill level and the complexity of the design. Allocate extra time for practice and troubleshooting, especially if you are new to crocheting.
Q: Can I crochet a hat scarf combo without a pattern?
A: Yes, you can crochet a hat scarf combo without a strict pattern by using basic crochet stitches. Start with the desired dimensions for your hat and scarf and adjust as needed. Use creativity to combine colors and textures.
Q: What are some common mistakes when crocheting a hat scarf combo?
A: Common mistakes include incorrect stitch counts, tension issues, and not checking gauge. Make sure to count your stitches regularly and practice consistent tension throughout the project for a polished finish.
Q: How do I choose the right yarn for my hat scarf combo?
A: Choose a medium-weight yarn for its versatility and comfort. Look for soft, durable fibers suitable for wear. Consider the climate; warm and chunky yarns are great for colder weather, while lighter yarns work well for transitional seasons.
Q: What’s the best method to finish my crochet hat scarf combo?
A: To finish your crochet hat scarf combo, weave in ends using a yarn needle, and block the item to shape it properly. This final touch enhances appearance and ensures it lays flat and looks professional.
Q: How can I customize my hat scarf combo?
A: Customize your hat scarf combo by experimenting with different stitch patterns, colors, and embellishments like pom-poms or appliques. Personalizing your project makes it unique and adds a fun touch to your creations.
Q: What technique should I learn to make my hat scarf combo more interesting?
A: Learning to incorporate various stitch techniques, such as bobbles or shells, can add texture and visual interest to your hat scarf combo. Explore tutorials on these stitches to enhance your skills and creativity.
Key Takeaways
Congratulations on completing your beautiful crochet hat scarf combo! You’ve turned yarn into a cozy masterpiece that not only keeps you warm but also showcases your crafting talents. If you loved this project, dive deeper into our collection of crochet tutorials for more inspiring patterns like the matching scarf and hat tutorials or check out our DIY crochet hat and scarf patterns for your next creation.
Feeling inspired? Don’t wait-gather your yarn and get started on your next project today! And remember, every crocheted piece is a step towards mastering this enjoyable craft. If you have any questions or need advice, drop a comment below. We love hearing from you! For even more crochet wisdom, sign up for our newsletter to stay updated on all things crochet. Your journey in crafting has just begun-embrace it!
Get our latest guides, news, and insights highlighted in your Google Search & AI Overviews.