
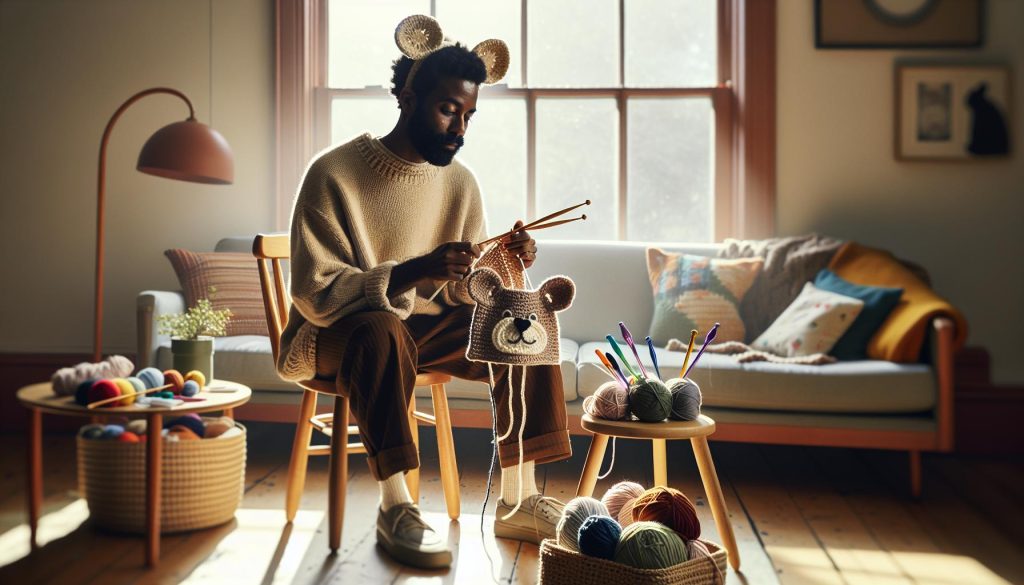
Crocheting a hat with adorable animal ears is a delightful way to bring some whimsy to your child’s wardrobe. Not only will these charming hats keep little ones warm, but they also spark joy and imagination, making them perfect for playtime or special occasions. Whether they’re a puppy, kitten, or bear, kids adore wearing hats that reflect their favorite animals, and creating one can be a fulfilling project for crafters of all skill levels. With just a few basic crochet skills, some colorful yarn, and a little patience, you can craft a hat that delights both you and the kids in your life. In this guide, we’ll walk you through the process step by step, ensuring that you feel confident and excited to create something truly special. Ready to dive in? Let’s explore the joy of crocheting a hat with ears that your kids will absolutely love!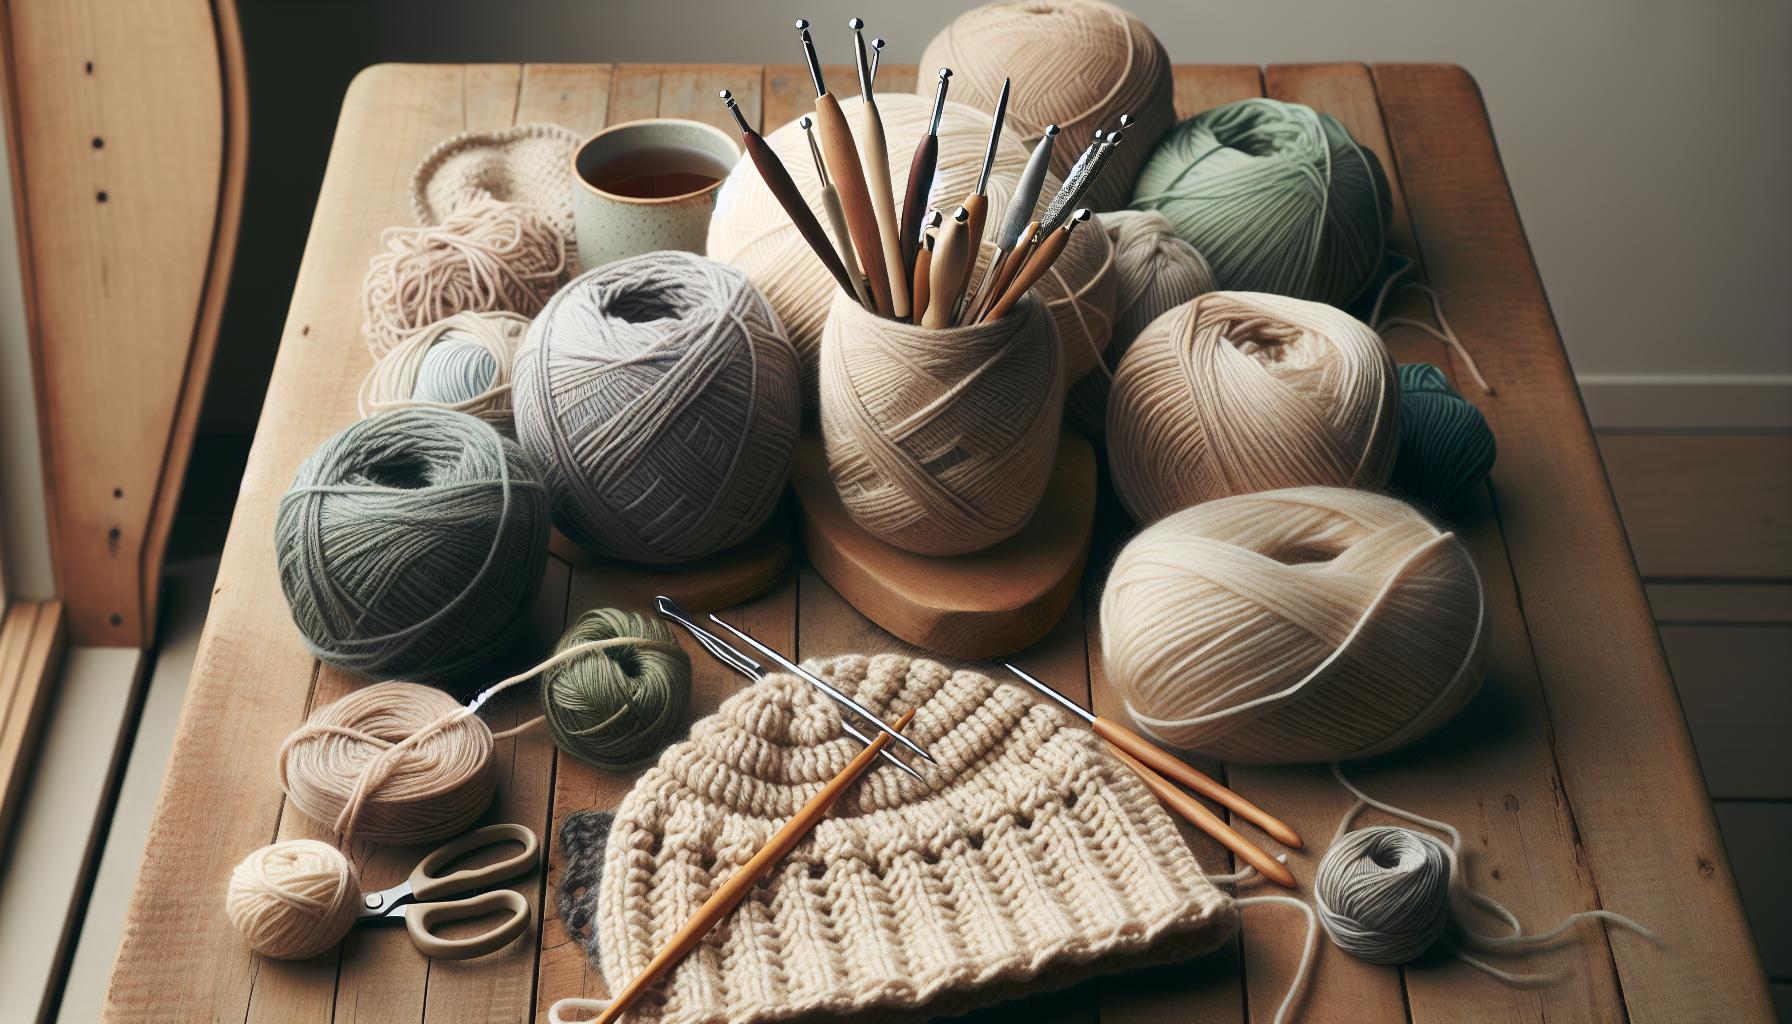
Choosing the Right Yarn and Tools for Your Crochet Hat
When embarking on the delightful journey of crocheting a hat with ears, selecting the right yarn and tools makes all the difference. The yarn is not just the fabric of your creation but also influences the hat’s warmth, texture, and overall appeal. For playful animal characters that children adore, consider using soft, durable yarns like acrylic or wool blends. These materials are easy to work with, resistant to pilling, and available in a rainbow of colors to create those vibrant, whimsical designs.
Yarn Choices
Look for yarns labeled as “worsted weight” or “medium” for a balanced stitch definition that holds its shape while maintaining comfort. Here are a few recommended options:
- Red Heart Super Saver: Affordable, machine washable, and comes in a vast color selection.
- Caron Simply Soft: A soft, lustrous yarn that feels lovely against the skin and drapes beautifully.
- Bernat Softee Baby: Perfect for baby-friendly projects, soft and gentle against delicate skin.
Choosing the right tools is equally essential. A good crochet hook in a size that complements your yarn choice will ensure even, consistent stitches. For medium weight yarns, a size H (5.0mm) or I (5.5mm) hook usually works well. Additionally, consider having stitch markers handy-they can help you keep track of rounds and ensure your cute ears line up perfectly.
Essential Tools
To make the process smoother, gather these items before you start:
- Crochet hook (size according to yarn)
- Scissors
- Tapestry needle for weaving in ends
- Stitch markers
- Measuring tape
With the right materials and tools in hand, you’re well-prepared to craft that charming hat with ears that kids will love! Enjoy the vibrancy of colors and the tactile joy of crocheting-it’s a rewarding experience that brings smiles to faces of all ages. Remember, you can do this, and every stitch brings you closer to your adorable creation!
Essential Crochet Stitches for Hat Making
Creating a charming hat with ears for kids is not only fun but also a fantastic way to explore various crochet stitches. The right stitches will give your hat structure and style, making it an enchanting wearable piece. To craft your animal-themed hat, you’ll primarily be using basic stitches that are perfect for beginners while allowing more experienced crocheters to show some flair.
The foundation of your hat will often start with a simple chain stitch (ch), which is the building block of all crochet projects. From there, the single crochet (sc) stitch is a go-to choice for creating a snug, comfortable fabric. For a bit more height and a faster project, you might want to use the half double crochet (hdc) stitch, which provides a lovely texture and works up quickly. Keep in mind that using these stitches in the round is essential for a seamless finish. To achieve this, simply join your starting chain into a circle and continue working in a spiral or in joined rounds, depending on your preference.
When adding those adorable ears, you can use a combination of the double crochet (dc) stitch for fluffier, taller designs or stick with single and half double crochets for a more compact look. Each stitch you choose will influence the overall appearance and warmth of the hat. You can experiment by changing stitches halfway through to create stripes or texture variations-imagine a bear with plush ears or a bunny with fluffy tips!
Don’t forget about the importance of slip stitches (sl st) for seamless joins when finishing up or attaching your ears. They provide a clean, polished finish. Remember, the key to mastering these stitches is practice-so don’t hesitate to try variations that bring out your creativity. You’ve got this, and each stitch will take you closer to creating a hat that kids will adore!
Step-by-Step Instructions to Make a Basic Hat
Creating a basic hat is an exciting opportunity to unleash your creativity while making something special for a child. With just a few materials and some simple techniques, you can crochet a delightful hat that not only keeps them warm but also transforms them into their favorite animal character. Whether you’re new to crocheting or a seasoned pro, the joy of crafting this piece will be evident in every stitch. Let’s jump into the process!
Start with your materials. Gather your yarn, typically a soft, worsted-weight yarn is ideal for comfort, and choose a crochet hook that fits the yarn weight-usually a size H/8 (5mm) works well. You’ll also need scissors, a yarn needle for weaving in ends, and stitch markers to help keep your place. Allocate around 2 to 3 hours for this project, depending on your skill level and the complexity of your design.
Step-by-Step Instructions:
- Create the Magic Ring: Begin by making a magic ring to start your hat. This will provide a tight center and help you avoid any gaps.
- Round One: Chain 2 (this counts as your first double crochet) and then work 12 double crochets (dc) into the ring. Pull the tail to close the ring tightly and slip stitch (sl st) into the top of the beginning chain to join.
- Increase Rounds: For the next few rounds, you’ll need to increase your stitches. In each round, you should increase by making two double crochets into each stitch from the previous round. Continue this until the hat measures the desired circumference (typically 18-20 inches for a child).
- Body of the Hat: Once you reach the right size for the base, switch to regular double crochet stitches without increasing. Keep working in this round until the hat reaches the desired height-around 6 to 7 inches is common for kids’ hats.
- Finishing the Top: To create the finishing rows, you can decrease stitches to shape the crown. Every other row, alternate between reducing and maintaining your stitch count.
- Adding Ears: Once the body is complete, it’s time to add the animal ears. Create two small ear shapes by working into rows or rounds separately and sewing them onto the hat once finished. Be sure to use various techniques depending on the type of animal ears (e.g., rounded for a bunny or pointy for a cat).
- Finishing Touches: Weave in any remaining yarn tails to ensure a polished look. You can also attach embellishments such as buttons or bows to give your hat a unique look.
Remember, this is your creation! Feel free to personalize it by using different colors or adding fun features, such as a pom-pom on top or decorative stitches. With each step, take your time and enjoy the process. Hats like these not only keep kids warm but also ignite their imaginations-so don’t hesitate to experiment. You’ve got this!
Adding Animal Ears: Easy Techniques to Try
Creating adorable animal ears is not only the cherry on top of your crochet hat project, but it’s also a fantastic way to express your creativity! Kids adore the whimsical touch that these ears add, and the best part is, you can make them easily with just a few simple techniques. Whether you want to craft pointy cat ears or rounded bunny ears, the process is fun and straightforward.
Start by deciding on the shape of the ears based on your animal character. For cat ears, a triangular shape works best, while bunny ears should be a bit wider and rounded. You can crochet the ears separately, using basic stitches like single crochet or double crochet. Aim for a small swatch, around 4-5 inches tall, for the ears so they stand out but aren’t overwhelming. Using a contrasting yarn for the insides of the ears can add a nice touch-think white for kitty ears or pastel colors for a bunny!
Basic Steps to Crochet Animal Ears
- Cat Ears: Start with a magic ring, chain 2, and work 3 double crochets into the ring. In the next round, increase to add 3 more double crochets in each stitch. For the final shape, decrease by stitching two together on the edges.
- Bunny Ears: Use a slightly larger starting chain of about 8 chains. Work half double crochets back across to make it fluffy, and then create a rounded top by increasing gradually. Attach the ears securely with a yarn needle.
After you’ve created the ears, it’s time to attach them to your hat. Positioning is key-try pinning them on first to see how they look. Once you’re happy, stitch them securely on with a strong yarn needle. You might want to slightly bend the ears for a more dynamic look, especially for cat ears to give them that fun perked-up feel!
Lastly, don’t shy away from personalizing your ears. Add a little embellishment, like a button or fun tassels to make them pop! Remember, crafting is all about having fun and letting your creativity shine, so you can absolutely do this! Enjoy the process and watch your finished hat become a treasured accessory for the kids in your life.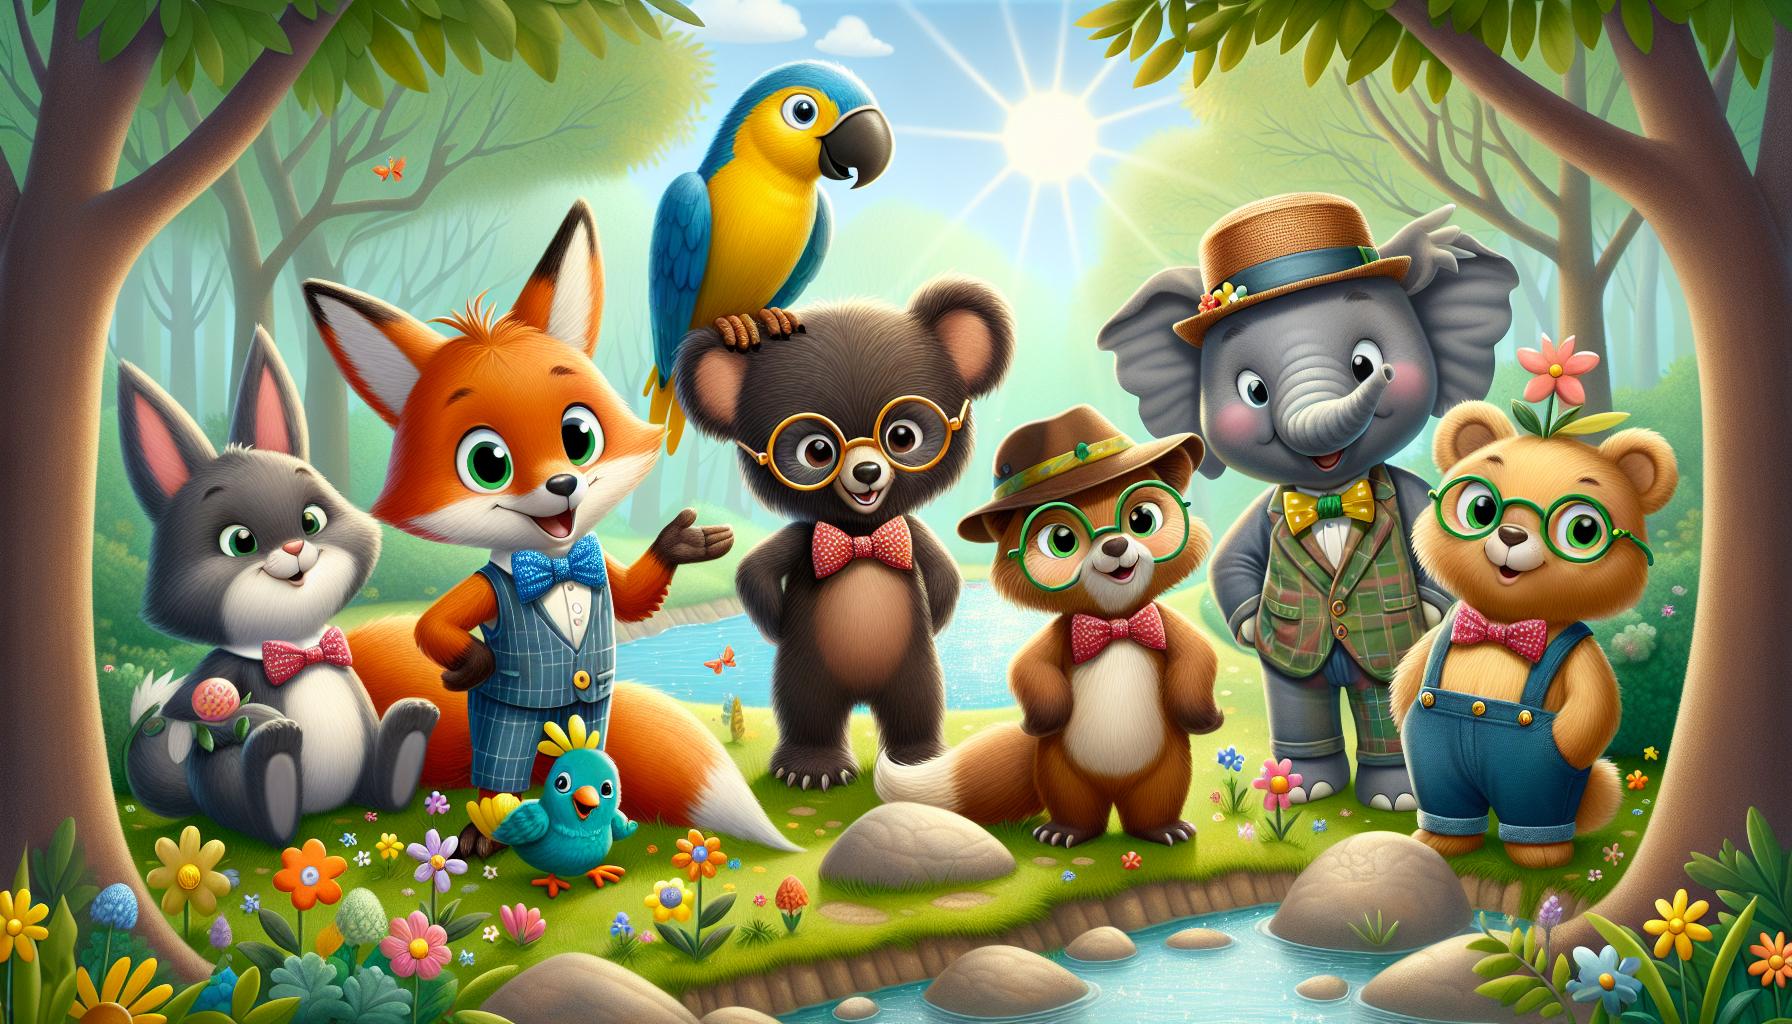
Creative Animal Character Designs Kids Will Love
When it comes to crafting crochet hats with animal designs, the possibilities are as endless as your imagination! Picture a delighted child wearing a cozy hat designed like their favorite animal-an instant smile! To create these whimsical pieces, you can draw inspiration from various animal characteristics that kids adore, such as colors, shapes, and playful features.
Start by considering animals that resonate with children. Popular choices include playful puppies, regal lions, cute bunnies, and adventurous foxes. Each animal can be brought to life with simple crochet techniques. For instance, to create a puppy hat, use brown or golden yarn and add floppy ears that dangle down. To bring out the lion’s mane, crochet in a striking golden color around the face opening, using long stitches or fluffy yarn for that wild, untamed look.
Here are some tips to guide you in designing these delightful hats:
- Choose Fun Colors: Use vibrant and contrasting colors for your animal hats. A bright orange fox or a pastel bunny instantly catches the eye and adds charm.
- Focus on Features: Incorporate elements like button eyes, stitched whiskers, or felt noses. These small details can transform a simple hat into an adorable character.
- Consider Functional Elements: Design hats with earflaps for extra warmth, or add a chin strap to keep the hat secure during playtime.
You can also invite children to participate in the design process. Ask them about their favorite animals and colors, and they can help select yarn and decide on features. This collaboration not only makes the crafting process more enjoyable but also results in a treasured piece that the child had a hand in creating. Get ready to delight the kids with these creative animal hats, and remember: the joy of crafting comes from making something unique and personal that they’ll cherish!
Personalizing Your Hat: Tips for Unique Looks
Crafting a crochet hat that stands out isn’t just about the basic design – it’s about infusing it with personal touches that make it uniquely yours. Personalization can transform a simple hat into a cherished piece, especially when it reflects the wearer’s personality and interests. Whether you’re making a whimsical bunny for Easter or a regal lion for a costume, there are many ways to add those necessary personal touches.
One of the simplest ways to personalize your hat is by selecting an unconventional color palette. While traditional animal colors, like browns for bears or grays for elephants, are safe bets, consider daring finishes like vibrant pinks, deep purples, or multicolored yarn blends to make your creation truly pop. You might also explore the world of variegated yarn, which changes colors as you crochet, giving your hat a unique look without much extra effort.
Focus on Unique Features
Next, it’s all about the distinguishing features! Adding fun elements can transform your hat into a character full of life. For example, crochet or sew on standout accessories such as bows, patterns, or exaggerated ears. Customizing the eyes, perhaps with large buttons or felt, can add a playful personality. Consider including elements that can be easily switched out, like removable accessories; this way, your hat can evolve with your child’s changing interests.
Get Creative with Textures
Don’t forget about playing with textures! Utilizing different types of yarn can bring depth to your design. Using a fluffy yarn for bunny ears or a shiny yarn for a dragon’s scales can capture attention and add an engaging tactile experience. Also, think about stitching techniques: the bobble stitch can create cute little ‘paw’ details, while a fringed edge can mimic a lion’s mane.
By incorporating these personalization tips, you can create a hat that not only looks amazing but also captures the spirit and preferences of its wearer. Dive into this joyful process, and let your creativity run wild – you can absolutely create something special that will be loved for years to come!
Troubleshooting Common Crochet Issues
Creating a charming crochet hat with adorable ears can spark joy, but every crafter knows that sometimes things don’t go as planned. Whether it’s a too-tight band or floppy ears that flop more than they stand up, encountering bumps on your crafting journey is completely normal. What’s important is knowing how to address these common issues so you can keep your project on track and ensure your hat turns out just the way you envisioned.
Common Issues and Solutions
One frequent issue in crochet hat making is incorrect sizing. If your hat is too tight, it might feel uncomfortable or leave marks on the forehead. To solve this, consider switching to a larger crochet hook or adjusting your tension. When working with a tight stitch, reducing tension can also help make the fabric more forgiving. If the hat is too loose, you might need to tighten your stitches or try a smaller hook to achieve a snug fit.
Another common concern arises with the shape of your ears. If they droop instead of standing upright, check your stitching technique. Ensure that you’re following the pattern closely; sometimes adjusting the number of increases can give those ears the perkiness they need. If you’ve already completed the hat and it’s looking floppy, consider adding a little interfacing or a wire frame inside the ears to help shape them.
Maintaining Yarn Quality
The type of yarn you use can significantly affect the outcome. Some yarns have more drape than others, which may cause your hat to lose its intended structure. If you’re encountering this, opt for a sturdier yarn with more body for your next project. Also, remember to check your yardage before starting; running out of yarn halfway through could result in visible color changes, especially when creating playful designs for kids. If you do run out, try to find a matching dye lot or use a complementary color for accents to maintain a cohesive look.
By staying aware of these potential pitfalls and knowing how to troubleshoot them, you can craft the perfect hat with ease. Remember, every stitch is a learning opportunity, so embrace the process, and soon enough, you’ll be creating delightful animal hats that children will adore!
Incorporating Fun Accessories for Extra Flair
Adding fun accessories to your crochet hat can turn a basic project into a whimsical masterpiece that kids will adore. These little details can add character and life to your creations, making them not only unique but also a joy for children to wear. Imagine a hat that not only has cute animal ears but also features playful embellishments like pom-poms, bright colors, or even attached toys. The possibilities are endless, and incorporating accessories is a delightful way to express your creativity.
One easy way to enhance your hat is by using colorful embellishments. A simple crochet flower, star, or heart can bring a splash of color to your design. You can crochet these accents directly onto the hat or sew them on as a removable feature. For a real show-stopper, consider crafting tiny animal paws or tails that dangle from the sides or back of the hat. These little additions not only add flair but also engage children’s imaginations, making the hat a storytelling accessory.
Texture is another fun element to explore. Consider using different yarn types for various components of your hat. For instance, combine soft, fluffy yarns with smoother ones to create contrast. You might have a main body of the hat in a soft yarn and add ear details using a playful, fuzzy yarn to mimic an animal’s fur. You can also incorporate crochet stitches like bobbles or clusters for extra dimension. Whatever you do, think about how the styles and textures can interact to make the hat visually and tactility appealing.
Lastly, don’t forget about practical accessories! Adding a simple chin strap can keep that hat secure, especially for active kids. You could also create a short scarf or headband to match the hat, which can be attached with buttons or snaps for versatility. With a bit of imagination, you can transform every hat into a one-of-a-kind piece that reflects the personality of the child who will wear it. The key is to have fun and experiment-this is your chance to shine as a maker! Remember, every stitch is not just a step towards finishing a project but a chance to add that personal touch that makes your crochet hats truly special.
Finishing Touches: Weaving Ends and Adding Lining
Weaving in ends and adding a lining to your crochet hat are essential finishing touches that can elevate your creation from nice to absolutely stunning. After putting in all that effort to craft delightful animal ears and playful accessories, you’ll want to ensure your hat looks polished and ready to be worn. Taking the time for these final steps not only enhances the aesthetics but also ensures comfort and durability, making your handmade treasure truly special.
To start with weaving in ends, you’ll need a tapestry needle and a little patience. Once you’ve completed your hat, take those yarn tails-the ones left over from changing colors or where you started and ended your rounds. Here’s a simple way to do it:
- Thread your tail through the tapestry needle.
- Gently weave the tail through the stitches of the hat, going back and forth for about 1-2 inches to secure it in place.
- Trim the excess yarn, being careful not to cut too close to the hat.
This method helps prevent the yarn from unraveling and gives a tidier look. For those looking for extra security, especially in hats that will see rough play, consider securing the ends with a drop of fabric glue or stitching them down if they’re particularly long.
Next up is lining your hat! A soft lining not only makes your hat cozy but it also hides the messy stitch joins and ends. You can use a lightweight fabric like fleece or cotton. Here’s how to add a lining:
Steps to Line Your Crochet Hat
- First, measure the circumference and height of your hat. Cut a piece of fabric that’s slightly larger than these dimensions for seam allowances.
- Before attaching, fold and press the edges of your fabric to avoid fraying.
- Using a sewing machine or a needle and thread, attach the fabric to the inside of the hat, sewing it down securely around the bottom edge.
- Finally, take a moment to try on the hat. Adjust the lining if needed to ensure a comfortable fit.
By taking these added steps, you’re not just completing your project-you’re creating a piece that’s ready for adventures! Whether it’s a chilly day out or a fun costume party, your crochet hat with ears will be a hit, delighting children and parents alike with its charm and thoughtful details. Remember, every moment you spend on these finishing touches is a chance to express your creativity and craftsmanship. You’ve got this!
Maintenance Tips to Keep Your Hat Looking Fresh
Taking good care of your handmade hat is essential to keeping it looking fresh and adorable for every occasion. With a little attention and the right techniques, you can extend the life of your crochet creations and maintain their charm. Here’s how to ensure your animal hat continues to bring smiles for years to come.
One of the simplest yet most effective maintenance tips is regular cleaning. Depending on the yarn you’ve used, your cleaning method may vary. If your hat is made from acrylic yarn, machine washing on a gentle cycle with cold water is generally safe. Just remember to turn your hat inside out to prevent fuzzing. For cotton or wool, hand washing is usually the best bet. Use a mild detergent and gently agitate the water until clean. Rinse thoroughly and allow the hat to air dry flat-never hang it to dry, as this can cause it to stretch out of shape.
In addition to cleaning, take a moment to check for any loose threads or areas that may need reinforcing. Kids love to play, and a little wear and tear is to be expected. Use your tapestry needle to weave in any loose ends securely, which helps prevent unraveling. If your hat features embellishments like ears or accessories, ensure they are securely attached as well; a dab of fabric glue can provide extra assurance.
Finally, store your hat properly when it’s not in use. Instead of cramming it into a drawer or hanging it on a hook where it could lose its shape, consider placing it in a breathable bag or on a shelf where it can keep its form. If your hat is made with a chunky yarn, it might benefit from a gentle reshaping now and then. Simply steam the fabric lightly while holding it in shape to help maintain its structure. With these easy maintenance tips, your cherished crochet hat will continue to be a delightful accessory that kids adore!
Sharing Your Creation: Ways to Showcase Your Hat
One of the most rewarding experiences of crochet is sharing your creations, especially those adorable hats with animal ears that capture the hearts of kids. Showcasing your finished project not only spreads joy but can also inspire others to embark on their own crochet journeys. Don’t be shy-your creativity deserves to be celebrated! Here are some fun and engaging ways to share your crocheted hats.
First, consider social media platforms. Create a dedicated space for your craft on Instagram or TikTok, where you can post vibrant photos and videos of your hat in action. Use engaging captions that describe your process and the materials you chose. If you’re feeling extra creative, try making a short video showing off the hat from different angles or featuring a little model wearing it! Adding hashtags like #CrochetHat or #KidsCrafts can connect you with a larger community of fellow crafters and enthusiasts. Also, don’t forget to tag friends and family-encouraging them to share your posts can help your work reach new audiences.
Local Craft Fairs and Markets
Another fantastic avenue for showcasing your work is to participate in local craft fairs or markets. These events are perfect for meeting other crafters and potential customers. Set up a display that highlights your animal hats, maybe even create a setting that mimics a playful animal scene to attract kids and parents alike. Providing small business cards with your contact information and social media links can make it easy for interested buyers to reach you later. Plus, consider offering a small demonstration or workshop on how to crochet basic hat skills. People love learning something new, and you might spark their interest in starting their own fun projects!
Online Marketplaces
Lastly, think about selling your hats on online platforms like Etsy. Create a visually appealing shop with great photos of your hats, and include engaging descriptions that capture your personal style and craftsmanship. Offer options for customization-such as color choices or additional embellishments-that can make each hat special for its new owner. This not only showcases your talent but can also turn your hobby into a budding business. Include customer reviews and encourage buyers to share photos of their little ones wearing your creations, which can further attract attention to your shop.
Remember, sharing your creations is all about expressing your joy and creativity. Whether through social media, local markets, or online shops, you can be proud of the unique hats you’ve crafted. So gear up to showcase those adorable hats, and let the smiles from delighted children be the best reward of all!
Inspiring Crochet Projects to Try Next
Finding fresh inspiration for your next crochet project can be both exciting and rewarding, especially when it comes to creating fun, playful hats that kids will adore. Whether you’re looking to refine your skills or embark on new adventures, there are countless projects just waiting for you to dive in.
Imagine brightening a child’s day with a cozy hat that transforms them into their favorite animal! Start with simple patterns, such as a basic bear or bunny hat. These projects typically rank low in difficulty and use only basic stitches, making them perfect for beginners. You can find heaps of tutorials online, often accompanied by videos that let you crochet alongside an experienced maker.
Once you’ve mastered the basics, why not explore some more elaborate designs? Think about creating a moving animal hat that features floppy ears or a paw that waves! These patterns can elevate your crocheting skills while adding a delightful twist that will surely impress the kids. Check out specific patterns like those available at Repeat Crafter Me, which offer detailed instructions for creating engaging animal hats that move with the wearer [2].
For a truly unique touch, consider personalizing your creations. Adding embellishments such as buttons, different eye designs, or crocheted accessories can make each hat one-of-a-kind. Engaging kids by allowing them to choose colors or features can also make the crafting process more enjoyable. Remember, the goal is to celebrate your creativity, so let your imagination run wild-it’s all part of the joy of crochet!
Frequently Asked Questions
Q: What materials do I need to crochet a hat with ears for kids?
A: To crochet a hat with ears, you’ll need soft yarn (choose washable for kid-friendly comfort), crochet hooks appropriate for your yarn size, and scissors. Optional items include a yarn needle for weaving ends and stitch markers to help keep track of your work. For a detailed guide, check the section on Choosing the Right Yarn and Tools for Your Crochet Hat.
Q: How can I make sure my crochet hat fits my child?
A: To ensure a proper fit, measure your child’s head circumference and use a crochet pattern that includes sizes. You can adapt the pattern by adding or reducing rows or stitches. For fitting techniques, explore the Step-by-Step Instructions to Make a Basic Hat section for guidance.
Q: Are there beginner-friendly crochet patterns for hats with ears?
A: Yes! Look for patterns labeled “easy” or “beginner-friendly.” These typically include simplified instructions and fewer stitches. Consider starting with a basic animal hat pattern. Check the section on Creative Animal Character Designs Kids Will Love for inspiration.
Q: What are some common mistakes when crocheting hats with ears?
A: Common mistakes include choosing the wrong yarn weight, miscounting stitches, or not measuring correctly. These can lead to ill-fitting hats. For troubleshooting tips, refer to the Troubleshooting Common Crochet Issues section of your article.
Q: Can I crochet a hat with ears without a pattern?
A: Yes! You can create your own design by starting with a basic hat shape and adding ear shapes that suit your style. Use techniques from the Adding Animal Ears: Easy Techniques to Try section to guide your creativity.
Q: How do I personalize my crochet hat with ears?
A: Personalization can be achieved by adding appliqué features like eyes or noses, using different yarn colors, or attaching fun accessories like pom-poms. For more ideas, check the Personalizing Your Hat: Tips for Unique Looks section.
Q: How can I maintain a crochet hat to keep it looking good?
A: To maintain your crochet hat, hand wash it in cold water and lay it flat to dry. Avoid wringing it out to prevent distortion. For complete care details, refer to the Maintenance Tips to Keep Your Hat Looking Fresh section of the article.
Q: What are some fun themes for animal hats kids will love?
A: Popular themes include ears of lions, bunnies, or bears. Consider incorporating favorite characters or animals they adore for added fun. See the Creative Animal Character Designs Kids Will Love section for more themed suggestions.
Wrapping Up
You’ve just unlocked the fun of crocheting stylish hats with adorable animal ears that kids love! Now that you’ve mastered the basics, why not take it further? Explore our latest tutorial on “How to Crochet Matching Scarves” to complement your new hats, or dive into creating fun character puppets that your kids will adore. Don’t forget, you can easily grab all the materials you need from our recommended supplies page linked below.
Still feeling unsure? Remember, every maker started as a beginner. If you have questions, drop them in the comments-your fellow crafters (and I!) are here to help. Let’s keep this creative journey going! Subscribe to our newsletter for more projects, tips, and exclusive patterns sent straight to your inbox. Happy crocheting, and I can’t wait to see what you create!
Get our latest guides, news, and insights highlighted in your Google Search & AI Overviews.