
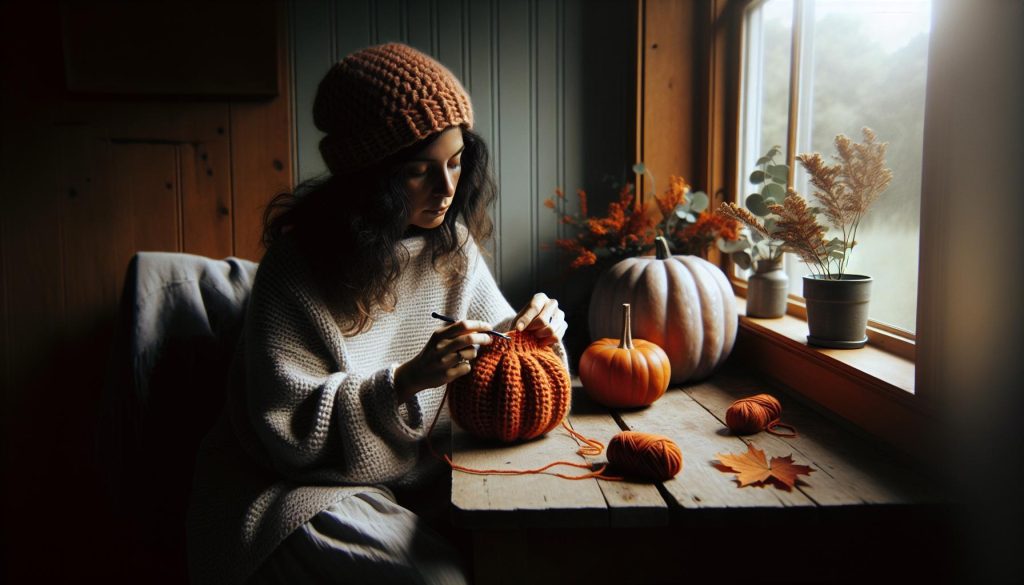
As the crisp autumn air ushers in the season of cozy sweaters and pumpkin spice, why not add a whimsical touch to your fall festivities by crocheting your very own pumpkin hat? This delightful project is perfect for all skill levels and can be a fun activity for both kids and adults, making it an exciting addition to harvest costumes and family gatherings. Not only will you enjoy the satisfaction of creating something unique, but you’ll also turn heads at Halloween parties and fall festivals. Imagine the smiles on your loved ones’ faces when they see you-or your little ones-sporting this adorable accessory! Ready to dive into the colorful world of crochet? Let’s explore the step-by-step process to craft your charming pumpkin hat and embrace the spirit of the season together. You’ve got this!
Choosing the Right Yarn and Tools for Your Pumpkin Hat
Choosing the perfect yarn and tools for your pumpkin hat is the critical first step that sets the foundation for your crochet project. The right yarn not only affects the look of your finished hat but also its warmth and comfort. For a pumpkin hat, opt for yarns that are soft and cozy, fitting for the chilly fall weather. Acrylic yarn is a popular choice, as it’s durable and comes in a vibrant orange that mirrors the spirit of fall. Another fantastic option is cotton yarn, which is breathable-a perfect choice for those living in warmer climates.
When selecting yarn, consider the weight as well. Medium worsted weight (Category 4) yarn strikes a balance that works well for hats, providing structure and warmth. Here are some key features to look for when choosing your yarn:
- Color: Bright oranges, deep greens, and earthy browns are excellent for a pumpkin hat.
- Texture: Soft and smooth yarns will feel good against the skin, especially for kids.
- Care: Machine-washable yarns make for easier upkeep, an appealing factor for busy crafters.
Now, let’s talk about tools. Having the right crochet hook is just as essential as your choice of yarn. A hook size of 5.0mm to 6.0mm is commonly used for worsted weight yarn, but always check the specific yarn label for recommendations. A good pair of scissors, a yarn needle for weaving in ends, and stitch markers are also invaluable tools to keep your project organized.
Lastly, consider the size of your hat. Make sure to have a tape measure on hand to ensure your hat fits perfectly, whether it’s for a child or an adult. With your yarn and tools ready, you’re set to create a delightful pumpkin hat that will delight everyone this fall season! Happy crocheting!
Mastering Basic Crochet Stitches for Beginners
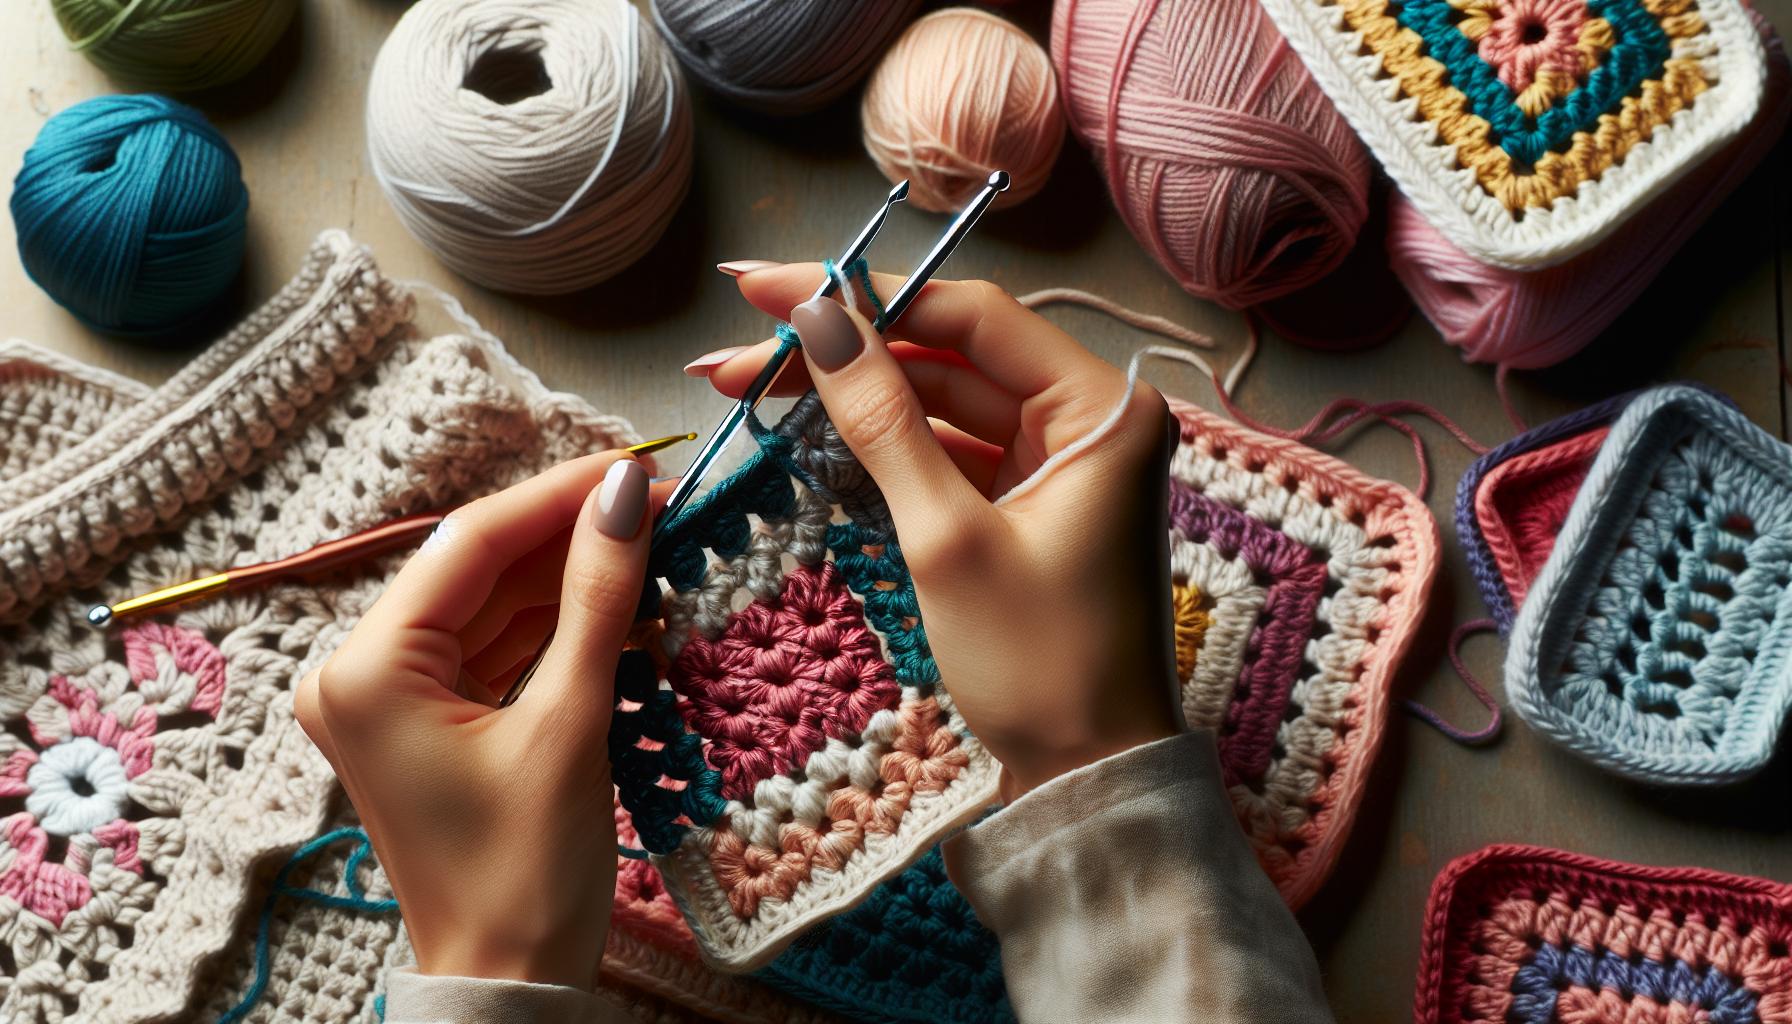
Getting started with crochet can feel like stepping into a world of creativity and warmth, especially when your goal is to create an adorable pumpkin hat! Mastering a few basic crochet stitches is all you need to unlock the door to this delightful project. Not only will these fundamental techniques help you craft a lovely hat for fall fun, but they’ll also empower you to experiment with other crochet items in the future.
To begin, focus on learning three key stitches: the slip knot, chain stitch, and single crochet. These stitches form the backbone of many crochet projects. Start with the slip knot, which is essential for creating your initial round. Next, the chain stitch allows you to establish the base of your hat. For a classic pumpkin look, practice the single crochet stitch, which is often used to build solid, sturdy fabric. If you’re new to these stitches, don’t worry! There are countless tutorials and videos available that can guide you step-by-step. Remember, practice makes perfect, and each stitch you master brings you closer to completing your beautiful pumpkin hat.
Once you’ve grasped these basics, it’s time to tackle the body of your pumpkin hat. Most patterns will start by creating a magic ring-this technique keeps your work tight and prevents gaps. From there, you’ll typically work in rounds, increasing your stitches to give shape to your pumpkin. An easy way to visualize your progress is to count your stitches after each round; this helps keep your work even, ensuring it’s just the right shape. Don’t hesitate to pause and pull out any stitches that aren’t quite right. Crochet is all about enjoying the process and making adjustments where needed, so embrace that creative spirit!
As you gain confidence with these stitches and techniques, try experimenting with different tones of yarn to add unique touches to your pumpkin hat. Perhaps a variegated orange or a rich brown for the stem? The possibilities are endless. With practice, you’ll find that not only can you craft a pumpkin hat, but you’ll also enjoy the journey of creating something truly special, perfect for family gatherings or Halloween festivities. You’ve got this, and soon you’ll be wearing your very own handcrafted pumpkin hat!
Step-by-Step Guide to Crocheting the Pumpkin Hat
Creating a pumpkin hat from scratch is an exciting project that brings the spirit of fall right to your home! With just a few materials and some basic crochet skills, you can craft a beautiful and festive accessory that’s perfect for Halloween or autumn gatherings. Ready to dive in? Let’s walk through the steps of crocheting this charming piece, ensuring you feel confident and inspired throughout the process.
Begin by gathering your materials. You’ll need a medium-weight yarn in orange for the body of the pumpkin, green for the leaves and vines, and brown for the stem. A size G or H crochet hook is ideal for achieving a cozy texture. Additionally, have a yarn needle, scissors, and a measuring tape ready for assembly and finishing touches.
Step-by-Step Instructions
1. Start with a Magic Ring
This technique allows you to work tightly without gaps. Loop the yarn around your fingers, pull the working yarn through the loop, and chain one to secure it.
2. Create the Pumpkin Body
Work in rounds, starting with 6 single crochets (sc) in the magic ring. Pull the tail to tighten the ring. In the next round, increase each stitch to 12 sc by crocheting two stitches in each stitch. Continue to increase each round until you reach the desired size for your pumpkin hat. For a typical adult size, aim for 60-66 stitches around before moving to the next step.
3. Building the Hat
Once you’ve reached the appropriate size, continue working in sc without increasing. This will build the sides of your hat. Keep an eye on the height as you go; a finished height of about 8-10 inches usually works well.
4. Add the Stem
Switch to brown yarn and crochet into the side of the hat. Using a combination of sc and half double crochets (hdc), create a short, sturdy stem. Aim for about 4-5 rounds.
5. Crafting the Leaf and Vines
With green yarn, you can make small leaves using a simple pattern of chains and slip stitches. For the vines, create long, thin chains and wrap them around your finished hat to add that final touch.
As you progress, remember to check your stitches; counting regularly will help ensure your pumpkin hat maintains its charming shape. And don’t be afraid to experiment-if you want to add a little flair, consider using variegated yarn or adding embellishments such as buttons or fabric for extra character.
Overall, the journey of crafting your pumpkin hat can be as enjoyable as the finished product itself. Embrace the creative process, and most importantly, have fun as you bring your very own piece of autumn fashion to life! You can do this!
Adding Personality: Unique Designs and Embellishments

There’s something undeniably delightful about adding your individual touch to a crocheted pumpkin hat. Whether you’re planning for a festive autumn celebration or just want to bring a smile to someone’s face, customizing your pumpkin hat can make it even more special. From vibrant embellishments to charming stitches, infusing your personality into this project opens up a world of creative possibilities!
To get started, consider incorporating different shades of yarn for a more dynamic look. A pumpkin hat doesn’t have to be just orange; think about using variegated yarn that blends oranges, yellows, and reds. This can mimic the natural hues of a pumpkin patch. You can also explore using textured yarns or adding stitches like puff or cluster stitches, which create depth and interest. These subtle changes can turn a simple pumpkin hat into a stunning centerpiece of your autumn wardrobe!
As you craft, think beyond the traditional pumpkin and consider thematic embellishments. Cute accessories like buttons shaped like leaves, small fabric patches in the shape of pumpkins, or even crocheted critters like acorns or owls can add whimsy to your design. A cute bow on the side or ear flaps that resemble pumpkin vines can also enhance the hat’s overall charm. Don’t hesitate to play with different shapes – you might add a curly vine cascading down one side or a small sunflower on the front to create a unique harvest look.
Lastly, remember that this journey is all about creativity and expression. Don’t shy away from experimenting with your ideas or letting your kids join in the fun of personalizing their hats! After all, the joy of crafting isn’t just in the finished product; it’s in the creative experiences and cherished memories made along the way. You’ve got this, and the results will surely be a delightful addition to fall festivities!
Tips for Making Perfect Pumpkin Shapes
Making perfect pumpkin shapes for your hat is an exciting way to show off your crochet skills and bring your autumn-themed project to life. Achieving the iconic round and plump form of a pumpkin can be simple and fun! Here are some tips to help you create those delightful pumpkin shapes effortlessly.
To start, focus on your stitch choice and tension. Using a combination of stitches can help give your pumpkin the characteristic ridges that are so beloved in pumpkin designs. A mix of single crochets and double crochets can create a lovely texture. Be mindful of your tension; a snug tension will help maintain the shape of your pumpkin. Here’s a quick method to start shaping your pumpkin:
- Round Base: Begin with a magic circle and work your way up to form a base that is wide and sturdy.
- Increase Rows: Gradually increase your stitches to widen your rounds, giving your pumpkin that plump appearance.
- Decrease Rows: Once you reach the desired height, start decreasing to taper off the top, creating a round dome shape.
- Texturing: Consider using a textured yarn or experimenting with post stitches to enhance the visual appeal of your pumpkin.
To finish your pumpkin, don’t forget to add those charming visual features that make it stand out. Once your basic shape is complete, incorporate some embellishments. You can use green yarn to create a small vine or leaves. Crocheted embellishments can add character and give that authentic pumpkin feel.
Remember, it’s all about practice and playing around with shapes! You might not get it perfect on the first try, and that’s completely okay. If you’re feeling adventurous, try varying the yarn colors or mixing textures to add depth. The best part is that each pumpkin shape will reflect your personal style, making it uniquely yours. You can do this, and soon enough, you’ll have a delightful collection of pumpkin hats perfect for celebrating the fall season!
Common Mistakes to Avoid When Crocheting
Crafting your pumpkin hat should be fun, but it’s easy to trip over some common crochet pitfalls! With enthusiasm and attention to a few important details, you can avoid frustration and achieve a delightful design. Here’s what to watch out for as you embark on this seasonal project.
One mistake many crafters make is not checking their gauge. It might seem tedious, but measuring your stitches before you start can save you a lot of trouble later on. If your gauge is off, your hat could end up too big or too small. Use a simple tension square to determine if you’re using the right hook and yarn for your desired size. It might feel like an extra step, but this will ensure that your pumpkin hat fits perfectly when you’re done!
Another common issue is inconsistent tension while crocheting. If your stitches vary in tightness, your pumpkin shape can end up lumpy and uneven. Keep a relaxed grip on your yarn and practice maintaining even tension as you work. If you notice you’re pulling too tightly, pause to adjust. Remember, achieving a smooth look takes practice, and you’ll get the hang of it with patience.
Lastly, don’t forget about finishing techniques! Many crocheters rush through sewing ends or attaching embellishments, which can lead to unraveling or uneven placement. Take the time to weave in your ends securely and stitch your decorations with care. This attention to detail will make your pumpkin hat look polished and professional. Embrace the learning process, and soon you’ll find yourself creating beautiful, unique pieces you’ll be proud to wear or give as gifts! You can do this, and every project will improve your skills further. Happy crocheting!
How to Customize Size for Kids and Adults
When it comes to crafting the perfect pumpkin hat, one size simply does not fit all! Whether you’re making a hat for an adorable baby or a stylish adult, customizing the size is key to ensuring a cozy and flattering fit. It’s easier than you might think, and with just a few adjustments to your crochet pattern, you can create a hat that fits beautifully on any head.
To start, understanding the basic measurements for heads of different ages is essential. Here’s a quick guide to some average head circumferences:
| Age Range | Head Circumference (inches) |
|---|---|
| Newborn | 13-14 |
| Baby (0-3 months) | 14-16 |
| Toddler (2-4 years) | 18-19 |
| Child (5-10 years) | 19-20 |
| Adult | 21-23 |
Once you have the right measurements, your next step is to adjust your pattern. If you’re using a standard crochet pattern, take note of the number of stitches and the rows specified. To increase size, simply add a few more rows and a couple of extra stitches to each round. For instance, adding an additional 5 stitches to your starting chain for an adult size can make a significant difference. Remember to regularly try on the hat as you go, making sure it’s comfortable and fits snugly without being too tight.
Lastly, keep in mind that yarn choice can affect the stretch and fit of your hat. Soft, stretchy fibers like acrylic or cotton blends are great for accommodating different sizes, especially if you plan on making hats for kiddos who are constantly growing! Crocheting with a slightly larger hook can also help create a more forgiving fit while still maintaining the pumpkin shape. You can do this! By adjusting these simple details, you’ll create pumpkin hats that are not only adorable but also perfectly sized for everyone in the family. Happy crocheting!
Creative Ways to Use Your Pumpkin Hat
Your handmade pumpkin hat isn’t just a delightful addition to autumn attire; it offers endless opportunities to showcase creativity and share joy during the fall season. From festive gatherings to gifting ideas, here are imaginative ways to use your pumpkin hat that will inspire both you and those around you.
One of the most charming uses for your crochet pumpkin hat is as part of a Halloween costume. Pair it with an orange t-shirt and brown pants for a simple yet adorable pumpkin ensemble. Add some green leaves or a vine as a headband for extra flair. Alternatively, you could transform it into a family-themed costume-crafting matching pumpkin hats for everyone in the family ensures a fun and cohesive look that’s perfect for trick-or-treating or attending harvest festivals. It’s a guaranteed way to garner compliments and smiles as you share the spirit of the season.
Moreover, consider using your pumpkin hat for photo opportunities. Whether it’s family photos, children’s birthday parties, or fall-themed photoshoots, this whimsical accessory adds a playful element to any picture. Set up a cozy autumn scene with hay bales and pumpkins, and snap away! You can even create a mini pumpkin patch backdrop for children to pose with their custom hats. These pictures will make for cherished memories that you’ll treasure for years to come.
Lastly, think about the joy of sharing your creations. A pumpkin hat makes a wonderfully thoughtful gift for friends or family members, especially those who appreciate handmade items. Wrap it up with a small pumpkin or a sweet fall-themed treat, and you have a perfect package to brighten someone’s day. If you’re up for a bit more creativity, organize a pumpkin hat-making session with friends. Gather supplies, share patterns, and enjoy the fun of crafting together while ensuring everyone leaves with their own unique creation!
Getting creative with your pumpkin hat not only enhances its utility but also allows you to spread fun and festivity this fall. You can do this, and with every stitch, you’ll find joy in making something special!
Dressing Up: Pairing the Pumpkin Hat with Outfits
The pumpkin hat is more than just a seasonal accessory; it’s a statement piece that can elevate your fall wardrobe in delightful ways. Picture this: a chilly autumn day, leaves crunching underfoot, and your little one sporting a cute pumpkin hat, radiating joy and warmth. Dressing up and pairing your handmade creation with the right outfits can make this autumn staple a standout feature of any fall ensemble.
To create a charming pumpkin-themed look, start with a base outfit. For kids, an orange long-sleeve shirt paired with brown or green pants creates that perfect pumpkin vibe. You can easily elevate this ensemble by adding some playful accessories like green leggings or a striped shirt for a fun layered effect. Don’t forget to include some comfortable shoes, such as brown boots or orange sneakers, to tie the entire look together. For adults, try pairing the hat with a cozy oversized sweater in earth tones, dark jeans, and ankle boots, making for a stylish and warm outfit for any autumn outing.
Another creative idea is to incorporate the hat into a family costume theme. Consider dressing all members of the family in coordinating colors and styles, perhaps with one parent donning a scarecrow outfit and another channeling a fall fairy with leafy accents. This unified look is perfect for trick-or-treating or attending local harvest festivals and will surely make your family the star of any seasonal gathering.
Lastly, don’t underestimate the power of your pumpkin hat in photos! It can be the focal point for fall family pictures or playful snapshots at the pumpkin patch. Pair it with plaid shirts for a cozy, rustic look or keep it simple with a solid-colored top that lets the hat shine! With each outfit you pair with your pumpkin hat, you’ll find endless opportunities to express your creativity and celebrate the joy of the season. Embrace the fun of dressing up and enjoy crafting unique looks that reflect your personal style!
Care Instructions for Your Crochet Creations
Taking care of your crochet creations is essential to ensure they remain vibrant and cozy for seasons to come. Your handmade pumpkin hat deserves special attention to maintain its shape, color, and texture. With just a few straightforward steps, you can keep your crochet items looking fresh and fun, ready for every autumn adventure.
Start by checking the yarn label for specific washing instructions, as different fibers require different care. Most acrylic yarns, often used for pumpkin hats, are machine washable, but it’s usually best to wash them on a gentle cycle using cold water. Hand washing is another fantastic option that helps preserve the hat’s structure. Just fill a basin with lukewarm water and a mild detergent, gently submerge the hat, and swish it around. Avoid wringing or twisting it to prevent stretching.
Once clean, lay the pumpkin hat flat to dry, reshaping it if necessary. Hanging it up may cause it to stretch out of shape. You can place it on a clean towel and roll it up gently to remove excess water before laying it flat. If your hat has any embellishments, be mindful not to get them too wet-dry cleaning might be a better option if they are delicate.
For storage, keep your pumpkin hat in a cool, dry place away from direct sunlight to avoid fading. Stuffing the hat with tissue paper can help maintain its shape while stored. And remember, giving your hat a gentle steam can help remove any wrinkles that occur over time; just be careful not to hold the steam too close to avoid damaging the fibers.
With these simple care tips, you can confidently showcase your pumpkin hat throughout the fall season and create wonderful memories wearing it during family outings, festivals, and cozy gatherings. You’ve put your heart into crafting your pumpkin hat, so let it shine bright and joyfully celebrate the season!
Sharing Your Pumpkin Hat: To Gift or Sell?
Crafting a pumpkin hat isn’t just a delightful project for the fall; it’s also a fantastic opportunity to share your creativity with others. Whether you decide to gift your handmade creations to friends and family or explore selling them, you’ll be making strides in spreading joy and holiday cheer. Handmade items often carry a charm and sentimental value that store-bought alternatives simply can’t match. Imagine the excitement on a child’s face as they wear a pumpkin hat you’ve created just for them!
When considering gifting, think about personalizing the hat to suit the recipient’s taste. You can choose colors that match their favorite fall attire or add unique embellishments, such as little leaves or even spooky accents for Halloween. Gifting can also be a great way to strengthen bonds. For instance, creating matching pumpkin hats for a family photo shoot or holiday gathering brings a sense of unity and fun. Plus, these hats make fantastic gifts for upcoming fall-themed birthdays or baby showers, sure to stand out among more traditional offerings.
On the other hand, if selling your pumpkin hats is on your radar, take time to determine your target market. Consider where you want to sell-local craft fairs, online marketplaces, or social media. High-quality photographs showcasing your hats in outdoor, fall settings can draw attention. Keep in mind that your pricing should factor in the cost of materials, your time, and any additional expenses incurred while selling. A well-crafted pumpkin hat can easily become a cherished item, creating lasting memories for its new owner.
In both gifting and selling, remember to spread the love-maybe even share your process online through social media. This not only promotes your work but also inspires others to pick up crochet hooks and create their own wearables. Whether you’re knitting for fun or launching a small business, each pumpkin hat is a celebration of autumn that others will admire and cherish. You can do this!
Faq
Q: What yarn is best for making a pumpkin hat?
A: The best yarn for a pumpkin hat is medium-weight (worsted) yarn in vibrant orange. This weight provides structure and warmth. Consider using an acrylic blend for durability, easy washing, and vibrant color retention, making your hat perfect for fall festivities.
Q: How long does it typically take to crochet a pumpkin hat?
A: Crocheting a pumpkin hat typically takes about 2 to 4 hours, depending on your experience level and chosen pattern complexity. Beginners may take longer, while experienced crocheters can complete it more quickly. Set aside some time in a comfortable environment for the best results!
Q: Can I customize the size of my pumpkin hat for different ages?
A: Yes! To customize your pumpkin hat size, adjust the number of starting chains and rows. For children, aim for a head circumference of about 18-20 inches, while for adults, aim for 21-23 inches. Always refer to the sizing tips in your specific pattern for further guidance.
Q: What are some creative embellishments for my pumpkin hat?
A: Add fun and flair to your pumpkin hat with crocheted leaves, embroidered faces, or small fabric flowers. Buttons and ribbons can also enhance its charm. For more unique designs, check the “Adding Personality” section of your guide for inspiration!
Q: How can I make my pumpkin hat more comfortable to wear?
A: To increase comfort, consider using a soft yarn and ensure your stitches are not too tight. Adding a lining with breathable fabric can also enhance comfort, especially for longer wear. Make sure to crochet a good fit that doesn’t pinch your head.
Q: What is the best way to store my pumpkin hat?
A: Store your pumpkin hat by laying it flat in a cool, dry area. Avoid folding it to maintain the shape. To prevent dust, place it in a breathable cloth bag. Refer to the “Care Instructions” in your article for optimal storage tips.
Q: How can I share my pumpkin hat project with others?
A: You can share your pumpkin hat project by posting photos on social media with hashtags like #CrochetPumpkinHat or joining crochet forums. Consider documenting your process with a blog post or video tutorial to inspire fellow crafters. Check the “Sharing Your Pumpkin Hat” section for tips!
Q: What should I do if I make a mistake while crocheting?
A: If you make a mistake, don’t panic! Simply frog (unravel) your work back to the last correct stitch. Take your time to review each row carefully to correct the error. Always refer to the “Common Mistakes to Avoid” section in your article for helpful troubleshooting tips.
Concluding Remarks
Now that you’ve learned how to crochet a delightful pumpkin hat, it’s time to bring your project to life! Remember, this fun fall accessory is not just an adorable addition to any harvest costume, but also a cozy hat for the chilly days ahead. If you have questions or want to share your creations, let us know in the comments below!
For more crochet inspirations, check out our detailed guides on how to crochet festive accessories like autumn leaves and spooky Halloween decorations. Don’t forget to subscribe to our newsletter for exclusive patterns and tips directly to your inbox! You can do this-every stitch adds to your crafting journey. Keep exploring, and happy crocheting!
Get our latest guides, news, and insights highlighted in your Google Search & AI Overviews.