
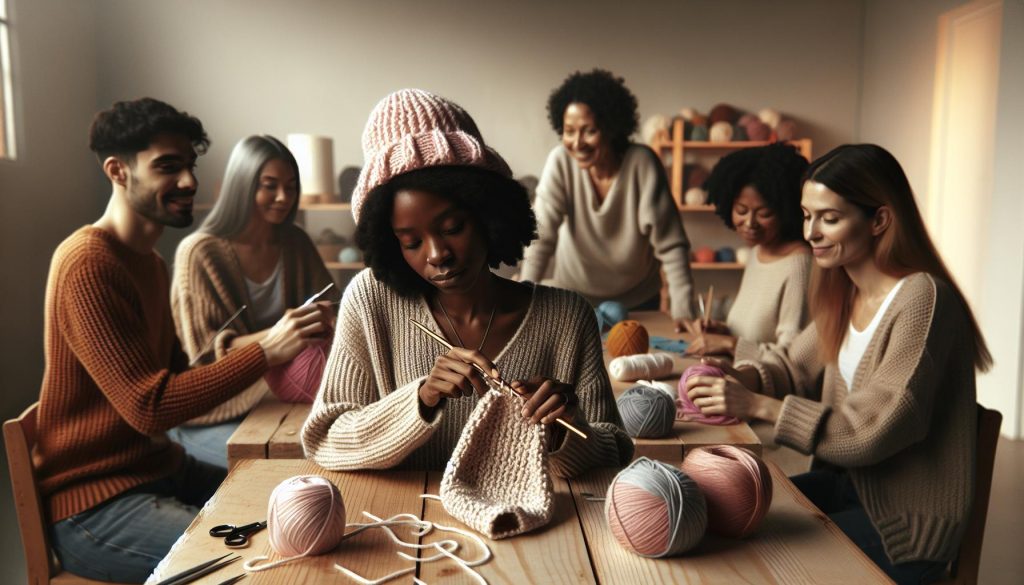
Crocheting your very first hat is more than just completing a project; it’s about crafting something uniquely yours and gaining the confidence to tackle more complex designs. Did you know that making a hat can be a great gateway to the world of crochet? In just a few hours and with a couple of basic stitches, you’ll not only create a cozy accessory but also develop valuable skills that will enhance your crafting journey. Whether you’re looking to keep warm or give a thoughtful gift, this beginner-friendly hat pattern is designed to ensure your success while keeping the process enjoyable. Let’s dive into the joy of crochet, and you’ll find that creating something beautiful and functional is within your reach. Each step will guide you to complete a hat you can be proud of-so grab your yarn and hook, and let’s get started on this exciting adventure!
Mastering the Basics: Your First Crochet Hat
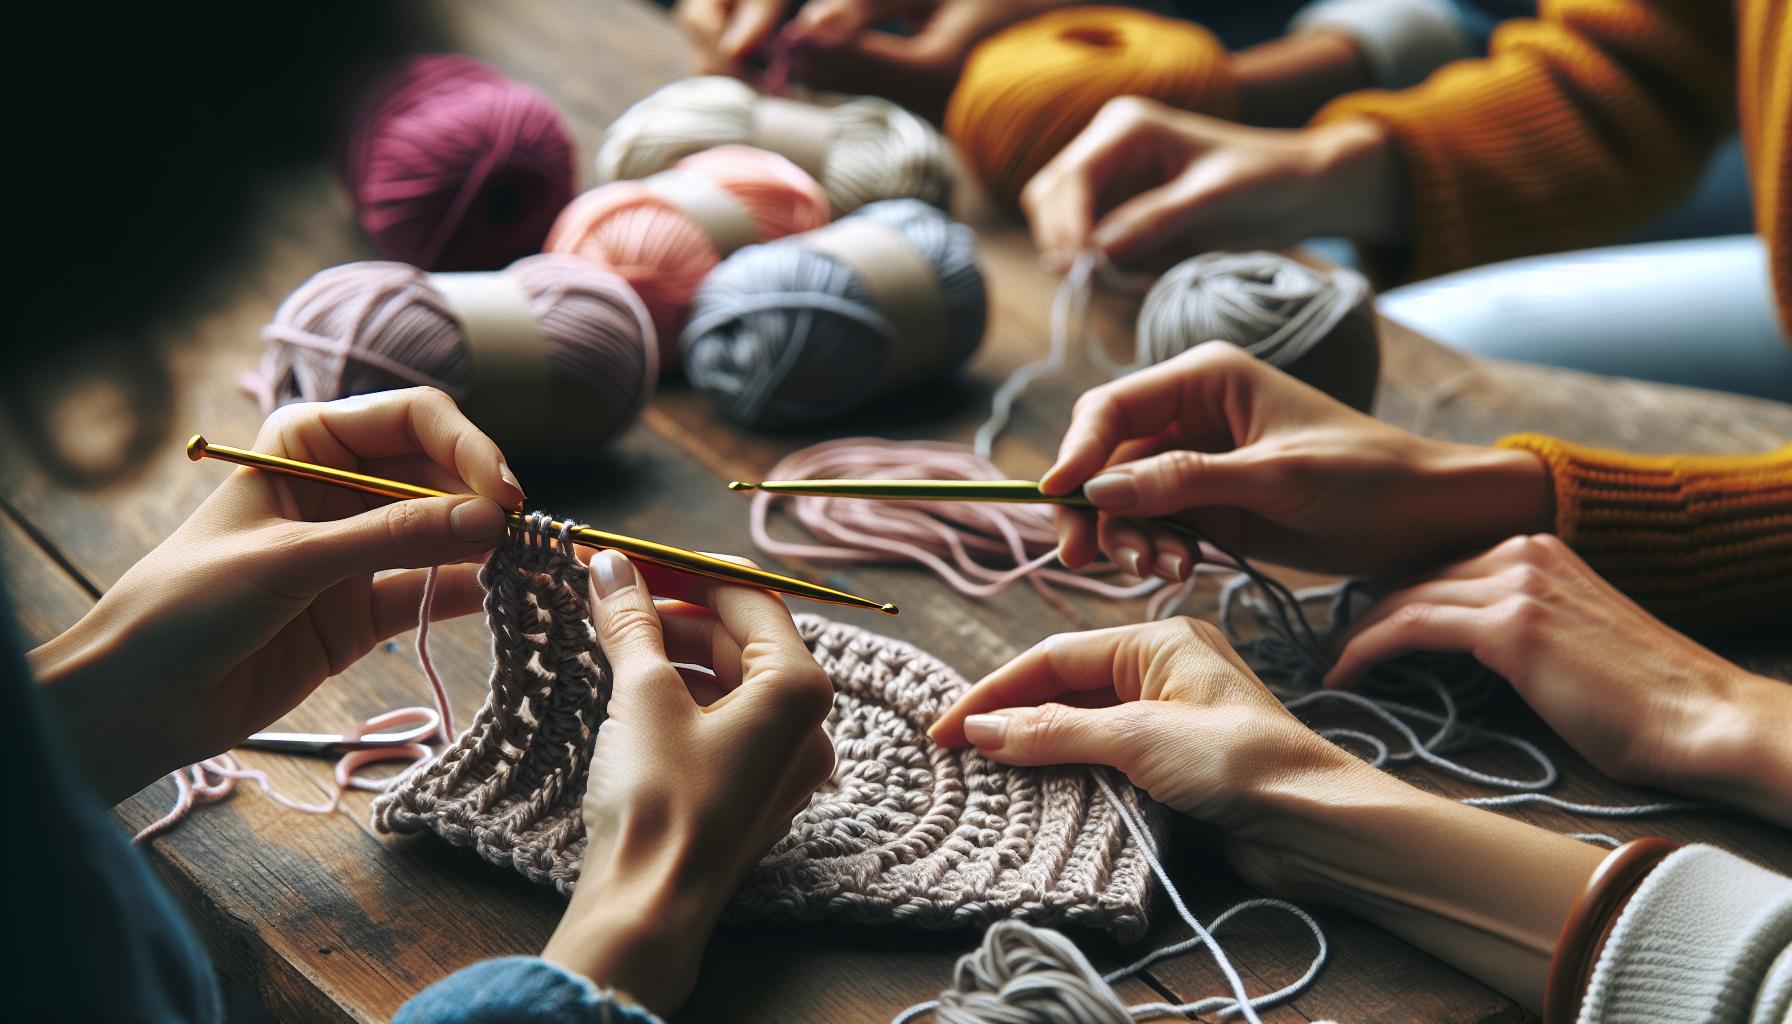
Starting your crochet journey with a hat is not only rewarding but also a fantastic way to see quick results. A handmade hat can be a perfect gift or a cozy addition to your wardrobe, making it an excellent first project. You don’t need a lot of time or complicated skills to create something beautiful. With just a few basic techniques, you will soon be wearing your very own creation or gifting it to someone special.
To begin, gather your materials. You’ll need yarn, a crochet hook, and a pair of scissors. Choose a medium-weight yarn for beginners-it’s easier to work with and will help you see your stitches clearly. A hook size between G (4.0 mm) and I (5.5 mm) is generally suitable for this yarn weight. Don’t forget some stitch markers or scrap yarn to help track your rounds. Now that you have your tools, you’re ready for the next steps.
When selecting a pattern, opt for a simple beanie or slouchy hat design. These styles generally have straightforward construction and allow for more straightforward stitches, making them perfect for beginners. Start with a magic circle or chain method to create your foundation, and follow the written instructions step-by-step. As you work, remember that practice makes perfect, so don’t be discouraged by mistakes. Instead, view each stitch as a learning opportunity. Embrace the joy of crocheting-each stitch brings you closer to a warm, handmade hat that showcases your new skills!
Essential Materials You’ll Need
To embark on your crochet journey, having the right materials at your fingertips can make all the difference. Crafting your very first hat is not only about technique but also about enjoying the experience, and having quality supplies can boost your confidence and creativity. You want yarn that feels good to work with and tools that help you get the job done efficiently, so let’s dive right into what you’ll need.
Basic Materials for Your Crochet Hat
- Yarn: Start with a medium-weight yarn, often labeled as worsted weight (categories 4). This type of yarn is forgiving and easy to manipulate, making it a favorite among beginners. For your first hat, choose a solid color to better see your stitches and flaws as you learn. Brands like Red Heart Super Saver or Lion Brand Vanna’s Choice offer vibrant color options that will keep your spirits high while you crochet.
- Crochet Hook: A crochet hook between size G (4.0 mm) and I (5.5 mm) is typically perfect for medium-weight yarn. The hook you select should feel comfortable in your hand. If possible, try out a few different types (metal, plastic, or bamboo) to see which feels best for you. Remember, the right hook can enhance your ease of crochet and keep your tension consistent.
- Scissors: A simple pair of craft scissors will do just fine. These are essential for cutting your yarn when you finish your project or if you make a mistake.
- Stitch Markers or Scrap Yarn: These little helpers are invaluable for tracking your rounds and keeping your stitches organized, especially in a hat where you’ll often work in the round. You can purchase stitch markers or simply use small pieces of contrasting yarn to mark your progress.
- Tape Measure: A flexible measuring tape is handy for checking the size of your hat and making adjustments along the way.
Gathering these materials elevates your crafting experience. Remember, you can do this! With your yarn, hook, and a positive mindset, you’re well on your way to creating a beautiful hat that you can be proud of. Crafting should be fun, so embrace the process and allow your creativity to flow!
Step-by-Step Guide to Crocheting Your Hat
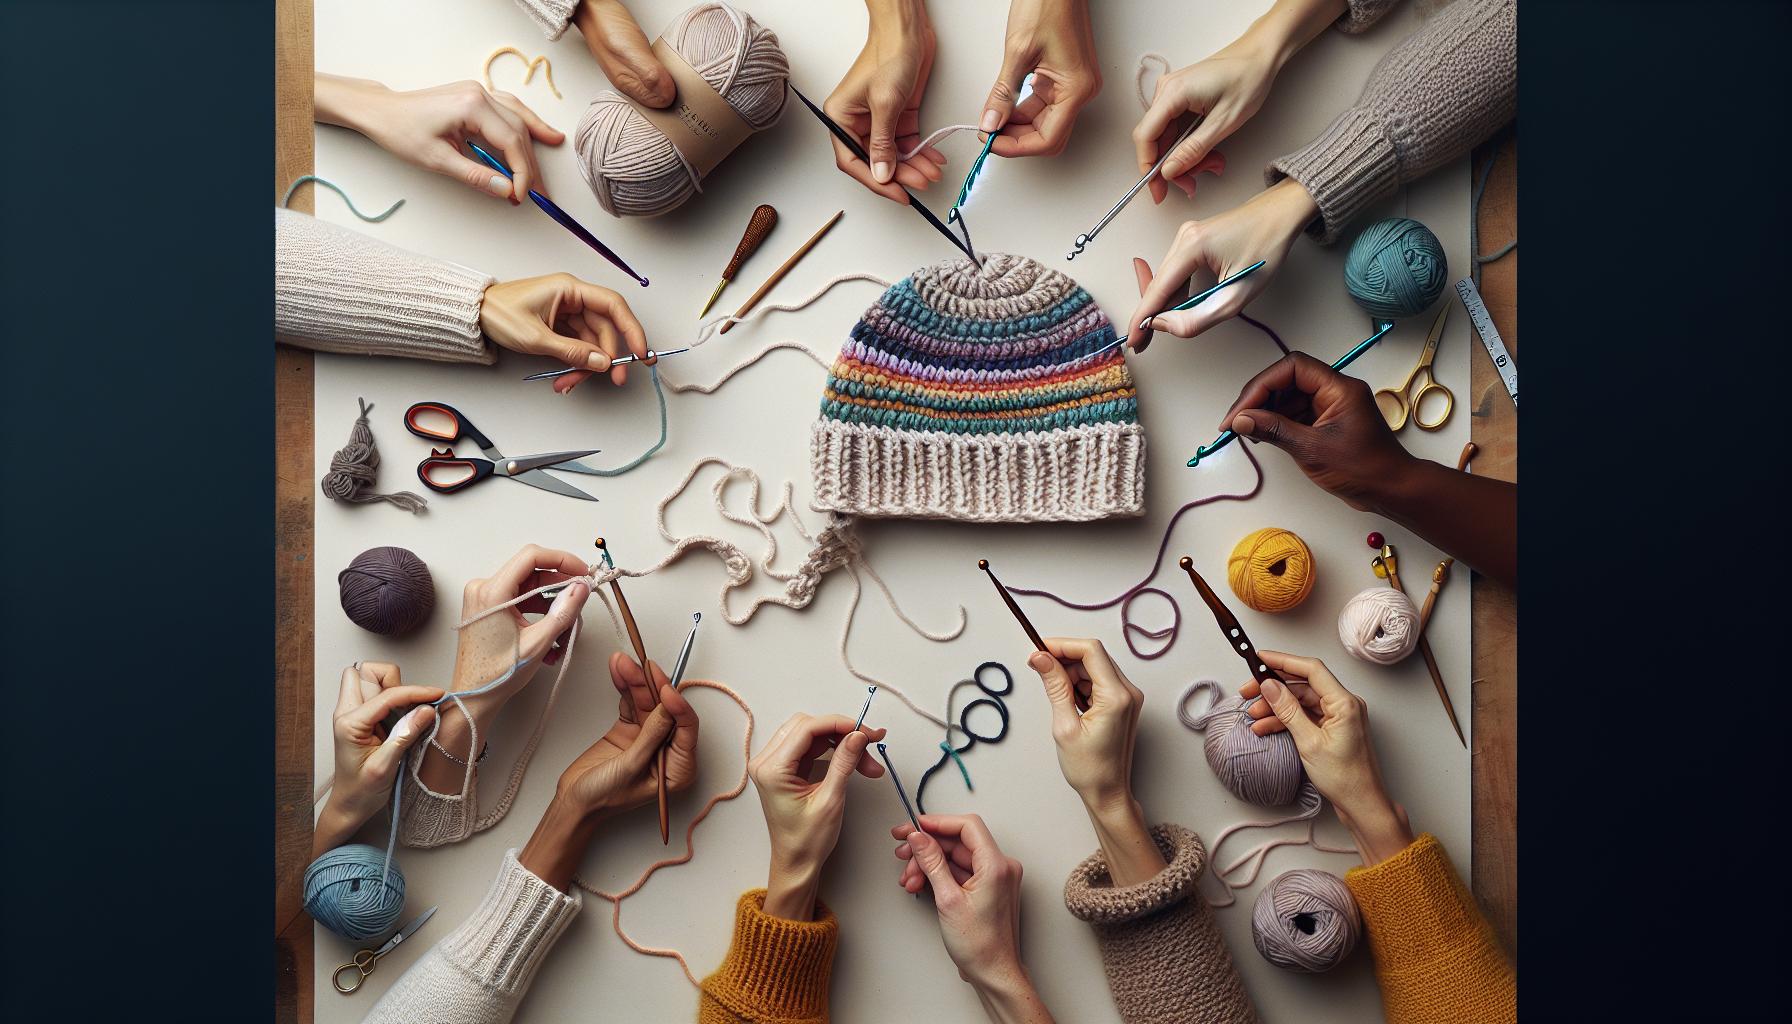
To successfully create your first crochet hat, you’ll want to follow a series of straightforward steps that guide you through the process from start to finish. Remember, crochet is all about enjoying the journey and celebrating each tiny victory along the way! By the end, you’ll have a cozy hat that you can wear with pride.
Begin by making a magic ring, which serves as the foundation for many crochet projects, including your hat. To do this, loop your yarn around your fingers, creating a circle. Insert your hook through this loop, yarn over, and pull up a loop. Then, yarn over again and pull through both loops on the hook to complete your first stitch. This method is excellent for keeping your beginning rows tight and ensures your hat doesn’t develop a hole in the center.
Once your magic ring is complete, crochet several single crochets (SC) into the ring. Typically, working 8 SCs is a great starting point. After completing this round, pull the tail of the yarn to tighten the ring. Place a stitch marker in the last stitch of each round to help you keep track of where each round ends-this little tip prevents you from losing your place as you continue to work in the round.
As you progress into the second round, begin increasing your stitches to give your hat a shape. For example, you might work 2 SCs in each stitch around the circle. Keep going, repeating this process while maintaining a consistent count of your stitches. Remember, it’s okay to pull out a few rows if you find there are mistakes-every crafter has to frog (undo) their work from time to time!
After about five to six rounds, you’ll start forming the body of your hat. Continue crocheting until your piece is about 6-8 inches tall, depending on your desired fit. Finally, if you wish, you can add a folded brim by simply stopping when you reach the desired length. Finish it off with a slip stitch to secure your yarn and weave in the ends using your scissors or a tapestry needle for a clean look.
With these steps, you’re well on your way to crafting a charming crochet hat. So gather your materials, follow these directions, and embrace the process-before you know it, you’ll be cozying up in a hat that you’ve made with your own hands! Happy crocheting!
Choosing the Right Yarn and Hook Size
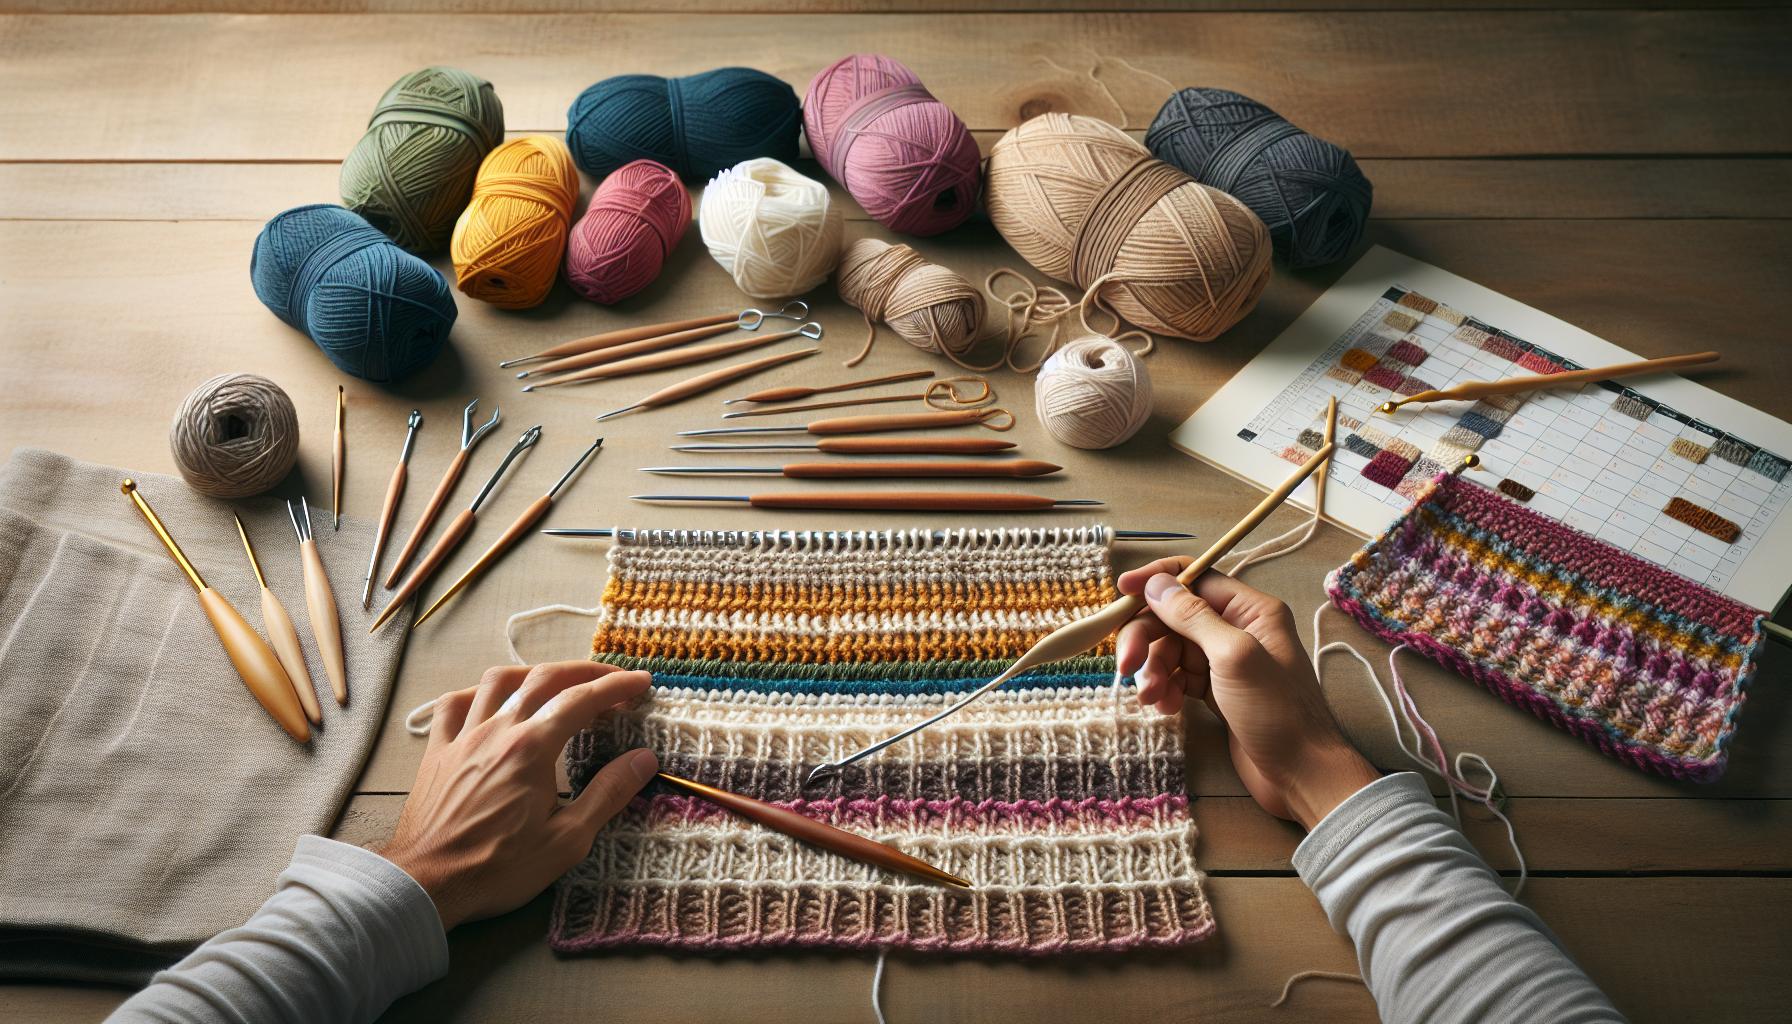
is essential for your crochet hat project and can greatly influence the final look and fit of your creation. With so many options available, it’s important to understand the basics to ensure your first project is enjoyable and successful.
When selecting yarn, consider the weight, fiber content, and color. For beginners, a medium worsted weight yarn (often labeled as “4” on the yarn weight scale) is a fantastic choice. It’s both easy to work with and provides ample stitch definition. Look for yarns made from acrylic or a blend of acrylic and wool, as they are typically more forgiving, easier to care for, and have a wide variety of colors. Here are some popular yarn options for your hat:
- Impeccable by Loops & Threads: A budget-friendly acrylic yarn that’s soft and durable.
- Caron Simply Soft: A versatile yarn with a lovely sheen that works up nicely.
- Red Heart Super Saver: A classic choice that’s well-known for its resilience and range of colors.
Choosing the right hook size is just as crucial. For worsted weight yarn, a 5.5mm (I/9) or 6mm (J/10) hook is commonly recommended. However, check the yarn label for specific hook size recommendations, as it can vary slightly between brands. Here’s a quick guide for matching hook sizes to yarn weights:
| Yarn Weight | Recommended Hook Size |
|---|---|
| Worsted (4) | 5.5mm – 6mm (I/9 – J/10) |
| Bulky (5) | 6.5mm – 9mm (K/10.5 – M/13) |
| DK/Fine (3) | 4mm – 5mm (G/6 – H/8) |
Once you’ve chosen your yarn and hook, you’re ready to start crocheting! Just remember to do a test swatch if you’re curious about how your yarn will behave with your chosen hook size; this not only helps you gauge tension but also builds your confidence! Remember, this journey is all about enjoying the craft and feeling accomplished. You can absolutely do this! Happy crocheting!
Understanding Crochet Stitches for Beginners
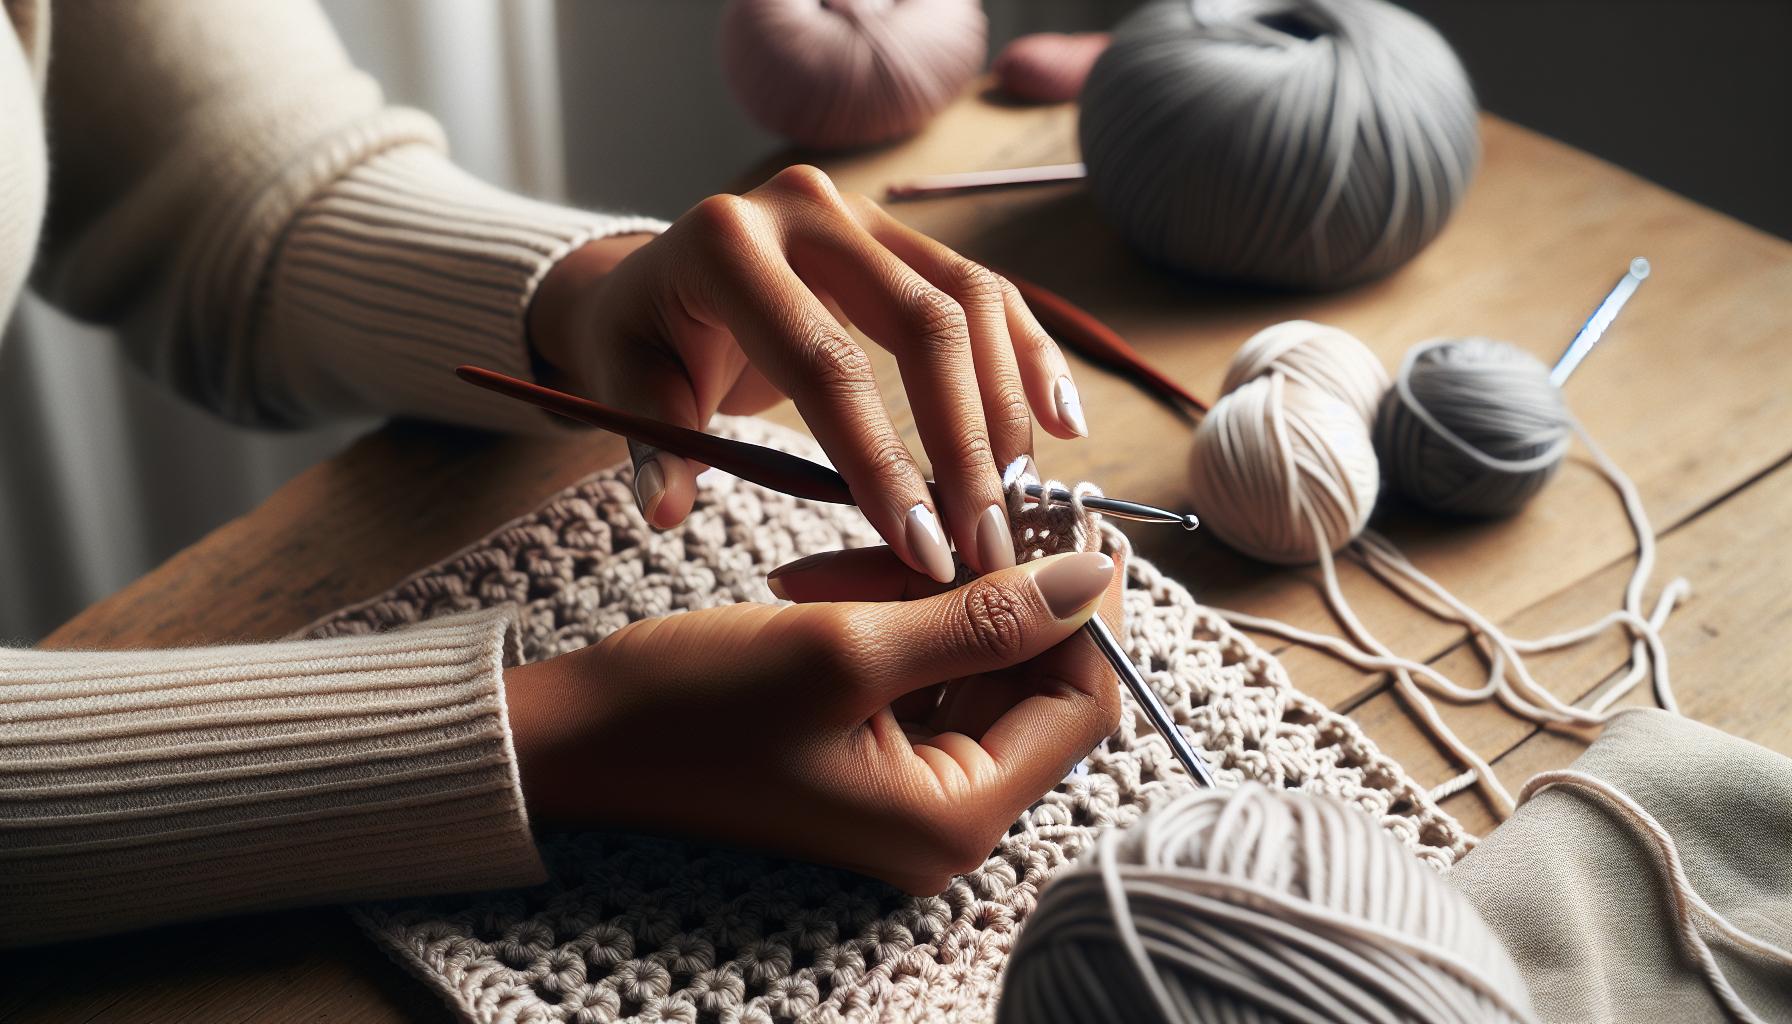
Getting familiar with basic crochet stitches is a vital step in your crafting journey, especially when you’re making your first hat. Each stitch opens the door to a variety of possibilities in design and texture, which can transform your project from simple to stunning. As a beginner, understanding the most common stitches will give you the confidence to tackle your hat project and explore new patterns.
The foundation of most crochet projects, including hats, is the chain stitch (ch). This simple stitch forms the starting point of your work. From there, you’ll likely use the single crochet (sc) and double crochet (dc), which are essential for creating the fabric of your hat. These stitches are not only easy to learn; they also create a sturdy and warm texture perfect for headwear. For example, using a double crochet provides a looser, airier fabric, while single crochet gives a tighter, sturdier finish, making it ideal for the crown of your hat.
Key Stitches to Know
- Chain Stitch (ch): The building block of crochet, used to start your projects.
- Single Crochet (sc): Creates a dense, textured fabric; great for structured areas.
- Double Crochet (dc): Adds height and flexibility; perfect for a lighter feel.
For your first hat, you’ll most likely alternate between these stitches to create an engaging pattern. An easy method is to create a ribbed effect by alternating rows of single and double crochet. This not only adds visual interest but also gives your hat elasticity, allowing it to fit snugly while still looking stylish.
Practice Makes Perfect
As you start, grab some yarn and do a few practice swatches. Don’t stress about getting it perfect on your first try; the beauty of crochet lies in the process. Each stitch you make builds skill and confidence. You might even find the stitches speaking to you-whatever your style, there’s a stitch combination waiting to be discovered. Remember, every great crocheter started with the basics, just like you! So enjoy the journey of creating your very first hat-you can absolutely do this!
Avoiding Common Mistakes in Crochet
Starting your crochet journey can be a thrilling adventure, but it’s easy to stumble into common pitfalls that can dampen your enthusiasm. One of the biggest mistakes beginners make is not paying attention to tension. If your stitches are too tight, you might struggle to work the next row; if they’re too loose, your hat may end up floppy and shapeless. Finding that sweet spot takes a little practice-make sure to keep your grip relaxed and maintain even pressure on the yarn as you crochet.
Another frequent misstep is skipping the importance of the foundation chain. It’s your project’s first step and should be neither too tight nor too loose. If it’s too tight, you won’t be able to work into it easily; too loose, and it can affect the shape of your hat. Aim for a comfortable, consistent chain that matches your stitch tension. When starting, consider using a hook size one or two sizes larger for your foundation chain to help maintain flexibility and ease.
Knowing how to read patterns is also crucial. Many beginners get lost in instructions that seem scrambled. Take your time; break down each line into manageable parts. Highlight or mark off completed sections to keep your place. When in doubt, don’t hesitate to refer to video tutorials-they can provide visual support that complements written instructions. Seeking clarity now can save a lot of frustration and unraveling down the line, culminating in a more enjoyable experience.
Lastly, embrace the inevitable mistakes! Every crocheter has unraveled a project or two. If something goes awry, take a deep breath and assess the problem. Whether it’s uneven stitches or a color change gone wrong, remember that each stitch you rip out is an opportunity to learn. Revisit those stitches with fresh eyes-this is how you grow. So take confidence in the process, and don’t forget: you can absolutely create that beautiful hat!
Tips for Personalizing Your Beginner Hat
Personalizing your beginner hat is one of the most exciting parts of the crochet journey! It allows you to inject your personal flair and creativity into the piece, transforming a simple project into something truly unique. Whether it’s through color choices, stitch variations, or decorative embellishments, there are countless ways to make your hat stand out. Plus, it’s a perfect way to practice your skills and develop your style as a crocheter.
To start, think about the color scheme you want for your hat. Yarn is available in an expansive array of shades, so consider choosing colors that resonate with your personality or blend with your wardrobe. You might opt for a classic single color for a timeless look or use multiple colors to create a fun striping effect. For beginners, trying a simple color change every few rows can be rewarding and adds personality without being too complex. Don’t hesitate to play with yarn textures, mixing smooth and textured yarns can also create a visually appealing hat.
Next, explore different stitch patterns. While a basic single crochet or double crochet stitch is a great foundation, you can easily enhance your hat by working in stitches like half double crochet or even incorporating basic ribbing. If you’re feeling adventurous, try incorporating a simple shell stitch or a cluster stitch for added texture. Each stitch not only changes the look of your hat but can also affect its warmth and stretch, making it a practical personalization choice.
Adding decorative elements is another delightful way to customize your creation. Pom-poms, flowers, or even a simple crochet band can be easily attached to your hat. If you’re mounting a flower, consider making a few variations in size and color to create a little bouquet on your hat. You can also experiment with embellishments like buttons or beads for a touch of sparkle. Just remember, these elements are meant to enhance your project, so choose what feels right for you!
Incorporating your personal style into your crochet hat doesn’t just make it unique; it builds your confidence as a maker. Each stitch and embellishment is a step forward in your crafting journey, showing that you can transform basic patterns into reflections of your taste and style. Remember, the process is just as important as the result, so enjoy each moment of creativity!
How to Add Decorative Elements
Adding decorative elements to your crochet hat can transform a simple piece into a unique expression of your personality. Whether you’re looking to create a cozy winter classic or a vibrant summer accessory, embellishments are the perfect way to showcase your creativity. Don’t worry if you’re new to crochet-these enhancements can be surprisingly easy and fun to incorporate!
Start with a few staple decorative additions. Pom-poms are a playful choice that can add a pop of fun to the top of your hat. To make one, wrap yarn around your fingers or a pom-pom maker, tie it in the middle, and trim the ends for a fluffy finish. Fluffy flowers are another lovely option. You can crochet a simple flower by using a basic pattern that features a few rounds of single and double crochet stitches. Attach it off-center or on the side of your hat for a charming touch.
Exploring Other Embellishments
Don’t stop at pom-poms and flowers! Consider incorporating buttons or beads for a sprinkle of sparkle. You can sew them directly onto your hat, or even use them in place of a traditional button closure if you’re working with a band or brim. If you’re feeling adventurous, you can also try adding a crochet band with a different stitch pattern or a contrasting color, giving your hat an extra layer of interest.
Lastly, think about using fabric or felt for larger decorative elements like bows or stars. Simply cut your desired shape and attach it to your crochet using a yarn needle and a few stitches. This not only adds flair but also serves as a fantastic way to use scraps of material you might already have at home.
Enjoying the Decor Process
Remember, adding these decorative elements is all about personal expression, so feel free to play around and experiment with different ideas. Gather your materials, set aside a cozy crafting session, and let your imagination flow. You can mix and match styles until you find the perfect look that resonates with you. This part of the process is where your creativity shines, and every detail you add makes your hat truly one-of-a-kind. Enjoy the journey of making something uniquely yours!
Finishing Touches: Weaving in Ends
Weaving in ends is the final step that transforms your crocheted hat from a simple project into a polished piece of art. It’s where you tidy up any loose yarn tails, ensuring your hard work holds together beautifully and looks professional. While it might seem tedious, think of it as a crucial part of the crafting journey, much like adding the final brush strokes to a painting. This step not only secures your project but also enhances its durability.
Start by snipping off any excess yarn, leaving about 6 inches of tail for each end. Then, using your trusty tapestry needle, thread the tail through the needle. To secure your ends, weave the yarn into the stitches of your hat:
- Pick a path: Choose a few stitches to follow. Go in and out of the fabric, weaving the tail back and forth.
- Vary your route: Change direction and weave into adjacent stitches to hide those ends effectively.
- Check for snugness: Ensure the yarn is tight, but be careful not to pull too hard and distort your hat.
Once you have woven your ends in for about 4-6 inches, simply snip the yarn close to the fabric. This technique not only hides those pesky ends but also prevents them from unraveling over time.
Tips for Better Weaving
As you weave in your ends, remember these handy tips to make the process smoother:
- Use a blunt tapestry needle: This helps avoid splitting your yarn or snagging your stitches.
- Match yarn color: If you’re concerned about visibility, choose a needle that matches your yarn’s color for a seamless finish.
- Check your work: Before cutting, gently tug on your ends to ensure they are secure. You don’t want to find loose ends later!
Taking the time to weave in ends properly will make your hat not just look great but last through seasons of love and wear. Celebrate this step! It’s a sign of completion and a beautiful way to wrap up your handmade creation. You’ve done an amazing job-your crocheting adventure is a success! Don’t forget to admire your work, share it with friends and family, and get ready to show off your new cozy hat. You can do this!
Troubleshooting Common Crochet Problems
Crocheting a hat can be a delightful experience, but as with any creative endeavor, you may encounter some bumps along the way. Understanding and is key to ensuring your first project turns out just the way you envisioned it. So, don’t get discouraged! Let’s tackle some frequent issues and how to fix them, turning potential frustrations into learning opportunities.
One common issue is uneven tension, where some stitches are tighter while others are looser. This can happen if you’re overly conscious about how tight you’re holding your yarn or if you change your grip throughout the project. To remedy this, take a moment to relax your hands. Aim for a consistent hold on the yarn and hook. A simple tip to help with this is to practice making a few rows of single crochet before starting your hat. This will help you find a comfortable rhythm and tension before you dive into the final project.
Another challenge you might face is increasing or decreasing stitches incorrectly, which can lead to sizing issues. If your hat feels too big or small, check your stitch count regularly. Count your stitches at the end of each row or round to catch any mistakes early. If you accidentally skip a stitch or make an unexpected increase, don’t fret! Simply frog (rip back) a few stitches to the last correct point, and start again. Remember, making mistakes is part of the learning process, so embrace it and don’t feel bad about undoing work.
Lastly, if you see gaps or holes in your crochet, it could indicate that you’re not completing your stitches fully. Make sure to finish each stitch completely before moving on to the next one. A great way to check this is by looking closely at your stitches as you work. If you notice a gap, gently pull on the surrounding yarn to close it up. If it’s a bigger issue, it may be best to rip back a few rows and redo those sections.
As you navigate these common problems, keep reminding yourself: every stitch brings you closer to your goal, and every challenge is an opportunity to learn. You’re not just making a hat; you’re building skills for future projects. So, stay patient, keep practicing, and most importantly, enjoy the process! You can do this!
Sharing Your Creation: Join the Crochet Community
Sharing the joy of your crafting experience is one of the most rewarding aspects of crochet. Once you’ve completed your first hat, it’s time to celebrate your accomplishment and inspire others by engaging with the vibrant crochet community. Many makers find that sharing their projects not only boosts their confidence but also allows for valuable feedback and connections with other crafters, whether they’re beginners or seasoned pros.
Consider starting by showcasing your finished hat on social media platforms such as Instagram or Facebook. Use relevant hashtags like #CrochetHat, #Handmade, and #CrochetCommunity to reach fellow enthusiasts. Joining crochet groups on these platforms will introduce you to a supportive environment where you can exchange tips, ask for advice, and learn from others’ experiences. Engaging with groups such as “Crochet Addicts” or “Crochet for Beginners” can provide a wealth of knowledge and inspiration.
H3: Connect and Collaborate
Don’t hesitate to share your progress photos, ask questions, or even host a mini “show and tell.” A simple post sharing your hat creation can spark conversations, leading to helpful suggestions or even a new crochet buddy. You can also participate in crochet-along (CAL) events, where groups work on the same project simultaneously, allowing for collaborative learning and support. This can provide the motivation you need to tackle your next project, all while being part of something bigger.
Additionally, consider starting a blog or a YouTube channel to document your crochet journey. This not only allows you to share your finished projects but also the process, tips, and tricks you pick up along the way. Remember, your unique perspective can become a source of encouragement for someone just starting out! Seeing your progress can be a huge motivator for others who may feel unsure about their abilities.
H3: Celebrate and Inspire
Lastly, remember to celebrate every small success and inspire others. You can give back to the community by sharing your patterns or hosting events where everyone can learn together. Whether it’s local meetups at a coffee shop or virtual crafting sessions, connecting with fellow crocheters can enhance your skills and enrich your crafting experience.
So, don’t keep your creation to yourself! Share it, connect with others, and relish in the communal spirit of crochet. You can do this, and together, we can continue to weave a joyful tapestry of creativity!
Next Steps: Advancing Your Crochet Skills
Building on your journey of crocheting your first hat, think of the next steps as exciting opportunities to expand your skills and creativity. Every experienced crocheter started just where you are now, and the good news is that with each project, you’ll find your confidence blossoming. Exploring new patterns or techniques not only keeps your interest alive but can also lead to some stunning handmade pieces that you’ll be proud to share.
To advance your crochet skills, consider trying different styles of hats or incorporating new elements. For instance, after mastering a basic beanie, challenge yourself with a slouchy hat or a cloche that demands changing stitches or even colorwork. Each new pattern you tackle will teach you something different, from how to read complex instructions to maintaining tension in unique stitches. Websites like Easy Crochet offer numerous patterns suitable for all levels, ensuring you can find projects that push you just enough while still being manageable[[1]].
Participating in community events, like crochet-alongs (CAL), is another fantastic way to advance your skills and gain motivation. You can join a group online or in person, where everyone works on the same project simultaneously. This creates a space for learning and sharing advice. There are countless resources available, like tutorials from The Crochet Crowd, where you can get tips directly from experienced crocheters[[2]]. These interactions not only refine your techniques but also help form connections with fellow crafters who will encourage you as you tackle more ambitious projects.
Remember, don’t shy away from mistakes; they are as much a part of the learning process as mastering a new stitch. Many crocheters find that sharing their experiences-successes or struggles-on platforms like Instagram or in local crafting groups not only enriches their own skill set but also inspires others on their crochet journeys. So go ahead, continue your adventure, and remember: with each stitch, you’re weaving your own beautiful story into the crochet community!
Faq
Q: How long does it take to crochet a beginner hat?
A: The time it takes to crochet a beginner hat varies, but typically it takes about 2 to 4 hours for most beginners. Your speed will improve as you practice! For detailed guidance, refer to the Step-by-Step Guide to Crocheting Your Hat in the article.
Q: What type of yarn is best for a beginner crochet hat?
A: For beginners, a medium-weight yarn (like worsted weight) is often the best choice. It’s easy to work with and forgiving for mistakes. Explore the section on Choosing the Right Yarn for more tips on selecting the perfect yarn for your project.
Q: Can I crochet a hat without a pattern?
A: Yes, you can crochet a hat without a formal pattern! Simply start with a chain that fits your head and build from there using basic stitches. For help with this creative approach, check the tips on Mastering the Basics.
Q: What are common mistakes to avoid when crocheting a hat?
A: Common mistakes include miscounting stitches, not keeping your tension consistent, and using the wrong hook size. Familiarize yourself with the section on Avoiding Common Mistakes in Crochet for specific strategies to enhance your success.
Q: How can I personalize my crochet hat?
A: You can personalize your crochet hat by adding embellishments like buttons, flowers, or unique color patterns. Refer to the section on Tips for Personalizing Your Beginner Hat for creative ideas to make your hat truly unique!
Q: What tools do I need to start crocheting a hat?
A: To start crocheting a hat, you’ll need a crochet hook, yarn, scissors, and a yarn needle for finishing. For a complete list of Essential Materials You’ll Need, see that part of the article to ensure you’re fully equipped for your project.
Q: Is it easier to crochet a hat or a scarf?
A: Generally, crocheting a scarf is considered easier than a hat because it involves fewer shaping techniques. However, making a hat can be just as manageable with the right guidance. Explore the Step-by-Step Guide for techniques that make hat-making straightforward.
Q: Can beginners learn to crochet hats from video tutorials?
A: Absolutely! Video tutorials provide visual guidance that can be very helpful for beginners. Many resources link back to practical demonstrations. Consider checking out your favorite crochet community platforms for video help that matches the Step-by-Step Guide to Crocheting Your Hat.
Feel free to dive into these topics and refine your crochet skills-you can do this!
The Conclusion
Congratulations on completing your very first crochet hat! You’ve taken a fantastic step into the world of crafting, and we’re thrilled to have shared this journey with you. Remember, the skills you’ve learned today set the foundation for so many creative projects ahead. Whether you want to cozy up your home with blankets or explore making fun accessories, you can do this!
Looking for your next project? Check out our extensive collections of free crochet patterns on LoveCrafts and Yarnspirations, where you’ll find everything from scarves to baby blankets waiting for your creative touch [[1]] [[2]]. Don’t forget to share your creations with us in the comments-your progress inspires others! And for more tips and tutorials, subscribe to our newsletter for the latest resources that will help elevate your crochet game.
Every stitch you master brings you closer to becoming an expert crocheter. You got this! Keep creating, keep exploring, and remember to enjoy the process of making something uniquely yours. Happy crocheting!
Get our latest guides, news, and insights highlighted in your Google Search & AI Overviews.