
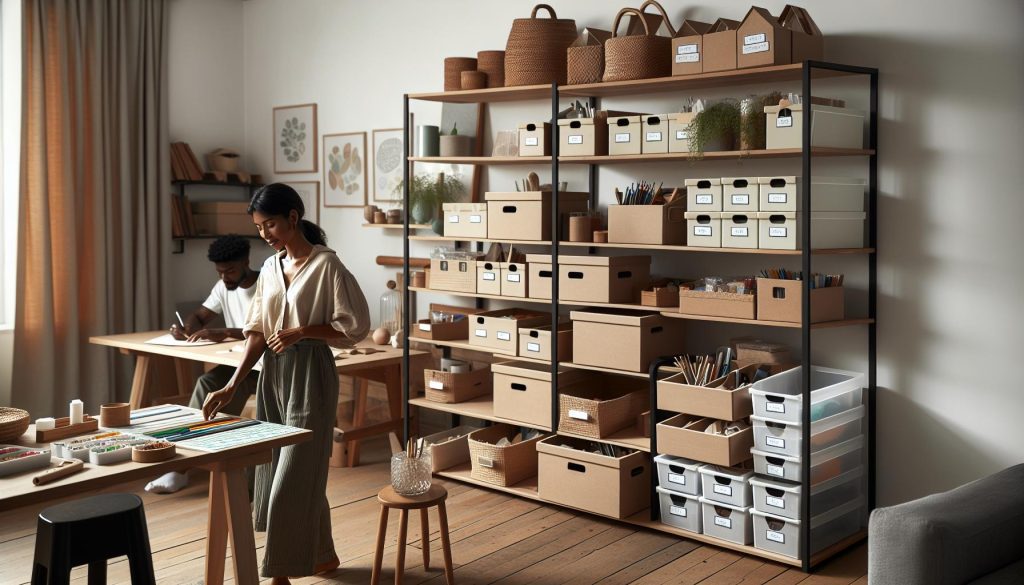
Craft supplies can quickly become overwhelming, making it hard to find the tools you need when inspiration strikes. Did you know that an organized workspace not only boosts your creativity but can also save you hours of searching? In this guide, we’ll explore clever storage solutions to transform your crafting area into a haven of creativity. Whether you’re a seasoned DIY enthusiast or just starting your crafting journey, we’ve got tips to simplify and enhance your organization process. From categorizing supplies to utilizing smart storage options, you’ll learn how to create a functional, inviting space that inspires your next project. Ready to reclaim your crafting sanctuary? Let’s dive in and unlock the joy of organized creation!
Understanding Your Craft Supply Needs
Every crafter knows that the joy of creating can sometimes be overshadowed by the chaos of supplies. It’s easy to amass an impressive collection of materials, but without a clear understanding of your craft supply needs, that collection can quickly become overwhelming. Start by examining what types of projects you enjoy most-are you drawn to paper crafting, knitting, or perhaps DIY home décor? Knowing your preferred crafts will help you focus on the supplies that truly matter, ensuring you invest in tools and materials that enhance your creative process rather than clutter your space.
To effectively evaluate your crafting needs, consider making a list of essential items for each project type. For instance, if you love scrapbooking, you’ll need paper, adhesives, and embellishments. If knitting is your passion, prioritize yarn types, needles, and patterns. This method not only helps in identifying must-have supplies but also in understanding what can be stored together. Take inventory of what you already own-it’s a great way to keep track of supplies and avoid duplicates.
Another tip is to think about your crafting style. Do you prefer quick projects or intricate designs? This can influence how you shop and organize your craft space. If you tend to complete small, quick-haul projects, keep your materials accessible and organized for easy access. However, if your projects are larger and more complex, you might benefit from dedicated storage solutions that keep materials sorted yet grouped by project type. Ultimately, will streamline your creative flow, making your crafting experience not only more enjoyable but also more productive.
Creative Storage Solutions for Every Craft
Crafting is a delightful journey that flourishes when your workspace is as inspiring as your imagination. Creating a tailored storage solution not only helps you keep your supplies in order but also fuels your creativity. Imagine walking into a well-organized craft room, greeted by neatly arranged tools, vibrant colors, and everything you need at your fingertips. With the right strategies, you can transform any space into a craft lover’s dream.
Start by considering your specific crafting activities. For instance, if you’re a paper crafter, utilize vertical storage options like wall-mounted shelves or pegboards to display your favorite papers and tools. This keeps items visible and easily accessible while saving horizontal space. You can use clear bins or labeled drawers to store embellishments, adhesives, and tools, ensuring everything has a designated spot. If you’re into knitting or crochet, a rolling cart with compartments can be a game changer. You can keep yarn, needles, and patterns all in one place, and easily move them around when switching projects or locations.
For those who enjoy mixed media or have a diverse range of crafts, think multifunctional storage. A craft caddy that holds supplies for multiple projects can keep you organized during bustling crafting sessions and make clean-up a breeze. Additionally, repurposing everyday items like mason jars for storing buttons, threads, or small tools can add both function and charm to your crafting space. Remember, the best storage solutions complement your crafting style-don’t be afraid to personalize your setup!
The key takeaway here is that effective storage doesn’t have to be expensive or complicated. With a little creativity and some thoughtful planning, you can establish a system that not only maximizes your crafting potential but also brings you joy every time you sit down to create. Embrace the process and enjoy crafting your perfectly organized haven!
Maximizing Space: Vertical vs. Horizontal Storage
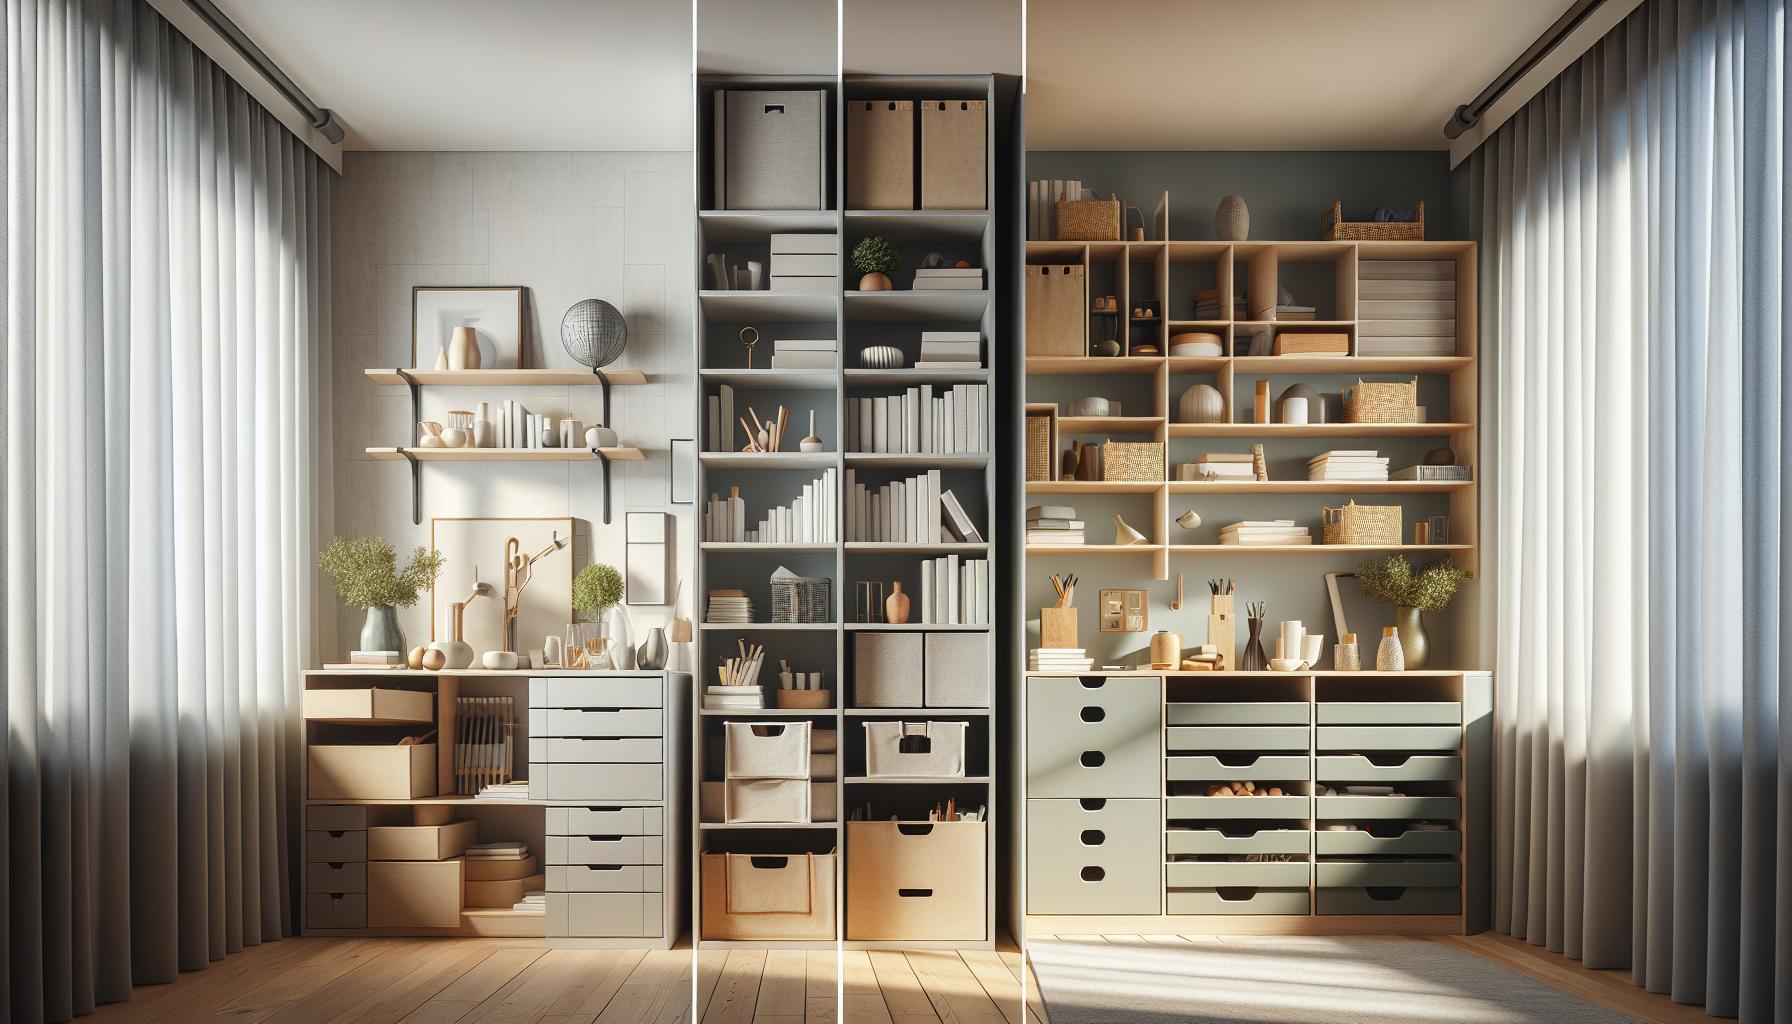
Finding the right balance between vertical and horizontal storage can transform a cluttered crafting space into an organized wonderland. With limited space in many crafting areas, leveraging your walls for vertical storage is a savvy way to maximize your room’s potential. Imagine a pegboard adorned with colorful spools of thread, scissors, and embellishments-everything easily visible and ready to inspire creativity. Vertical storage makes use of often-overlooked areas, allowing you to keep your supplies accessible without sacrificing precious desk or table space.
When contemplating horizontal storage, think about how you typically work on your projects. For instance, a large, flat workspace can be ideal for projects that require multiple materials laid out at once, such as scrapbooking or sewing. Here, shallow drawers or rolling carts can hold frequently used supplies, keeping them within reach while maintaining an uncluttered surface. Consider using clear bins to store materials, labeling each bin according to the contents. This way, you can quickly grab what you need and get back to creating instead of rummaging through piles of supplies.
It’s all about using the right tools for your crafting style. Are you a quilter with heaps of fabric? Utilize a combination of vertical fabric storage racks for easy access to your favorite prints, paired with horizontal drawers for larger pieces. For beading or small projects, a tiered organizer can elegantly display your tools while keeping everything tidy. Remember, the goal is to create a system that works for you, allowing your creative spirit to flourish without the stress of disarray. By mixing vertical and horizontal approaches, you can tailor your storage solutions to suit your unique crafting needs, turning your workspace into a masterpiece.
Ultimately, whether you lean towards vertical racks or horizontal bins, both methods offer distinct advantages. The key is to assess your supplies and the nature of your projects, then implement a storage system that complements your crafting habits. You’ve got this, and soon your workspace will not just be organized but a source of inspiration for your next creation!
How to Sort and Categorize Your Supplies
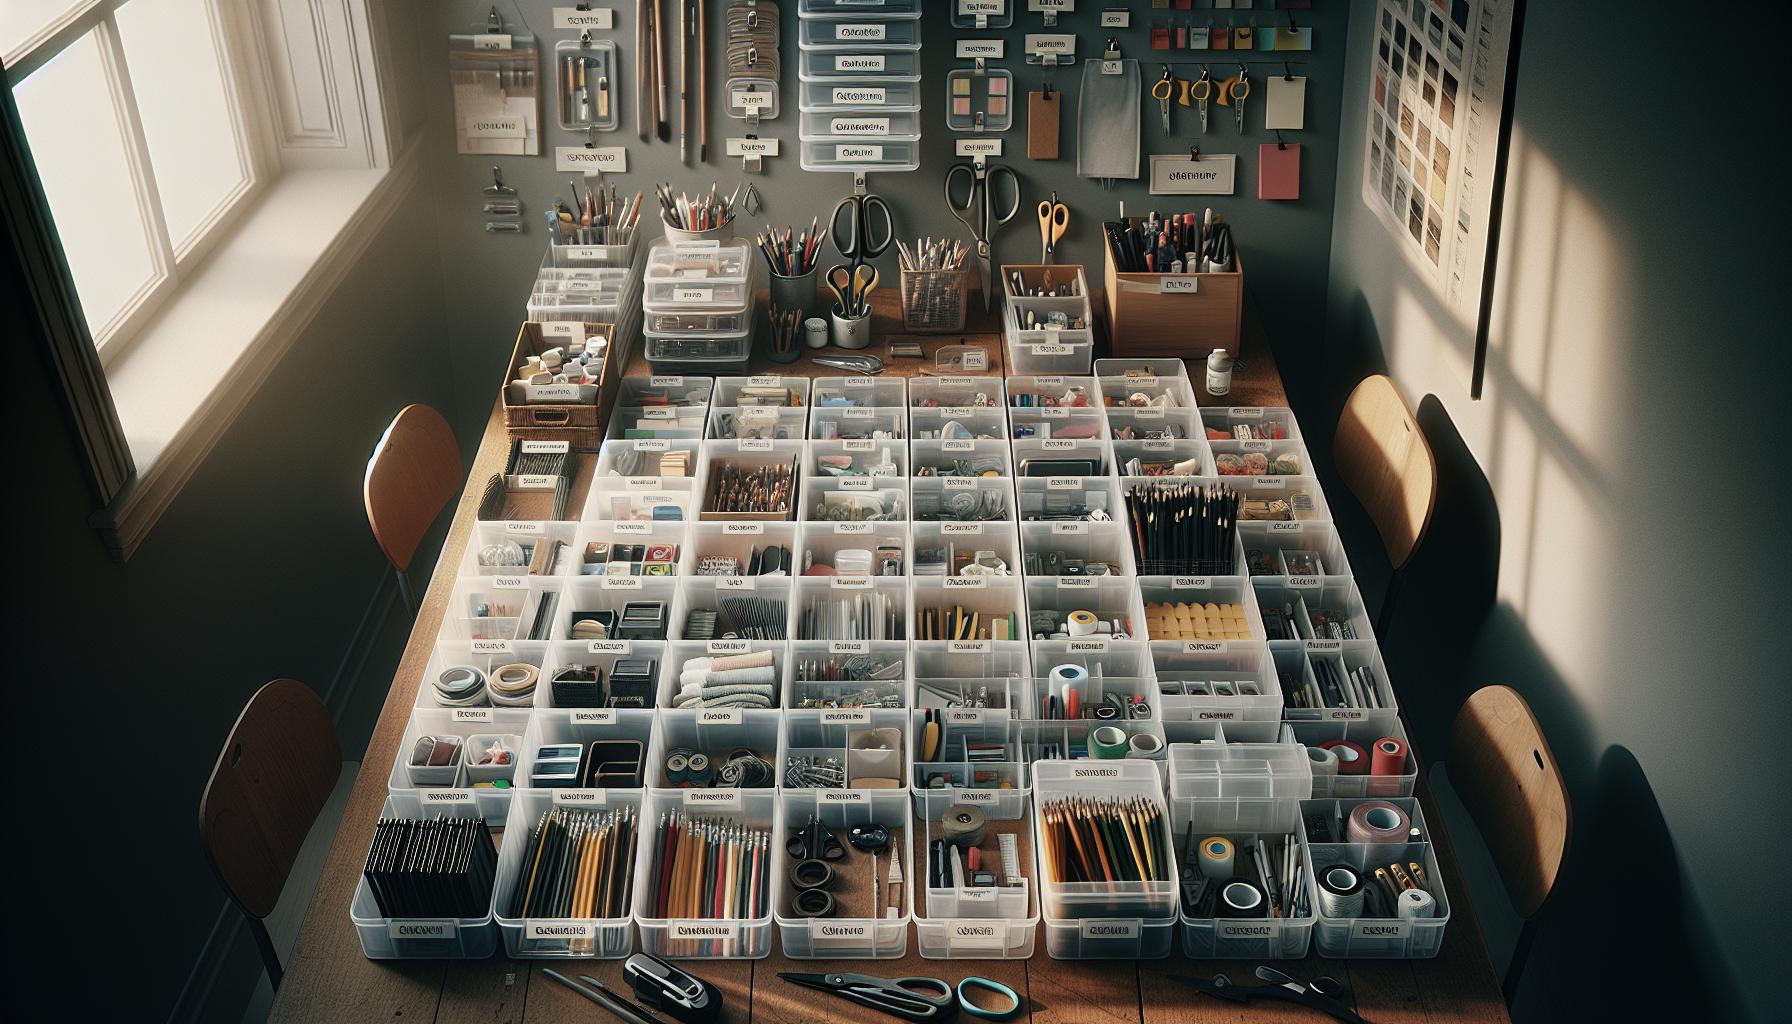
Sorting and categorizing your craft supplies is like creating a treasure map to your creativity-once everything has its place, you’ll find inspiration flowing more freely. Not only does this process reduce the stress of searching through piles of materials, but it also saves time and helps you focus on the joy of making. The first step is to gather all your supplies in one area. Lay everything out and prepare for a little inventory adventure!
Start by grouping similar items together; this can often lead to delightful discoveries! For example, if you’re a scrapbooker, put your papers, stickers, and tools in one pile. If you’re into knitting, gather all your yarns and needles in another. Here’s a simple way to categorize your supplies:
Category Ideas for Craft Supplies
- By Project Type: All supplies for a specific craft like knitting, scrapbooking, or painting in one spot.
- By Material: Fabrics in one area, paper crafts in another, and so on.
- By Frequency of Use: Keep everyday supplies handy while storing less frequently used items out of the way.
Once you have your supplies categorized, it’s time to dive into storage solutions! Clear bins are fantastic for seeing what’s inside at a glance, especially when labeled. If you love to craft on the go, consider smaller, portable containers that keep your supplies organized and travel-friendly. For a visual flair, use a tiered organizer for smaller items like beads or buttons, making it easy to find exactly what you need without digging.
Real Project Example
Imagine you’re ready to start a new scrapbook page. With your papers grouped and tools easy to reach in an organized drawer, you can dedicate your time to creativity rather than chaos! Not only does sorting make your workspace aesthetically pleasing, but it also creates an inviting atmosphere that enhances your crafting experience.
Remember, it’s all about what works best for you! There’s no one-size-fits-all formula when it comes to organizing your supplies. Embrace the process, experiment with different systems, and most importantly, enjoy the journey of crafting uninhibited by clutter. Each step you take toward organization not only clears space but inspires creativity-after all, a tidy workspace can lead to a tidy mind!
Budget-Friendly Storage Ideas for Crafters
Crafting can be an incredibly fulfilling experience, but managing your supplies doesn’t have to break the bank. With a bit of creativity and resourcefulness, you can create a beautifully organized space without spending a fortune. For starters, don’t overlook the vast array of repurposed materials around your home. Old jars, boxes, and even shoe organizers can be transformed into stylish storage solutions. Simply clean out those glass jars and use them to store buttons, beads, or small embellishments. Not only does this save you money, but it also adds a personal touch to your workspace!
Additionally, consider shopping at dollar stores for budget-friendly bins and boxes. These stores often have a variety of clear containers that are perfect for organizing supplies. You can easily label them according to craft type or color, making it easy to find what you need. For instance, a simple dollar store basket can hold all your knitting tools or sketch supplies, while a stackable drawer system can keep your paper craft materials neatly stored. Every little container helps build an organized space that inspires creativity.
Another clever idea is to utilize vertical space to your advantage. Hanging storage solutions can be incredibly effective in maximizing your work area. Pegboards or wall-mounted organizers can display tools, scissors, and tapes right at your fingertips. This not only keeps your desk clear but also adds a fun, artsy look to your craft room. If you’re into sewing, try using a tension rod to hang spools of thread or ribbons, allowing for easy access and visibility.
Incorporating these budget-friendly ideas into your craft room will help you create an organized, inspiring space where you can dive into your projects with enthusiasm. Remember, crafting is about expressing yourself, and a well-organized area can enhance that experience. So roll up your sleeves, get creative, and most importantly, enjoy the process of making!
Innovative DIY Storage Projects
Creating your own storage solutions can be a fun and fulfilling way to organize your craft supplies. With a little imagination and everyday materials, you can transform clutter into cheerful, functional storage. Imagine making your workspace more inviting while ensuring you can easily find what you need. Let’s dive into some that will inspire your crafting journey!
Repurposed Jars for Tiny Treasures
Old glass jars are a crafter’s best friend. Not only do they add a touch of rustic charm to your space, but they also allow for clear visibility of your supplies. You can use these jars to store everything from buttons to beads-perfect for keeping small items organized.
- Difficulty: Easy
- Materials: Clean jars, labels (optional), and a marker.
- Time: 30 minutes.
Simply remove the labels, give them a good clean, and fill them with your smaller craft items. For a more polished look, label each jar using tags or washi tape. This way, you not only add style but also enhance functionality!
DIY Pegboard Organizer
If you have a wall to spare, pegboards are an excellent way to keep all your tools and supplies within reach. They can be tailored to your specific needs, accommodating everything from scissors to yarn.
- Difficulty: Moderate
- Materials: Pegboard, pegboard hooks, paint (optional), and a level.
- Time: 1-2 hours.
Start by measuring your wall space and cutting the pegboard to the desired size. Paint it if you wish to add a pop of color, then use a level to hang it securely. Fill your pegboard with hooks, baskets, and small shelves-arranging them according to your workflow will keep everything accessible as you craft.
Tension Rod for Ribbon Storage
For those who love sewing or working with ribbons, a tension rod can provide an easy and attractive way to store your spools.
- Difficulty: Very Easy
- Materials: Tension rod and spools of ribbon.
- Time: 15 minutes.
Place the tension rod in a cupboard or on a shelf and slide your spools onto it. This not only saves space but makes it incredibly easy to see all your options at a glance!
You don’t have to be a master carpenter to create effective storage solutions for your crafting supplies. These projects not only add organization but also enable you to personalize your crafting space. So gather your materials, unleash your creativity, and get crafting! You can do this!
Must-Have Storage Tools for Crafters
When it comes to crafting, having the right storage tools can make all the difference in how smoothly your creative process flows. Imagine being able to reach for your materials without having to dig through a chaotic pile-sounds liberating, right? Let’s explore some essential storage tools that can help transform your crafting space into an organized haven. You can do this!
Bins and Baskets
Storage bins and baskets are classic staples for any crafter’s toolkit. They come in various sizes, shapes, and colors, making them versatile for different craft supplies. Use larger bins for bulk items like fabric or yarn, while smaller baskets can hold smaller tools such as scissors and glue.
- Difficulty: Very Easy
- Materials: Storage bins or baskets (available at most home goods stores)
- Time: 5-10 minutes to organize
Simply designate a bin for each type of supply-think one for mixed media, another for quilting, and so on. Labeling each bin keeps you on track and helps you grab what you need quickly.
Drawer Organizers
Drawer organizers are a game-changer for keeping those small, easily misplaced items where they belong. These dividers can help separate your buttons, threads, and embellishments within a drawer, ensuring that everything is visible and accessible.
- Difficulty: Easy
- Materials: Drawer organizers (from craft or office supply stores)
- Time: 15-30 minutes to set up
Measure your drawer space before buying organizers so they fit well. Marvel at how much easier it is to find that elusive button when you can see all your options laid out!
Carts on Wheels
A rolling cart can be a lifesaver, offering mobile storage for your crafting supplies. This is especially useful if you often switch crafting locations or need additional surface space.
- Difficulty: Moderate
- Materials: Rolling cart (purchase from home centers or online)
- Time: 10-20 minutes to load
Assign each tier of the cart to a specific craft or project, and roll it to where you’ll be working. You’ll be amazed at how organized and efficient your crafting will become with everything at your fingertips!
With these storage tools, you can create a functional crafting environment that sparks joy and creativity. Embrace the process and make your space uniquely yours. Whether you’re just starting or have been crafting for years, you can do this!
Color Coding Your Craft Supplies for Easy Access
Imagine walking into your craft space and instantly knowing where everything is located, all thanks to a simple but effective color-coding system. Not only does this method make finding supplies a breeze, but it also adds a vibrant, playful aesthetic to your workspace. Let’s dive into how to organize your craft supplies using color coding, making your creative process smoother and more enjoyable.
Start with the basics: Difficulty: Easy, Materials: Colored bins or labels (available at craft stores), and Time: 30 minutes to set up. First, assess what supplies you have. Gather all items-think yarn, fabrics, papers, and tools. Once you’re familiar with your stash, group similar items together. For instance, you might choose red bins for sewing supplies, blue for paper crafts, and green for yarn.
Next, invest in colored bins or labels. Label each container with its color coding scheme, making it even easier to identify what’s what at a glance. You could also use colored tape to mark drawers or shelves for a quick reference. Tip: If you often work on multiple projects, consider assigning a unique color to each active project so you can quickly grab and go without sorting through everything.
Finally, maintain this system with a regular inventory check. As your supplies grow or change, adjust your color-coding method accordingly. This approach not only enhances your crafting experience but allows for easier collaboration with friends who might join you, as they can quickly find what they need. Remember, you can do this, and with each step towards organization, you’ll enhance your craft space and ignite your creativity even more!
Smart Tips for Organizing Small Craft Items
You know that exhilarating feeling when you complete a DIY project, only to realize you can’t find your cherished embellishments or the perfect shade of paint? It’s a common struggle for crafters everywhere, but with a few smart strategies, you can whip those small craft items into shape and keep your creative flow uninterrupted!
A great first step is to select the right containers for your tiny treasures. Difficulty: Easy, Materials: Small bins, jars, or tackle boxes, Time: About 30 minutes. Think about using labeled jars for items like buttons, beads, and embellishments. Not only do they keep everything visible, but they also look charming on your workspace. For smaller supplies like sequins or brads, try a tackle box with lots of compartments; it provides easy access and encourages you to keep everything sorted.
Quick Organization Steps
- Sort Supplies: Gather all your small items from various nooks. Lay them out and categorize them: by color, type, or project theme.
- Choose Containers: Opt for clear containers to keep visibility high. Stackable bins save space, and small jars can be recycled from the kitchen.
- Label Everything: Use a label maker or simple masking tape and a marker. Clear labeling ensures that when you’re in the zone, you won’t waste precious time searching for supplies.
- Establish a System: Designate a certain area on your craft desk or shelf specifically for these items. This consistency will help you develop a routine and maintain order.
Using trays or shallow drawers can also work wonders. They allow you to group supplies together while maintaining organization-just lift them out to see everything at once. A simple tiered organizer can keep your paints or glues easily accessible without cluttering your workspace.
Never underestimate the power of upcycling! For example, old spice containers can work fabulously for storing glitter or small thread spools. Your craft space can be both functional and fun with a little creativity. Remember, as you establish your organizing system, embrace the process. This is your creative space, and the more organized it is, the more inspired you’ll feel. You can absolutely do this, and soon, rummaging through your supplies will bring joy instead of frustration!
Creating a Craft Supply Inventory System
To stay on top of your crafting game, creating a supply inventory system is a game changer. Imagine strolling into your craft space and knowing exactly where to find every roll of ribbon, stack of paper, or bag of beads without rifling through clutter or losing precious crafting time. An organized inventory not only saves you time but also helps you avoid overbuying supplies you already own!
Start by gathering your materials for the inventory system. You’ll need a few basic items: a notebook or digital app for tracking supplies, a device (like a smartphone or tablet), and some containers or bins for storing smaller items. For the tech-savvy, apps specifically designed for inventory management can make this process even smoother by keeping everything accessible. If you’re more traditional, a well-organized binder can do wonders too.
Steps to Create Your Inventory System
- List Your Supplies: Begin by taking a comprehensive inventory of all your craft supplies. Write down everything: paints, papers, tools, accessories, and ongoing projects. Divide them into categories for easier tracking.
- Choose a Tracking Method: Whether you prefer a spreadsheet, a dedicated app, or a handwritten log, choose a method that works best for you. Make sure it allows for easy updates and additions.
- Record Details: For each item, include details such as quantity, location, and notes about usage or special projects. This practice helps you see not just what you have, but how often you use it.
- Update Regularly: After each crafting session, spend a few minutes updating your inventory. This might include adding new supplies or noting any that you’ve used up.
A great example is to categorize your inventory by craft type-like knitting, scrapbooking, or home decor projects. This granularity lets you quickly pull together supplies needed for a specific project without digging through unrelated items. Consider dedicating a shelf or section of your craft space with labels that match your inventory categories, ensuring everything is easy to access and even easier to return after use.
Maintaining an inventory can transform your crafting experience. As you continue to develop this system, you’ll find projects flowing smoother and a deeper understanding of your supply usage. And remember, you’re not alone in this process-many crafters face the same challenges, and by staying organized, you celebrate the joy of crafting confidently. You’ve got this, and soon, you’ll wonder how you ever created without an inventory system!
Maintaining an Organized Craft Space Long-Term
When you finally carve out that beautiful space dedicated to your crafting adventures, the last thing you want is for it to descend into chaos. Keeping your craft area organized isn’t just about aesthetics; it’s about enhancing your creativity and accessibility. Have you ever embarked on a new project only to spend half your time digging through boxes to find the right supplies? By establishing a few solid strategies, you can maintain an organized craft space that inspires rather than frustrates.
To start on the right foot, consider implementing a routine check of your space. Schedule a brief 15-minute tidy-up at the end of each week to put everything back in its designated spot. You can use this time to sort through materials, discard what you no longer need, and ensure that supplies are well-stocked for the next week’s adventures. Incorporate labels to identify containers quickly. Not only does this make finding items easier, but it also helps you put things away in the right places, reinforcing the habit of keeping your craft area in order.
Another helpful technique is to adopt a seasonal decluttering approach. Each quarter, take time to reassess your supplies. Are there materials you’ve loved but aren’t using anymore? Perhaps it’s time to donate or sell those items to make room for new inspirations! Creating a designated space for incoming supplies will also help manage new items before they find their permanent home. This practice keeps your space functional and reduces potential clutter overflow.
Don’t underestimate the power of a clear workspace either. When you clear away non-essential items, you create a welcoming area that encourages creativity. Use drawers and containers strategically: store frequently used items within arm’s reach, while less commonly used supplies can be stowed away. Consider your vertical space-shelves or pegboards can hold tools and supplies up and off the table, keeping your workspace serene and open.
Remember, maintaining an organized craft space is a journey, not a destination. Each decision you make to enhance your setup brings you closer to a space that nurtures your creativity. So take heart, embrace the process, and know that every small step you take leads to a more joyful crafting experience. You’ve got this!
Inspiring Craft Room Makeover Ideas
Transforming your craft room can be a rewarding project that not only enhances your organization but also inspires creativity. Whether you’re starting from scratch or looking to refresh an existing space, there are endless ideas to help you create a functional and beautiful environment. Let’s dive into some practical, easy-to-implement makeover concepts that celebrate the joy of crafting.
Colorful and Functional Storage Solutions
Embrace a vibrant palette when selecting storage options. Colorful bins, boxes, and shelves can make a significant impact on the overall look of your craft space. Here’s how to integrate color effectively:
- Coordinate your supplies: Match storage items with your crafting materials. For instance, use bright baskets for yarn or fabric in coordinated hues. This not only looks good but makes it easier to find what you need.
- Add a splash of paint: If you’re up for a DIY project, paint your existing shelves or cabinets in fun colors. This fresh coat can breathe new life into your space and makes it feel personalized.
- Use clear containers: Clear bins allow you to see contents at a glance. Use washi tape or colored labels to categorize different types of materials.
Creative Workspace Layouts
Rearranging your workspace can drastically improve your crafting experience. Here are some layout ideas that maximize both function and style:
- Zone your workspace: Create specific zones for different types of crafts. For example, keep your sewing area separate from your painting space. Use curtains, rugs, or shelving to visually divide areas.
- Incorporate a large table: Ensure you have a spacious surface to work on. A sturdy table can serve multiple purposes, from cutting fabric to assembling projects. Choose one with storage underneath for extra organization.
- Vertical space utilization: Make the most of your walls with pegboards or wall-mounted shelves. Hang tools, ribbons, and scissors to keep them easily accessible while decorating your workspace.
DIY and Custom Storage Projects
Feeling crafty? You can create personalized storage solutions that fit your space perfectly. Here are a few ideas that are straightforward and enjoyable:
- Jar storage: Repurpose mason jars to store small items like buttons, beads, or paintbrushes. Arrange them on a shelf or a lazy Susan for easy access.
- Repurposed furniture: Old furniture can become your best ally in organization. Transform a vintage dresser into a craft supply hub by adding dividers or baskets in the drawers.
- Rolling carts: Use a cart that can roll away when not in use. Fill it with frequently used supplies, making it easy to move around your crafting area.
Freeing your creative spirit starts with an organized and inspiring space. With just a bit of effort, you can craft a haven that’s tailored to your crafting style. Remember, it’s not about perfection but about creating a space that nurtures your creativity-so gather your supplies and start transforming!
Faq
Q: What are the best storage solutions for small crafting supplies?
A: The best storage solutions for small crafting supplies include clear plastic bins, drawer organizers, and multi-compartment containers. These options allow for easy visibility and access, helping you quickly find items. Consider using labels for each container to simplify organization further. For more tips, check our section on Smart Tips for Organizing Small Craft Items.
Q: How can I organize my craft room for maximum efficiency?
A: To organize your craft room efficiently, utilize multi-functional furniture, such as tables with storage underneath. Group similar materials together and use vertical space with wall-mounted shelves. Regularly declutter supplies that you no longer use to maintain a tidy workspace. Explore our article for more Inspiring Craft Room Makeover Ideas.
Q: What materials are best for DIY craft storage solutions?
A: The best materials for DIY craft storage solutions include wood, cardboard, and plastic. You can create custom shelving with wood or repurpose cardboard boxes for organizing smaller items. Use plastic containers for moisture-sensitive supplies. Get inspired by our Innovative DIY Storage Projects section for practical ideas.
Q: How should I categorize my craft supplies for easy access?
A: Categorize your craft supplies by type (e.g., paints, fabrics, tools) or use a color-coding system. This helps you quickly find what you need without rummaging through clutter. Make sure to keep frequently used items at an easy reach. For detailed sorting techniques, refer to our section on How to Sort and Categorize Your Supplies.
Q: What are cost-effective ways to organize craft supplies?
A: Cost-effective ways to organize craft supplies include using recycled materials like jars, shoe boxes, and old baskets. DIY shelving from pallets or buying second-hand storage solutions can also save costs. Explore our Budget-Friendly Storage Ideas for Crafters for more money-saving solutions.
Q: Is it better to use open shelves or closed cabinets for craft supplies?
A: It depends on your space and preferences! Open shelves make supplies visible and accessible, promoting creativity. However, closed cabinets keep dust out and create a neater appearance. Consider your crafting habits and available space to decide what’s best for you.
Q: How often should I reorganize my craft supplies?
A: Aim to reorganize your craft supplies every six months or whenever you notice clutter accumulating. Regular organization helps you stay inspired and efficient in your crafting. When reorganizing, assess what items you use frequently and what can be donated or discarded. Check our Creating a Craft Supply Inventory System section for tips on maintaining order.
Q: What are innovative ways to display craft supplies for inspiration?
A: Innovative ways to display craft supplies include framing fabric swatches or using jar displays for paints and beads. Wall-mounted pegboards can showcase tools while adding artwork to your space. For inspiring examples, see our Must-Have Storage Tools for Crafters for ideas that merge functionality and aesthetics.
In Conclusion
Now that you know how to efficiently organize your craft supplies, it’s time to take action and revamp your crafting space! By implementing these simple storage solutions, you’ll not only enhance your creativity but also save time on your projects. Remember, a well-organized space encourages you to dive back into your hobbies, whether it’s knitting, scrapbooking, or DIY projects.
Explore our related articles on tips for maintaining your organized space and discover creative uses for vintage storage options. Don’t forget to sign up for our newsletter for more fabulous craft ideas and exclusive content that will inspire and motivate you! Have any questions or techniques you’d like to share? Join our community in the comments below; we’d love to hear from you and celebrate the joy of crafting together.
Let’s keep the momentum going; your next project awaits, and with these organizing strategies, you can tackle it with confidence. Happy crafting!
Get our latest guides, news, and insights highlighted in your Google Search & AI Overviews.