

Is your lovingly crocheted hat just a bit too loose? You’re not alone! Many crafters face this common issue after spending time creating the perfect beanie. The good news? You can easily fix a too-loose crochet hat with a few simple shrinking techniques. Whether using hot water, hand felting, or a tumble dryer, these methods can help you achieve that snug fit you desire. This guide will walk you through each approach, ensuring you feel confident and excited about adjusting your creation. No matter your skill level, you can transform that floppy hat into a cozy fit that you’ll love to wear. So grab your materials and let’s get started on making your crochet project just right!
Understanding Why Your Crochet Hat Is Too Loose
When your crochet hat feels a tad too loose, it can be frustrating especially after investing your time and effort into a project. Understanding why this happens is the first step towards achieving that perfect fit. Several factors can contribute to a loose hat, often stemming from gauge issues, the type of yarn used, and even the crochet technique itself.
One of the primary reasons for a loose-fitting hat is the yarn choice. Different fibers have varying stretch and recovery properties. For instance, acrylic yarn can stretch more than cotton, leading to a looser finished product. Additionally, the stitch pattern can affect the overall snugness. For example, open stitch patterns increase airflow and lightness, but they also can result in a more relaxed fit. If you find yourself consistently making hats that are too large, it may be time to examine your gauge and ensure you’re using the recommended hook size for your yarn.
Another common issue is the tension at which you crochet. If your tension is too loose, your finished hat will reflect that. This can happen if you are new to crocheting or if you switch between different crafting styles. An easy way to improve your tension is to practice with a gauge swatch before starting your project. By making small test samples, you can adjust your stitches and hooks, helping you achieve the right fit from the outset. Remember, it’s all about the joy of creating; each project is a chance to learn and refine your skills!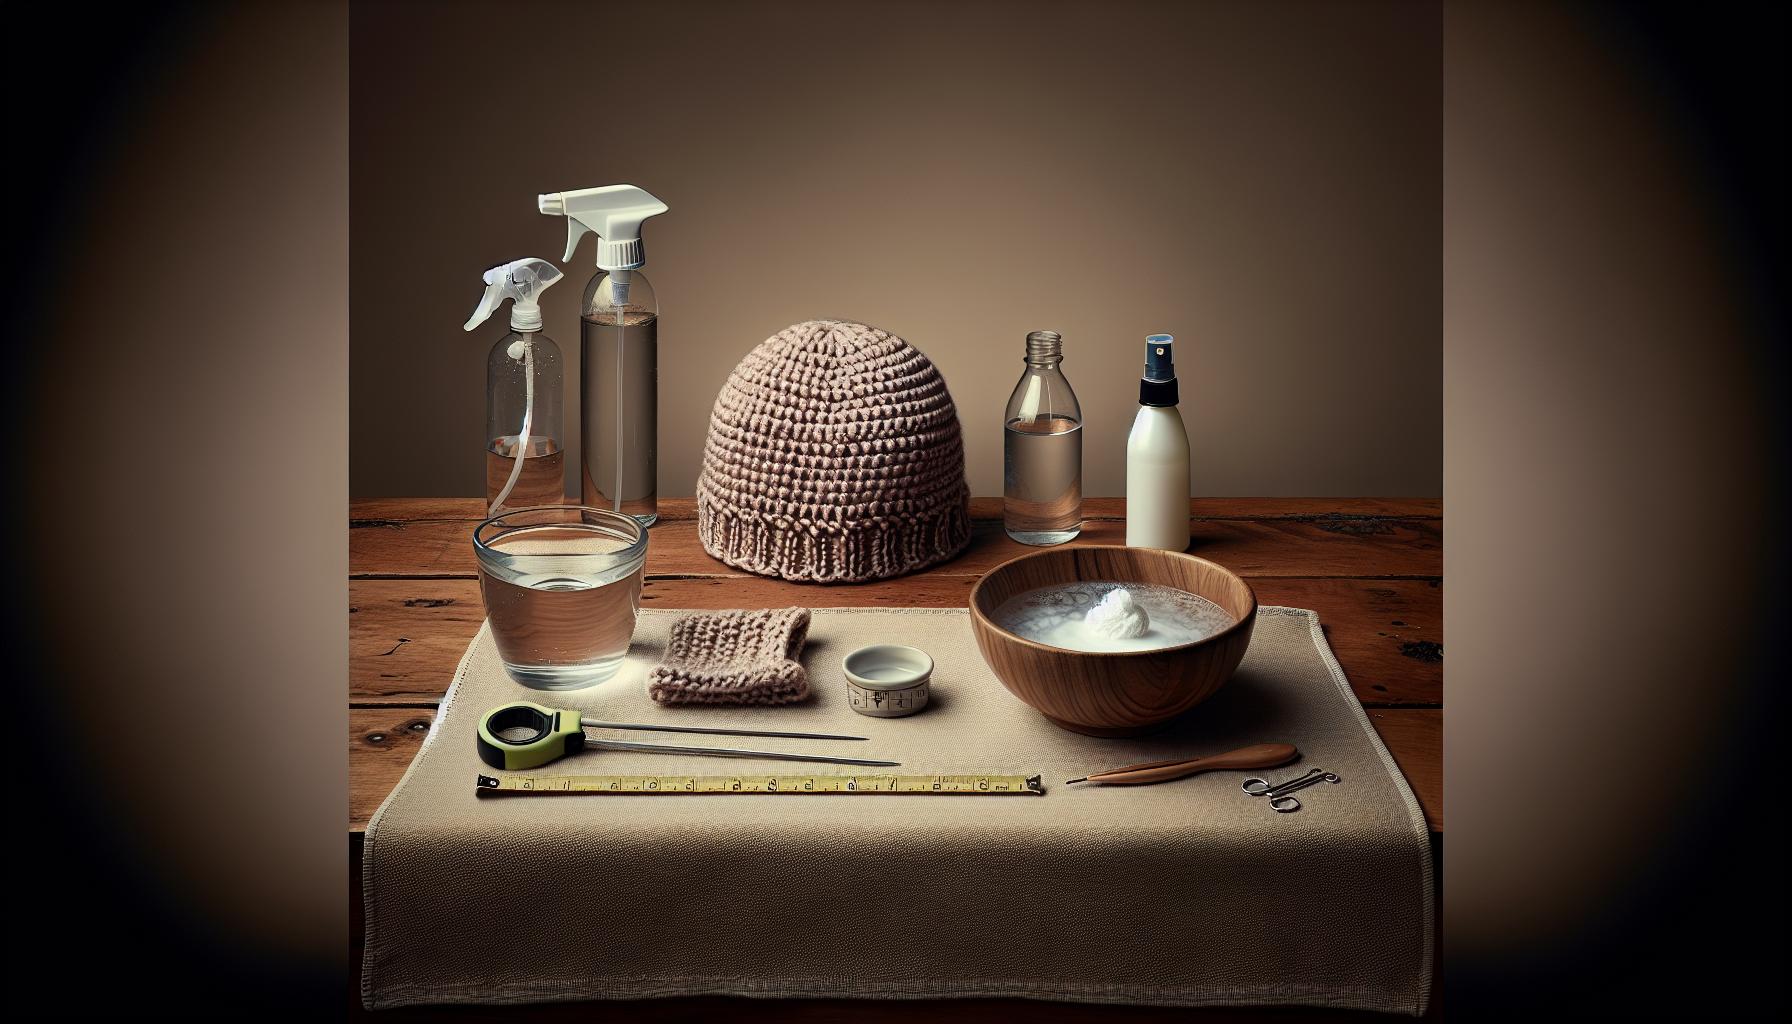
Essential Materials for Shrinking a Crochet Hat
To turn a too-loose crochet hat into a snugly fit, gathering the right materials for the shrinking process is essential. You don’t need to break the bank or spend extensive time shopping-most of these items may already be lurking in your home. Let’s explore what you’ll need to get started!
Key Materials:
- Hot Water: This is the primary agent in the shrinking process. You’ll want it to be hot but not boiling to prevent damaging your crochet. Aim for a temperature that feels safe to touch but will effectively agitate the fibers.
- Soap or Detergent: Adding a gentle soap can aid in loosening the fibers, making it easier for them to shrink and mat together. A mild dish soap or even a special wool wash can work wonders.
- Baking Soda: This can act as a natural softener that helps with the shrinking process when mixed with water. Just about 1/4 cup should do the trick!
- Towels or Fabric for Agitation: Throwing in a few towels or old jeans not only helps in the agitation process but also prevents your hat from getting damaged by too much friction against itself.
- Large Bowl or Sink: You’ll need a place to soak your hat where it won’t get disturbed. A large bowl or a clean sink works perfectly.
- Measuring Cup: For precise ingredient measurements, especially if you’re trying out baking soda or detergent.
Now that you know what materials to gather, remember to handle your hat with care throughout the shrinking process. It’s a delicate dance-too much agitation could lead to felting, while too little might not get you the fit you desire. There’s no need to stress! With these essentials on hand, you’re well on your way to achieving the perfect snugness in your crochet hat. You got this!
Quick Fixes: Shrinking Techniques You Can Start Today
Is your crochet hat feeling a bit too spacious? No worries-shrinking your hat can be a fun and straightforward process with the right techniques! Here are some quick fixes you can implement today to achieve a snugger fit.
One effective method is to soak your hat in hot water with a bit of soap. Start by filling a large sink or bowl with warm, but not boiling, water. Add a squirt of gentle soap to help loosen the fibers. Immerse your crochet hat fully for about 10-15 minutes, allowing the hot water to work its magic. After soaking, gently agitate the hat by swishing it around in the water. This process helps the fibers contract, making the hat smaller. Be sure to monitor it closely to avoid any accidental felting!
Another straightforward technique is to incorporate baking soda into your soaking process. Baking soda acts as a natural softener, which can assist in the shrinking process. Just add about 1/4 cup of baking soda to your hot water mixture before soaking your hat. Following the same soaking and agitating method, you’ll notice your hat starting to shrink down to a more manageable size. Once it feels snug enough, rinse it out in cool water, reshape the hat, and let it dry undisturbed.
If you’re looking for an even quicker, less hands-on option, consider using a dryer. After soaking your hat, place it in the dryer on a low heat setting for a short period, checking frequently to avoid over-shrinking. This method is perfect for those who are pressed for time and want to see immediate results. Just remember to keep an eye on it, as every piece can react differently to heat.
With these techniques, you can transform your too-loose crochet hat into a perfectly fitted accessory in just a few simple steps. Embrace the process and remember that each attempt brings you closer to mastering your craft-you’ve got this!
Stitch Patterns That Affect Fit: What to Consider
Crafting a crochet hat is an exciting journey, but you might find that some stitch patterns can lead to a hat that fits a bit too loosely. Understanding how different stitches work can help you achieve that snug fit you desire. Each stitch has unique characteristics that can stretch or tighten, impacting the overall size and shape of your project. For instance, stitches like double crochet create a more open fabric compared to single crochet, leading to more stretch and a looser fit.
When choosing a stitch pattern for your hat, consider the weight and type of yarn you are using. Bulkier yarns can make looser stitches look bigger, while finer yarn may result in a tighter finish. It’s essential to keep this in mind when selecting your pattern. If you’re looking for a snugger fit, opt for tighter stitches like half-double crochet or front post stitches which provide a denser texture.
Choosing the Right Stitch Pattern
To help you make an informed choice, here are a few popular stitch patterns and their fit characteristics:
- Single Crochet: Offers a tight, warm fabric. Great for preventing loose fits.
- Half-Double Crochet: Slightly looser than single crochet, but still a good option for those looking for a snug fit.
- Double Crochet: Yields a more open fabric, which can lead to a larger hat; use sparingly for fitted designs.
- Shell Stitch: Adds decorative elements but can stretch your hat if used too liberally.
- Ribbing (front and back post stitches): Excellent for elasticity, ensuring a fitted band around your head.
Experiment with these stitches to create the perfect fit for your crochet hat. If you’ve already made a hat that feels a bit loose, consider adjusting your stitch pattern in future projects or adding a band of ribbing to bring it in tighter at the base. Remember, the joy of crochet comes from trial and error-so don’t hesitate to make those adjustments! You’ve got the skills to create something uniquely yours, and with a little tweaking, every hat can become a cozy, perfectly fitted treasure in your collection.
Step-by-Step Guide to Resizing Your Crochet Hat
If you’ve found yourself with a crochet hat that’s a bit too loose for your liking, worry not! Resizing it can be a rewarding process that not only saves your hard work but also allows you to customize the fit. Let’s break it down into manageable steps, ensuring you feel empowered every step of the way.
Start by gathering your materials. You’ll need a few essentials: a sewing needle and thread (in a color close to your yarn), scissors, and possibly a safety pin for adjustments. This method focuses on altering the hat seamlessly, making it look as good as new.
Here’s how to do it:
- Identify Fit Issues: Try on the hat and note where it’s too loose. Common areas include the crown or around the band. Don’t worry if it’s a bit subjective-trust your judgment on comfort and aesthetics.
- Pinch and Pin: Using a safety pin, pinch the excess fabric while wearing the hat to visualize how much smaller you need it to be. This step lets you make real-time adjustments before committing to any sewing.
- Stitch the Adjustment: Take off the hat and lay it flat. Carefully sew along the pinched areas, securing the fabric. If you’re making significant changes, consider using a basting stitch first; this allows for easy alterations if you decide to adjust further.
- Trim Excess Fabric: After securing your stitches, trim any excess fabric if necessary, but leave a small seam allowance to prevent fraying.
- Test the Fit: Put the hat back on to check your work. It should feel snug without being uncomfortable. If further adjustments are needed, don’t hesitate to go back and refine your stitches.
- Finishing Touches: Finally, give your hat a light steam or warm wash if you’re using cotton yarn; this can help set the stitches.
Remember, this process is a creative exploration, so allow yourself to experiment a little! Whether this is your first venture into resizing or you’ve done it before, the beauty of crafting lies in the freedom to make it uniquely yours. You can do this! Each step you take not only enhances your skills but also adds personal flair to your beloved crochet creations.
Alternative Methods: Heat and Washing Techniques
Using heat and washing techniques can be a game changer when it comes to resizing a crochet hat that’s too loose. Many crafters have found success by utilizing the natural properties of yarn to shrink it to a more comfortable fit. Whether you’re working with wool, cotton, or acrylic, the right approach can help you achieve a snugger fit without compromising the integrity of your handiwork.
To start, you’ll want to assess the material of your crochet hat. Natural fibers like wool respond particularly well to heat and moisture, often shrinking more than synthetic fibers like acrylic. If your hat is made from wool or cotton, you can try a gentle wash followed by heat application. Begin by hand washing the hat in lukewarm water with a mild detergent. Allow it to soak for about 10-15 minutes, then rinse thoroughly. This not only cleans the fibers but prepares them to shrink.
After washing, it’s time to apply heat. You can either place the damp hat in a dryer on a low heat setting or use a steam iron to carefully apply heat directly to the fabric. If using a dryer, keep an eye on it, checking every few minutes to see how the fit is adjusting. With a steam iron, hold it a few inches away from the hat and let the steam penetrate the fabric-this method gives you more control over the shrinking process. Be cautious; a little heat goes a long way, so avoid prolonged exposure that could lead to felting, especially with wool.
Lastly, remember to let the hat cool down to its new size while it’s on a flat surface. Don’t forget to reshaping the brim or any other sections that might need a little extra attention. With these steps, you’ll be able to not just shrink your hat effectively but also preserve its shape and style. Celebrate these little victories; you’re harnessing the wonderful world of crafting and making it work for you!
Tips to Prevent Future Crochet Hat Size Issues
To ensure that your future crochet hats fit just right, it’s all about mastering the details and planning ahead. One of the most crucial steps is to accurately measure head sizes before diving into your project. Use a soft measuring tape to measure the circumference of the head. If you know your intended recipient’s measurements, make a note of those. For a snug fit, aim for a slight negative ease, meaning the finished hat size should be a little smaller than the actual head size-generally about 1-2 inches smaller for a comfortable yet secure fit.
Another key element to consider is your choice of stitch patterns and yarns. Some stitches, like the simple single crochet, create a denser fabric that tends to hold its shape better, while others, like granny squares, can lead to a looser fit. When selecting yarn, opt for fibers that have some elasticity, such as wool or cotton blends. Avoid overly stretchy or loose yarns that can result in hats that sag and lose shape over time. Pay attention to the recommended gauge on your yarn label and always swatch before starting your hat. A quick gauge check can help you adjust your hook size or yarn selection early on.
Lastly, it’s beneficial to reinforce the brim of your hat. Incorporating a tighter stitch pattern or adding a band of elastic or interfacing can help it maintain its shape. You can also try double crocheting or adding a lining to keep the hat snug around the head without sacrificing comfort. Another fun idea is to play with different styles and techniques, like ribbing, which not only adds visual interest but also helps with fit. Remember, embracing experimentation not only leads to a better fit but also adds a personalized touch to your creations!
In summary, you’ve got the tools to create perfectly fitting crochet hats. By measuring accurately, choosing the right materials, experimenting with stitches, and reinforcing your design, you’ll avoid fitting issues in the future. So grab your yarn, and remember, crafting is a journey-each project helps you learn something new along the way! You can do this!
Adjusting the Band: Making It Fit Perfectly
To transform a too-loose crochet hat into a perfectly fitting accessory, one of the best solutions is to focus on the band. A snug band not only enhances comfort but also ensures your hat stays securely in place as you wear it. The good news? Adjusting the band is quite achievable with a few simple techniques and materials you likely already have on hand.
Start by assessing the current situation. If the band is too loose, consider reinforcing it with elastic. This is a quick fix that makes a huge difference! You’ll want to measure the existing band and cut a piece of elastic that is slightly shorter than the length. A good starting point is to reduce the length of the elastic by about 10-20%. Then, sew the elastic into a loop and attach it inside the band of your hat; this will create that much-needed snugness while allowing for stretch. If sewing isn’t your strong suit, you can simply use fabric glue to attach the elastic at intervals around the band.
Another method involves adding a lining to your hat. This can be particularly useful if you want to maintain the hat’s aesthetic while ensuring a better fit. Choose a fabric that complements your crochet work and cut it to match the internal circumference of the band. Sew or glue this liner into place just under the crochet stitches. The added fabric will take up some extra space, providing a snugger fit around your head without compromising style.
Tips for Perfecting Your Band Adjustments
- Try before you finalize: Always try on the hat after each adjustment to ensure you’re achieving the desired fit.
- Experiment with stitch types: If you’re crocheting a new hat, consider using ribbing or double crochet for the band to create a more fitted appearance.
- Remember measurement matters: If you’re working with multiple hats, keep a record of adjustments for different sizes.
By taking the time to adjust the band, you’ll unlock the comfort and security of a well-fitted hat. Plus, you’ll gain confidence in your crafting skills, knowing that you can easily modify your designs as needed. Embrace these adjustments as a fun part of your crochet journey-after all, each project teaches us something new! You can do this!
Adding Structure: Inserting Lightweight Liners
Inserting lightweight liners into your crochet hat can be a game changer when it comes to achieving the perfect fit. Not only do they help fill in extra space, but they also add a touch of structure that can enhance the overall appearance of your hat. Plus, it’s an easy and fun way to get creative with different fabrics! Imagine turning your favorite loose hat into a snug, stylish accessory that feels custom-made just for you.
To get started, you’ll need a few simple materials: a lightweight fabric like cotton or a soft fleece for comfort, scissors, fabric glue or a needle and thread, and a measuring tape. The difficulty level for this project is beginner-friendly, and you can complete it in about 30 minutes. First, measure the internal circumference of the crochet band on your hat. This measurement will determine how much fabric you need, so be precise! Cut a fabric strip that matches this measurement, adding an extra inch or two for seam allowances.
Once your fabric is cut, it’s time to attach the liner. If you’re sewing, fold the fabric over slightly for a clean edge and pin it in place just under the crochet stitches. If you’re using fabric glue, apply it evenly around the edges and press the fabric into place, ensuring it adheres smoothly without puckering. Make sure to try on the hat at intervals to check the fit. You want the liner to snugly fill in the gaps without creating an overly tight sensation around your head.
As you work on this project, don’t hesitate to experiment with colors or patterns that complement your crochet work. This is a fantastic opportunity to showcase your personal style and elevate your hat’s look. Remember, the key is to ensure the lined area provides a snug fit while maintaining comfort. You can do this! Celebrate your crafty spirit and enjoy the satisfaction of creating pieces that are uniquely yours.
Styling Your Perfectly Fitted Hat: Fashion Tips
Perfectly styled hats can be the cherry on top of any outfit, transforming a casual look into a fashion statement. When you’ve ventured into the world of crochet and crafted a hat that’s just a bit too loose, don’t fret! There are plenty of ways to style your newly fitted accessory that highlight your creativity and enhance your overall ensemble.
To get started, think about how your hat can complement different garments in your wardrobe. A snug, beautifully altered crochet hat pairs well with a simple turtleneck or a graphic tee. You can also embody the trendy vibe of a bohemian look by layering your crochet hat with flows of scarves and oversized jackets. Choose colors that either match or contrast with your outfit to pull the look together. For example, if you have a neutral-colored hat, consider wearing it with bold patterns or bright shades to make a statement.
Layering is key! Try wearing your crochet hat with a long cardigan or a chic trench coat. These layers provide dimension and can keep you cozy while showcasing your stylish hat. Another great styling tip is to play with textures. If your hat is made of a soft yarn, consider pairing it with a chunky knit sweater or a silky blouse. Completing your look with accessories like oversized sunglasses or statement earrings can also elevate your style, making your fitted hat the sensible focal point of your outfit.
Finally, consider the occasion when styling your hat. For a casual day out, a fitted crochet hat combined with a pair of jeans and your favorite sneakers can create the ideal ensemble. If you’re dressing up for an event, a well-fitted hat can complement a chic dress, providing a unique twist to your outfit. Remember to have fun while accessorizing! Each style choice is a chance to reflect your personality. With these tips, you’re not just addressing the fit issue of your crochet hat; you’re also creating opportunities to express your personal style confidently. You can do this!
Common Mistakes to Avoid When Shrinking Hats
When it comes to shrinking your crochet hat, avoiding common pitfalls can make all the difference between a successful fit and a disastrous mishap. Many crafters rush into shrinking techniques, eager to correct that too-loose fit, but a few oversights can lead to unintended results-like a hat that’s now too small or misshapen. Understanding these mistakes is the first step towards achieving that perfect tailored look you desire.
One prevalent mistake is relying solely on heat without understanding the yarn’s properties. Different fibers respond uniquely to heat-wool, for example, may felt and shrink significantly, while acrylic may not hold its shape as well. Always consult the care label before diving into any hot water techniques. Instead, start with more controlled methods, such as a gentle wash followed by air drying, to monitor the shrinkage closely. A practical tip is to begin with a small test swatch if you’re unsure how your specific yarn will respond-this can save you from major frustration later!
Another common error is not measuring the fit beforehand. Before making any adjustments, grab a soft measuring tape and check the hat’s current size against the desired fit. By doing this, you’ll have a precise goal in mind and avoid over-shrinking. Remember, a well-fitted hat should comfortably hug your head without feeling overly tight. If you’re unsure, go for a little less shrinkage initially; you can always repeat the process if you need a tighter fit later.
Lastly, be cautious about using harsh chemicals or aggressive washing methods. While shrinking might seem straightforward, excessive manipulation can distort your hat’s shape. If you find yourself needing to adjust the band, consider inserting a lightweight liner instead of manipulating the structure itself. This maintains your hat’s design and ensures a cozy, snug fit without compromising its integrity. Keep these tips in mind as you embark on your shrinking journey, and confidently step out with that beautifully fitted crochet hat you’ve created! You’ve got this!
Expert Tricks for Maintaining Shape and Fit
When it comes to keeping your crochet hat looking sharp and well-fitted, there are a few tried-and-true tricks that can make all the difference. Maintaining the shape of your hat not only enhances its appearance but also ensures maximum comfort. Here are some strategies to help you keep the perfect fit and style.
First, consider using a spray starch before storing your hat. This technique works wonders for cotton and some acrylic yarns, providing a crisp finish that helps retain shape. Simply mix a solution of water and starch in a spray bottle, lightly mist your hat, and then reshape it while it’s damp. Lay it flat to dry, and you’ll notice a firmer structure that stands the test of time. This method is especially handy after wearing the hat, as it revives its form beautifully.
Another great tip is to insert a lightweight liner, specifically around the band. This not only enhances comfort but also helps maintain the hat’s shape. You can use materials like cotton fabric or felt, cut to match the internal circumference of the band. Sew or glue it into place, and you’ve created a snug fit without altering the original stitchwork. If you want to switch up your style or add a seasonal touch, line the inner layer with a fun contrasting fabric, giving your hat a unique flair!
Also, don’t underestimate the impact of proper washing and drying techniques. Always follow the care instructions for your yarn. A gentle hand wash followed by air drying usually yields the best results for preserving your hat’s shape. If you need to wash it, avoid wringing it out; instead, roll it in a towel to absorb excess water. This gentle handling reduces the risk of stretching or distorting your handiwork.
By incorporating these expert tricks, you can enjoy your well-fitted, stylish crochet hat for many seasons to come. Remember, maintaining the shape and fit is about combining the right techniques with a bit of creative fun. You’ve worked hard to craft that beautiful piece, so treat it with the love it deserves, and it will serve you well!
Frequently Asked Questions
Q: How can I shrink a crochet hat without damaging it?
A: To shrink a crochet hat safely, soak it in hot water for about 10-15 minutes, then wring it gently to remove excess water. Lay it flat to dry, reshaping as needed. This method helps tighten the stitches. For detailed steps, check the “Alternative Methods” section of the article.
Q: What materials do I need to shrink a crochet hat effectively?
A: You’ll need a large bowl or sink for soaking, hot water, and optionally, a towel to absorb excess moisture. These basic materials will help you apply heat to the hat, encouraging it to shrink without harsh chemicals. See the “Essential Materials” section for more tips.
Q: Can I use a washing machine to shrink my crochet hat?
A: Yes, you can use a washing machine! Set it to the hottest wash cycle and include a towel for agitation. Monitor the hat closely as it washes. Afterward, reshape it while damp for the best fit. This method is detailed in the “Washing Techniques” section.
Q: What are common mistakes to avoid when shrinking a crochet hat?
A: Avoid using boiling water or excessive agitation, as these can damage the fibers. Also, skip bleach or strong detergents, which may affect the color and texture. Refer to the “Common Mistakes” section to learn more about optimal shrinking methods.
Q: How long does it take to shrink a crochet hat using hot water?
A: Shrinking a crochet hat using hot water usually takes about 10-15 minutes for soaking. Afterward, reshaping while drying can take a few hours. For faster results, you might explore the “Quick Fixes” section for different techniques.
Q: Will shrinking my crochet hat distort its shape?
A: If done carefully, shrinking should not distort your crochet hat. Always reshape it while damp and lay it flat to dry. The “Expert Tricks” section provides additional tips for maintaining the shape while shrinking.
Q: Can I use a dryer to shrink my crochet hat?
A: Using a dryer is possible, but it requires caution. Set the dryer on low heat and check frequently to avoid over-shrinking. It’s often safer to rely on water and natural reshaping. For specific techniques, explore the “Heat and Washing Techniques” section.
Q: What crochet techniques can help prevent my hat from being too loose?
A: To prevent loose-fitting hats, consider using a smaller hook size or adjusting your stitch tension. Additionally, incorporating ribbing or tighter stitch patterns enhances fit. The article’s “Stitch Patterns That Affect Fit” section dives deeper into these techniques.
Key Takeaways
Now that you know how to shrink your crochet hat for the perfect fit, it’s time to put your skills into action! Remember, adjusting a too-loose hat is a simple yet satisfying process that can save your favorite pieces. Whether you’re using a hot wash or a steam method, you’ve got the tools to transform your creation into something wearable. If you found this video helpful, consider checking out our guides on “Fixing Common Crochet Mistakes” and “Choosing the Right Yarn for Your Projects”-perfect for enhancing your crochet journey.
Don’t forget to leave a comment below sharing your experiences or any challenges you faced. Your insights could inspire others in our crafting community! And if you haven’t yet, subscribe to our newsletter for exclusive tips and tricks delivered right to your inbox. Keep crafting, and remember: every stitch you make brings you closer to mastering your crochet skills. Happy crocheting!
Get our latest guides, news, and insights highlighted in your Google Search & AI Overviews.