
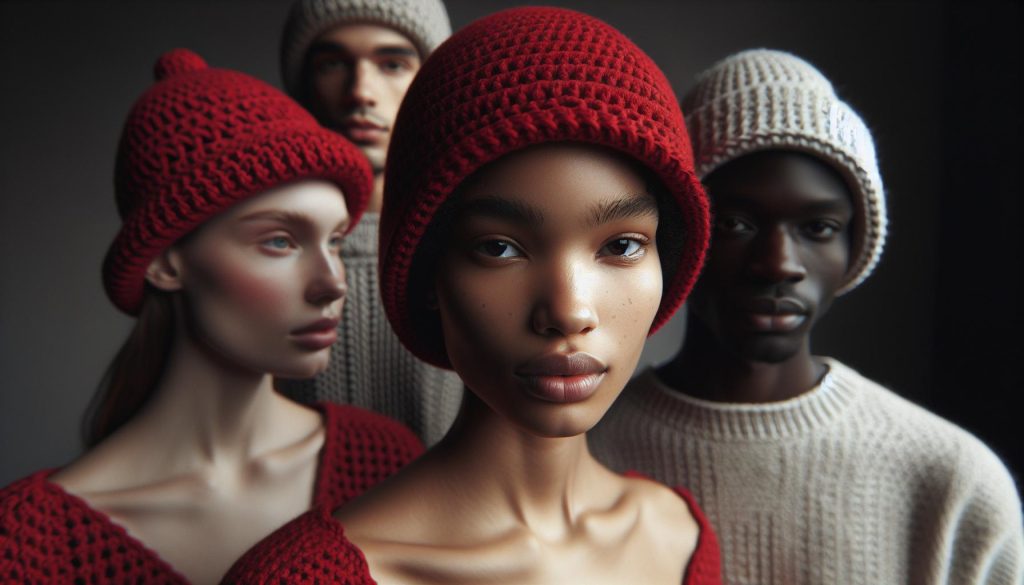
Are you ready to dive into the colorful world of crochet? “Red Hat Crochet Patterns: Bold & Beautiful Designs” brings you a collection of inspiring patterns that are perfect for all skill levels. Whether you’re a complete beginner or a seasoned crafter, you’ll find designs that not only celebrate your creativity but also result in stunning, wearable art.
Crocheting a vibrant red hat can be a rewarding project that brightens up your wardrobe and shows off your crafting skills. With clear instructions, helpful tips, and a range of styles from cozy beanies to chic sun hats, this guide is designed to ignite your passion for making. Imagine the joy of wearing a hat you crafted yourself or gifting one to a loved one! Each pattern not only enhances your skills but adds a pop of color to your life. So pick up your hook and yarn-let’s create something beautiful together!
Mastering the Basics of Red Hat Crochet
The joy of crochet lies in its ability to transform simple yarn into stunning creations, and is your gateway to crafting beautiful designs that can captivate and inspire. Whether you’re a complete beginner or looking to refine your skills, the journey begins with understanding the fundamental techniques that make this craft so satisfying.
First, get cozy with your materials. Yarn is your primary medium-choose one that suits your project. A worsted weight yarn is ideal for beginners as it’s easy to work with and provides a good structure for patterns. Hooks come in various sizes, so start with a medium (like a size H-8 or 5mm) to balance comfort and control. As a tip, always check the yarn label for recommended hook sizes to ensure a perfect match. Scissors and a tapestry needle for weaving in ends are your finishing touches. Having these tools on hand makes the process smoother.
Next, start practicing essential stitches. Begin with the chain stitch-the foundation of most crochet projects. From there, learn the slip stitch, single crochet, and double crochet; these form the basis for more complex designs. Create small swatches to hone your technique; repeat each stitch until you feel comfortable with the motions. Remember, it’s about progress, not perfection. You can do this! Celebrate small victories by completing simple projects like a scarf or a hat, which will also help build your confidence.
As you grow more comfortable, experiment with different patterns and textures. The Red Hat crochet community is a treasure trove of ideas-don’t hesitate to seek out patterns that catch your eye. Share your progress in forums or social media groups; the encouragement of fellow crafters is invaluable. With patience and practice, you’ll soon find that the basics are just the beginning of your crochet adventure!
Essential Materials for Red Hat Crochet
Crafting stunning Red Hat crochet projects requires the right materials to ensure your creations not only look beautiful but are also enjoyable to make. Whether you’re a beginner or looking to sharpen your skills, having the essential supplies ready will set you on the path to achieving those bold and beautiful designs.
Start with the right yarn, which is the heart of any crochet project. For Red Hat designs, you’ll want to choose a yarn that offers a good balance between softness and durability. Look for worsted weight yarn, typically a medium-heavy option, which is friendly for newcomers yet versatile enough for advanced patterns. Aim for bright, vibrant colors that reflect the spirit of Red Hat projects. Yarn labeled as “acrylic” is a great choice because it’s easy to find, affordable, and holds up well over time.
Next, let’s talk about crochet hooks. The size of your hook affects not only the appearance of your finished piece but also the ease of your work. Beginners often find a size H (5mm) or I (5.5mm) comfortable for worsted yarn. As you progress to more intricate patterns, you might experiment with larger or smaller hooks to achieve different textures or effects. A set of bamboo or ergonomic hooks can enhance your comfort for longer crafting sessions.
Don’t overlook the importance of a quality tapestry needle for weaving in ends and a good pair of scissors. Keeping these tools handy will make finishing your projects a breeze. Also consider having a stitch marker at hand to keep track of your rows, especially when working on complex patterns.
Finally, gather inspiration and community resources. Join online groups or local crochet circles where you can share ideas, patterns, and materials. You’ll find many experienced crafters who are eager to share their tips and tricks, making your crochet journey even more enjoyable. Remember, even with the right materials, the key ingredient is your creativity and fun-so dive in and start crafting!
Step-by-Step Guide to Simple Patterns
Unlocking the potential of simple crochet patterns is the first step towards creating stunning Red Hat designs that showcase your creativity and flair. These projects are not only great for beginners but also serve as a perfect platform for experienced crafters to experiment with new techniques and styles. With just a few basic stitches, you can create beautiful hats that embody the spirit of the Red Hat Society – vibrant, bold, and undoubtedly eye-catching.
To start, gather your materials: you’ll need worsted weight yarn, an H (5mm) or I (5.5mm) crochet hook, a tapestry needle for weaving in ends, and scissors. Let’s take a step-by-step look at a simple beanie pattern, a beloved staple in every crochet artist’s repertoire.
Step-by-Step Beanie Pattern
- Foundation Chain: Begin by making a slip knot and chaining 60. For a larger size, chain additional sets of 5.
- First Row – Single Crochet: Turn your chain, skip the first stitch, and single crochet in each stitch across. This gives your beanie a snug and neat bottom edge.
- Creating the Rounds: Join your work with a slip stitch to the first single crochet to form a loop. Continue by chaining 1 and single crocheting in each stitch around. Repeat this step for about 10 rounds or until your hat reaches the desired height.
- Decreasing for the Top: Once you’re near the top, you’ll want to start decreasing to shape your beanie. For this, crochet two single crochets together every 5 stitches for the next round (this creates the classic tapered effect).
- Finishing Touch: After at least 3 more rounds of decreases, finish off by cutting the yarn and pulling it through the last stitch. Weave in all loose ends with your tapestry needle and voilà-your Red Hat beanie is complete!
Making it Your Own
The beauty of this simple pattern is that it serves as a canvas for your creative flair. Consider adding stripes by alternating colors every few rounds or embellishing with flowers and other motifs. This kind of customization allows you to explore color combinations that make your work unique without overwhelming you with complexity.
You can do this! As you continue practicing, you’ll find that even the simplest patterns can yield impressive results, nurturing both your skills and your confidence. Embrace this joyful journey in crochet; each project is a step toward mastering your craft and expressing your individuality. Happy crocheting!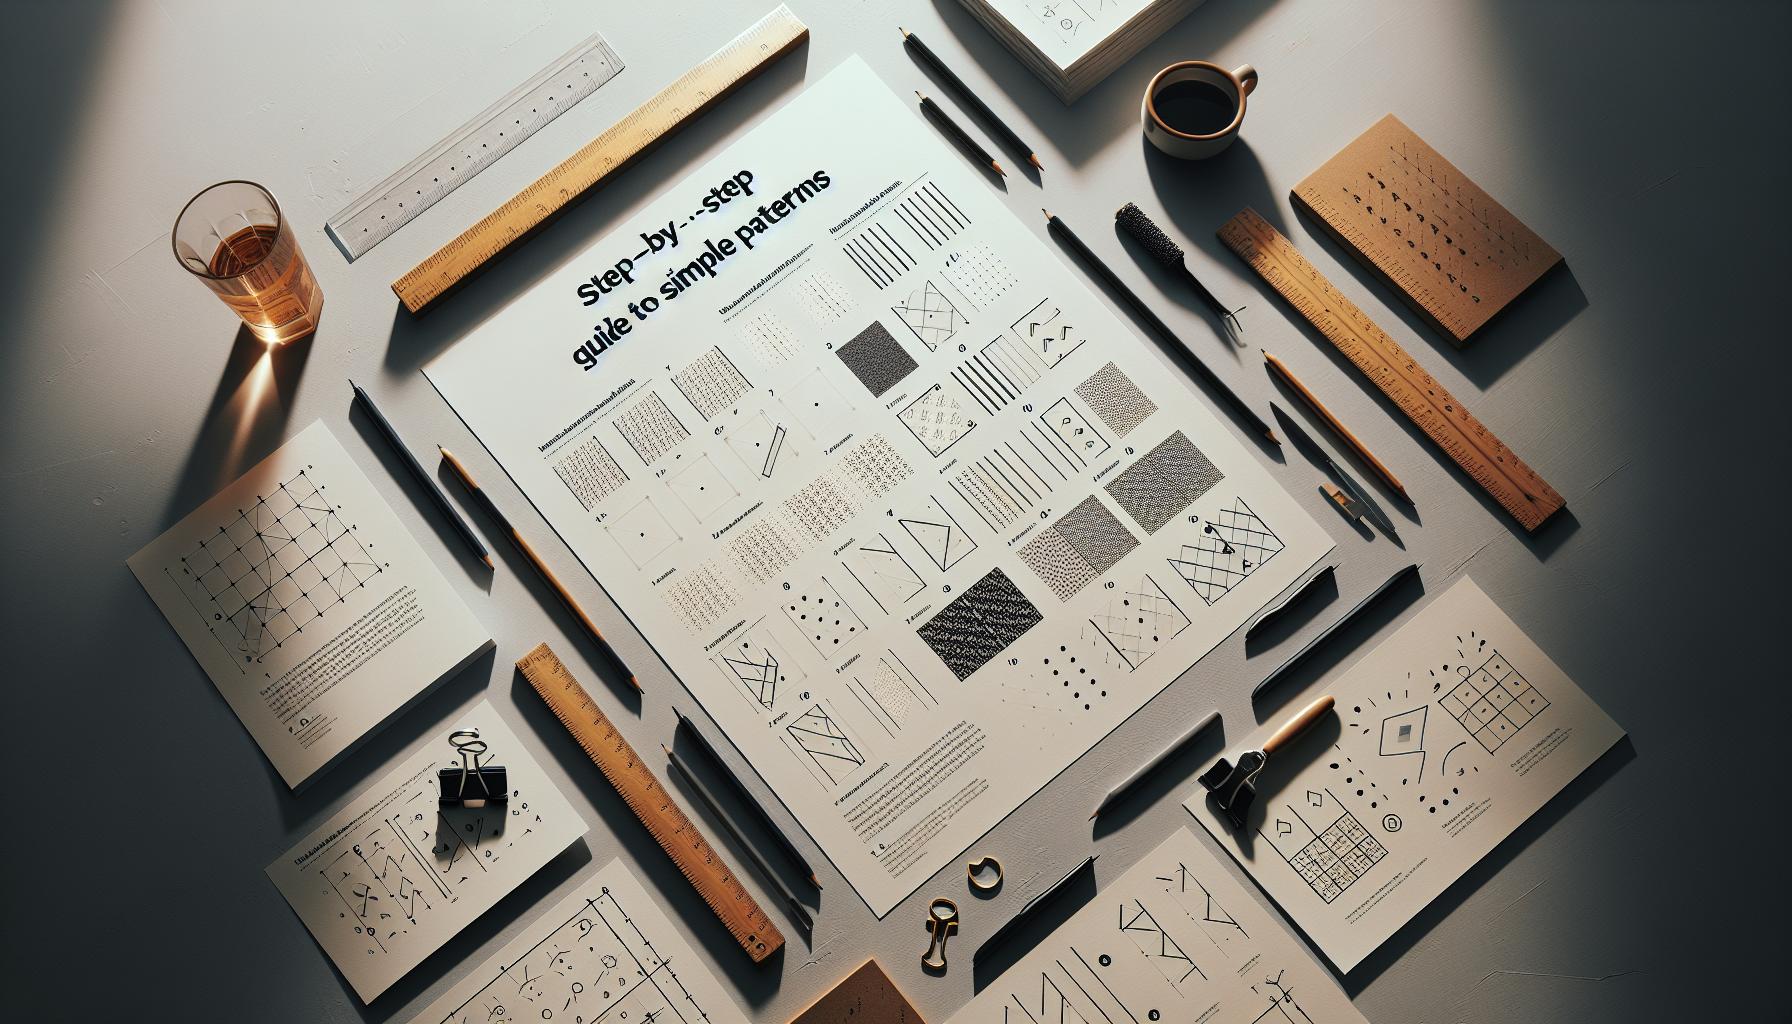
Creative Color Combinations for Bold Designs
Bold color combinations can truly transform your Red Hat crochet projects from simple to spectacular. The fun of working with vibrant hues is an art in itself-it’s all about playing with shades that speak to your personality and the mood you want to convey. For instance, why not experiment with unexpected color pairings like deep purple and bright orange, or classic red and sunny yellow? These combinations can create eye-catching contrasts that will make your designs stand out at any gathering.
To get started, consider using a color wheel as your guide. This handy tool can help you identify complementary colors (those opposite each other on the wheel) for striking looks. For example, pairing a rich burgundy with a soft sage creates an elegant balance that’s perfect for the fall season. On the other end of the spectrum, using analogous colors-those next to each other on the wheel, like different shades of blue and green-can give a soothing, harmonious feel to your projects.
You can also play with texture alongside color. Imagine a bold red yarn with a slightly shiny finish contrasted with a matte black. The difference in sheen can add depth and interest, elevating your crochet work. Stripes, color blocks, or even simple motifs in different shades can add complexity without necessitating advanced crochet skills. Just remember, you can do this! Start with a base pattern and use color to reinvent it.
Don’t shy away from experimenting. Every crochet project is a chance to try something new, whether it’s a new yarn texture or a wild color combination you’ve never considered before. Enjoy the process, and let your creativity flow. You’ll soon find that each project not only builds your skills but also allows you to express your unique style. Happy crocheting!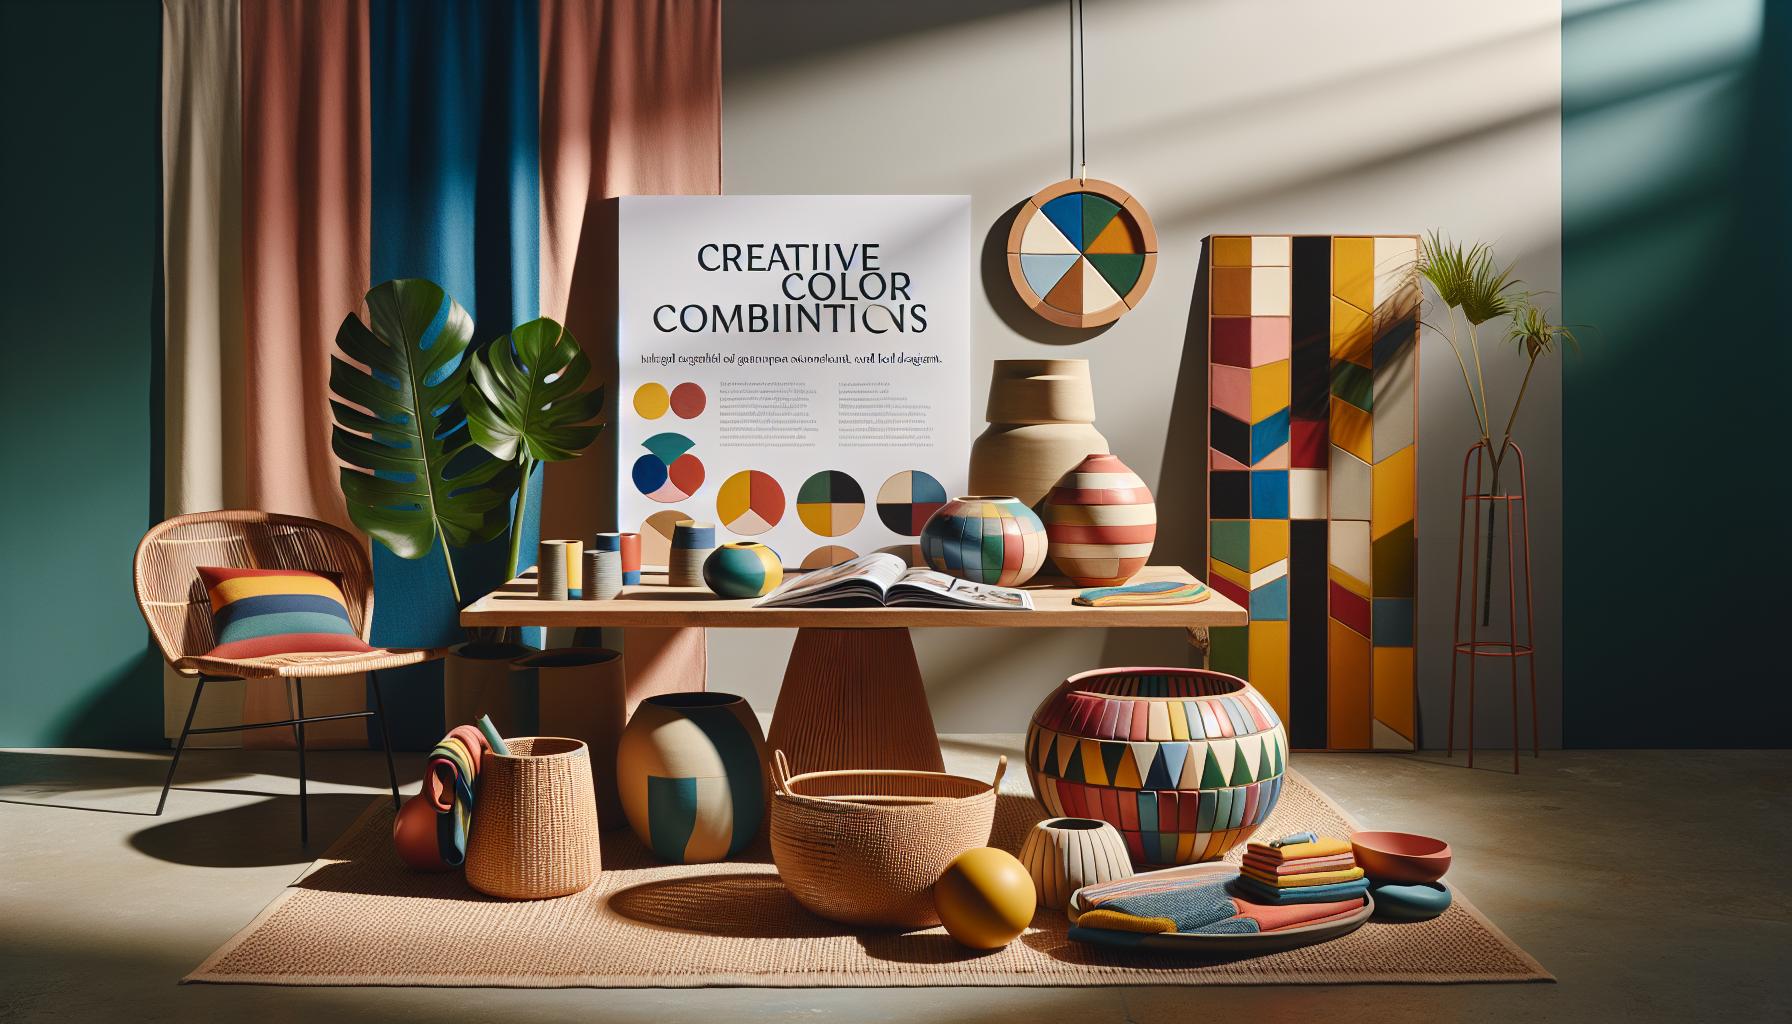
Beginner to Advanced: Skill Progressions
Starting your crochet journey can be incredibly rewarding, especially when creating beautiful Red Hat designs. Whether you’re a total beginner or an experienced crafter looking to elevate your skills, understanding the progression from simple stitches to intricate patterns is vital for personal growth and creativity in your projects.
As a beginner, begin with basic stitches such as chain stitch, single crochet, and double crochet. These foundational skills are the building blocks of crochet, allowing you to complete simple projects like scarves or small hats. Start with a project that takes about 2-4 hours, such as a simple beanie. Use medium-weight yarn and a corresponding hook size to make your first project approachable. Remember, the key is to practice consistently; you can easily transition into basic patterns once you’re comfortable with the stitches.
Once you’ve mastered the fundamentals, you can step up your game by incorporating more complex techniques like working in the round, increasing and decreasing stitches, and exploring different yarn textures. Consider creating a cluster stitch scarf or a slouchy hat that features a combination of stitches for added style. Projects at this level usually take anywhere from 4-8 hours. Set a new challenge for yourself by introducing color changes through techniques like stripe or color block patterns, which can make even a basic item feel special.
As you gain confidence, delve into advanced patterns that may include lacework or textured stitches. This phase encourages experimentation with unique and bold designs, such as a lacy Red Hat that features intricate detailing. These projects usually require more time, often upwards of 10 hours or more, but the results are worth it. Include techniques like tapestry crochet or even motifs to create stunning pieces that reflect your personal style. Don’t hesitate to mix colors and yarn types to further expand your expertise and creativity.
Remember, every crafter has unique strengths and learning paces. It’s perfectly okay if some projects take longer than others. Celebrate each finished piece, no matter how simple! Joining a community-be it online or local-can also provide support, encouragement, and fresh inspiration as you share your journey from beginner to advanced crochet artist. Always keep experimenting and pushing your boundaries; the possibilities are endless, and you can absolutely do this!
Inspire Your Projects with Unique Ideas
Crafting a Red Hat can be an exciting journey filled with countless opportunities to express your creativity. One way to spark inspiration is by drawing from unconventional sources-think about the world around you! Everyday items, nature, or even abstract art can provide unique color schemes and design ideas that translate beautifully into crochet patterns. Imagine a Red Hat inspired by autumn leaves, featuring earthy oranges, reds, and yellows. With just a bit of imagination, your projects can mimic the beauty of your surroundings.
To cultivate creative ideas, consider setting a challenge for yourself. One fun project could involve making a hat that incorporates motifs from different cultures or themes. For instance, you might create a hat featuring geometric patterns reminiscent of Native American textiles or floral designs inspired by Japanese cherry blossoms. Researching these cultural elements can enrich your design process, and you’ll gain new insights to enrich your work while respecting the origins of your motifs.
Experiment with Textures and Techniques
Don’t shy away from mixing different textures! Combine yarns of varying weights or materials-like a soft wool for the base of the hat and a sparkly yarn for accents. You can also incorporate various crochet techniques, such as granny squares or popcorn stitches, to add depth and interest to your creations. A simple hat can become a standout piece by strategically placing textured sections or working in colorful stripes.
- Difficulty: Easy to Intermediate
- Materials: Multiple yarns, crochet hook, patience!
- Time: 5-10 hours depending on complexity
Refresh Classic Styles
If you have a classic pattern you love, think about refreshing it with modern twists. For example, a traditional beanie can be jazzed up with a trendy oversized pom-pom or an asymmetrical brim. Experimenting with unique closures, like using colorful buttons or buckles, can also elevate your hat to contemporary standards.
You can absolutely do this! Every idea you explore will lead to new and fantastic creations, and the joy of crafting something that is entirely your own is immeasurable. Embrace the challenge, let your creativity flow, and celebrate each finished piece as a testament to your inventive spirit. Remember, the key is to have fun while you create!
Tips for Customizing Patterns to Fit Your Style
Customization is what truly makes your crochet projects unique and reflective of your personal style. When it comes to creating red hats, your imagination can run wild! Whether you prefer a classic style or something more avant-garde, you can adjust patterns to suit your preferences perfectly. Start by considering the existing elements of the pattern and think about how you can tweak them to create a look that speaks to you.
One simple way to customize is by changing yarn types. Think about using different textures or weights. For instance, if the pattern calls for medium-weight yarn, you might try a bulky yarn for a cozier, chunkier look. You could also mix in some metallic or sparkly yarn in certain sections to bring in some fun accents. This not only modifies the aesthetic but can also impact the warmth and wearability of the hat. Additionally, don’t hesitate to play with the hat shape-if you like slouchy styles, modify the height, or adjust the brim width if you’d prefer something more fitted.
Adding unique embellishments is another fantastic way to personalize your creations. Consider incorporating appliqués like flowers, hearts, or geometric shapes that resonate with your style. You can also adorn your hat with buttons, beads, or even pom-poms. If you love nature, for instance, maybe apply a leaf motif on the side, or if you’re into whimsical elements, a couple of cute animal charms could bring your design to life!
Lastly, keep in mind that stitches themselves can make a big difference. If the pattern uses a simple double crochet, try switching it up with a stitch that creates a more intricate appearance, like a puff stitch or shell stitch. This change can take a standard red hat pattern and elevate it into an eye-catching centerpiece of your wardrobe. Remember, the key is to have fun and experiment-you can totally do this! Your hat will be a true expression of your creativity, making it all the more special to wear and share.
Exploring Seasonal and Thematic Designs
Crafting red hats that reflect the changing seasons can be a delightful way to express your creativity while keeping your projects relevant and engaging. As the year unfolds, you can adapt your crochet designs to resonate with seasonal colors, patterns, and themes. By understanding the nuances of each season, you can create hats that not only keep you warm but also celebrate the beauty of nature and holidays.
Start by exploring color palettes that echo the season. For instance, spring often inspires soft pastels like lilac, mint, and pale pink, perfect for cheerful floral patterns. In contrast, summer can handle bold hues like turquoise and sunny yellows, inviting vibrant designs that stand out in sunny weather. Autumn typically calls for rich oranges, deep reds, and earthy browns, allowing you to play with textures that mimic the fallen leaves. Winter can be all about cozy warmth with deep forest greens and classic whites, perhaps incorporating snowflake motifs or holiday-themed embellishments.
Another approach to seasonal designs is by incorporating thematic elements directly into your patterns. Consider making a festive red hat adorned with reindeer or snowmen for the winter holidays. For fall, you might create a hat with pumpkin appliqués or use stitches that resemble falling leaves. Each design can not only tell a seasonal story but also connect you with the joy found in crafting for different celebrations throughout the year.
To make these seasonal hats even more engaging, you can use versatile crochet techniques that offer variety. Explore stitches that lend themselves well to seasonal designs, such as using the popcorn stitch to create a textured pumpkin hat for Halloween. You can also experiment with layering or combining patterns to achieve the look you want. Remember, each project should be a joy! So gather your red yarns and let your imagination soar-this is your chance to create bold, beautiful hats that showcase the seasons, your style, and your love for crochet!
Troubleshooting Common Crochet Challenges
Crocheting can be a delightful journey filled with creativity, but it inevitably comes with its own set of challenges. Whether you’re a beginner struggling with your first red hat or an experienced crafter noticing inconsistencies, these hurdles don’t have to dim your crafting spirit. Embrace them as learning opportunities, because every stitch you make brings you closer to mastery. Below are some common issues you might encounter, along with practical solutions that will help you keep your crochet projects on track.
Common Crochet Challenges and Solutions
- Tension Troubles: If your stitches are too tight or too loose, your hat may end up misshapen. To achieve consistent tension, practice holding your yarn the same way each time. Consider using a yarn tension guide or simply experimenting with different hooks until you find a combination that feels right.
- Yarn Splitting: This can be frustrating, especially when working with fuzzy yarn. To minimize splitting, try using a hook with a smoother finish and ensure you’re using the recommended hook size for your yarn. If a particular yarn consistently splits, it may be worth trying another brand or fiber type.
- Pattern Confusion: Encountering a stitch or abbreviation you’re unfamiliar with can be daunting. Take the time to look up tutorials or stitch guides online. Many communities, like crochet forums or YouTube channels, offer step-by-step demonstrations. Don’t hesitate to start slowly, repeating stitches until you feel confident.
- Shape Issues: If your hat is not maintaining its shape, check your gauge. Always create a swatch before starting the main project to determine if your tension matches the pattern’s requirements. Adjusting your hook size can also help you achieve the desired fit and form.
Each of these challenges is an opportunity to improve your skills. Remember, every crocheter has faced similar issues, and with practice, you’ll develop the techniques to troubleshoot effectively. Celebrate your progress-each completed hat, even with its imperfections, is a testament to your creativity and growth as a maker. Keep crocheting and experimenting; you’ve got this!
Building Your Crochet Community: Tips and Tricks
Building your crochet community can be one of the most rewarding aspects of your crafting journey. Engaging with fellow crafters not only enhances your skills but also fuels your creativity. Whether through local meetups or online platforms, finding your crochet tribe can offer support, inspiration, and camaraderie.
Start by exploring local groups-check out craft stores, libraries, or community centers that often host crochet circles. These gatherings are fantastic for meeting others who share your passion. Don’t hesitate to bring along a project you’re working on; sharing your work can spark conversations and connections. If you’re unable to find a group in your area, social media platforms like Instagram or Facebook have numerous crochet communities where you can join discussions, share your patterns, and even participate in challenges.
Participating in online forums is another excellent way to connect. Subreddits dedicated to crochet or specific Facebook groups can offer a wealth of knowledge and encouragement. You’ll find a mix of seasoned veterans and enthusiastic newbies, all eager to share tips and experiences. Plus, many of these communities host regular virtual events or crochet-alongs, giving you the chance to connect while working on similar projects. Don’t forget to showcase your work in these spaces-your creations can inspire others and invite constructive feedback!
Lastly, consider starting your own local group if one doesn’t exist. Whether it’s a casual get-together at a coffee shop or a dedicated meetup in a park, inviting friends or neighbors can create a welcoming environment for others to join. This not only builds a community but also reaffirms the joy and creativity inherent in crochet. Remember, every stitch you create is a connection-celebrate that connection with your beloved craft friends!
Showcase Your Work: Sharing and Celebrating Creations
Sharing your crochet creations, like stunning red hat patterns, is one of the most fulfilling parts of this craft. Each project is not just a collection of stitches; it’s a piece of your dedication, creativity, and personal flair. When you showcase your work, you not only celebrate your achievements but also inspire others to pick up their hooks and yarn. Remember, every crochet piece tells a story-your story.
To effectively showcase your work, consider the platforms that resonate most with you. Social media is a vibrant space where you can share photos of your completed projects, showcasing intricate designs or bold color combinations. Use platforms like Instagram or Pinterest, where visuals speak volumes. Create a consistent hashtag for your projects, such as #BoldRedHats, to connect with fellow crochet enthusiasts and encourage them to engage with your work. Additionally, don’t underestimate the power of local craft fairs or community gatherings-they provide a perfect venue to display your creations in person.
Creating an Engaging Presentation
When presenting your work, think about the details that will capture attention. Make sure your photos are well-lit and framed nicely. You could show your red hats in various settings-like being worn in outdoor shots or displayed against colorful backdrops. This not only draws attention but also helps others envision how they might incorporate your designs into their lives. Don’t forget to include descriptions in your posts. Share a bit about the yarn you used, the inspiration behind the design, and any challenges you overcame during the making process. This personal touch can resonate deeply with your audience.
Lastly, celebrate feedback! Engage with comments and messages from others. A simple “thank you” or sharing how a particular tip helped you can build connections within your crochet community. As you continue to share your creations, remember that every interaction has the potential to uplift not only your spirit but also those of your fellow crafters. Your contributions are paving the way for a vibrant, supportive community where creativity thrives. You can do this, and by sharing your journey, you encourage others to join you in the magical world of crochet.
Getting the Most Out of Your Crochet Experience
is all about maximizing your creativity and enjoyment while you work on your bold red hat patterns. By embracing a few practical strategies, you can turn your crochet time into a truly rewarding journey. Start with a comfortable setup: good lighting, an inviting workspace, and your favorite tools within reach can make all the difference. Remember, crochet should be a relaxing escape, so create an environment that inspires you and gets those creative juices flowing!
One effective approach is to build a crochet schedule. Treat this like an artist’s appointment with themselves to ensure they dedicate time to their craft. Set aside specific days and times to focus on your projects. Whether it’s a cozy weekend afternoon or a few weekday evenings, find what works best for you, and stick to it. This consistent practice can enhance your skills and boost your confidence with each stitch you complete.
Another way to enrich your crochet experience is by experimenting with patterns and colors. Don’t hesitate to deviate from the original designs-mix and match colors or try variations in patterns to make them uniquely yours. For instance, if your base pattern is a simple beanie, maybe add a textured brim or playful pom-pom on top. Trying new techniques is not only satisfying but also opens up a world of creative possibilities that can inspire new projects.
Lastly, connect with the vibrant crochet community online and offline. Platforms like Instagram and Facebook offer countless groups where you can share progress, ask for feedback, and find inspiration. Local craft fairs and meetups can also be fantastic places to meet fellow creators who share your passion. Engaging with others can provide opportunities for collaboration, and you might even uncover new techniques and tips that elevate your crochet game to new heights. Remember, the journey of crafting bold red hats isn’t just about the end result; it’s about enjoying the process and celebrating every little victory along the way. You can do this!
Frequently asked questions
Q: What are some beginner-friendly Red Hat crochet patterns?
A: Some great beginner-friendly Red Hat crochet patterns include simple beanies or slouchy hats. These patterns typically use basic stitches like single and double crochet, allowing newcomers to build confidence and learn crochet techniques. For step-by-step guidance, check out the “Step-by-Step Guide to Simple Patterns” section of our article.
Q: How can I customize a Red Hat crochet pattern?
A: To customize a Red Hat crochet pattern, consider altering the yarn type, adding embellishments like flowers or buttons, or modifying the color scheme. Experimenting with these elements can give your finished hat a unique flair. Refer to the “Tips for Customizing Patterns to Fit Your Style” section for more ideas.
Q: What materials do I need for Red Hat crochet patterns?
A: Essential materials for Red Hat crochet patterns include yarn in your choice of color, a suitable crochet hook (usually size H or I), scissors, and a yarn needle for weaving in ends. For a complete list, visit the “Essential Materials for Red Hat Crochet” section in our article.
Q: Can I use different yarn types for Red Hat crochet patterns?
A: Yes, you can use different yarn types for Red Hat crochet patterns. Cotton, wool, or acrylic yarns each offer unique textures and warmth. However, be mindful of the gauge, as it affects the final fit. Check the “Creative Color Combinations for Bold Designs” section for more on yarn choices.
Q: What are some seasonal themes for Red Hat crochet designs?
A: Seasonal themes for Red Hat crochet designs can include winter motifs like snowflakes or holiday colors, and summer styles featuring bright hues or floral patterns. Explore the “Exploring Seasonal and Thematic Designs” section for more inspiration suited to different times of the year.
Q: How do I troubleshoot common issues in Red Hat crochet?
A: Common troubleshooting issues in Red Hat crochet include uneven tension and incorrect stitch counts. To address these, maintain consistent yarn tension and regularly count your stitches. For more solutions, refer to the “Troubleshooting Common Crochet Challenges” section of our article.
Q: What are some unique design ideas for Red Hat crochet?
A: Unique design ideas for Red Hat crochet include striped patterns, textured stitches like puff or bobble stitches, and incorporating mixed media, like adding fabric or beads. These elements can elevate your project. Visit the “Inspire Your Projects with Unique Ideas” section for more tips.
Q: How can I share and showcase my Red Hat crochet creations?
A: You can share and showcase your Red Hat crochet creations on social media platforms, in crafting forums, or by hosting a local craft night. Consider creating an online portfolio or blog to document your journey. For more sharing tips, see the “Showcase Your Work: Sharing and Celebrating Creations” section in our article.
Final Thoughts
Thank you for exploring the vibrant world of “Red Hat Crochet Patterns: Bold & Beautiful Designs”! Remember, whether you’re a newbie or a seasoned crocheter, these patterns are designed to be achievable and rewarding. With just a few materials and some time, you can create stunning hats that showcase your unique style and creativity. Don’t forget to check out our free crochet cardigan patterns and other seasonal designs on our website to enhance your collection!
Ready to get started? Head over to our crochet resources page for tips on the best materials and tools or join our community to share your finished projects and get inspired by fellow crafters. If you enjoyed this content, consider signing up for our newsletter to stay updated on the latest patterns and crafting tutorials.
Your journey in crochet doesn’t have to end here! Explore more patterns, let us know your favorites, and share your experiences in the comments below. Let’s celebrate the joy of making together!
Get our latest guides, news, and insights highlighted in your Google Search & AI Overviews.