

Are you ready to add a pop of color to your wardrobe? The “Striped Crochet Hat Pattern: Bold Color Block Tutorial” is perfect for both beginners and seasoned crafters looking to create a stylish accessory that showcases their creativity. This project not only helps you hone your crochet skills but also allows you to express your personal style through vibrant color combinations.
Imagine wearing a hat that you made yourself, turning heads with its beautiful stripes and bold colors! Whether you’re braving the chill outdoors or just adding flair to your outfit, this hat is both functional and fashionable. Plus, it’s a great gift idea for friends and family! So grab your crochet hook and let’s dive into this fun, step-by-step tutorial, designed to make crafting this delightful accessory as enjoyable and rewarding as possible. You can do this!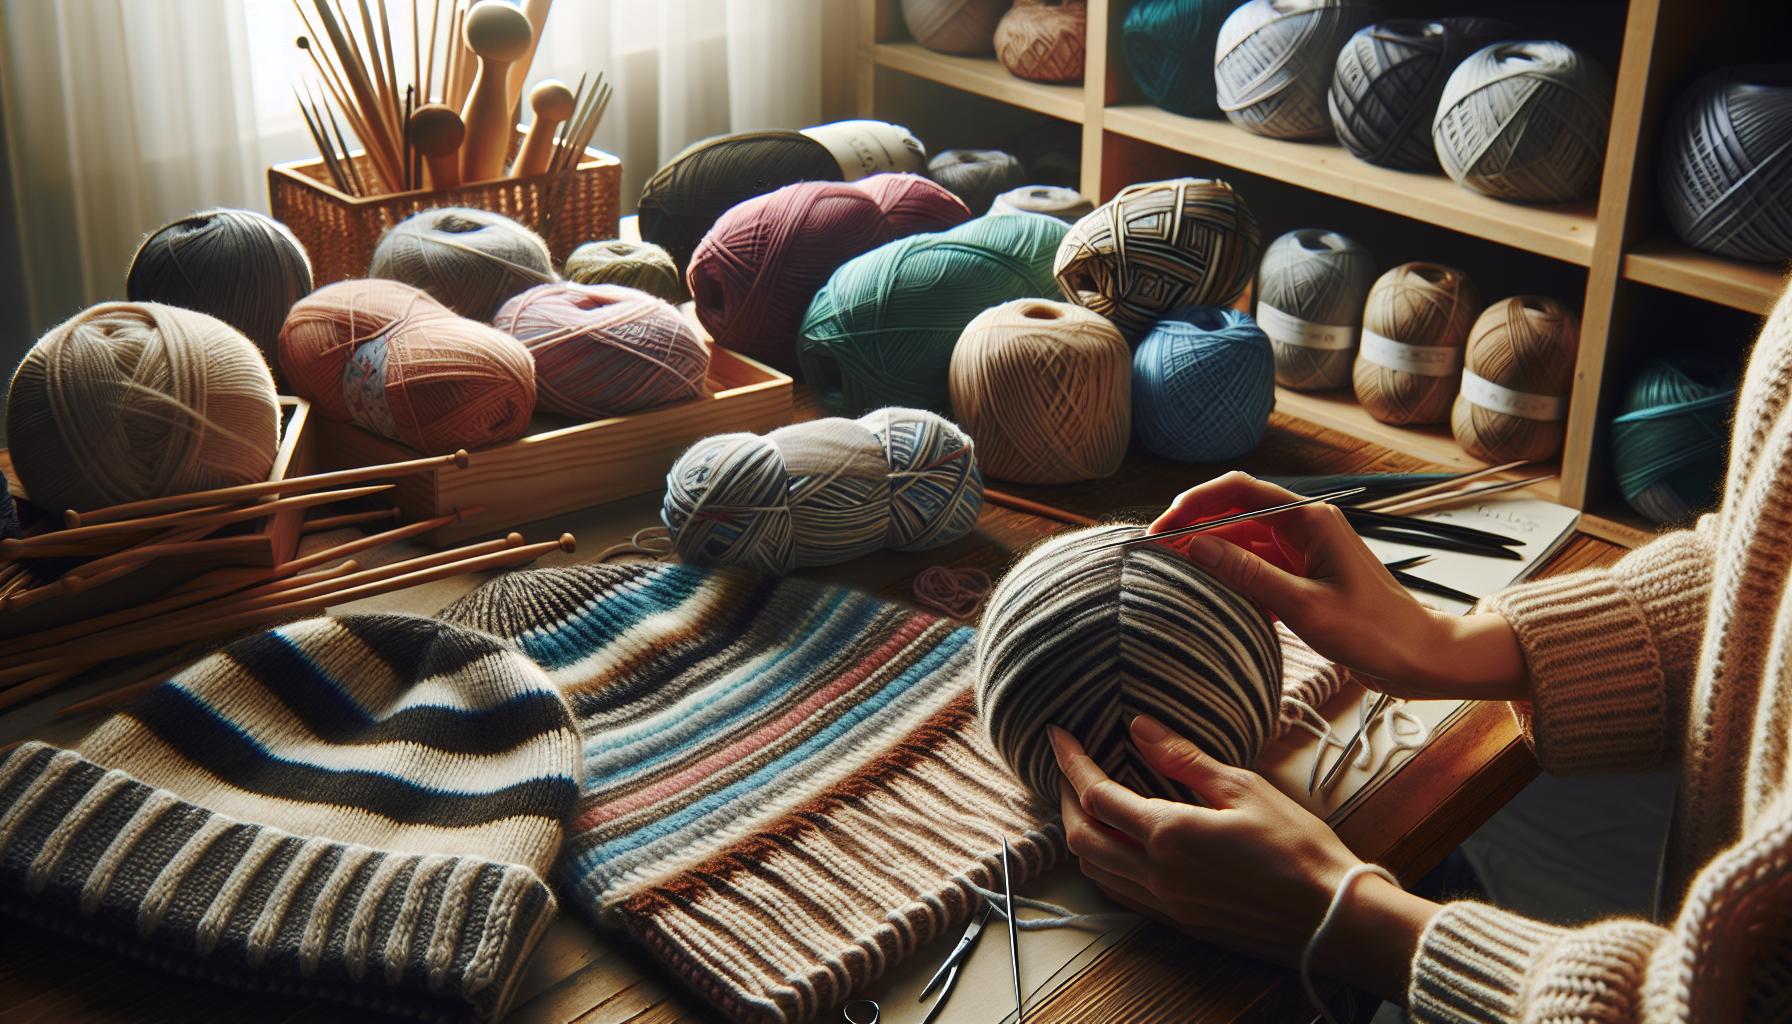
Choosing the Right Yarn for Your Striped Hat
Choosing the right yarn can make all the difference in your striped crochet hat project. Opting for the right fiber will not only enhance the color blocking effect you’re aiming for but also determine the hat’s overall warmth, texture, and durability. With so many options available, it’s easy to feel overwhelmed. But don’t worry! Let’s break down how to select the perfect yarn for your creation.
When considering yarn, first think about the fiber content. For a cozy hat, you might want to use blends that include acrylic, wool, or a combination of both. Acrylic yarns are budget-friendly, easy to care for, and come in an array of vibrant colors that are perfect for bold stripes. On the other hand, wool offers warmth, breathability, and a lovely texture. If you’re planning to wear the hat in colder climates, consider a wool blend for added warmth without losing flexibility.
Next, consider the weight of the yarn. Worsted weight (medium) yarn is a great choice for hats, providing the right balance between structure and softness. This weight is versatile and allows for quick projects while giving you enough fabric to showcase your color blocks beautifully. If you’re feeling adventurous, using a lighter weight like DK can create a more delicate appearance, perfect for a stylish lightweight hat.
Finally, match your colors thoughtfully. Think about how the colors will contrast or complement each other. You can choose a classic palette with a neutral base and a pop of color for stripes, or go for a more adventurous, vibrant mix. As you plan your colors, remember to keep in mind how they’ll look in various lighting – sometimes the hues might change slightly, so a swatch can help you visualize the outcome before diving into your project.
Happy crocheting! With the right yarn in hand, your striped crochet hat will not only be a joy to make but also a lovely accessory that you’ll be proud to wear.
Essential Crochet Techniques for Beginners
When diving into the world of crochet, mastering a few essential techniques can transform your journey from frustrating to fulfilling. Crocheting a striped hat is not only a delightful project but also an excellent way to practice fundamental skills that will enhance your overall crafting experience. Whether you’re just starting out or looking to refine your skills, these techniques will prove invaluable as you create your bold color block hat.
Start with the basics, such as the foundation chain, which serves as the backbone of your pattern. This is how you’ll begin every project. To make a chain, simply pull a loop through your slip knot and continue to pull loops through the last loop created until you reach your desired length. It’s vital to maintain a consistent tension here; if your chain is too tight, the first row will become difficult to work into, while a loose chain can lead to an uneven starting base. Practice this until you find a comfortable rhythm.
Once you’ve got your chain down, familiarize yourself with the single crochet stitch, as it’s often the cornerstone of many hat patterns. Not only is it straightforward, but it also builds a sturdy fabric that holds its shape well. To single crochet, insert your hook into the desired stitch, yarn over, pull through (you’ll have two loops on your hook), yarn over again, and pull through both loops. Keep practicing this stitch until it feels natural; the more comfortable you are, the faster you’ll be able to complete projects.
Incorporating color changes into your hat will elevate your design. When you want to switch colors, finish your last stitch of the current color but don’t complete the final yarn over. Instead, introduce your new color by yarning over with it and pulling through. This technique allows for seamless transitions without a noticeable break in your work. Experiment with different color patterns, alternating stripes to customize your hat and match it to your favorite outfits.
Remember, crochet is about enjoying the process, so don’t be afraid to embrace mistakes along the way. Each improperly executed stitch is a lesson on how to improve for the next project. With these foundational techniques at your fingertips, you’re well on your way to creating a stunning striped crochet hat that showcases your creativity and skill. Happy crocheting!
Understanding Color Blocking Basics
Creating distinct blocks of color in your crochet projects can take your designs from ordinary to extraordinary. Color blocking is all about using contrasting or complementary colors to make bold statements, and it’s particularly fun in projects like striped hats. Not only does this technique allow for creativity, but it also serves as a fantastic introduction to working with multiple yarn strands and managing color transitions.
To get started, choose your colors wisely. Think about pairing vibrant hues with neutrals or using shades of the same color for a more subtle effect. This choice will set the tone for your hat. Once you have your yarn selected, you’ll want to cut lengths long enough to accommodate your intended stripes, allowing for a few extra inches just in case. Remember, you can always trim excess yarn, but it’s harder to add more once you’ve started working!
Implementing color changes during your crochet process is a breeze with a bit of practice. One effective method is to leave the previous yarn and pull in the new color during your last yarn over of the previous stitch. This technique creates smooth transitions between colors, preventing unsightly gaps. It’s all about the rhythm-keep your tension even, and don’t rush through the color change; instead, relish the moment as you watch your stripes take shape.
As you work, take a moment to assess your progress. Step back and look at your work from different angles. If you feel the stripes could use a tweak-perhaps the colors aren’t as vibrant together as you imagined-don’t hesitate to adjust. Remember, the joy of crafting lies in experimentation. With each hat you create, you’ll refine your skills in color blocking, making it easier and more enjoyable next time. Celebrating those small victories along the way can increase your confidence as a maker, so keep crocheting and let your creativity shine!
Step-by-Step Instructions for the Striped Crochet Hat
Creating a striped crochet hat is an exciting yet accessible project that will have you beaming with pride once it’s completed! The bold use of color not only stands out but also lets your personality shine through. With just some yarn, a hook, and a splash of creativity, you can make a stylish hat that warms both your head and heart. Let’s dive into the step-by-step instructions to get you started on your gorgeous striped creation!
Gather Your Materials
Before jumping into the crochet magic, ensure you have the following materials at hand:
- Yarn: Choose at least two colors of worsted weight yarn.
- Crochet Hook: A size H (5 mm) crochet hook is a great choice for this project.
- Scissors: For trimming excess yarn.
- Tapestry Needle: To weave in the ends once your hat is completed.
- Tape Measure: To ensure your hat measures correctly for size.
Start Crocheting the Base
- Create the Foundation Chain: Start with a slip knot, then chain 60 (or adjust based on your head measurement). This will form the base of your hat.
- Join to Form a Circle: Be careful not to twist your chain! Slip stitch into the first chain to form a circle.
- Work in Single Crochet: In each chain stitch, make a single crochet (sc), continuing around the circle. Slip stitch into the first sc to close the round.
- Continue with More Rounds: For a basic hat, go for 12 to 16 rounds of single crochet, increasing the rounds as needed for a larger size.
Adding Stripes
To incorporate your vibrant stripes, you’ll transition colors as you continue crocheting:
- Plan Your Colors: Decide where you want to place the stripes. A common method is to change colors every two or three rounds.
- Change Color: To switch colors, finish the last single crochet of the round with the new color. This keeps your stripes looking neat and seamless.
- Join the New Color: Pull the new color through your last stitch and continue crocheting with it for the next rounds.
Finishing Touches
- Shape the Top: When you’ve reached your desired height, begin decreasing by crocheting two stitches together every few stitches to encourage the hat to taper at the top.
- Fasten Off: Once your hat shapes nicely, fasten off and leave a long tail for sewing. Weave in all the loose ends using your tapestry needle to create a clean finish.
After following these steps, you’ll have a beautiful, striped crochet hat that showcases your individuality. Remember, each hat you make helps build your skills-so don’t be afraid to experiment with colors and techniques. You’ve got this, and your creative journey is just beginning!
Advanced Color Block Techniques for Unique Designs
Playing with color blocks can take your crochet projects to the next level, especially when creating a striped crochet hat! The beauty of color blocking lies in its ability to create dynamic and visually striking designs while remaining accessible to all skill levels. Whether you’re a seasoned crocheter or just starting, these techniques will help you achieve unique looks that express your personal style.
One effective method is to use varied yarn weights for each block or stripe. For example, combining a soft worsted weight yarn with a thicker bulky yarn can create a pleasing texture contrast, adding depth to your hat. Just remember to adjust your stitch counts accordingly; using a larger yarn may require you to chain fewer stitches in your foundation. Additionally, you can play with the placement of your blocks. Instead of regular horizontal stripes, try vertical stripes or even diagonal blocks for a fresh twist. This can be particularly striking when you alternate lighter and darker shades.
Another great technique is to incorporate textured stitches within your color blocks. Using stitches like half double crochet or even post stitches in one color while keeping the rest of the block in single crochet can create beautiful depth. For instance, you could have a solid base in one color and then switch to a textured stitch in a complementary shade, allowing the texture to stand out boldly against the smooth background.
Pro Tip: Always carry your yarn up the side of the project when changing colors, which keeps your back neat and reduces the need for weaving in ends later. You can achieve a tidy transition by twisting the new and old colors together as you switch to prevent gaps.
Remember, the most important part is to have fun! Don’t be afraid to experiment with your color choices and patterns. Every hat you create is an opportunity to refine your skills and express your creativity. You’ve got the tools and techniques, now let your imagination run wild! Happy crocheting!
Managing Tension and Stitch Consistency
Managing your tension and achieving stitch consistency is crucial when creating a striped crochet hat, especially if you want those bold color blocks to stand out beautifully. Did you know that uneven tension can lead to misshaped projects? By keeping your tension even, you ensure that your hat will fit comfortably and look professional. Here are some tips to maintain that perfect tension and consistent stitch work.
Start by being mindful of how you hold your yarn and hook. Your grip can greatly influence your tension. If you find yourself pulling your yarn too tight or letting it hang too loose, it can affect the uniformity of your stitches. A good practice is to make a few test swatches with different yarns and hooks before diving into your project. This will help you identify what feels comfortable while also achieving the right stitch size. Aim for a relaxed hold-think of it as a gentle hug as you work.
As you switch colors for your stripes, pay careful attention to how you’re wrapping the yarn. Changing colors can easily throw your tension off, especially if you’re using yarn weights that vary significantly. To create a smooth transition, gently pull the new yarn color through the last stitch of the previous color. This keeps the tension level consistent across the stripe, reducing the chances of gaps or sagging appearances. When changing colors, try to keep your stitches tight but not overly strained; remember, you want your hat to have some stretch for comfort!
Lastly, it’s wise to periodically check your work as you crochet. Looking back at several rows can provide insight into whether your tension has remained consistent. If you notice a tighter or looser section, take a moment to adjust your hold or your technique. Don’t be discouraged if you find areas that need improvement-this is all part of the learning process. If it helps, use a stitch marker to keep track of a row where your tension feels just right, giving you a reference point as you continue. Practice and patience are key!
Engage with your project, and remind yourself that everyone has their unique rhythm. Tension and consistency will improve over time as you gain more experience. With your creative spirit and these handy tips in mind, you’re well on your way to crafting a stunning striped hat that showcases your personality and skills. Happy crocheting!
Adding Creative Embellishments to Your Hat
Adding special touches to your hat can transform a straightforward design into a personal masterpiece that showcases your unique style. Embellishments not only enhance the visual appeal but also give your finished project a one-of-a-kind flair. Whether you’re looking to add texture, color, or a bit of whimsy, there are countless ways to elevate your striped crochet hat.
Creative Ideas for Embellishments
Consider incorporating different types of embellishments that resonate with your personality and the occasion. Here are a few fun options to get you started:
- Pom Poms: A classic choice! Adding a cheerful pom-pom to the top of your hat can instantly boost its cuteness factor. You can make your own pom-poms using yarn or purchase ready-made ones to save time.
- Buttons and Brooches: Using colorful buttons or a vintage brooch can add a touch of charm. Sew or pin them on the side or front of your hat for a delightful accent.
- Flowers or Leaves: Crocheting a small flower or leaf and stitching it to the side can add a feminine touch. You can experiment with different colors to match your stripes or contrast them boldly.
- Ribbons: A simple ribbon tied around the base of the hat or woven through the stitches can lend a whimsical or sophisticated feel, depending on your choice of fabric.
Adding Texture and Dimension
To achieve a more tactile and interesting design, think about the various textures you can introduce. For example, try using different yarn types or stitch patterns for your embellishments.
- Textured Stitches: Integrate popcorn or shell stitches in contrasting colors to create visual interest within your striped design. These stitches stand out and add depth.
- Faux Fur or Chenille: Use a furry yarn to create a band around the hat or make a fur pom-pom. The softness will not only feel cozy but also looks luxurious.
Remember, the key to successful embellishments is to have fun and express yourself! Whether you’re a newbie or an experienced crocheter, you can experiment with different ideas without overwhelming yourself. Try out combinations on small swatches before committing them to your hat. This way, you can find out what works best for your vision without any stress. Celebrate your creativity as you add these final touches – they’re what will make your striped crochet hat truly your own! Happy crafting!
Troubleshooting Common Crocheting Issues
Every crocheter, from beginners to seasoned pros, faces common hiccups along the creative journey, especially when working on something like a striped crochet hat. These challenges can feel daunting, but they’re often easy to fix with a little know-how. Here’s a handy guide to troubleshoot the most frequent issues you might encounter while crafting your bold color block masterpiece.
One issue you might notice is uneven tension, which can lead to a hat that looks wavy or misshapen. If your stitches are too tight, try using a larger hook; conversely, if they’re too loose, switch to a smaller one. It’s also helpful to periodically check your tension by laying your work flat and smoothing it out. Remember, the goal is to maintain a consistent stitch size, so practice makes perfect! If you find yourself struggling to maintain consistency as you switch colors, try to work a few rows of the same color before changing to help your hands adjust.
Another common concern arises with color transitions. If your stripes aren’t looking seamless, consider cutting your yarn slightly longer and pulling the new color through the final stitch of the old one to prevent gaps. To enhance the overall look, you can also carry the yarn along the side when it’s not in use, allowing for quicker changes without needing to weave in ends later. Don’t be afraid to experiment-a little trial and error is all part of the learning process!
Finally, if you’re encountering issues with size, like your hat feeling too snug or too loose, you might be using the wrong yarn weight or hook size. Always check the pattern gauge and do a swatch to ensure your hat will fit as intended. If adjustments are necessary, consider adding extra rounds or using a smaller hook to tighten the fit. The beauty of crochet lies in its versatility, so embrace these tweaks!
By keeping these troubleshooting tips in mind, you can easily navigate through any challenges you face while creating your striped crochet hat. Enjoy the process, and remember that each mistake is merely a stepping stone toward becoming a more confident crocheter!
Tips for Customizing Your Hat Pattern
Creating a striped crochet hat is a fun and rewarding experience, and customizing it to reflect your personal style can elevate your project to a whole new level! Whether you’re a beginner or more experienced, making adjustments to your pattern can enhance both the aesthetic and fit of your hat. Here’s how you can take your striped creation from good to fabulous with some simple tweaks.
Start by thinking about color combinations. Don’t hesitate to mix and match hues that speak to you! Consider the color wheel: complementary colors (those opposite each other on the wheel) can create a vibrant contrast, while analogous colors (next to each other) provide a more harmonious look. You can even experiment with variegated yarns that blend multiple shades. When planning your stripes, varying the widths of your stripes can add an extra special touch. Try wide bold stripes alternating with narrow ones for a dynamic pattern that catches the eye.
Once you’ve settled on your colors, consider adding textural elements. This can be as simple as alternating between different stitch patterns-like using double crochet in one stripe and single crochet in the next-to create intriguing visual differences. Adding a ribbed band at the bottom not only looks stylish but also helps the hat fit snugly on your head. Don’t shy away from embellishments either! Pompoms, flowers, or even buttons can easily be stitched onto your hat for that unique flair.
Finally, think about sizing and fit. If you want a looser fit, consider using a larger hook size than recommended, or add more rows to the body of the hat. If your hat feels too snug, a simple solution is to modify the gauge by trying a different yarn weight or mixing in lighter yarns in some of your stripes. Remember, this is about making something uniquely yours, so take your time to play around with designs until you find what resonates with you.
Customizing your striped crochet hat can be a blast, encouraging creativity and personal expression. Remember, you can do this! Embrace each step, enjoy the journey, and celebrate your craftsmanship along the way. Happy crocheting!
Ideas for Matching Accessories and Outfits
Creating a striped crochet hat opens up a world of exciting possibilities for accessorizing your look! The beauty of a handmade hat is that it can be perfectly customized to match not just your style but also your entire outfit. Whether you’re dressing up for a chilly day out or just need a pop of color for your casual wear, here are some ideas that will help you coordinate your new favorite accessory flawlessly.
Start with your hat’s color palette. If you have chosen vibrant colors for your stripes, consider pairing your hat with neutrals to let it shine. For instance, a hat with bold reds and oranges can be beautifully complemented by a simple black or gray coat. On the other hand, if you’ve opted for a more muted shade in your striped hat, feel free to play with textures and patterns in your clothing. Layering is key here. A cozy knit scarf in a similar but slightly different color can create visual interest while keeping your look cohesive.
Accessorize Intentionally
Don’t forget about other accessories! Depending on the season, you might want to add matching gloves or a scarf. For winter, consider an oversized scarf that incorporates some of the same yarn colors from your hat, creating a unified look. In the spring, lighter, airy fabrics in complementary colors can keep your outfit fresh. Jewelry can also be a fun way to tie in colors; think of earrings, necklaces, or bracelets that bring out a hue from your hat’s stripes. For a charming touch, even a purse in a matching tone can complete your outfit beautifully.
Lastly, consider your footwear. Whether you choose casual sneakers or stylish boots, echoing some of the colors from your hat can create a balanced ensemble. For a fun summer look, a pair of sandals that mimic the colors of your hat can be a playful addition! The key is to experiment and have fun with your creativity. Each piece you add should make you feel empowered and stylish. Remember, every time you wear your crochet hat, you’re showcasing not just a unique piece of art but also your flair for confidence and style. So, go ahead and let your crochet hat lead the way to fabulous outfit pairings!
Care Instructions for Your Handmade Crochet Hat
Taking care of your handmade crochet hat is essential not only for maintaining its appearance but also for ensuring it lasts through many seasons of wear. After all, each striped crochet hat you create represents hours of your hard work and creativity! With the right care, you can keep your hat looking vibrant and cozy for years to come.
Start by checking the yarn label for specific care instructions, as different fibers have unique needs. Most acrylic or cotton yarns are machine washable but may have temperature restrictions. If your hat is made from wool or a wool blend, hand washing is often the best option to prevent shrinking or felting. Here’s a simple care routine you can follow:
Washing Your Hat
- Hand Wash: Fill a basin with lukewarm water and a gentle detergent. Gently submerge your hat and swish it around without agitating the fabric too much. Rinse thoroughly with cool water.
- Machine Wash: If the yarn is machine washable, place your hat inside a mesh laundry bag to protect its shape. Wash on a gentle cycle with cold water.
Once your hat is clean, lay it flat on a towel to dry, reshaping it as necessary to maintain its form. Avoid hanging your hat to dry, as this can stretch out the fabric.
Storing Your Hat
To keep your crochet hat in tip-top shape when not in use, store it in a cool, dry place. Avoid folding it, as this can create creases. Instead, you can place it on a shelf or in a bin, ideally in a breathable fabric bag to keep dust away. If you have multiple hats, consider stacking them but be sure to place a soft cloth between them to prevent friction.
Lastly, if you notice any lint or fuzz on your hat, use a lint roller to gently remove it. For pilling, a fabric shaver can be helpful but use it with care to avoid damaging the yarn. With these simple care tips, you can confidently showcase your beautiful striped crochet hat while enjoying its warmth and charm!
Faq
Q: What are the best yarn choices for a striped crochet hat?
A: The best yarn choices for a striped crochet hat include soft, durable fibers like acrylic or cotton blends. Choose colors that contrast well for a bold look. Visit the section on Choosing the Right Yarn for Your Striped Hat for precise recommendations on weights and brands.
Q: How do I improve my tension when crocheting a striped hat?
A: To improve tension when crocheting a striped hat, practice maintaining an even grip on your yarn. Use a consistent hook size and keep your stitches uniform. For more detailed tips, check our Managing Tension and Stitch Consistency section.
Q: Can I customize the size of my striped crochet hat?
A: Yes, you can customize the size of your striped crochet hat by adjusting the number of starting chains or using a different hook size. For step-by-step adjustments, refer to our Tips for Customizing Your Hat Pattern section.
Q: What are some common troubleshooting tips for crocheting hats?
A: Common troubleshooting tips for crocheting hats include checking for missed stitches and ensuring consistent row counting. For more specific solutions, take a look at our Troubleshooting Common Crocheting Issues section.
Q: How can I add embellishments to my crochet hat?
A: To add embellishments to your crochet hat, consider using pom-poms, flowers, or beads. Sew them onto your finished hat for a personalized touch. For creative ideas, see our section on Adding Creative Embellishments to Your Hat.
Q: When is the best time to start crocheting gifts for the holidays?
A: The best time to start crocheting gifts for the holidays is ideally several months in advance, especially for larger projects like hats. This allows you ample time to ensure quality. For planning tips, check out our article.
Q: What techniques are essential for beginners crocheting a hat?
A: Essential techniques for beginners include basic stitches like single crochet and slip stitch. Familiarize yourself with changing colors, which is key for creating stripes. Refer to our Essential Crochet Techniques for Beginners section for a detailed overview.
Q: Where can I find patterns for different striped crochet hat designs?
A: You can find various patterns for striped crochet hats on craft blogs, Pinterest, or crochet community websites. For original ideas, browse through our step-by-step instructions in the Step-by-Step Instructions for the Striped Crochet Hat section.
The Conclusion
You’ve completed your Striped Crochet Hat, and we hope you’re loving your bold, beautiful creation! This project showcases your skills in color blocking and is perfect for adding a pop of color to your wardrobe or gifting to someone special. Don’t forget, you can experiment with different color combinations to truly make this pattern your own!
If you’re eager to try more fun crochet projects, check out our guide to Easy Crochet Patterns for a variety of designs that suit all skill levels. Want to deepen your crochet knowledge? Explore our tutorial on Basic Crochet Techniques and master new stitches!
Join our community by subscribing to our newsletter for exclusive tips and new patterns delivered straight to your inbox. Plus, share your finished hats with us in the comments below or tag us on social media – we can’t wait to see your creations! Keep crocheting, and remember, you can do this! 🧶
Get our latest guides, news, and insights highlighted in your Google Search & AI Overviews.