
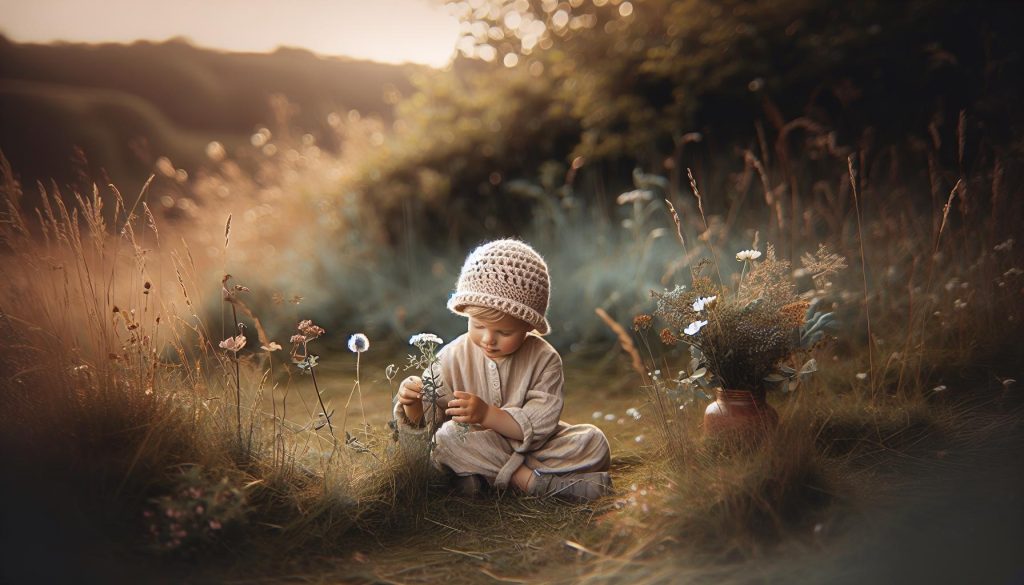
Creating the perfect child’s crochet hat can be a rewarding endeavor, blending creativity with practicality. Did you know that a well-fitting hat not only keeps little heads warm but also adds a fun flair to their outfits? This guide is designed to walk you through crafting a cozy, stylish beanie tailored for children’s sizes, ensuring comfort and cuteness in every stitch.
Whether you’re a seasoned crocheter or just starting your crafting journey, the joy of making something special for a child is unmatched. You’ll discover essential tips on choosing the right materials, understanding sizing, and following easy-to-follow patterns that will boost your confidence and skills. With clear instructions and helpful insights, you’ll see that creating a beautiful hat is well within your reach. Stay with us to unlock the fun of crochet and make a delightful accessory that your little ones will love to wear!
Choosing the Right Yarn and Tools for Your Crochet Hat
Choosing the right yarn and tools is essential for crafting a cozy crochet hat that your child will love. The yarn you select not only affects the hat’s appearance but also its usability and comfort. For children’s hats, opt for soft, washable yarns, such as acrylic or cotton blends, which are gentle on sensitive skin and easy to clean. These materials also hold their shape and color well, ensuring the hat looks great after many wears.
When it comes to tools, having the right crochet hook is just as important. Generally, for worsted weight yarn, a size H (5.0 mm) or I (5.5 mm) hook will work perfectly, providing a nice drape for your beanie. If you’re unsure, check the yarn label for recommended hook sizes, or perform a gauge swatch to ensure your stitches are uniform.
Essential Tools for Your Crochet Hat:
- Crochet hook (size recommended for your chosen yarn)
- Yarn (soft acrylic or cotton)
- Scissors for trimming
- Tapestry needle for weaving in ends
- Measuring tape for fit adjustments
Don’t forget to keep your child’s preferences in mind. If they love bright colors or fun textures, pick yarns in their favorite shades or try mixing different textures to create a unique look. You can even involve your child in the selection process-let them help pick out the yarn! This inclusion not only makes the project more enjoyable but gives them a sense of ownership over their new hat. Remember, creating something yourself can be incredibly rewarding, and with the right materials and tools, you can make a hat that brings warmth and joy to a little one’s day!
Understanding Child Sizing: Measurements That Matter
To create a crochet hat that fits your child perfectly, understanding their measurements is crucial. The right fit not only ensures comfort but also allows the hat to stay in place during playtime. Children’s head sizes vary significantly, so taking accurate measurements and knowing how to adjust your pattern accordingly will enhance your success.
Start by measuring the circumference of your child’s head. Use a soft measuring tape and wrap it snugly around the widest part of their head, which is typically just above the ears and eyebrows. Note this measurement down. For a little wiggle room and comfort, you can add 1 to 2 inches to this measurement. This means if your child’s head measures 20 inches, you’ll aim for a hat that is closer to 21-22 inches in total circumference.
Next, consider the depth of the hat. This is the distance from the crown of the head to just above the ears. Measure from the top of the head down to where you want the hat to sit. This helps ensure that the hat isn’t too short or too long, striking that perfect balance for style and warmth.
Once you have these key measurements, you can confidently approach your crochet pattern. If you’re using a free pattern, check if it includes sizing guidelines, often presented in a chart. But don’t hesitate to modify the pattern! If it’s too big or too small, adjusting your hook size or the number of stitches can help achieve the perfect fit. Remember, crochet stitches can be forgiving, and you have the ability to make it just right for your little one!
In summary, knowing your child’s head circumference and desired hat depth will empower you to alter patterns as needed, ensuring a cozy and trendy crochet hat. Embrace the joy of customizing; this is your chance to craft something special that your child will cherish!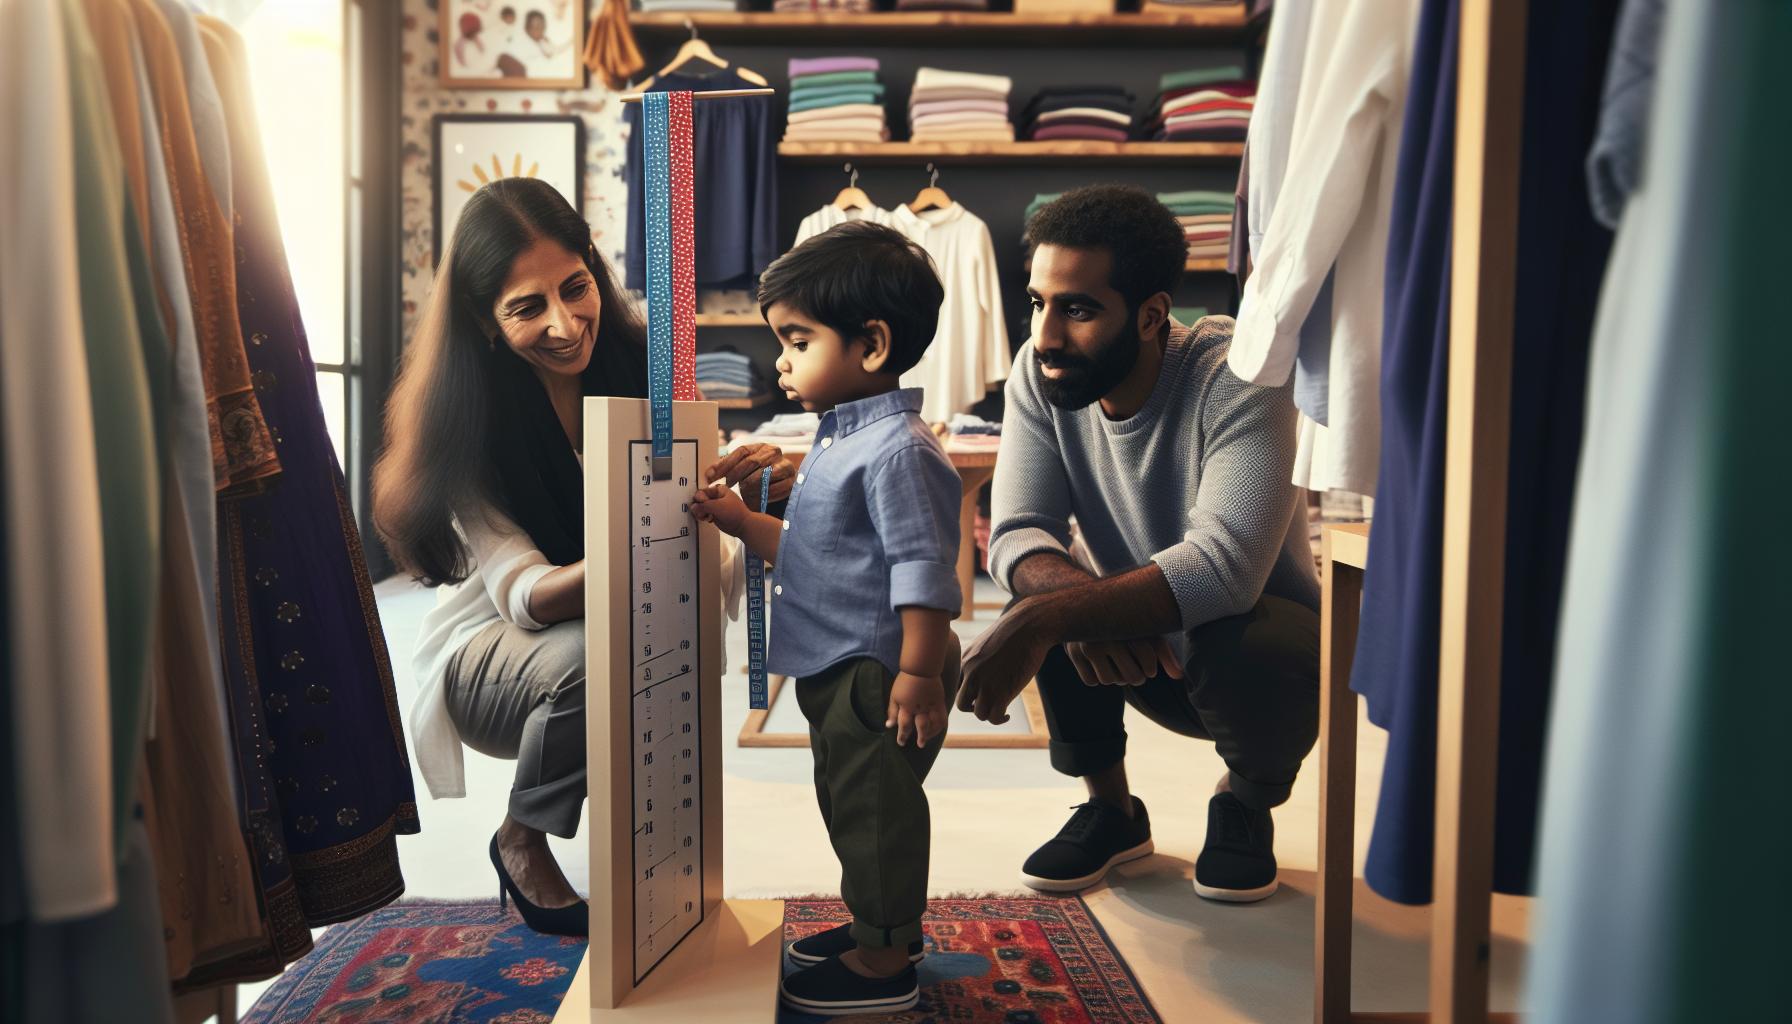
Easy Steps to Create Your Crochet Hat
Creating a crochet hat for your child is not just about keeping them warm; it’s an opportunity to express creativity and make something special that they’ll treasure. You don’t need to be an expert; by following some simple steps, you can craft a hat that fits wonderfully and showcases your style. Let’s dive into the process!
Start with your materials. The essentials include yarn (choose a soft acrylic or cotton blend for comfort), a crochet hook suitable for your chosen yarn (check the label for size), and a pair of scissors. It’s also helpful to have a measuring tape handy to ensure the best fit. Once you have everything, the fun can begin!
Step-by-Step Guide
- Begin with a Slip Knot: This forms the foundation of your project. Create a slip knot and place it on your hook.
- Chain Stitches: Crochet a chain that matches your child’s head circumference (remember to add extra chains for stretch!). For example, if the measurement is 22 inches, start with around 70-80 chains.
- Join the Chain: Being careful not to twist your chain, join it with a slip stitch to form a circle.
- Crochet the Body: Begin your first round with single crochet, double crochet, or your preferred stitch. Continue for the desired height-typically 5-7 inches for a child’s hat. Don’t forget to count your stitches to keep your project consistent!
- Finish and Weave In Ends: Once you’ve reached the right height, complete the last round and pull the yarn through the last stitch. Use a yarn needle to weave in any loose ends.
You’ve just created a cozy hat! If you want to add some flair, consider incorporating stripes or a pom-pom on top. With a bit of practice, you can experiment with different stitches and textures, making each project unique.
The beauty of crochet is that it’s a forgiving craft. If your first hat doesn’t turn out exactly as you envisioned, don’t be discouraged! Each stitch you make gets you closer to mastering the art of crochet. So gather your materials, embrace your creativity, and enjoy the journey of making a delightful hat for your child. You’ve got this!
Color Combinations That Kids Will Love
Choosing the right colors for your crochet hat can turn a simple project into a treasured piece your child will adore. Kids often have their own unique preferences, and tapping into their imaginations can make the crafting experience even more enjoyable. Bright, bold colors typically appeal to children, making hats that are playful and eye-catching. For instance, vibrant shades like electric blue, sunny yellow, or fiery red can be incorporated with softer pastels for a balanced yet fun look.
To create delightful color combinations, think about what inspires your child! Are they fans of favorite characters or animals? You might create a hat in a palette that reflects their favorite superhero’s suit or cartoon character’s outfit. For example, a hat using primary colors can represent a friendly dragon or castle theme, or softer pinks and purples might fit a princess or fairy motif. Including their favorite colors is also a wonderful way to make the hat truly theirs.
Mixing and matching yarn colors can be done in several ways. You could opt for:
- Stripes: Alternate multiple colors in even rows, allowing a playful design that’s still easy to follow.
- Ombre: Choose shades of the same color that transition smoothly from light to dark for a stunning gradient effect.
- Color Blocks: Use solid blocks of color to create distinct sections, which can look neat and modern.
If you’re feeling extra creative, why not incorporate tiny embellishments like buttons or appliqués in contrasting colors? These small details can certainly elevate your child’s hat and add a unique flair that they will love. Remember, the key is to enjoy the process and let your child’s personality shine through in your color choices. Happy crocheting!
Adding Personal Touches: Embellishments for Your Hat
Adding special details to your crochet hat can turn an adorable accessory into a cherished favorite. Personal touches not only reflect your child’s personality but also create lasting memories. Start with fun embellishments like appliqués or patches that align with your child’s interests. Imagine a hat adorned with a favorite animal, flower, or even a superhero emblem-these small additions can truly define the look of the hat.
One of the simplest ways to add a personal touch is by using contrasting yarn to crochet small shapes. You could crochet a star, heart, or even a mini monster to attach to the hat. To make it more interactive, consider using a removable pin-back, turning the embellishment into a playful accessory that your child can switch out depending on their mood. You can also explore various textures by incorporating beads, pom-poms, or even embroidered designs that can add depth and personality.
Fun Embellishment Ideas
- Appliqués: Create simple motifs that your child loves, such as flowers, clouds, or animals.
- Buttons: Choose colorful buttons that can be sewn or glued onto the hat for a whimsical look.
- Patches: Iron-on patches can easily upgrade any basic hat without extensive sewing techniques.
- Yarn Puffs: Make little pom-poms or yarn blossoms to attach to the top or sides of the hat.
These embellishments can be made from yarn scraps, making them cost-effective and eco-friendly. Encourage your child to be part of the process! Getting them involved in choosing the colors and types of features can deepen their connection to the hat, making it feel truly special. Remember, the most important part of crocheting is the joy of creation-so have fun, experiment with different designs, and watch your child beam with pride sporting a hat that’s truly their own!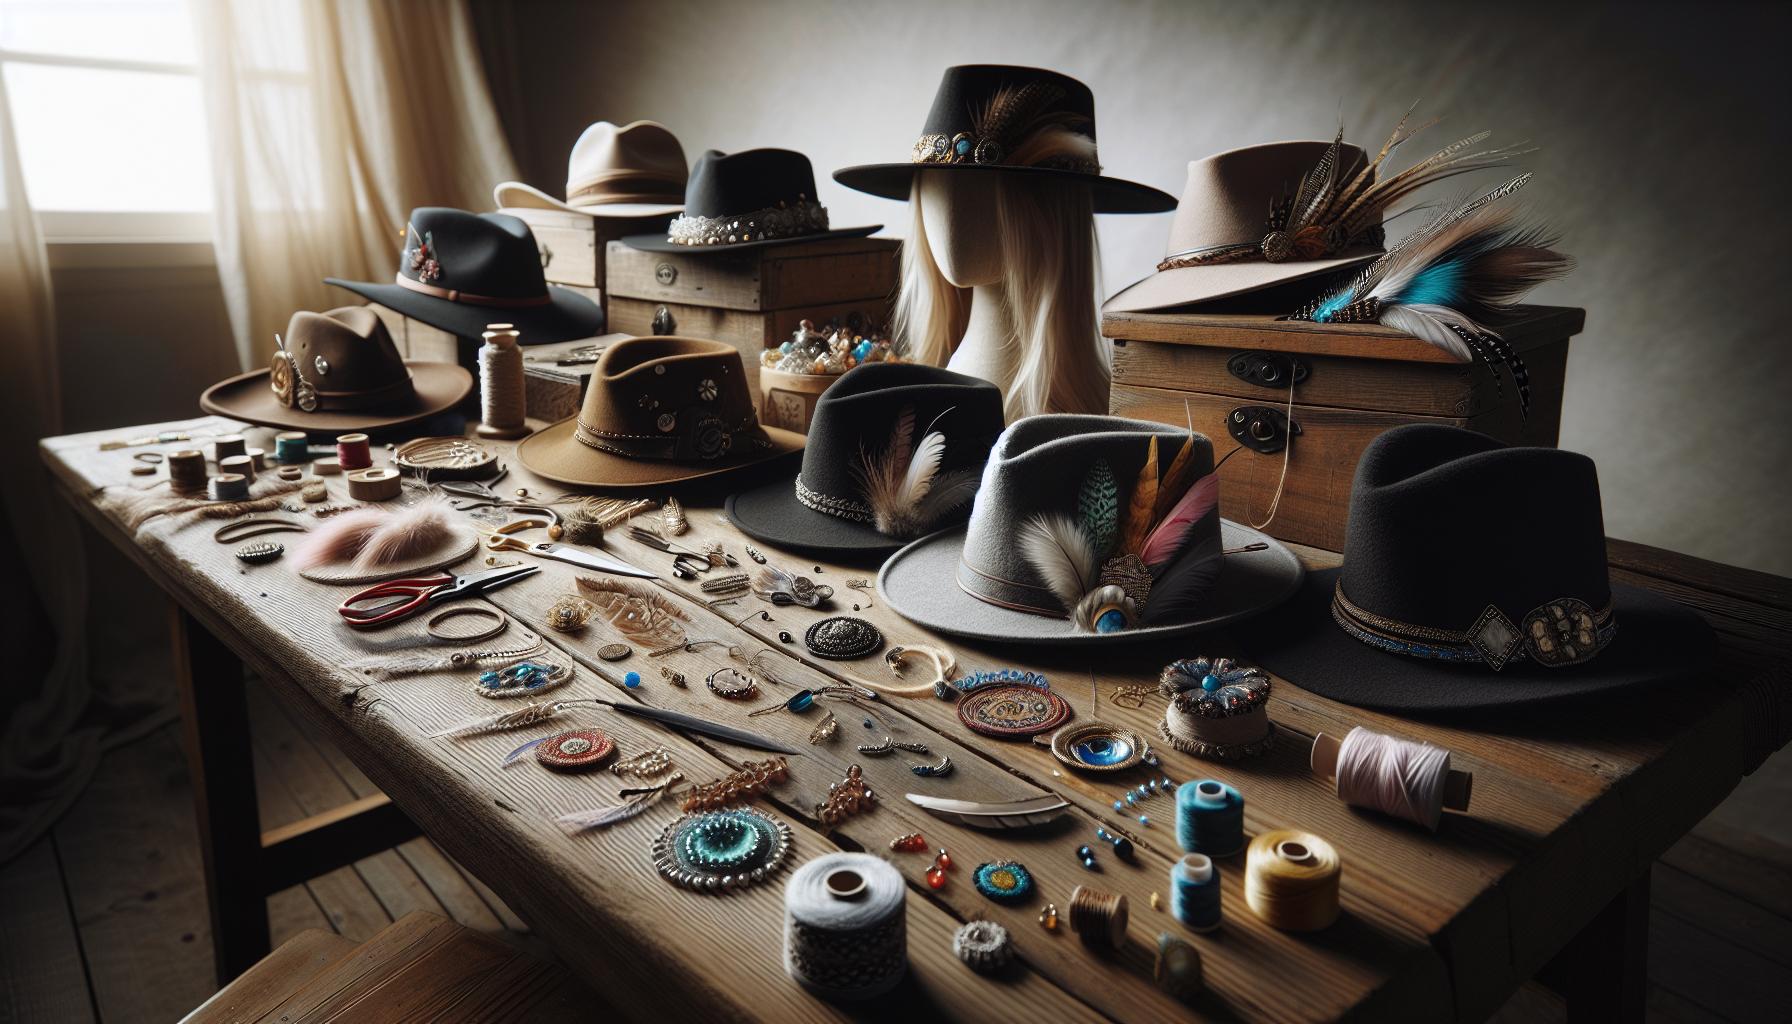
Adjusting Patterns for Perfect Fit: Tips and Tricks
Getting the fit just right for a child’s crochet hat can feel like a daunting task, but it’s absolutely achievable with a bit of patience and some handy tips! Children grow quickly, and their hat size will change as they do. This means adjusting patterns to ensure a perfect fit is crucial. Start by measuring the child’s head circumference-this gives you a solid number to work from. Use a soft measuring tape and wrap it around the largest part of the head, usually just above the eyebrows. Note the measurement down; this will be your starting point.
Once you have the measurement, you can select a pattern that closely matches it. If your pattern doesn’t offer a size that matches your measurement, don’t worry! You can adjust it easily by using some basic calculations. Most crochet patterns provide a gauge-this is the number of stitches per inch. First, check your gauge using your selected yarn and hook size to ensure it matches the pattern gauge. If your gauge is different, recalibrate by adjusting the number of stitches you cast on. For example, if your child’s head measures 20 inches, and the pattern is for an 18-inch size, you’ll want to scale up your stitches accordingly.
Another tip to ensure a snug fit is to incorporate stretch into your design. Use ribbed stitches or include elastic yarn within your project to maintain flexibility. This way, the hat will comfortably stay in place, accommodating any growth spurts. Additionally, consider using a crocheted band or an adjustable tie at the back for older children who can easily adjust the fit themselves. It can also make the hat more versatile for various seasons!
Finally, always remember that the joy of making something by hand lies in the ability to customize it. Don’t hesitate to experiment with stitch patterns or the number of rows until you have a fit that works perfectly for your child. Celebrate each of your adjustments as a step toward creating a hat that they will love to wear, ensuring it’s both functional and stylish! Happy crocheting-you’re doing great!
Troubleshooting Common Crochet Issues
When diving into the delightful world of crocheting a hat for a child, it’s not uncommon to encounter a few bumps along the way. Whether it’s your stitches looking uneven or the hat turning out too big or too small, troubleshooting these common issues can make all the difference. Remember, every crocheter faces challenges-you’re not alone in this creative process, and with each challenge overcome, you’re growing your skills!
Common Issues and Solutions
- Uneven Stitches: If your stitches are looking inconsistent, take a moment to check your tension. Holding your yarn too tightly or too loosely can lead to an uneven appearance. To remedy this, practice keeping a consistent hold on your yarn and hook. Before starting, create a small swatch to get comfortable. This will help you find a balance in your tension.
- Too Large or Too Small: If your child’s hat ends up too large or small, it’s often due to gauge miscalculations. To avoid this, always check your gauge before starting the project. Measure the number of stitches per inch according to the pattern. If your gauge doesn’t match, adjust the hook size. A smaller hook results in tighter stitches, which can help with a smaller fit, while a larger hook will create more space.
Adjusting Patterns on the Fly
- Need for Alterations: If the hat seems too short or too long, you can easily adjust by adding or removing rows. Just keep the overall shape in mind and try not to disrupt the pattern too much. For example, if you find the body of the hat is perfect but the brim is lacking, you can add an extra row of single crochet to give it a bit more depth.
- Sags and Bumps: A common complaint is sagging hats, often caused by using yarn that is too stretchy or not adjusting for weight discrepancies in yarns. To prevent this, consider choosing a slightly heavier yarn for more structure. Use ribbing techniques at the base of the hat to secure a snug fit that helps maintain its shape.
Handling Frustrations and Finding Joy
Every crocheter faces frustrations, but remember, it’s all part of the learning curve! Celebrate your progress, however small. Should you feel stuck, consider joining an online community or local group where you can share experiences and seek advice. These interactions can often lead to new ideas, techniques, and encouragement. Plus, seeing other makers’ projects can inspire you further!
As you tackle these issues with confidence and creativity, keep in mind that each piece you create brings a unique touch of love. Embrace the journey, learn from each mistake, and know that you absolutely can create a beautiful, perfectly fitting hat for that special child! Happy crocheting!
Alternative Crochet Techniques for Unique Hats
When it comes to crafting unique crochet hats for kids, exploring alternative techniques can open up a world of creative possibilities. These methods not only give your hats a special flair but also allow you to personalize each piece according to your child’s style and preferences. Let’s dive into some playful techniques that will elevate your crochet projects!
One fun approach is the granny square technique. Instead of a traditional single-piece hat, consider using granny squares to create a patchwork effect. Each square can be made in different colors or patterns, adding a vibrant, cheerful touch. Once you have several squares, join them together using slip stitches or whip stitches at the edges. This method not only allows for creative expression but also provides a great way to use scrap yarn.
Another exciting technique to try is the top-down crochet hat. Instead of starting from the brim, begin with the crown! This method gives you the flexibility to adjust the size as you go. You can easily customize the fit, ensuring the hat perfectly suits your child’s head. Plus, if you want to change colors or add textures, it’s much easier to incorporate those elements into a top-down design. Start with a magic ring, gradually increasing your stitches until you reach the desired diameter.
For those who enjoy a bit of whimsy, consider incorporating 3D elements such as ears, tails, or flowers. These embellishments can be added during the final rounds of your hat or sewn on afterward. Imagine a bear hat with adorable ears or a bunny hat with cute little floppy features-these details are bound to delight any child! Use simple crochet techniques like half double crochet or treble crochet to achieve these effects, and let your imagination run wild.
Lastly, blending different crocheting styles can really set your hat apart. Consider using textured stitches like bobbles or popcorns to create a tactile experience. These fun, chunky stitches can be scattered throughout your hat for added depth and visual interest. Combine these with traditional stitches for a gorgeous contrast that will make your crochet hat stand out in the best way possible.
Embracing these alternative techniques not only enhances the aesthetic appeal of your crochet hat but also fosters a sense of achievement as you create something truly one-of-a-kind. So gather your hooks and yarn, and let your creativity shine! You can absolutely make a delightful, unique hat that your child will adore. Happy crocheting!
How to Care for and Maintain Crochet Hats
Taking care of your crochet hats is just as important as making them! Whether you’ve just finished a colorful beanie for your little one or a cozy cap for chilling days, knowing how to maintain these handmade treasures will ensure they last through many adventures.
First, when it comes to washing crochet hats, always check the yarn label for specific washing instructions. Most crochet hats can be hand-washed in cool water using a mild detergent. To do this, gently immerse the hat, swish it around softly, and then rinse thoroughly with cooler water. Avoid wringing or twisting the hat, as this can distort its shape. Instead, lay it flat on a clean, dry towel, roll it up to absorb excess moisture, and then reshape it as needed. This method helps maintain the hat’s form and keeps those beautiful stitches looking sharp.
Storage Tips
To keep your crochet hats in pristine condition, proper storage is key. When not in use, store them in a cool, dry place away from direct sunlight to prevent fading. Consider using a garment bag or a breathable container to protect them from dust and pests. Avoid hanging them, as this can stretch out the fabric. Instead, stack or neatly fold them in a way that they won’t get squished.
Another fun touch is to freshen up your hats between wears. A light spritz of fabric freshener or a gentle steam can help to refresh their look and feel. This can be particularly helpful for hats that are worn frequently, especially by active kiddos!
By following these simple care techniques, your crochet hats will stay vibrant and cozy, ready for whatever adventures lie ahead. Remember, the love you put into crafting your hats deserves a little love in return when it comes to their care too! Happy crafting, and enjoy the warmth of your creations!
Inspiring Crochet Patterns: Where to Find More Options
Finding the perfect crochet pattern for your child’s hat can feel like a treasure hunt, but there are countless resources that make the search easier and more rewarding. With the right pattern, you can not only create a warm and cozy accessory, but also encourage your child’s unique style. The joy of crafting is amplified when you find patterns that inspire your creativity and suit your skill level.
Many online platforms offer a wide array of crochet patterns specifically designed for children. Websites like LoveCrafts are fantastic starting points, featuring thousands of free and easy crochet patterns that cater to beginner and advanced crafters alike. You can browse through categories such as basic beanies, whimsical animal hats, or trendy slouchy designs. Make sure to check whether the patterns provide clear instructions, materials needed, and stitch counts, which are essential for ensuring a perfect fit.
Consider joining crochet communities such as Ravelry or local craft groups where members often share their favorite finds and even post their own patterns. Social media can also be a goldmine for inspiration-Instagram and Pinterest host countless crochet hashtags that connect you with other makers showcasing their projects. From there, you can find everything from seasonal themes for holidays to everyday wear, making it easier to pick a design that excites you and your little one.
In addition to browsing online, don’t overlook the value of crochet books, which often contain a well-curated selection of patterns and additional tips on constructing hats tailored specifically for kids. Many books also provide helpful illustrations and tutorials that can bolster your confidence and skills. Trust your instincts and don’t hesitate to experiment with different designs and yarn types until you find what works best. With so many resources available, you’re sure to create something that not only fits perfectly but also brings a smile to your child’s face! Remember, the key is to enjoy the process as much as the finished product. Happy crocheting!
Share Your Crochet Journey: Join Our Community
Sharing your crochet journey can transform your crafting experience from a solitary endeavor into a vibrant community activity. Finding like-minded individuals who share your passion for creating children’s crochet hats not only enhances your skills but also fuels your creativity. Whether you’re a beginner excited about your first beanie or an experienced crafter refining your techniques, connecting with others can provide inspiration and encouragement.
Start by exploring popular platforms like Ravelry and Instagram, where you can join groups that focus specifically on crochet patterns for kids. These communities are brimming with enthusiastic crafters who share tips, showcase their projects, and even assist each other with troubleshooting. Try using hashtags like #CrochetForKids or #ChildsHatPattern to discover delightful projects from fellow makers. Don’t hesitate to share your progress and ask for feedback; you’ll be amazed at the supportive responses you receive!
Additionally, consider engaging in local crafting meet-ups or online workshops. These gatherings can provide hands-on experience alongside other crafters, allowing you to share techniques and resources. You might even collaborate on a project or participate in crochet-alongs, where you work on a pattern together. The camaraderie not only makes the process more enjoyable but also builds lasting friendships with fellow yarn enthusiasts.
Finally, don’t forget to document your journey! Keep a crafting journal or start a blog. Writing about your experiences, sharing photos of your creations, and talking about challenges you’ve faced not only helps you track your progress but can also inspire others beginning their crochet adventure. Remember, every stitch brings you closer to mastering your craft, and together, you can all celebrate the joy of making beautiful things for the little ones in your life!
Frequently Asked Questions
Q: What yarn is best for a child’s size crochet hat?
A: The best yarn for a child’s size crochet hat is a soft, durable, and hypoallergenic yarn, such as acrylic or cotton blends. These materials provide comfort and ease of washing, making them ideal for kids. For a cozy fit, opt for a worsted weight yarn, which is easy to work with.
Q: How do I adjust a crochet hat pattern for a perfect fit?
A: To adjust a crochet hat pattern for a perfect fit, measure the child’s head circumference and compare it with the pattern’s dimensions. You can add or remove rows or stitches as needed. Use the Adjusting Patterns for Perfect Fit section in your guide for detailed techniques.
Q: What basic crochet stitches should I use for a child’s hat?
A: For a child’s hat, start with basic stitches such as single crochet and double crochet. These stitches create a sturdy foundation and allow for easy customizing. Refer to the Easy Steps to Create Your Crochet Hat section for a beginner-friendly approach to these stitches.
Q: How can I make my child’s crochet hat unique?
A: To make your child’s crochet hat unique, consider adding embellishments like pom-poms, flowers, or fun appliqués. Personalizing with favorite colors or characters can also enhance its appeal. Check the Adding Personal Touches section in your guide for creative ideas.
Q: What is the average size for a child’s crochet hat?
A: The average size for a child’s crochet hat varies by age. For toddlers, aim for a circumference of about 16-18 inches, while for older children, it can go up to 20 inches. Refer to the Understanding Child Sizing section to get specific measurements based on age and head size.
Q: How long does it take to crochet a child’s hat?
A: Crocheting a child’s hat typically takes 1-3 hours, depending on your skill level and the complexity of the pattern. Many beginner patterns are quick and easy, making them great for a fun afternoon project.
Q: Can I machine wash my child’s crochet hat?
A: Yes, you can machine wash most acrylic crochet hats on a gentle cycle. However, always check the yarn label for care instructions. To maintain shape, air dry the hat flat. Refer to the How to Care for and Maintain Crochet Hats section for best practices.
Q: Where can I find free crochet hat patterns for kids?
A: You can find free crochet hat patterns for kids on various crafting websites and blogs. Popular resources include Ravelry and Pinterest, where crafters share their designs. The Inspiring Crochet Patterns section of your guide will also point you to more pattern options.
Future Outlook
Now that you have your free Child’s Size Crochet Hat Pattern, you’re one step closer to creating a cozy and charming hat that fits just right. Remember, you can adjust the size and style to perfectly suit your little one’s preferences, ensuring they’ll love wearing their new hat! Don’t wait too long-grab your yarn and hooks today, and start stitching up a warm accessory that’s perfect for those chilly days.
For more creative inspiration, check out our collection of friendly patterns, including the Double Puff Stitch Hat for all sizes and a variety of other crochet designs [2]. If you’re looking for quick projects, our roundup of 30 easy crochet hat patterns has you covered [1]. Share your creations with us in the comments, and don’t forget to subscribe to our newsletter for more tips and free patterns that will inspire your crochet journey. You can do this, and we can’t wait to see what you make!
Get our latest guides, news, and insights highlighted in your Google Search & AI Overviews.