
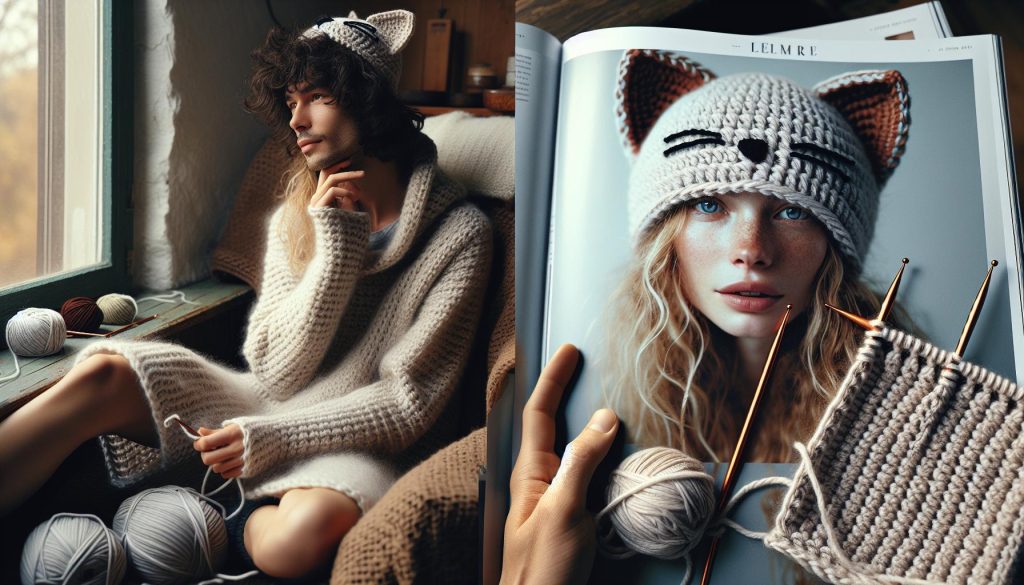
Imagine your favorite feline friend wearing an adorable hat complete with whiskers and ears-how cute is that? This “Crochet Pattern for Cat Hat: Whiskers & Ears Tutorial” is perfect for cat lovers and crafters alike, combining fun with functionality. Whether you’re looking to keep your pet warm or simply want to create an Instagram-worthy project, this engaging tutorial offers clear, step-by-step instructions that make it easy to follow along, regardless of your skill level.
You’ll discover everything from the materials you’ll need to tips on how to perfect your stitches. Plus, crocheting your own cat hat is not just a delightful way to express your creativity but also a chance to bond with your furry companion through handmade personalization. So grab your hook and yarn-let’s dive into this playful project that promises plenty of joy for both you and your pet! You can do this!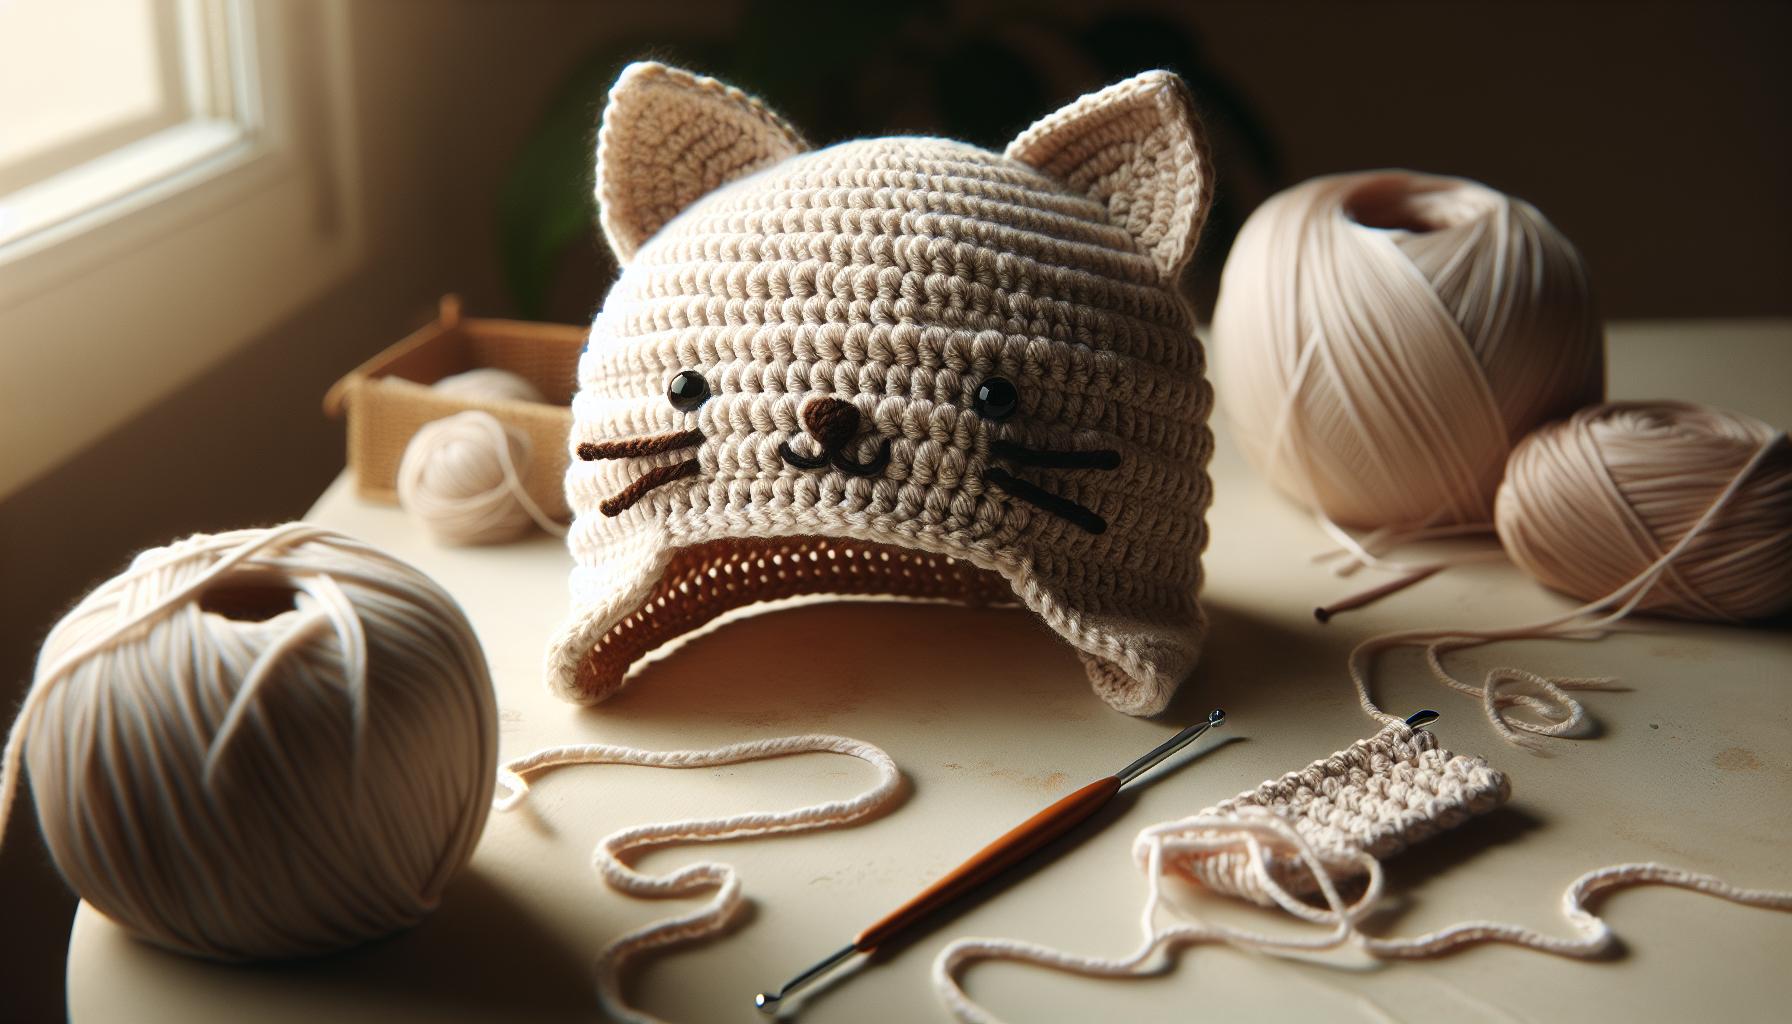
Choosing the Right Yarn and Hook for Your Cat Hat
Choosing the right materials is essential for crafting a cozy and adorable cat hat that your feline friend will love-or that you can wear yourself for some fun! When it comes to yarn, consider not only the look and feel but also the practicality of your choice. Soft, durable yarn blends, like acrylic or cotton, are ideal for this project as they provide a nice balance of comfort and wearability. If you want a luxurious touch, wool blends can offer warmth and elasticity, but be mindful if anyone has sensitivities to animal fibers.
Selecting Your Yarn
- Weight: For a cat hat, a medium (worsted) weight yarn is usually the best bet. It provides enough structure without being overly heavy, allowing for a hat that keeps its shape and is comfortable to wear.
- Color: Bright, fun colors or soft pastels can give your hat that playful cat-like charm. Don’t be afraid to mix and match colors for the ears or whiskers to create contrast!
- Feel: Always feel before you buy! Aim for soft yarn that won’t irritate skin, especially if it’s going to be worn.
Picking the Right Hook
Choosing the correct hook size is just as important as selecting your yarn. The size of your hook affects the overall tension and appearance of your stitches. For most medium weight yarns, a 5.0 mm (H) or 6.0 mm (J) crochet hook is typically recommended. However, your personal tension may vary, so it’s advisable to do a test swatch. This small square will help you see if you prefer a tighter or looser crochet style, ensuring your hat will fit just right without being too snug or baggy.
- Tips for Beginners: If you’re just starting, a bamboo hook can provide a great grip, especially when working with slippery yarns. This can help reduce frustration as you learn to manage your stitches.
With these tips in mind, you’re all set to gather your materials and dive into creating a one-of-a-kind cat hat! Remember, this is a fun project, so let your creativity shine through and enjoy the process. You can do this!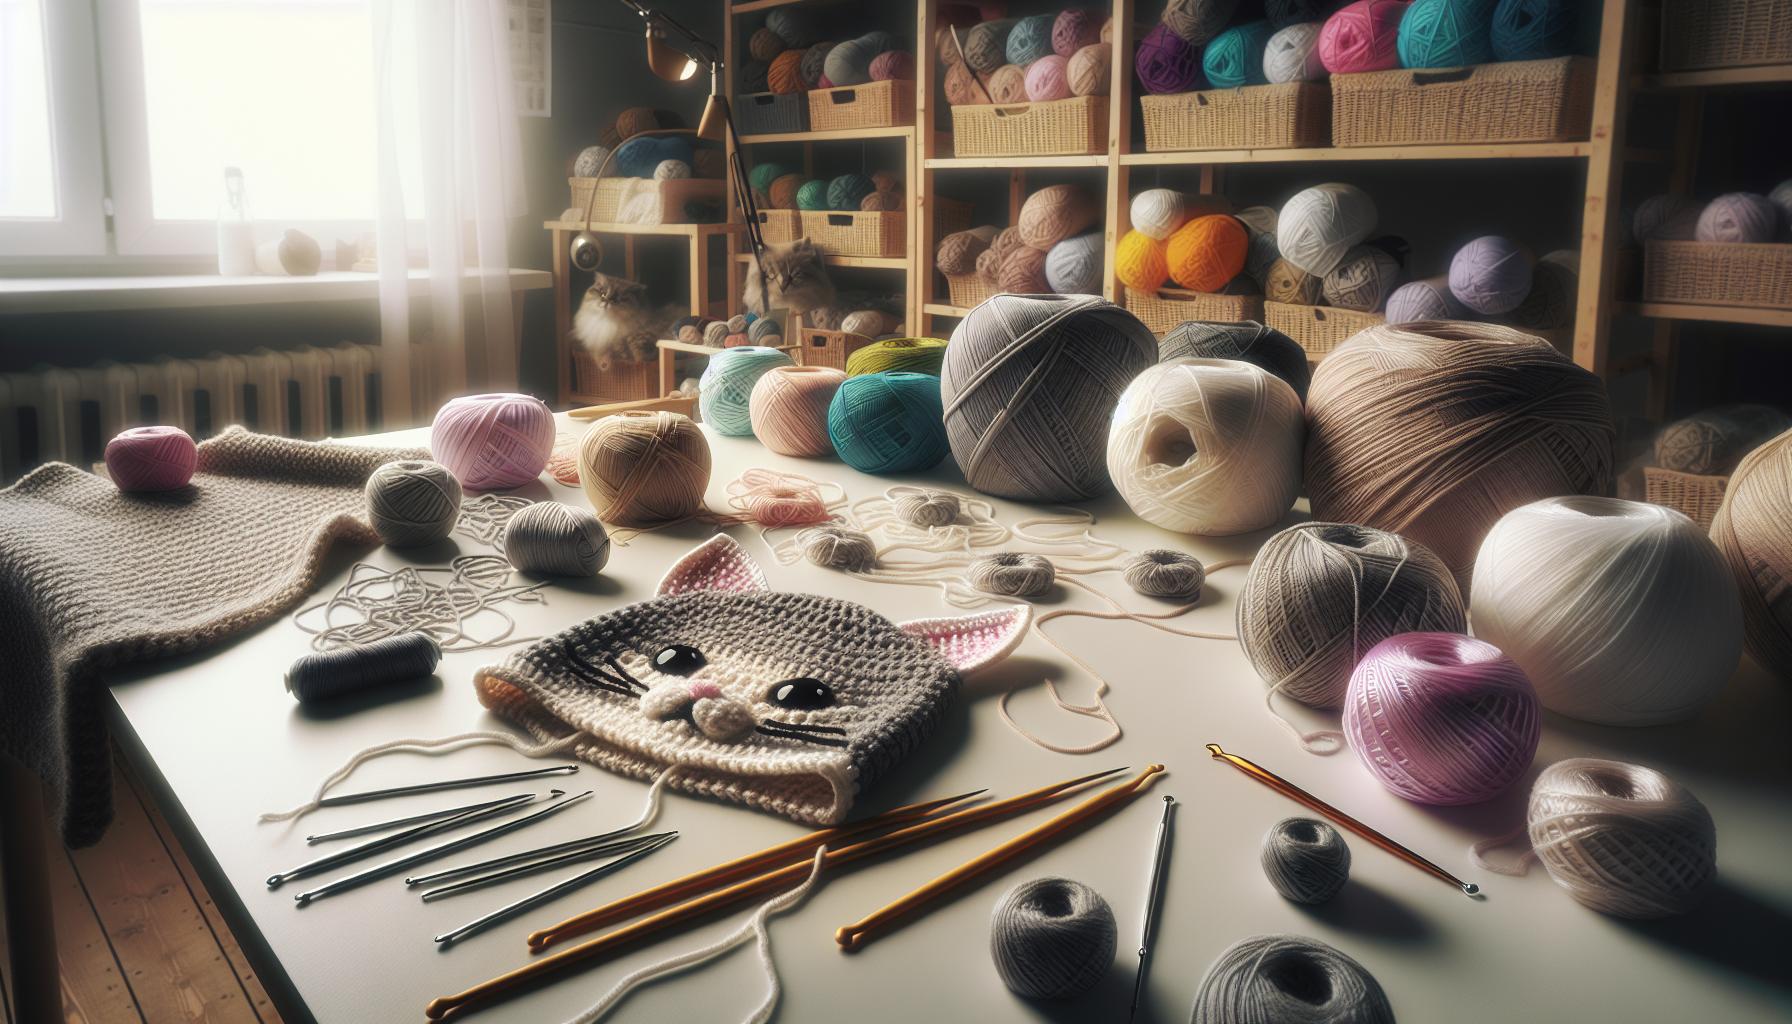
Essential Stitches for Your Cat Hat Project
To create a cat hat that’s both cute and cozy, mastering a few essential crochet stitches will make all the difference. Understanding these stitches not only enhances the structure of your hat but also allows you to express your creativity. Let’s dive into the most useful stitches you’ll need for your project, ensuring you have the skills to bring your fuzzy feline idea to life.
First up, the chain stitch forms the foundation of almost every crochet project. It’s how you start your hat, providing the base rows for your design. Next, the single crochet stitch is a staple that you’ll use frequently. It creates a tight fabric, perfect for keeping your hat warm while providing a neat appearance. For added texture and warmth, you can incorporate the half double crochet stitch, which is slightly taller than a single crochet. This stitch gives your hat a lovely drape and is particularly useful for the body of the hat.
If you’re looking to add those adorable cat ears, the double crochet stitch will be your best friend. It allows for height and creates a loftier, more dramatic effect for the ears, making them stand out. Another technique to consider is the decrease stitch, which can help shape the top of your hat and give it a snug fit around the crown. You can easily combine these stitches into simple patterns to create something uniquely yours.
To help you visualize, here’s a quick overview of the key stitches you’ll use:
| Stitch | Function | Use for Your Hat |
|---|---|---|
| Chain Stitch | Foundation for starting | Base of the hat |
| Single Crochet | Creates a tight fabric | Body of the hat |
| Half Double Crochet | Adds height and drape | Body of the hat for warmth |
| Double Crochet | Creates loftier stitches | Cat ears |
| Decrease Stitch | Shapes and fits | Top of the hat |
With these stitches in your toolkit, you’re ready to embark on your cat hat journey! Remember, take your time, and don’t hesitate to practice each stitch as you go along. You’ll find joy in watching your project take shape, and before you know it, you’ll have a delightful cat hat that’s sure to turn heads. You can do this!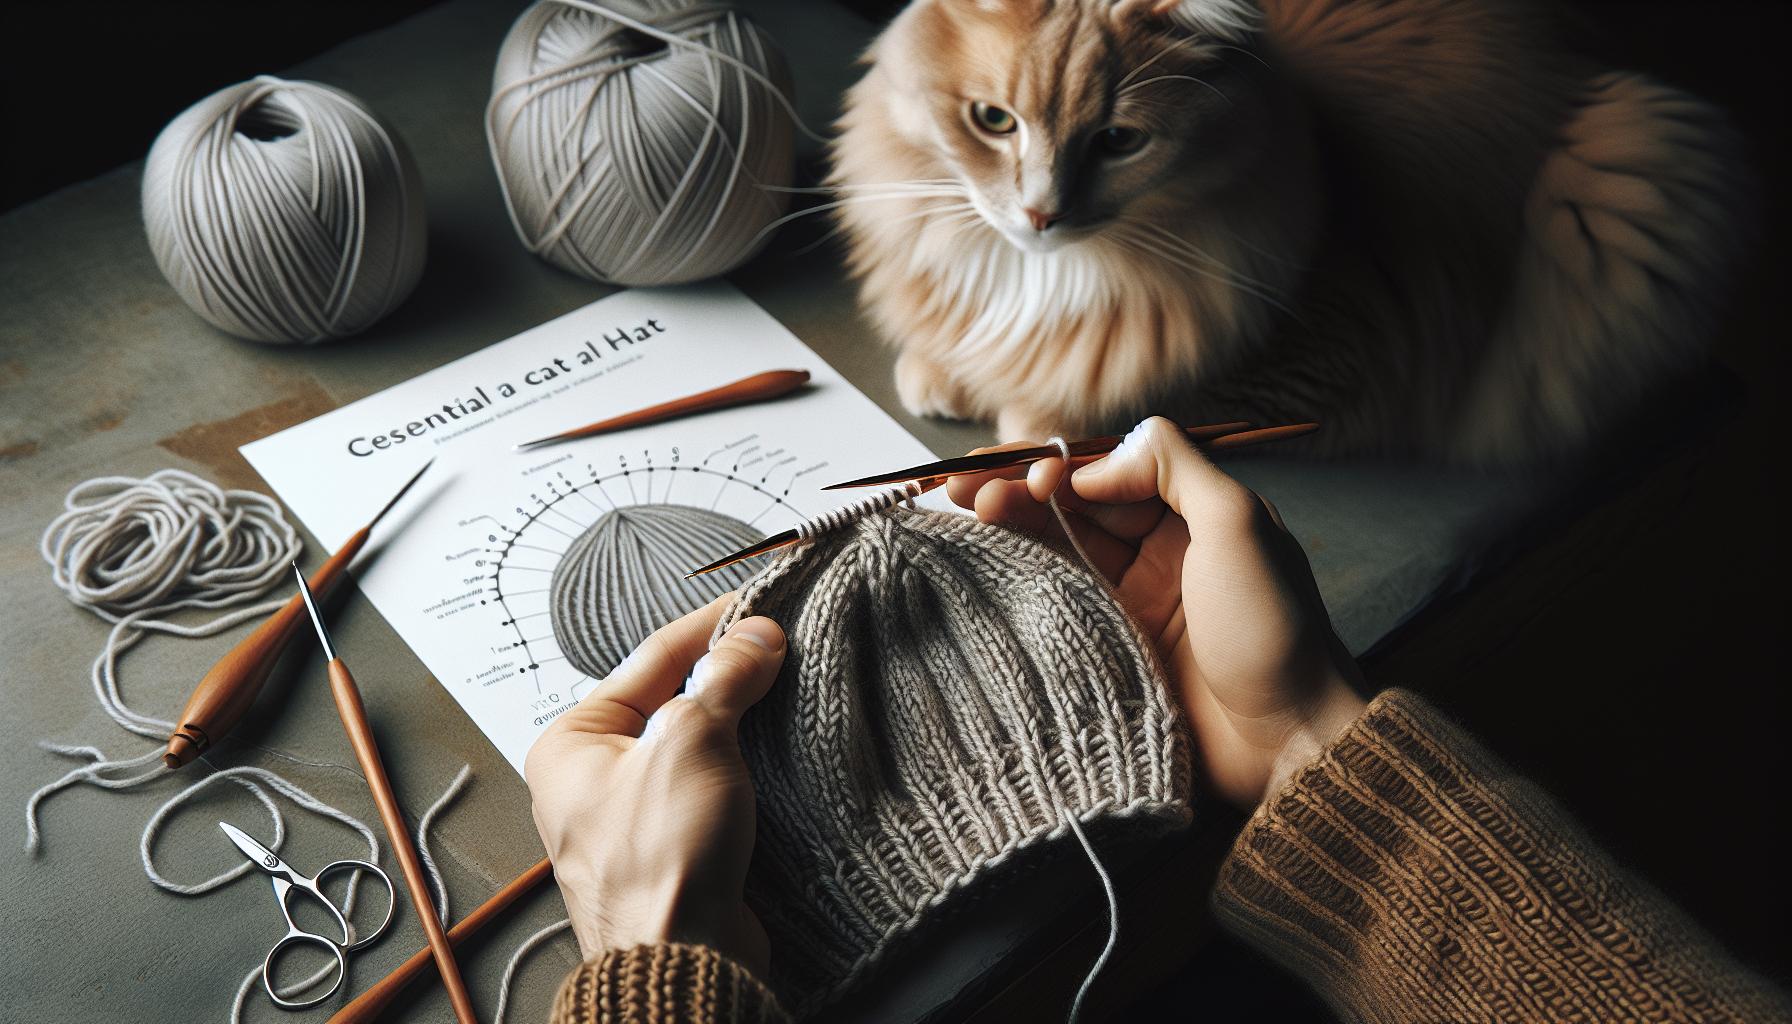
Step-by-Step Guide: Crocheting Cat Ears
Creating the perfect cat ears for your hat is a fun and rewarding part of the project that truly brings your design to life. The great news is that crocheting cat ears is a simple process that even beginners can master! With just a few basic stitches, you’ll be able to craft adorable ears that capture the whimsical spirit of your furry friend. Let’s dive into the process!
To get started, gather your materials. You’ll need yarn in the color of your choice, a matching crochet hook (typically size H or I), and scissors. A yarn needle will also come in handy for finishing touches. This project usually takes about 1-2 hours, making it a perfect weekend craft.
Step-by-Step Instructions
- Foundation Chain: Begin with a slip knot and chain 5 stitches. This will serve as the base for your first ear.
- First Row: In the second chain from the hook, make 2 single crochets (this increases the width of your ear). Then, single crochet in the next 2 chains. In the last chain, make 2 single crochets. Now you should have 6 stitches.
- Second Row: Turn your work. Make 1 single crochet in the first stitch, then 2 single crochets in the next stitch. Repeat this pattern across the row. You’ll end up with 9 stitches.
- Third Row: Turn your work again. For this row, make 1 single crochet in the first stitch, followed by a decrease (two stitches together) in the next. Repeat this pattern until the end of the row. You should have 6 stitches remaining.
- Final Row: Turn your work one last time. Make 1 single crochet in each stitch for a clean finish. Fasten off, leaving a long tail for sewing.
Now that you have one finished ear, repeat these steps to create a second ear. Once both ears are complete, you can sew them onto the top of your cat hat. Position them to your liking, and use your yarn needle to securely attach each ear. As you work, don’t forget to fluff them a bit to achieve that cute, playful look!
These simple yet effective steps will help you create the charming cat ears that you envision for your hat. Remember to enjoy the process and feel proud of your creation-you can do this! Crocheting cat ears is not only satisfying but also allows you to add your own twist to your project, so feel free to experiment with yarn colors and ear shapes. Happy crocheting!
Adding Whiskers: Creative Techniques to Try
To give your cat hat that extra touch of whimsy, adding whiskers is a fantastic and fun detail that can really bring your project to life! Whiskers can be made from various materials, allowing you to customize them based on your own style or whatever you have on hand. The great news is that incorporating whiskers into your design is not only simple, but it also allows for plenty of creativity.
One of the easiest ways to create whiskers is by using yarn. Choose a color that contrasts with your hat, such as black or dark gray for a classic look! Cut several strands of yarn to your desired whisker length-typically, 8 to 10 inches works well. For extra thickness, you can use multiple strands together. Then, simply fold each bundle in half. Using your yarn needle, sew the folded end onto the cat hat just below the ears. Ensure that they’re evenly spaced for a cute effect! You can even experiment with different yarns, such as using fluffy or glittery yarn for a unique twist.
Another creative approach involves using flexible materials like pipe cleaners or floral wire. These materials allow you to craft whiskers that are bendable, adding dimension and movement. To create whiskers using these materials, cut your pipe cleaners or wire into equal segments. Secure one end to the hat with your yarn needle, ensuring they are positioned evenly around where whiskers would naturally appear. This method gives an adorable and playful appearance, and you can easily adjust the curve or angle of the whiskers as desired!
For an unconventional twist, consider using ribbon! Choose a ribbon that suits your hat’s color palette, cut it into equal lengths, and stitch each piece on just like you would with yarn or pipe cleaners. The ribbon can flutter softly, providing a charming, whimsical look. Don’t be afraid to mix and match materials or colors-this is your chance to get creative and express your personality through your cat hat!
Remember, there’s no right or wrong way to add whiskers to your hat. The most important part is to have fun with it and let your imagination run wild. Whether you opt for yarn, pipe cleaners, or ribbons, your whiskers will surely make your cat hat a purr-fectly delightful accessory! You can do this, so get those materials out and start whisking away!
Finishing Touches: Attaching Ears and Whiskers
To bring your crochet cat hat to life, attaching the ears and whiskers is the final flourish that makes your project pop! This step is not only satisfying but also allows you to see your creative vision come together. Whether you’ve crafted pointy ears or rounded ones, the placement and attachment are key to achieving that adorable feline look. So roll up your sleeves, gather your materials, and let’s dive in!
Start with the ears. Position them on the top of your hat where you envision them sitting. It’s best to hold them in place first to get a sense of how they will look before committing with a stitch. A good rule of thumb is to make sure they are evenly spaced, about a few inches apart, depending on your hat size. Once you’re happy with their placement, use a yarn needle and matching yarn to securely sew them on. Make sure to use a whip stitch or a slip stitch, as these techniques provide an extra strong hold. You can also reinforce the base of the ears by stitching them to both the outer and the inner lining of the hat for added sturdiness.
Now, let’s move on to those whiskers! As you’ve learned from previous steps, whiskers can be made from yarn, pipe cleaners, or ribbon, adding a unique touch to your design. To attach them, simply position your chosen whisker material below the ears. For yarn whiskers, remember to fold them in half and stitch them down at the fold for better visibility. For pipe cleaners or wire, insert them through the fabric using the yarn needle to ensure they stay in place. It’s important to space them evenly, creating a balanced look across the front of your hat. To add even more character, feel free to trim and style the whiskers after they’ve been attached – the fluffier the better!
Incorporating these finishing touches can elevate your cat hat from ordinary to extraordinary! Whether you choose a traditional color scheme or go wild with vibrant contrasts, the way you attach your ears and whiskers can reflect your personality. Once you step back and admire your handiwork, you’ll be amazed at how these small details transform your project. So, grab your materials, have fun with the attachment process, and remember – every stitch you make adds warmth and charm to your cozy creation! You’ve got this!
Customizing Your Cat Hat: Fun Variations
Crafting your own cat hat opens up a world of creativity and personalization. Each cat hat can be unique, allowing you to showcase your style and flair! By experimenting with different designs, colors, and embellishments, you can create a hat that truly stands out.
One fun way to customize your cat hat is by altering the color palette. Instead of the classic gray or black, consider vibrant hues-think hot pink, ocean blue, or even a multicolored yarn. You can use a color gradient technique as you work your way up the hat, blending shades for a whimsical effect. Additionally, why not incorporate patterns? Stripes, polka dots, or even animal prints can give your hat an adventurous twist!
Adding Fun Features
Beyond color, you can enhance your creation with different functional and playful features. For instance, try making the ears detachable with buttons or snaps, allowing for easy washing or a fun accessory change! You could also add decorative items like bows, flowers, or even little charms that hang from the sides.
Another delightful idea is to incorporate texture! Use fun, fuzzy yarns or mix in some eyelash yarns for a fluffy coat effect. You can also make the whiskers more elaborate by using beaded wire that allows you to shape them on the fly. The possibilities are endless, and these variations make your cat hat not just a cozy accessory, but a true piece of art!
Embrace your creativity and let your personality shine through in your custom cat hat. You’ve got this, and remember-there’s no wrong way to crochet! Enjoy the process of making something uniquely yours!
Troubleshooting Common Crochet Mistakes
Every crocheter encounters challenges along the way, especially when working on a fun project like a cat hat. Whether you’re a newbie or a seasoned maker, knowing how to troubleshoot common mistakes can make your crafting experience smoother and more enjoyable. So, if you find yourself wrestling with your yarn or feeling daunted by an unraveling stitch, you’re not alone!
One frequent hiccup is ending up with uneven stitches. This can happen for a few reasons. First, check your tension: if you’re pulling your yarn too tightly or too loosely, your stitches will vary in size. To maintain consistent tension, try to keep your grip relaxed. Another tip is to take periodic breaks to assess your work; sometimes, a fresh perspective can help you see where adjustments are needed. If you catch uneven stitches early on, you can simply pull back your work a few rows and redo them. Remember, it’s a part of the learning process, and every crocheter has been there!
Another common issue involves miscounting stitches, which can lead to missing ears or crooked whiskers. Keeping a crochet marker at the end of each row can help, as well as counting your stitches at the end of each row-don’t skip this! If you find you’ve lost your count while crafting the cat ears, don’t panic. You can unravel back to the last confirmed stitch and start from there. Take it from experience: it’s often quicker to fix mistakes early rather than wrestle with the ramifications later!
Lastly, watch out for the floppy or floppy-looking features on your cat hat. If your ears or whiskers don’t stand up well, consider using a sturdier yarn or adding a bit of wire to give them structure. Stiffening your fabric can also help: a quick wash with fabric stiffener or a light spray of starch can give those features just the right lift. The best part? Every challenge is an opportunity to learn something new, so keep experimenting! You can do this!
Inspiring Cat Hat Ideas for Every Occasion
Crafting a cat hat is not just about warm heads; it’s about unleashing your creativity and showing off your personality! Whether you’re preparing for a party, celebrating a birthday, or simply spicing up a chilly day, there are endless ways to personalize your cat hat for every occasion.
For a cozy winter gathering, consider using plush yarn in soft colors to create a snug, whimsical design. A classic black and white cat hat with fluffy ears can be the hit of a holiday party. If you want to take it a step further, embellish your hat with festive ornaments like tiny bows or jingle bells that will surely get everyone into the celebratory spirit.
When it comes to summer fun, think light and breezy! A cotton cat hat featuring bright, cheerful colors can be perfect for outdoor picnics or sunny days at the beach. You can even add a wide brim for extra sun protection, transforming your cat hat into a fashionable sun hat. Pair it with some crocheted sunglasses for a complete summer vibe!
Don’t forget about those special playful occasions like game nights or Halloween! A playful cat hat with glow-in-the-dark features or a fun color-changing yarn can add an extra layer of excitement. Try making a themed hat to match with your friends’ costumes or outfits; whether it’s a mischievous black cat or a cute calico, coordinating hats can be a fantastic icebreaker for your gathering.
Remember, the best part is that customization is key. Use your imagination! You can create a cat hat that reflects your style, occasion, or even your favorite feline. The materials you choose and the colors you select will tell a story, so have fun experimenting. You can do this!
Sharing Your Completed Cat Hat: Social Media Tips
Sharing your finished cat hat on social media is a fantastic way to connect with fellow crafters, celebrate your creativity, and inspire others to embark on their own crochet adventures. Taking appealing photos is key! Natural lighting works wonders; try to snap pictures during the day when the light is at its best. Consider using simple backgrounds that won’t distract from your hat-think cozy blankets or outdoor settings that complement your design.
When you post, don’t just share the finished hat-tell the story behind it! Highlight special features like unique yarn choices, fun embellishments, or the fun process of making it. Engaging captions can really draw in your audience. You might say something like, “Just finished my cozy cat hat for the winter-made with plush yarn that feels as cuddly as my cat!” Using a conversational tone makes your posts relatable and encourages interaction from your audience.
To reach more crochet enthusiasts, include relevant hashtags such as #CatHat, #CrochetCommunity, or #Handmade. These tags not only enhance visibility but also create opportunities for connection with other makers who share your passion. Consider tagging crochet groups or communities where people often share their projects too. This can lead to exciting discussions, tips, and even a little healthy competition!
Lastly, remember to engage with comments on your posts. Thank those who compliment your work and reply to any questions about your pattern or techniques. This kind of interaction helps build a supportive community around your crafting journey. So grab your camera and start sharing; the world is ready to see your amazing creations! You got this!
Environmentally Friendly Yarn Options for Your Cat Hat
Choosing yarn that’s not only cozy and colorful but also environmentally friendly can make your cat hat project even more special. Eco-conscious crafting is growing in popularity, and there are excellent yarn options that are sustainable and stylish. Imagine snuggling your head into a hat crafted from fibers that are kind to the planet while still being oh-so-soft!
When selecting environmentally friendly yarn, consider these fabulous options:
- Organic Cotton: Grown without synthetic pesticides and fertilizers, organic cotton is soft, breathable, and perfect for any season. It comes in a variety of colors, allowing you to create a vibrant cat hat.
- Bamboo Yarn: This yarn is made from the bamboo plant which grows quickly and thrives without the need for harmful chemicals. Bamboo yarn not only feels luxurious against your skin but also has natural antibacterial properties.
- Recycled Yarn: Look for yarns made from recycled materials like plastic bottles or fabric scraps. These innovative fibers can add unique textures to your hat while reducing waste. It’s a win-win!
- Wool from Responsible Farms: If you love the warmth of wool, seek out brands that source their wool from farms with sustainable practices. These companies are focused on animal welfare and land regeneration.
As you embark on your cat hat journey, remember that eco-friendly yarns often offer a range of weights, from lightweight to bulky, making it easy to find just the right match for your project. Plus, since many of these yarns are less processed than conventional yarns, you can feel good knowing you’re making a positive impact with every stitch.
By choosing sustainable materials, you’re not just working on a beautifully crocheted hat; you’re also contributing to a greener future. So grab your crochet hook and a ball of your favorite eco-friendly yarn, and let your creative journey begin! You can absolutely do this, and your finished cat hat will not only look adorable but also carry a story of care for the Earth!
Caring for Your Crocheted Cat Hat: Maintenance Tips
Taking care of your crocheted cat hat will ensure its longevity and keep it looking adorable for many seasons to come. With a few simple maintenance tips, you can preserve the beauty of your creation while enjoying it to the fullest. Whether you’re using organic cotton, bamboo, or even recycled yarn, each type of fiber requires a little bit of TLC to maintain its integrity.
Start by washing your cat hat gently. If it’s made from delicate fibers like cotton or bamboo, hand washing is usually best. Fill a basin with lukewarm water and add a few drops of mild detergent. Submerge your hat and gently swish it around-avoid harsh scrubbing as it can damage the yarn. Rinse thoroughly with cool water to remove any soap. If your yarn is more robust, check the label; some wool blends may be machine washable on a gentle cycle.
Once washed, reshape your hat while it’s still damp. Lay it flat on a clean towel, reshaping as needed to avoid stretching. For features like cat ears and whiskers, be careful not to distort them. When it comes to drying, avoid direct sunlight as it can fade colors; instead, allow your hat to air dry naturally in a shaded area. This process helps to maintain both shape and color.
To keep your cat hat looking fresh, remember to store it properly. A drawer or shelf is ideal, but if you’ve got a collection of hats, avoid squeezing them into a tight space to maintain their form. If your hat starts to collect lint or dust, use a lint roller or a soft brush to gently remove debris. And if you notice any loose threads, simply use scissors to trim them away-this quick fix will help to keep your hat tidy.
By following these care tips, you’re not only preserving your creation but also celebrating the joy of crochet. Each time you put on your cat hat, you can smile knowing that you’ve taken the steps to keep it looking fabulous! Remember, maintaining your handiwork is just as satisfying as the crafting process itself, and you’ve totally got this!
Faq
Q: What yarn is best for crocheting a cat hat?
A: For crocheting a cat hat, medium-weight yarn like worsted or acrylic blends works best. It provides warmth and flexibility while maintaining shape. Look for soft yarns to ensure comfort, especially if the hat will be worn for long periods. Refer to the section on Choosing the Right Yarn and Hook for more details.
Q: How do I customize the size of my crocheted cat hat?
A: To customize the size of your cat hat, adjust your stitch count and row lengths. Measure the head circumference and add or subtract stitches in multiples of your pattern’s base stitches. Check the Customizing Your Cat Hat section for specific techniques to fit any head size.
Q: What are some fun embellishments for a cat hat?
A: Some fun embellishments for your cat hat include pom-poms, bows, or crochet flowers. These add a playful touch and can be made using leftover yarn. Explore the Customizing Your Cat Hat section for more creative ideas and techniques.
Q: Can I use a different stitch pattern for the cat hat?
A: Yes, you can definitely use different stitch patterns for your cat hat! Experiment with shells, bobbles, or even lacy stitches to create unique textures. Just ensure the stitches maintain the overall shape. Visit the Essential Stitches section for stitch ideas that work well for hats.
Q: How can I make my cat hat durable for frequent use?
A: To ensure your cat hat is durable, use high-quality yarn and reinforced stitches, particularly around the seams and ears. Washing the hat gently and reshaping it can also prolong its life. For caring tips, check the Caring for Your Crocheted Cat Hat section.
Q: What techniques can I use for adding whiskers to my cat hat?
A: You can use embroidery, felt, or additional yarn to create whiskers. Choose a technique that matches your skill level and desired look. The Adding Whiskers: Creative Techniques to Try section offers specific steps to help you achieve the perfect feline look.
Q: How long does it take to crochet a cat hat?
A: Crocheting a cat hat usually takes 2 to 4 hours, depending on your skill level and the complexity of the design. Set aside time for customizing and embellishing as well! Refer to the article for a suggested Step-by-Step Guide to help you manage your time effectively.
In Summary
Congratulations on completing your adorable Cat Hat with whiskers and ears! This charming project is not only a fun way to enhance your crochet skills but also a perfect gift for fellow cat lovers or a stylish accessory for your own pet. Remember, you can tackle this project regardless of your experience level-you’ve got this!
Feeling inspired? Explore our other exciting crochet patterns, like the Paw Print Blanket and the Cute Cat Toy, both designed to keep your creativity flowing. Have any questions or share your finished hat? Drop a comment below; we love hearing from you! And don’t forget to sign up for our newsletter for more tips, tricks, and exclusive patterns right in your inbox.
Before you go, consider diving into our comprehensive beginner’s guide to crochet techniques, which will further elevate your crafting journey. Keep making and sharing your creations-there’s a world of yarn and creativity waiting for you!
Get our latest guides, news, and insights highlighted in your Google Search & AI Overviews.