
Are you ready to bring a bit of farmyard fun into your crochet collection? The Crochet Cow Hat is a delightful project that not only keeps you warm but also adds a playful touch to your wardrobe! This free pattern is perfect for crafters of all skill levels, making it an exciting project that encourages creativity and self-expression.
Crocheting this adorable cow hat is a fantastic way to express your love for unique, handmade accessories while honing your skills. With simple stitches and clear instructions, you’ll find that creating this lovable hat is both achievable and enjoyable. Imagine the joy of wearing a cozy hat that showcases your crafting talents and makes everyone smile! So gather your yarn and hook, and let’s dive into this moo-velous project that’s sure to become a favorite for friends and family alike. You can do this!
Choosing the Perfect Yarn for Your Cow Hat
Choosing the right yarn is crucial to bringing your cow hat to life! The texture, color, and weight of your yarn will determine not just the look of your hat, but also its comfort and durability. For a cozy and fun cow hat, you’ll want to select a yarn that feels good against the skin and holds up to regular wear. Gifting your creation? Consider a soft, machine-washable yarn to make caring for the hat easy for its new owner.
Here are a few yarn types to consider for your project:
- Wool or Wool Blends: Offers warmth and elasticity, making it a classic choice for hats. Look for superwash wool if you need it to be machine washable.
- Acrylic: Durable and budget-friendly, acrylic yarn comes in a wide variety of colors and is easy to care for. It’s a fantastic beginner-friendly option!
- Cotton: If you’re crafting a cow hat for warmer weather, cotton yarn provides breathability and softness. Keep in mind that cotton can be less stretchy than other yarns, so it may alter the fit slightly.
When hunting for the perfect shades, classic black and white will mimic a cow’s natural coloring beautifully. You might also want to add a splash of pink for the inner ears or any other unique details that make your hat stand out. Mixing textured yarns, like a fuzzy or eyelash yarn, can create a whimsical effect that really brings your cow hat to life.
As you explore your options, don’t forget to check the yarn label for the recommended hook size and gauge. Aim for a yarn weight of worsted (#4) or bulky (#5) for a warm and snuggly finished project. Remember, choosing yarn should be a fun part of your crafting process-you can totally do this! Embrace the joy of selecting materials that inspire you, and enjoy every magical stitch as you create your moo-velous masterpiece.
Essential Crochet Tools You’ll Need
Creating your very own cow hat can be one of the most delightful projects you embark on in your crochet journey! With the right tools by your side, you’ll find that the process becomes not only manageable but also enjoyable. Whether you’re a newbie or an experienced crocheter, having the essential crochet tools can make your crafting experience smooth and fun.
To get started, you’ll need a few basics. First and foremost, choose a set of crochet hooks. I recommend a range of sizes, as the pattern may call for different gauges depending on your yarn choice. A hook size of 5mm (H-8) is commonly used for worsted weight yarn and is perfect for this cow hat project. Next, don’t forget stitch markers-they’re a lifesaver for keeping track of your rounds, especially when working in the round for hats. Additionally, a tape measure will help you ensure your measurements are on point and match your hat pattern.
Another handy tool is a yarn needle, essential for weaving in those pesky ends for a polished look. Scissors will naturally be necessary for snipping yarn as you go, so keep a sharp pair close by. If you like to keep your workspace organized, consider a yarn bowl to prevent your yarn from rolling away while you work. And remember, you can always use a row counter to keep track of your stitches, making it easier to stay on pattern-especially if you’re customizing your cow hat.
By gathering these tools, you’ll set yourself up for success as you dive into creating a truly moo-velous hat. Each step will feel a little less daunting, and soon enough, you’ll be wearing or gifting a beautiful piece of handcrafted joy. So grab your tools, pick up that yarn, and let the excitement of making wash over you-because you can absolutely do this!
Step-by-Step Crochet Instructions for Beginners
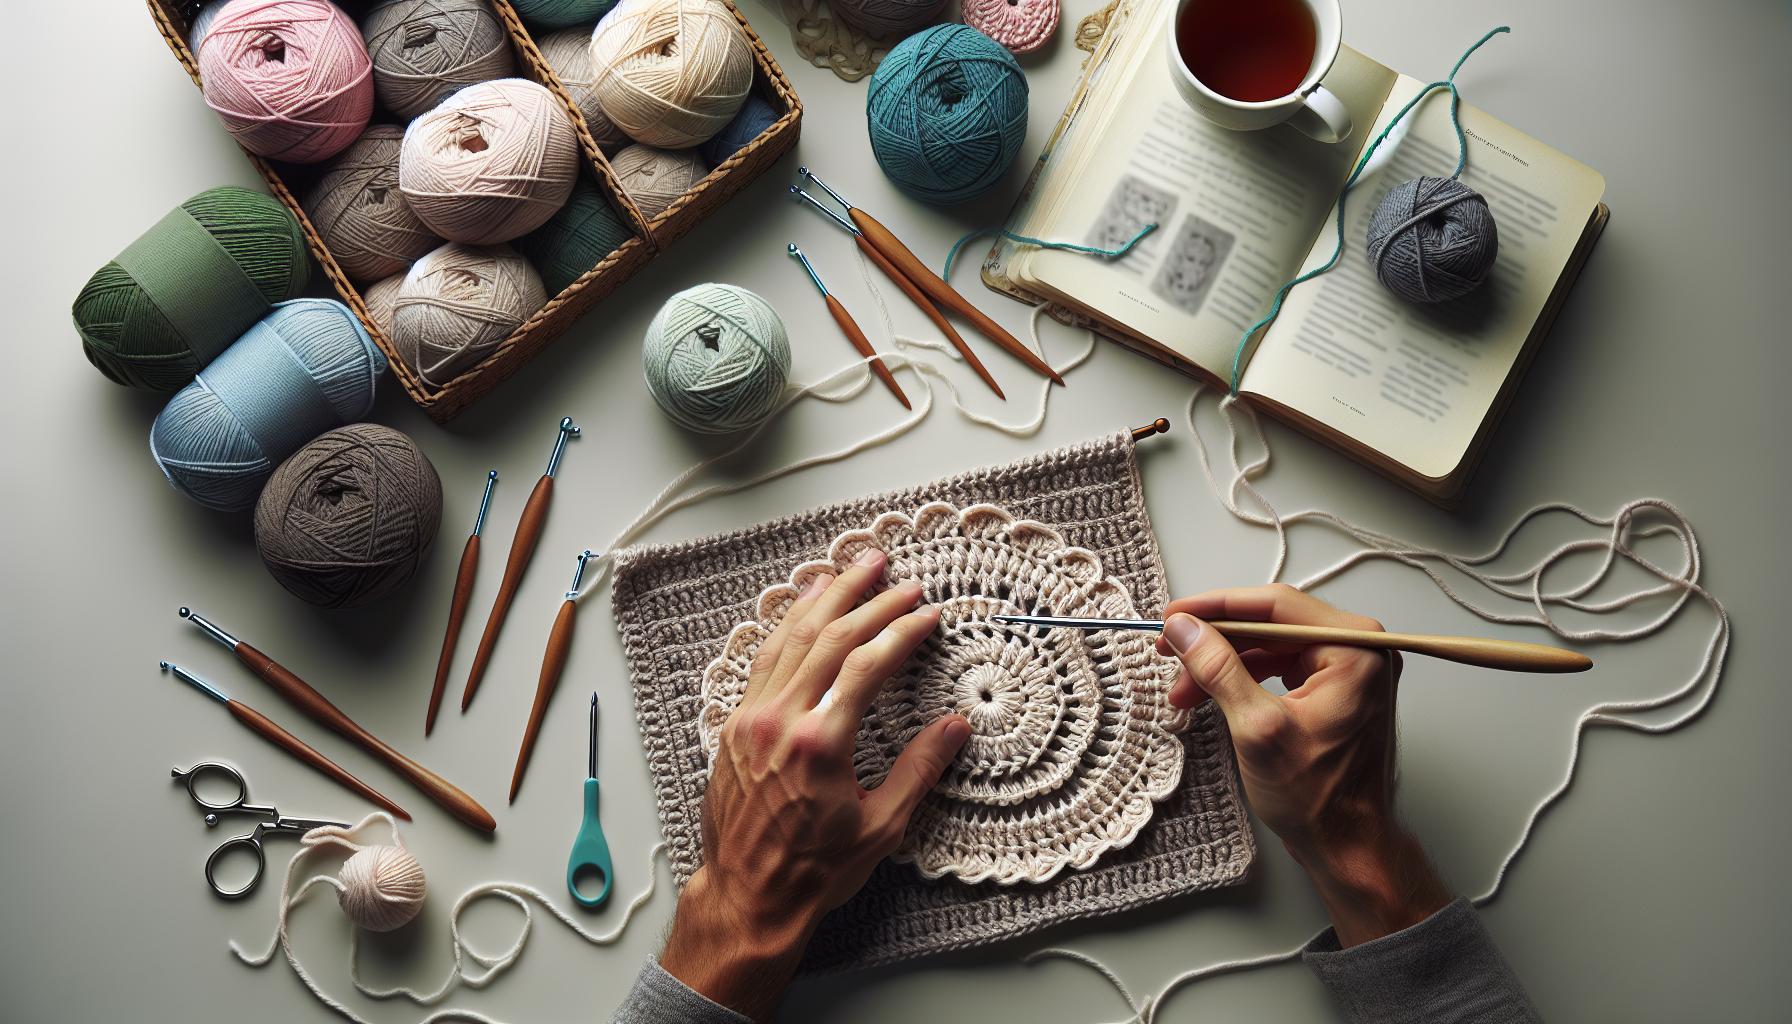
Creating a crocheted cow hat is a wonderfully satisfying project perfect for all skill levels. Whether you’re new to the craft or a skilled maker looking for a fun design, these step-by-step instructions will guide you to success. Not only will you be crafting a charming accessory, but you’ll also be building your crochet skills along the way. This project typically takes about 2-4 hours, depending on your experience and the time you can dedicate. Ready to get started? Let’s dive in!
Gather Your Supplies
Before beginning your hat, ensure you have all your materials ready. You’ll need:
- Worsted weight yarn in white, black, and pink (for basic cow colors)
- Crochet hook (5mm or H-8)
- Yarn needle
- Scissors
- Stitch markers
- Tape measure
Basic Hat Form
- Start with a Magic Ring: This creates a nice closed center for your hat. If you’re unfamiliar with this, you can also chain a few stitches and join them into a circle.
- Round 1: Make 10 single crochets (sc) into your magic ring. Pull the ring tight to close.
- Round 2: Increase your stitches by crocheting 2 sc in every stitch around (20 sc total).
- Round 3: Continue to increase in a similar manner; for this round, make 1 sc in the first stitch, then 2 sc in the next. Repeat this (30 sc total).
- Continue Building: For rounds 4-12, make 1 sc in each stitch around without any increases. This creates the sides of your hat.
Adding Cow Features
Now that you have the basic shape, it’s time to add some character!
- Ears: In separate pieces, crochet two ear shapes by starting with a circle of 5 sc and increasing to 12 over a few rounds. Fasten off and sew them onto the hat.
- Horns: Similar to the ears, create two small horn shapes, using gray or yellow yarn. Shape them with increases to form a cone-like structure.
- Face Details: Using pink yarn, create a small oval for the nose and sew it to the front. Then, embroider simple eyes to finish.
Each of these steps is designed to be manageable, encouraging you to take your time and enjoy the process. Mistakes? They’re just part of the fun! With patience and creativity, you can personalize your cow hat, adding unique touches that reflect your style. Remember, you’ve got this! Creating a delightful cow hat is within your reach, and soon enough, you’ll be proudly showcasing your handmade creation!
Moo-velous Customizations for Your Cow Hat
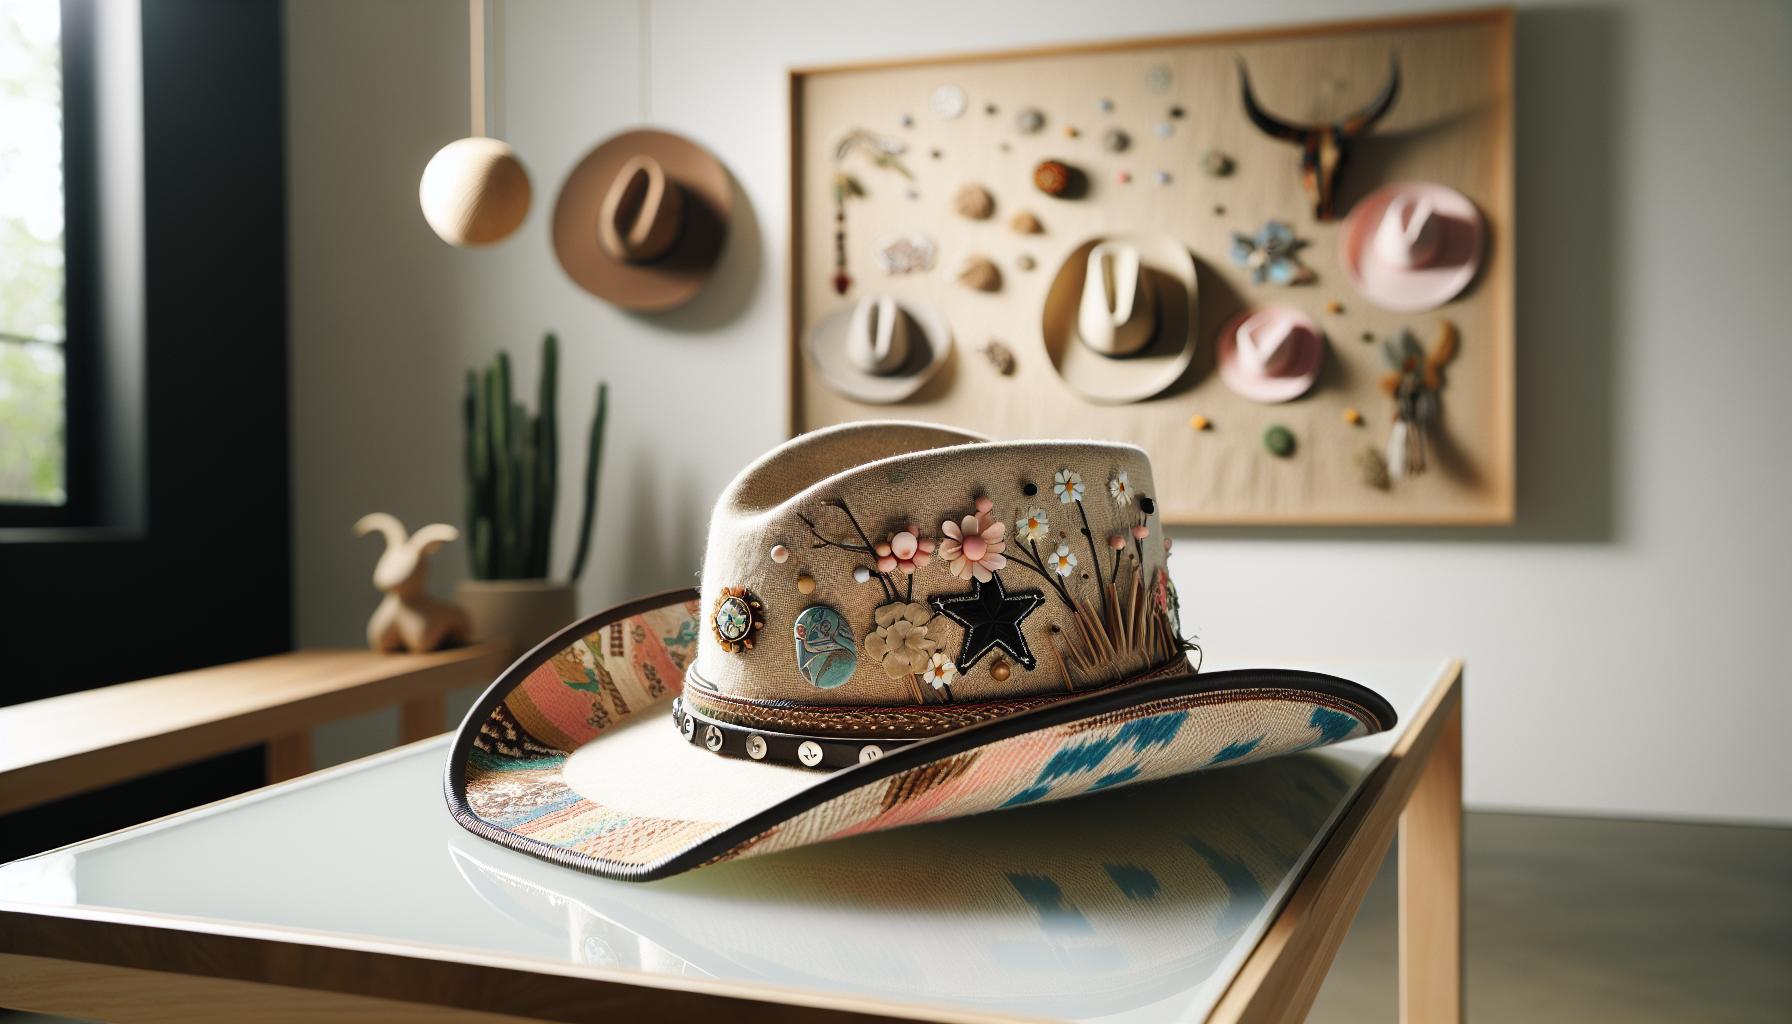
Creating a cow hat provides the perfect canvas for your creativity! There are countless ways to customize your hat, making it truly unique to you. Whether you want to add whimsical elements or make it more functional, these ideas will inspire you to add a personal touch to your crochet masterpiece.
One fun customization is to play with color combinations. While the classic cow colors of black and white are always a great choice, don’t hesitate to dive into vibrant hues! Consider using pastel colors for a more playful look or even rainbow stripes to brighten your farm-themed project. Adding stripes or spots can easily elevate the complexity of your design, and switching up the yarn textures (like fuzzy or shiny yarn) can give your hat added life.
Enhancing your design with embellishments like bells or flower appliqués can make your cow hat stand out. Attach small jingle bells to the earflaps for a charming sound that’s sure to delight kids and adults alike! Fabric flowers sewn onto one side can evoke a sweet pastoral vibe, creating a lovely contrast against the cow pattern. These small details add dimension and character to your hat without requiring extensive crochet skills.
Lastly, consider crafting matching accessories! Crocheted mittens or a scarf featuring the same cow pattern will create a cohesive and adorable ensemble. This approach not only shows off your skills but also allows for fun family photo opportunities. You can also include other farm-themed items, like sheep or pig accessories, for a complete farmyard collection. The key is to let your imagination run wild-after all, the possibilities are as endless as the open fields!
So grab your hook and yarn and let’s bring your cow hat to life with these moo-velous customizations! Remember, it’s all about enjoying the process and expressing your style. You can do this!
Troubleshooting Common Crochet Mistakes
Crocheting can be a delightful venture, but even the most experienced crafters encounter hiccups along the way. If your cow hat isn’t turning out quite as expected, don’t fret! Troubleshooting common mistakes is part of the creative journey, and with a little insight, you can get back on track and continue bringing your vision to life.
One common issue many crocheters face is uneven tension. If your stitches are too tight or too loose, the shape of your cow hat can become distorted. To fix this, take a moment to evaluate your grip on the yarn. Consider switching to a larger hook if your stitches are too tight, or practice a looser grip to achieve a more consistent look. Remember, finding your comfortable tension can take time, so don’t hesitate to unravel and redo a few rows until you find what works best for you.
Another frequent mistake involves miscounting stitches, which can lead to unexpected gaps or excess fabric in your hat. Keeping track of your stitch count is key, and using stitch markers can be a game changer! Try placing markers at key points in your work, especially at the beginning of each round, to help you stay organized. If you notice a mistake after several rows, don’t panic! You can either frog back to the problematic area or creatively incorporate the mistake into your cow hat, turning it into an unexpected design element.
Finally, if you find your cow hat rolling up or losing its shape, it might be due to the stitch pattern or yarn choice. Sturdier stitches like double crochet or half double crochet can provide better structure. Additionally, using a yarn with some elasticity can help your hat maintain its shape. Don’t be afraid to experiment with different stitches and yarn types until you create a cow hat that’s both adorable and functional. Embrace these little challenges; they’re stepping stones to becoming a more confident and skilled crocheter. You can totally do this!
Accessorizing Your Cow Hat: Ears, Horns, and More
When it comes to creating the perfect cow hat, accessorizing is where your design truly comes to life! The addition of delightful ears and playful horns can elevate your crochet project from basic to absolutely moo-velous. Let’s dive into some fun options for accessories, ensuring your cow hat stands out and brings smiles wherever it goes.
To create your cow’s ears, you’ll want to start with simple shapes that are easy to crochet. Here’s a quick guide to crafting them:
Making the Ears
- Materials Needed:
– Yarn in cream or white and black (for spots)
– Crochet hook (size depending on your yarn)
– Scissors and a yarn needle for weaving in ends
- Simple Ear Shape:
– Begin with a magic ring and work in rounds.
– For a basic ear: Chain 3, slip stitch into the first chain to form a ring, then work several single crochets into the ring until it’s a small circle, and finish off.
– To add dimension: Increase as you work around the circle to create a longer shape that resembles a cow’s floppy ear.
- Tailor Your Ears: Consider adding black spots by using a different color for a playful touch. Attach them by sewing with your yarn needle for extra character.
For the horns, you may want something that’s equally whimsical and straightforward. Here’s how to crochet some cute, little horns:
Crocheting the Horns
- Materials: Same as above, just make sure to also have some yellow or gray yarn handy.
- Simple Horn Shape:
– Chain 4 and work into the back of the chains for added texture. Single crochet in each chain and increase as necessary to mimic a tapered horn shape.
– You can create a spiral effect by working in continuous rounds instead of traditional joined rounds.
- Securing the Horns: Once crafted, attach them securely at the top of the hat, ensuring they are evenly spaced.
Finally, consider other charming embellishments like a rosy cheek effect using blush yarn or small sewn on patches that resemble patches on a cow. Adding accessories is not just about aesthetics, but also about making your creation feel lively and personal. Remember, every stitch you make adds to the character of your cow hat. You’ve got this-get creative, let your imagination run wild, and have fun with every part of the process! You’re not just crafting a hat; you’re making a joyful creation that can be enjoyed by anyone who wears it.
Inspiring Ideas for Farm-Themed Projects
There’s something undeniably charming about farm-themed projects that embrace the earthy colors and whimsical designs of country life. Whether you’re drawn to barnyard animals or rustic motifs, expanding your crochet repertoire to include various farm-inspired creations can be incredibly rewarding. Embrace the joy of crafting with projects that not only complement your adorable cow hat but also offer a delightful experience for all skill levels.
To start, consider crafting a cozy barn amigurumi. With basic crochet skills, you can create a small barn that serves as a perfect toy or decorative piece, complete with cute little animals peeking out from the windows. Use your cow hat leftovers to craft matching calves, sheep, or pigs to populate your barn-a fun way to use up yarn scraps and create a cohesive collection. If you’re feeling adventurous, try making a crochet barnyard set that includes different textures and colors, encouraging kids (or the young at heart) to engage in imaginative play.
Farmyard Accessories
Take your crafting a step further by designing accessories such as crochet baskets shaped like hay bales or buckets. These can be functional for storage or purely decorative. A simple pattern could include rounds of yellow and brown yarn to simulate straw, while using a textured stitch creates an appealing appearance. Making these accessories is not just a way to beautify your space; they can also serve as wonderful gifts for friends and family who appreciate handmade items.
Farm Animal Pals
Beyond hats, consider creating other farm animal hats, maybe a sheep or pig, to have a complete collection for family gatherings or themed events. These patterns can be quite similar, allowing you to refine your skills while producing adorable results. Add personalized touches, like funny expressions or fun colors, to make each animal unique. Remember, each project is a chance to express your creativity while building confidence in your crocheting prowess.
No matter which projects you choose, take a moment to revel in the satisfaction of creating something entirely your own. You’ve got this-you can turn simple yarn into a lively farm that brings joy and a dash of rural life into your everyday surroundings!
How to Care for Your Finished Crochet Hat
Caring for your beautifully crafted crochet cow hat is essential to keep it looking as adorable as the day you finished it. To ensure its longevity, follow some straightforward maintenance tips that will keep your hat in tip-top shape for years to come. Proper care not only preserves its appearance but also allows you to enjoy the fruits of your labor without worry!
When it’s time to clean your hat, always check the yarn label for specific washing instructions, as they can vary based on the fiber type. In most cases, handwashing is the safest option. Fill a basin with lukewarm water and add a gentle detergent designed for delicate fabrics. Gently submerge your cow hat, allowing it to soak for about 10-15 minutes. Avoid rubbing or twisting the fabric; instead, softly squeeze the water in and out to lift any dirt. Rinse thoroughly with cool water until all soap is removed, then lay it flat on a clean towel to dry-this helps to maintain its shape. Remember, drying in direct sunlight can fade colors, so choose a shaded spot!
Storage Tips
When you’re not wearing your hat, proper storage is key to preventing damage. Store your cow hat in a cool, dry place away from direct sunlight. Avoid hanging it, as this can stretch the yarn. Instead, opt for carefully folding it and placing it in a drawer or a storage box. If you want to keep its shape, consider placing a small, soft object inside (like a clean sock) to help maintain its form.
Lastly, taking a little time every so often to check for signs of wear will go a long way. Inspect your hat for loose ends and weave them in to prevent unraveling. If you notice pilling, a simple fabric shaver can help remove those pesky little balls without damaging your masterpiece. Remember, each time you care for your crochet hat, you’re investing in the joy and charm of your handmade creation, ensuring it continues to spread smiles for seasons to come!
Sharing Your Creations: Join the Crochet Community
There’s something magical about putting a hook into yarn and watching your ideas come to life, especially with fun projects like a crochet cow hat! Sharing these creations not only spreads joy but also connects you with an inspiring community of fellow crafters. Whether you’re a seasoned pro or just starting out, engaging with others can boost your creativity and confidence, and show you that your work is appreciated.
One of the best ways to share your cow hat and connect with others is through social media platforms like Instagram, Facebook, or Pinterest. Create a unique hashtag for your projects or use popular crochet hashtags like #CrochetCowHat or #Amigurumi. This not only makes your work visible to others but also allows you to find inspiration from similar projects. You might be amazed by the sheer number of enthusiastic makers who share their variations of the same pattern. Embrace the excitement of showing off your handiwork and celebrating the creativity that went into each hat, whether it’s decorated with charming ears or funky colors!
Consider joining online crochet groups or forums where you can post photos, ask for feedback, and get advice. Websites like Ravelry are perfect for finding a thriving community dedicated to crochet. You can track your projects, discover new patterns, or even collaborate on designs with other crocheters. Many groups host “show and tell” days, perfect for displaying your cow hat and getting suggestions on customizations or new techniques. Remember, everyone in these spaces was once a beginner too-your creations matter, and your growth as a crafter is something to celebrate.
Finally, don’t forget about a good old-fashioned crochet gathering! Local craft stores or community centers often host meetups or classes where you can bring your projects and share your experiences. It’s a fantastic opportunity to learn from each other, exchange tips, and maybe even inspire someone else to try making their own cow hat! Embrace the warmth of the crochet community; together, you can create and grow, one stitch at a time. Keep hooking and share those delightful creations!
Exploring Other Fun Animal Hat Patterns
There’s a whole world of whimsical animal hats waiting for you to explore beyond the delightful cow design! Crocheting animal hats can be a fun adventure, tapping into your imagination and creativity. Not only do they keep you warm, but they also invite smiles and laughter from everyone who sees them. Let’s dive into some of the most cherished animal hat patterns that you can easily tackle-perfect for all skill levels!
Adorable Animal Characters
One of the most popular choices is the crochet bear hat. This pattern often includes cute ears and facial features, making it an engaging project for both newbies and seasoned crafters. Typically, you’ll need worsted weight yarn in neutral colors-think browns and creams. These hats can generally be completed in a few hours, making them perfect for last-minute gifts. For those looking to enhance their skills, consider adding a little texture with a popcorn stitch for the ears!
You might also want to try your hand at a fox hat. This pattern offers a slightly more challenging experience, as it usually involves color changes to create the iconic orange and white face. The outcome is so rewarding! Plus, you can use it to experiment with sizing, crafting both adult and child versions.
Farm Friends and More
If you love farm themes, how about a sheep hat? This pattern often features fluffy yarn to mimic wool, resulting in a charmingly fuzzy finish. It’s great for snug outdoor wear, and the sense of accomplishment after completing such a textured piece is exhilarating! Pair it with a simple crochet cardigan, and you’ve got yourself a cozy winter outfit.
Another delightful option is a bunny hat, especially perfect for springtime. It’s a classic project that allows for endless creativity-think about adding a fluffy pom-pom tail or floppy ears that can flop about as you wear it! This particular hat can be made in soft pastel colors or even bold, bright hues to suit any personality.
Incorporating Personal Touches
Each of these animal hat patterns can be customized to reflect your style or the recipient’s preferences. Want to add some sparkle? Use metallic yarn! Want to play with textures? Try mixing different stitch techniques or color blocking.
With so many adorable animal hat patterns out there, you’ll surely find one that excites you to start creating. Dive in with joy, experiment freely, and remember, whether it’s a cow, bear, or anything in-between, every stitch brings you closer to something special. Happy crocheting; you can do this!
Tips for Crocheting With Kids: A Family Project
There’s something magical about sharing a creative project with kids, especially when it involves the joy of crocheting a delightful cow hat together! This family-friendly activity not only nurtures creativity but also enhances fine motor skills and focuses attention. It’s time to grab some yarn and hooks and embark on this engaging family project!
To make crocheting accessible for kids, start with simple, colorful yarn that feels nice to the touch. Choose a medium-weight yarn-this is easier to work with and perfect for beginners. Safety is key; consider using larger crochet hooks (like size H or I) to help little hands manage the stitches more effectively. Start with a small section of the cow hat, allowing them to see quick progress, which builds confidence and keeps their interest piqued.
Here’s a step-by-step breakdown to make it fun and productive:
- Introduction to Crochet: Explain the basics. Show them how to hold the yarn and hook, then demonstrate the chain stitch and slip knot.
- Set Realistic Goals: Begin with just a few rows and gradually increase the difficulty. Celebrate every progress, whether it’s completing a row or learning a new stitch!
- Encourage Creativity: Let your kids personalize their cow hats! They can choose different color combinations or add fun embellishments, like eyes or a nose, to make their project unique.
- Enjoy Together: Make it a cozy family activity by working side by side. Play some music or share stories to keep the mood light and joyful.
By focusing on the joy of creating rather than perfection, you foster an environment of learning and fun. Remember, it’s all about the process! If mistakes happen (they will, and that’s okay!), use it as a teaching moment. Encourage problem-solving-maybe they need to pull out a few stitches or try a different stitch entirely. This not only builds resilience but also deepens their love for the craft.
Once you’ve completed the cow hat, wear it with pride and take plenty of pictures to cherish the memories. Engaging in this creative activity can spark lasting memories and a passion for crafting. So gather the family, let those hooks fly, and remember: you can absolutely do this together!
Frequently asked questions
“`markdown
Q: What materials do I need for a crochet cow hat?
A: To create a crochet cow hat, you’ll need medium weight yarn in black, white, and pink, a suitable crochet hook (like a 5mm G hook), scissors, and a yarn needle for weaving in ends. Refer to the *Choosing the Perfect Yarn for Your Cow Hat* section for more yarn tips.
Q: How long does it take to crochet a cow hat?
A: Crocheting a cow hat typically takes about 3 to 5 hours, depending on your skill level and familiarity with the stitches. For a detailed breakdown of your crochet time investment, check out the *Step-by-Step Crochet Instructions for Beginners* section.
Q: Can I customize my crochet cow hat?
A: Absolutely! You can customize your cow hat with different colors, add unique accessories like flowers, or alter the ear and horn shapes. For more ideas, look at the *Moo-velous Customizations for Your Cow Hat* segment.
Q: What are common mistakes to avoid when crocheting a cow hat?
A: Common mistakes include using the wrong yarn weight, miscounting stitches, and skipping gauge swatching. For troubleshooting tips, refer to the *Troubleshooting Common Crochet Mistakes* section of the article.
Q: Is this crochet pattern suitable for beginners?
A: Yes, the crochet cow hat pattern is beginner-friendly! It provides step-by-step instructions, making it easy to follow even if you’re new to crocheting. Check the *Step-by-Step Crochet Instructions for Beginners* for guidance.
Q: How can I clean and care for my finished crochet cow hat?
A: To care for your crochet cow hat, hand wash it in cold water with mild detergent and lay it flat to dry. Avoid wringing it out. For additional care tips, see the *How to Care for Your Finished Crochet Hat* section.
Q: Where can I find more crochet patterns similar to the cow hat?
A: You can discover more fun crochet animal hat patterns by exploring the *Exploring Other Fun Animal Hat Patterns* section. Websites like Easy Crochet also offer a wide range of patterns for different skill levels.
Q: Can kids help make a crochet cow hat?
A: Yes, kids can absolutely help! It’s a fun family project, and you can assign them simpler tasks like counting stitches or choosing yarn colors. For more tips on involving kids, check the *Tips for Crocheting With Kids: A Family Project* section.
“`
Insights and Conclusions
Congratulations on completing your Crochet Cow Hat! This Moo-velous design is not only fun to make but also perfect for cozy wear or gifting. Remember, you can do this-whether you’re a beginner or a seasoned crocheter, every stitch brings you closer to mastering your craft. If you’re eager to keep creating, check out our guides on beginner crochet techniques and explore over 700 free crochet patterns for more inspiration [[1]](https://sarahmaker.com/how-to-crochet/) [[3]](https://easycrochet.com/all-free-crochet-patterns/).
Feeling stuck? Don’t hesitate to reach out in the comments below. We’d love to hear about your experience and see your creations! And while you’re here, why not subscribe to our newsletter for the latest patterns and crochet tips? Dive deeper into your crochet journey, and let’s make something wonderful together. Happy crafting!
Get our latest guides, news, and insights highlighted in your Google Search & AI Overviews.