
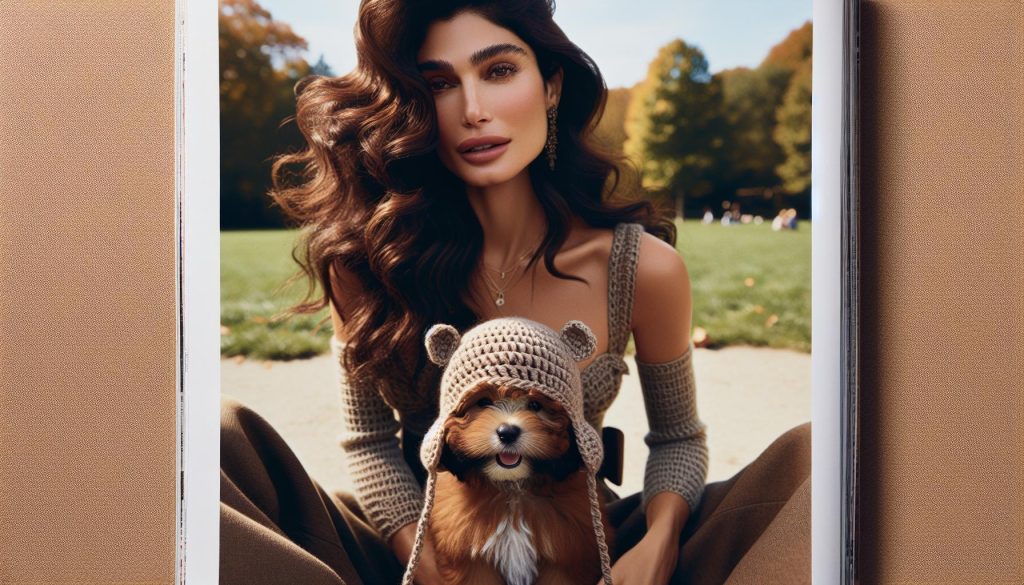
Did you know that crocheting adorable accessories for your pets can be both a fun hobby and a way to express your love for them? In this “Crochet Dog Hat Pattern: Puppy Fashion Tutorial,” we’ll guide you through making a stylish and cozy hat for your furry friend. Whether you’re a seasoned crafter or just starting, this project is perfect for enhancing your crochet skills while keeping your pup warm and fashionable. You’ll only need some basic materials and a little time to create a one-of-a-kind piece that will surely turn heads during walks at the park or social gatherings. Plus, it’s a great way to showcase your creativity and bond with your pet. So grab your crochet hook and let’s make something special that both you and your dog will love! You can do this!
Choosing the Right Yarn and Hook for Your Dog Hat
Choosing the right yarn and hook can make all the difference in creating a cozy and stylish hat for your furry friend. For a dog hat, you’ll want to select materials that not only look great but are also comfortable and safe for your pup. Typically, soft, durable yarns work best. Think about using a medium-weight (worsted) acrylic or cotton blend, as they’re easy to work with and provide a good stretch. Additionally, yarn in vibrant colors or fun textures can add personality to your project, making it a delightful accessory for your canine companion.
When it comes to hooks, the size you choose will depend on the yarn you’ve selected. For worsted weight yarn, a size H (5.0 mm) or I (5.5 mm) hook is often ideal, allowing for a nice balance between stitch definition and comfort. Always check the yarn label for recommended hook sizes, as using the right hook can help prevent any unpleasant tightness or looseness in your stitches.
Before you start crocheting, consider your dog’s specific needs. If the hat will be worn outdoors, opt for yarns that are breathable and moisture-wicking, such as cotton blends. For added warmth, especially in colder climates, wool yarns could be a lovely choice. Don’t forget to take your dog’s size into account: measure their head circumference and adjust your yarn and hook size accordingly to create a perfect fit. With these tips, you’re well on your way to crafting an adorable and comfortable dog hat that your pet will love to wear!
Essential Crochet Stitches for Beginners
Learning to crochet can be an incredibly satisfying experience, especially when you’re creating something special for your furry friend. When it comes to making a stylish dog hat, mastering a few key stitches will set you up for success. The good news is that many essential stitches are also straightforward, making them perfect for beginners. Let’s dive into some of the stitches you’ll likely use in your dog hat project.
Firstly, the chain stitch (ch) is your foundation. It’s what you’ll start every crochet project with, including your pup’s hat. Begin by making a slip knot and then create a chain of stitches as wide as you want your project to be. Next, the single crochet (sc) is a beginner favorite. It creates a tight fabric that’s excellent for hats. To work a single crochet, insert your hook into the second chain from the hook, yarn over, pull through, yarn over again, and pull through both loops on your hook. Repeat until you reach the end of your row.
Following the single crochet, you might want to explore the double crochet (dc) stitch, which adds height to your work and can give your hat a lovely texture. To perform a double crochet, yarn over, insert your hook into the stitch, yarn over again, pull through, yarn over, and pull through two loops on the hook, and then yarn over once more to pull through the last two loops. Using a combination of single and double crochet stitches will help you create various textures and designs in your dog hat.
Finally, don’t forget the slip stitch (sl st), often used for joining rounds or finishing off your project neatly. It’s as simple as inserting your hook into the desired stitch, yarning over, and pulling through both the stitch and the loop on your hook.
As you practice these stitches, remember that the magic of crocheting lies in repetition and creativity. You can definitely do this-you’ll soon have a fashionable hat for your pup that showcases your new skills! Embrace the process, and let each stitch bring a little more joy to your crafting journey. Happy crocheting!
Step-by-Step Guide to Starting Your Dog Hat
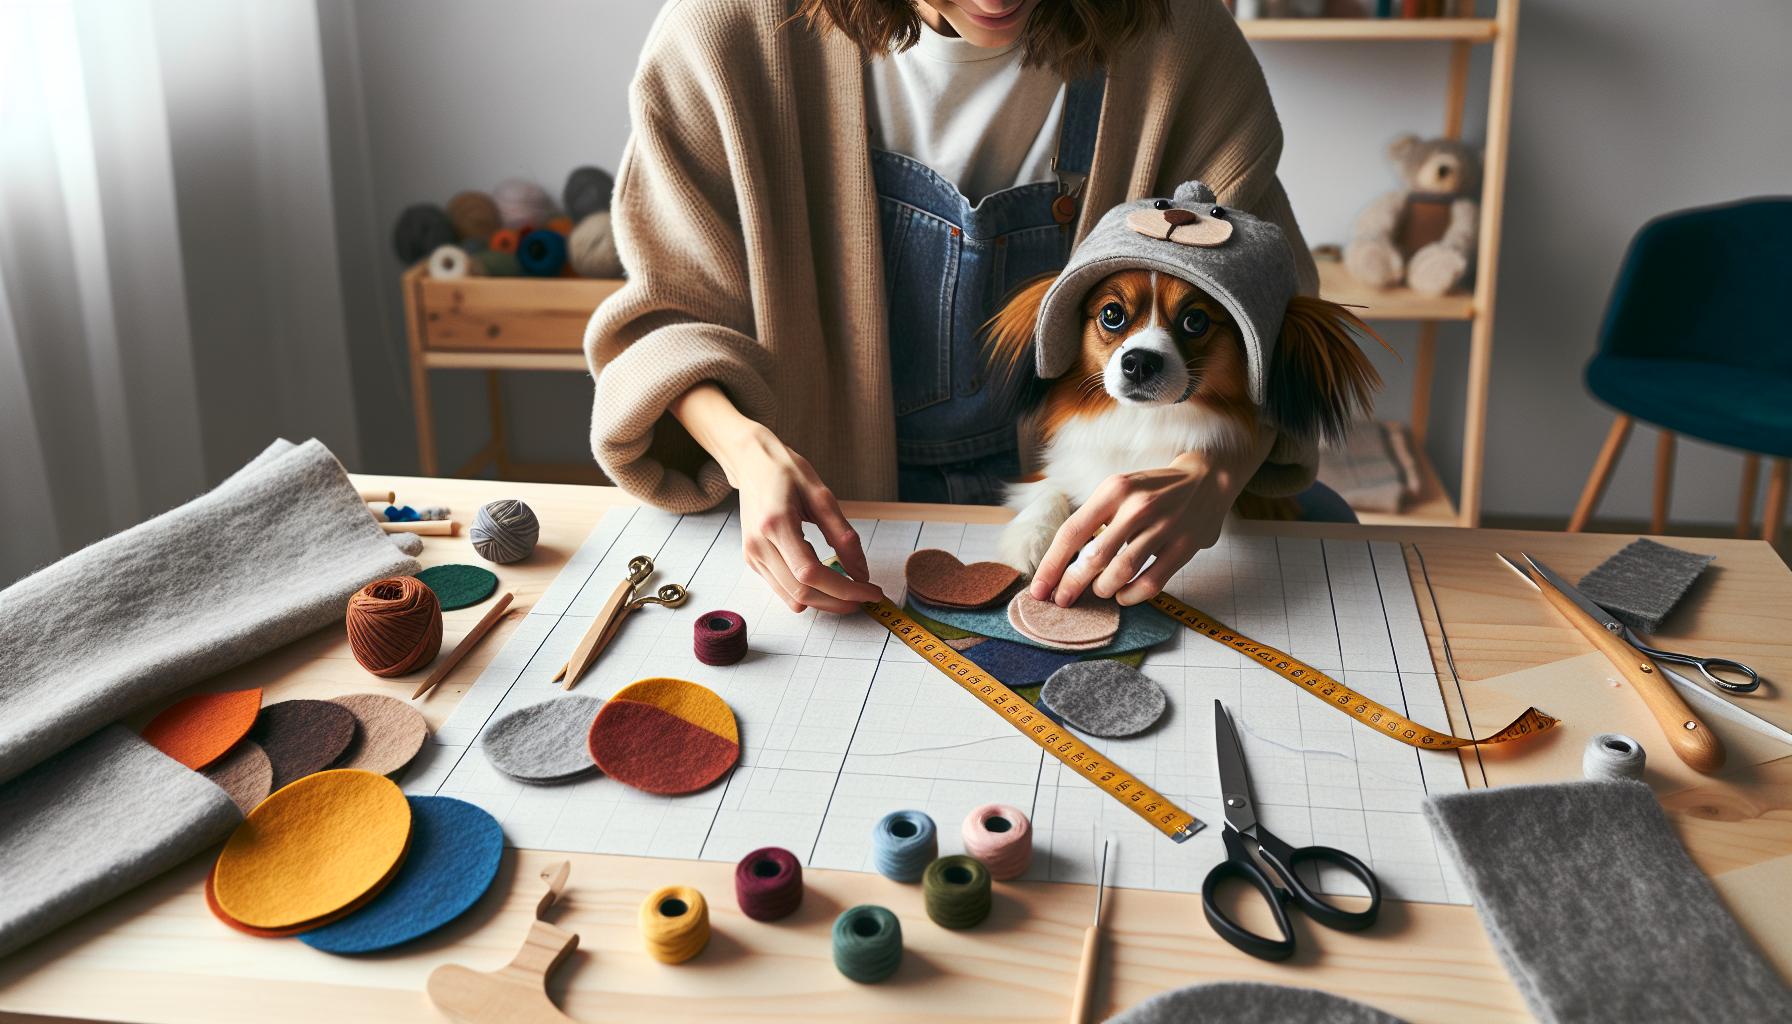
Starting your dog hat is an exciting journey into the world of crochet, and the great news is that it’s a project perfect for all skill levels! By following a simple step-by-step approach, you can create a cozy accessory that your furry friend will love. Before diving in, gather your materials. For a basic dog hat, you will need your chosen yarn, a suitable crochet hook, scissors, and a yarn needle for weaving in ends. A medium-weight yarn works well, allowing for both flexibility and structure.
Now, let’s get started!
1. Create the Foundation
Begin by making a slip knot and chaining enough stitches to fit around your dog’s head plus a bit of ease (generally about 10-15% more than the measurement). For a small dog, you might start with about 40 chains. This chain will serve as the base for your hat.
2. Crochet the First Row
After chaining, work in single crochet (sc) into the second chain from your hook. This will create a sturdy base for your hat. Continue to crochet in single stitches across the row until you reach the end. Turn your work and chain one to start your next row.
3. Build the Body of the Hat
Continue working in single crochet for several rows, usually around 6-10 rows, depending on how tall you want the hat to be. Remember, you can mix in other stitches like double crochet (dc) for added texture, but keeping it simple can ensure success for beginners.
4. Shaping the Top
To shape the top of the hat, you’ll want to decrease stitches in the last few rows. Try this: in the last row, skip one stitch every few stitches to create a rounded shape. Alternatively, you can work a series of slip stitches to draw the top of the hat together before finishing.
5. Finishing Touches
Once your hat is the desired shape and height, finish off your work by cutting the yarn, leaving a tail for weaving in. Use a yarn needle to weave in the end and secure your work. You can also add a pom-pom or embellishments to make it unique!
You’ve just created a delightful dog hat! Remember, engaging in crochet is as much about enjoying the process as it is about the final product. So celebrate your triumph and get ready for your pup to strut in style! You can do this, and your dog will absolutely thank you for the cozy, handcrafted accessory. Happy crocheting!
Adding Personal Touches: Customizing Your Hat Design
Crocheting a dog hat is not just about keeping your furry friend warm; it’s an opportunity for you to express creativity and style! Personalizing your hat can transform it from a simple accessory into a unique piece that reflects both your personality and your pup’s character. Whether you want to showcase your dog’s playful spirit or match their favorite color, customization can be as simple or as intricate as you choose.
One of the easiest ways to add a personal touch is through color and yarn types. Experiment with different hues that complement your dog’s coat or use a variegated yarn for a fun and dynamic look. Texture also plays a huge role; consider alternating stitches like half double crochet (hdc) or using a ribbed stitch pattern to give your hat an appealing feel. Adding embellishments such as buttons, bows, or even small crochet flowers can elevate your design. These can be sewn on or attached with snaps for versatility, allowing you to change the look as often as you’d like!
Another exciting way to customize is by incorporating your dog’s name or initials directly into the hat. You can use surface slip stitch embroidery to add these personal elements without interfering too much with the hat’s overall design. This can be a charming touch that makes your crochet project uniquely yours.
Don’t forget about the significance of size and fit! Measure your dog’s head accurately and adjust your pattern as needed. If you want, you can create a size chart based on common breeds to help others in the community. Remember, you’re not just making a hat; you’re crafting a special item that will bring joy to both you and your pet every time it’s worn. So grab your hook, have fun with the process, and let your imagination run wild-your dog will appreciate the love you pour into their custom crochet hat!
Advanced Techniques: Incorporating Color and Patterns
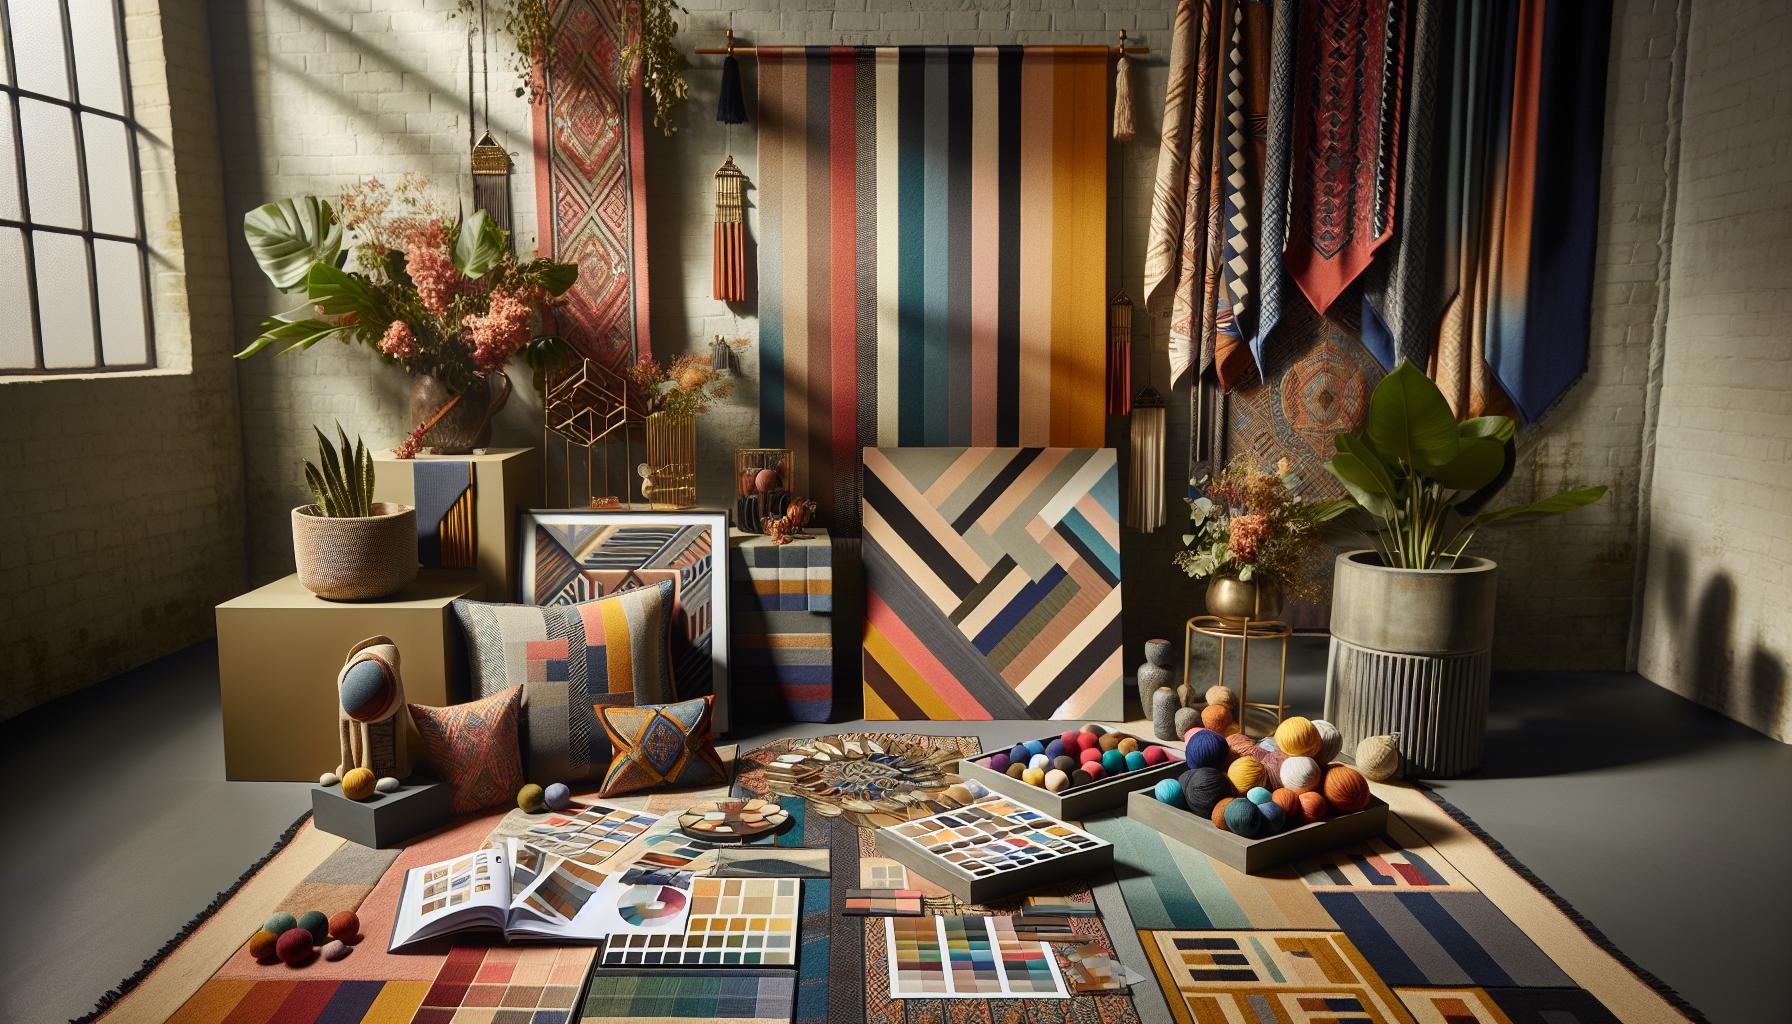
Creating a vibrant and playful dog hat can be as exciting as it is rewarding. When it comes to combining colors and patterns, you have countless possibilities to express your playful side and elevate your craft. Don’t shy away from bold colors and intricate designs; they can make your crochet project really stand out! For those who might feel overwhelmed, remember: you can start simple and gradually explore more complex techniques as you gain confidence.
Color Choices
Start with a color palette that reflects your dog’s personality or the season. For instance, earthy tones like browns and greens can create a cozy autumn vibe, while bright colors such as yellow and pink are perfect for summer fun. If you’re unsure where to start, collect some yarn samples and lay them out together to see which colors complement each other. Consider using a variegated yarn to add depth; it can make simple stitches pop. You’ll find that mixing solid colored yarn with variegated options can create visual interest without requiring advanced techniques.
Pattern Techniques
Incorporating patterns can add texture and dimension to your dog hat. A simple way to start is through basic stripes. To create stripes, alternate between two or more yarn colors every few rows. Not only is this technique beginner-friendly, but it also provides an excellent opportunity to play with color combinations. If you feel more adventurous, try larger patterns such as chevrons or zigzags. These can be achieved using basic double crochet stitches, and there are numerous video tutorials that can guide you step by step.
As you get comfortable, experimentation becomes your best friend. Consider learning the basics of colorwork, such as tapestry crochet. This technique allows you to create intricate designs and images by carrying multiple colors of yarn across the stitches. A simple paw print or heart design could make your dog hat uniquely theirs!
Lastly, while crafting, always remember the joy of making. Each stitch is a step toward a beautiful creation that will keep your furry friend fashionable. As you incorporate these color and pattern techniques, celebrate each little victory, and don’t hesitate to share your creations within your knitting or crochet community. Everyone loves to admire a cute and crafty dog hat, and you might inspire others to get creative too!
Tips for Fitting Your Dog’s Hat Perfectly
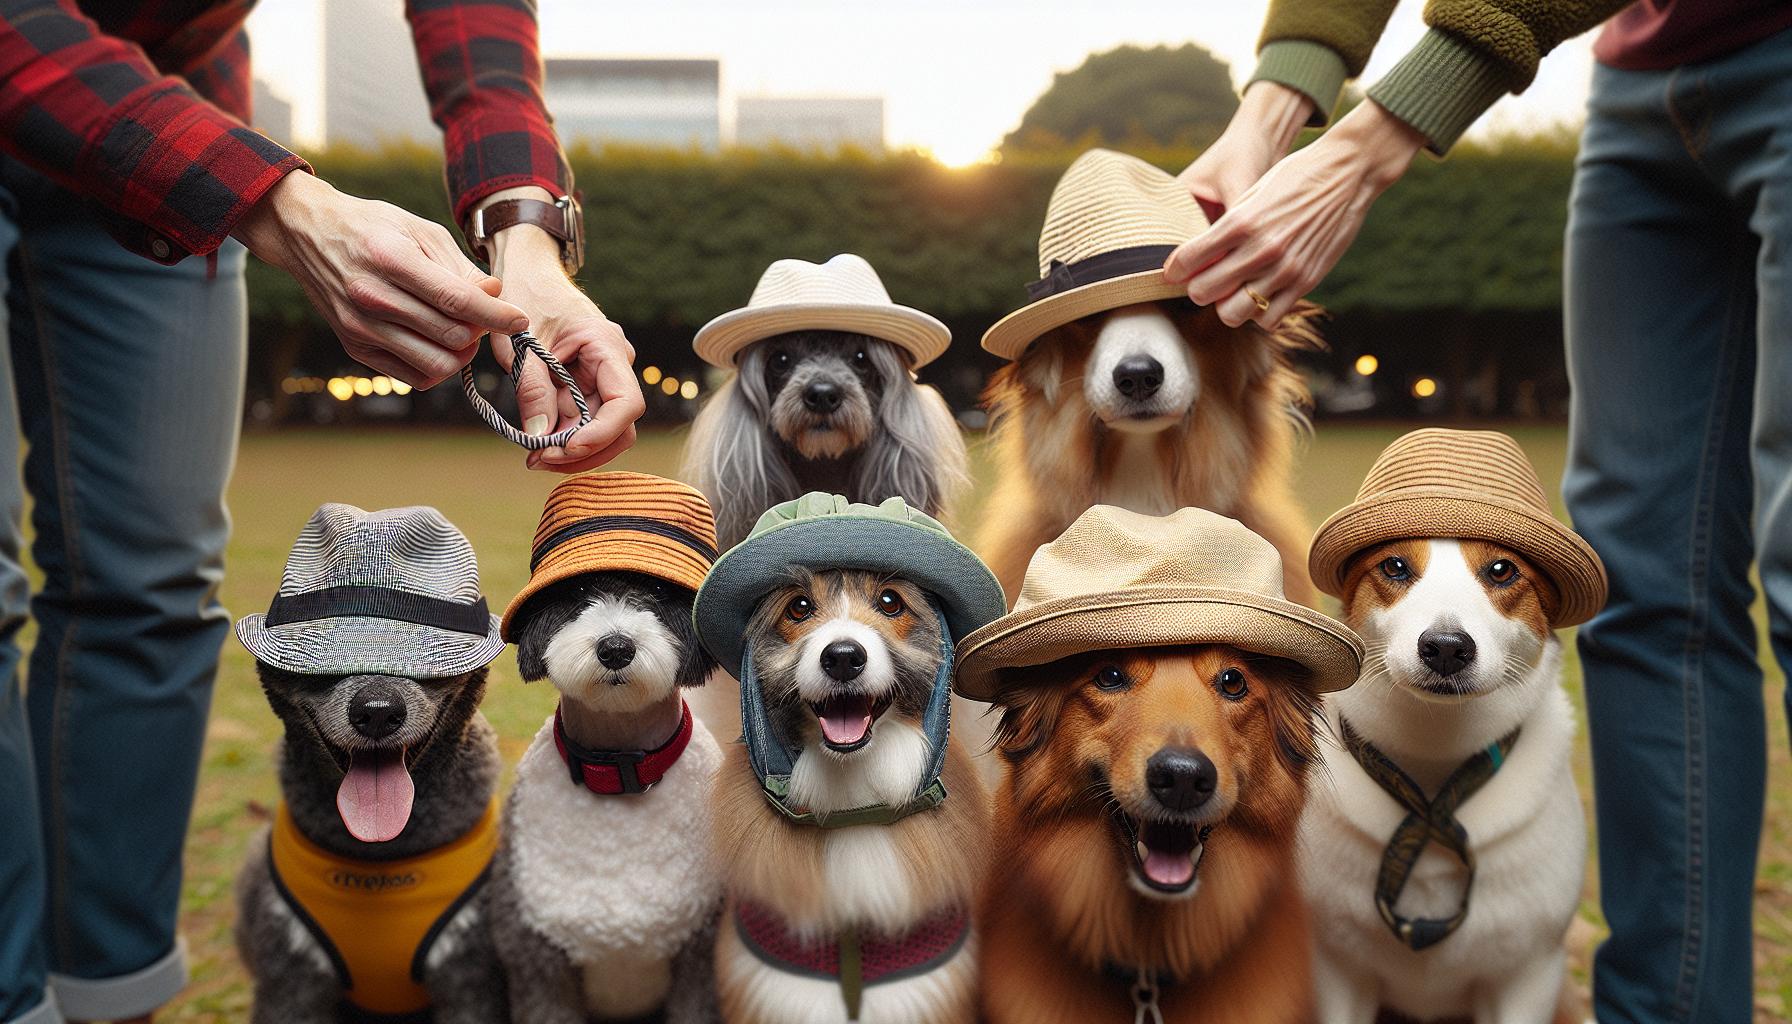
Finding the perfect fit for your dog’s hat can seem challenging, but with a few tips and techniques, you can create a stylish piece that your furry friend will love to wear. A well-fitted hat not only looks adorable but also ensures that your pup is comfortable, allowing them to strut their stuff without any fuss. Let’s dive into some effective strategies to achieve that perfect fit!
Start by measuring your dog’s head accurately. Use a flexible measuring tape to take measurements around the widest part of their head, just above the ears. This will give you the base measurement you’ll need to determine the size of your crochet hat. If your dog tends to have thicker fur, consider adding a little extra room to ensure it doesn’t feel too snug. It’s often a good idea to refer to size guidelines for crochet patterns, but remember, each dog is unique, so adjustments might be necessary.
When you begin your crochet project, keep in mind the stretchiness of your chosen yarn. Some yarns, like acrylic blends, have excellent elasticity, which can help your hat fit snugly without being too tight. You might also want to experiment with different stitch patterns; using stitches like double crochet can create a more forgiving, stretchy fabric. If possible, make a small swatch before starting the hat to see how the yarn behaves and fits depending on your tension.
After you’ve crafted the body of the hat, it’s time to test the fit. Gently place the hat on your dog’s head and check for comfort. Make sure it doesn’t obstruct their vision or ears, and that it stays in place without slipping off. Adding an adjustable strap or a couple of buttonholes can be a fantastic way to cater to those dogs that like to shake their heads a lot! Consider adding features like ear holes or chin straps for added security and comfort, especially if your dog has floppy ears that need more room.
Finally, don’t forget to watch your pup in action! Take them for a little stroll to see how the hat performs. A little shake or adjustment might be needed after they start moving. If fitting adjustments are necessary, don’t be discouraged. This is all part of the fun! With patience and practice, you’ll soon have a stylish hat that fits your dog perfectly, making them the envy of the park. Happy crocheting!
Maintaining and Caring for Your Crochet Dog Hat
Caring for your crochet dog hat is crucial to keeping it looking fresh and ensuring it lasts through many adventures with your furry friend. Since our dogs can be playful – and sometimes a little messy – regular maintenance will help preserve your handcrafted creation. With just a few steps, you can keep your dog’s fashionable accessory in great shape, so let’s dive into some tips to maintain that perfect look!
For soft yarns, gently hand-wash your hat in cool water with mild detergent. Avoid hot water as it can cause the fabric to shrink or lose its shape. After washing, never wring the hat, as this can stretch it out. Instead, lay it flat on a towel and roll it up to absorb excess water. Then, reshape it if necessary and let it air dry in a shaded area, away from direct sunlight to prevent fading. This simple washing method will help keep your work beautiful and intact for a long time.
Storage is just as important. When your pup isn’t wearing their stylish hat, store it in a cool, dry place. Consider putting it in a drawer or a basket away from potential pet-related messes like food or muddy paws. If your dog tends to chew on accessories, it might be wise to keep the hat out of reach. You can even place a scented sachet or cedar chips in the storage area to keep it smelling fresh!
Lastly, keep an eye out for any signs of wear such as loose stitches or pilling. Regularly inspect your hat, especially after a romp in the park! If you notice any issues, taking the time for quick repairs will ensure your hat remains a cherished piece. Even if you’re a beginner, you can fix loose stitches with a simple crochet hook or needle. Remember, every wear and tear is just part of your crafting journey and your dog’s adventures together! With these easy tips, you’ll enjoy many fashionable outings with your pup, showcasing your lovely crochet work with pride.
Showcase: Real-Life Crochet Dog Hats for Inspiration
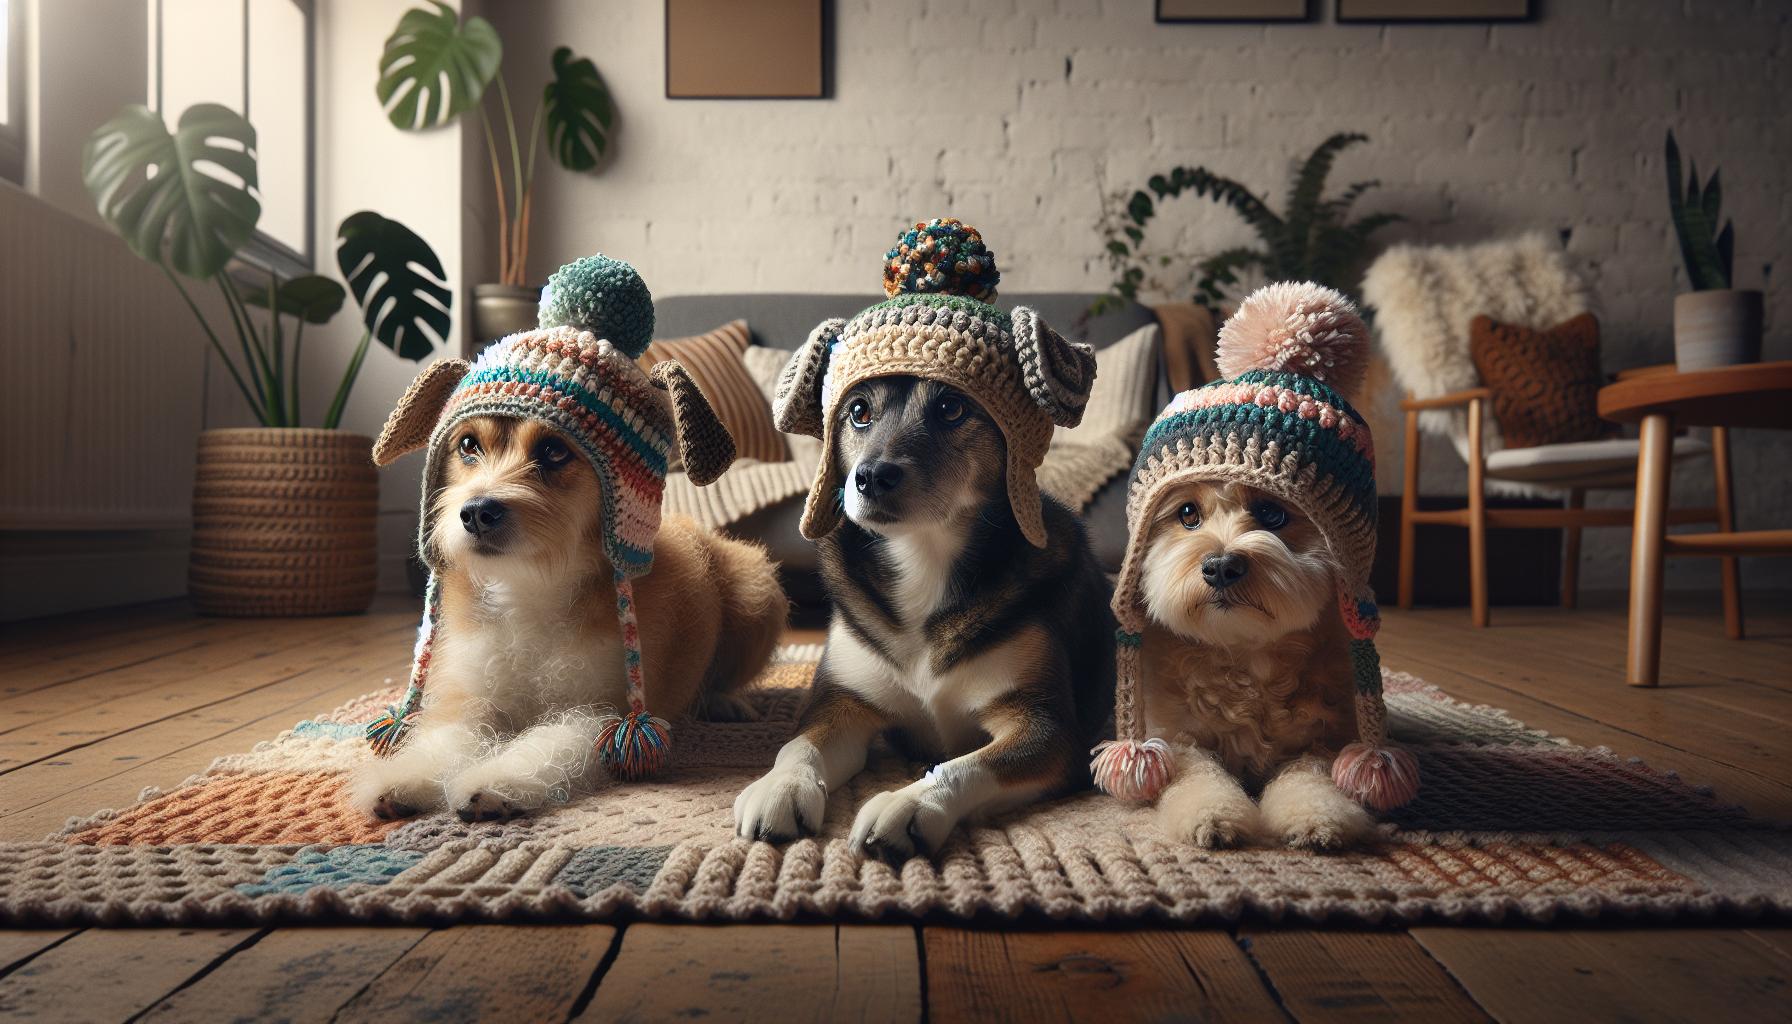
Creating crochet dog hats not only enhances your pup’s style but also allows you to express your creativity. As you embark on your crocheting journey, you’ll find a treasure trove of inspiration from fellow makers who have brought their own unique flair to this project. From whimsical designs to simple, cozy pieces, there’s a wealth of creativity to explore!
One delightful example comes from an avid crocheter who created a series of hats featuring playful animal motifs. These hats are not just adorable but also showcase the versatility of crochet techniques. By combining different stitches, such as the double crochet for body and single crochet for details, she crafted cute ears, tails, and even little noses. The result? A hat that not only keeps her dog warm but also brings smiles wherever they go.
Here are some fantastic ideas that you might consider for your own crochet dog hat:
- Seasonal Themes: Create hats that change with the seasons. Think spring flowers or winter snowflakes. You can use bright colors and fun embellishments to reflect the time of year.
- Character Hats: How about a hat inspired by popular characters from movies or books? A simple beanie with ears can easily transform into something unique – just let your imagination roam!
- Matching Sets: Consider crocheting a matching set for you and your dog. Wear coordinating colors or patterns. It’s a charming way to bond and show off your crafting skills!
Inspiration can also come from social media platforms where pet lovers share their creations. Consider joining groups focused on crochet or pet apparel. Seeing other makers’ successes, challenges, and solutions can help spark your creativity and give you the confidence to start or perfect your own projects. Remember, every stitch you take is part of a community of crafters who celebrate joy through handmade creations. You can do this!
Troubleshooting Common Crochet Issues
When crocheting a delightful hat for your furry friend, you may encounter a few bumps along the way. But don’t worry! Many common issues have simple solutions, and overcoming these hurdles will only add to your crafting confidence. Here’s a handy guide to troubleshooting some typical problems you might face while creating your crochet dog hat.
One frequent issue is uneven tension, which can lead to visible variations in your stitches. To fix this, try to maintain a consistent hold on your yarn and hook. If your crochet feels too tight, relax your grip on the yarn. Take a moment to check your posture-sitting comfortably can help reduce strain. If the tension is too loose, practice working a bit slower to keep your stitches snug without cramping your hands. Remember, practice makes perfect!
Another challenge is the infamous yarn tangles. This can be especially frustrating in the midst of a fun project. When you notice your yarn starting to twist or tangle, stop and untwist it gently. It’s also helpful to use a yarn bowl or a simple bag to keep your ball of yarn secure while you work. If you’re switching color for added flair, be mindful of your yarn ends. Keeping them tidy can prevent unnecessary snags that might disrupt your flow.
If you find yourself with a hat that’s too big or too small for your pup, don’t fret! Measure your dog’s head before starting, and check your gauge using a small swatch. For adjustments, you can crochet an extra round or two to increase size or take out rounds by carefully ripping back where necessary. When all else fails, consider adding a flexible border with a nice stretch for a perfect fit.
Lastly, if you encounter stubborn stitching errors, embrace the spirit of fixing mistakes! You can always unravel a few stitches back to where you made the error and redo them. This not only polishes your hat but also develops your skills significantly. It’s these little learning moments that truly make the crafting journey fulfilling. Remember, every stitch you make is a step toward becoming a more confident crocheter. You’ve got this!
Connecting with the Crochet Community: Sharing Your Work
The crafting community is a vibrant and nurturing space where your crochet creations can truly shine! Sharing your finished dog hat is not just about showcasing your handiwork; it’s also about connecting with fellow enthusiasts who share your passion. You might be surprised at how much joy and inspiration comes from simply posting your work online or joining local crafting groups. Whether you’re new to this world or a seasoned crocheter, there’s a place for you in this community.
To get started, consider using social media platforms like Instagram, Pinterest, or dedicated Facebook groups for crocheters. These platforms are perfect for sharing your crochet dog hats. Use hashtags like #CrochetDogHat or #PuppyFashion to help others discover your creations. When you post, include a short story about your project – maybe how your pup inspired the colors or design. Engaging stories resonate with your audience and motivate them to share their own experiences, creating a beautiful cycle of creativity.
Another fantastic way to connect is through local craft fairs or community centers hosting crochet classes. Not only can you share your work in person, but you can also swap tips and tricks with others in real-time. If there isn’t a local group, consider starting one! Gather fellow crafters for a stitching circle. It’s a great way to foster friendships and inspire each other. Additionally, online forums like Ravelry offer dedicated spaces for crocheters to interact, share patterns, and exchange ideas.
Lastly, remember to encourage collaboration! Consider organizing a themed crochet-along (CAL) where everyone works on their dog hats at the same time. This not only builds a sense of community but also gives you a collective experience filled with laughter, learning, and lots of wagging tails. Embrace the magic of sharing your crochet journey; you never know who you might inspire along the way!
Gift Ideas: Crochet Dog Hats for Pet Lovers
There’s something incredibly charming about gifting a handmade crochet dog hat to a fellow pet lover. Not only are these hats adorable, but they also showcase the thought and care put into a handcrafted gift. Whether it’s for a birthday, holiday, or just because, a crochet dog hat can make a unique and personal surprise that will warm the hearts of pet parents everywhere.
When considering gift ideas, think about customizing the hat based on the recipient’s style and their dog’s personality. You could choose soft, neutral colors for a minimalist look or vibrant hues that reflect the playful nature of the dog. Adding embellishments such as bows, ears, or even a fun pom-pom can take your design to the next level. Here are a few quick ideas to inspire your creativity:
- Seasonal themes: Create hats that fit holidays or seasons, like a cozy red and white striped hat for Christmas or a light, floral-inspired design for spring.
- Matching outfits: Consider making matching hats and scarves for both the dog and its owner. It’s sure to be a hit at the dog park!
- Personalized details: Incorporate the dog’s name or initial on the hat to make it even more special. This could be done through embroidery or crochet appliqués.
To make your gift even more thoughtful, consider pairing the crochet hat with a cozy blanket or a special dog toy. Wrapping your creations in a beautiful package tied with a festive ribbon adds that extra touch of flair. Showing pets some love through your crafting not only strengthens your bond with fellow pet owners but also spreads joy and creativity in the pet-loving community. Remember: your handmade crochet dog hat isn’t just a gift; it’s a heartfelt expression of love for both the pet and its owner!
Safety Considerations: Ensuring Comfort for Your Dog
When crafting a crochet hat for your four-legged friend, ensuring their comfort and safety is paramount. Dogs can be sensitive to fabric types, fit, and overall wearability, so taking the time to consider these factors will not only keep your pup happy but also result in a much-loved accessory. A well-fitting hat not only looks adorable but also stays secure, preventing it from sliding over your dog’s eyes or falling off during playtime.
Start by choosing soft, hypoallergenic yarns that won’t irritate your dog’s skin. Natural fibers like cotton or bamboo are excellent options, as they are breathable and gentle against fur. Avoid any yarns that may fray or shed, as loose fibers can pose choking hazards. When selecting your crochet hook, ensure you’re using the right size to achieve a tight stitch that minimizes holes where little paws might accidentally pull at the fabric.
Getting the Fit Just Right
Fit is everything when it comes to a dog hat. It should snugly hug their head without being too tight; you want it to stay in place but not restrict movement or comfort. A good way to gauge the appropriate size is to measure around the widest part of the dog’s head and compare this with your pattern. If you’re unsure about sizing, consider adding adjustable features like a drawstring or velcro to accommodate different sizes.
Additionally, inspect your finished product carefully. Look for any loose ends or loops that could be tempting for your dog to chew or nip at. If you’re adding embellishments, ensure they are securely attached and free of small parts that could be swallowed. Regularly check for wear and tear, especially if your dog is an active player, to keep the hat safe and intact.
Using these considerations while creating a crochet hat not only enhances your dog’s comfort but also provides peace of mind as they strut their stuff in style. With the right materials and fit, you can craft a fashionable piece that showcases your love for crafting and your furry companion. Remember, a happy dog is a stylish dog, so you can absolutely do this!
Faq
Q: What materials do I need for a crochet dog hat?
A: To make a crochet dog hat, you’ll need basic materials such as yarn, a crochet hook, and a tapestry needle for weaving in ends. Choose a soft, pet-friendly yarn to ensure your hat is comfortable for your dog. Check the section on Choosing the Right Yarn and Hook for Your Dog Hat for more detailed advice.
Q: How do I customize the size of a crochet dog hat?
A: To customize the size of your crochet dog hat, measure your dog’s head circumference and adjust the starting chain and number of rounds accordingly. Refer to the Tips for Fitting Your Dog’s Hat Perfectly section for practical tips on measurements and adjustments.
Q: What should I do if my crochet dog hat is too tight?
A: If your crochet dog hat is too tight, you can try blocking it to stretch the fibers gently. If it’s still too snug, consider reworking it using a larger hook or adding extra stitches. Check the Troubleshooting Common Crochet Issues section for more guidance.
Q: Can I add decorations to my crochet dog hat?
A: Absolutely! You can personalize your crochet dog hat by adding flowers, pom-poms, or even a cute bow. Be sure to use non-toxic materials and secure any embellishments well to ensure they don’t come off during wear. Explore the Adding Personal Touches: Customizing Your Hat Design section for more inspiration.
Q: What types of stitches are best for a crochet dog hat?
A: Basic stitches such as single crochet and double crochet are great for making a dog hat. They provide good structure while being easy to work with. If you’re feeling adventurous, you can incorporate advanced stitches for texture, as discussed in the Essential Crochet Stitches for Beginners section.
Q: How do I ensure my crochet dog hat is comfortable?
A: To ensure comfort, choose soft yarn and avoid tight fittings. Make sure that there are no seams rubbing against your dog’s skin. For tips on achieving the right fit, see the Tips for Fitting Your Dog’s Hat Perfectly section for valuable advice.
Q: How can I care for my crochet dog hat?
A: To care for your crochet dog hat, hand wash it in cold water with mild detergent and lay it flat to dry. Avoid machine washing and drying to maintain its shape and texture. You can find more maintenance tips in the Maintaining and Caring for Your Crochet Dog Hat section.
Q: What are some easy crochet patterns for beginners?
A: If you are a beginner, look for simple patterns with clear instructions, such as basic beanies or simple hats. Many tutorials are specifically designed for novices, offering step-by-step guidance. Consider checking the Step-by-Step Guide to Starting Your Dog Hat section for your first project!
Wrapping Up
Congratulations on completing your adorable Crochet Dog Hat! With just a few simple steps, you’ve created a stylish accessory for your furry friend that’s sure to turn heads. Remember, crochet is all about practice and creativity, so don’t hesitate to make any adjustments to personalize your hat even further! Whether you’re a newbie or have been crocheting for a while, you can definitely do this.
If you found this tutorial helpful, check out our related patterns like the Cozy Dog Sweater or Easy Pet Bandana to keep the fun going! Don’t forget to share your finished hat in the comments below or tag us on social media-we love seeing your creations! Want to keep up with the latest crochet projects and tips? Sign up for our newsletter for more inspiring patterns and resources.
Your crochet journey has just begun, so explore our free crochet patterns and tips at AllFreeCrochet and LoveCrafts for more exciting projects. Happy crocheting, and remember, you’ve got this!
Get our latest guides, news, and insights highlighted in your Google Search & AI Overviews.