
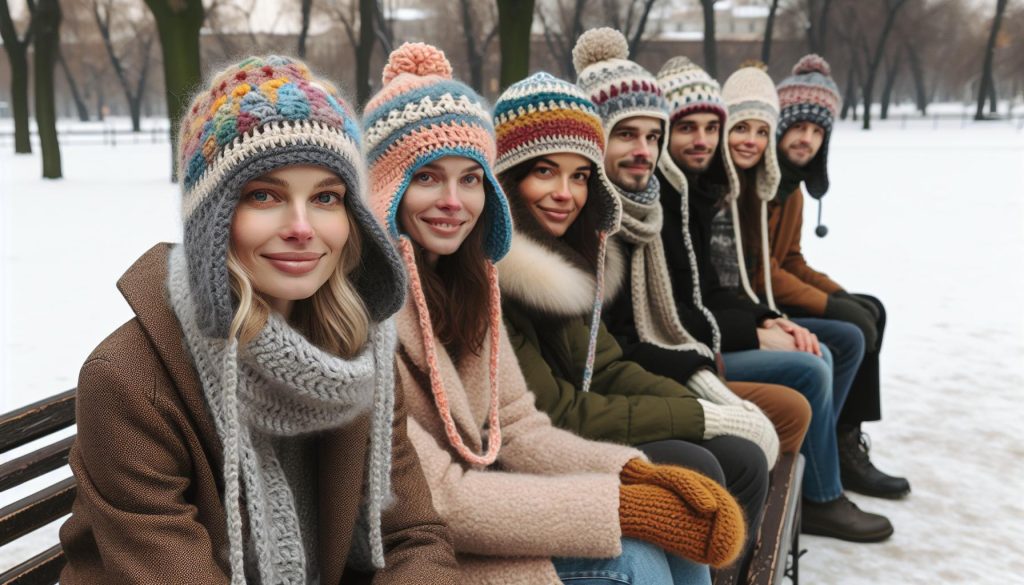
As the chilly winds of winter set in, there’s nothing quite like wrapping up in a cozy earflap hat. This easy crochet pattern not only keeps your head and ears warm but also adds a dash of style to your winter wardrobe. Whether you’re new to crochet or a seasoned pro, creating this hat is a fun way to enhance your skills and produce a practical item you’ll love wearing or gifting.
In this tutorial, you’ll find a step-by-step guide that simplifies the process, making it approachable for all skill levels. We’ll cover the materials you need, the estimated time it will take, and clear instructions to ensure your success. So, grab your yarn and hooks-you can do this! Let’s dive into the world of crochet and keep warm together this winter.
Choosing the Right Yarn for Your Earflap Hat
is crucial as it not only affects the end aesthetic but also the comfort and functionality of the hat during those chilly winter months. With so many blends and weights available, it can be overwhelming, but don’t worry-you can absolutely choose the perfect yarn for your project! The key is to focus on a few essential characteristics: warmth, softness, and ease of care.
When considering options, natural fibers like wool and alpaca are fantastic choices as they provide superior insulation and breathability. Wool, in particular, is known for its moisture-wicking properties, ensuring that your head stays dry and cozy. For a softer touch, blends that include bamboo or cotton can be delightful, especially if you’re interested in a lighter hat that still retains warmth without being bulky. Look for yarns that are labeled as suitable for winter wear-merino wool is a prime example that combines warmth with a gentle feel against the skin.
Let’s break down some specific yarn types and their benefits:
- Wool: Warm, elastic, and great for insulation. Perfect for colder climates.
- Alpaca: Luxuriously soft with excellent thermal properties. Ideal for that extra cozy factor.
- Bamboo: Lightweight and breathable, suitable for a soft texture. Good for a relaxed fit.
- Cotton blends: Excellent for warmer regions, offering a stylish, lightweight option.
Another detail to consider is the yarn weight. For earflap hats, a worsted weight or bulky yarn will usually provide optimal thickness and warmth without making the project overly heavy. If you’re feeling adventurous, consider trying a self-striping yarn-this can add a vibrant, creative flair to your hat without complicating your stitching. Remember, you want the yarn to enhance not just the look but the wearability of your creation.
Ultimately, the right yarn will make your crafting experience enjoyable and yield a hat that you’re proud to wear. So dive into your local yarn shop or online resources, explore the textures, and trust your instincts-you can definitely find something that feels just right for your cozy winter protection project.
Essential Tools for Crochet Success
Creating a cozy earflap hat can be a delightful project, especially when you have the right tools at your fingertips. With just a few essential items, you’ll find that the process becomes not only easier but also more enjoyable. Let’s dive into the must-have tools that will set you up for crocheting success!
First and foremost, a quality crochet hook is vital. Depending on your chosen yarn type, you’ll need to select the appropriate hook size, which is typically indicated on the yarn label. A comfy grip hook can make a significant difference, especially during longer crafting sessions. Additionally, consider investing in a set of metal or bamboo hooks, as they provide different feels and can be beneficial depending on the yarn’s texture.
Another essential tool is a pair of scissors for snipping yarn ends, along with a yarn needle for weaving in loose ends. This step is crucial to keeping your finished project looking tidy and polished. You’ll also want to have a measuring tape handy to ensure your hat fits perfectly. Remember, accuracy matters when it comes to crafting wearable items!
A stitch marker can be a game-changer, especially when working in rounds or counting stitches. It helps you keep track of where your rows begin and can prevent any miscalculations that might lead to unraveling your hard work. Lastly, consider having a good notebook or digital note-taking app available for jotting down measurements, stitch counts, or any thoughts you want to keep for future projects.
With these tools on hand, you’ll feel empowered to tackle your earflap hat project. Remember, every crafter started somewhere, and the joy of making something with your own hands is worth every stitch. Gather your supplies, take a deep breath, and remind yourself: you can totally do this! Happy crocheting!
Step-by-Step Guide to Crochet Earflap Hats
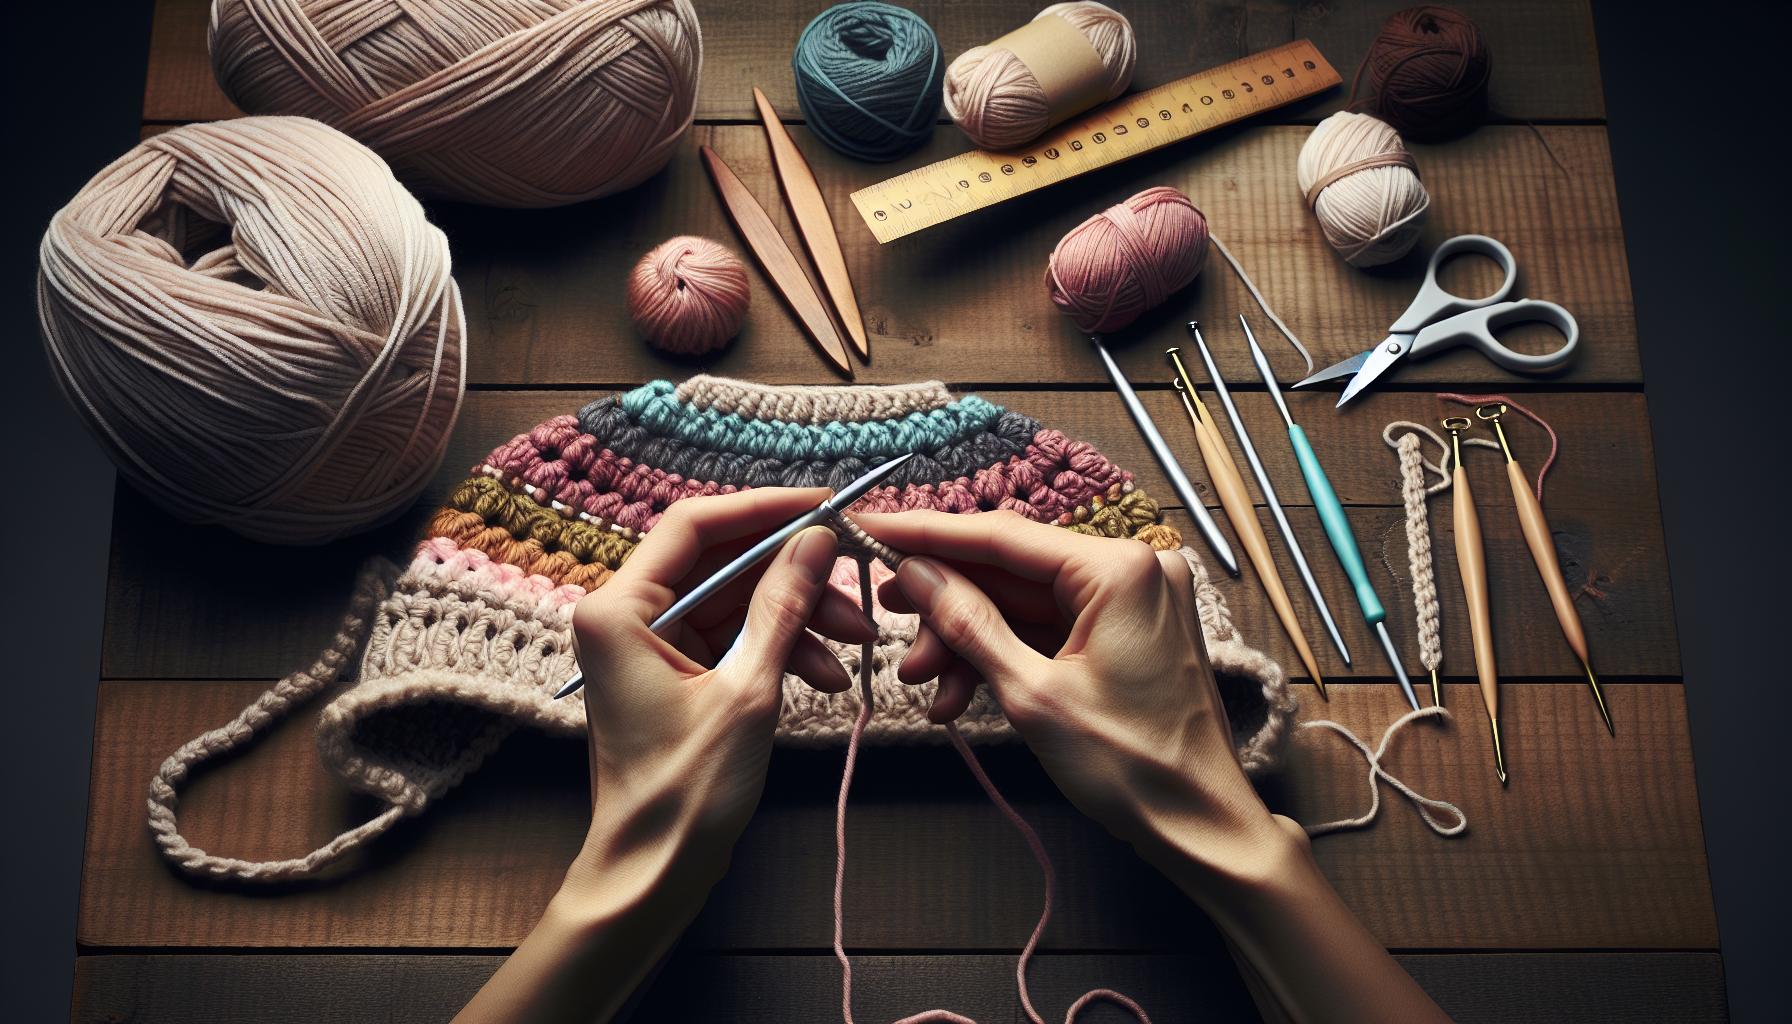
Creating a cozy earflap hat can be a rewarding project, especially when you follow a step-by-step approach that breaks down the process into manageable parts. Whether you’re a novice or have some experience under your belt, this guide will empower you to craft your own unique hat that embodies your personal style and provides warmth during chilly weather.
Start by gathering your materials. You’ll need medium-weight yarn in your chosen colors, a crochet hook that matches the yarn, scissors, and a yarn needle for finishing touches. Once you’re set up, you can dive into the fun part!
Steps to Crochet Your Earflap Hat
- Foundation: Begin by creating a slip knot and make a chain that fits around the widest part of your head. Measure carefully, as this will be the base size. You’ll typically start with around 50-60 chains, depending on your gauge.
- Circle Rounds: Join the chain into a circle with a slip stitch, being cautious not to twist it. Now, crochet in rounds-usually with double crochet or half double crochet stitches-until you reach the desired height for your hat. This usually takes about 5-7 rounds. Remember to use a stitch marker to denote the beginning of each new round!
- Earflap Formation: To create earflaps, you’ll want to stop increasing the rounds and start working back and forth. Decide how long you want the flaps, typically about 20 to 25 rows. Start from the last round where your hat is finished and crochet sideways, leaving a few stitches on each side for the beanie’s crown.
- Finishing Flaps: Once your earflaps are complete, it’s time to join them back into the main body of the hat. Use a slip stitch to attach the edges to the sides of the hat. Make sure to add a bit of extra yarn in the rows above where the earflaps meet for strength.
- Edging and Ties: To finish the edges of the earflaps, you can add a simple single crochet border. Don’t forget to create ties that can be used to secure the earflaps under your chin-braiding your yarn into cute tassels is a fun way to add personality here!
- Final Touches: Weave in any loose ends using your yarn needle to keep everything neat, and give your hat a good stretch and adjust to ensure the best fit.
With these steps, you’re well on your way to creating a stylish and snug earflap hat. It’s all about enjoying the process and being creative! Don’t hesitate to experiment with colors, stitches, and embellishments. You’ve got this-celebrate each small victory and wear your handmade hat with pride!
Customizing Size and Fit for Everyone

When making a cozy winter earflap hat, achieving the right size and fit can transform your project from good to great. Nothing beats the comfort of a well-fitting hat that keeps you warm and snug, regardless of the weather. Whether you’re crocheting for yourself or someone else, understanding how to customize the size ensures that your finished creation will be cherished for years to come.
Start by measuring the head circumference. For adults, aim for about 21 to 22 inches, while for children, you might measure between 18 to 20 inches. To get an even better fit, consider incorporating a stretchy stitch, such as half double crochet, which can adapt well to various head shapes. Additionally, you can adjust the starting chain to fit the circumference of the head. If you’re working with a larger hook or thicker yarn, you might need to start with fewer chains, while a smaller hook with thinner yarn will likely require more.
Once you have your base, think about the overall height of your hat. A good rule of thumb is to crochet to a height of about 7 to 8 inches before adding the earflaps. However, this can vary based on personal preference. Remember, a deeper hat creates more cozy coverage against the cold, while a shorter style can feel more snug on the head. For little ones, aim for a height that doesn’t obscure their vision; they’ll thank you when they can see their playmates while staying warm!
If you want to ensure a perfect fit, before you finish, it’s helpful to try the hat on the recipient when possible. This way, you can make real-time adjustments. After completing the main body of the hat, you can add or remove rows until you achieve the desired fit. Don’t worry if it feels a little too tight or loose during the process; you can always modify it by working additional rows or integrating a ribbing technique at the base for a snugger feel.
By personalizing the size and fit of your crochet earflap hat, you’re not just making an accessory; you’re crafting a functional piece that will provide warmth and style. So grab your yarn, measure diligently, and celebrate creating a hat that fits just right!
Creative Color Combinations to Stand Out

Injecting personality into your crochet earflap hat through creative color combinations can transform a simple project into a standout piece. Have you ever considered how a fun color palette can elevate your creations, making them not just warm and functional, but also a true reflection of your style? This is a chance to express yourself, play with hues, and make a statement that feels uniquely you.
Start by selecting a base color for your hat. Neutral tones like cream, gray, or black serve as wonderful backdrops, allowing vibrant accent colors to pop. Once you have your base, consider using a contrast color for the earflaps or the borders. For example, a deep navy hat could beautifully pair with bright orange earflaps, creating an eye-catching contrast that’s sure to turn heads. You can also explore ombre effects-blending shades from dark to light within the same color family gives your hat a modern twist without overwhelming the design.
Another creative approach is incorporating a popular crochet technique called granny squares as accents on your earflap hat. Mixing and matching small squares of different colors not only enhances visual interest but also adds texture and dimension to your work. You can try combinations like teal and yellow or burgundy and olive green, which can evoke feelings of warmth and cheeriness during cold winter days.
As you experiment with colors, don’t forget about patterns! Stripes are always a classic choice-they’re simple yet effective. Think about alternating color blocks or using variegated yarn for a more spontaneous look. This lets you focus on your crochet skills while allowing the yarn to do a lot of the heavy lifting in terms of visual appeal. Remember, the more you play with colors and shapes, the more confident you’ll become in creating designs that reflect your personality. So gather your yarn, unleash your creativity, and let’s make something beautiful!
Incorporating Patterns and Textures into Your Design
Incorporating varied patterns and textures into your crochet earflap hat design is a fantastic way to add depth and character. The right patterns can elevate your project from a simple accessory to a stylish statement piece that showcases your creativity and skill. One of the beauties of crochet is its versatility, allowing you to mix stitches and designs easily. For instance, using basic stitches like single crochet combined with raised stitches or bobbles can create delightful contrasts that not only look stunning but also feel great to wear.
You might consider using textured stitches, such as the popcorn or shell stitch, in specific sections of your hat. These textures not only add visual interest but also provide warmth and extra insulation, perfect for keeping the cold at bay. Try alternating between smooth sections created with basic double crochets and textured areas to keep your project dynamic. For a cozy touch, you can also incorporate ribbing along the brim or earflaps-this gives a snug fit and a refined look.
Experimenting with Patterns
Patterns can be simplified or complex, depending on your comfort level. If you’re a beginner, stripes can be an easy yet effective way to introduce patterns without overwhelming yourself. Choose two or three colors and switch them up every few rows for an eye-catching effect. As you gain confidence, you can explore more intricate designs like chevrons or even colorwork techniques such as mosaic crochet. There are plenty of free patterns available online that can guide you through these techniques, allowing you to stitch your way to a one-of-a-kind earflap hat.
Texture Techniques to Try
Don’t forget that textures can also come from the yarn you choose. Boucle or fuzzy yarns add a wonderful tactile quality to your projects, while variegated yarn creates a lively pattern all on its own. Here are a few tangible ideas you can try to enhance your crochet earflap hat:
- Use a combination of stitches: Start with a base of half double crochet and then add rows of double crochet followed by a few rounds of clusters for visual impact.
- Add embellishments: Try crocheting flowers or other motifs to attach to your hat as a playful touch.
- Incorporate texture through borders: A simple picot edge or a twisted rib can finish off your hat beautifully.
With each project, remember to embrace the process. You can absolutely do this! Every stitch is a step towards mastering your crochet skills. So gather your supplies, pick your favorite textures and patterns, and start experimenting-your perfect earflap hat awaits!
Adding Earflaps: Techniques Explained
Creating earflaps for your crochet hat is not only functional, providing extra warmth and protection against chilly winds, but it also adds a charming aesthetic to your piece. When adding earflaps, it’s important to focus on how they integrate with the overall design of your hat while also ensuring they are comfortable and practical. Here’s a step-by-step approach that will guide you through incorporating earflaps into your crochet hat with ease.
Start by determining the shape and size of your earflaps. A common approach is to crochet them as simple rectangles, but you can experiment with different shapes for a unique look. Generally, earflaps should be wide enough to cover the ears comfortably and have a length that allows them to sit securely down the sides of the hat. A good starting dimension could be 4-6 inches wide and 6-8 inches long. Once you’ve settled on dimensions, follow these steps:
- Crochet the Base: After completing the main body of your hat, attach your yarn at the point where you want to place the earflap. Use a medium-weight yarn for a soft and comfortable finish. Begin with a foundation chain equal to the width of your intended earflap. Work rows of half double crochet or double crochet until you reach the desired length.
- Shaping the Flap: To shape your earflap, you can decrease stitches as you reach the top. This can be done by skipping stitches or using a decrease stitch technique, such as single crochet two together (sc2tog), on the final rows. This creates a tapered appearance, which not only looks good but also helps the earflap hug the side of your head comfortably.
- Finishing the Edges: Once you have completed the earflap, finish the edge with a decorative stitch or a simple slip stitch to give it a polished look. Adding a contrasting color for the edging can enhance the design further-don’t be afraid to play with color combinations!
- Attaching the Earflaps: To attach your earflaps securely to the hat, align them at the designated points and crochet them in place using slip stitches. Ensure they are symmetrical on either side for an aesthetically pleasing finish.
- Optional Ties: For added style and functionality, you can create ties for your earflaps. Simply crochet long chains or use the same yarn to make braided ties that can be tied under the chin, ensuring the hat stays snug on windy days.
Adding earflaps to your crochet hat is a wonderful way to personalize your project while making it practical for the colder months. Remember to experiment with colors, yarn types, and stitches. The joy of crocheting comes from expressing your unique style, so have fun with it! You’ve got this-every stitch brings you closer to crafting your perfect cozy hat that will keep you warm all winter long!
Finishing Touches: Edging and Tasseled Details
Adding the final details to your crochet earflap hat can transform it from a simple project to a stylish, eye-catching piece that stands out in any winter wardrobe. Edging and tassels not only enhance the visual appeal but also provide a touch of personality and flair. The best part? You don’t need to be an expert crocheter to achieve beautiful results. With a bit of creativity and some straightforward techniques, you can elevate your hat design effortlessly.
One of the most impactful finishing techniques is adding an edging to your hat. This can be as simple or intricate as you like! For a clean, polished look, consider using a single crochet border around the edges of your hat and earflaps. This method helps tidy up any uneven stitches and gives your project a smooth finish. Alternatively, you can experiment with more decorative stitches, such as a scalloped or shell stitch edging, to create a charming, whimsical effect. Just remember to choose a contrasting color to emphasize the design, or stick with the same yarn for a more subtle look.
Tassels are another delightful addition that enhances your hat’s charm. To create tassels, you’ll need a bit of yarn and a pair of scissors. Start by wrapping yarn around a piece of cardboard or the palm of your hand about 20 times. The more wraps, the thicker the tassel. Carefully slide the loops off and tie a piece of yarn tightly around the twists to secure them. Cut the loops at the other end to create a fluffy tassel. Attaching tassels to the tips of the earflaps or even along the bottom edge of your hat can add movement and a playful touch. It’s a simple way to incorporate your unique style into the project.
Be creative with the colors for your edging and tassels! You might want to use leftover yarn from the body of your hat or try contrasting shades from your yarn stash. The joy of crafting lies in your ability to express yourself, so don’t hesitate to mix and match until you find a combination that makes you smile. Topping it off with these final touches makes your crochet earflap hat not just a functional piece for warmth but also a statement accessory that you’ll be proud to wear or gift. Happy crocheting!
Caring for Your Crochet Hat: Tips for Longevity
Taking care of your crochet earflap hat is essential for preserving its beauty and functionality over time. With just a few simple practices, you can ensure that your handmade treasure remains cozy and stylish for many winters to come. Knowing how to properly wash and store your hat can keep it looking its best, preventing fading, stretching, or damage from wear.
Washing and Drying
When it comes to cleaning your crochet earflap hat, the washing method you choose depends largely on the yarn used. Most yarns can be hand-washed in cool water with a gentle detergent designed for wool or delicate fabrics. Here’s how:
- Fill a basin: Use cool water to fill a basin. Add a small amount of detergent.
- Submerge gently: Place your hat in the water, gently pressing it down without agitating too much to avoid felting.
- Rinse thoroughly: Drain the soapy water and refill the basin with cool water to rinse. Press the hat gently to remove soap; do not wring or twist.
- Dry properly: Lay the hat flat on a clean, dry towel, reshaping it if necessary, to avoid stretching. Avoid hanging it up, as gravity can distort the shape.
If your yarn label indicates it’s machine washable, ensure to use a delicate cycle with cold water, and choose a mesh laundry bag to protect it from snagging.
Storing Your Hat
Proper storage can significantly extend the life of your crochet hat. Here’s how to keep it safe during off-seasons:
- Avoid humidity: Store your hat in a cool, dry place to prevent mold and mildew.
- Use breathable bags: Opt for cotton or mesh bags instead of plastic, allowing airflow while keeping dust at bay.
- Shape support: Consider placing a small cloth or crumpled tissue paper inside the hat to help it maintain its shape if it’s prone to flattening.
These methods not only preserve the aesthetic appeal of your hat but also ensure it remains a comfortable and functional winter accessory.
Embracing these care techniques doesn’t just prolong your crochet earflap hat’s lifespan; it also allows you to enjoy the fruits of your labor for every chilly season ahead! You can absolutely do this, and your handmade creations will thank you for it! Happy crafting!
Exploring Variations: From Child to Adult Sizes
Creating crochet earflap hats for different sizes is an exciting way to ensure everyone in your family stays cozy and stylish during the colder months. Whether you’re crafting for toddlers, children, teens, or adults, the foundational patterns can be easily adjusted to accommodate varying head sizes. With just a few tweaks, you can create a hat that fits perfectly for any age group!
Start by measuring the head circumference for the intended wearer. You can use a soft measuring tape; for babies and children, consider measuring around the forehead just above the ears, and for adults, measure around the widest part of the head. Here are some typical size ranges to guide your crafting:
| Size | Head Circumference (inches) |
|---|---|
| Infant | 14-16 |
| Toddler | 16-18 |
| Child | 18-20 |
| Teen/Small Adult | 20-22 |
| Adult | 22-24 |
Once you have your measurements, adjust the pattern by increasing or decreasing the number of foundation chains or stitches in each round accordingly. Don’t be afraid to experiment: if you’re working on an earflap hat for a child, you might choose to stop increasing at a smaller number of stitches than you would for an adult. And remember, the beauty of crochet lies in its flexibility-if your first attempt at a new size doesn’t fit, you can easily unravel and adjust until it’s just right.
Adding some decorative flair by incorporating fun patterns or colors can make each hat unique, ensuring that even if several family members have similar designs, their personalities shine through. Use bright colors for kids and more muted tones or stylish patterns for adults to cater to everyone’s tastes. Each project you undertake not only helps you practice your skills but also provides an opportunity to share warmth and creativity with those you love. So, grab your yarn and hooks-creating a family of matching earflap hats is a fulfilling and enjoyable way to spend time crafting! You can absolutely do this! Happy crocheting!
Crafting for Giving: Perfect Gifts for Loved Ones
Crafting handmade gifts is one of the most meaningful ways to express love and care, especially when it comes to cozy winter gear like earflap hats. Imagine the joy on your loved one’s face as they unwrap a soft, snugly hat you made just for them. Not only does it keep them warm, but it also carries the warmth of your effort and creativity. Whether you’re knitting something for a family member, friend, or a charitable cause, these hats can be customized to suit any personal style or preference.
To get started, consider the recipient’s favorite colors or patterns. Choosing yarns in shades that they adore can make your project feel even more special. Think of fun textured yarns that add a bit of flair, or even variegated yarns that create a beautiful visual effect without much extra work. If you’re crafting for a little one, go for bright and playful colors; for adults, more muted, stylish tones can be a hit. You can make the gift even more unique by adding embellishments like pom-poms or tassels, which can be a delightful addition to any earflap hat.
Don’t forget about the joy of personalization! Including initials or a small symbol sewn onto the hat can make it truly one-of-a-kind. This little extra touch shows that you’ve put thought into your gift, making it much more meaningful. If you’re feeling adventurous, consider pairing the earflap hat with a matching scarf or mittens in the same yarn for a complete set. This not only enhances the gift but also allows you to practice your crochet skills even further. Remember, the best part of gifting handmade items is sharing the love and warmth that comes with them. So gather your materials, find your favorite comfy spot, and start creating something magical. You can do this! Happy crocheting!
Troubleshooting Common Crochet Issues
Getting into crochet is an exciting journey, but sometimes things don’t go quite as planned. Whether you’re facing unexpected twists or puzzling problems, troubleshooting is an essential skill that every crochet maker should have. Let’s tackle some common issues you might encounter when crafting your cozy earflap hat, ensuring you feel supported and empowered throughout the process.
One frequent concern is uneven tension. If your stitches look tighter or looser in certain areas, it can lead to an unbalanced finish. To achieve consistent tension, try relaxing your grip on the yarn as you crochet. Some crafters find it helpful to practice the stitch in a swatch before starting their project. Remember, practice makes perfect-you can do this! If you notice your hat starting to curl or the edges looking wonky, check if you’re using the recommended hook size; using a hook that is too small can cause the fabric to bunch up.
Another common hiccup is running out of yarn mid-project. This can be frustrating, especially when you’ve invested time and effort. To mitigate this, always check your yarn supply before diving into significant projects. If you find yourself short, it’s okay! You can often add a contrasting color for a fun, creative twist-think of it as an opportunity to make your earflap hat uniquely yours! If you end up with extra yarn, consider making some matching accessories like a scarf or mittens.
Lastly, don’t hesitate to consult tutorials or YouTube videos for visual guidance. Many experienced crafters share their tips and tricks online. If you’re stuck on a specific stitch or technique, just search it up! Remember, making mistakes is a part of the learning process; embrace the experience! Keep a positive mindset, and remember that every stitch, even the off ones, brings you closer to mastering your craft. Happy crocheting, and know that every hat you make will keep you warmer than just physically-it’s a hat made with love!
Frequently Asked Questions
Q: What is the best yarn for a crochet earflap hat?
A: For a cozy crochet earflap hat, it’s best to use yarn that is both warm and soft. Acrylic blends or wool yarn are popular choices, as they provide warmth and durability. Look for a worsted weight yarn to ensure a comfortable fit and quick project completion. Check the Choosing the Right Yarn for Your Earflap Hat section for more tips.
Q: How do I adjust the size of a crochet earflap hat?
A: To adjust the size of your crochet earflap hat, you can modify the number of stitches in your base chain or the number of rows you crochet. Adding or reducing earflap length can also help achieve a better fit. For detailed instructions, refer to the Customizing Size and Fit for Everyone segment in the article.
Q: Can I add a lining to my crochet earflap hat?
A: Yes, adding a lining to your crochet earflap hat can enhance its warmth and comfort. Use soft fabric like fleece for the lining, and sew it securely to the inside of the hat. This is especially useful when crafting for colder climates, as discussed in the Caring for Your Crochet Hat: Tips for Longevity section.
Q: What techniques can I use for adding texture to my crochet earflap hat?
A: You can add texture to your crochet earflap hat by using stitches like front post double crochet or shell stitches. Experimenting with different stitch patterns can create a unique look that stands out. For more ideas, see the Incorporating Patterns and Textures into Your Design section.
Q: How much time does it take to crochet an earflap hat?
A: Crocheting an earflap hat typically takes 2 to 4 hours, depending on your skill level and the complexity of the pattern. Setting aside dedicated crafting time will help maintain your momentum. For a straightforward design, follow the tips in the Step-by-Step Guide to Crochet Earflap Hats.
Q: What are some creative color combinations for an earflap hat?
A: When selecting colors for your earflap hat, consider complementary shades or go for a monochromatic scheme for elegance. Bold contrasts like neon with pastels can also make your hat pop. Check out the Creative Color Combinations to Stand Out section for more inspiration.
Q: How do I troubleshoot common issues when crocheting an earflap hat?
A: Common issues like uneven tension or loose stitches can be fixed by practicing consistent gauge. If you find mistakes, consider frogging back to the point of error. The Troubleshooting Common Crochet Issues section provides effective tips to overcome these challenges.
Q: What gifts can I make with crochet earflap hats?
A: Crochet earflap hats make excellent gifts for family and friends. Consider personalizing them with embellishments or embroidered names for a special touch. They are perfect for winter holidays and can be crafted in various styles for both kids and adults. Explore Crafting for Giving: Perfect Gifts for Loved Ones for ideas.
The Conclusion
Congratulations on discovering the joy of crafting your very own Crochet Earflap Hat! This cozy winter protection not only keeps you warm but also adds a fun, stylish touch to your winter wardrobe. Remember, whether you’re a novice or seasoned crafter, you can absolutely conquer this project. If you’re eager for more creative inspiration, check out our sections on basic crochet techniques and fun winter accessories.
Don’t let this be your last project! Share your finished hat in the comments or tag us on social media-your creations could inspire others in our crafting community. Plus, if you sign up for our newsletter, you’ll receive exclusive patterns and crafting tips right in your inbox. Ready to take your crochet skills to the next level? Dive into our related tutorials linked above, and keep that creative momentum going. Happy crocheting!
Get our latest guides, news, and insights highlighted in your Google Search & AI Overviews.