

As the chill of winter sets in, staying warm while expressing your personal style becomes essential. Crocheting an earflap hat is not only a practical solution for warmth and comfort, but it also allows you to unleash your creativity. This cozy, stylish accessory is perfect for all ages and skill levels-whether you’re a seasoned crocheter or just starting out, you can create a functional piece that showcases your unique flair. In this guide, we’ll walk you through each step of crafting your own earflap hat, sharing tips and techniques that simplify the process. Gather your yarn and hooks, because with a little patience and practice, you’ll have a cozy winter hat that you can proudly say you made yourself! Let’s dive in and transform those chilly days into an opportunity for cozy crafting.
Choosing the Right Yarn for Your Earflap Hat
is essential for ensuring warmth, comfort, and style. The perfect yarn not only affects the hat’s appearance but also its functionality-after all, we want it to keep our heads snug in chilly weather! When selecting yarn, consider the fiber content, weight, and texture that will suit the earflap design you have in mind.
Start with the fiber content. For winter hats, wool and acrylic blends are often popular choices because they provide great insulation while being lightweight. Wool has natural moisture-wicking properties, keeping your head warm without overheating, while acrylic is budget-friendly and easy to care for. If you prefer an even softer touch, look for merino wool-it’s gentle against the skin and less itchy than regular wool. For a cozy feel, cotton yarns can be a good alternative, but keep in mind that they may not provide as much warmth as wool or blends.
Next, think about the yarn weight. For a typical earflap hat, worsted weight (category 4) is commonly recommended as it strikes a balance between warmth and bulkiness, making your project manageable. If you want a softer, plusher finish, consider using a yarn labeled as bulky (category 5). Remember, thicker yarns can create a faster project, but your hat might feel heavier. Pay attention to the label, which will give you guidelines on gauge; achieving the right gauge is crucial for a proper fit!
Finally, choose a texture that matches your style. Yarn with a halo effect, like boucle or brushed fibers, can add a fluffy aesthetic to your hat, giving it a unique touch, whereas smooth yarns allow for clean lines and defined stitches, which are perfect for showcasing intricate patterns.
As you pick out your yarn, always make sure to grab enough skeins of the same dye lot to ensure color consistency throughout your project. With these considerations in mind, you’ll find the perfect yarn that not only keeps you warm but also reflects your personal style in your beautifully crocheted earflap hat!
Essential Crochet Tools You Need
To bring your cozy earflap hat to life, having the right tools at your fingertips is a must. All the yarn in the world won’t create magic without essential crochet tools that make each stitch smoother and more enjoyable. Here’s a handy list of what you’ll need to dive into this delightful project:
- Crochet Hook: The most important tool! Choose the size recommended on your yarn label, typically a 5mm (H) for worsted weight yarn, but feel free to adjust based on your tension.
- Yarn Needle: A must for weaving in those pesky ends and adding any embellishments. Look for a needle with a large enough eye to accommodate your yarn.
- Scissors: Sharp scissors will make cutting yarn ends easy and neat. Scissors are your best friend-don’t let them be borrowed without return!
- Measuring Tape: To ensure your hat fits just right, a measuring tape will help as you work through the pattern. Precision is key, especially for sizing your earflaps.
- Stitch Markers: These little helpers are invaluable for keeping track of rounds and specific stitch counts. They can save you from unraveling later on!
- Row Counter: While not essential, a row counter can keep your stitching organized, especially as your project grows. It’s perfect for tracking multiple sections of your hat.
Having these tools will not only streamline your crocheting experience but also enhance your confidence as you craft your earflap hat. Don’t hesitate to personalize your crochet station with some comfy seating and good lighting-making your space inviting can spark creativity!
Now, dive into your yarn stash or pick out some new yarn-you’ve got all the essential tools ready for your cozy project. Remember, crafting is all about enjoying the process, so take your time and relish each stitch. You’ve got this!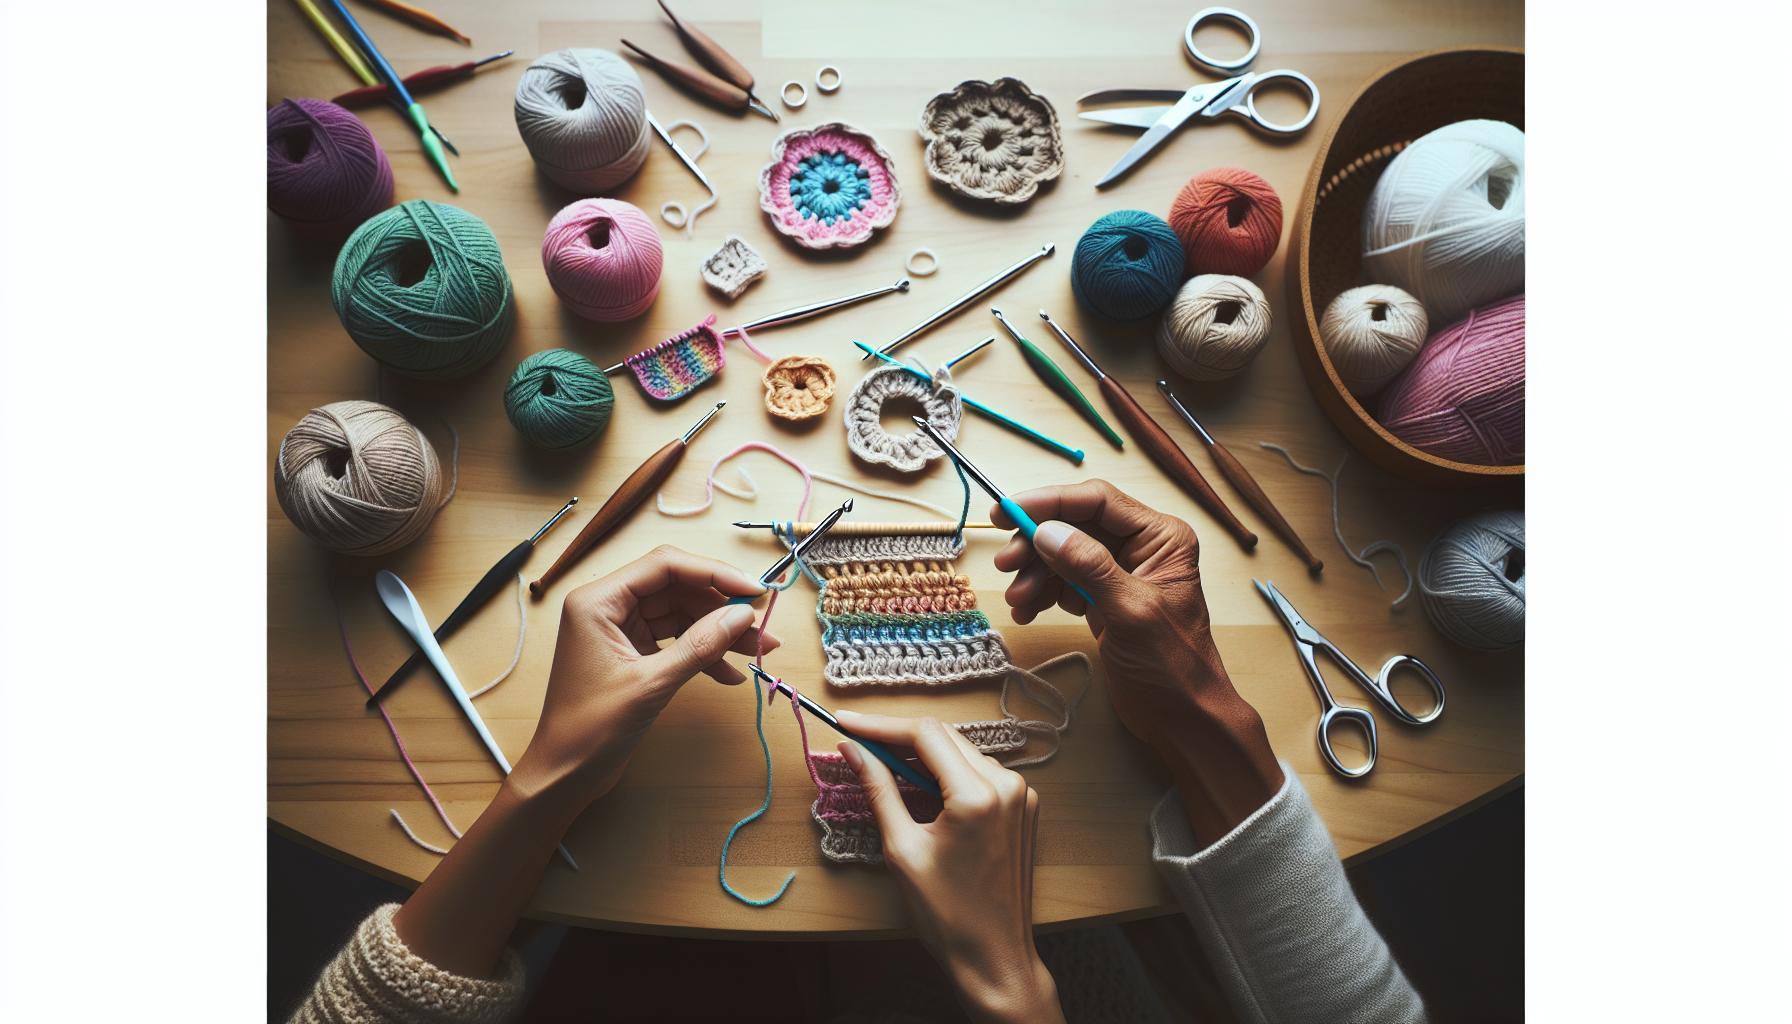
Step-by-Step Guide to Basic Crochet Stitches
To create your cozy earflap hat, getting comfortable with basic crochet stitches is essential. Mastering a few foundational stitches will not only set you up for success with this project but also open up a whole world of crochet possibilities. With just a little patience and practice, you’ll find that you can make each stitch with confidence, even if you’re just starting out.
The most common stitch you’ll use in your earflap hat is the double crochet (dc). Here’s how to work it step by step:
How to Double Crochet
- Yarn Over: Start by wrapping the yarn around your hook from back to front.
- Insert Hook: Push your hook into the stitch you want to work into.
- Yarn Over Again: Wrap the yarn around the hook once more.
- Pull Through: Pull the yarn back through the stitch. You should now have three loops on your hook.
- Yarn Over and Pull Through: Wrap the yarn around the hook again and pull through the first two loops on the hook. You will now have two loops remaining.
- Final Yarn Over: Wrap the yarn one last time and pull through both loops on the hook. Celebrate your success-you’ve completed your first double crochet!
As you progress, you’ll also want to become familiar with the single crochet (sc), which is another staple stitch useful for creating tighter fabric, like the sections around your earflaps. Here’s how to do a single crochet:
How to Single Crochet
- Insert Hook: Insert your hook into the stitch where you want to create your single crochet.
- Yarn Over: Wrap the yarn around the hook.
- Pull Through: Pull the yarn through the stitch, bringing the loop back to where you started. You’ll have two loops on your hook.
- Yarn Over Again: Wrap the yarn around your hook one more time.
- Finish: Pull through both loops on the hook. Voilà! You’ve completed a single crochet!
Practice these stitches until you feel comfortable. You can create small swatches to get the hang of it. Remember, it’s perfectly okay if your stitches aren’t uniform at first-crocheting is as much about the journey as it is the finished product! You can do this, and soon, you’ll be on your way to crafting not just an earflap hat, but many more delightful projects. Enjoy the process and let your creativity shine!
Understanding Earflap Hat Construction Techniques
To create a stylish and cozy earflap hat, understanding the construction techniques is essential. This project can seem a bit daunting at first, but once you break it down into manageable steps, you’ll see how rewarding and enjoyable the process can be.
Begin by envisioning your hat’s structure. An earflap hat is typically made from a main body, two earflaps, and a band that snugly fits around your head. The main body is often worked in a circular manner using double crochet stitches that allow for flexibility and warmth. Consider using a thicker yarn to ensure your hat is both warm and durable, especially if you plan to wear it during rigorous winter activities.
Key Steps in Earflap Hat Construction
- Start with the Base: Create a foundation chain that matches your head circumference and work in a spiral or joined rounds to form the hat’s body.
- Add the Earflaps: Once you’ve reached the desired height for the main body, it’s time to attach the earflaps. You can do this by working in rows from the sides of your hat. Typically, earflaps are made using single crochet or half double crochet for sturdiness.
- Secure the Flaps: Use slip stitches to attach the earflaps securely to the hat, making sure they sit comfortably over your ears.
- Finishing Touches: After you complete the main body and earflaps, finish with a decorative border or ribbing for a polished look. This can also help the hat fit snugly.
The beauty of crocheting your earflap hat is not just in the final product, but in the process of bringing your vision to life. Experiment with different stitches, colors, and textures. You could even add a fun twist by incorporating stripes or patterns! Remember, every stitch is a step closer to your cozy creation, and you’re capable of achieving a beautiful finished piece. Enjoy the journey, and don’t hesitate to let your creativity shine!
Adding Personal Flair with Custom Designs
Creating unique designs for your earflap hat can turn a simple project into a personal statement of style and creativity. Every stitch you make is a chance to showcase your personality. Personalizing your hat not only makes it visually interesting but also gives you a sense of pride in your work. Whether you choose vibrant colors, intricate patterns, or fun embellishments, adding your own flair is what truly makes your earflap hat special.
To get started, consider the basic color scheme. Choose two or three complementary colors that reflect your style. For example, a classic blue and grey combo could bring a cool, wintery vibe, while bold reds and oranges might add a pop of warmth. Don’t be afraid to experiment with variegated yarns too; they can create beautiful, ever-changing color patterns that add depth and texture to your hat.
As you work, think about incorporating fun design elements like geometric patterns or stripes. Using basic crochet stitches, you can easily create eye-catching designs. Here’s a quick project example: once your hat body is complete, switch yarn colors at regular intervals to add a stripe pattern. This technique is simple and creates a playful look. Additionally, consider using a tapestry crochet technique to create shapes or letters. It’s a lovely way to add a personal touch, like your initials or favorite symbols.
Another exciting way to personalize your hat is through embellishments. Adding a pom-pom or tassel on top of your hat not only makes it eye-catching but can also serve as a cozy accent. You can whip up a pom-pom easily with a pom-pom maker or even just cardboard cutouts. For a raised texture, try adding a crochet flower or button; these small details can truly elevate your design.
Remember, this is your creative journey! There’s no right or wrong way to personalize your earflap hat. The possibilities are endless, and every choice you make brings you closer to a unique piece that you can wear with pride. So grab your yarn, unleash your creativity, and enjoy the process of making something that’s uniquely yours!
How to Measure for a Perfect Fit
Measuring for the perfect fit is one of the most rewarding parts of crocheting an earflap hat. After all, you want your cozy creation to not only protect you from the chill but also look great while fitting snugly! Whether you’re crafting for yourself or making a thoughtful gift, taking accurate measurements ensures your earflap hat will be just right. Here’s how to do it in a way that feels achievable, no matter your skill level.
Start by gathering your supplies, which include a flexible measuring tape, a pen, and some paper to jot down your measurements. You might also want to have the recipient (or yourself) wear a beanie that fits comfortably for a reference point. When measuring, keep the following areas in mind:
- Head Circumference: Wrap the measuring tape around the widest part of your head, usually just above the ears and eyebrows. Make sure it’s snug, but not too tight, and write down the measurement.
- Depth of Hat: To find the depth, measure from the top of the head to where you want the hat to sit, typically just above the ears. This helps in determining how long your hat should be.
- Earpiece Length: Measure the distance from the top of the hat to where you’d like the earpieces to end. This dimension is crucial for earflap hats!
- Width of Earflares: For a comfortable fit, measure how deep you want the flaps to extend down along the side of your face.
Once you have these key measurements, refer to the pattern you’re using. Most patterns will provide a size chart that corresponds to different head measurements, so you can choose the most appropriate size for your project. If you’re between sizes, it’s generally best to opt for the larger size for added comfort-crochet is stretchy, after all!
Remember that you can always test the fit by trying it on as you go, especially if you’re working with a crocheted sample first. This hands-on approach not only helps ensure a cozy fit but also allows for adjustments based on your personal style and preferences. Feel free to make notes about what works and what doesn’t-it’s all part of your creative journey! Happy crocheting!
Mastering Color Changes and Stripes
The beauty of crocheting an earflap hat lies not just in warmth, but in the vibrant colors and patterns you can create. can completely transform your project, giving it a unique personality that reflects your style. Choosing two or more complementary colors can take a standard hat and turn it into a stunning piece that stands out in the winter crowd.
To start, you’ll want to gather your yarn and hook. As you work through your pattern, pay attention to the instructions for when to switch colors. Before making the change, it’s a good practice to set aside your old color to avoid tangles. When you’re ready to change, drop the old color and start working with the new one without completing the last stitch of the old color; this helps keep your tension consistent and your edges neat.
Steps for Changing Colors
- Finish the stitch: Complete the last part of the stitch with the new color.
- Cut the old yarn: Leave about 6 inches of the old yarn tail for weaving in later.
- Pull through the new color: Yarn over with your new color and pull through to finish the stitch.
- Tension check: Before proceeding, check your tension with the new yarn to ensure it matches the previous stitches.
Striped designs are just as fun! To create stripes, simply decide on the width of each stripe before you begin. For added flair, mix in a textured stitch or two as you switch colors. This not only enhances the visual interest but also allows you to practice new stitches while making your hat more unique. For instance, after a few rows of single crochet, switch to half-double crochet for your next stripe-it’s an easy way to give a fresh look while practicing technique.
Remember, it’s all about experimentation and enjoying the process. Mistakes often lead to great inventions, so don’t be afraid to adjust the colors as you go along. Each earflap hat is an opportunity to express your creativity, so have fun with it, and your cozy creation will be a hit all winter long!
Incorporating Fun Accessories: Pom Poms and Tassels
Adding fun accessories like pom poms and tassels can completely transform your earflap hat from simple to stunning! These decorative elements not only enhance the visual appeal of your project but also allow for easy personalization, making your winter wear uniquely yours. Both pom poms and tassels are simple to create, and you can choose colors that match or contrast with your yarn for an eye-catching effect.
To make a pom pom, you’ll need a pair of scissors, a pom pom maker (or you can simply use your fingers), and some yarn. Here’s a quick guide to help you craft your own fluffy adornment:
- Create your base: Cut a length of yarn (about 6-8 inches) and set it aside. This will be used to secure your pom pom later.
- Wrap the yarn: Using your pom pom maker or your fingers, wrap yarn around several times until it’s thick enough for your liking. The more you wrap, the fuller your pom pom will be!
- Secure the center: Take the piece of yarn you set aside and tie it tightly around the center of the wrapped yarn to hold it all together.
- Cut the loops: If you used a pom pom maker, simply open the tool and cut the loops. If you wrapped yarn around your fingers, carefully slide it off and cut the loops on both sides.
- Trim and shape: Give your pom pom a little haircut to make it nice and round. You can attach it to the top of your hat using the long tail you left.
Tassels, on the other hand, are just as easy to whip up and can be added to the sides of your earflaps for a playful touch. To create a tassel, follow these straightforward steps:
- Wrap yarn: Start by wrapping yarn around your hand or a cardboard piece 10-20 times, depending on how full you want your tassel to be.
- Secure the top: Slide off the wrapped yarn and tie it tightly in the middle, then cut the loops at both ends.
- Shape your tassel: Trim the ends of the tassel to even out the strands, giving it a tidy appearance.
- Attach it: Use another piece of yarn to tie your tassel to your earflap hat, positioning it wherever you think it would look best.
These little details not only reflect your personality but also lend warmth and charm to your creations. Whether you opt for colorful pom poms or stylish tassels, know that you can absolutely do this! Your earflap hat will stand out, keeping you cozy and fashionable all winter long. Don’t hesitate to experiment with different sizes and colors; it’s all about having fun and showing off your unique style!
Tips for Achieving a Cozy Lining
To keep your earflap hat super cozy, the lining is key! A plush lining not only enhances comfort but also adds an extra layer of warmth that is essential during the chillier months. You can create a delightful inner lining using fleece, a soft cotton blend, or any stretchy fabric that feels good against the skin. Here’s a step-by-step guide to achieving that perfect, cozy lining.
Start by measuring the dimensions of your earflap hat. Use those measurements to cut your chosen fabric, adding an extra inch around the edges for seam allowance. Fabric that stretches, like jersey knit, can be a great choice as it will hug close to your head without feeling restrictive. Once you have your fabric cut, it’s time to attach it. Place the fabric against the inside of the hat, right sides together, and pin it securely in place to avoid any shifting while you sew.
When you’re ready to sew, use a straight stitch or a zigzag stitch to secure the lining to the hat, making sure to go around the edge where the lining meets the hat’s body. If you want to add even more coziness, consider top-stitching around the edge after the initial seam to keep everything flat and in place. This little detail not only secures the lining but also gives your hat a polished look.
Finishing Touches for Cozy Comfort
After you have attached the lining, flip the hat right side out and do a quick check to ensure everything looks neat. You can also sew a few tacking stitches at the junction of the lining and hat to prevent any slipping. To further enhance warmth, think about using an insulating layer in between the hat and the lining, like a layer of fleece or a thin batting. This extra layer can significantly boost warmth without adding too much bulk, so you can stay cozy while still looking stylish. You can do this; your earflap hat will not only be beautiful but wonderfully warm as well! Enjoy the process, and don’t hesitate to personalize it however you like!
Common Mistakes to Avoid When Crocheting
When embarking on the adventure of crocheting your own earflap hat, it’s essential to be aware of a few common pitfalls that can derail your creativity. One prevalent mistake is not checking your gauge before starting the project. Gauge is critical in ensuring that your hat will fit properly. Always take the time to crochet a small swatch before you dive into the full design; this simple step helps you determine whether you need to adjust your hook size or yarn weight to match the pattern requirements. Remember, an ill-fitting hat can lead to frustration, but with a little foresight, you can avoid this.
Another common hiccup is underestimating the yarn’s behavior. Every yarn type behaves differently, and choosing the wrong one can affect both the look and the durability of your earflap hat. For instance, if you opt for a cotton yarn instead of a wool blend, you might end up with a hat that lacks warmth and elasticity. Always review the yarn recommendations in your pattern and consider making notes about your experience as you try different materials. This kind of iterative experimentation not only improves your skills but also enhances your overall enjoyment.
It’s also crucial not to overlook the importance of maintaining consistent tension while crocheting. This aspect can significantly influence the hat’s appearance and fit. If your stitches are too tight, the hat could end up being restrictive; if they are too loose, you run the risk of an awkwardly shaped hat. A helpful practice is to regularly pause and inspect your work as you go. Take a moment to stretch your hands, and check the tension periodically. You’ll find that being mindful of your craft leads to more polished results.
Lastly, don’t shy away from seeking help or inspiration from fellow crafters! Engaging with a community can provide valuable insights and troubleshooting tips. Whether through social media groups or local craft circles, sharing your progress and challenges with others can make the process more enjoyable and less isolating. Remember, every maker has faced obstacles-embracing these experiences is part of the creative journey, and you’re not alone. Happy crocheting!
Cooling Tips for Winter Ready Hats
When it comes to keeping warm during winter, there’s nothing quite like a cozy earflap hat made with care and creativity. However, to ensure that your hat is not only stylish but also provides the right level of warmth without overheating, it’s crucial to consider a few cooling tips that will enhance comfort while maintaining those cold-busting qualities.
Understanding how materials interact with temperature is a great starting point. For instance, choosing the right yarn can significantly impact how warm or breathable your earflap hat is. Wool and alpaca are fantastic for retaining heat, but if your activities will be particularly spirited, you might want to mix in a synthetic fiber like acrylic. This not only offers durability but can also provide better moisture-wicking properties, preventing that sweaty feeling that can occur with 100% wool.
Armoring Against Overheating with Design Choices
Your design choices can also influence how cooling your earflap hat will be. Here are some recommendations:
- Openwork Patterns: Incorporate stitches like granny squares or lace motifs in non-earflap sections to allow for ventilation.
- Breathable Linings: If you decide to line your hat for extra softness or structure, opt for fabrics like cotton or bamboo, which breathe better than polyester.
- Adjustable Features: Including features like earflaps that can be buttoned up or down will let you customize the coverage based on conditions.
Lastly, be mindful of how you wear the hat during different activities. If you find you’re warming up too much, consider peeling off layers from underneath or storing the hat in a backpack when indoors. This way, you keep your head protected from the elements without compromising your comfort. Remember, you can absolutely strike a balance between staying toasty and not overheating-your custom crochet project will shine just the way you envision it! Embrace your creativity, and enjoy every stitch of the process.
Creative Ways to Style Your Earflap Hat
When you’ve put in the effort to crochet an earflap hat, it’s natural to want to wear it with pride and style. Fortunately, there are plenty of ways to personalize and elevate your creation beyond its basic warmth. Whether you prefer a whimsical touch or a more sophisticated flair, styling your earflap hat can be as fun as the crocheting process itself.
Getting creative with color can dramatically change the mood of your hat. Consider using vibrant hues for a fun, playful look or sticking to earth tones for a more classic vibe. You can play with color blocking by incorporating contrasting shades in the earflaps or the body of the hat. For those who love patterns, don’t hesitate to mix and match; stripes, polka dots, or even a splash of fair isle can turn your functional piece into a fashion statement.
Accessorizing your earflap hat is another fantastic way to demonstrate your unique style. Think about adding embellishments such as buttons, charms, or even a brooch for an unexpected twist. Adding a pom-pom on top not only enhances the visual appeal but also brings a sense of fun. You could also incorporate a braided cord on the earflaps, which adds both style and a practical feature for tying your hat securely on windy days.
Lastly, consider the context in which you’ll wear your hat. Pair your earflap hat with a matching scarf or mittens that you’ve woven or purchased to create a cohesive look. Layering can add even more dimension; try wearing it over a cozy hoodie or under a stylish coat. Remember, this is your creation, and wearing it with confidence is the best accessory of all. You’re not just keeping warm-you’re stepping out in a piece that showcases your creativity and hard work! Embrace the joy of making and wear your beautifully styled earflap hat wherever you go!
Q&A
Q: What yarn is best for a cozy earflap hat?
A: The best yarn for a cozy earflap hat is medium-weight (worsted) yarn, ideally acrylic or wool blends that provide warmth and softness. Opt for yarn with a tight twist to prevent fraying and enhance durability. Look for projects in the section on Choosing the Right Yarn for Your Earflap Hat for further guidance.
Q: How do I adjust the size of an earflap hat?
A: To adjust the size of your earflap hat, increase or decrease the number of stitches in the initial chain according to your head measurements. Incorporate the steps outlined in the How to Measure for a Perfect Fit section of your article for detailed sizing information.
Q: Can I crochet an earflap hat without a pattern?
A: Yes, you can crochet an earflap hat without a pattern by using basic crochet techniques to create your own design. Start with general measurements for the head and earflaps. Use the Step-by-Step Guide to Basic Crochet Stitches for essential techniques.
Q: What stitches are commonly used in earflap hats?
A: Common stitches for earflap hats include single crochet, double crochet, and half-double crochet. These stitches create a solid and warm fabric. Experiment with combinations to add texture; check the Step-by-Step Guide to Basic Crochet Stitches for details.
Q: How do I add earflaps to my crochet hat?
A: To add earflaps, crochet two separate pieces attached to the sides of the main hat. Begin with the number of stitches used for the main hat’s edge. Use the Understanding Earflap Hat Construction Techniques section for a detailed guide.
Q: What is the best way to embellish my earflap hat?
A: The best way to embellish your earflap hat is to add details like pom poms, tassels, or stripes. Choose colors that contrast or harmonize with your hat. For creative ideas, refer to the Adding Personal Flair with Custom Designs section.
Q: How can I make my earflap hat warmer?
A: To make your earflap hat warmer, use a thicker yarn or add a cozy lining made of fleece or a similar material. The Tips for Achieving a Cozy Lining section provides further advice for enhancing warmth and comfort.
Q: What common errors should I avoid when crocheting an earflap hat?
A: Common errors to avoid include using the wrong yarn weight, inconsistent tension, and not following proper size measurements. Review the Common Mistakes to Avoid When Crocheting section to ensure a successful project.
To Conclude
Congratulations on completing your cozy earflap hat! With just a few skeins of yarn and a bit of time, you’ve created a functional accessory that will keep you warm this winter. As you wear your handmade piece, remember the joy of crafting and how much you can accomplish with your own two hands. If you’re looking for more inspiration, check out our detailed guide on how to crochet for beginners to refine your skills, or explore free crochet patterns for other winter wearables that are sure to impress your friends and family.
Don’t forget to share your finished hat in the comments below, as we love seeing your creations! And if you enjoyed this project, consider subscribing to our newsletter for updates on new patterns and crochet tips. Together, we can make crafting a fun and engaging journey, whether you’re a beginner or an experienced crocheter. Keep creating, and remember: you can do this!
Get our latest guides, news, and insights highlighted in your Google Search & AI Overviews.