
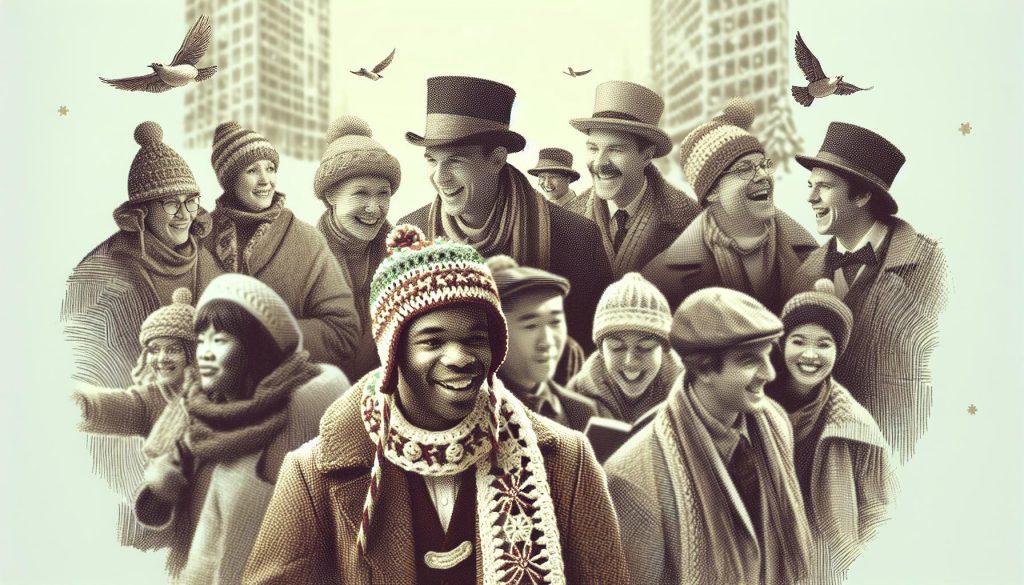
As the holiday season approaches, crafting your own festive accessories can bring joy and a personal touch to your celebrations. The Crochet Elf Hat Pattern is not just a whimsical decoration; it’s a delightful addition to your holiday wardrobe that adds a splash of magic to any outfit. Whether you’re a seasoned crocheter or just starting, this project is perfect for all skill levels and can be completed in a weekend. Imagine the smiles when family and friends see you donning this charming hat at gatherings or festive events! Plus, creating your own accessories means you can choose colors and styles that reflect your personality or the spirit of the season. You can do this, and I’m here to guide you every step of the way! Let’s dive into the materials and techniques you’ll need to make your very own crochet elf hat and spread some holiday cheer.
Crochet Elf Hat Patterns for All Skill Levels
Crafting a crochet elf hat is not just a project; it’s a gateway into a world of creativity that embraces all skill levels. Whether you’re picking up a hook for the first time or you have years of experience behind you, there’s an elf hat pattern out there that’s perfect for your level. These festive hats can bring a little magic to your holiday season, and best of all, they are wonderfully versatile!
For beginners, there are simple patterns available that require basic stitches like single crochet and double crochet. These designs often use straightforward shapes, such as a long triangular point, that allow for quick completion and plenty of room for errors. You can finish one of these hats in just a few hours, making it an ideal last-minute gift or a personal holiday accessory. If you’re brand new to crocheting, practice with yarn that has a slight bulk to it, as it’s easier to handle and see your stitches.
As you gain confidence, you might explore intermediate and advanced patterns that incorporate more complex techniques like cable stitches, color changes, or adding textures with different yarns. Advanced crocheters can enjoy creating detailed accents such as zigzag overlays or beautiful lace patterns that give their elf hats unique flair. Remember, you can mix and match elements from various patterns; this is all about expressing your creativity. For instance, after mastering the basic structure, try a new color palette or decorative fringes to transform a simple pattern into a personalized statement piece.
Don’t hesitate to experiment! The joy of crafting comes from making something uniquely yours. No matter your skill level, there’s always a way to make your elf hat project enjoyable and fulfilling. Each stitch is a step toward festive fun-so grab your hooks, and let your imagination run wild!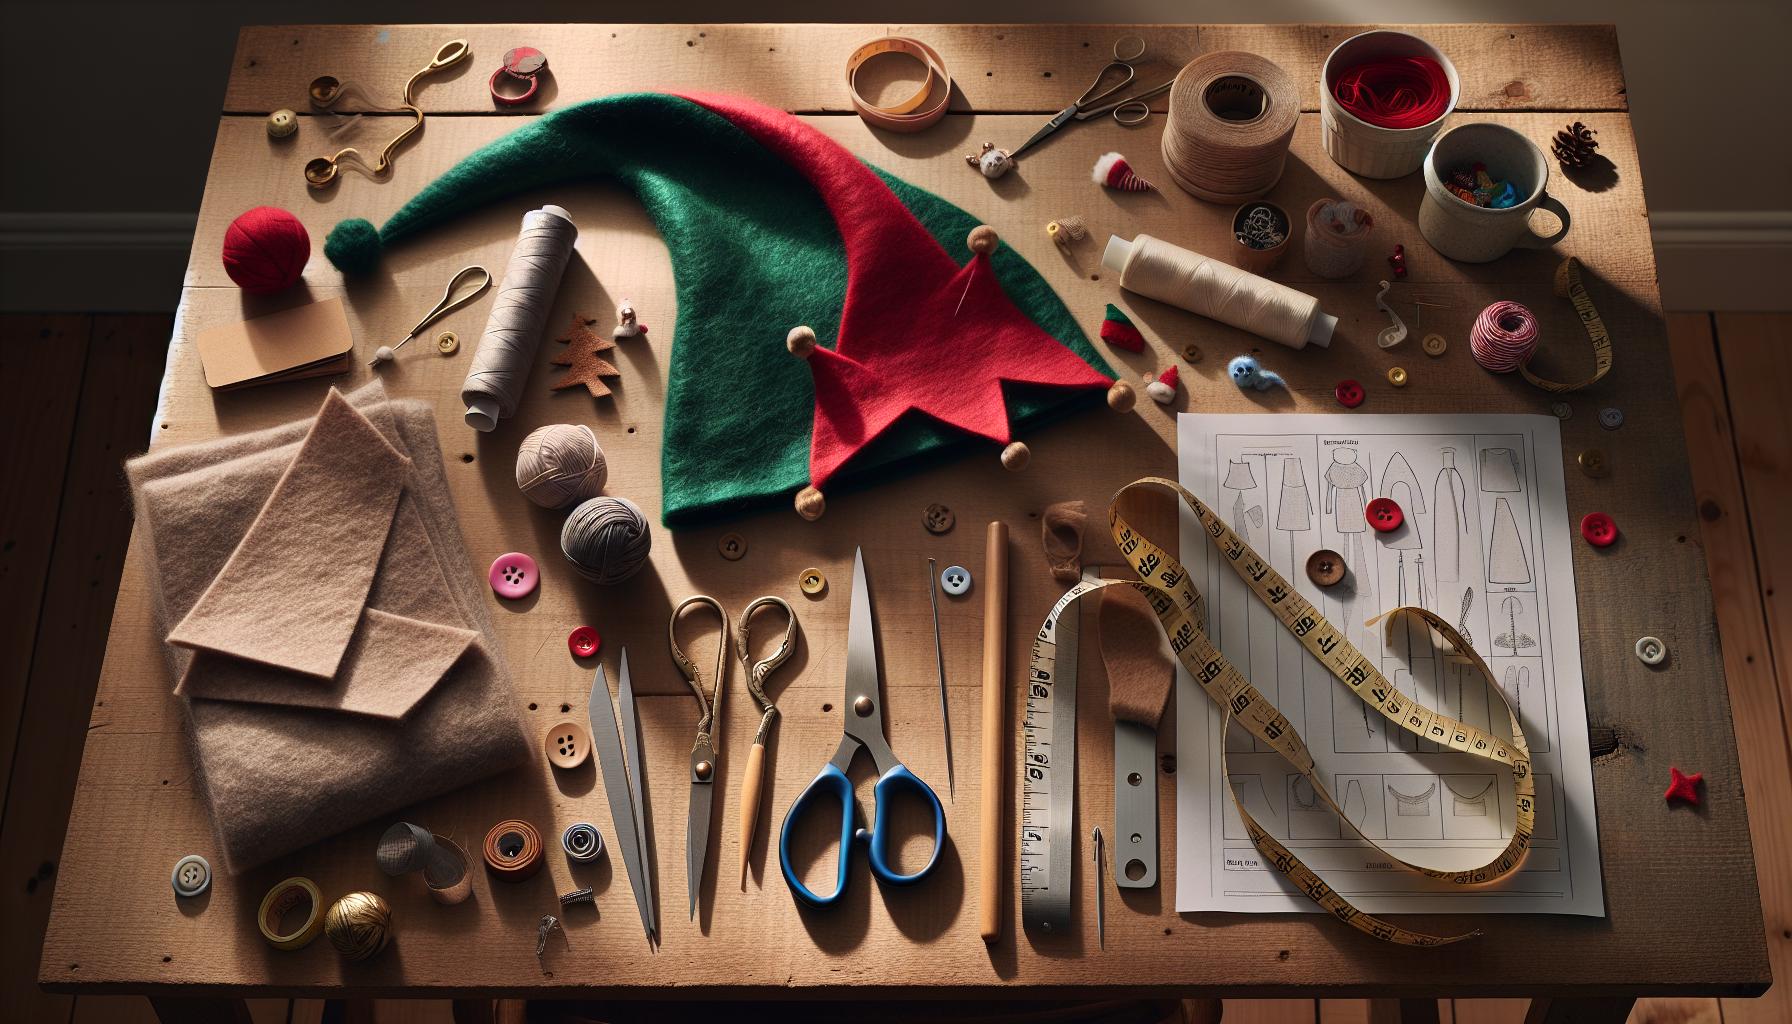
Essential Materials for Your Elf Hat Project
To create a festive crochet elf hat, gathering the right materials is the first step toward crafting your holiday masterpiece. With a few basic supplies, you can personalize this charming accessory to reflect your unique style. Whether you’re a complete beginner or an experienced crocheter, here’s what you’ll need to get started on this delightful project.
Yarn is your primary material, and selecting the right type makes a significant difference. For a classic elf hat, choose a medium-weight yarn (worsted weight) for good structure and warmth. Acrylic blends are a great choice for beginners due to their easy care and vibrant colors. You might opt for festive shades like bright green, red, or even a striped pattern to elevate your design. A typical elf hat will use approximately 100-150 yards of yarn, depending on your size and preferred design.
Hook Size is crucial for achieving the desired texture and fit of your hat. A 5mm (H/8) crochet hook is a popular choice for worsted-weight yarn, providing enough flexibility and support for beginners. If you’re looking to create tighter stitches or prefer a more intricate pattern, consider a smaller hook to refine your work.
Essential Accessories will enhance your finished product. Think about adding materials like stitch markers, to keep your rows organized, and a pair of scissors for neat yarn cutting. Finally, a tapestry needle is essential for weaving in ends and assembling any pom poms or bells you might incorporate.
By gathering these key materials and embracing your creativity, you’ll find that making an elf hat is not just a project; it’s an enjoyable journey. With your supplies ready, you’re well on your way to crafting a truly magical holiday accessory that will spread cheer to everyone who sees it!
Step-by-Step Instructions for Beginners
Starting your crochet elf hat is an exciting adventure! This whimsical accessory can bring a sprinkle of holiday cheer to any outfit. Whether you’re making it for yourself or as a festive gift, starting with clear, simple instructions can make the process enjoyable and fulfilling. You’ll be amazed at how quickly this project comes together once you get going!
To begin, you’ll want to make a slip knot, which is the foundation of your hat. Follow these easy steps:
- Make a Slip Knot: Create a loop with your yarn, then pull a section of yarn through the loop to tighten it around your hook.
- Chain Stitches: You need to chain enough stitches to measure about 18 inches for average adult size (adjust for smaller heads accordingly). A good starting point is to chain approximately 50 stitches but remember to check your gauge!
- Join in Round: Once you have your chain, join it into a circle by slip stitching into the first chain stitch. Be careful not to twist your chain. This forms the base of your hat.
- Work in Double Crochet (DC): For the body of the hat, begin by chaining three (this counts as your first double crochet) and make double crochets into each chain around. Slip stitch at the top of the chain three at the end of the round.
- Continue Rows: Repeat this process for about 10-12 rounds, depending on how tall you want your hat. Change colors if you want to add stripes!
Once you’ve reached your desired height, it’s time to shape the elf hat’s point. Here’s how:
- Decreasing Stitches: To create the point, every few rounds, start decreasing the number of double crochets as you go around. For example, after every few rounds, skip one or two stitches before your latest stitch.
- Finish Off: Once you’ve got it nice and tapered, finish by cutting your yarn, leaving a long tail. Pull the tail through the last stitch to secure it.
Finally, you can add fun accessories like a pom-pom at the tip or embellishments like bells. With a little practice and creativity, this charming elf hat will be a delightful addition to your holiday festivities. Don’t forget, the more you crochet, the better you become, so keep going-you’ve got this!
Advanced Techniques for a Unique Look
Elevate your crochet elf hat project by incorporating advanced techniques that can transform this whimsical accessory into a unique expression of your creativity. These methods not only enhance the aesthetic appeal but also add texture and interest that will make your hat stand out. Let’s explore some creative approaches to take your elf hat to the next level!
One effective way to achieve a distinctive look is by experimenting with different stitch patterns. Instead of sticking to the traditional double crochet, consider using a combination of stitches, like half double crochet or shell stitches. This can create lovely textures that catch the eye. For example, alternating between stitches or creating a ripple effect can convey a playful charm. Here’s a simple pattern to try:
Experimenting with Stitch Patterns
- Shell Stitch: This involves crocheting multiple stitches (like 5 double crochets) in one stitch, then skipping a stitch, and repeating. It adds a ruffled texture that feels festive.
- V-Stitch: This technique consists of making a double crochet, then chaining one, and making another double crochet in the same stitch. It creates a lovely open design.
Another fantastic technique to personalize your elf hat is to play with color changes and stripes. Using multiple colors not only brightens up your hat but also allows you to incorporate seasonal colors that fit your holiday theme. To achieve crisp color changes, remember to:
- Finish the last stitch of the previous color, but don’t complete the yarn over-switch to the new color before pulling through.
- Always carry your yarn along the edge or use the “join as you go” technique to avoid loose ends.
Experimenting with different textures and colors not only makes crafting exciting but also allows you to create a unique piece that resonates with your style. For a final touch, consider adding embellishments like crochet flowers, festive pom-poms, or even a few bells for sound. These little accents can truly make your crochet elf hat a magical accessory for holiday celebrations.
As you dive into these advanced techniques, remember: the key to crafting is exploration and having fun in the process. You can do this, and your elf hat will be a delightful testament to your creativity and skills! Keep pushing your limits, and don’t shy away from trying new tricks-you might just discover your next favorite crochet technique!
Creative Variations on the Classic Design
Crochet elf hats are not just for kids-they can be a playful accessory for all ages. By adding your personal twist, you transform a classic design into something uniquely yours. Think about playful textures, lively colors, and unexpected embellishments that can elevate your hat from ordinary to extraordinary. Here are some creative variations to inspire your creativity.
One fun option is to explore different shapes and silhouettes. While the traditional elf hat has a simple pointed design, you can play with variations like a floppy or slouchy top. This could be achieved by increasing stitches as you reach the top or adding extra rows in a soft yarn for that cozy, whimsical look. You might also consider creating a two-toned shade, where the body of the hat is one color and the tip is another-think bright greens transitioning into a vibrant red for a festive feel.
Adding texture can also provide visual interest. Rather than sticking solely to single or double crochet stitches, incorporate advanced stitches like bobbles or clusters to give your hat a more dynamic visual appeal. These stitches can break up the monotony and make your elf hat a standout piece. For instance, a row of bobbles along the brim can create a delightful bumpy effect, perfect for catching the eye during holiday gatherings.
- Textured Bands: Use a raised stitch technique or ribbing to add contrast at the hat’s base.
- Mixed Media: Combine crochet with other fabric types, like felt or leather, for unique embellishments.
Finally, don’t forget about personalization through accessories. You can add bells, pom-poms, or even crochet flowers to the tip of the hat, injecting elements of surprise. A few jingle bells will certainly spread holiday cheer, while a flower or leaf embellishment can offer a fresh twist that’s perfect for a spring theme.
You can absolutely make this project your own! Each variation is an opportunity to let your imagination shine. Remember, this is all about exploration-try different combinations, play with colors, and most importantly, have fun creating your whimsical elf hat!
Tips for Choosing the Right Yarn and Hook
Choosing the right yarn and hook for your elf hat can make all the difference in your crafting experience, not to mention the final look of your whimsical creation! The yarn you select dictates not only the texture and flexibility of your hat but also the overall vibe-are you aiming for cozy and soft or whimsical and bold? Sticking with traditional yarn weights can simplify your journey. For most elf hat patterns, a medium worsted weight yarn (like a category 4) works wonders. It’s durable enough for holiday wear yet still offers a delightful drape.
When it comes to colors, have fun! Think about using a vibrant red for the main body of your hat and a contrasting green for the tip, or even experiment with variegated yarns that blend various hues. If you want a fluffy, cozy finish, consider yarns with acrylic or wool blends, which provide warmth and a softer feel against your skin. Always refer to your specific pattern for guidance on yarn weight, as this will help ensure your project turns out as intended.
Equally crucial is selecting the right hook. Generally, an H (5.0 mm) or I (5.5 mm) crochet hook is ideal for worsted weight yarn, but this can vary depending on your yarn choice and personal tension. To find a hook size that feels right, crochet a small swatch-this practice not only helps you gauge tension but also lets you test how your yarn interacts with the hook. If you notice your stitches are too tight or too loose, simply adjust your hook size accordingly.
- Experimentation is key: Don’t hesitate to try a few different yarns and hooks. You might find a combination that sparkles with creativity!
- Color and material impact: Lighter-colored yarns work beautifully for showcasing decorative stitches, while darker shades can give a rich, finished look.
With the right yarn and hook, you’ll be on your way to crafting a stunning elf hat that’s sure to turn heads! Remember, the process is just as important as the final product. Enjoy choosing your materials, and don’t forget to have fun with this festive project. You can absolutely do this!
How to Master Color Changes and Stripes
To create an enchanting elf hat that stands out, mastering color changes and stripes can elevate your project to a whole new level. The beauty of crochet lies in its versatility, and adding stripes or shifting colors can transform an ordinary design into an extraordinary masterpiece. Picture your elf hat with vibrant green and red stripes spiraling up, or a base color shifting between soft pastels-it’s all about the joy of creativity!
Start with the basics. When you want to change colors, it’s essential to plan ahead. Always make sure to keep the yarn for the new color close when you’re approaching the change. Here’s a simple, step-by-step method to help you through the transition:
- Complete the last stitch of the current color but don’t finish it. As you pull the last loop through, switch to the new color on your hook (hold the new yarn alongside the old).
- Complete the stitch with the new color.
- Cut the old color if you’re finished with it, leaving a few inches for weaving in later.
- Continue crocheting with the new color, ensuring your tension is consistent.
When working with stripes, it’s helpful to keep your colors organized. You can use a yarn bowl to prevent tangles, especially if you’re using multiple colors or yarns. Create wide, bold stripes for a playful look, or thin, delicate stripes for a more refined aesthetic. If you’re feeling adventurous, consider trying a “fading” technique-gradually alternating colors instead of making sharp transitions.
- Practice on a swatch: Before diving into your hat, stitch a small swatch to get comfortable with transitioning between colors.
- Keep it neat: As you work, be mindful of where your yarn tails are. Weave them in neatly after you finish the project for a clean look.
Embrace the process of experimenting with color! Whether you choose to create bold designs or delicate transitions, remember: crochet is all about having fun and expressing yourself. You can absolutely master color changes and stripes with practice and patience. Your elf hat will be a unique reflection of your creativity-perfect for holiday celebrations or gifting to loved ones. You’ve got this!
Adding Accessories: Bells, Pom Poms and More
Adding the perfect accessories can take your crochet elf hat from cute to absolutely charming. Think about how delightful it would be to embellish your creation with playful pom poms or jingly bells that make it truly festive! These little details not only enhance the aesthetic appeal but also elevate the overall fun of wearing the hat.
For adding a pom pom, you’ll need just a few extra materials: yarn, scissors, and a pom pom maker (or you can create one using cardboard). Start by wrapping your yarn around the pom pom maker or cardboard several times-aim for at least 50 to 100 wraps for a fluffy finish. Once done, tie a sturdy piece of yarn tightly around the center. Cut the loops, fluff up your pom pom, and trim to shape. Finally, securely attach it to the tip of your hat with a few stitches or use a hot glue gun for a quick fix. Voilà! You’ve added a playful element that gives your elf hat character.
Another festive touch is incorporating bells. These tiny, metallic wonders catch the eye and add a delightful jingle when you move. To attach them, simply thread a piece of yarn or a thin string through the bell’s loop. Securely tie it to a stitch on your hat, ensuring it’s well anchored so it won’t fall off with wear. For an extra touch, you could create a small cluster of bells along the hat’s brim for that whimsical look that’s perfect for holiday celebrations.
Don’t shy away from experimenting with other accessories either! Consider adding fabric flowers, ribbons, or even small holiday-themed ornaments that resonate with your personal style. Each embellishment you choose can reflect your creativity and joy during the making process. Embrace the chance to express yourself-after all, crafting is as much about the journey as the destination! You’re turning a simple hat into a treasured holiday accessory, and that’s something to celebrate!
Stylish Elf Hat Ideas for Holiday Celebrations
Crafting an elf hat can be a delightful way to engage in the holiday spirit! Not only is it a fun and creative project, but it also results in a stylish accessory that can add a touch of whimsy to any festive gathering. Whether you’re making hats for a family celebration, a themed party, or simply as gifts, your creations are sure to bring joy. Here are some ideas to inspire you and bring a spark of creativity to your elf hat projects.
Classic Elf Hat Styles
Start with the quintessential pointed elf hat, which can be made using traditional colors like red and green. This style is perfect for both kids and adults! For a fun twist, you can alternate stripes of color or use a variegated yarn to create a unique pattern. Aim for a snug fit at the base and a tall, floppy tip that can be bent to your liking. Add a fluffy pom pom at the top to enhance the playful character of your hat.
Themed Variations
Want to take it up a notch? Consider creating themed hats! For a whimsical garden fairy look, use pastel colors and blend in floral appliqués. If you’re feeling adventurous, how about a snow-themed elf hat with sparkly white yarn and shimmering beads to mimic snowflakes? Each themed variation allows for immense creativity and personalization-think about what resonates with you or the recipient.
Holiday Character Hats
Another idea is to transform your elf hat into a character design. For example, add features to turn it into a reindeer hat complete with antlers made from yarn or felt! Or switch it up to create hats that mimic popular holiday characters-like a Grinch hat-that features green yarn with black and red adornments. These character hats are great conversation starters and perfect for getting everyone into the holiday mood.
Pair your hats with matching scarves or mittens for complete outfits; the options are truly endless! Share your creations on social media or in crafting communities to inspire others. Remember, every project, no matter how simple, is a step towards perfecting your craft. You’ve got this-each stitch brings you closer to a beautiful holiday masterpiece!
Troubleshooting Common Crochet Issues
Creating your elf hat can be magical, but sometimes things don’t go as planned. Don’t fret! Many common crochet issues have easy solutions, and troubleshooting can even enhance your skills. Every crafter, regardless of experience, runs into a snag now and then. Here are some tips to keep your project on track.
One of the most frequent concerns is gauge. If your elf hat turns out too small or too big, you might be using the wrong yarn or hook size. Always check your gauge by making a small swatch before starting. For added precision, consider using a measuring tape to compare your swatch to the pattern requirements. If your gauge is off, adjust your hook or switch yarns until you achieve the desired tension.
Another challenge is uneven tension, which can make your hat look wavy or lumpy. This can happen if you’re too tense or too loose while crocheting. To address this, try to consciously relax your grip on the yarn. If you find yourself overly tensed, take breaks and stretch your hands to relieve the strain. Practice makes perfect, and over time, your tension will become more consistent. If you’re struggling with specific stitches, don’t hesitate to unravel a couple of rows and rework them – it’s all part of the learning process!
When working with color changes, you might find the edges look messy or the colors don’t blend well. One solution for this is to carry the unused yarn along the edge or use a technique called “stranding.” This way, the color transitions will look cleaner. If you’re feeling adventurous, experiment with different stitch types or patterns for your color changes; it can add a beautiful flair to your hat and will showcase your creativity!
Lastly, if your eyes are swamped with lots of ends to weave in, consider using a self-striping yarn for a more seamless look, or make a game of threading those ends and turn it into part of the fun! Remember, every little hiccup in your crochet journey is a stepping stone to mastering the craft. You have the power to create something beautiful, and with each problem you solve, you’ll build confidence and skill. Just embrace the process, and soon, you’ll have a whimsical elf hat ready for any holiday gathering!
Sharing Your Finished Projects with the Community
After crafting your delightful elf hat, sharing your creation with the community can enhance your experience and inspire others. The crochet world thrives on collaboration and encouragement, and your unique design can spark joy and creativity in fellow crafters. Whether you’re a beginner or a seasoned crochet artist, showcasing your finished elf hat not only celebrates your hard work but also connects you with a like-minded community.
One of the easiest ways to share your project is through social media platforms like Instagram, Facebook, or Pinterest. Snap some lively photos of your elf hat from different angles, perhaps with your holiday decor in the background. Use hashtags such as #CrochetElfHat, #HandmadeHoliday, and #CrochetCommunity to reach a broader audience. Don’t forget to mention any patterns or tutorials that inspired your design, as this can help others who wish to embark on a similar project.
You can also join crochet groups or forums online, such as Ravelry or Discord. These spaces are typically warm and inviting, where you can post images of your hat and share your crafting journey. Be open about the challenges you faced during the project and how you overcame them. Not only does this provide valuable insight to others, but it can also provoke helpful discussions or tips from fellow crafters who’ve made similar projects.
Lastly, consider participating in local craft fairs or community events where you can display your elf hat alongside other handmade items. These gatherings are fantastic for networking, earning feedback, and even selling your creations. Sharing your work fosters community spirit, and you might find that it leads to new friendships, collaborative projects, or even future crafting opportunities. Remember, the joy of making is magnified when you share it with others-your elf hat is not just a cute holiday accessory; it’s a bridge to connection and creativity!
Caring for Your Crochet Creations: Washing and Storage Tips
Taking care of your crochet creations, like your delightful elf hat, ensures that your hard work lasts through many holiday seasons. Proper washing and storage can keep your project looking fresh and vibrant, letting you showcase it year after year. Whether you’re adorned in festive colors or fancy embellishments, a few simple steps can maintain the beauty of your handmade accessory.
When it comes time to wash your elf hat, always check the yarn label for specific care instructions. Most synthetic and blended yarns can withstand a gentle cycle in the washing machine, but it’s safer to hand wash with cool water and a mild detergent. To do this, simply fill a basin with cool water, add a small amount of detergent, and swish the hat gently. Rinse until the water runs clear, being careful not to stretch the stitches. Avoid wringing or twisting the fabric, which can warp its shape. Instead, roll it in a clean towel to absorb excess water before laying it flat to dry on a drying rack or a clean, dry towel in its natural shape.
Storage Tips
Storing your elf hat correctly is just as important as washing. If you want to keep your elf hat in mint condition during the off-season, consider these tips:
- Avoid Folding: Instead of folding, which can cause creases, store your hat flat. If space is an issue, gently stack it on top of other items.
- Protect from Dust: Place your hat in a breathable garment bag or a cotton pillowcase. This keeps dust bunnies at bay while allowing air circulation.
- Avoid Direct Sunlight: Store your hat in a cool, dark place to prevent discoloration from sunlight, which can fade those vibrant holiday colors over time.
- Keep Away from Moths: Use cedar blocks or lavender sachets in your storage area to naturally deter moths and other pests.
By taking these steps, you can confidently display your magical elf hat for all your holiday celebrations! Remember, caring for your creations not only preserves them but also enhances the joy of making and wearing something so beautifully personal. You’ve put love and creativity into your hat, so treat it with the care it deserves, and it will bring you joy for years to come.
Frequently asked questions
Q: What are the best yarn types for a crochet elf hat?
A: Acrylic and wool blends are popular choices for a crochet elf hat due to their warmth and ease of use. For a holiday feeling, choose vibrant colors or variegated yarns. Check the section on Tips for Choosing the Right Yarn and Hook to find a perfect match for your design!
Q: How long does it take to crochet an elf hat?
A: Crocheting an elf hat typically takes 2 to 4 hours, depending on your skill level and the complexity of the pattern. For beginners, starting with a simpler design can help you complete it more easily. Refer to the Step-by-Step Instructions for Beginners section for guidance!
Q: Can I personalize my crochet elf hat?
A: Yes! You can personalize your elf hat by adding unique colors, stripes, or accessories like pom poms and bells. Check out the Creative Variations on the Classic Design section for inspiration on customizing your project.
Q: What is the easiest crochet stitch for an elf hat?
A: The magic ring, followed by single crochet stitches, is ideal for beginners making an elf hat. This method creates a nice, tight start. For more techniques, view the Step-by-Step Instructions for Beginners in the main article!
Q: How do I troubleshoot sizing issues with my elf hat?
A: If your elf hat is too small, try using a larger hook or adding more starting chains. For oversized hats, reduce your initial chain length. Visit the Troubleshooting Common Crochet Issues section for more tips on getting the right fit.
Q: Can I use a crochet elf hat pattern for different ages?
A: Absolutely! Elf hat patterns can easily be adjusted for children and adults by altering the size. Use different yarn weights or modify the number of stitches in the pattern. Check the Crochet Elf Hat Patterns for All Skill Levels section for adaptable designs.
Q: What accessories can I add to my crochet elf hat?
A: You can enhance your elf hat with bells, pom poms, and even handmade decorations like felt shapes. These additions can make your hat more festive. Explore the section on Adding Accessories: Bells, Pom Poms and More for fun ideas!
Q: How should I care for my crochet elf hat after making it?
A: To care for your crochet elf hat, hand wash it in cool water and lay it flat to dry. Avoid harsh detergents to preserve the shape and color. For more detailed care instructions, see the Caring for Your Crochet Creations: Washing and Storage Tips section.
The Conclusion
Now that you have your delightful Crochet Elf Hat Pattern, it’s time to embark on your crafting journey and bring a spark of magic to your holiday season! Remember, creating this charming accessory is perfect for all skill levels-it’s fun, rewarding, and only requires basic materials you likely have at home. Ready to take the leap? Download the pattern now and let your creativity shine!
While you’re here, check out our collection of free crochet patterns, including stylish scarves and cozy blankets, that will enhance your crafting skills and keep the festive spirit alive. Curious about tips for perfecting your crochet techniques? Don’t miss our guide on basic crochet methods! Each creation you make adds to your confidence as a crafter, so don’t hesitate-start your whimsical crochet adventure today! Leave a comment to share your progress or follow us for more inspiring projects. Happy crocheting!
Get our latest guides, news, and insights highlighted in your Google Search & AI Overviews.