
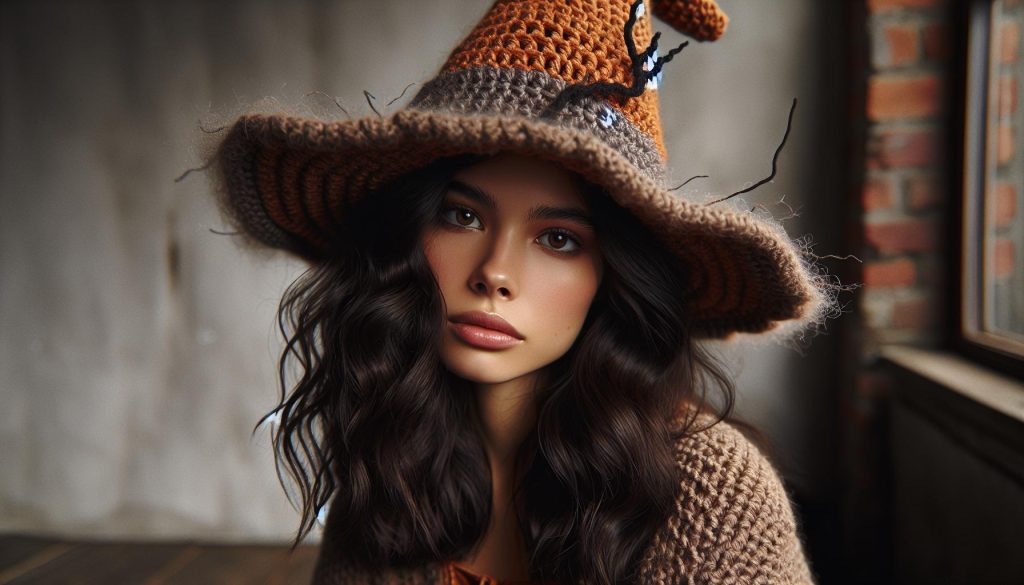
Are you ready to add a touch of magic to your Halloween festivities? Crocheting your very own witch hat is a fun and rewarding project that not only showcases your creativity but also provides a charming accessory to your spooky attire. Whether you’re dressing up for a party or simply want to bring some Halloween spirit to your home, this free crochet witch hat pattern is perfect for crafters of all skill levels.
With just a few materials and a bit of time, you can create a whimsical hat that embodies the spirit of Halloween. Imagine the joy of wearing something you made yourself, or gifting it to a loved one. Crochet is not just about crafting; it’s about expressing yourself and making memories. So grab your hook, and let’s dive into this delightful project-because you can absolutely do this! Keep reading for step-by-step instructions that will guide you through each stitch.
Crochet Witch Hat Pattern: Materials You Need
Creating a witch hat through crochet is not only a fun project but also a perfect way to get into the Halloween spirit! To bring your spooky creation to life, gathering the right materials is key. Here’s a list of what you’ll need to stitch up your very own witch hat, along with some tips to kickstart your crafting adventure.
First up, you’ll need yarn-choose a worsted-weight yarn for a cozy, sturdy hat. Black is the classic choice for a witch hat, but feel free to experiment with other colors like purple or green for a fun twist! You’ll want about 200-300 yards, depending on the size you’re making. If you’re feeling adventurous, look for sparkly or texture-rich yarns that can add an extra flair to your design. Crochet hooks in the size recommended for your yarn (usually H/8 or I/9) will be your primary tool, along with a tapestry needle to weave in any ends once your hat is complete.
Don’t forget about accessories! Consider adding embellishments such as ribbons or fabric flowers for a personalized touch. If you want to get a little spooky, small appliqués shaped like bats or pumpkins can be perfect for decorating your hat. Lastly, having scissors handy for trimming yarn and a stitch marker can help keep your project organized and progress smooth.
With these materials in hand, you’re ready to embark on your crochet journey! Remember, it’s all about enjoying the process and letting your creativity shine. Whether you’re a beginner or a seasoned crocheter, crafting your witch hat is sure to be a bewitching experience!
Easy Steps to Crochet Your Witch Hat
To create your very own crochet witch hat, let’s dive into an easy step-by-step guide that will make this fun project both achievable and enjoyable! Whether you’re a seasoned crocheter or just starting, these friendly guidelines will help you bring a bit of spooky flair to your Halloween celebrations.
Start by making a magic circle, which serves as the foundation for your hat. This technique allows for a tight center and sets the stage for your stitches. Once you’ve got your magic circle started, you’ll begin by chaining an appropriate number of stitches to create the base of the hat. Typically, you’ll work in single crochet or double crochet, depending on your desired look. After a few rows, gradually increase your stitch count to give your hat its iconic shape. This creates the flared brim that is so characteristic of witch hats.
As you work upward, remember to check the size frequently to ensure it fits comfortably. You can try it on as you go-after all, this hat is all about you! When you’ve reached your desired height, it’s time to shape the brim. You can either continue to build it outwards or incorporate some decorative stitches if you’re feeling adventurous. Finish off with a sturdy slip stitch or a neat finishing technique to secure your project.
To add an extra touch, this is where you can customize your hat with embellishments! Consider sewing on some spooky appliqués like bats or moons, or even adding a shiny ribbon around the base. Remember to weave in any loose ends with your tapestry needle for a clean look. With your hat completed, don’t forget to show it off during Halloween festivities! Enjoy the process-every stitch is a step into a magical world of creativity!
Tips for Choosing the Right Yarn
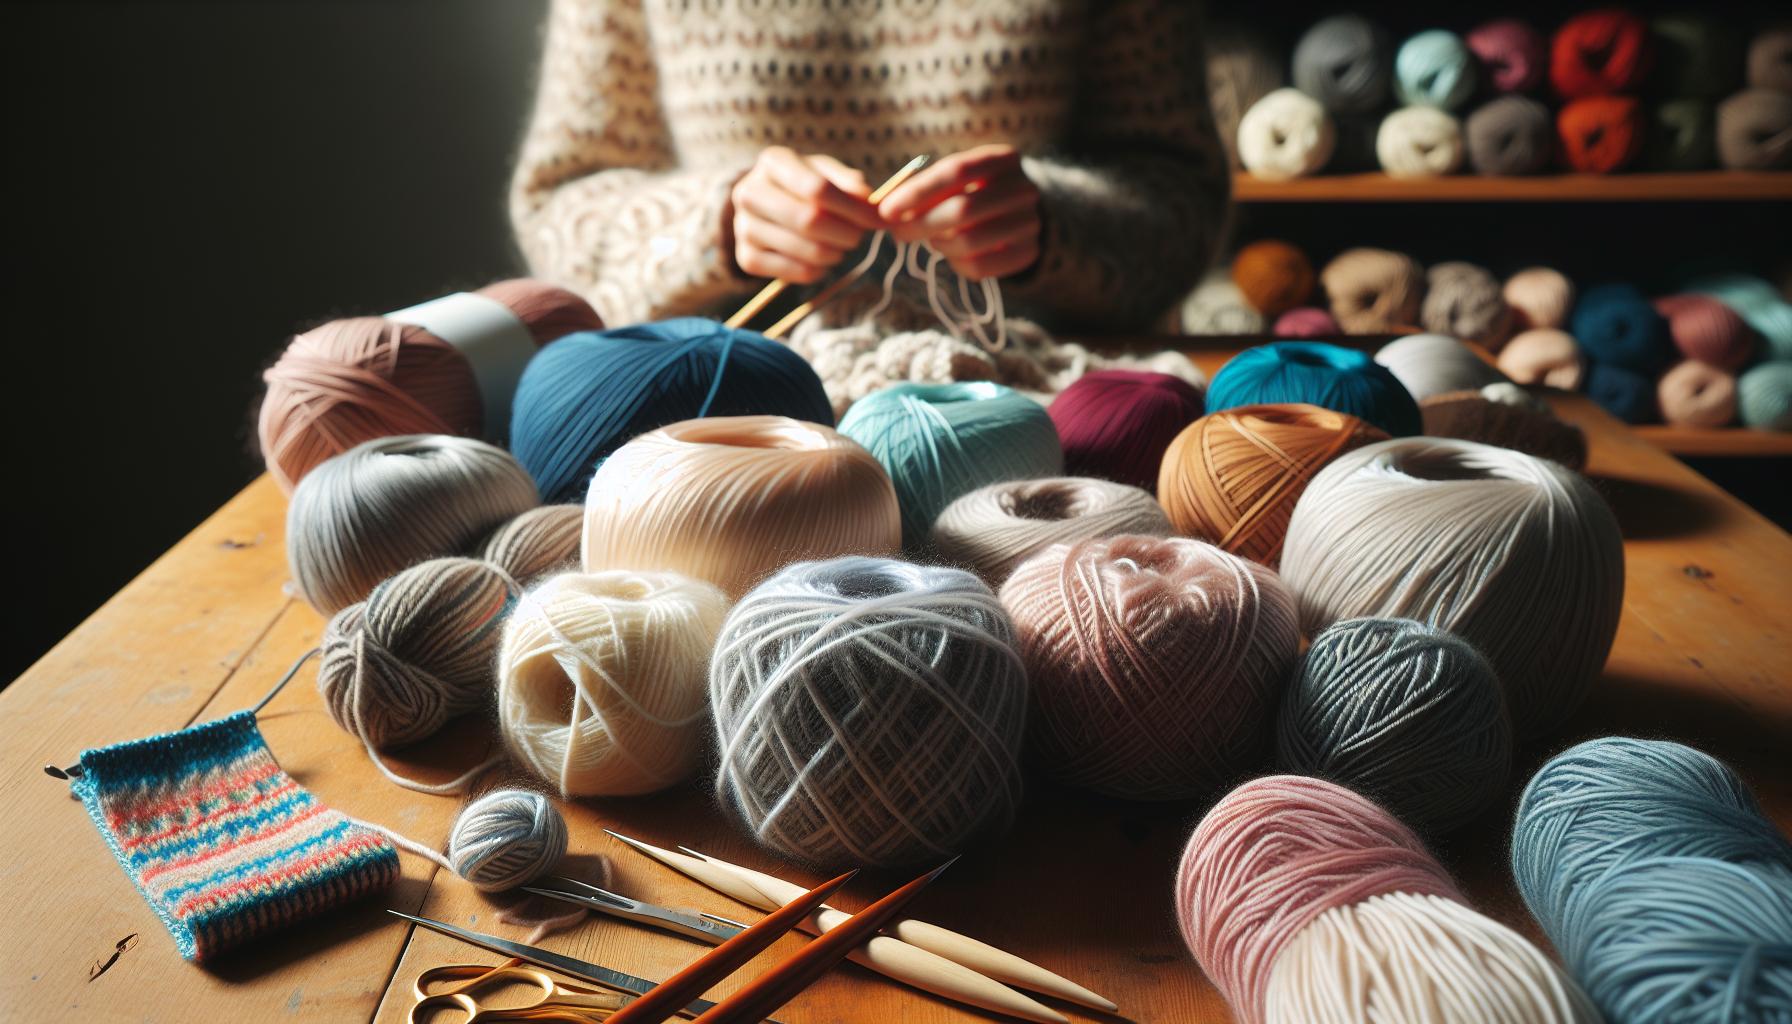
Choosing the right yarn for your crochet witch hat can make a world of difference in both the look and feel of your creation. The perfect yarn not only enhances the overall aesthetic but also impacts the ease of working with the project. When selecting your yarn, consider factors like texture, weight, and color to bring your spooky vision to life!
To start, think about the yarn weight. For a witch hat, worsted weight (Category 4) is often ideal. It provides enough structure for the hat while remaining easy to manage. If you’re feeling adventurous, you can opt for a bulkier yarn (Category 5) for a plushier look or a lighter yarn (Category 3) for a floppy, whimsical style. Remember, this is your creative project, and you can experiment to find what works best for your intended design!
Next up is color. Classic black and deep purple can capture that traditional witchy vibe, but don’t shy away from brighter hues or even variegated options! Think about incorporating festive colors like orange or green, especially if you want your hat to stand out at Halloween parties. If you’re adding embellishments, like bows or appliqués, consider a yarn that contrasts nicely with your base color to ensure they pop.
Lastly, consider the fiber content. Acrylic yarns are a popular choice because they are durable, easy to care for, and come in a wide array of colors. Cotton is another good option for those wanting a more breathable finish, especially useful if you plan to wear your hat for extended periods. If you’re ensuring your hat is soft on the skin, look for yarns labeled as “soft” or “baby” yarn. Always check the yarn label for washing instructions too; many acrylics can be tossed in the wash, making maintenance easy.
With these tips in mind, you’re well on your way to selecting the perfect yarn for your crochet witch hat. Embrace the creativity of choosing colors and textures that reflect your unique style-after all, this is your personal touch to your spooky season! Happy crocheting!
How to Customize Your Crochet Witch Hat
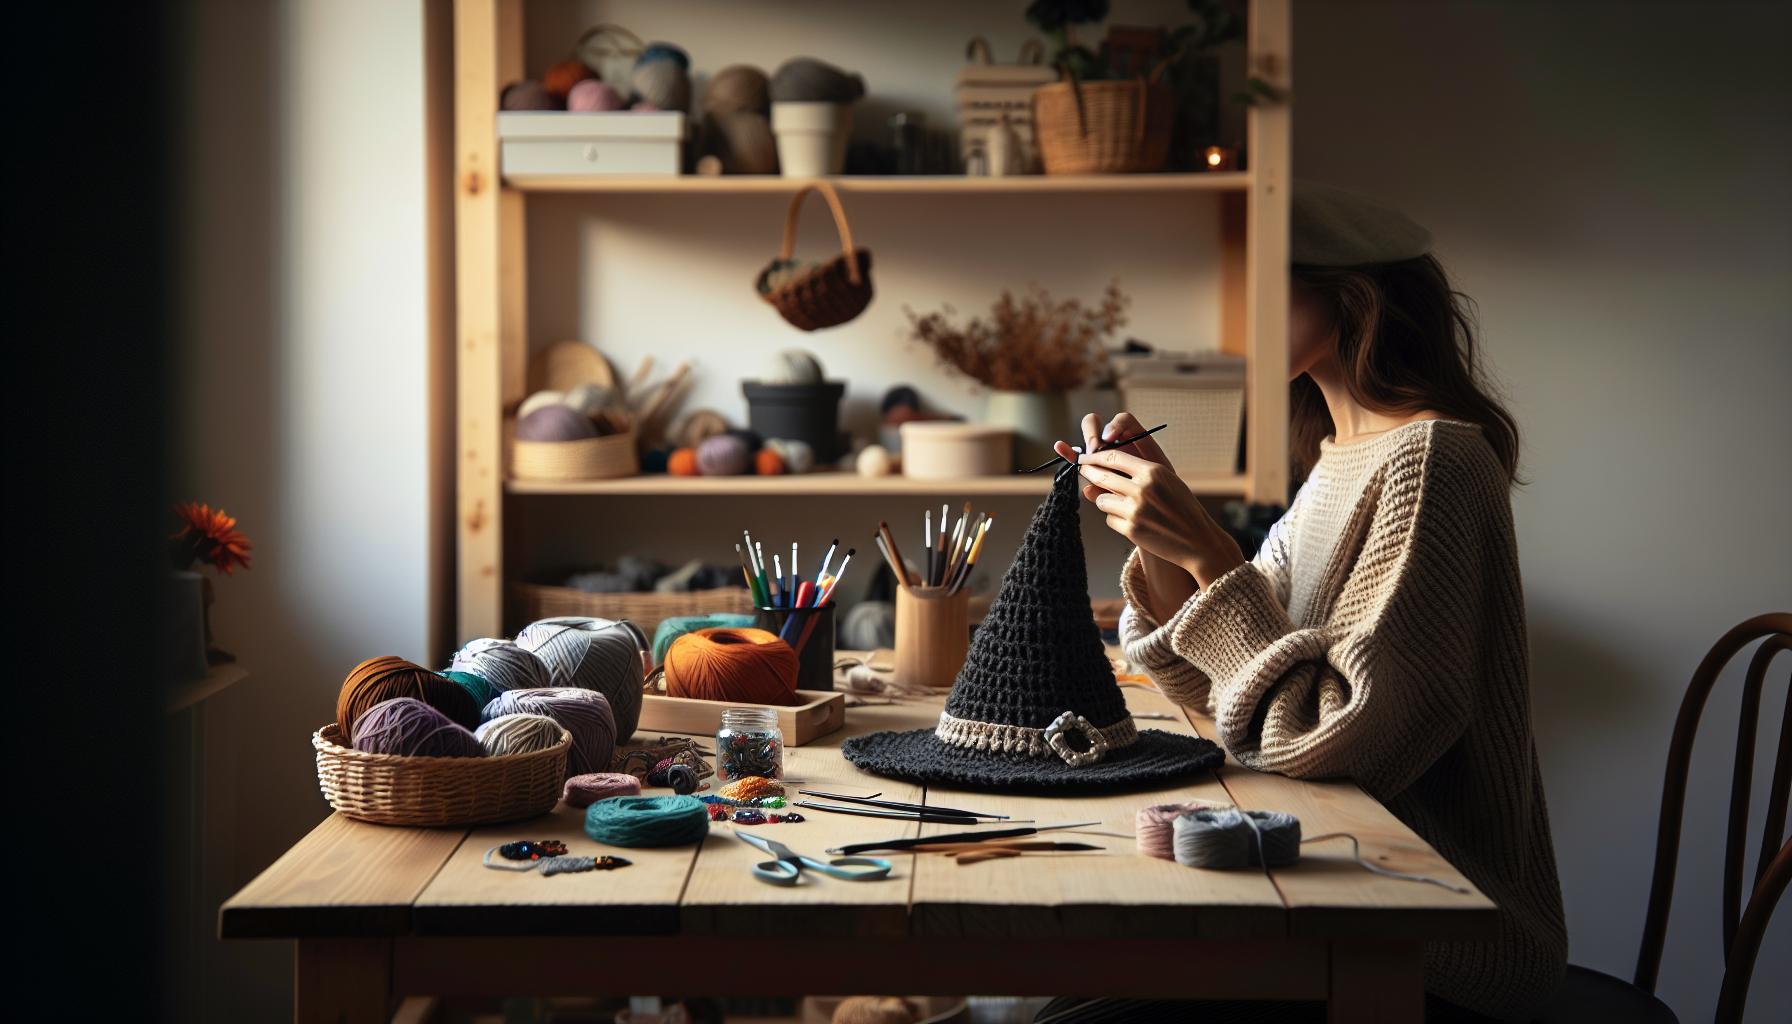
Your crochet witch hat doesn’t have to be a one-size-fits-all project! Customizing your hat can turn a simple pattern into a unique creation that reflects your personal style and flair for the spooky season. From altering the shape to adding fun embellishments, there are endless ways to make your crochet project truly yours. Whether you’re a beginner just starting out or an experienced crafter looking to showcase your skills, you’ll find that these simple adjustments are both achievable and rewarding.
Adjusting the Shape
Changing the shape of your witch hat is a fantastic way to put your stamp on it. For instance, if you prefer a classic pointed hat, ensure to extend the height of the main body and taper the top more sharply. Conversely, for a floppy witch hat, consider using a lighter yarn and omitting the decreases at the top to achieve a more relaxed look. You can also play with the brim-make it wide and floppy for a whimsical appearance or narrow for a sleeker style. Remember, experimentation is key! Try different shapes on a smaller scale first to find the look you love.
Adding Unique Embellishments
No witch hat is complete without some spook-tacular details! Bows, flowers, and appliqués can transform your hat into something extraordinary. Here are a few ideas to get you started:
- Decorative Bows: Crochet a simple bow in contrasting colors and sew it onto the side of your hat. You can also create multiple bows of varying sizes for added charm.
- Seasonal Appliqués: Consider crafting mini pumpkins, ghosts, or bats to sew onto your hat. These can be made from simple crochet patterns and stitched on securely.
- Spooky Textures: Use yarns with different textures, like fuzzy or sparkly yarn, to create an eye-catching contrast. Incorporating eyelash yarn can add a magical touch!
No matter how you choose to customize, be sure to enjoy the process. This is your chance to express creativity, so let your imagination run wild! Share your creations with the community and inspire others to embrace their inner witch. Remember, each stitch is a step closer to your spooky masterpiece! Happy crocheting!
Adding Spooky Accents: Bows and Appliqués
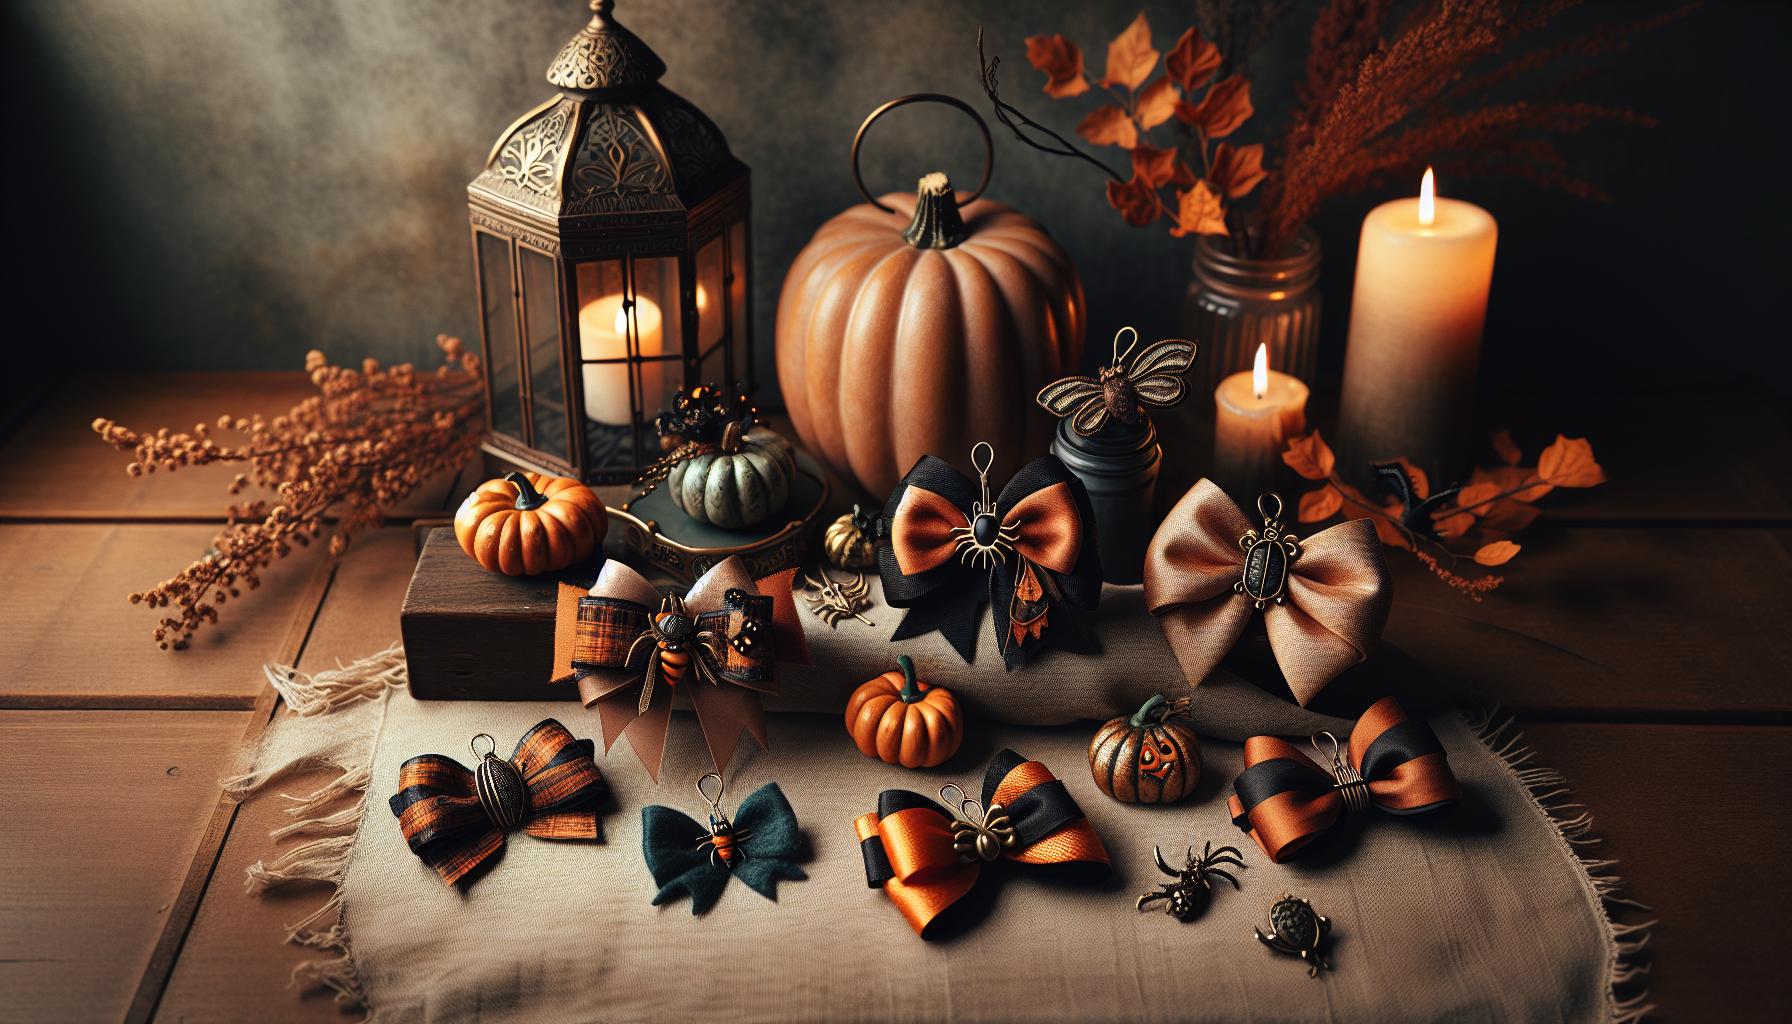
Adding those extra spooky touches to your crochet witch hat can elevate your project from basic to magical! Bows and appliqués are not only fun to make but also allow you to showcase your creativity. Even if you’re new to crocheting, getting started with these embellishments is a breeze, and you’ll be thrilled with how they transform your hat.
To begin, consider incorporating decorative bows. These are simple to crochet and add a delightful charm. Start by selecting a contrasting color yarn that pops against your hat’s base color. A basic bow can be completed in just a few rows; crochet a small rectangle, fold it in half, and stitch down the center to create the bow shape. For a playful twist, try varying the sizes of the bows and arranging them in clusters for a whimsical look. Secure them to your hat with a few stitches, and watch your hat come to life!
Next up are seasonal appliqués. These little crochet decorations can be crafted in the shape of mini pumpkins, adorable bats, or even mischievous ghosts. They’re not just easy to make but also a great way to use leftover yarn! To create an appliqué, choose a simple pattern that matches your skill level. For example, a basic pumpkin can be made using orange yarn for the body and green for the stem. Once your appliqués are complete, attach them to your hat with a needle and thread or by crocheting them directly onto the fabric. The variety you can create will make your witch hat truly unique!
Lastly, think about integrating spooky textures into your design. Using different types of yarn, like sparkly or fuzzy yarn, can add depth and dimension to your hat. For instance, a fluffy yarn can give a ghostly appearance when crocheted into a small bat or spider. Don’t hesitate to experiment with materials you have on hand; this is all about having fun and expressing your style. Embrace the joy of crafting, and remember: there aren’t any rules in creativity! Each project is an opportunity to learn and grow as a crocheter. Happy crafting!
Common Mistakes to Avoid While Crocheting
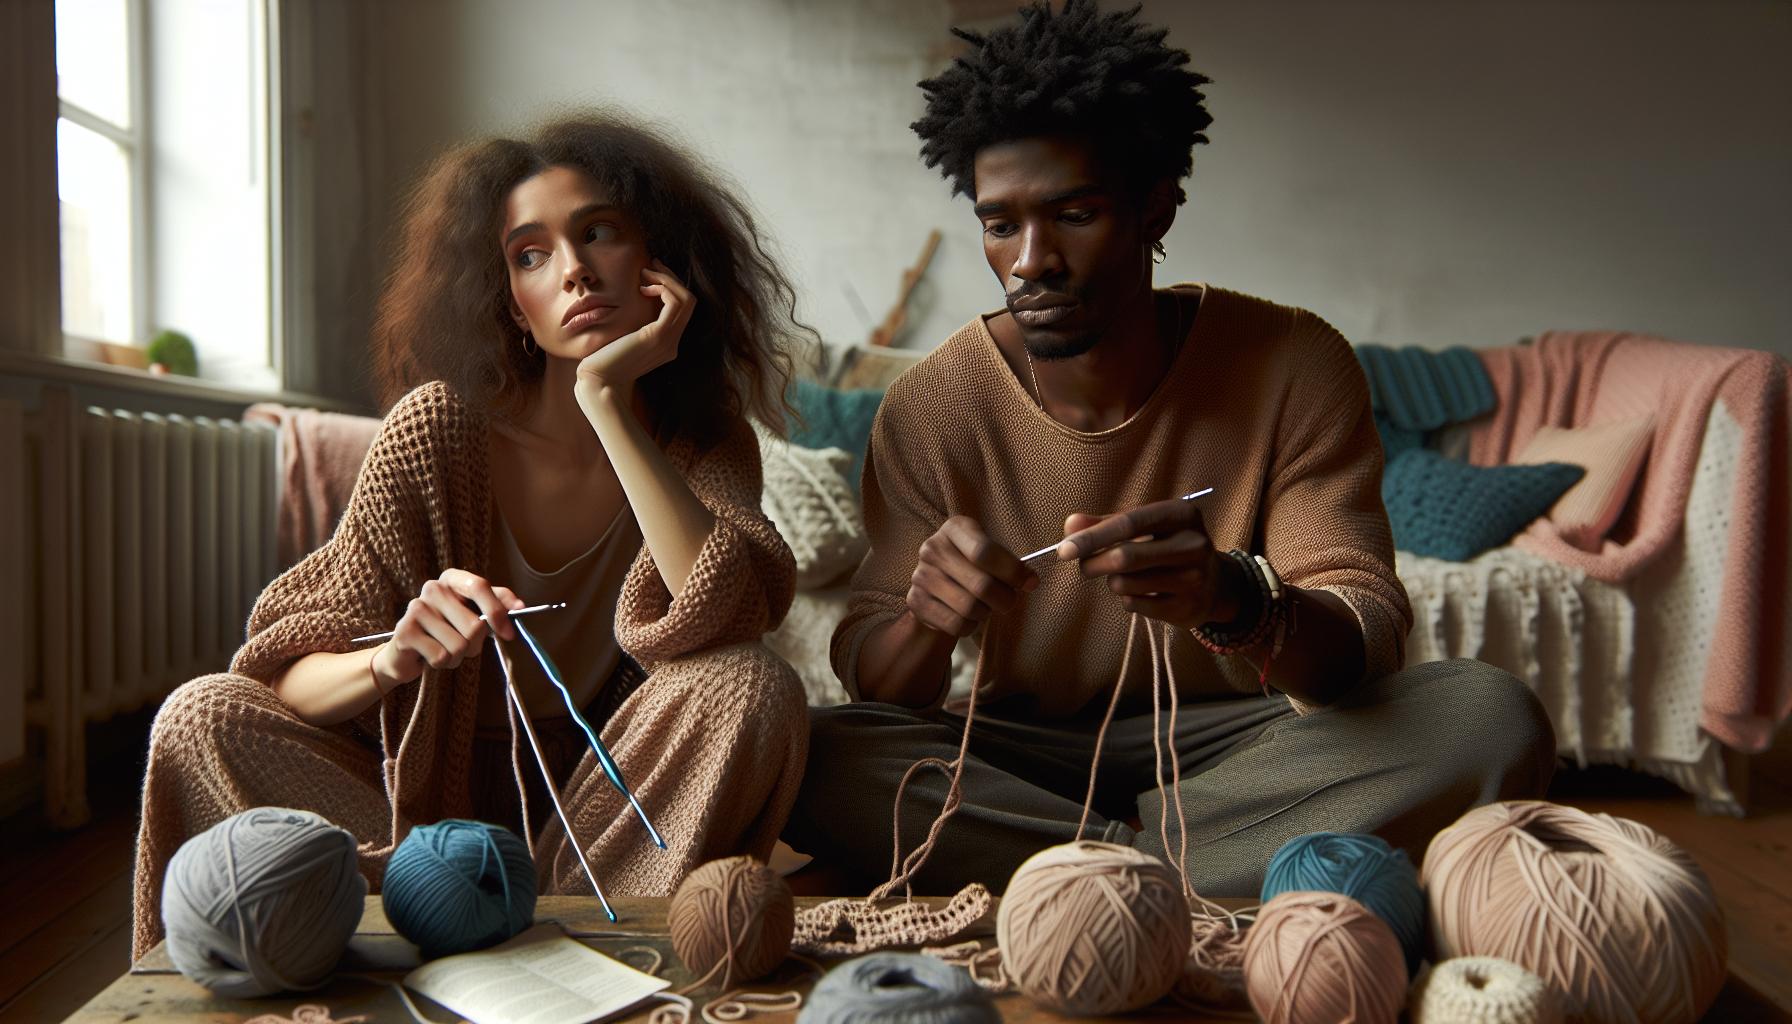
When diving into the enchanting world of crochet, it’s thrilling to create your very own witch hat for Halloween. However, even seasoned crafters can stumble upon a few common hiccups. By being aware of these potential pitfalls, you can avoid frustrations and successfully craft a whimsical hat. Let’s take a closer look at some missteps that can occur, so you can confidently navigate your project.
One common mistake is not reading the pattern thoroughly before starting. Patterns often include crucial information about stitch counts, yarn types, and gauge. Skimming through these details can lead to confusion and errors. To ensure a smoother crafting experience, take the time to read the pattern in its entirety. Consider keeping a checklist to monitor your progress and refer back to the instructions as needed.
Another frequent issue is underestimating yarn tension. If your stitches are too tight, your hat may end up smaller than intended. Conversely, overly loose stitches can create a floppy structure. To achieve the correct tension, practice with your yarn and hook before you begin on your witch hat. If you’re uncertain, test with a small swatch to find the right balance. Remember, consistency is key! Aim for even stitches, and don’t hesitate to adjust your grip if you feel like you’re winding up with irregular tension.
Additionally, many beginners overlook the importance of recognizing when to frog (rip back your stitches). It can be tempting to power through when you notice a mistake, but this often leads to more complicated issues down the line. If something doesn’t look right-like uneven rows or a shape that’s not forming correctly-don’t hesitate to unravel your work back to the mistake and start again. Embracing this process is part of becoming a better crocheter.
Finally, ensure that you’re equipped with the right tools. Using a hook that’s too small or too large can dramatically affect the fit of your hat. If you’re unsure about the ideal hook size, refer back to your pattern for guidance or consider the recommended gauge. A proper fit will not only make your hat look great but also keep you comfortable while you wear it.
By being mindful of these common mistakes, you can breathe easier as you channel your creativity into crafting an adorable crochet witch hat. Remember, everyone makes mistakes-it’s all part of the learning process. Embrace the journey, and soon you’ll have a spooktacular piece ready to flaunt this Halloween! Happy crocheting!
Expert Techniques for Advanced Crocheters
When it comes to crafting a standout crochet witch hat, advanced techniques can elevate your project to a whole new level. Whether you’re seeking to refine your skills or simply add a personal touch to your creation, these expert methods will help you achieve that stunning finish. Embrace the challenge-after all, advanced techniques are a way to express your unique style!
Mastering Color Changes
One of the most striking aspects of a witch hat can be its color scheme. Mastering the art of color changes can create beautiful gradients or bold stripes. To change colors seamlessly, follow these steps:
- Complete the final stitch of the old color, but before pulling through the last yarn over, add in the new color.
- Use the new color to pull through the last loop and proceed as normal.
- Carry the unused color along the top of the stitches on the back to avoid excess ends to weave in later.
This technique not only enhances the visual appeal but also saves time in finishing your project.
Incorporating Texture
Adding texture can turn an ordinary hat into something truly magical. Consider using advanced stitch techniques such as puff stitches or bobbles to create a striking three-dimensional effect. Here’s how to incorporate puff stitches:
- Yarn over and insert your hook into the stitch, pull up a loop, and repeat this step a total of five times.
- Once you have six loops on your hook, yarn over and pull through all loops to finish the puff.
- Place your next stitch directly beside it to maintain the hat’s shape.
Textured elements can bring depth to your design, ensuring your witch hat is as unique as your crafting style.
Utilizing Different Yarn Types
Don’t shy away from experimenting with various yarn materials to enhance your project. Consider using metallic or sparkly yarn for a whimsical touch. These can add a magical shimmer that reflects the spirit of Halloween. Just remember, different yarn types may require adjustments in your tension and hook size, so be sure to swatch beforehand.
Finishing Touches
To turn heads with your witch hat, focus on how you finish it. A stiff brim can provide shape. To achieve this, mix equal parts water and white glue, and soak the brim. Shape it, then allow it to dry fully. This method provides a professional look while letting your creativity shine through!
With these techniques, you’re not just crocheting; you’re crafting an eye-catching accessory that showcases your talent. Remember, the beauty of crochet lies in its endless possibilities. Enjoy the process, and soon you’ll have a spellbinding witch hat that will be the envy of all your friends this Halloween. You’ve got this, and the crochet community is cheering you on!
Styling Your Witch Hat for Halloween
When it comes to crafting a magical look for Halloween, styling your crochet witch hat can truly elevate your costume. Whether you’re going for a classic pointy style or something uniquely whimsical, the way you adorn your hat can add personality and flair. Plus, it’s a fun way to showcase your creativity! Let’s dive into some exciting ideas on how to style your witch hat so you can stand out this Halloween.
A great starting point is to incorporate vibrant colors that reflect the Halloween spirit. Why not experiment with a combination of traditional black and orange, or go bold with deep purples and greens? Consider using colorful yarns that allow you to create beautiful stripes or ombre effects on your hat. If you’re feeling adventurous, you could even mix in some sparkly or metallic yarns to give your hat an enchanting shimmer that catches the light as you move. This is a fantastic opportunity for you to express your style and make the hat truly yours!
Once you have the base style and color of your witch hat down, it’s time to add some spooky accents! Bows, appliqués, and other embellishments can elevate your creation. Try crocheting some stars, moons, or even little spiders to attach to your hat. If crocheting isn’t your thing, consider using ready-made decorations from craft stores. A feathered boa or some sheer fabric can be draped around the brim for an extra touch of flair. Just remember to keep the adhesives balanced-less is often more, especially when it comes to maintaining the lovely crochet pattern underneath.
Finally, don’t forget about your overall costume! Pair your crochet witch hat with a coordinating outfit. Simple dresses in solid colors can let your hat shine, while patterned fabrics can help create an eclectic witch look. Whatever you choose, make sure it reflects your personal style and boosts your confidence as you embrace the Halloween spirit. Remember, creating a magical witch hat is just one part of the fun-how you wear it and style it is what truly completes the look. Embrace your creativity, and you’ll be sure to turn heads this Halloween!
Other Crochet Projects for Halloween Fun
There’s nothing quite like the thrill of creating eerie Halloween decorations that can put anyone in a festive mood. If you’re feeling inspired by your crochet witch hat project, there are plenty of other fun and spooky crochet creations to dive into! From charming amigurumi creatures to ghoulish garlands, you can harness your crochet skills to make your home a Halloween wonderland. Here are some project ideas that will have you stitching in no time.
Amigurumi Monsters
Creating adorable yet spooky crocheted monsters is a fantastic way to exercise your creativity. These little creatures are not only fun to make, but they can also serve as decorations or gifts for trick-or-treaters. Plus, they’re perfect for all skill levels! All you need is some worsted weight yarn, a crochet hook, and a little stuffing. Look for simple patterns that feature basic shapes, and you can customize their colors and features to give them unique personalities.
Halloween Banners
Add a festive touch to your space with a crocheted Halloween banner! This is a fun and straightforward project that allows you to incorporate seasonal motifs like pumpkins, ghosts, and bats. You can use a combination of stitches to create vibrant flags that spell out “BOO!” or “SPOOKY.” Depending on the size you want, gather 1-2 skeins of yarn and a suitable hook, and set aside an afternoon to bring your banner to life.
Crochet Pumpkins
What’s Halloween without pumpkins? Crocheted pumpkins can be made in various colors and sizes to suit your decor. These cheerful creations can be used as table centerpieces or to fill a basket on your porch. Begin with a simple round pattern and experiment with different stitches to add texture. A few green vines and leaves can finish them off beautifully! You’ll want to grab some orange and green yarn and perhaps a crochet hook size suited for your yarn choice.
Spooky Garland
For a project that can truly elevate your Halloween vibe, consider crafting a spooky garland. You can crochet elements like skulls, bats, and cobwebs to string across your mantel or doorframe. This is a quick and visually striking project that allows you to show off your skills in a unique way. Gather your materials, and don’t forget an extra set of hands might be helpful for arranging those pieces just right!
Whether you choose to create a whimsical amigurumi monster or an elegant pumpkin, the joy of making can truly enhance your Halloween celebrations. Each project offers a chance to learn new techniques, experiment with colors, and most importantly, express your creativity. So gather your supplies, get comfortable, and let the Halloween crafting begin! You’re going to amaze yourself with what you can create.
Where to Share Your Finished Crochet Creations
Nothing showcases your creativity quite like sharing your completed crochet projects. Once you’ve crafted your spooky witch hat, it’s time to inspire others by showing off your handiwork! There are numerous platforms dedicated to crafters where you can share your creations, connect with fellow enthusiasts, and receive feedback on your projects. Whether you’re looking to gather ideas, exchange tips, or simply bask in the applause for your crafting prowess, here are some suggestions.
Online Communities and Social Media
Platforms like Instagram and Pinterest are ideal for showcasing your finished witch hat and other crochet creations. Use popular hashtags such as #CrochetWitchHat, #HalloweenCrochet, and #HandmadeHalloween to increase visibility. Engage with the crochet community by commenting on others’ posts and sharing your process through stories or tutorials. You can also join Facebook groups dedicated to crochet where you can post photos of your projects, ask for advice, and share patterns.
Crafting Forums and Websites
Consider sharing your projects on crafting-centric websites like Ravelry or AllFreeCrochet, where crafters gather to discuss patterns, ideas, and techniques. Posting a complete project recap with photos can attract fellow crochet lovers who might be interested in your pattern or offer tips from their experiences. Don’t hesitate to ask questions – these communities thrive on sharing knowledge and encouraging one another.
Local Craft Shows and Workshops
If you’re more of a hands-on person, local craft fairs are fantastic venues to display your crocheted items. Not only do they provide an opportunity to share your witch hat, but you can also meet local crafters, exchange ideas, and inspire others with your artwork. You might even consider hosting a workshop to teach others how to crochet their own hats-a great way to share your passion and skills!
Remember, the joy of crafting is not just in the creation but also in sharing it with others. Your unique style and creativity could inspire countless others to pick up their hooks and create! So get out there, snap some photos, and let your crochet creations shine!
Storing and Caring for Your Crochet Hat
To keep your new crochet witch hat looking its best for many Halloweens to come, proper storage and care are essential. Crochet items, while wonderfully crafted, can be susceptible to wear and tear if not cared for correctly. Here’s how to ensure your spooky accessory stays in perfect shape!
First, when it comes to storing your witch hat, choose a cool, dry place away from direct sunlight. Sunlight can fade colors and weaken fibers over time. Instead of hanging your hat, which may cause stretching, opt for laying it flat in a storage box or on a shelf. Consider using a tissue paper stuffing inside the hat to help maintain its shape. Avoid storing it in a damp area, as moisture can lead to mildew, ruining your hard work.
For cleaning, simple is best! If your hat gets a little dusty, a gentle shake or a soft lint brush can do wonders. In cases where it’s necessary to wash it, hand wash in cold water using a mild detergent. Never wring or twist your hat; this can distort its shape. Instead, lay it flat on a clean towel and roll it up gently to absorb excess water. Once cleaned, reshape it and let it air dry completely before storing it away.
Finally, if your witch hat has decorations like bows or appliqués, be particularly gentle. Use a fabric glue if any embellishments come loose instead of sewing them directly onto the hat, as this allows for easier removal and repairs in the future. With these tips, your crochet witch hat will be ready to admire year after year, maintaining the enchanting charm you put into making it!
Join the Crochet Community: Share Your Style
There’s something truly magical about being part of a crafting community, and crocheting brings people together like few other hobbies can! Whether you’re a seasoned pro or just starting your journey, sharing your creations – like that fabulous witch hat you just finished – can inspire others and ignite new ideas in your own craft. Connecting with fellow crocheters is not only rewarding but can also help you learn new techniques and gain confidence in your skills.
Consider setting up an Instagram account dedicated to your crochet projects. You can share photos of your witch hat in all its spooky glory or even document the creation process. Use hashtags like #CrochetWitchHat or #HalloweenCrochet to reach a wider audience. Another great platform for sharing is Ravelry, where you can post your projects for the Ravelry community to see. Don’t forget to join groups or forums where you can ask questions, seek advice, and celebrate your triumphs with others who love crochet as much as you do!
Once you start sharing your style, you’ll discover that feedback can be incredibly valuable. Don’t hesitate to ask your followers or fellow crafters for their thoughts on your creations or their own tips for enhancing your work. You may find that they have wonderful suggestions for adding unique touches to your witch hat, be it different colors, textures, or embellishments. It’s this kind of interaction that elevates your crafting experience, turning it into a collaborative adventure.
Remember, every stitch you make is a step toward building your own crafting identity, and sharing your work only enhances that personal journey. So grab your crochet hook, finish that witch hat, and join the vibrant crochet community – we can’t wait to see what you create!
FAQ
Q: What is the best yarn type for a crochet witch hat?
A: The best yarn for a crochet witch hat is typically acrylic or wool yarn, as these materials are durable and provide excellent structure. For a spooky style, consider colors like black, orange, or purple. Check out the “Tips for Choosing the Right Yarn” section in the article for more insights!
Q: How long does it take to crochet a witch hat?
A: Crocheting a witch hat can take approximately 2 to 4 hours, depending on your skill level and the complexity of your design. For step-by-step guidance, refer to the “Easy Steps to Crochet Your Witch Hat” section in the article.
Q: Can beginners crochet a witch hat?
A: Yes, beginners can absolutely crochet a witch hat! Start with basic stitches and follow the detailed patterns provided in the “Easy Steps to Crochet Your Witch Hat” section. With practice, you’ll be able to create your perfect spooky accessory.
Q: What are some creative ways to decorate my crochet witch hat?
A: Some creative decorating ideas include adding bows, appliqués, or sequins to your witch hat. Explore the “Adding Spooky Accents: Bows and Appliqués” section for specific suggestions and techniques for customization.
Q: How do I fix mistakes while crocheting a witch hat?
A: To fix mistakes while crocheting, simply unravel the last few stitches to the point of error, then rework them using the correct technique. Check the “Common Mistakes to Avoid While Crocheting” section for more troubleshooting tips and techniques.
Q: Where can I find free crochet witch hat patterns?
A: You can find free crochet witch hat patterns on various craft websites. For helpful resources, explore other sections of your article, or visit sites dedicated to crochet tutorials, which are rich in project ideas.
Q: How should I care for my crochet witch hat?
A: To care for your crochet witch hat, hand wash it gently and lay it flat to dry. Avoid wringing out the hat to maintain its shape. More care tips can be found in the “Storing and Caring for Your Crochet Hat” section of the article.
Q: What can I pair with a crochet witch hat?
A: A crochet witch hat pairs perfectly with a simple black dress or a spooky costume. Consider accessorizing with themed jewelry or a broom for a complete look. For more ideas, check out the “Styling Your Witch Hat for Halloween” section.
The Way Forward
Now that you’ve crafted your very own spooky crochet witch hat, it’s time to celebrate your creativity! Remember, this project is just the beginning. Whether you choose to tackle more Halloween-themed crochet patterns or explore techniques like amigurumi, there’s a whole world of crochet waiting for you. Check out our guides on basic crochet techniques or delve into other seasonal crafts to expand your skills and find new inspirations.
Don’t hesitate to share your finished witch hat in the comments below! We’d love to see your creations and hear any tips you’ve discovered along the way. If you’re eager for more fun projects, consider signing up for our newsletter for fresh patterns and exclusive content delivered right to your inbox. Keep crocheting, keep creating, and know that you can do this! Explore more of our crochet tutorials and technique guides to hone your skills. Happy crocheting!
Get our latest guides, news, and insights highlighted in your Google Search & AI Overviews.