
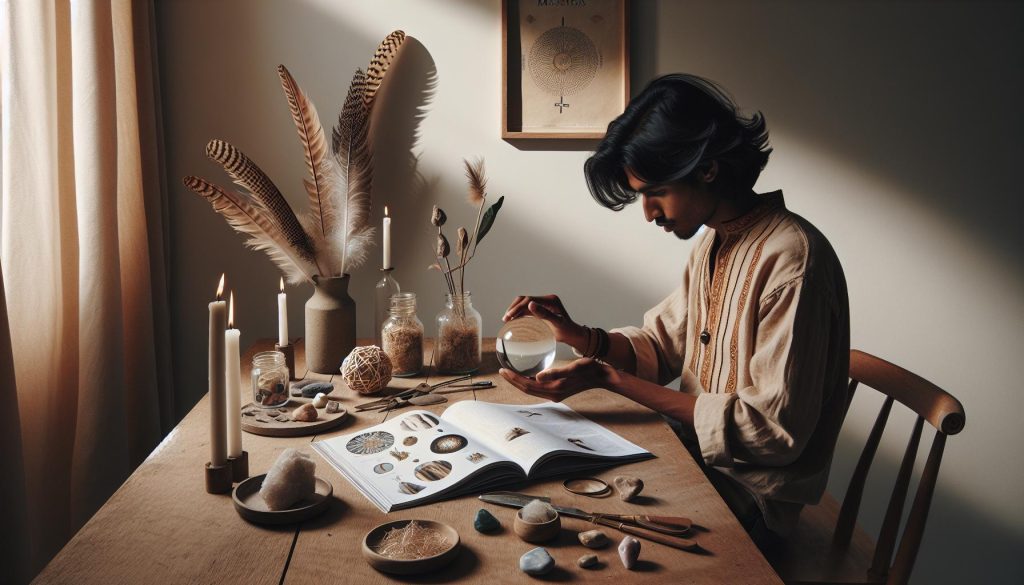
Are you ready to add a touch of magic to your home decor? Creating your own DIY crystal ball is not only a fun and engaging project, but it also offers a delightful way to infuse your space with whimsy and charm. Whether you’re prepping for a themed party or just want to brighten up a corner of your living room, this guide will equip you with simple methods that anyone can tackle-no prior crafting experience necessary!
Imagine impressing your friends with enchanting decor made right at home, all using easy-to-find materials. You’ll discover that crafting can be both enjoyable and rewarding. With just a little bit of imagination and creativity, you can transform everyday items into captivating pieces of art. So, let’s dive into the world of crafting and see how you can conjure up your very own crystal ball in minutes! You can do this!
Craft Your Own Crystal Ball in Easy Steps
Creating your own crystal ball can be a delightful and enchanting adventure, perfect for decorating your space or setting a magical mood for a gathering. With just a few materials and some creativity, you can craft a mystical piece that feels personal and unique. Plus, it’s a fun project that anyone can take on, whether you’re a seasoned crafter or just a curious beginner. Let’s dive into the steps for making your very own crystal ball!
Start by gathering these essential materials: a round glass or plastic globe (often used for snow globes), a sturdy base or pedestal (this can be made of wood, plastic, or even upcycled materials), glitter or faux snow to create a magical swirling effect, and optional decorative items like small crystals or themed figures. For the assembly, you might also need a hot glue gun, scissors, and a small funnel.
Step-by-Step Instructions
- Prepare the Base: If your base isn’t already ready, make it sturdy enough to hold your globe. You can paint or decorate it to match your room’s theme.
- Fill the Globe: Using a funnel, fill the globe with a mixture of glitter and faux snow until it reaches about one-third full. This will create that whimsical swirling effect once it’s sealed.
- Seal the Globe: Place any decorative items inside the globe. Next, secure the globe onto the base with hot glue; ensure it’s on firmly to avoid spills later.
- Add Additional Effects: If desired, you can add liquid to the globe for a snow globe effect. Just be cautious about sealing it properly to prevent leaks.
- Final Touches: Once everything is securely in place, give your crystal ball a gentle shake to mix the glitter and enjoy the magical display!
This project typically takes about an hour from start to finish, plus any drying time. The beauty of this craft lies in how customizable it is, so don’t hesitate to experiment with different materials and effects. Whether you’re creating a centerpiece for a Halloween party or a year-round decor piece, you can absolutely make this happen-get crafting and enjoy the process!
Essential Materials for Your DIY Crystal Ball
Gathering your materials is the first step on the road to creating a stunning DIY crystal ball. The beauty of this project lies in its simplicity and the flexibility of your choices. You’ll find that with just a handful of supplies, you can craft a mesmerizing piece of decor that adds a touch of magic to any space.
Start with the core of your crystal ball: the globe itself. You can choose a round glass or plastic globe, commonly used for snow globes, which provides that enchanting, clear quality. Next, select a sturdy base to elevate your creation. This could be a wooden plaque, a decorative candle holder, or even an upcycled item around your house. The options are endless, so think creatively about what can support your magical globe.
Beyond the globe and base, don’t forget about your whimsical enhancements. Glitter, faux snow, or even crushed shells can create that captivating swirling effect inside. Optional decorative items like small crystals, figurines, or themed accents bring personality and flair. To assemble everything, make sure you have a hot glue gun, scissors, and a small funnel handy for easy filling.
If you want to add extra magic, consider including liquid in the globe for a classic snow globe effect. Just remember to seal everything carefully to avoid any leaks later! Remember, the goal is to have fun and let your creativity shine-so gather your materials and get ready to craft something truly special!
Getting Started: Basic Techniques for Beginners

Creating your own crystal ball can feel like stepping into a world of magic right in your living room! This fun and imaginative project is totally achievable and perfect for beginners. Using just a few basic techniques, you’ll find that crafting this enchanting decor is not only simple but also incredibly rewarding. Whether you’re preparing for a Halloween celebration or just looking to add a mystical touch to your home, let’s get started!
Begin by gathering your essential materials. First, you’ll need a clear globe; a plastic or glass ornament works wonderfully and is easy to find. Next, choose a sturdy base-this could be an old candlestick, a small wooden stand, or even a unique decorative piece you already own. You’ll also want to have a hot glue gun, scissors, and optional decorative fillers like glitter, faux snow, or even small figurines handy.
Once you have your materials ready, here’s a straightforward step-by-step approach to bring your crystal ball to life:
Step-by-Step Guide
- Prepare Your Base: Ensure that your base is clean and stable. If you’re using an upcycled item, consider painting or decorating it for an extra touch.
- Fill Your Globe: Carefully pour in your chosen fillers using a funnel. This could be glitter for that ethereal sparkle or faux snow for a winter wonderland vibe. If you wish to include small items like crystals or mini figures, now is the time to drop them in!
- Seal It Up: Once you’re satisfied with the contents, take your hot glue gun to seal the top of the globe securely to prevent leaks while still allowing for a clear view of the magic inside.
- Attach to Base: Secure the globe to your chosen base using the hot glue. Hold it in place for a few seconds to ensure a good bond.
Don’t hesitate to let your creativity flow as you embark on this project! Each crystal ball can tell a different story, reflecting your personality and style. Remember, if you make a mistake, it’s all part of the learning process-just embrace it and have fun crafting! By following these easy techniques, you’re well on your way to creating a stunning centerpiece that’ll captivate anyone who lays eyes on it. So grab your materials, unleash your creativity, and enjoy every moment of your DIY adventure!
Adding Magical Elements: Customization Ideas
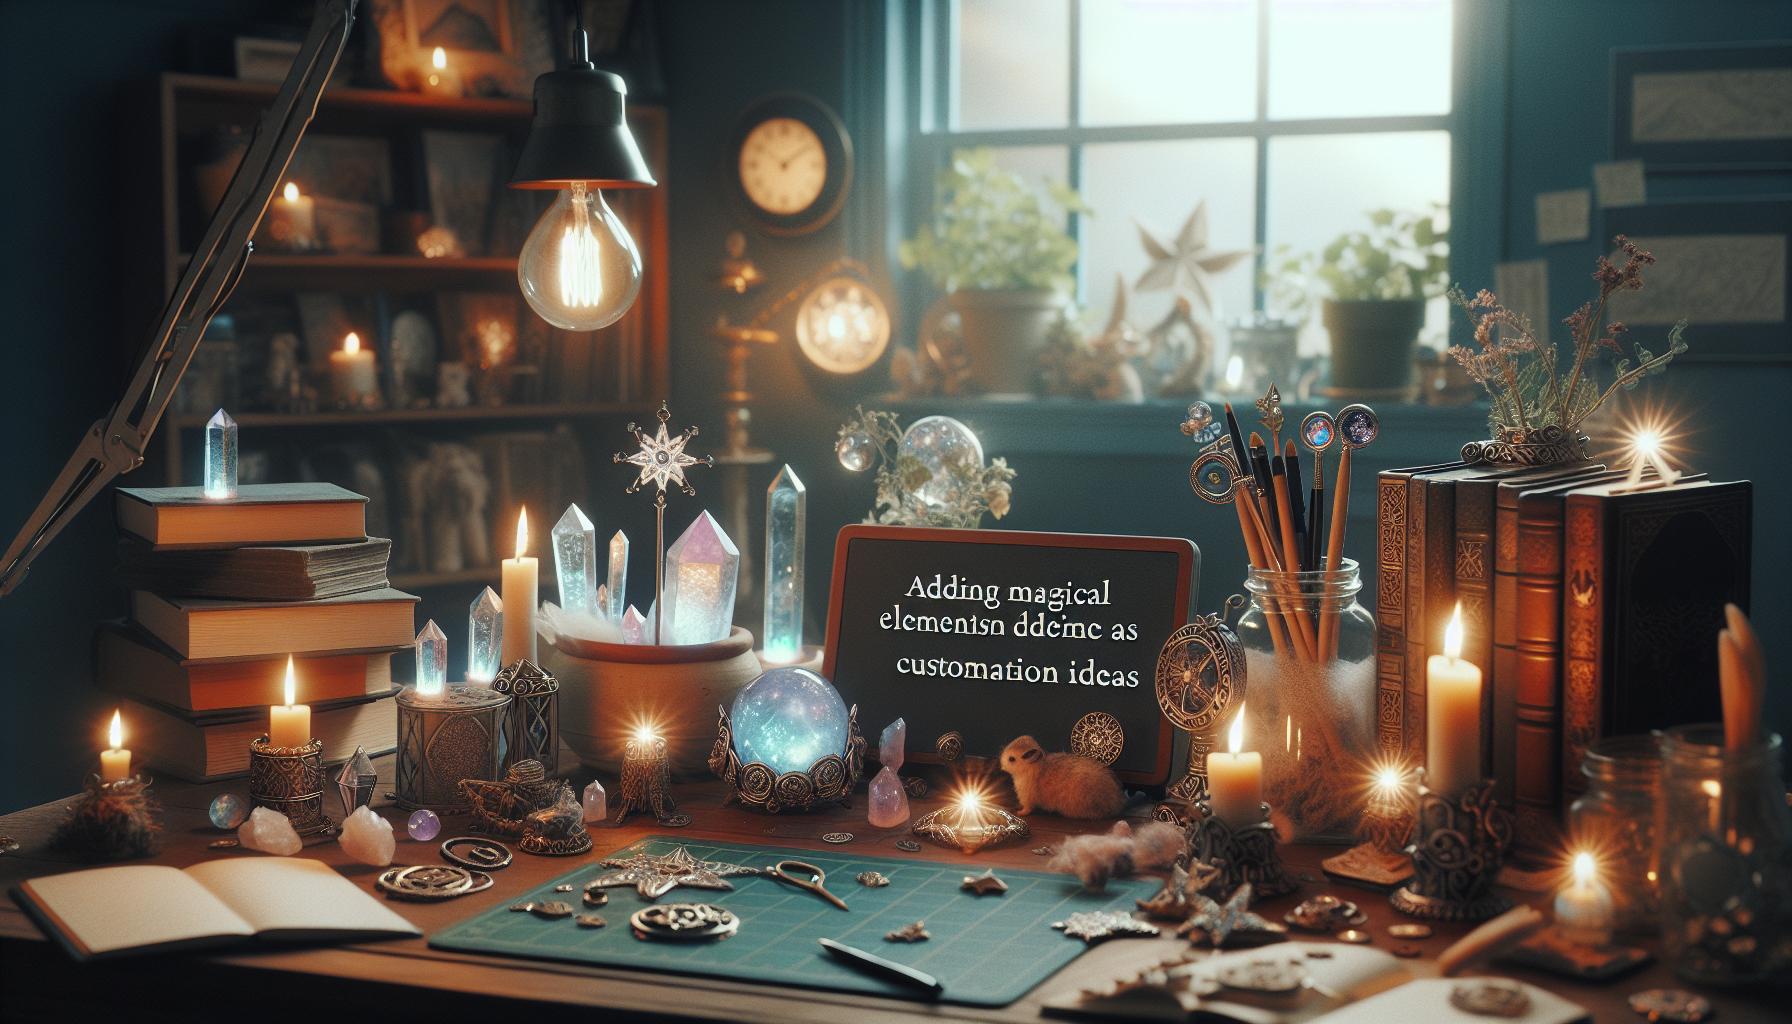
Imagine your crystal ball glowing with magical elements that transport you to a realm of creativity and wonder! Customizing your DIY crystal ball is a delightful way to make it uniquely your own, allowing your personality and imagination to shine through. The best part? This process is simple enough for anyone to do, whether you’re a crafting novice or a seasoned pro.
To begin, think about the theme you want to evoke. Do you want a winter wonderland, a mystical forest, or perhaps a cosmic galaxy? Depending on your chosen theme, you can incorporate various fillers. Glitter, faux snow, and colored sand are excellent choices for a shimmering effect, while dried flowers or moss can create a natural vibe. Miniature figurines like fairies, animals, or crystals bring your scene to life! Here’s how you can customize:
- Layering Fillers: Start by placing heavier items like stones or larger crystals at the bottom. Follow with lighter elements like glitter or faux snow on top for added depth.
- Adding Color: Use colored lights or tinted water to create enchanting visual effects inside the ball. You can even use colored cellophane for a fun stained glass effect!
- Personal Touches: Include personal items like charms, trinkets, or even notes that represent dreams or aspirations to make your crystal ball truly special.
After you’ve selected your fillers, think about how to enhance the overall look with additional magical touches. Applying decoupage with beautiful paper or painting the base with metallic or glitter-infused paints can elevate your creation. Glow-in-the-dark paint adds a surprising twist that will dazzle when the lights go out. And if you’re feeling adventurous, consider adding a swirling effect: simply mix some oil and water inside the globe, and watch as the two create a mesmerizing motion.
Remember, the magic lies in your creativity. There are no strict rules-if an idea excites you, go for it! These customization techniques not only enhance your crystal ball’s visual appeal but also make it a meaningful piece of decor that reflects your creative spirit. So grab your materials and let your imagination lead the way; you’ve got this!
Creative Lighting: Illuminate Your Crystal Ball
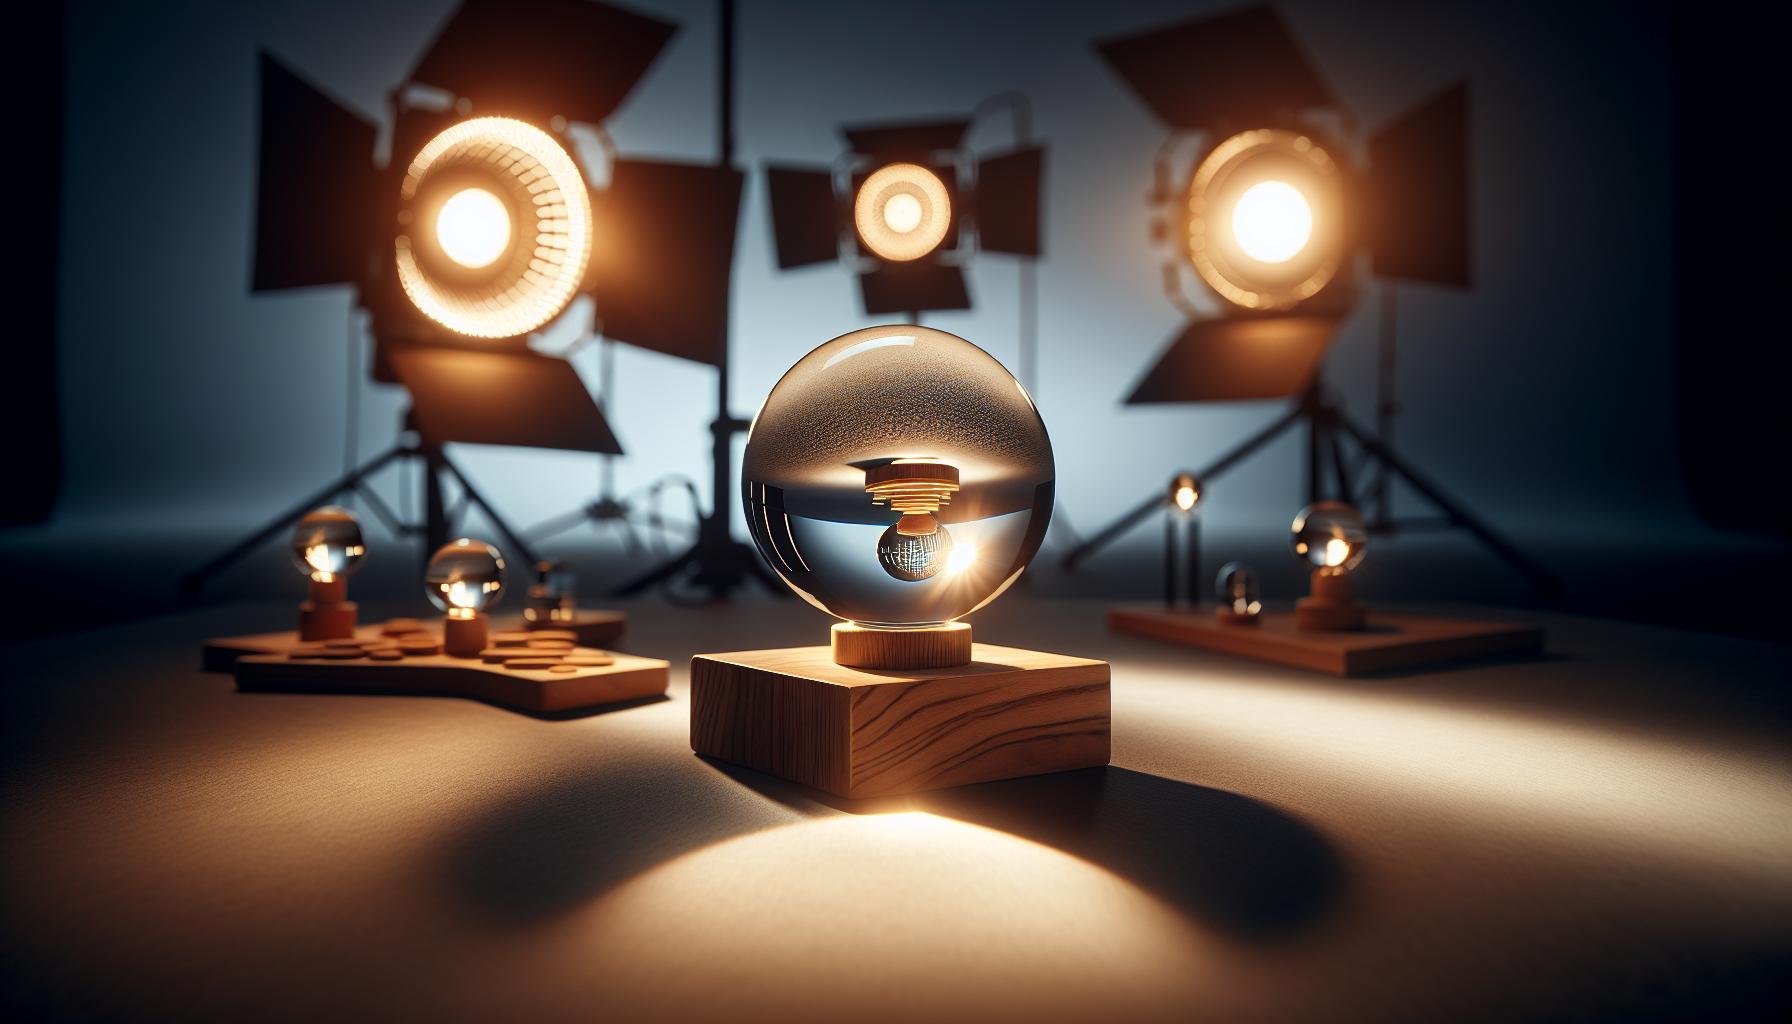
Bringing your DIY crystal ball to life is all about the right lighting. A well-illuminated crystal ball can warm your space and enhance its mystical allure, creating an enchanting centerpiece for your home decor. The magic of light can transform your creation from a simple craft into an eye-catching display that draws the eyes and stirs the imagination.
To start, consider your lighting options. Battery-operated LED lights are a fantastic choice-they’re safe, versatile, and come in various colors. You can place a small LED base underneath your crystal ball to create a soft, glowing effect, similar to a traditional fortune teller’s setup. If you want dynamic lighting, opt for color-changing LEDs; they provide a fun and whimsical touch as they cycle through different colors. This not only highlights the inside of your crystal ball but also complements any theme you’ve chosen.
Specific Techniques to Illuminate Your Creation
Here are some easy ways to incorporate lighting into your crystal ball design:
- Underlit Glow: Position your crystal ball on a small, round lamp or a fairy light string. Wrap the lights around the base or place them in a decorative dish under the ball for a magical aura.
- Internal Illumination: For more advanced crafters, try placing a small battery-powered LED inside the ball, surrounded by your chosen decorative fillers. This creates a stunning effect as the light shines through and reflects off the materials.
- Colored Effects: Use tinted bulbs or colored gel filters over your light source for vibrant hues. This can enhance the theme of your crystal ball-think icy blues for a winter scene or warm golds for a sunset effect.
Remember, you can mix and match these concepts based on your skill level and materials. Experimenting with various lighting placements and types can lead to surprising and delightful results. The best part? You can easily adjust lighting as seasons change or to fit different moods, making your crystal ball a versatile piece of decor. Embrace the joy of crafting and remember: whatever you create will radiate your unique style! You can do this!
Displaying Your Masterpiece: Home Decor Tips

Displaying your DIY crystal ball can be a delightful experience that adds a touch of enchantment to your home. Trust me, it becomes more than just a craft; it evolves into a true statement piece that resonates with your creativity. Positioning your crystal ball thoughtfully can enhance its mystical vibe, inviting admiration from anyone who walks by. Let’s explore some strategies to showcase your masterpiece effectively.
To get started, choose a prominent location that suits the overall theme of your decor. Consider a side table in your living room, a shelf in your entryway, or even as part of your seasonal decor centerpiece. The key is to make it a focal point. Surround it with complementary items like candles, books, or even faux foliage that align with the crystal ball’s magical essence. This arrangement will not only attract attention to your creation but also create a cohesive decor style.
You can also play with different heights and layers for added drama. Using decorative stands or risers can elevate your crystal ball, making it more visually engaging. If you want a slightly more whimsical touch, try placing the ball inside a glass cloche or an old-fashioned lantern. These containers not only protect your work but also serve as charming displays that highlight its beauty.
Don’t forget to consider lighting! As discussed previously, a well-lit crystal ball enhances its allure. Place it near a window where it can catch the sunlight, or use fairy lights to create a magical glow during the evening. If you’re aiming for a more dramatic effect, try a colored bulb to cast vibrant shadows that dance around the room.
Finally, remember to engage your visitors! Use your crystal ball as a conversation starter. Share the story behind your creation and the techniques you used to craft it. This personal touch will spark interest and admiration, allowing your creation to shine even brighter. You can do this-your DIY crystal ball will not only beautify your space but also invite wonder and joy into your home!
Troubleshooting Common DIY Mistakes
Creating your own crystal ball can be a delightful journey of creativity, but it’s not without its challenges. Understanding common pitfalls can help you navigate the DIY process smoothly and transform potential hiccups into learning opportunities. Here are some frequent mistakes and how to troubleshoot them, ensuring your magical decor turns out just as you envisioned.
One of the most common issues is air bubbles forming in your crystal ball, especially if you’re using resin or a similar medium. To avoid this, it’s essential to mix your materials thoroughly yet gently. Before pouring any liquid into your mold, try pre-pouring a small amount to see how it flows. Should you find bubbles in your finished piece, a heat gun or a lighter can gently eliminate them without damaging the surface. Just keep it moving to avoid scorching!
Another area where DIYers often stumble is in selecting the right lighting to enhance your crystal ball’s ethereal glow. Using too bright a light can wash out the beauty of your work. Instead, consider using soft, diffused lighting. Fairy lights or LED candles placed underneath can create a soft radiance that highlights your masterpiece. If you’re using a base with a colored light, test it out beforehand to ensure it complements the colors in your ball rather than clashing.
Lastly, don’t forget about the structural integrity of your creation. If your ball feels wobbly, consider reinforcing the base. This can be something as simple as a larger platform or securing it with hot glue. Assess how your crystal ball interacts with its display environment; a stable and well-thought-out placement will support both its beauty and durability. Remember, crafting is a learning experience, and every challenge brings you closer to mastering your skills. Keep creating-you’re doing great!
Advanced Techniques: Elevate Your Craft
Creating a crystal ball is more than just a craft; it’s an invitation to infuse your personal magic into decor. As you delve deeper into the art of crafting, you can elevate your project with advanced techniques that truly transform an ordinary crystal ball into a mesmerizing centerpiece. Below are some engaging methods and insider tips that will elevate your creation to a whole new level.
One fantastic way to enhance your crystal ball is by incorporating mixed media elements. Try layering different materials within your sphere. Use glitter, sequins, or even small charms to create visual depth. A popular technique is to fill your ball halfway with clear resin, add your embellishments, and then top it off with more resin, allowing it to settle. This not only stabilizes your pieces but adds layers of intrigue within the ball itself. Be sure to let each layer cure properly before adding the next to avoid any unwanted blending.
Another exciting way to elevate your craft is through unique surface finishes. Once your crystal ball is set and cured, consider using a spray sealant or a varnish to give it a polished look. Selecting a matte or glossy finish can dramatically change the vibe of your creation. For a whimsical touch, experimenting with pearlescent or iridescent finishes will add an enchanting shimmer under light. You can even use stencils to add designs or patterns to the outside of your ball after coating it to personalize your piece further.
Don’t overlook the lighting aspect that can create magical effects once your crystal ball is complete. Consider investing in a base that you can illuminate with colored LED lights. Experiment with the positioning and color of your lights to find the most flattering effect that highlights your ball’s features. Smart bulbs allow you to adjust colors based on your mood or the season-perfect for setting the ambiance for any occasion!
With these advanced techniques, you’re not just making a crystal ball; you’re crafting a visual story that reflects your personal style and creativity. Embrace the process, enjoy the experiments, and remember: every crystal ball has the potential to shine with your unique magic!
Incorporating Crystals for Enhanced Energy
Incorporating crystals into your DIY crystal ball project not only enhances the visual appeal but also infuses your creation with positive energy and intention. As you embark on crafting your mystical decor, consider how different crystals can amplify the ball’s purpose-be it for meditation, decoration, or manifesting intentions. The process is straightforward and perfect for all skill levels; you can easily add a personal touch while reaping the benefits of crystal energies.
Start by selecting crystals that resonate with you or align with your goals. For example, amethyst is known for its calming properties and is ideal for meditation, while clear quartz amplifies energy and intention. Here’s a simple way to incorporate these stones into your crystal ball:
- Choose Your Crystals: Pick 2-3 crystals that speak to you. Tumbled stones work great because they are smooth and won’t scratch the inner surface of your ball.
- Prepare Your Base: Fill your crystal ball about halfway with your chosen embellishments-this can include glitter, moss, or faux snow-as a base layer. This sets the stage for your crystals.
- Arrange the Crystals: Place your selected stones carefully to form an aesthetically pleasing arrangement. Remember to mix larger and smaller stones for visual interest.
- Seal It Up: Once you’re satisfied with the arrangement, pour in a resin or a clear liquid like glycerin to cover the crystals. Follow the product instructions for curing times.
- Final Touch: Consider adding a sprig of dried herbs or a printed intention note at the top layer of your design before sealing it completely.
The beauty of this process is that it allows for creativity-keep experimenting until your crystal ball feels just right to you.
Choosing the Right Crystals for Your Intention
Here’s a quick guide to some popular crystals and their energetic properties:
| Crystal | Properties | Ideal Uses |
|---|---|---|
| Amethyst | Calming, spiritual growth | Meditation, contemplation |
| Clear Quartz | Amplifier, healing | Manifestation, energy cleansing |
| Rose Quartz | Love, compassion | Self-love, harmony |
| Citrine | Abundance, joy | Prosperity, motivation |
By incorporating crystals that resonate with your intentions, you’ll not only create a stunning piece of decor but also a powerful tool for your personal growth. Remember, the beauty of crafting is in the experience-your unique energy will enhance the crystal ball, making it a true representation of your creativity and aspirations. Enjoy the process, and trust that you can bring your vision to life!
Exploring Juju: Historical and Cultural Context
Crystal balls have captivated imaginations for centuries, often conjuring images of mystical fortune tellers and arcane rituals. But did you know they are rooted in a rich tapestry of historical and cultural significance? In various ancient societies, these orbs were not merely decorative-many believed they possessed the power to reveal hidden truths and provide clarity in times of uncertainty. This belief transcends cultures, from the ancient Greeks, who consulted oracles, to indigenous practices that harnessed the energy of nature and crystals.
The use of crystal balls has roots in scrying, a practice that dates back thousands of years. Scrying involves gazing into a medium-such as water, smoke, or crystal-to receive visions or insights. Historically, practitioners used polished stones or glass to create these mesmerizing orbs, believing that they could tap into a universal source of knowledge. This idea is especially prevalent in cultures where spirituality and nature were deeply intertwined, reflecting a respect for earthly energy and its potential to guide personal journeys.
As you embark on your crafting journey, consider incorporating elements that honor this rich heritage. Think about using materials that resonate with the meanings and practices of the cultures that inspired them. For example, you might choose to create your crystal ball with a clear quartz globe to amplify intentions, paying homage to its historical uses in healing and spiritual practices across various traditions. Connecting your DIY project to these age-old practices invites you not only to craft a beautiful piece of decor but also to tap into a deeper sense of purpose and intention in your creation.
With every crystal ball you create, you’re not just making a decorative item; you’re participating in a legacy of crafting, intention-setting, and spiritual exploration. Whether you’re drawn to the pieces for their artistic quality or their metaphysical properties, remember that your unique energy and creativity will infuse your work with personal meaning, celebrating the joy of making while honoring the ancient customs that have brought these magical artifacts to life.
Sharing Your Creation: Tips for Engagement on Social Media
Sharing your DIY crystal ball on social media can be a magical experience, not just for you, but for those who stumble upon your creation! Engaging with your audience through vibrant photos and captivating stories makes it easy for others to appreciate your artistry. Remember, social media thrives on community, and sharing your crafting journey can inspire others to pick up their own tools and start creating!
Start by capturing stunning images of your crystal ball. Natural lighting works wonders-try taking photos near a window or outdoors to highlight the unique glimmer of yourDIY work. Experiment with different angles to find the most flattering views. Include close-ups that showcase the details, such as the intricate designs or any crystals used. Use editing tools to enhance colors and brightness, making your photos pop. Don’t forget to stage your crystal ball in a creative setting, perhaps among other mystical decor or seasonal foliage, to add context and draw attention.
When it comes to engaging your audience, consider sharing your crafting process in a series of posts or stories. This can not only demystify the creation process for newcomers but also build anticipation. Use captions that invite interaction, like asking followers about their favorite techniques or what they would love to see in future projects. Utilizing hashtags like #DIYCrystalBall, #CraftersOfInstagram, or #MysticalDecor can help connect you with like-minded creators and enthusiasts.
Tips for Social Media Engagement:
- Post step-by-step photos or short videos of the process, from materials to the finished product.
- Share your inspiration-whether it’s a personal story or the rich cultural significance of crystal balls.
- Encourage users to share their own projects using a branded hashtag.
- Engage with comments and DMs to build a community around your craft!
Each engagement is a chance for connection, so keep the conversation going. Invite friends and followers to create their own versions and feature their work on your platform. This collaborative spirit not only boosts your reach but creates a beautiful network of DIY enthusiasts celebrating the joy of crafting together. So grab your camera, let your creativity shine, and share the magic of your DIY crystal ball with the world!
Faq
“`markdown
Q: What materials do I need to create a DIY crystal ball?
A: To create a DIY crystal ball, you’ll need a clear glass or acrylic sphere, a sturdy base (like a candle holder), paint or decorations (optional), and LED lights (for illumination). These materials are easy to find at craft stores or online, ensuring you can start your project smoothly.
Q: How can I customize my DIY crystal ball?
A: Customizing your DIY crystal ball is fun and easy! You can use glitter, paint, or printed images that represent your theme. For a mystical touch, consider adding crystals or incorporating thematic decorations around the base. Explore creative ideas in the “Adding Magical Elements” section of your DIY guide.
Q: What are some creative lighting options for my crystal ball?
A: Creative lighting can enhance your crystal ball’s appearance. Use LED string lights around the base or place a color-changing LED light underneath the ball. This gives a magical glow and can highlight your decorations effectively. Check the “Creative Lighting” section for more tips.
Q: How long does it take to make a DIY crystal ball?
A: Creating a DIY crystal ball typically takes about 1-2 hours, depending on your design and decoration choices. Allow extra time for paint or glue to dry if you’re incorporating complex elements. This project is not only quick but also enjoyable!
Q: Can I incorporate real crystals in a DIY crystal ball?
A: Yes, incorporating real crystals is a fantastic idea! You can place small crystals inside the ball or around its base to enhance energy and aesthetics. Choose crystals that resonate with your intent for a personal touch. Refer to the “Incorporating Crystals for Enhanced Energy” section for guidance.
Q: What common mistakes should I avoid when making a crystal ball?
A: Common mistakes include using unsuitable adhesives that can damage the sphere and overcrowding the design with too many decorations. Stick to a balanced design and test adhesives on a small area first. The “Troubleshooting Common DIY Mistakes” section offers more specific advice.
Q: Are there any advanced techniques for making a more intricate crystal ball?
A: Absolutely! Advanced techniques include using resin for a more durable finish or creating layered designs with translucent materials. Layering different textures can create a stunning visual effect. Discover more in the “Advanced Techniques” section of your DIY guide.
Q: How can I display my finished DIY crystal ball effectively?
A: Display your DIY crystal ball in a well-lit area or on a decorative stand to draw attention. Consider placing it near reflective surfaces like mirrors to enhance its mystical appeal. The “Displaying Your Masterpiece” section provides additional home decor tips.
“`
Closing Remarks
Now that you’ve crafted your own enchanting DIY crystal ball, it’s time to showcase your magical creation! Don’t forget, this project is just the beginning-your mystical decor can be further enhanced with other DIY ideas such as spooky chic decor or Halloween-themed projects. Why not explore our related guides for easy crafting tips that can elevate your home decor even more?
Feeling inspired? Share your finished crystal ball in the comments below and let us know how you personalized it! If you’re eager for more DIY adventures, subscribe to our newsletter for exclusive tips and project ideas delivered straight to your inbox. Let’s keep the creativity flowing and make every season special with your own handmade decor. You’ve got this, and we’re here to support you every step of the way!
Get our latest guides, news, and insights highlighted in your Google Search & AI Overviews.