
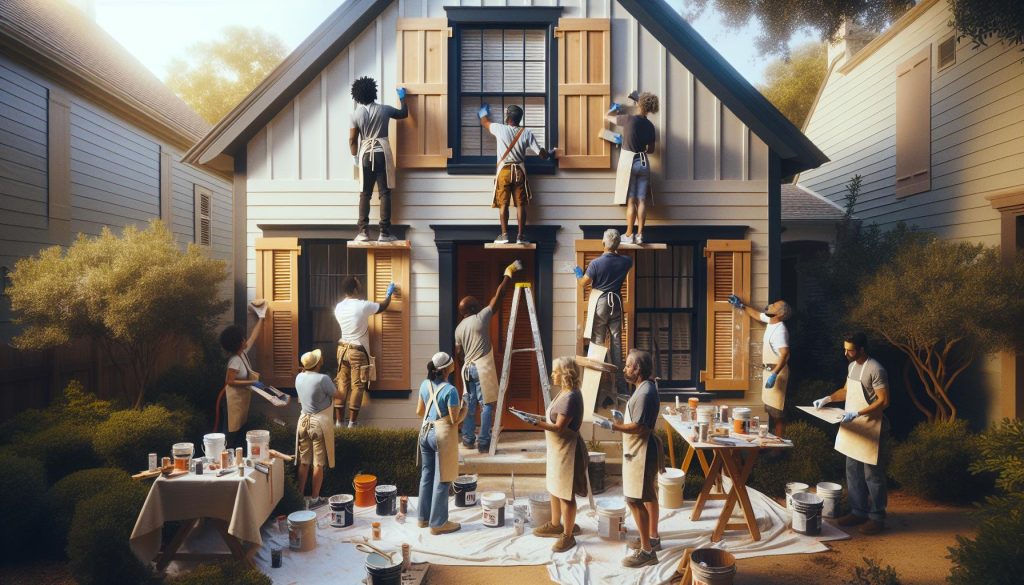
Did you know that adding exterior house shutters can instantly enhance your home’s curb appeal? Whether you’re looking to elevate your property’s charm for personal enjoyment or to attract potential buyers, DIY shutters are a fantastic way to make a significant impact without breaking the bank. This project is perfect for all skill levels-yes, you can do this! With just a few materials and achievable steps, you can transform your home’s exterior into a stylish statement. Not only do shutters add aesthetic value, but they can also protect your windows and enhance energy efficiency. So, grab your tools, unleash your creativity, and let’s dive into how you can boost your home’s appeal with custom-made shutters that reflect your unique style!
DIY Exterior Shutters: Choosing the Right Materials
When it comes to enhancing your home’s exterior, the right materials can make all the difference in your DIY shutter project. Shutters not only add charm but also functionality, providing shade and protection. Choosing the best materials for your shutters can be an exciting decision, as it allows you to reflect your style while ensuring durability.
Wood is a classic choice, offering a natural look and the ability to be custom-painted or stained. Cedar or pine are popular options due to their aesthetic appeal and workability. However, wood requires regular maintenance to prevent rot and warping. If you’re willing to put in the effort, wooden shutters can add a timeless elegance to your home.
For those seeking low-maintenance options, composite materials are a fantastic alternative. These are made from a mixture of wood fibers and synthetic materials, making them resistant to moisture and pests. They offer the beauty of wood without the hassle of upkeep, which is ideal for busy homeowners. Another modern option is vinyl. This material is lightweight, durable, and available in various colors, which means you can find the perfect match for your home without worrying about painting or staining.
Lastly, consider the climate of your area when choosing materials. If you live in a region with extreme weather, opt for materials that can withstand the elements. Always remember to prioritize quality over price; investing in good materials can save you time and money in the long run. No matter which direction you choose, you can create stunning shutters that enhance your home’s curb appeal. You’ve got this!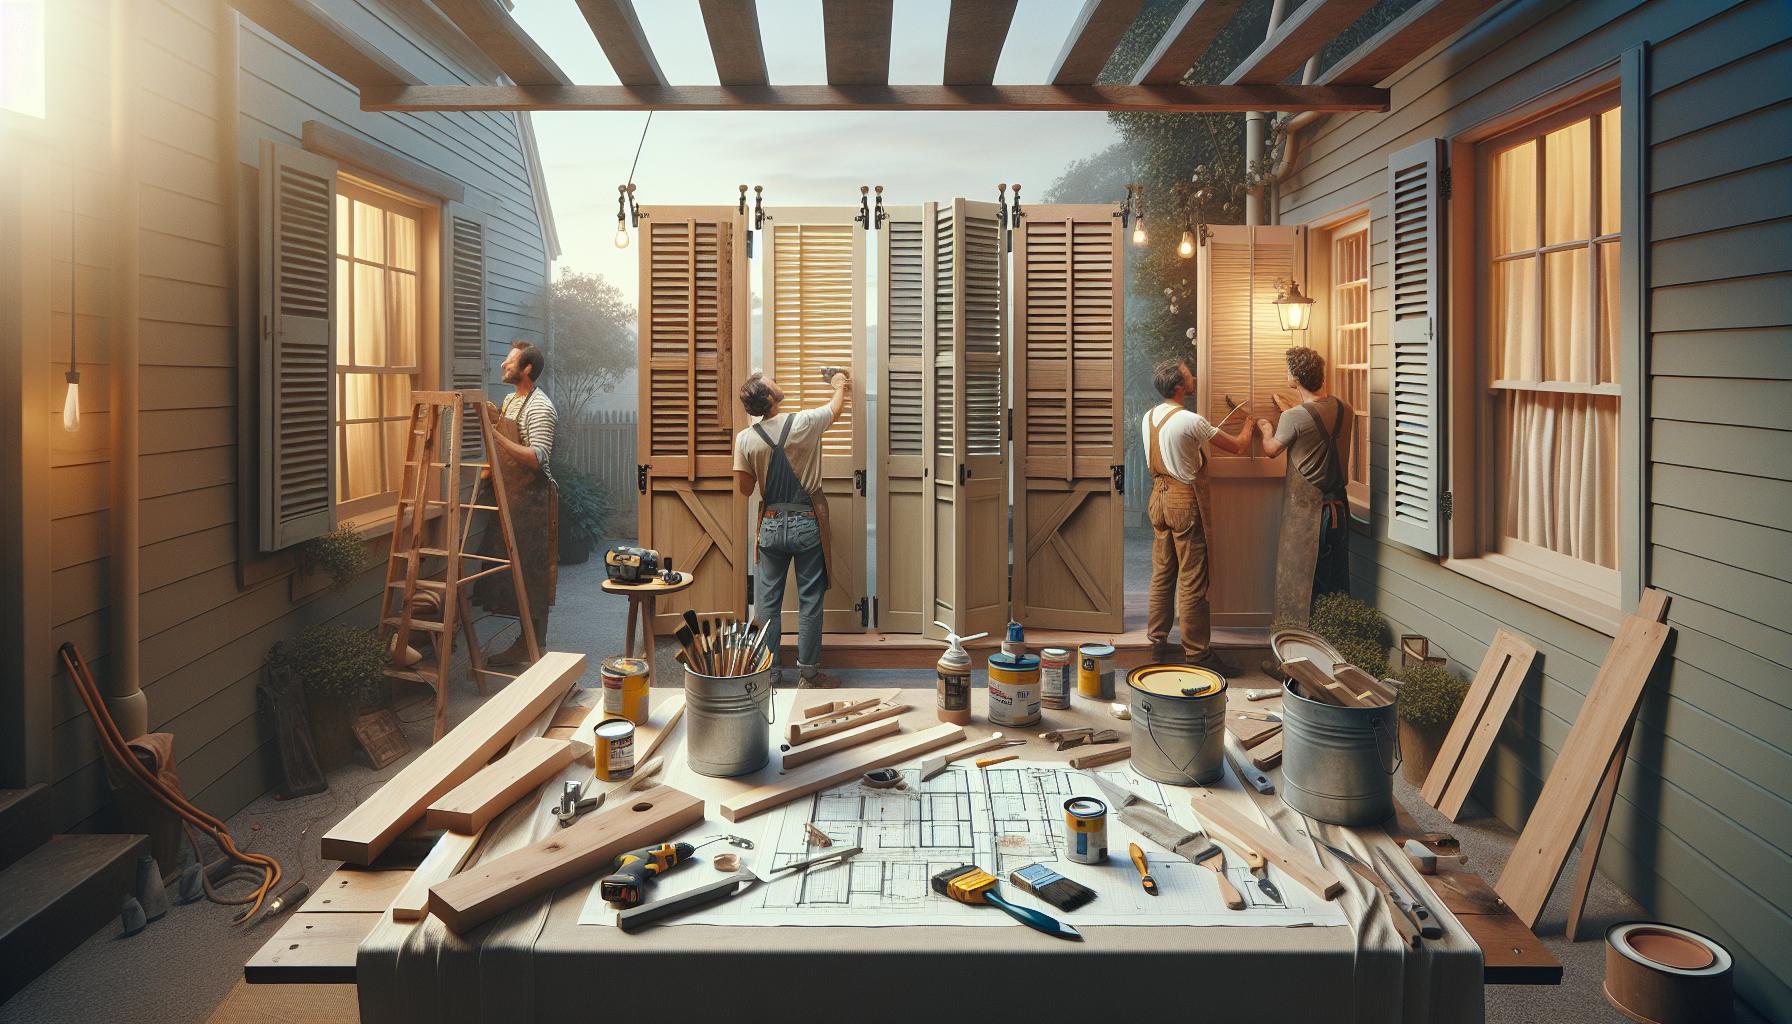
Essential Tools for Your DIY Shutter Project
Ready to dive into your DIY shutter project? Having the right tools at your disposal not only makes the process smoother but also ensures that your shutters come out looking professional. Whether you’re a seasoned DIYer or just starting, here’s a rundown of the essential tools you’ll need to bring your vision to life.
Start with the basics, and you’ll want to gather some core tools first. A circular saw is essential for cutting your wood or composite material to the correct size, allowing for precise and clean cuts. If you’re working with thicker materials, a miter saw can help create accurate angle cuts for a polished finish. You’ll also need a drill and drill bits for pre-drilling holes, ensuring you don’t split the wood when attaching your shutters. A tape measure and square are crucial for getting measurements just right-don’t worry if you’re a little off; this is all part of the learning experience!
Additional Handy Tools
To enhance your crafting experience, consider adding some more specialized tools to your toolkit. A sander or sanding block will help smooth out any rough edges on your shutters, giving them a professional touch. If you’re opting for painted shutters, a paintbrush or roller and a paint tray will be necessary for applying your finish, while drop cloths can protect your workspace from accidental splashes. For assembly, having a level handy will ensure your shutters hang perfectly straight once installed.
Don’t forget about safety gear! A good pair of safety goggles will protect your eyes from dust and debris, while a dust mask will keep you safe if you’re sanding or cutting materials. Remember, safety first means you can focus on the fun part of creating without worrying!
With these tools in hand, you’re well-equipped to tackle your DIY shutter project. Each step taken is a step closer to enhancing your home’s curb appeal. Embrace the journey, and remember-a little creativity and elbow grease can lead to beautiful results! You absolutely can do this!
Step-by-Step Guide to Building Shutters
Building your own exterior shutters can be a rewarding endeavor that not only boosts your home’s curb appeal but also allows you to personalize your space. No matter your skill level, you’ll find that with a little patience and creativity, you can craft beautiful functional shutters. Whether you want to go for classic wooden shutters or opt for a sleek modern design, here’s a step-by-step guide to get you started on your DIY shutter project.
Begin by gathering your materials. You’ll need high-quality wood boards (like cedar or pine for durability), hinges, a measuring tape, screws, and outdoor paint or stain for a finished look. Depending on your style, you may also want decorative elements like trim or louver cuts. Plan your design and measure the window to determine the appropriate dimensions for your shutters. Remember, the standard width of the shutters is typically half the width of your window, and you’ll want to add a few inches for overlap.
Next, you’ll cut the wood to size. Using your circular saw, follow these steps:
- Mark your cutting lines clearly with a pencil.
- Secure the wood firmly in place to avoid shifting while cutting.
- Cut each board as per your measurements, taking care to make straight, even cuts.
Once your pieces are ready, it’s time to assemble. Use wood glue to secure the boards together and reinforce them with screws for added strength. Ensure you pre-drill holes to prevent the wood from splitting. If your design includes slats or louvers, now is the time to attach them appropriately. After assembly, sand any rough edges using a sander to create a smooth finish, which will enhance both the aesthetics and longevity of your shutters.
The last step is painting or staining your shutters. Choose a weather-resistant outdoor paint or stain to protect your shutters from the elements. Apply it thoroughly, allowing for complete drying between coats. After your shutters are dry, it’s time to hang them using the hinges you’ve chosen. Position them on either side of your window, ensuring they are level and securely fastened. Don’t worry-this might seem like a lot, but every step you take brings you closer to enhancing your home’s charm!
With just a bit of effort, you’ll be amazed at what you can create. You can do this, and your home will thank you for it!
Creative Design Ideas to Match Your Home Style
Transforming your home’s exterior with DIY shutters is not just a functional upgrade; it’s an opportunity to showcase your personal style and creativity. Who would have thought that something as simple as a set of shutters could elevate the character of your home? With a little imagination, your custom shutters can reflect your unique tastes, whether you’re aiming for a rustic charm or a modern flair.
To get started, consider the architectural style of your home. For a classic colonial look, go for traditional raised panel shutters painted in a deep color, like navy blue or forest green. If your home has a more contemporary vibe, try sleek, flat board shutters in bold hues or even natural wood finishes. Remember, the interplay of colors and textures can dramatically change the appearance of your home. Consider using contrasting shades for the shutters and the house itself to make them pop.
Incorporate Unique Elements
Why not add a bit of flair with decorative trim or custom designs? You can create cut-out shapes, such as stars or hearts, for a whimsical, personalized touch. Another option is to integrate louvered slats for a touch of elegance; these work particularly well for tropical or coastal homes, giving a breezy feel. Additionally, consider adding hardware like vintage-style shutter hinges or latches. They provide not only functional benefits but also an aesthetic charm that completes the look.
When planning your design, don’t forget to pay attention to scale. Shutters should generally be half the width of the window to maintain a balanced look. However, if you’re going for an oversized effect, wider shutters can make your windows a stunning focal point. Choose your materials wisely-natural woods like cedar or redwood not only look great but stand the test of time against the elements.
With a bit of thought and creativity, you can design shutters that are not just practical but also a true reflection of your personality and a delightful boost to your home’s curb appeal. Remember, this is your canvas, so let your imagination soar! You got this!
Painting and Finishing Techniques for Durability
Choosing the right paint and finishes for your DIY shutters can transform them from functional to fabulous, all while providing the durability needed to withstand the elements. A well-painted shutter not only enhances your home’s curb appeal but also protects your investment. With a few tried-and-true techniques, you can ensure that your shutters not only look great but last for years to come.
Start with proper preparation to set the stage for success. Ensure that the surface of your shutters is clean, dry, and smooth. Light sanding with fine-grit sandpaper will help the paint adhere better. After sanding, wipe them down with a damp cloth to remove any dust. For the best finish, consider applying a primer suited for your material. This step is crucial-primer helps seal the surface, provides an even base for the paint, and enhances durability. Choose a high-quality exterior primer, particularly if your shutters are made from wood or a material prone to moisture.
Once the primer is dry, it’s time to choose your paint. Opt for exterior-grade paint, preferably acrylic latex, as it resists fading and peeling better than standard paints. Bright colors can add a pop to your exterior, but remember that darker shades may require an extra coat for full coverage. Use a high-density foam roller or a quality brush to apply paint for a smooth finish. Apply at least two coats, allowing adequate drying time between applications.
To add further protection, consider a clear sealant or topcoat, especially for wooden shutters. This layer can provide additional waterproofing and UV protection, ensuring that your hard work remains intact against rain and sun. Additionally, don’t overlook hardware; using stainless steel or brass hardware will not only complement your finished shutters aesthetically but also prevent rust and corrosion over time.
By following these steps, you’ll be well on your way to creating stunning, durable shutters that will stand the test of time-and the weather. Remember, you got this! Enjoy the process of making your home shine even brighter.
Easy Maintenance Tips to Keep Shutters Looking Great
Keeping your DIY exterior shutters looking fresh and vibrant can be a joy, as it not only enhances your home’s curb appeal but also reflects the effort you’ve put into crafting them. Regular maintenance is key to ensuring they withstand the elements and keep looking great year after year. With just a few simple steps, you can keep your shutters in tip-top shape without feeling overwhelmed.
Start with a gentle cleaning routine to remove dirt and grime. Use a soft cloth or sponge and a mixture of mild soap and water to wipe them down. A good rule of thumb is to do this every season, or whenever you see any buildup. Be sure to rinse thoroughly with clean water to avoid soap residue and let them air dry. For deeper cleaning or if mold and mildew take hold, consider a diluted solution of bleach and water, but always test a small area first to ensure your paint or finish is unaffected.
Next, keep an eye on the paint. Even the best-quality exterior paint may fade or chip over time due to sun exposure and weather conditions. If you notice any peeling or peeling edges, don’t wait-touch up those spots as soon as possible. It’s as simple as lightly sanding the affected area, applying a coat of primer if necessary, and then adding a matching exterior paint. This not only protects the surface but also maintains the aesthetic you worked so hard to create.
Additional Tips for Maintaining Your Shutters:
- Check Hardware Regularly: Inspect screws, hinges, and other fasteners to ensure they’re tight and not corroded. Replace any rusted hardware-this can be a small detail that makes a big difference.
- Sealants Matter: If your shutters are made from wood, consider reapplying a waterproof sealant every few years to enhance protection against moisture.
- Don’t Forget the Inside: If your shutters are operable, remember to clean the inside surfaces too, especially if they’re in a high-traffic area or near cooking zones.
By following these straightforward maintenance strategies, you can prevent larger issues from arising and keep your shutters looking fabulous. Plus, taking this time to care for your home enhances your investment and allows you to enjoy the fruits of your labor with pride. You’ve got this! Let’s keep your DIY shutters shining bright and ready to impress.
Installing Your DIY Shutters: A Practical Guide
Installing your DIY shutters can be a rewarding experience that not only enhances your home’s appearance but also showcases your crafting skills. Whether you’ve chosen wooden, vinyl, or composite materials, the correct installation can make all the difference in both functionality and style. With some basic tools and a bit of confidence, you can achieve a professional-looking finish. Let’s break down the installation process into manageable steps-trust me, you’ve got this!
Start by gathering your materials and tools. You’ll need your shutters, a drill, screws, a level, a tape measure, and possibly a saw if you need to make adjustments for fit. Depending on the style of shutter you’re installing (hinged, decorative, or operable), the installation process will vary slightly, so keep that in mind as you gather your supplies.
Once you have everything ready, follow these straightforward steps for installation:
Step-by-Step Installation Guide
- Measure the Opening: Use your tape measure to determine the height and width of the window or door where you’ll be installing the shutters. This ensures you’ve got the right fit.
- Prepare Your Shutters: If needed, trim your shutters to size. If you’re adding hardware, attach it now. It’s much easier to do this before they are fitted onto the wall.
- Mark the Placement: Hold the shutters up to the window and mark where the screws will go. Use a level to ensure they are straight-nothing is worse than crooked shutters!
- Drill Pilot Holes: For easier installation and to prevent wood splitting, drill small pilot holes where you’ve marked your screws. This is especially important for wooden shutters.
- Attach the Shutters: Align your shutters with the pilot holes and drive in the screws. If you’re using hinges, ensure they’re positioned correctly to allow the shutters to open and close smoothly.
- Final Adjustments: Step back and check your work. Make any necessary adjustments to ensure everything looks aligned and is functioning properly.
By following these simple steps, you’ll have your shutters installed in no time! Remember, each home is unique, so don’t hesitate to adapt these instructions based on your specific situation. Celebrate this accomplishment-not only do you boost your curb appeal, but you also gain the satisfaction of a job well done. Whether you’re dressing up a modern home or adding character to a classic style, your new DIY shutters will surely impress!
Enhancing Curb Appeal with Decorative Shutter Hardware
Adding decorative shutter hardware can dramatically enhance the overall look of your DIY shutters, turning them from simple functional elements into eye-catching features that improve your home’s curb appeal. This hardware not only provides necessary support but also adds style and personality, making your home a standout in the neighborhood. With a variety of options available, you can easily select pieces that complement your home’s architectural style and color palette.
When choosing decorative hardware, consider the overall theme of your home. Traditional homes may benefit from classic, ornate styles such as wrought iron or antique brass, while modern designs can shine with sleek, minimalist hardware. Look for unique details like decorative hinges, slide bolts, and shutter dogs that match your vision. Remember, it’s the little details that can personalize your shutters and elevate their aesthetic appeal. Here are a few popular options to think about:
- Hinges: Choose from decorative hinges that range from simple and sleek to ornate and detailed, adding flair without excessive complexity.
- Shutter Dogs: These functional yet stylish pieces keep shutters open on windier days and can be found in various designs, such as whimsical shapes or classic styles.
- Slide Bolts: These not only secure your shutters but also contribute to the overall design. Opt for finishes that match or complement your chosen hinge style.
- End Caps: These can finish the edges of your shutters with a touch of elegance. You can find options that echo your home’s style, from rustic to refined.
To effectively install your decorative hardware, follow these simple steps:
Installation Steps
- Gather Your Materials: In addition to your shutters, you’ll need your decorative hardware, a drill, screws, a level, and a tape measure.
- Position Your Hardware: Before attaching anything, hold up your hinges and hardware to determine their best placement. Mark the spots with a pencil.
- Pre-Drill Holes: This simplifies installation and helps avoid cracking. Be sure to drill into sturdy areas of the shutter.
- Attach the Hardware: Follow the manufacturer’s instructions closely. Tighten screws without over-tightening to avoid straining the wood or hardware.
- Final Inspection: Step back to ensure everything is straight and aligned. Make any necessary adjustments now for a perfect finish.
By selecting and installing decorative shutter hardware, you not only boost your home’s curb appeal but also showcase your personality through your DIY project. This is where your home truly reflects your style and creativity. So dive into the world of decorative hardware-your shutters will thank you for it, and you’ll gain a sense of accomplishment from this delightful finishing touch!
Budgeting Your DIY Shutter Project: Cost Breakdown
Creating your own exterior shutters can be an exciting project, and understanding the financial aspects helps ensure a successful finish. When broken down effectively, budgeting for your DIY shutter project can make the process smooth and enjoyable, even for those who might feel a little apprehensive about managing costs.
To get started, consider the main components that will contribute to your overall budget. The largest expenses typically include materials and hardware. Depending on your choice of materials-wood, vinyl, or composite-prices can vary significantly. For example, a single panel of exterior-grade plywood may cost around $30, while a high-quality composite material might be closer to $50 or more per panel. Don’t forget to factor in additional supplies such as paint or stain, which can run between $15 to $40, depending on the quality and quantity you choose.
Here’s a simple breakdown of potential costs to help you visualize your project expenses:
| Item | Estimated Cost |
|---|---|
| Wood Panels (per panel) | $30 – $50 |
| Vinyl Panels (per panel) | $50 – $80 |
| Composite Panels (per panel) | $50 – $90 |
| Paint/Stain | $15 – $40 |
| Decorative Hardware (hinges, shutter dogs, etc.) | $5 – $50 per piece |
| Tools (if not already available) | $20 – $200 (one-time purchase) |
Next, consider labor and additional costs. If you’re planning to install the shutters yourself, that’s excellent; it saves a significant amount on labor costs! However, if you’re hiring help, factor in an additional 10% to 30% of your material costs for labor.
By planning your budget around these components, you can set realistic financial expectations for your DIY shutter project. Remember, the goal is to create beautiful custom shutters that enhance your home’s curb appeal while making the project rewarding, fun, and entirely within reach. So grab your materials, and approach your DIY journey with confidence-you’ve got this!
Eco-Friendly Shutter Options for Sustainable Homes
Using eco-friendly materials for your DIY exterior shutters is an excellent way to boost your home’s curb appeal while also being kind to the planet. In today’s world, many homeowners are seeking sustainable options that not only look great but also minimize environmental impact. With some creativity and resourcefulness, you can create beautiful shutters that reflect your style and values, ensuring that every detail contributes positively to your home and the environment.
A great starting point is reclaimed wood. This choice not only adds character and history to your shutters but also keeps materials out of landfills. Look for old barn wood or salvaged pallets, which can be transformed into stunning shutters with a bit of sanding and refinishing. If you’re after a painted look, simply apply a non-toxic, eco-friendly paint that will protect the wood from the elements while also being safer for the environment. Alternatively, consider using bamboo, a fast-growing and renewable resource that is durable and lightweight. Bamboo’s natural beauty and versatility make it a perfect choice for modern and traditional styles alike.
Another fantastic option to explore is composite materials made from recycled plastics and wood fibers. These composites are designed to mimic the look of wood while providing higher durability and weather resistance. Many of them are also low-maintenance, meaning you won’t need to repaint or refinish them frequently, keeping your overall environmental footprint lower. When choosing composite materials, look for products that are certified for sustainability, ensuring that you’re making a responsible choice.
When working on your shutters, remember the finishing touches. Use water-based stains and finishes that are low in volatile organic compounds (VOCs) to enhance durability without harming the environment. Not only will this help preserve the integrity of your shutters, but it will also maintain good air quality in and around your home.
Choosing eco-friendly shutter options is a meaningful way to create a stylish and sustainable look for your home. Whether utilizing reclaimed wood, bamboo, or composite materials, each decision helps to celebrate the beauty of nature while reducing waste. So gather your materials, embrace your creativity, and dive into your DIY project knowing that you can make a difference without sacrificing style!
Common Mistakes to Avoid When Making Shutters
When crafting your own exterior shutters, it’s essential to be aware of common pitfalls that can lead to frustration down the line. One of the biggest mistakes DIYers make is underestimating the importance of precise measurements. It’s vital to measure your windows accurately-not just the width and height, but also the depth if applicable. An extra inch here or there can throw off the fit entirely, leaving your beautiful handiwork looking awkward. Always double-check your measurements before cutting any materials. When in doubt, err on the side of caution: it’s easier to shave off excess material later than to deal with the disappointment of incorrectly sized shutters.
Another frequent misstep involves the choice of materials. While it can be tempting to grab the first “on sale” option you see, prioritizing quality over price is crucial. Opt for weather-resistant materials, especially if you live in an area with extreme weather conditions. Low-cost wood may seem appealing, but it might warp, crack, or rot over time, leaving you with a maintenance nightmare. Consider sustainable options like composite materials or reclaimed wood; not only do they offer durability, but they can also add a unique charm to your home.
It’s also important not to overlook the finishing touches. Many DIYers rush through painting or sealing their shutters, which can lead to issues like peeling or fading down the line. Invest time in applying paint or stain properly. Use a primer, especially on raw wood, and opt for high-quality exterior paint to ensure longevity. This extra step can protect your shutters from the elements and extend their life significantly.
Finally, take care to properly install your shutters. Some people might think it’s as simple as just nailing them to the wall, but secure installation is vital. Use sturdy hardware, and ensure that the shutters can open and close smoothly if you intend to use them functionally. This not only enhances their aesthetic appeal but also ensures that they will remain a beautiful part of your home for years to come. Embrace the learning experience, and remember: every mistake is an opportunity to improve your craft and create something truly special!
Inspiration Gallery: Stunning DIY Shutter Transformations
Imagine transforming your home’s exterior and making it stand out with a simple yet impactful project: DIY shutters. These versatile elements not only provide functional benefits but can also dramatically boost curb appeal. Let’s dive into some inspiring transformations that demonstrate the potential of crafting your own shutters.
One fantastic example is the use of barn door-style shutters on a traditional home. These shutters, made from reclaimed wood, impart a rustic charm that softens the home’s architecture. By adding a pop of color-like a deep blue or sunny yellow-you can create a vibrant look that draws the eye and complements your landscaping. For this project, all you need are basic tools such as a saw, drill, and screws, along with wood finish to ensure durability. If you’re looking for a project that expresses creativity and individuality, this is a wonderful option!
For those interested in a more contemporary aesthetic, consider sleek, modern shutters painted in bold, monochromatic shades. This look works especially well on homes with minimalistic lines; the shutters can be aligned to echo the window frames, creating a cohesive and sophisticated appearance. Start with materials like engineered wood or high-quality vinyl, which are not only stylish but also low-maintenance. Installing these takes about a weekend, making it an achievable goal for even novice DIYers.
Bringing the Indoors Out
Another inspiring transformation comes from homeowners who have seamlessly integrated their shutters into outdoor decor themes. Imagine coordinating shutters with your patio furniture or garden design. For instance, shutters painted in matching hues as your front door or flower boxes can tie everything together beautifully. This approach not only enhances aesthetics but also reflects your personal style.
In all of these examples, the common thread is that DIY shutters allow for customization and creativity while adding value to your property. Whether you choose a rustic, modern, or decorative style, the ability to match them to your home’s existing color scheme and architectural details is what makes this project truly special. Remember, you can do this! Each step you take in designing and building your shutters contributes to a unique statement about your home. So grab your tools, unleash your creativity, and let your DIY shutters shine!
Frequently asked questions
Q: How do I measure for DIY exterior shutters?
A: To measure for DIY exterior shutters, first measure the height and width of your window. For optimal coverage, add 2-3 inches to the height and width. Always ensure you have uniform measurements for all windows to maintain a cohesive look across your home. Check out the Step-by-Step Guide to Building Shutters section for more details.
Q: What materials are best for DIY exterior shutters?
A: The best materials for DIY exterior shutters include wood, vinyl, or composite. Wood offers a classic look but requires more maintenance. Vinyl is low-maintenance and durable, while composites combine both aesthetics and durability. Refer to the Choosing the Right Materials section for in-depth comparisons.
Q: Can I install shutters without professional help?
A: Yes, you can install DIY exterior shutters without professional help! With the right tools and following a structured guide, this project is achievable for most homeowners. Check the Installing Your DIY Shutters: A Practical Guide section for specific installation steps.
Q: What tools do I need for making exterior shutters?
A: Essential tools include a circular saw, a measuring tape, a level, and a drill. Having a sander and paintbrushes will also help in finishing your shutters. Review the Essential Tools for Your DIY Shutter Project section for a full list and tips on tool usage.
Q: How much does it cost to make DIY exterior shutters?
A: The cost to make DIY exterior shutters typically ranges from $100 to $400, depending on materials and size. For an exact breakdown, explore the Budgeting Your DIY Shutter Project: Cost Breakdown section.
Q: Is it difficult to paint DIY shutters for a professional finish?
A: Painting DIY shutters can be straightforward with the right techniques. Use a high-quality exterior paint and apply multiple thin layers for a professional look. For detailed methods, check the Painting and Finishing Techniques for Durability section.
Q: What common mistakes should I avoid when making exterior shutters?
A: Common mistakes include incorrect measurements, using unsuitable materials, and neglecting weather conditions for painting. For more tips, see the Common Mistakes to Avoid When Making Shutters section in the article.
Q: How often should I maintain my DIY exterior shutters?
A: It’s recommended to inspect and maintain DIY exterior shutters at least once a year. Cleaning, repainting, and checking for damage can enhance their durability and appearance. Refer to the Easy Maintenance Tips to Keep Shutters Looking Great section for practical maintenance advice.
Closing Remarks
Ready to transform your home’s exterior and boost that all-important curb appeal? By adding DIY exterior house shutters, you’re not just enhancing aesthetics; you’re increasing your home’s value. Remember, this project is achievable for all skill levels, and with easily accessible materials, you can get started today!
If you’re feeling inspired, don’t stop here! Explore our guide on how to paint your shutters for a vibrant finish or discover how to install window boxes for that extra charm. Have questions or tips to share? We would love to hear from you in the comments below! Join our community by signing up for our newsletter for more DIY tips and exclusive content tailored just for you.
Don’t wait-take the next step in your home improvement journey! Embrace your inner DIY enthusiast and make those shutters your own. You can do this!
Get our latest guides, news, and insights highlighted in your Google Search & AI Overviews.