
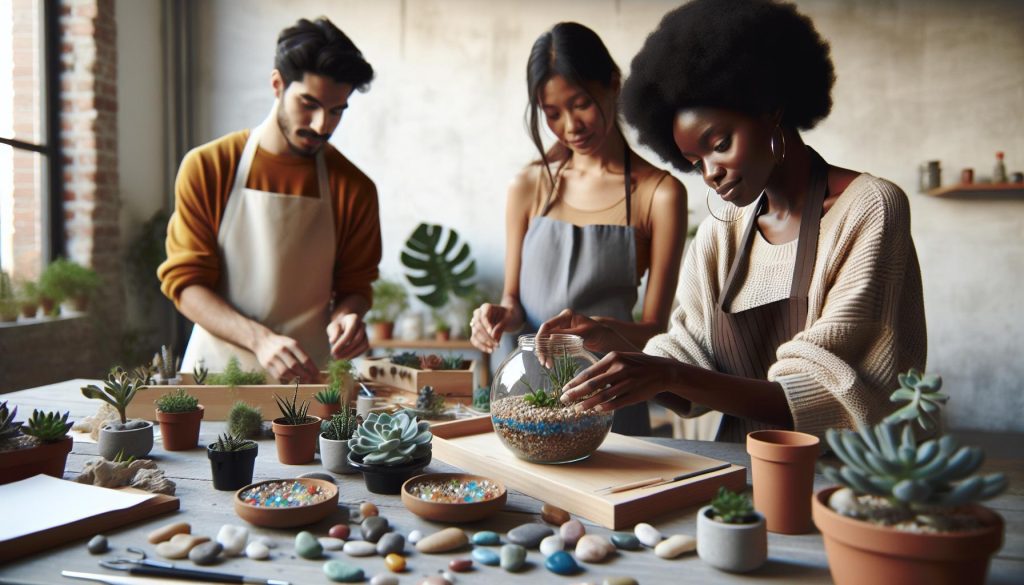
Are you looking to bring a touch of nature indoors while expressing your creativity? Creating a DIY terrarium is not just a fun project; it’s also a rewarding way to cultivate a living masterpiece right in your home. These miniature gardens require minimal effort and space, making them perfect for any skill level-from beginner to experienced maker.
Imagine crafting your own lush oasis, complete with vibrant plants and unique decorations that reflect your personal style. Plus, caring for your terrarium can boost your mood and improve air quality, making your space more inviting. With just a few materials and some simple steps, you can embark on this delightful journey. So, gather your supplies and let’s turn your home into a green sanctuary. You can do this!
DIY Terrarium Basics: What You Need to Get Started
Creating a DIY terrarium is like bringing a slice of nature right into your home. It’s an exciting project that’s accessible to everyone, whether you’re a seasoned plant lover or just embarking on your green-thumb journey. With a few essential materials and a little bit of creativity, you can craft a vibrant mini ecosystem that thrives in a glass container, offering beauty and tranquility to any space.
To get started, you’ll need a clear glass container-think mason jars, fish bowls, or even specially designed terrarium kits. The transparent walls allow you to enjoy the intricate details of your miniature garden. Also, make sure to grab some gravel or small stones for drainage; this is crucial for preventing water from pooling at the bottom and rotting your plants. Next, include activated charcoal to help filter contaminants and keep the environment fresh. You can then layer potting soil, which serves as the growing medium for your plants.
Choosing the right plants is just as vital. For beginners, consider low-maintenance options like moss, ficus, or succulents. These varieties not only look stunning but also adapt well to the cozy conditions of a terrarium. Remember, size does matter-choose plants that won’t outgrow the space. Lastly, add personal flair with decorative elements, such as small figurines, pebbles, or colored sand. With these basics in hand, you’re well on your way to creating a beautiful living masterpiece right at home!
Choosing the Right Plants for Your Terrarium
Selecting the right plants for your terrarium can make all the difference between a thriving miniature garden and one that struggles to survive. Imagine a lush world encapsulated in glass, where each plant plays its role in maintaining a miniature ecosystem. To ensure your creation flourishes, it’s essential to consider the specific growing conditions your terrarium will provide, as well as the compatibility of the plants you choose.
Start by assessing the light condition of the spot where your terrarium will live. Most terrariums benefit from bright, indirect light. Some ideal plant choices that thrive in these conditions include ferns, air plants (tillandsia), and peace lilies. These plants are not only attractive but also have relatively low water requirements, making them perfect for beginners. If your terrarium will receive more light, you might want to include vibrant succulents or cacti which love the sun but remember-these need proper drainage and ventilation!
Another critical factor is the size of your plants. When selecting, think small! Choose plants that will stay relatively compact and won’t outgrow their environment. A helpful tip is to keep a mix of textures and shades to create visual interest: pair moss with small ferns or baby tears for a striking contrast. You can even order miniature plants from online nurseries or local garden centers, ensuring you find varieties that fit the scale of your terrarium beautifully.
Lastly, don’t shy away from creativity! Incorporate tiny decorative pieces or choose plants with colorful foliage to add whimsy to your design. With these tips in mind, you can confidently choose the right plants for your terrarium, knowing that your green creation will not only look good but thrive as a delightful slice of nature within your home. You can absolutely do this, and the reward will be a stunning living masterpiece that reflects your personal style!
Essential Tools and Materials for DIY Terrariums
Creating your own terrarium is not just about the plants; it’s also about having the right tools and materials. Imagine immersing yourself in the serene world of plant care, all while crafting a unique piece of art that will flourish in your home. Whether you’re a beginner or have some experience with DIY projects, gathering your supplies is the first joyful step towards your living masterpiece.
To get started, you’ll need a few essential items. Firstly, choose a transparent container; the options are endless! Glass jars, fish bowls, or specialized terrarium kits all work splendidly. Make sure it has an opening large enough for you to fit your hand inside to work comfortably. Next, you’ll require a variety of substrate layers: a base layer of small rocks or gravel for drainage, followed by activated charcoal to filter air and odors, and finally a layer of potting soil suitable for the plants you’ve selected. This multi-layer approach creates a healthy environment for your plants and helps prevent waterlogging, ensuring they thrive.
In addition to your container and substrate, you’ll want tools that make the crafting process smooth and enjoyable. A long spoon or a small trowel can help you layer the materials without mess, while a small spray bottle is handy for watering. Don’t forget decorative elements! Tiny figurines, stones, or colored sand can bring your design to life. Having gloves and masks is also a good idea if you’re working with materials like charcoal or soil, keeping your hands clean while you focus on creativity.
Here’s a quick checklist for your DIY terrarium supplies:
- Transparent container
- Small rocks or gravel
- Activated charcoal
- Potting soil
- Long spoon or small trowel
- Spray bottle
- Decorative elements (figurines, colored sand, etc.)
- Gloves and mask (optional)
With these tools and materials in hand, you’re ready to embark on your terrarium adventure! Remember, this is your creation-let your imagination soar as you layer, plant, and decorate. You truly can do this! Each step you take is a new opportunity to express your style and fill your space with nature’s beauty.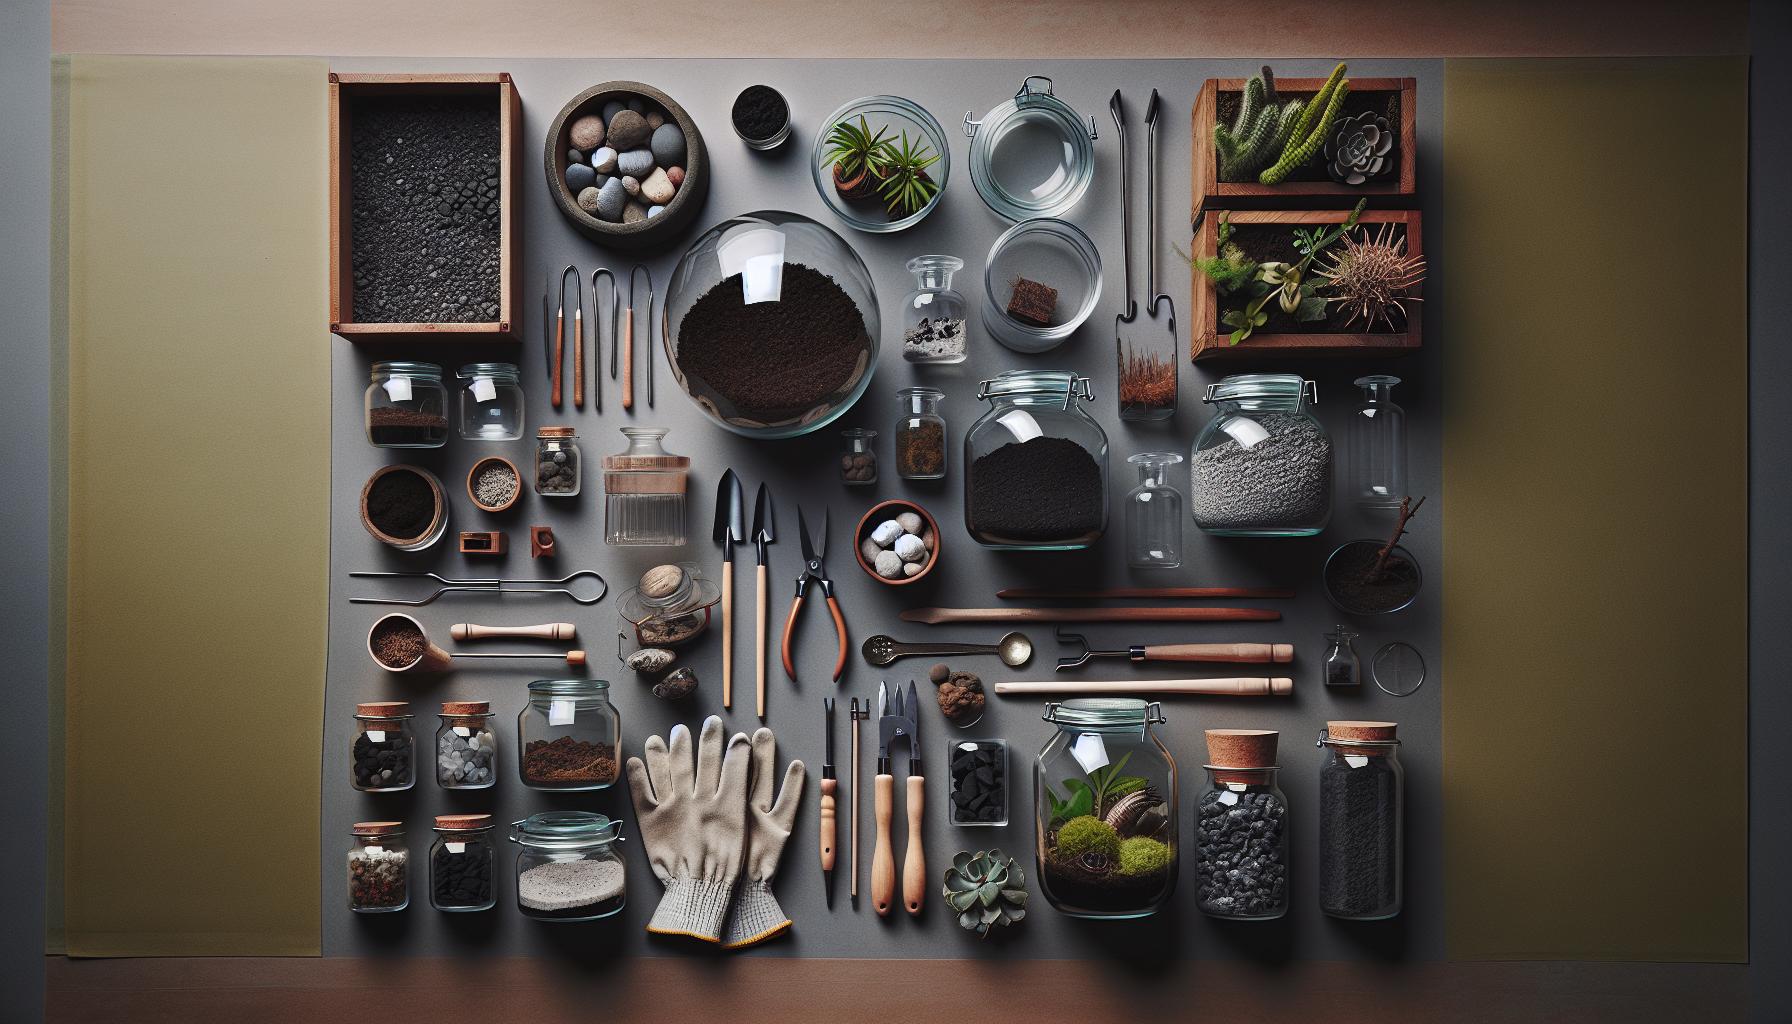
Crafting the Perfect Terrarium: Step-by-Step Guide
Creating a terrarium is a fulfilling project that turns a simple glass container into a lush, miniature ecosystem. Whether you’re a gardening novice or a seasoned plant parent, this step-by-step guide will help you construct a vibrant indoor garden that brings nature indoors. The best part? You can customize every element to suit your style and the specific needs of your chosen plants!
Start by laying the groundwork with the essential materials: rocks, activated charcoal, potting soil, and, of course, your chosen plants. Each layer serves a unique purpose- the rocks provide drainage, the charcoal keeps everything fresh, and the soil supports your growing plants. This multi-layer system ensures your terrarium remains healthy and thriving.
Once you’ve gathered your materials, follow these simple steps to craft your masterpiece:
- Prepare Your Container: Clean your chosen glass container thoroughly. Make sure it’s dry and free from residues.
- Add the Drainage Layer: Pour about 1 to 2 inches of small rocks or gravel into the bottom of your container. This layer prevents water from accumulating at the bottom, which could cause the roots to rot.
- Incorporate Activated Charcoal: Sprinkle a thin layer of activated charcoal over the rocks (about 1 inch). This vital component helps filter water and absorbs odors, keeping the environment fresh for your plants.
- Layer the Soil: Add a layer of potting soil on top of the charcoal, about 2 to 3 inches deep. Make sure it’s suitable for the plants you’ve chosen, as different species have different soil needs.
- Plant Your Greens: Dig small holes in the soil for your plants. Take them out of their nursery pots and gently loosen the roots before placing them in your terrarium. Arrange them in a way that’s visually appealing, but also takes into consideration their growth habits.
- Decorate and Final Touches: Now comes the fun part! Add small decorations like stones, figurines, or colored sand to personalize your terrarium. This is your canvas-let your creativity shine!
- Water Sparingly: Using a spray bottle, lightly mist the soil to provide moisture. Be careful not to overwater; a little goes a long way in a contained environment!
- Find the Right Spot: Place your terrarium in a location with indirect sunlight. Too much direct light can overheat the plants, while too little may hinder their growth.
By following these steps, you’re well on your way to crafting a beautiful terrarium that reflects your personal style. Remember, it’s about exploration and enjoyment-don’t be afraid to experiment! Above all, celebrate your success and the joy of nurturing your own little green world. You can absolutely do this!
Creative Terrarium Designs: Inspiration and Ideas
Creating a terrarium offers a fantastic opportunity to unleash your creativity while nurturing a tiny ecosystem. Picture vibrant green plants nestled among miniature details, transforming a simple glass container into a stunning focal point for any room. Whether you’re aiming for a whimsical fairy garden or a sleek modern design, the possibilities are endless.
To kickstart your journey into creative terrarium design, think about incorporating various elements that can enhance the visual appeal of your arrangement. Use different layers of soil and rocks not only for their functional benefits but also to create texture and depth. Consider using natural materials like wood slices, pebbles, or cork bark to introduce organic shapes that contrast beautifully with the greenery. A small figurine or decorative stone can also bring a playful touch-perhaps a tiny gnome peeking from behind a plant or a charming dinosaur hidden among the leaves.
Lighting can significantly alter the look of your terrarium. You might experiment with LED fairy lights for a magical glow, especially in the evenings. A warm light can add a cozy ambiance, while a cool light might emphasize the lush greenery. If you’re working with a closed terrarium, you can also explore ideas like moss-covered stones or layering different species of moss to give a sense of depth and lushness.
Lastly, think about the narrative your terrarium tells. Is it a vibrant jungle scene, a serene desert oasis, or a rustic woodland? By carefully choosing your plants and decorative elements, you create a story or theme that captures your interest and imagination. Remember, this is your masterpiece-don’t hesitate to make it uniquely yours. You can absolutely do this! Every choice reflects your style, making each terrarium you create an authentic expression of your creative spirit.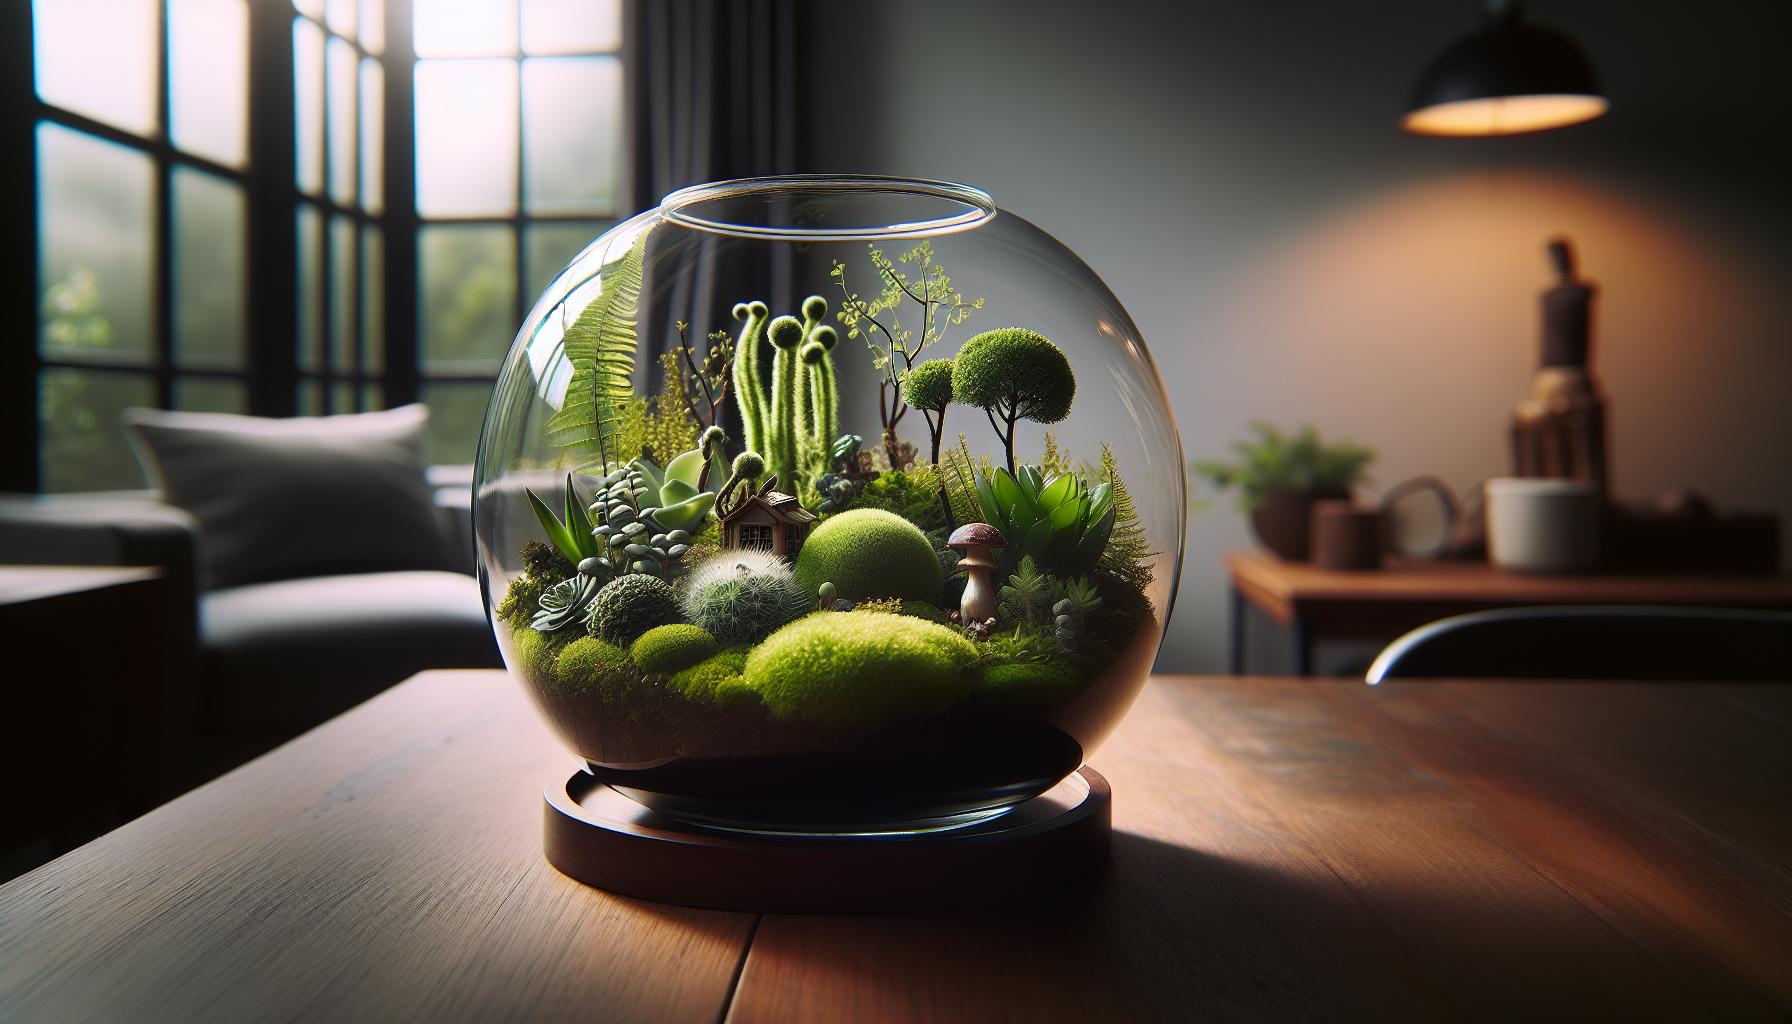
Maintenance Tips for a Thriving Terrarium
To keep your terrarium thriving, it’s all about establishing a routine and understanding the unique needs of your miniature ecosystem. A terrarium can be a self-sustaining environment, but it still requires some love and care to ensure it remains a vibrant and beautiful part of your home. Here are some essential maintenance tips to help you nurture your living masterpiece effectively.
First, monitor the moisture level inside your terrarium. A closed terrarium should generally maintain humidity; excess moisture can lead to mold or root rot. If you notice condensation building up, open the lid for a few hours to allow some moisture to escape. Conversely, if plants appear wilted or the soil looks dry, it’s time to add a little water. It’s best to use distilled water or rainwater, as tap water can contain minerals that might harm your plants. Stick your finger into the soil about an inch deep to check the moisture levels; it should feel slightly damp but not soggy.
Lighting Matters
Make sure your terrarium is placed in a bright, indirect light location. Direct sunlight can scorch the plants, while too little light will hinder their growth. Rotate your terrarium every week or so to ensure even light distribution, promoting symmetrical growth. If you find your plants stretching toward the light, they may need more brightness. If you’re using artificial light, consider LED grow lights that can enhance plant health without overheating your tiny garden.
Prune and Refresh
Regularly prune your plants to promote healthy growth and maintain a balanced aesthetic. Remove any dead or yellowing leaves to prevent decay and keep the terrarium looking tidy. You can also replace any plants that outgrow the container with smaller varieties if you want to maintain that perfect look. Adding fresh soil from time to time can also replenish nutrients, especially if your plants are looking a bit lackluster.
By following these simple guidelines, you can ensure your terrarium remains a beautiful, low-maintenance ecosystem for months to come. Remember, maintaining a terrarium is not just a chore-it’s an opportunity to connect with nature and observe the growth and changes of your plants continuously. You can absolutely do this! Your terrarium will flourish under your care!
Common Mistakes to Avoid in Terrarium Creation
Creating a terrarium can be an incredibly rewarding experience, but there are a few missteps you’ll want to avoid to ensure your miniature garden thrives. One of the most common mistakes is overwatering. It’s easy to get enthusiastic about caring for your plants, but remember that a terrarium is a closed ecosystem. Too much moisture can lead to mold and root rot. To avoid this, always check the soil’s moisture before adding water. Use a finger test-just stick your finger about an inch deep; if it’s damp, hold off on watering. For closed terrariums, you usually aim for a moist but not soggy environment.
Another common pitfall is choosing the wrong plants. Not all plants are suited for a terrarium environment, especially if you’re going for a closed design. Select species that thrive in humidity and don’t outgrow their space quickly, such as ferns, mosses, and small tropical plants. It’s also essential to consider the light needs of your plants. Placing your terrarium too close to direct sunlight can scorch the leaves, while too little light can cause the plants to become leggy and weak. A bright, indirect light location is ideal.
Additionally, neglecting the layers of the terrarium can lead to problems down the line. Always start with a drainage layer of small rocks or pebbles to prevent root rot. Follow this with activated charcoal to filter the air and keep it fresh, then add your potting soil. Skipping these important steps can result in a less stable environment for your plants. You can do this-build your terrarium with care! Engage with the process, and remember that it’s all about trial and error. Embrace the journey, and you’ll have a stunning living masterpiece to enjoy!
Lastly, remember to give your terrarium time to settle. If you disturb it too much after planting, stress can hinder plant growth. Just allow your beauty to unfold, adjusting your care as needed. With a little patience and awareness, you’ll avoid these common traps and create a thriving terrarium.
Enhancing Your Terrarium: Decorative Elements and Accessories
To make your terrarium not just a miniature garden but a vibrant living artwork, consider integrating decorative elements and accessories that reflect your personal style. These enhancements not only add visual interest but also provide unique textures and layers, making your terrarium truly stand out. Imagine a cozy woodland scene inside your glass container, or a whimsical fairy garden filled with tiny figures and colorful stones. The possibilities are endless!
Choosing Decorative Elements
When picking out decorations, think about the theme you want to convey. Here are some popular options to consider:
- Stones and Gravel: Use a variety of natural stones, pebbles, or colored gravel to create pathways or borders.
- Mini Figurines: Small animals, fairies, or even tiny garden furniture can add a story to your mini ecosystem.
- Ornamental Wood Pieces: Driftwood or bark can provide a rustic touch, complementing the natural elements of your plants.
- Shells or Moss: Incorporating these can enhance the earthy feel, bringing a touch of nature to your glass habitat.
As you include these elements, balance is key. Too many decorations can overshadow your plants, so choose a few focal pieces that won’t overwhelm the green beauty within. Position them thoughtfully: layer them at different heights for depth and interest.
Creating a Cohesive Look
To ensure your decorative elements work harmoniously, select items that share a color palette or theme. For instance, if your terrarium features lush green ferns and moss, consider earthy tones like browns and grays for your decorations. This approach creates a seamless transition between plants and accessories, enhancing the overall aesthetic.
Don’t forget about lighting! A small LED light can dramatically transform your terrarium at night, making the plants and decorations shimmer. Place it strategically to cast soft glows and shadows that highlight the beauty of your miniature world.
Remember, there are no strict rules in crafting your terrarium, so have fun experimenting with different elements. Embrace creativity and let your imagination guide you; after all, this little ecosystem is a reflection of your unique style. Happy crafting-you’ll absolutely adore the personalized flair your decorations bring to your living masterpiece!
How to Repurpose Old Containers for Terrariums
Repurposing old containers is not just a sustainable choice; it’s a chance to infuse personality and character into your terrarium. Think of all those forgotten jars, bowls, or even old fish tanks sitting in your attic or garage! With just a little creativity, you can transform them into a stunning home for your plants. From glass jars to vintage teacups, the options are endless, and the process is super enjoyable.
Start by selecting a container that fits your vision. Here are some popular choices to consider:
- Glass Jars: Mason jars and other glass containers can create beautiful terrariums with a clear view of your plants. Their varying sizes make them versatile.
- Fish Bowls: These offer a wide opening, making it easy to access your plants. Plus, their round shape can create a lovely display.
- Teacups and Mugs: For a smaller, whimsical terrarium, use old teacups. They can add charm and a personal touch to your collection.
- Wooden Crates or Vintage Boxes: If you prefer a rustic look, these can serve as lovely bases for an open terrarium.
Before you get started, make sure to clean your selected container thoroughly. Remove any labels and wash it with warm, soapy water. Rinse well to ensure no soap residue could harm your plants. If you’re using a container that previously held food, letting it dry completely is crucial to prevent mold growth within your new mini-ecosystem.
As you prepare to plant, consider the drainage. Most containers won’t have the proper holes for drainage, which is essential in keeping your plants healthy. You can create a drainage layer using small pebbles or gravel at the bottom. This will help excess water to collect away from the roots of your plants. Next, add a layer of activated charcoal (if using a glass container) to keep the soil fresh and help absorb any odors. Finally, add potting soil suitable for the plants you’ve chosen.
Repurposing old containers can spark creativity and bring a unique flair to your terrarium project. You can do this, and it’s a fantastic way to personalize your living masterpiece. So gather those overlooked items and let your imagination run wild; your dream terrarium is within reach!
Creating a Mini Ecosystem: Understanding Terrarium Ecology
Creating a thriving mini-ecosystem within your terrarium is like crafting a tiny world where plants and moisture work together in harmony. Did you know that a closed terrarium can maintain its own humidity levels, allowing plants to thrive with minimal intervention? Understanding the ecological principles at play will not only enhance the beauty of your creation but also ensure its sustainability and health.
To start off, it’s essential to recognize the role of each component in your terrarium. Every layer serves a distinct purpose: the bottom layer of gravel or pebbles allows for drainage, preventing water from pooling at the roots. Above this, activated charcoal acts as a natural filter, ensuring the soil remains fresh and odor-free. Finally, your chosen potting soil provides the nutrient-rich base necessary for your plants’ roots to flourish. Make sure to layer these materials thoughtfully and consider how they contribute to moisture retention and airflow.
One of the key concepts in terrarium ecology is the water cycle. In a closed terrarium, moisture from the soil evaporates, condensing on the walls of the container before dripping back down. This cycle mimics nature and reduces the need for frequent watering. To create a balanced environment, choose plants that have similar moisture and light requirements, which will thrive together. For instance, succulents and air plants prefer drier conditions, while ferns and mosses enjoy a bit more humidity.
Keep in mind that observing your mini-ecosystem is half the fun. You’ll learn how the plants respond to light and moisture levels, and you can adjust their care accordingly. If you notice that the leaves are wilting, it might be time for a little extra light or ventilation. Conversely, if you see mold forming, that could signal too much moisture. Taking a keen interest in how your terrarium evolves will not only improve its health but also sharpen your skills as a terrarium maker.
So go ahead, embrace the beauty of your miniature world, and remember that you have the power to nurture this living masterpiece at home! With just a little patience and observation, you’ll create a vibrant ecosystem that reflects your unique style and creativity.
Advanced Techniques for Terrarium Enthusiasts
Creating a terrarium goes beyond the basics; it’s a chance to express your creativity and go the extra mile in crafting a unique ecosystem. Once you’re comfortable with standard setups, exploring advanced techniques can elevate your project from simple to spectacular. Learn how to incorporate layering, lighting, and even seasonal changes that keep your terrarium vibrant over time.
Layering Techniques
Layering isn’t just functional; it’s an aesthetic choice that can create depth in your terrarium. Consider adding components like colored sand or decorative stones between your drainage layer and soil to create visual interest. Here’s how you can enhance your terrarium through layering:
- Colored Gravel or Sand: Use different colors to signify plant zones or create a gradient effect. This not only looks appealing but helps with moisture control.
- Charcoal Chips: Rather than a solid layer, sprinkle charcoal chips amongst your soil to enhance air circulation, providing your plants the best environment to thrive.
- Decorative Horizons: Experiment with small figurines, driftwood, or quartz to create focal points that draw the eye. This can make your terrarium a conversation starter!
Lighting Your Terrarium
Consider how natural light plays a role in your living masterpiece. If your terrarium isn’t getting enough sunlight, you can use LED grow lights. These lights simulate sunlight and can be adjusted to provide the specific wavelengths your plants need. Here’s a simple guideline for lighting your terrarium effectively:
- Choose the Right Light: Select full-spectrum LED lights for best results. They’re energy-efficient and emulate natural sunlight.
- Placement Matters: Position the lights at a distance of 12-24 inches from your terrarium, depending on the light’s intensity and the plants’ needs.
- Time Your Lighting: Aim for 10-12 hours of light each day. Use a timer for convenience, ensuring consistent care.
Seasonal Changes
Terrariums can reflect the changing seasons, adding variety to your decor. By rotating plants and accessories seasonally, you can keep your terrarium fresh and engaging. You might swap out tropical plants for hardy succulents in winter or add festive decorations around the holidays. Here’s how to implement seasonal changes:
- Seasonal Plant Changes: Research plants that thrive in different seasons and rotate them in. Ferns flourish in cooler months while air plants might enjoy the summer.
- Festive Decor: Incorporate seasonal decorations like mini pumpkins for fall or sprigs of evergreen for winter. Just be careful not to overcrowd your plants!
- Monitor Conditions: Changes in temperature and humidity can affect your terrarium. Adjust your care routine according to the season for optimal health.
These advanced techniques not only enhance the visual appeal of your terrarium but also foster a healthier environment for your plants. Remember, the joy of terrarium crafting lies in experimentation and discovering what works best for you. So gather your materials, let your creativity shine, and dive into the wonderful world of advanced terrarium design!
Troubleshooting Common Issues in Your Terrarium
It’s normal to feel a little challenged when creating and maintaining your terrarium. Understanding common issues can help you troubleshoot problems and ensure your mini ecosystem thrives. No need to stress-many problems are easily fixable with a bit of observation and care. Let’s dive into some of the most frequent issues you might encounter and how to guide your terrarium back to health.
Humidity and Moisture Issues
One of the most common challenges in terrarium care is managing humidity levels. A closed terrarium can trap moisture and lead to an overly humid environment, resulting in mold growth and plant rot. Conversely, an open terrarium might dry out too quickly, stressing your plants. Here’s how to balance moisture:
- Check for Excess Water: If water pools at the bottom, remove excess by carefully tilting the container or using a sponge to absorb it.
- Air it Out: If humidity is too high, take the lid off your closed terrarium for a day or two to reduce moisture. Watch your plants closely as you make adjustments.
- Use a Humidity Meter: Investing in a simple humidity gauge can help you monitor conditions and provide better care.
Pest Problems
If you notice unwelcome visitors like tiny flies or aphids invading your terrarium, it’s time to take action. Pests can wreak havoc on your plants, but don’t worry! Here are steps to manage pests effectively:
- Isolate the Affected Plant: To prevent spreading, move any infested plants away from the rest of your terrarium.
- Natural Remedies: A gentle solution of water and dish soap can help. Spray affected areas and rinse plants gently.
- Introduce Beneficial Insects: In some cases, releasing a few ladybugs can help keep pests in check without harming your plants.
Plant Health and Growth Issues
Sometimes your plants might not thrive despite your best efforts. Stunted growth, yellowing leaves, or leggy plants can signal distress. To remediate these concerns, consider the following strategies:
- Assess Lighting Conditions: Ensure your plants are getting the right amount of light. If they’re leaning towards the light source, they may need more light or a rotation.
- Examine Soil Quality: Poor soil can lead to nutrient deficiencies. Consider refreshing the top layer with fresh potting soil or adding a slow-release fertilizer suitable for your plants.
- Prune When Necessary: Removing dead or yellowing leaves can help redirect energy to healthier parts of the plant and encourage new growth.
Navigating challenges in your terrarium should feel empowering, not daunting. Each issue you encounter is an opportunity to learn and improve your skills as a creator. With just a little patience and observation, you can transform your mini garden into a flourishing masterpiece that brings you joy for years to come. Remember, you’ve got this!
FAQ
Q: What plants are best for a beginner DIY terrarium kit?
A: Beginner-friendly plants for your terrarium include mosses, ferns, and small succulents. These plants are resilient, low-maintenance, and thrive in the humidity of a closed environment. Always check their light requirements to ensure optimal growth. For more plant options, check the section on Choosing the Right Plants for Your Terrarium.
Q: How do I choose a container for my terrarium?
A: The best containers for terrariums are clear, allowing light to reach the plants. Consider using glass jars, fish bowls, or vases. Ensure the container has an opening for airflow and fits your aesthetic. Explore more container ideas in the article on Repurposing Old Containers for Terrariums.
Q: How often should I water my terrarium?
A: Water your terrarium every 1-3 weeks, depending on the plant types and humidity levels. A closed terrarium retains moisture longer, while an open one may need more frequent watering. Check the soil moisture before adding water to avoid over-saturation. Find more maintenance tips in the Maintenance Tips for a Thriving Terrarium section.
Q: Can I create a terrarium without drainage holes?
A: Yes, you can create a terrarium without drainage holes by adding a layer of gravel at the bottom to prevent root rot. Utilize the right planting techniques and monitor moisture levels closely to maintain a healthy environment. Refer to Troubleshooting Common Issues in Your Terrarium for more insights.
Q: What types of ecosystems can I replicate in a terrarium?
A: You can replicate multiple ecosystems in a terrarium, such as rainforest, desert, and mediterranean. Choose plants and materials that reflect the chosen ecosystem, and adjust humidity and light conditions accordingly. For more design ideas, see the Creative Terrarium Designs: Inspiration and Ideas section.
Q: What decorative elements can I add to my terrarium?
A: Enhance your terrarium with decorative stones, miniature figures, or driftwood. These elements add personality and charm, creating a unique habitat. Consider the scale of your decorations to maintain balance within the terrarium’s ecosystem as discussed in Enhancing Your Terrarium: Decorative Elements and Accessories.
Q: How long can a terrarium last?
A: A well-maintained terrarium can last for years. Factors like plant choice, maintenance routine, and environmental conditions influence longevity. Regularly monitor plant health and make necessary adjustments to ensure a thriving ecosystem. For longevity tips, refer to the Maintenance Tips for a Thriving Terrarium section.
Q: What common mistakes should I avoid when making a terrarium?
A: Avoid overwatering, overcrowding plants, and choosing the wrong container. These mistakes can lead to mold growth or plant stress. Educate yourself on the basics to prevent these issues, as highlighted in the Common Mistakes to Avoid in Terrarium Creation section.
Insights and Conclusions
Congratulations on taking the first step towards creating your very own DIY terrarium! Now that you have all the tools and materials at your fingertips, it’s time to unleash your creativity and bring a piece of nature into your home. This hands-on project is not just a craft; it’s a chance to cultivate life and add a personal touch to your space. Don’t wait-grab your kit and start crafting today!
If you’re looking for more inspiration or need tips on maintaining your masterpiece, check out our related guides on plant care and decorating with succulents. Have questions or want to share your own creation? Join the conversation in the comments below! And remember, signing up for our newsletter will keep you updated on the latest DIY projects and special offers to fuel your crafting journey. Embrace the joy of making; you’ve got this!
Get our latest guides, news, and insights highlighted in your Google Search & AI Overviews.