

Did you know that freeze-drying can extend the shelf life of your food by years, even decades? Imagine enjoying your garden vegetables or favorite fruits in months to come, preserving their taste and nutrients. A DIY freeze dryer allows you to take food preservation into your own hands, saving money and reducing waste. You don’t need to be a pro-our step-by-step guide will empower you to master this process, providing the satisfaction of creating your own long-lasting food storage solutions. Whether you’re a seasoned DIY enthusiast or just starting out, this project is accessible and rewarding. Get ready to dive into the world of freeze-drying and unlock the secret to preserving food like a pro at home!
Choose the Right Freeze Dryer for You
Choosing a freeze dryer is an exciting step in your DIY food preservation journey! With various models on the market, finding the perfect fit for your needs can feel overwhelming. But fear not! With the right information, you can confidently select a machine that will support your food storage goals and make the process enjoyable.
First, consider how much food you plan to freeze dry. If you’re just starting or only want to preserve small batches, a compact model might be the way to go. These smaller units are typically easier to store and operate, making them ideal for beginners or those with limited kitchen space. On the other hand, if you envision freeze drying larger quantities-perhaps for prepping meals or stocking up for emergencies-investing in a larger unit will save you time and effort in the long run.
Next, think about your budget and the features you desire. Most freeze dryers fall within a broad price range, often correlating to their size and functionality. Look for key features like:
- Vacuum pump strength: A powerful pump ensures efficient moisture removal.
- Batch size capacity: Consider how much food you can process in one go.
- Ease of use: User-friendly controls and clear instructions can make a big difference.
- Warranty and support: A good warranty and responsive customer service can be invaluable.
Lastly, think about your long-term needs. Choosing a durable machine with a good reputation can provide peace of mind and serve you well for years to come. Don’t hesitate to read reviews or join forums where fellow freeze-drying enthusiasts share their experiences. Remember, you’re not just choosing a machine; you’re investing in a tool that will empower you to preserve delicious foods, reduce waste, and enjoy the fruits of your labor all year long! Dive into this charming world of food preservation-your garden, pantry, and wallet will thank you!
Essential Supplies for DIY Freeze Drying
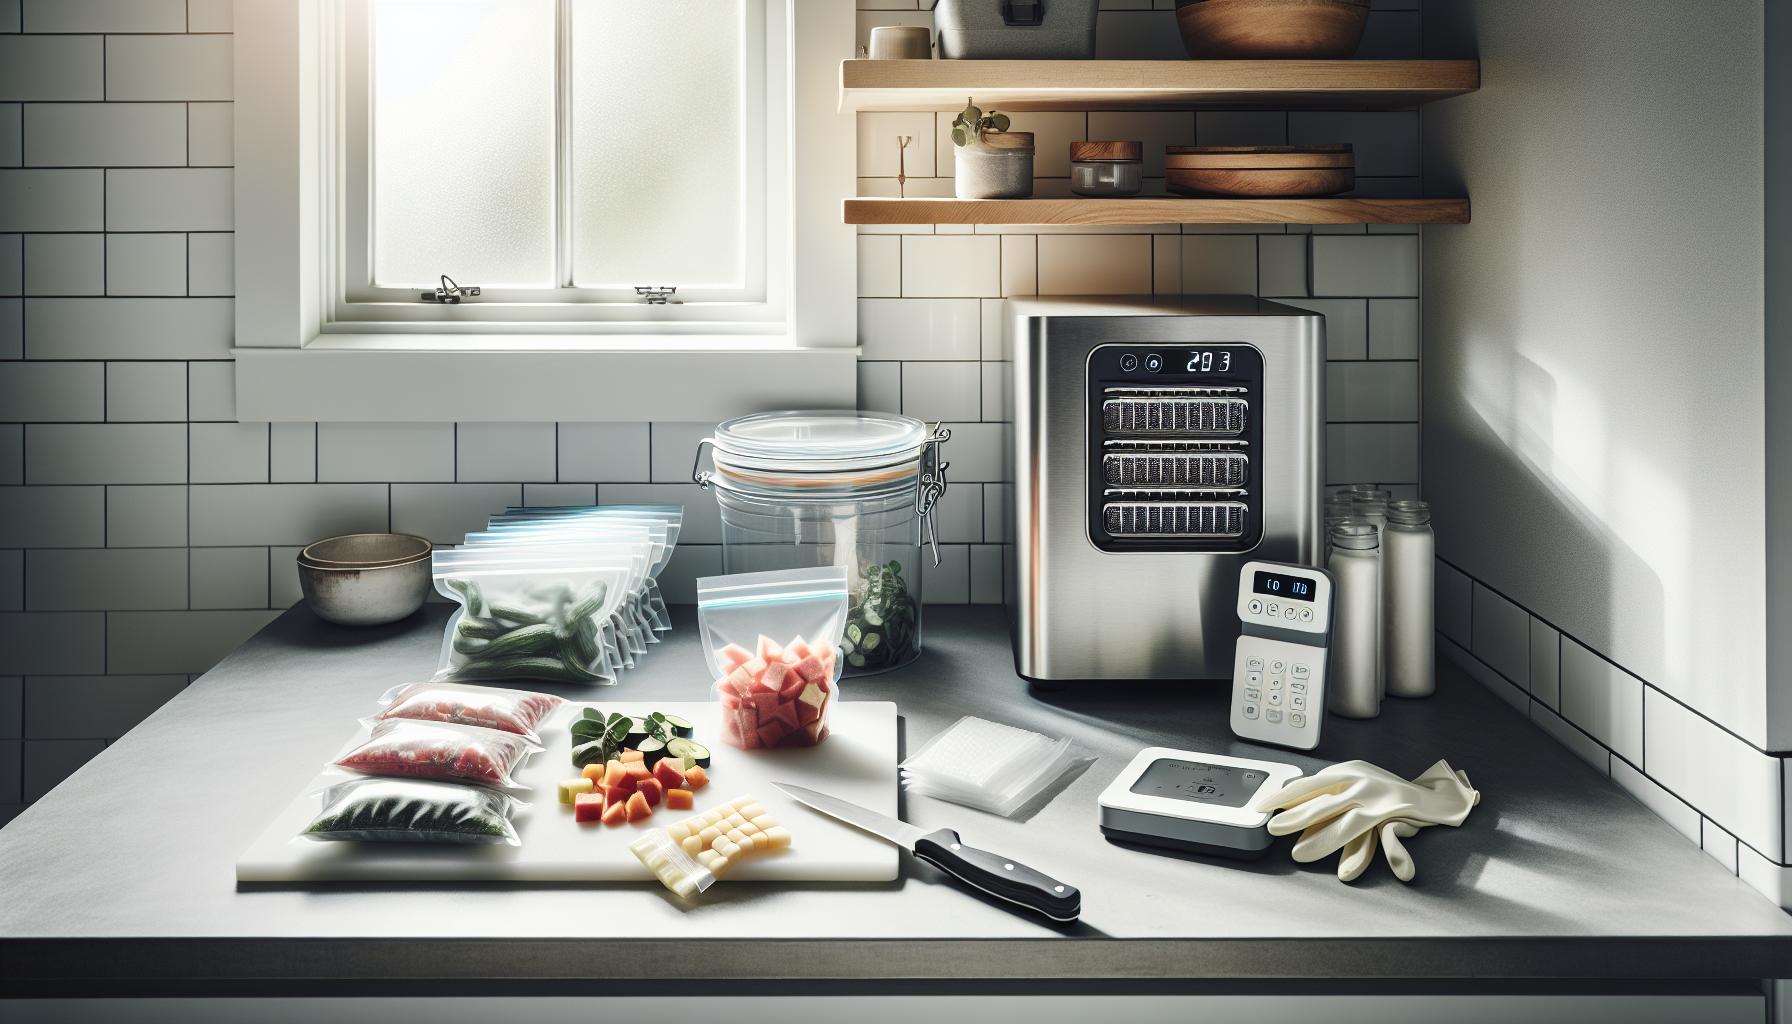
To embark on your DIY freeze drying adventure, gathering the right supplies is essential. Luckily, you don’t need to break the bank or tackle complex equipment to get started. With a solid plan and a few key items, you can preserve your favorite foods right at home! Just imagine being able to enjoy a deliciously crunchy apple slice in the middle of winter made from your summer harvest. Let’s dive into the must-haves to set you up for success.
First on your list should be a quality freeze dryer. Whether you go for a compact model or a larger unit depends on your needs and how much food you plan to process. Along with the freeze dryer, you’ll also want vacuum-sealed bags or containers to store your finished products. These are crucial for keeping the moisture out and maintaining the food’s longevity. Make sure to choose bags labeled safe for freeze drying, as regular bags may not hold up against moisture over time.
Next, an airtight sealing mechanism is important. If your freeze dryer doesn’t include one, consider investing in a reliable vacuum sealer. This tool will allow you to package your freeze-dried foods properly, extending their shelf life significantly. Additionally, don’t forget to stock up on a few basic kitchen tools! A sharp knife for food prep and a scale for measuring portions will help streamline your process.
Lastly, always have some fun on hand-those small trial amounts of fruits, veggies, or even full meals that you’re excited to try drying. Remember, the goal is to enjoy the journey of freeze drying. Gather your supplies, make a little room in your kitchen, and soon enough, you’ll be savoring your homemade freeze-dried snacks. The joy of DIY has never tasted so good!
Step-by-Step Guide: Freeze Drying Basics
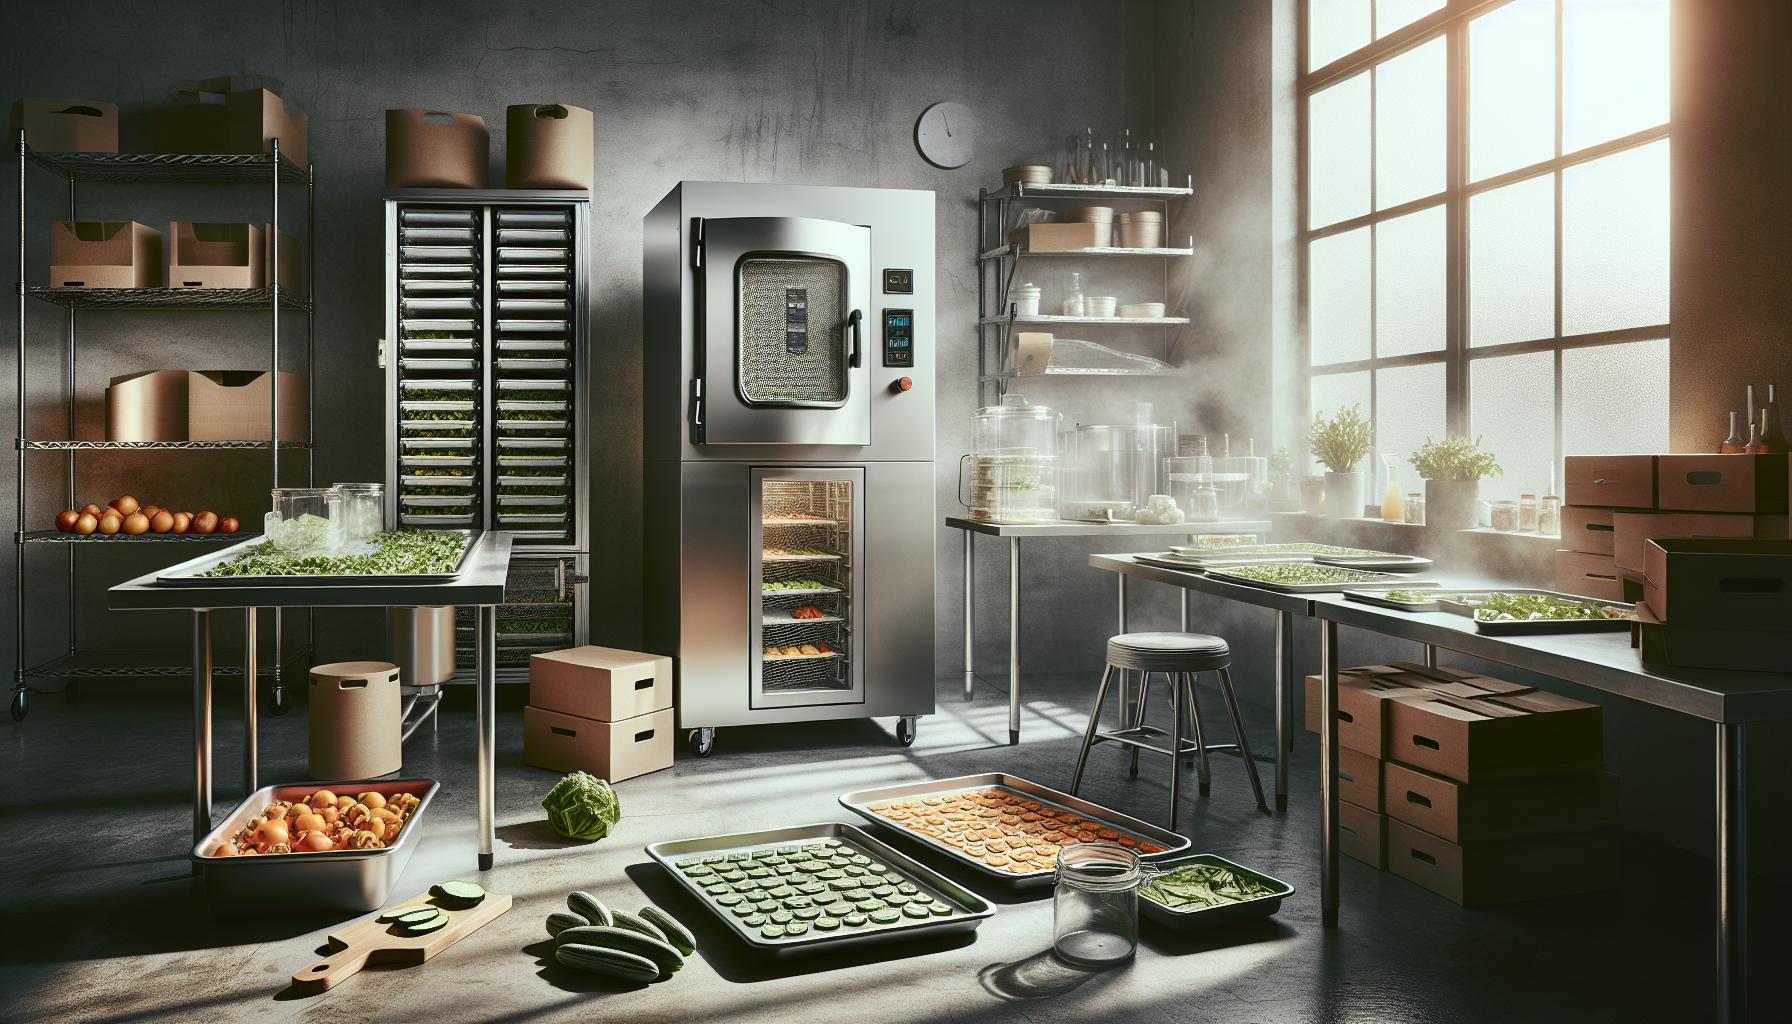
Imagine being able to enjoy your favorite seasonal fruits and vegetables year-round, with their flavor, color, and nutritional value locked in. Freeze drying is an exciting and effective way to preserve food, making them light and shelf-stable while retaining their taste and nutrients. The process may seem daunting at first, but with the right steps, you can master freeze drying at home and impress your family and friends with your creative culinary skills!
To start your freeze drying journey, ensure you have your freeze dryer set up in a cool, dry area, as temperature and humidity can significantly affect the outcome. Begin with fresh, high-quality food: fruits like strawberries and bananas, vegetables like zucchini and carrots, or even meals you love. Make sure to wash and prep your produce-cutting them into uniform pieces helps with even drying. For delicate items like berries, leaving them whole works wonders.
Once your food is prepped, place it on the trays of your freeze dryer in a single layer. Avoid overcrowding; airflow is key for proper freeze drying. After loading the trays, set your machine according to the food type you’re using. Many freeze dryers have presets, but if yours doesn’t, a good rule of thumb is to freeze dry at a lower temperature for longer periods to avoid issues like uneven drying or burnt flavors. Typical cycles can take anywhere from 20 to 40 hours depending on the food item and your machine model.
As the cycle runs, you can look forward to the magical transformation taking place inside your machine. The freeze dryer first freezes your food, then removes the ice through a process called sublimation, where ice turns directly to vapor. Once your freeze dryer indicates the process is complete, check the food for dryness; it should be crisp and have no moisture. You can then pack your freeze-dried goodies in vacuum-sealed bags or airtight containers to keep them safe from moisture and air.
Remember, you can do this! Embrace the hands-on nature of this project and experiment with different foods and techniques. Each successful batch will fuel your enthusiasm and bolster your skills. Soon, you’ll surprise yourself with how much you enjoy the process and the delightful snacks you create. Dive in and let the freeze drying adventures begin!
Top Foods to Freeze Dry at Home
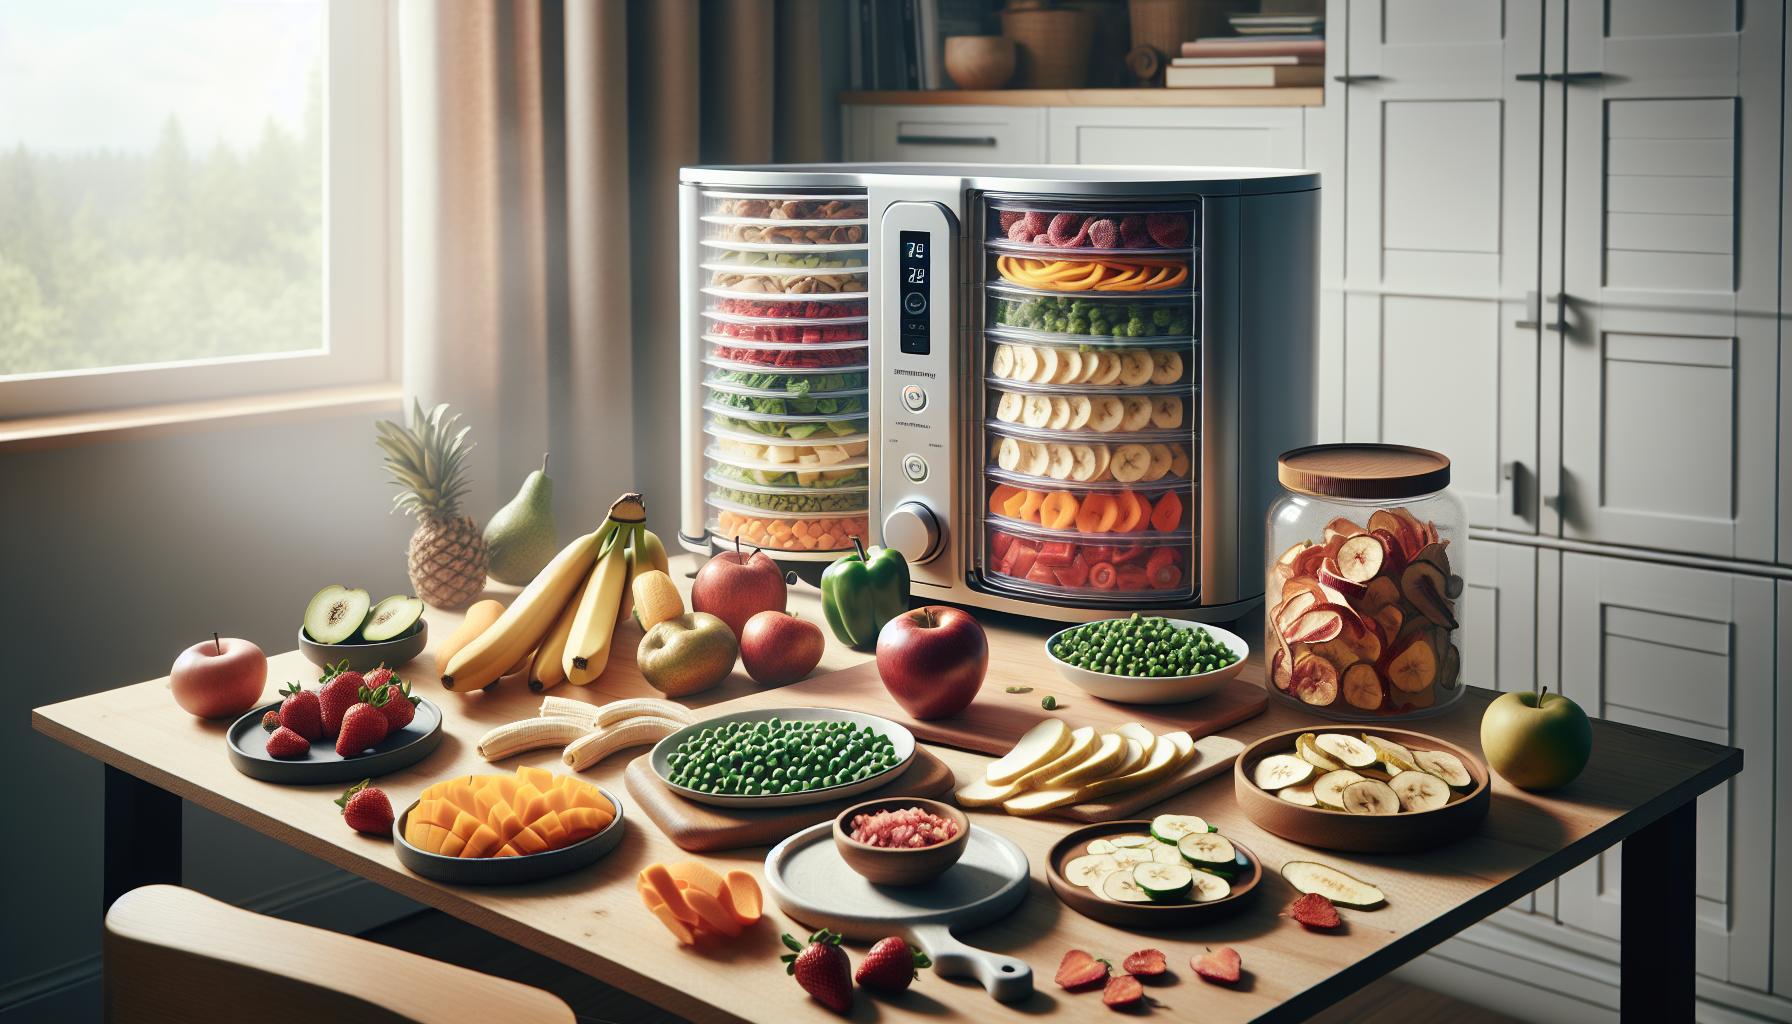
When you think about freeze-drying, fruits and vegetables likely come to mind first. And for good reason! They not only retain their vibrant colors and flavors but also pack in nutrition, making them perfect candidates for your home freeze dryer. But did you know that just about anything can be freeze-dried? Let’s dive into some of the top food choices that can elevate your freeze-drying game!
Start with an array of fruits like strawberries, apples, mangoes, and bananas; they freeze dry beautifully and make delicious snacks. You can slice or dice them depending on your preference. For instance, apple slices provide a crunchy treat perfect for snacking or adding to granola. Tip: Ensure they are fully ripe before processing for the best flavor.
Vegetables are another fantastic option. Think leafy greens like spinach or kale, crunchy options like bell peppers and carrots, and even cooked ones such as mashed potatoes! These can be added to soups or casseroles straight from their freeze-dried state. Fun Idea: Mix different veggies for a homemade instant soup mix! Just remember to blanch the veggies first to preserve their color and texture.
Don’t overlook proteins! Proteins can also shine in a freeze-dryer. Chicken, beef, and fish can be freeze-dried either cooked or raw, making them highly versatile for future meals. Cooked ground meat can be crumbled and used later in tacos or spaghetti-perfect for quick dinners! But avoid high-fat items, as they don’t freeze-dry as effectively.
Lastly, consider snacks and herbs. Freeze-drying cheese or yogurt can create fun, crispy snacks that are great for on-the-go munching. Garden herbs like basil and parsley can be dried as well, preserving their fresh taste for all your culinary endeavors. Pro Tip: Store freeze-dried herbs in dark, airtight containers to maximize their lifespan.
In summary, the world of freeze-drying offers endless possibilities! Whether you’re preserving the bounty of summer or preparing for the winter months, these food options will help you create a pantry stocked with homemade goodness. So grab your freeze dryer and start experimenting-you may just discover a new favorite!
Common Mistakes to Avoid in Freeze Drying
When delving into the world of freeze drying, it’s easy to get swept up in the excitement and overlook some crucial steps. A common mistake many beginners make is not properly preparing their food. From washing and slicing fruits to blanching vegetables, every step affects the final product. Make sure to give your food the attention it deserves before it goes into the freeze dryer. For instance, apples should be washed and cut into uniform slices to ensure even drying, while leafy greens like spinach benefit greatly from a quick blanch to maintain their vibrant color and nutritional value.
Another common pitfall is overloading the freeze dryer. It might be tempting to pack in as much as possible, but overfilling can lead to uneven drying and ultimately spoil your hard work. Each freeze dryer has a limit, so stick to the manufacturer’s guidelines. Ideally, you want to create a single layer of food on the trays for optimal airflow. You can also maximize efficiency by grouping similar items together, which allows for consistent drying times.
Temperature Management
Keeping an eye on temperature is essential. If your freeze dryer isn’t maintaining the right temperature, it can lead to a failed batch. Always make sure the unit is functioning properly before starting a new round of drying. You can even keep a thermometer handy to monitor this. Remember, patience is key; rushing the freeze drying process can compromise the quality of your food. Take the time to follow the set drying times for each type of item, as they can vary widely.
Lastly, don’t forget about storage! Many newcomers neglect to use proper storage techniques for their freeze-dried goods, which can shorten shelf life and impact flavor. Using airtight containers is vital to keeping moisture and oxygen at bay. You can’t go wrong with vacuum-sealed bags or Mylar pouches, especially when combined with oxygen absorbers. This simple step can vastly improve the longevity of your freeze-dried foods. You’ve invested time and resources into freeze drying-don’t let poor storage spoil your efforts!
In your journey to freeze drying success, avoiding these common mistakes will set you on the right path. Embrace each learning experience and keep experimenting; the rewards of perfectly preserved food are well worth it!
How to Store Freeze-Dried Food Properly
To truly enjoy the fruits of your freeze-drying labor, mastering the art of storage is key. Properly stored freeze-dried food can last for years and retains its flavor and nutritional value. The moment those beautifully dried fruits, vegetables, or meals come out of the freeze dryer, it’s time to turn your attention to how you’ll preserve them. Think of storage as the final touch to your gourmet creations!
Start by ensuring your freeze-dried foods are completely dehydrated. A quick test is to break a piece in half; there should be no moisture inside. Once you’re sure they’re ready, wait until your food is fully cooled before storing it. This prevents condensation, which can ruin all your hard work. Aim to use impermeable, airtight containers for best results. Here’s a rundown of popular storage options:
- Vacuum-Sealed Bags: These are fantastic for keeping out air and moisture. Use a vacuum sealer to remove as much air as possible.
- Mylar Pouches: Super effective against light, moisture, and oxygen. Pair them with oxygen absorbers for an extra protective layer.
- Airtight Containers: Glass jars or BPA-free plastic containers work well. Just ensure they have tight-fitting lids.
Long-Term Storage Techniques
For optimal long-term preservation, consider these techniques. Store containers in a dark, cool place away from direct sunlight and heat sources. A pantry or a basement can be ideal. If you have space, use a dedicated freezer for vacuum-sealed or Mylar-pouched items, which can extend shelf life significantly.
Monitor your inventory! Keep a list of what you have and when you stored it. This will help you rotate your stock, ensuring older items are used first-think of it as your personal freeze-dried inventory management system! Use labels with the date on each storage unit for quick reference.
Ultimately, you’ve put in the effort; now it’s time to enjoy the benefits! By properly storing your freeze-dried goods, you’re not just preserving food; you’re saving yourself a world of flavor and convenience for meals down the line. You can do this-dive in and relish the rewards of your homemade freeze-dried bounty!
Maximize Nutritional Value in Freeze Dried Foods
To ensure you retain the maximum nutritional value when freeze-drying your food, understanding a few key principles is essential. The beauty of freeze-drying lies in its ability to preserve the flavor, texture, and nutrition of foods in a way that other preservation methods can’t quite match. Because freeze-drying removes moisture without applying heat, it helps in maintaining the delicate vitamins and minerals that might otherwise be compromised through cooking or standard dehydration methods.
When you select your ingredients, freshness is paramount. Use ripe fruits and vegetables that are in their prime, as this is when they’ll boast the highest nutrient content. For instance, opting for fresh broccoli over frozen not only ensures a crispier texture but also boosts your intake of vitamins K and C. It’s also wise to consider pre-treatment techniques like blanching certain vegetables before freeze-drying, which can enhance flavor and preserve color while optimizing nutrient retention.
Practical Tips for Preserving Nutrition
Here are some straightforward steps and ideas to guarantee your freeze-dried foods are packed with nutrition:
- Choose Nutrient-Dense Foods: Prioritize leafy greens, colorful fruits, and lean proteins. Spinach, strawberries, and chicken are excellent options that hold up well in the process.
- Maintain Low Temperatures: Keeping the freeze dryer at the right setting helps avoid the degradation of sensitive compounds. Follow your machine’s recommended settings for different food types.
- Proper Storage: After freeze-drying, store your items in airtight containers or vacuum-sealed bags to prevent reabsorption of moisture, which can lead to nutrient loss.
- Stay Organized: Label your freeze-dried items with dates and nutritional specifics, so you can enjoy a variety of nutrient-rich options while keeping track of your inventory.
Remember that freeze-drying not only locks in nutrients but also gives you the convenience of having lighter, shelf-stable options on hand. Whether you’re hiking, preparing for long-term storage, or just want to minimize food waste, mastering the freeze-drying process can transform your approach to home food preservation. So dive in-your taste buds and nutrition will thank you!
Advanced Techniques: DIY Freeze Drying Tips
There’s a fascinating world of possibilities waiting for you once you start experimenting with advanced freeze-drying techniques. By layering your understanding and approaches, you can elevate your DIY freeze-drying game. One of the biggest advantages of freeze-drying at home is the ability to customize your food prep in ways that store-bought options simply can’t match. Let’s explore some inventive techniques that will ensure you’re preserving flavor and nutrients like a pro.
First up is the art of pre-processing. Before you toss your fruits or veggies into the freeze dryer, consider pre-treating them to enhance their quality. For instance, quick blanching your vegetables can lock in color and nutrients, while marinating fruits in a mixture of citrus juice and sugar can elevate their taste after the freeze-drying process. This fun twist adds a personal flavor profile to your creations! Just remember, for leafy greens, a quick dunk in boiling water followed by an ice bath can preserve their vibrant green color and crunchy texture.
Next, don’t forget about properly arranging your trays in the freeze dryer. Stack your food in a single layer to ensure that air can circulate freely around each piece. This maximizes moisture removal and helps achieve a uniform texture. If you’re freeze-drying mixed items, like a stew, separate the components on different trays. This step elevates your final product because you’ll retain the distinct flavors and textures of each ingredient.
Another advanced tactic is experimentation with time and temperature adjustments. Keep a close eye on your machine’s progress, as different foods may require variations in drying time. For instance, fruits might need around 24 hours, whereas cooked meals or thicker items could take longer. Be patient during this phase; sometimes, it’s necessary to run an additional cycle to ensure everything is adequately dried. Use this time to create a freeze-drying journal where you document your trials and results-this not only keeps your methods organized but also makes it easier to replicate your successes in the future.
Finally, combine your freeze-dried foods into new recipes! Think of freeze-drying as another approach to food storage that opens the door to creativity. You can easily whip up quick snacks or meals using your preserved produce-like throwing freeze-dried fruits into smoothies or rehydrating veggies for soups. The more you use and experiment with your freeze-dried goods, the more confident you’ll become with the whole process.
In summary, these advanced techniques not only make your freeze-drying experience more engaging but also empower you to create unique, high-quality preserves that will impress your family and friends. Remember, the joy of DIY crafting lies in trying new ideas and sharing your successes-so gather your materials and get started on your next freeze-drying adventure!
Budget Freeze Drying: Affordable Alternatives
When it comes to freeze drying at home, you don’t need to break the bank to enjoy this fantastic process! There are several affordable alternatives that can help you preserve your favorite foods without the hefty price tag of an industrial freeze dryer. It’s all about creativity and resourcefulness, making it possible for anyone to dive into DIY freeze drying.
One of the most popular budget-friendly alternatives is using a regular home freezer in combination with a vacuum sealer. While this won’t precisely replicate the freeze-drying method, it can achieve similar results for some foods. Here’s a simple method to get you started:
- Prepare Your Food: Wash, cut, and pre-treat your fruits or veggies as described earlier. Blanching can help maintain colors and nutrients.
- Flash Freeze: Spread the prepared food in a single layer on a baking sheet and place it in your deep freezer. This quick freeze helps to preserve texture.
- Vacuum Seal: Once firm, transfer the foods to vacuum-sealable bags and use your vacuum sealer to remove as much air as possible. This step is critical to reduce moisture and prevent freezer burn.
- Store Wisely: Label and date your sealed bags before storing them back in the freezer. Use them within six months to retain flavor and quality.
Another fun, budget-friendly option is to use a dehydrator. While not a direct substitute for freeze drying, dehydrators excel at removing moisture from food, which can help preserve them for long-term storage. They are much cheaper than freeze dryers and can handle a variety of foods, including fruits, vegetables, and meats. Follow these steps for a successful dehydration process:
- Select Your Food: Choose fruits or veggies that are firm and ripe.
- Prep and Arrange: Wash and slice your foods uniformly. Place them evenly on dehydrator trays, ensuring good air circulation.
- Set the Temperature: Most dehydrators have preset temperatures; setting them to 135°F for fruits and 145°F for vegetables works well.
- Storage: Once dehydrated, store the foods in airtight containers or vacuum-sealed bags to keep moisture out.
You can enjoy delicious, shelf-stable food with these simple methods that save you money. Plus, the satisfaction of making your preserves from home is priceless, and you’ll be ready to impress your family and friends with your DIY skills in no time. So, roll up your sleeves, gather your materials, and jump into the fulfilling world of home food preservation!
Real-Life Success Stories in Home Freeze Drying
Every day, home cooks and food enthusiasts are discovering the incredible benefits of freeze drying at home. One inspiring story comes from a family of five who experienced a summer bounty of fresh fruits and vegetables from their backyard garden. Faced with a mountain of produce, they feared much of it would go to waste. Instead, they decided to invest in a home freeze dryer. After a few weekends of experimenting, they successfully freeze-dried strawberries, zucchini, and even homemade soups. Not only did they dramatically reduce food waste, but they also created nutritious snacks for their kids and easy meal options for the entire family.
- Strawberry Delights: After freeze-drying their strawberries, they made delightful strawberry powder, which they use in smoothies and baked goods.
- Zucchini Chips: The freeze-dried zucchini became a crunchy, healthy snack that the kids love, allowing them to sneak in veggies without any complaints.
- Soup Success: Their homemade soups, once frozen, turned into quick meals; just adding water to the dried soup mix rehydrated it perfectly.
Another fascinating example is a college student who took her culinary passion and turned it into a side business. She began freeze drying her homemade meals and snack packs to sell at local farmer’s markets. Initially, she freeze-dried fruit leather and granola, which quickly gained popularity. As her confidence grew, she expanded her offerings to include full meal kits-like freeze-dried chili or vegetable stir-fry. Customers loved not only the convenience but also the incredible flavors preserved in her products.
She emphasizes that a key to her success was starting with small batches and reaching out to friends for feedback. This iterative process helped her refine her recipes and understand the market better. Plus, she loved sharing her freeze-drying journey on social media, which helped build her brand and connect with fellow food enthusiasts.
These stories not only illustrate the practical aspects of freeze drying but also highlight the joy and creativity it fosters in the kitchen. Whether preserving a garden’s harvest or starting a new business, home freeze drying opens up a world of possibilities. You can absolutely take the plunge, just like these home cooks and entrepreneurs. Your journey into freeze drying could become a rewarding, delicious adventure!
Maintaining and Troubleshooting Your Freeze Dryer
Keeping your freeze dryer running smoothly is key to preserving food like a pro while also enjoying the creative process of DIY food preservation. Just like any kitchen gadget, your freeze dryer needs regular maintenance and occasional troubleshooting to ensure it’s always ready for your culinary adventures. It’s perfectly normal to encounter a few bumps along the road, but don’t worry-most issues are simple to resolve!
Start with the basics: it’s essential to keep your freeze dryer clean to avoid any unwanted residues that could affect performance. After each batch, take a few moments to wipe down the interior, especially the trays, since leftover food particles can lead to cross-contamination and affect the flavor of future batches. Use a soft cloth and mild soap; harsh chemicals can damage the machine. Additionally, check the rubber seal around the door for any wear and tear. A tight seal is crucial for maintaining the low pressure inside during the freeze-drying process.
Common Troubleshooting Tips
If your freeze dryer starts acting up, here are a few common issues and how to tackle them:
- Long Drying Times: If your food is taking longer to dry than usual, make sure you’re not overloading the trays. Each unit has a maximum capacity for a reason. Also, ensure that the temperature settings are correct and that your unit is in a well-ventilated area.
- Ice Buildup: Ice accumulating on the condenser might mean it’s not cooling effectively. Check for obstructions in the airflow and make sure the condenser is clean. A build-up of frost could also indicate that the door’s seal isn’t working properly.
- Poor Quality of Freeze-Dried Food: If you’re finding your food inconsistent in texture or taste, it might be due to improper pretreatment or prep. For instance, always consider blanching vegetables before freezing to preserve colors and textures better.
Don’t hesitate to consult your freeze dryer’s manual for specific troubleshooting steps related to your model. Most brands provide guidance on fixing common issues and maintaining the unit, ensuring you get the most value from your investment. Remember, every challenge is an opportunity to improve your freeze-drying skills!
Finally, if you ever feel overwhelmed, join an online community or forum dedicated to freeze drying. Sharing experiences and learning from others can provide valuable insights and keep your motivation high. You can do this! Keeping your freeze dryer in peak condition not only enhances your food preservation efforts but also enriches your overall culinary journey. Enjoy the process, and let your creativity shine!
Frequently Asked Questions About Freeze Drying
Many home cooks are curious about the magic of freeze drying and how they can harness it to preserve food while maintaining nutrition and flavor. If you’re pondering how to get started or have specific queries about the process, you’re definitely not alone! Here’s a look at some frequently asked questions that can help you embark on your freeze drying adventure with confidence.
What is Freeze Drying?
Freeze drying, or lyophilization, is a method that removes moisture from food through freeze-thaw cycles and vacuum pressure. This process not only helps preserve the food’s structure and nutrients but also results in lightweight, shelf-stable products. It’s especially great for fruits, vegetables, and even complete meals, making it a fantastic option for long-term storage or adventurous outdoor cooking!
Is freeze dried food healthy?
Absolutely! In fact, freeze drying can help maintain the nutritional profile of fruits and vegetables better than traditional canning or drying methods. The low heat involved preserves vitamins and minerals, which means your freeze dried carrots or strawberries can retain their health benefits for years! Just be mindful of any additives; it’s best to stick with plain, freeze dried foods without added sugars or preservatives.
How do I choose the right freeze dryer for my needs?
When selecting a freeze dryer, consider your typical batch size, budget, and the types of food you intend to preserve. Smaller, more affordable units exist for personal use, while larger, more powerful models are available for those who want to process bigger quantities. Reading reviews and consulting user experiences can also guide your decision, ensuring you find a unit that matches your culinary ambitions without overwhelming your kitchen space.
What are some common mistakes to avoid?
One common pitfall is not preparing your food properly before freeze drying. Always ensure fruits and vegetables are washed and, if necessary, cut into uniform pieces for even drying. Blanching vegetables can also help retain color and nutrients. Another mistake is overloading the trays, which can lead to uneven drying. Allow air to circulate around the food, enabling the best freeze drying results.
With a little practice and creativity, you can master the art of freeze drying at home! Tap into online communities, and don’t hesitate to share your journey-every successful batch, and even the mishaps, are learning experiences. Remember, you can absolutely do this, and the rewards are delicious!
Frequently Asked Questions
Q: How do I make a DIY freeze dryer at home?
A: Making a DIY freeze dryer requires expertise and specialized equipment like a vacuum pump and a refrigeration system. For a basic setup, consider using a chest freezer, a vacuum sealer, and dry ice for cooling. Follow comprehensive guides to ensure safety and effectiveness.
Q: What foods can I freeze dry at home?
A: You can freeze dry various foods, including fruits, vegetables, cooked meals, and even ice cream. Popular choices are strawberries, apples, and soups. Check out the Top Foods to Freeze Dry at Home section for more details on suitable items.
Q: How long does the freeze-drying process take?
A: The freeze-drying process typically takes 24 to 48 hours, depending on the type and quantity of food being processed. Factors like food thickness and moisture content significantly influence the duration.
Q: Can I freeze dry without a machine?
A: While traditional freeze-drying requires specialized machines, you can mimic the process using a standard freezer and a vacuum chamber, though results will vary. For effective methods, refer to the Step-by-Step Guide: Freeze Drying Basics.
Q: Is freeze-dried food safe to eat?
A: Yes, freeze-dried food is safe to eat as it retains most of its nutrients and flavors. Ensure proper sealing and storage to maintain safety and freshness. For storage tips, see How to Store Freeze-Dried Food Properly.
Q: What common mistakes should I avoid in DIY freeze drying?
A: Avoid overloading your freeze dryer, not pre-freezing foods, and neglecting proper sealing. These mistakes can lead to poor results. Learn more in the Common Mistakes to Avoid in Freeze Drying section.
Q: How do I troubleshoot my DIY freeze dryer when it’s not working?
A: Start by checking the seals and ensuring the vacuum pressure is adequate. Verify that the refrigeration unit is functioning properly. Consult the Maintaining and Troubleshooting Your Freeze Dryer section for detailed guidance.
Q: How do I maximize the nutritional value in freeze-dried foods?
A: To retain the most nutrients, freeze fresh, high-quality foods quickly and store them in airtight containers post-drying. Explore more tips in the Maximize Nutritional Value in Freeze Dried Foods section to optimize your results.
Future Outlook
Congratulations on taking the first step towards preserving food like a pro with your own DIY freeze dryer! By harnessing this innovative technique, you’re not only extending the shelf life of your favorite ingredients but also embracing a sustainable way to minimize waste in your kitchen. Remember, you can absolutely do this-just follow the simple steps outlined, and you’ll unlock a world of delicious possibilities.
If you enjoyed this guide, why not explore our related content on food preservation techniques or check out our comprehensive resource about the different types of freeze dryers available? Don’t forget to comment below with your experiences or questions, as we’d love to engage with you. Your journey to mastering food preservation doesn’t have to end here, so subscribe to our newsletter for tips, tricks, and more hands-on projects that fit any skill level. Every great crafter started where you are right now-let’s keep making magic happen together!
Get our latest guides, news, and insights highlighted in your Google Search & AI Overviews.