
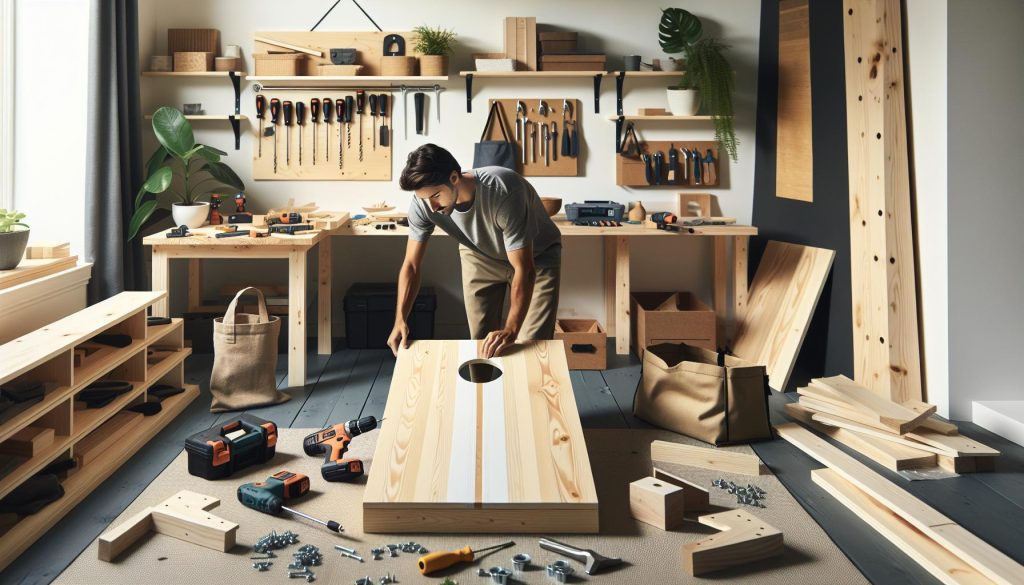
Did you know that cornhole originated as a backyard pastime in the Midwest and has quickly become a staple of outdoor gatherings and tournaments? Building your own cornhole board not only enhances your game nights but also offers a chance to showcase your craftsmanship. Whether you’re a DIY novice or a seasoned builder, creating a tournament-quality cornhole board at home is an achievable project that can elevate your outdoor experience. In this guide, we’ll walk you through the materials, tools, and step-by-step process to craft boards that impress both friends and competitors alike. You’ll find that the satisfaction of making something with your own hands, tailored to your style and needs, is just as rewarding as the game itself. Let’s dive into the fun of building your own cornhole boards and set the stage for countless exciting matches ahead!
Understanding Cornhole Board Design Basics
Building your own cornhole boards can be a rewarding project that elevates your backyard gatherings and game nights. Understanding the fundamentals of cornhole board design is crucial to creating boards that are not only aesthetically pleasing but also meet the standards of competitive play. The essential dimensions to keep in mind are 48 inches long by 24 inches wide, with a playing surface height of 12 inches. The hole should be centered 9 inches from the back and measure 6 inches in diameter. These measurements help ensure consistency, which is key for tournament play.
Materials play a significant role in the final product. When selecting wood, plywood is commonly used for a smooth finish, but make sure it’s at least ¾ inch thick to withstand wear and tear. Using 2×4 lumber for the frame will provide additional support and stability. Don’t forget about sandpaper for smoothing edges and creating a professional touch, as well as paint or stain to customize your boards to reflect your personality or team colors.
A successful design also considers the finishing details. The paint or stain needs to be complemented by a good protective finish, like polyurethane, to enhance durability and weather resistance. You can add unique features, such as cut-out handles on the sides for easy transport. Remember, you can do this! Whether you’re a crafty beginner or an experienced DIYer, your cornhole boards will not only serve as a source of pride but also provide hours of fun for family and friends. Embrace the process of making something your own, and enjoy every step as you prepare for your next big game!
Essential Materials for Your Cornhole Project
Building your own cornhole boards is an exciting venture that can elevate your game nights and impress your friends. To achieve not just functional but also tournament-quality boards, selecting the right materials is crucial. You’ll want to ensure that each component not only meets the gameplay standards but also reflects your style and creativity.
Start with plywood for the playing surface. It’s the most favored material due to its smooth finish, which is essential for a proper slide. Look for plywood that is at least ¾ inch thick; this thickness will help prevent warping and ensure durability, allowing your boards to withstand the rigors of enthusiastic gameplay. For the frame, 2×4 lumber is ideal. This gives your boards the structural support they need while being accessible and manageable for most DIYers.
When it comes to finishing your boards, don’t skimp on the details! Sandpaper is your best friend here; it helps to smooth out any rough edges and prepares the surface for paint or stain. Speaking of finishing touches, the choice of paint or stain is where you can get really creative. Not only can you choose colors that resonate with you or your team, but applying a high-quality protective finish, like polyurethane, will ensure your artwork lasts against the elements and wear.
Finally, consider adding unique features that enhance usability, such as cut-out handles for easy carrying or even a decorative border to frame your design. These little tweaks make your boards not just a game tool but a piece of art. Remember, whether you’re a beginner or seasoned crafter, building your cornhole boards should be a fun and rewarding experience. Embrace the journey, and let your personality shine through your creation-happy crafting!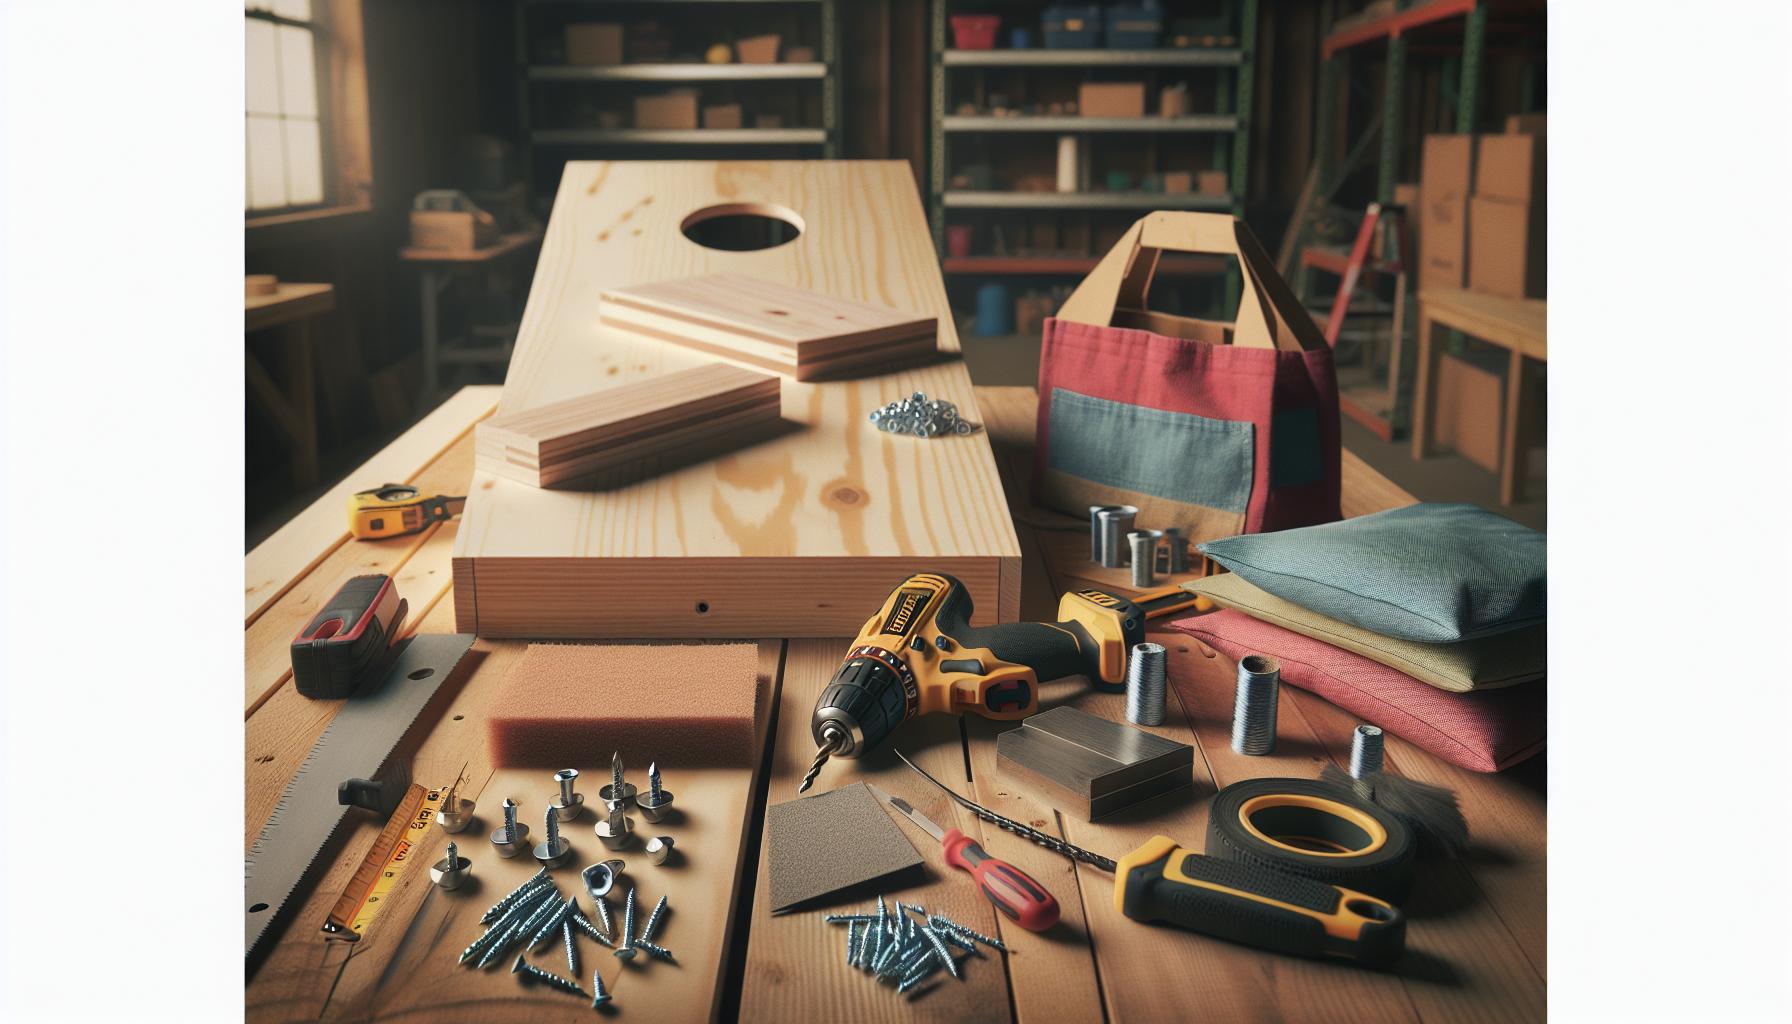
Step-by-Step Instructions for Building Boards
Building your own cornhole boards can be a rewarding endeavor that provides both a fun project and a customized gaming experience for your backyard gatherings. You can absolutely craft tournament-quality boards by following some straightforward steps, ensuring that your boards are both aesthetically pleasing and structurally sound. Plus, this project is accessible for all skill levels-whether you’re a seasoned DIYer or a complete beginner.
Start your project by gathering the essential materials. Here’s a basic list to get you going:
- ½ inch or ¾ inch plywood for the playing surface
- 2×4 lumber for the frame
- Wood screws for assembling the frame
- Sanding paper for smoothing edges
- Paint or stain for finishing touches
- Wood finish like polyurethane to protect your board
- Tools: saw, drill, measuring tape, and a square
Now, let’s dive into the step-by-step process:
1. Cut Your Plywood and Lumber: Measure and cut two plywood pieces for the playing surface-typically 2 feet by 4 feet. Then, cut four 2×4 pieces for the frame, with two at 4 feet and two at 2 feet. Use a square to ensure that all corners are right angles.
2. Assemble the Frame: Layout your 2×4 pieces into a rectangle, securing them with wood screws. Make sure the frame is sturdy since it will support the playing surface.
3. Attach the Plywood: Once the frame is assembled, place the plywood on top. Use wood screws to secure the plywood to the frame. This creates a solid playing surface that will withstand the excitement of gameplay.
4. Sand and Finish: Smooth all edges and surfaces with sandpaper. It’s essential for ensuring a nice slide for the cornhole bags. After sanding, you can paint or stain your boards. Apply multiple coats for a rich color, and once dry, finish with a protective layer of polyurethane.
These steps will lead you through a simple and effective way to create cornhole boards that are not only functional but also showcase your personal style. Remember, each step brings you closer to a fun game night with friends and family, and you can customize every aspect to fit your theme-whether it’s team colors, favorite patterns, or even a family crest. Enjoy the process, trust your creativity, and most importantly, have fun as you craft your very own cornhole boards!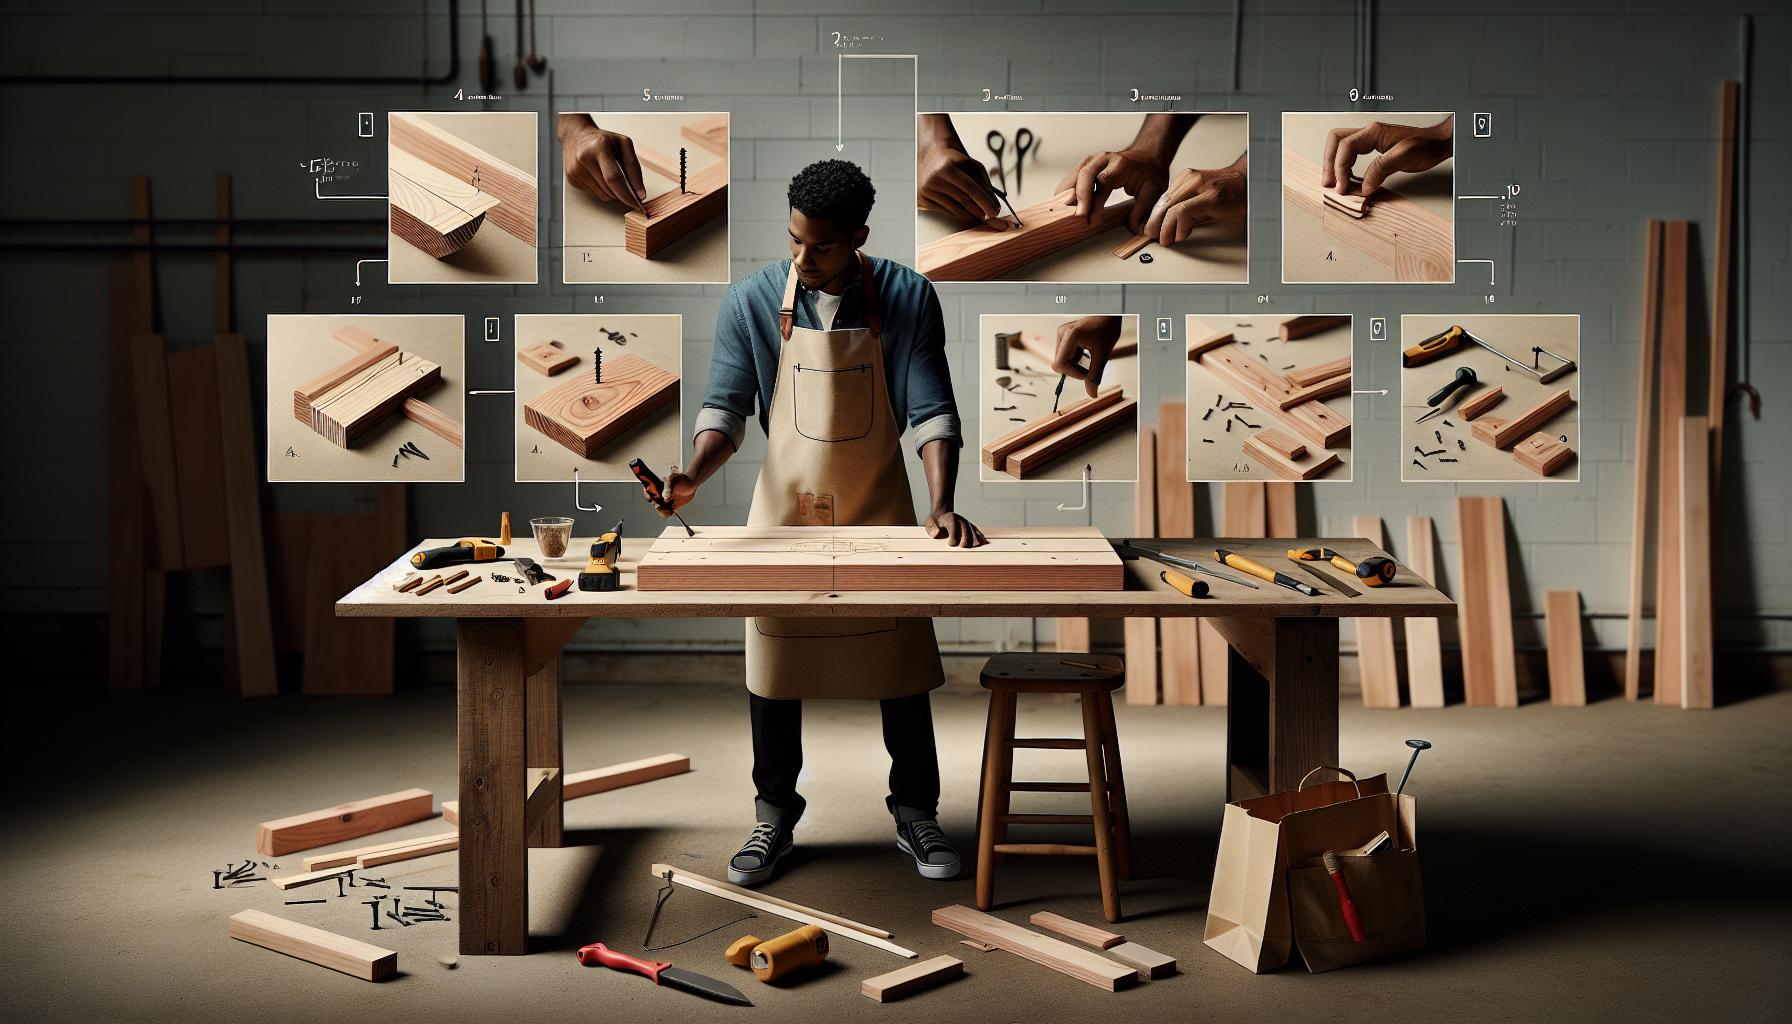
Tips for Achieving Tournament Quality Finish
To create cornhole boards that are not just functional but also tournament quality, attention to detail in the finishing process is key. The finish not only enhances the aesthetics of your boards but also affects gameplay by providing a smooth surface for the bags to glide on. Employing a few tried-and-true techniques will ensure that your boards stand out at any gathering while performing at peak levels.
Start by ensuring that your sanding process is meticulous. Use a progression of sandpaper, beginning with a coarser grit (around 80) to remove any rough spots, then transitioning to finer grits (up to 220) for that ultra-smooth finish. Pay particular attention to the edges and corners, as these areas will impact how the bags slide off and into the hole. A good rule of thumb is to sand in the direction of the wood grain to avoid scratches, ensuring a flawless presentation.
After sanding, it’s time to choose the right finish. For a tournament-quality look, consider using a combination of paint and clear coats. Start with a high-quality acrylic or spray paint for the base color, applying several thin coats to avoid drips. Once the paint is fully dry, seal the boards with a clear coat of polyurethane, which not only adds a layer of protection but also enhances the glossy finish. Keep in mind that more than one coat of polyurethane will enhance durability-lightly sand between coats with a fine-grit sandpaper to achieve the best results and ensure a glass-like surface.
Lastly, don’t underestimate the power of cure time. Allow your final finish ample time to cure fully. This can take several days, depending on the type of finish used and the environmental conditions. Rushing this step can lead to smudging or damage, which can detract from all your hard work. By giving your boards time to fully set, you guarantee a striking and durable finish that’s ready for any competitive game or casual gathering.
You can totally achieve a tournament-ready finish with patience and a bit of elbow grease. Each project brings you one step closer to mastering your DIY skills, so enjoy the journey, and get ready to impress your friends with boards that look and play like the pros!
Customizing Your Cornhole Board with Paint
Customizing your cornhole boards with paint is one of the most enjoyable and creative aspects of your DIY project! Not only does it allow you to express your personal style, but it also enhances the overall aesthetics of the boards, making them the center of attention at any gathering. With a little bit of planning and some basic materials, you can transform plain wooden boards into stunning game pieces that reflect your personality or theme of the event.
Before you start painting, gather your materials. You’ll need high-quality acrylic or spray paint in your chosen colors, painter’s tape for sharp lines, a paintbrush or roller, and a clear sealant for protection after the paint has dried. This process is beginner-friendly and can typically be accomplished within a few hours-just be sure to allow for drying time between coats. Here’s a simple step-by-step guide to help you customize your boards like a pro:
Preparation Steps
- Sand the Surface: Ensure that your boards are smooth by sanding them down. This prepares the wood to accept the paint better.
- Clean the Boards: Wipe off any dust or debris with a damp cloth and let them dry completely.
- Design Planning: Sketch out your design on paper. Will you go for a sports team theme, colorful geometric patterns, or something more artistic? Having a plan helps streamline the painting process.
Painting Your Boards
- Base Coat: Apply a base coat in a solid color if desired. This sets the stage for your design. Make sure to allow it to dry thoroughly.
- Create Designs: Use painter’s tape to create crisp lines or shapes. Layer colors carefully, allowing each layer to dry to avoid bleeding.
- Seal Your Artwork: Once your design is complete and dry, seal the boards with a clear polyurethane coat. This not only protects the paint but also gives your boards a glossy finish.
Remember, the beauty of DIY is in making it your own. You can do this! Whether you’re decorating for a backyard barbecue, a holiday party, or just for fun, customizing your cornhole boards adds a personal touch that your friends and family will love. Enjoy the creative journey, and get ready to showcase your masterpiece at your next game day!
Creating Fun and Unique Board Designs
When it comes to your cornhole boards, the designs you create can truly set your game apart. Imagine stepping into your backyard, where a vibrant, unique set of boards awaits, each telling a story or reflecting the interests of your friends and family. Embracing creativity not only makes your boards a conversation starter but also adds a personal touch to your gatherings. Let’s explore how you can make your cornhole boards fun and unique!
To start, think about drawing inspiration from your favorite themes or hobbies. Whether you’re a sports fan, love nature, or have a flair for artistic designs, there’s endless potential. For example, you could create a board set featuring your favorite sports team’s colors and logo. This can be done using stencils or vinyl decals for a clean finish. Alternatively, if you’re into the outdoors, consider painting a scenic landscape, like mountains or a beach, which can provide a refreshing backdrop for your games.
Using Materials Wisely
The materials you choose will significantly impact both the ease of your project and the final look. Opt for high-quality outdoor paint that can withstand the elements, especially if your boards will spend time outside. Additionally, you can add texture with various mediums-think about using paint sponges for a unique effect or incorporating glitter for a bit of sparkle. Here’s a quick checklist of materials you might need:
- Outdoor paint (acrylic or spray)
- Painter’s tape for clean lines
- Stencils or decals for detailed designs
- Clear sealant to protect your art
- Brushes and sponges for texture
Simple Steps to Create Your Design
Creating a compelling design doesn’t have to be complicated! Here are some straightforward steps to guide your creative process:
- Sketch It Out: Before you paint, put your ideas on paper. This helps visualize layout and color choices.
- Prepare Your Boards: Sand, clean, and apply a base coat to ensure the best paint adhesion.
- Tape Off Areas: Use painter’s tape to create borders or sections for different colors or designs.
- Get Crafty: Layer your paints, using sponges or brushes as desired to add depth.
- Seal It: After everything dries, finish with a clear topcoat for protection against wear and tear.
With these tips, you’re well-equipped to unleash your creativity and make your cornhole boards a standout addition to your game days. Remember, the sky’s the limit-don’t be afraid to experiment with colors, patterns, and themes. You can totally do this! Let your imagination guide you, and enjoy every step of this delightful DIY journey.
Maintaining Your Cornhole Boards for Longevity
Taking care of your cornhole boards is essential for preserving their appearance and functionality over time. With a little regular maintenance, you can ensure that your boards last through many seasons of fun and competition. Just like any DIY project, investing time at the start will save you headaches later. Here’s how you can keep your cornhole boards looking great and performing well.
Start by regularly inspecting your boards for any signs of wear and tear. Check for scratches, chips, or any warping that might have occurred. If you notice any imperfections, address them promptly. For minor scratches, a little sanding with fine-grit sandpaper can work wonders. If the paint is chipped, simply touch it up with a matching outdoor paint to keep your boards looking fresh.
Cleaning and Care Routine
An effective cleaning routine is crucial. After each use, give your boards a quick wipe-down with a damp cloth to remove any dust or food particles. If they get muddy or sticky, use a mild detergent mixed with water to clean them thoroughly. Remember to avoid abrasive cleaners or scrubbing pads, as these can damage the surface of your paint. Once cleaned, dry your boards promptly to prevent moisture damage.
To safeguard against weather elements, especially if your boards are stored outdoors, consider applying a clear sealant every couple of years. This layer provides a protective barrier against UV rays, rain, and spills, extending the life of your artwork and wood. When sealing, make sure to follow the manufacturer’s instructions for the best results; you can do this! A little upkeep goes a long way in keeping your boards tournament-ready, helping you enjoy the game for many years to come.
In terms of storage, try to keep them in a cool, dry place when not in use. If you’re short on space, opting for a vertical storage solution can help prevent warping while also keeping them easily accessible. By incorporating these simple maintenance tips, you’ll not only maintain the aesthetic appeal of your cornhole boards but also their structural integrity, ensuring they remain a highlight of your gatherings.
Exploring Different Game Variations
is a fantastic way to keep your cornhole experience fresh and exciting. You might start with the classic rules, but why not spice things up with some creative twists? Whether you want to introduce new scoring methods or play with different throwing techniques, there are plenty of options to explore. These variations can make your gatherings more entertaining and adaptable to varying skill levels.
One exciting option is to incorporate different distances between the boards. The standard regulation distance is 27 feet for adult games, but you can adjust this depending on the players’ ages and skill levels. For family-friendly competitions, try moving the boards closer together to make it easier for younger players to score points. On the flip side, if you want to challenge seasoned players, move the boards further apart for a serious test of skill!
You can also introduce themed tournaments to your cornhole game nights. Consider organizing a “trick shot” tournament where players must execute specific challenging shots, such as bank shots or under-the-leg throws. This can not only increase the fun but also encourage players to develop new skills. In addition, you might host a “team play” format where players form teams and strategize together, adding layers of collaboration and competition.
Lastly, for a more casual approach, consider introducing fun challenges at each round. For instance, players could have to throw with their non-dominant hand for an entire round, or play with a partner who stands behind them to shout out encouraging tips. Not only do these variations keep the game lively, but they also foster camaraderie and laughter among friends and family.
By trying out these variations, you can ensure that your cornhole experience remains engaging and dynamic. Remember, these adjustments are all about having fun-so feel free to experiment and tailor the game to your group’s preferences. You can do this! Each variation you try adds a new chapter to your cornhole adventures, making each gathering more memorable than the last.
Setting Up Cornhole Tournaments at Home
is a fantastic way to bring friends and family together for a day of fun and friendly competition! Imagine a sunny afternoon, boards set up, laughter filling the air, and everyone challenging their skills. You can absolutely create this vibrant atmosphere in your backyard or even indoors with a little preparation.
Start by gathering everything you need for a seamless tournament experience. You’ll require two cornhole boards-ideally, the ones you crafted yourself for that personal touch-eight bags (four of one color and four of another), and a scorekeeping system. This could be as simple as a whiteboard for tracking points or an app that allows everyone to participate in scoring. If you have the space, think about setting up a comfortable seating area for spectators to enjoy the games.
Once your setup is ready, it’s time to determine the tournament format. A single-elimination bracket is straightforward and gets everyone involved quickly. For larger groups, consider a double-elimination format which allows players a second chance in case they lose. Regardless of the format, make sure to communicate the rules clearly. Keep the standard distance of 27 feet between boards for adults, while being flexible for younger players who may need a shorter distance to keep the game exciting.
Finally, don’t forget to add some fun twists! Introduce prizes for the winners-perhaps a DIY trophy or a gift card to the winner’s favorite local coffee shop. Encourage themed attire or fun challenges during play, like throwing with the non-dominant hand for a round. These small additions can turn an ordinary game day into an unforgettable experience. With these steps, you’ll create a vibrant tournament atmosphere that brings everyone together-so go ahead, set it up, and enjoy the games!
Upgrading Your Cornhole Experience with Accessories
Creating an unforgettable cornhole experience goes far beyond just the boards and bags. Upgrading your cornhole setup with accessories can add a delightful twist to your games, enhance the fun for players and spectators alike, and bring a professional touch to your backyard tournament. Whether you’re looking to improve play conditions or just want to add a dash of personality, the right accessories can elevate your cornhole experience to new heights.
Start with a few essential upgrades that can make all the difference. Cornhole bags come in a variety of styles and weights that can significantly affect gameplay. Investing in higher-quality bags, such as those with suede or duck cloth, can provide better grip and control. You can also personalize your bags with custom prints or colors to make them a reflection of your personality or branding for any tournaments you host. Another practical accessory is a bag holder-this keeps your bags organized and off the ground, increasing the longevity of your gear.
For the next level of excitement, consider integrating scoreboards into your setup. Whether you choose a simple chalkboard or a more elaborate electronic scoreboard, keeping track of points not only fuels competitive spirit but also enhances the spectator experience. Additionally, portable drinks holders are a fantastic way to keep refreshments handy without hindering gameplay. You can find these in various designs or even DIY your own to match your cornhole boards.
Lastly, set the mood with lighting. String lights or LED strips can create a lively atmosphere for evening games, and even simple chair cushions or blankets can make seating more comfortable for players and viewers. Theme decorations and costumes can also add a fun element to your tournaments. All these upgrades are about enhancing enjoyment and creating a unique experience for everyone involved. So gather your materials, get creative, and don’t hesitate to try new things. You’ve got this!
Troubleshooting Common Cornhole Board Issues
If you’ve put in the effort to build your own cornhole boards, the last thing you want is for common issues to detract from your game experience. Luckily, many problems are easily manageable with a few straightforward solutions. Whether your boards have warped, your surface isn’t smooth enough, or your bags don’t slide as they should, let’s dive into some tips that can help you troubleshoot these common cornhole board issues.
One issue many DIY enthusiasts face is warping over time. This can happen due to moisture or improper storage. If you notice that your boards are no longer level, try placing them in direct sunlight for a few hours to help them regain their shape. In some cases, a weighted object can help to flatten them temporarily. When storing your boards, always keep them in a dry area and ideally stored vertically.
Another common concern is achieving the perfect playing surface. If your boards feel rough or uneven, take the time to sand them down. Use medium-grit sandpaper to smooth out imperfections and then follow up with fine-grit paper for a polished finish. Don’t forget to wipe the surface with a damp cloth to remove dust before sealing it with a protective finish. This not only enhances gameplay but also prolongs the life of your boards.
Lastly, if your bags aren’t sliding properly or feel sticky, it might be time to evaluate your materials. Check the fabric of your cornhole bags; investment in higher-quality fabrics like suede or duck cloth can dramatically change gameplay. If your bags are too damp or dirty, give them a good airing out or a gentle wash (follow laundry instructions) to restore their intended grip. Remember, the fun of cornhole comes from the challenge, and ensuring your equipment is in tip-top shape contributes to a better experience for everyone involved. So don’t be afraid to make adjustments-you’re well on your way to hosting the perfect game!
Sharing Your DIY Cornhole Success Stories
Building your own cornhole boards not only saves money but also lets you infuse your personality into the game. Many DIYers discover a unique joy in designing and crafting their boards, paving the way for some truly inspiring success stories. Whether it’s a family affair or a solo endeavor, your DIY experience can be a great source of pride and creativity. Sharing your triumphs with others can inspire new makers and enhance the community vibe.
Consider the story of a backyard game enthusiast who transformed her outdoor space by building cornhole boards emblazoned with her family crest. She documented her entire process from selecting the best plywood to applying a glossy finish that created a smooth playing surface. By sharing photos and tips on social media, she encouraged others to start their own projects. Many reached out for advice, sparking discussions about techniques and ideas for customization that expanded beyond her original design.
Crafting Community Through Inspiration
One of the most rewarding aspects of DIY projects is the shared knowledge that contributes to everyone’s success. Perhaps you’ve come up with a clever method for creating custom stencils for board designs, or maybe you found a way to use leftover paint for an eye-catching finish. Share your journey and the experimental steps you took-these insights help demystify the process for others. You might suggest little tweaks, like using clear epoxy for a durable surface or choosing unconventional color palettes that resonate with personal style.
Remember, the heart of DIY is celebrating creativity. Encourage fellow crafters by showcasing not just the polished end result but also the banana peel moments-the mistakes, the changes of plans, or even that time you had to fix a warped board with some quick thinking. These tales enhance the learning curve for newcomers and show that every project is a journey. Your success story might just be the spark someone else needs to pick up their tools and dive into the wonderful world of DIY cornhole boards!
Frequently asked questions
Q: How do I calculate the dimensions for my DIY cornhole boards?
A: To ensure tournament quality, each cornhole board should measure 24 inches wide by 48 inches long with the top edge 12 inches above the ground. For optimal play, the hole should be 6 inches in diameter, centered 9 inches from the back of the board. Refer to the Understanding Cornhole Board Design Basics section for further details.
Q: What type of wood is best for building cornhole boards?
A: Birch plywood is highly recommended for durable and smooth cornhole boards. It provides a sturdy surface and withstands outdoor conditions well. For a budget option, consider using OSB (oriented strand board), but ensure a proper finish to extend longevity.
Q: Do I need to seal my cornhole boards?
A: Yes, sealing your cornhole boards is crucial for protecting against moisture and extending their lifespan. Use a clear polyurethane sealant for a glossy finish, which enhances durability and makes the boards easier to clean. This topic is covered in the Tips for Achieving Tournament Quality Finish section.
Q: How can I customize my cornhole boards?
A: You can customize your cornhole boards by using paint, decals, or stencils. Choose a design that reflects your personality or team spirit. Additionally, consider adding your name or logo for a personal touch-see the Customizing Your Cornhole Board with Paint section for ideas.
Q: What is the best way to maintain cornhole boards?
A: To maintain your cornhole boards, store them indoors during bad weather and regularly clean the surface with a damp cloth. If you notice wear, sand down rough spots and reapply the sealant as needed. This will help keep your boards in tournament-ready condition.
Q: How do I create a cornhole tournament at home?
A: To host a cornhole tournament, gather your friends, set up multiple boards with enough space, and establish rules. Design brackets for matches and determine a scoring system-an example can be found in the Setting Up Cornhole Tournaments at Home section of the article.
Q: What accessories can enhance my cornhole experience?
A: Consider investing in cornhole bags of varying weights, a portable scoreboard, and cornhole lights for night games. These accessories can elevate gameplay and increase the enjoyment for all players-explore more in the Upgrading Your Cornhole Experience with Accessories section.
Q: What are some common issues with cornhole boards and how can I troubleshoot them?
A: Common issues include warped boards and rough surfaces. If your board is warped, try to store it flat in a dry area. For rough surfaces, sand them down and apply a fresh coat of sealant. Check the Troubleshooting Common Cornhole Board Issues section for more solutions.
The Way Forward
Congratulations on taking the exciting step to create your own DIY cornhole boards! Remember, this project not only enhances your backyard gatherings but also lets you customize everything to fit your style. Whether you’re a seasoned DIYer or a first-timer, you can definitely tackle this project with confidence and enjoy the process-it’s all about having fun while crafting something special for your friends and family.
Ready to take your DIY skills to the next level? Explore our related guides like “How to Seal and Encapsulate a Crawl Space” for home improvement tips that protect your space, or check out “DIY Butterfly House in 5 Steps” to add charming details to your garden. Don’t forget to sign up for our newsletter for more inspiring projects delivered right to your inbox!
Your journey doesn’t stop here-share your cornhole board creations in the comments below, and let’s inspire each other! Keep crafting and experimenting, because with every project, you’re improving your skills and making memories that last a lifetime.
Get our latest guides, news, and insights highlighted in your Google Search & AI Overviews.