
Did you know that many commercial hand moisturizers are packed with chemicals that can actually irritate your skin? If you’re tired of dry, rough hands and want to pamper your skin naturally, making your own DIY hand moisturizer is the perfect solution! In just a few simple steps, you can create a silky smooth lotion tailored to your specific needs using natural ingredients like shea butter, coconut oil, and essential oils. This DIY project not only nurtures your hands but also gives you peace of mind knowing exactly what you’re putting on your skin. Whether you’re looking to soothe dry winter hands or seeking a luxurious treat after gardening, this homemade moisturizer will leave your skin feeling soft and rejuvenated. So grab your ingredients and join me in discovering how easy and rewarding it is to create your very own hand moisturizer-because you can do this! Let’s dive in and get started on crafting a product that both your hands and wallet will thank you for!
Choosing the Right Natural Ingredients for Your Moisturizer
Choosing natural ingredients for your DIY hand moisturizer can transform your skincare routine into a delightful experience, where each blend you make is tailored specifically for your skin’s needs. One captivating aspect of using natural ingredients is their inherent benefits-rich in vitamins, antioxidants, and hydration properties, these elements work synergistically to nourish and protect your hands. Imagine the satisfaction of crafting a moisturizer that not only feels luxurious but also supports your skin’s health.
When selecting ingredients, consider your skin type and any specific concerns you might have. For dry or sensitive skin, ingredients like shea butter or coconut oil offer deep hydration and soothing qualities. If you’re looking to tackle oily or acne-prone skin, jojoba oil mimics the skin’s natural oils, helping to balance moisture without clogging pores. Additives such as aloe vera gel can enhance your blend with its cooling properties, making it ideal for those with irritated or sun-exposed skin.
It’s also important to think about how these natural components blend together. Incorporating essential oils not only adds fragrance but also enhances the functional benefits of your moisturizer. For example, lavender essential oil is brilliant for relaxation and calming irritated skin, while tea tree oil can provide antibacterial properties. The key is to experiment at home, starting with small batches. Your journey into crafting a personalized moisturizer is all about exploration and finding the perfect mix that works for you.
In summary, selecting the right natural ingredients for your DIY hand moisturizer involves a mix of understanding your skin type, knowing the benefits of each ingredient, and enjoying the process of blending and testing. You can successfully create a product that reflects your unique preferences and addresses your specific skin concerns, resulting in silky smooth skin that feels fantastic. Happy crafting!
Step-by-Step Guide: Making Your Hand Moisturizer
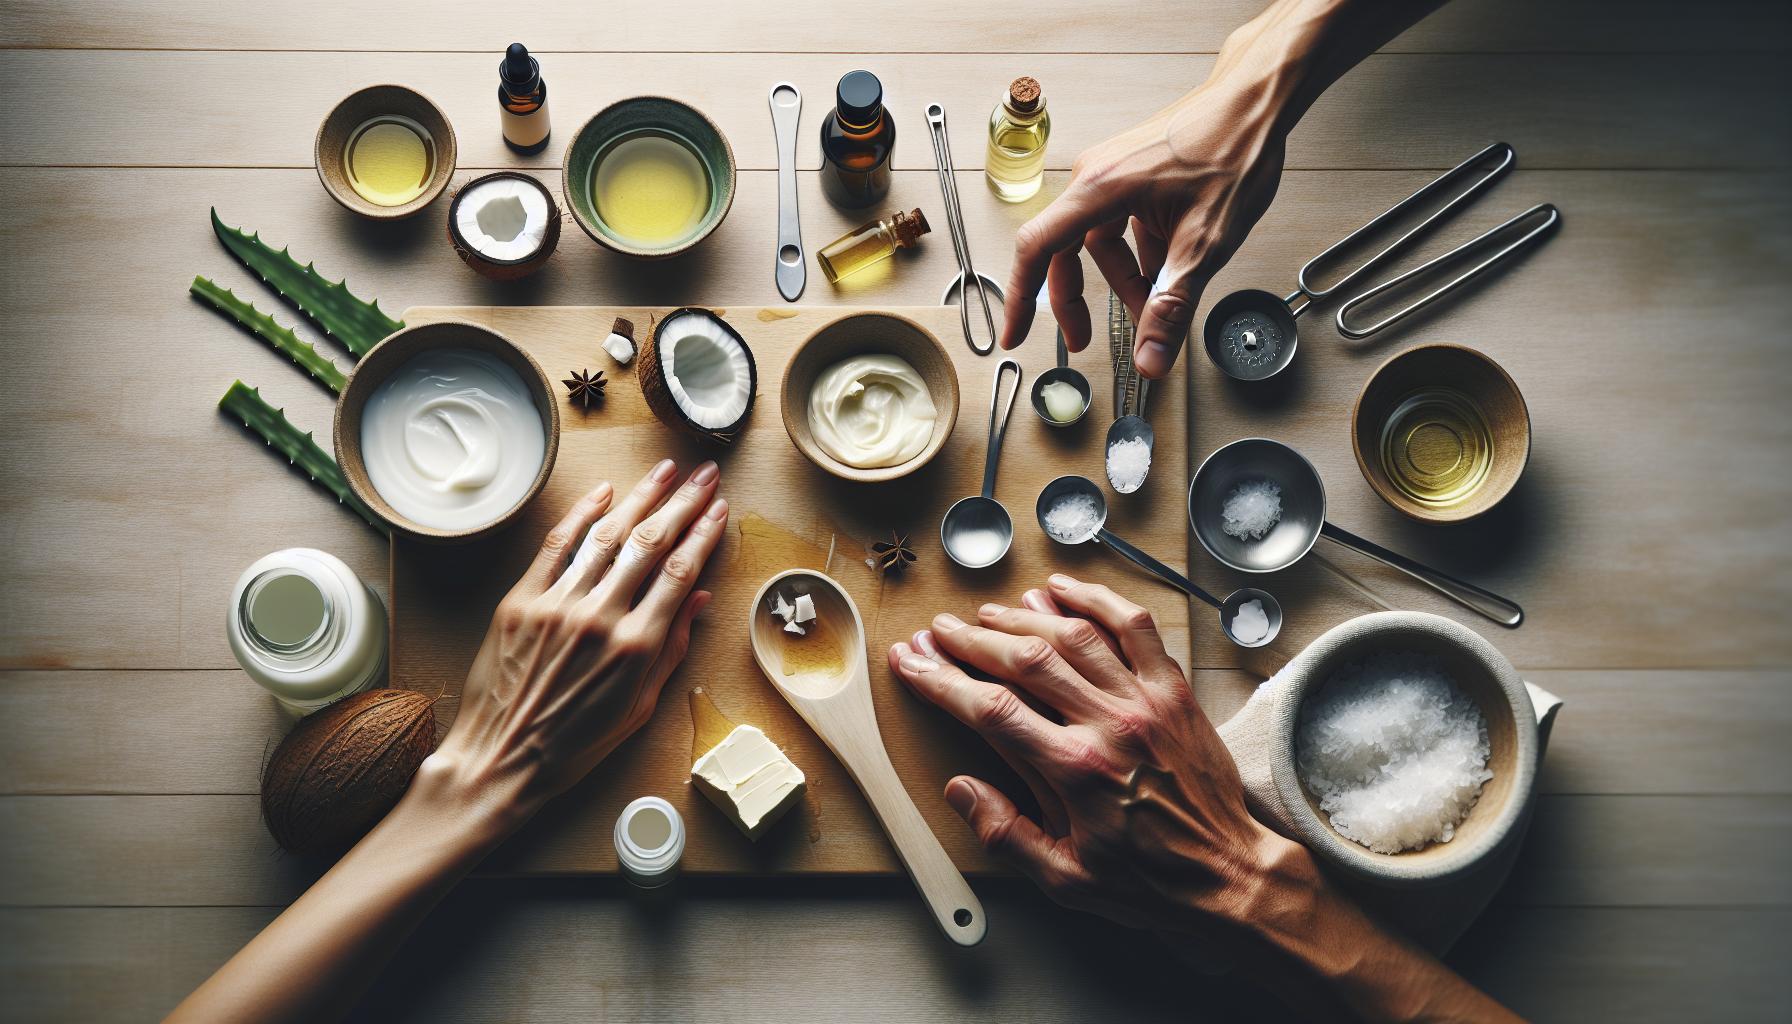
Making your own hand moisturizer is an empowering project that can significantly enhance your skincare routine while giving you the satisfaction of crafting something truly personalized. The process is relatively simple and can be accomplished in about 30 minutes, making it perfect for crafters of all skill levels. Plus, the ingredients you choose can directly address your specific skin needs, ensuring a blend that feels both effective and luxurious.
To get started, gather your ingredients and tools. You will need:
- 1/2 cup of shea butter – for deep hydration
- 1/4 cup of coconut oil – to lock in moisture
- 1/4 cup of almond oil – lightweight and nourishing
- 1-2 tablespoons of beeswax (optional) – for a firmer texture
- Essential oils of your choice (e.g., lavender, peppermint)
- A double boiler or microwave-safe bowl for melting
- A hand mixer or whisk for blending
- Containers for storage (e.g., glass jars)
Now, let’s dive into the steps:
- Melt the Base: In a double boiler, combine the shea butter, coconut oil, and beeswax (if using). Heat gently until everything is melted and well combined. If you’re using a microwave, melt in short 20-second intervals, stirring in between, until fully liquefied.
- Add the Oils: Once your base is melted, remove it from the heat and allow it to cool slightly. Stir in the almond oil for added nourishment. Then, you can incorporate 10-15 drops of your chosen essential oils. This not only enhances the scent but can also offer additional skin benefits.
- Whip It Up: Let the mixture cool until it starts to thicken but isn’t completely set (about 10-15 minutes). Then, using a hand mixer, beat the mixture until it reaches a fluffy texture. This aeration makes your moisturizer light and creamy.
- Transfer and Cool: Spoon the whipped moisturizer into your containers. Allow it to cool completely to set up properly. Once cooled, cap the jars and label them to keep track of your creations.
- Enjoy and Store: Your homemade moisturizer can be used immediately. Store it in a cool, dark place. It should last several months, but keep an eye out for any changes in texture or scent which could indicate spoilage.
Creating your personalized hand moisturizer is not just about nourishing your skin-it’s also about embracing a fun and rewarding DIY experience. As you experiment, you’ll discover the perfect combination that makes your skin sing. Remember, this is your creation-you can do this, and the results will delight you!
Customizing Your Blend: Essential Oils and Scents
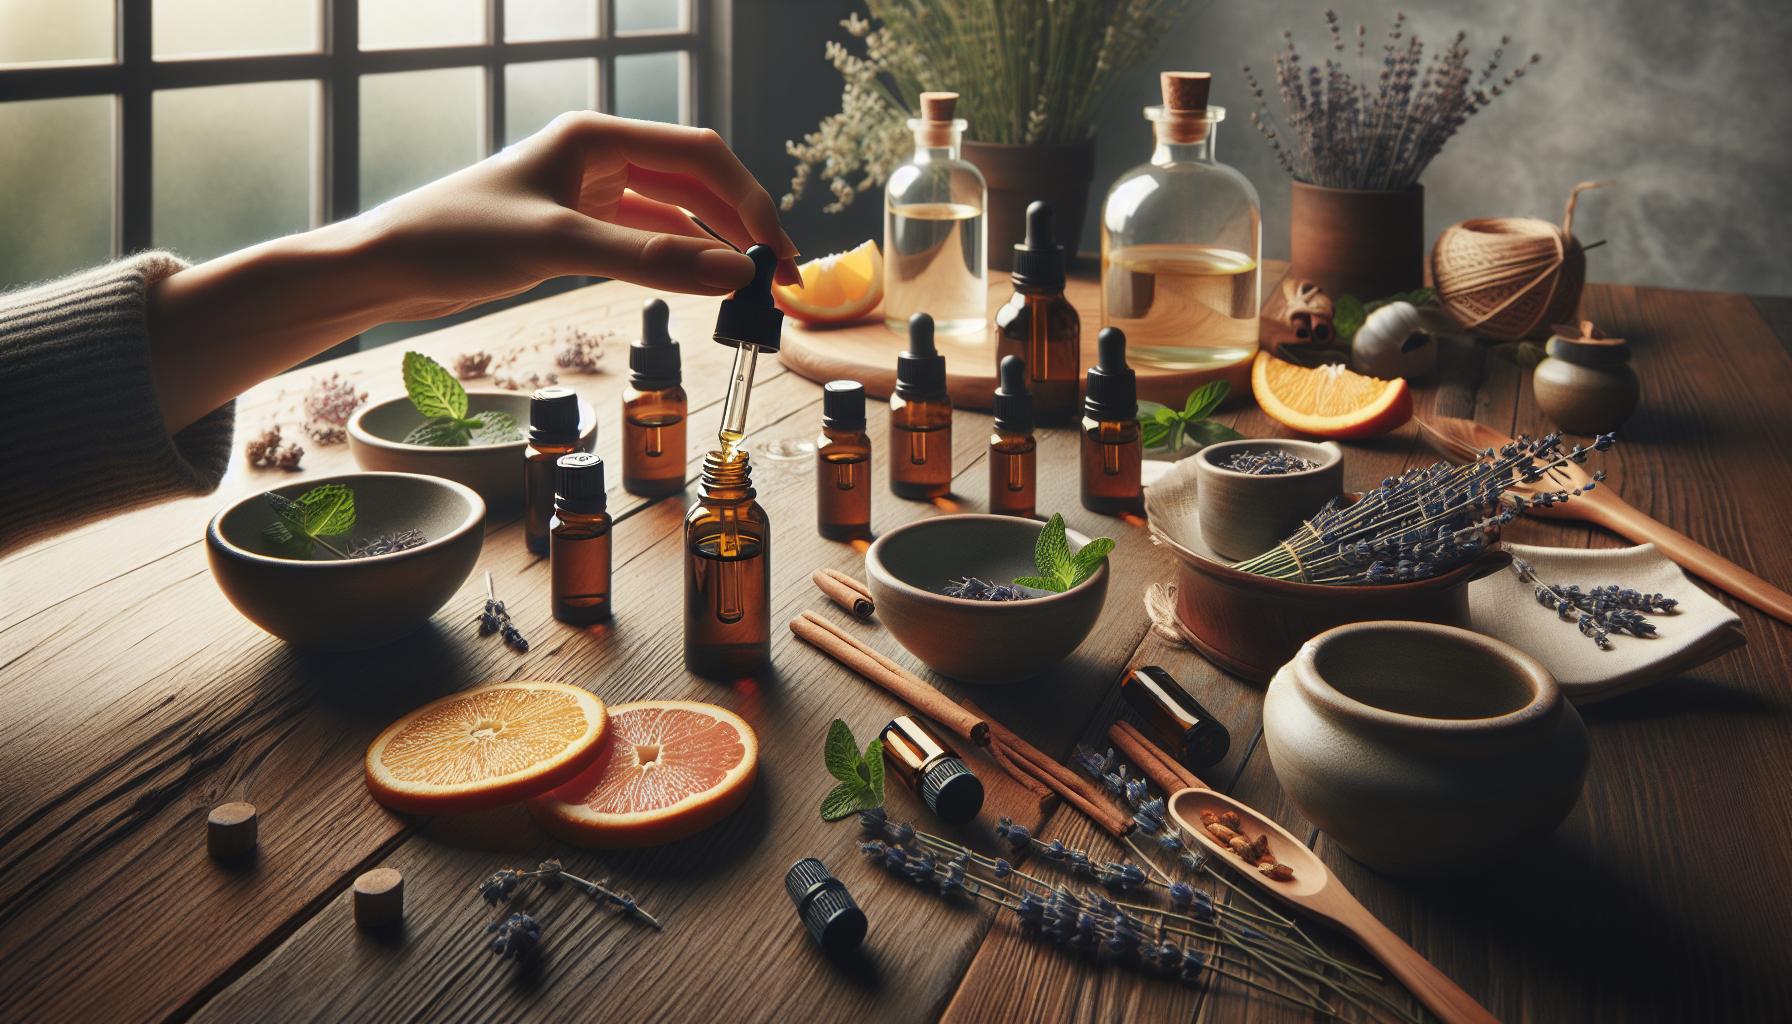
When it comes to creating your own hand moisturizer, the beauty of the project lies in personalizing it to match your unique preferences and skin needs. One of the simplest yet most impactful ways to customize your blend is through the incorporation of essential oils and scents. Not only do they add delightful aromas, making your moisturizer feel like a spa experience, but they also bring their own set of skin-loving benefits.
Start by exploring a variety of essential oils that can enhance your blend. For those seeking relaxation, lavender is a go-to choice, known for its soothing properties and ability to promote restful sleep. If you’re looking for something invigorating, peppermint offers a refreshing kick and can help with circulation. Incorporating tea tree oil is a great option if you’re targeting issues like acne or oily skin, as it possesses natural antibacterial properties. Consider using an oil blend-perhaps geranium and sandalwood-to create a calming yet uplifting scent that can transform your moisturizer into a personal oasis.
How to Choose Your Essential Oils
When selecting essential oils, think about the aroma you’re after as well as the specific skin benefits you wish to harness. Here’s a quick guide to help:
- Lavender: Calming and good for sensitive skin
- Peppermint: Refreshing and can boost circulation
- Tea Tree: Antimicrobial, helps combat acne
- Geranium: Balances oil production and refreshes skin
- Sandalwood: Hydrating and has a grounding scent
After choosing your oils, adding them is a breeze! Simply mix in 10-15 drops of your selected essential oils into the melted base of your moisturizer before whipping it up. The key is to adjust the amount based on your scent preferences; feel free to start with fewer drops and increase until it feels just right for you. Always remember that essential oils are potent, so a little goes a long way!
Customizing your hand moisturizer using essential oils doesn’t just enhance its scent; it also creates a product tailored specifically for your skin’s needs. So go ahead-experiment with different combinations, enjoy the process, and revel in the knowledge that you truly made something special just for you. You’ve got this!
Understanding Skin Types: Tailoring Your Moisturizer

Understanding your skin type is crucial when crafting a DIY hand moisturizer that will truly nourish and protect your skin. Each skin type has unique needs, and customizing your formula can make all the difference in achieving silky smooth skin. Whether you have dry, oily, combination, or sensitive skin, there are natural ingredients that can cater to each type, so let’s break it down!
For those with dry skin, look for heavy-hitting moisturizers like shea butter or avocado oil, which offer intense hydration. Adding honey can also be beneficial, as it’s a natural humectant that draws moisture into the skin. Consider incorporating oils like jojoba or almond oil, which mimic your skin’s natural oils and help lock in moisture. You might find that your skin craves a thicker, creamier texture to combat dryness effectively.
If you have oily skin, you might think that avoiding oil is the way to go, but the right oils can actually help balance your skin’s oil production. Lightweight oils such as grapeseed or argan oil can hydrate without clogging pores. Look for ingredients with astringent properties, like witch hazel or tea tree oil, to help control shine. A lighter formulation will keep your skin feeling fresh without overwhelming it.
Combination skin can be tricky since it involves balancing two opposing skin types. To cater to both dry and oily areas, opt for a versatile ingredient like aloe vera gel, which hydrates without heaviness. Mixing in a few drops of rosehip oil can offer balance and help address any pigmentation issues in the drier spots. A great tip for this skin type is to apply different moisturizers to different areas – a thicker cream on dry patches and a lighter lotion on oilier areas.
Lastly, for those with sensitive skin, it’s essential to keep things simple. Choose calming ingredients like coconut oil and shea butter to soothe irritation without introducing harsh chemicals. Avoid essential oils initially, and instead, focus on hypoallergenic ingredients. Always perform a patch test with any new blend to ensure no irritation occurs.
Remember, creating your perfect DIY hand moisturizer is a fun, experimental journey! Document what works for you and tweak your recipes as you learn more about your skin’s preferences. You’ve got this – dive into your crafting adventure knowing that your skin will thank you for the care and attention it deserves!
DIY Storage Solutions: Keep Your Moisturizer Fresh
When you’ve put in the effort to create your own luscious hand moisturizer, proper storage is essential to ensure it remains fresh and effective. There’s something so satisfying about crafting your own skincare product, but if not stored correctly, even the best ingredients can lose their potency. The right container can go a long way in preserving your DIY creations, and it’s easier than you might think!
One of the best ways to keep your moisturizer fresh is to choose airtight containers. Glass jars with tight-sealing lids are perfect since they not only prevent air from getting in but also protect against light exposure, which can degrade sensitive ingredients. If you’re looking for something cute and functional, opt for small amber or cobalt blue jars-these not only look great but also help block harmful UV rays. If you prefer something more portable, small squeeze tubes or pump bottles are fantastic for travelling. They keep the product clean and easily dispensed, which is a plus for keeping things hygienic!
Consider adding a few fun touches to enhance the longevity of your moisturizer. Including a natural preservative can be a great option; ingredients like vitamin E oil double as a powerful antioxidant and can help extend the shelf life. Also, remember to always use clean tools when scooping out your moisturizer to prevent contamination.
Lastly, be mindful of where you store your DIY moisturizer. A cool, dark place, like a bathroom cabinet or a drawer away from sunlight, is ideal. The fridge can also be a refreshing option, especially in warmer climates, plus it can provide a soothing effect on your skin during application. Label your containers with the date you made them, and note any specific ingredients you used, which makes it easier to track freshness. By following these simple yet effective storage solutions, you’ll create a routine that’s just as delightful as the moisturizer you’ve crafted! Remember, you can do this, and your skin will appreciate your efforts!
Benefits of Homemade Moisturizers vs. Store-Bought
Creating your own moisturizer at home can be a game-changer when it comes to caring for your skin. Not only do homemade moisturizers allow you to tailor ingredients to suit your unique skin needs, but they also offer numerous advantages over store-bought alternatives. For starters, you have full control over the ingredients you use. This means you can avoid harsh chemicals and synthetic fragrances that often cause irritation. Instead, you can opt for natural, nourishing components like shea butter, coconut oil, or avocado oil, which are known for their skin-loving properties.
One of the standout benefits of DIY moisturizers is the ability to customize formulations. Do you have dry, sensitive skin, or perhaps oily and acne-prone skin? With homemade moisturizers, you can craft a product that directly addresses your skin type. Adding essential oils like lavender for calming effects or tea tree oil for its antibacterial properties can make your moisturizer not just hydrating but also tailored to tackle specific issues. Plus, you can experiment until you find the perfect blend that feels just right on your skin.
Another considerable perk is cost-effectiveness. While high-quality store-bought moisturizers can be quite pricey, crafting your moisturizer at home can save you money in the long run. Many ingredients used in DIY formulations are versatile and can be used across various recipes, making your investment last longer. Plus, you can make larger batches to reduce the frequency of restocking, all while knowing the exact quality of what you’re applying to your skin.
Lastly, the satisfaction and joy of creating something with your own hands cannot be understated. The process of measuring, mixing, and experimenting can be incredibly fulfilling. There’s a sense of accomplishment that comes from using a product you made yourself, knowing exactly what went into it-and that it’s good for you. So why not grab your mixing bowl and get started? You can craft a delightful moisturizer that not only hydrates but enriches your skin naturally!
Troubleshooting Common DIY Moisturizing Issues
Creating your own hand moisturizer is a rewarding project, but sometimes things don’t go as smoothly as you’d hoped. Whether you’ve ended up with a product that’s too greasy, too thick, or just not quite right, can help you get back on track. Here’s how to tackle some typical problems you might encounter while crafting your silky smooth skin savior.
First, if your moisturizer feels too greasy or heavy, it’s likely that you’ve used too much oil in your blend. Adjusting this is simple! You can add a bit more emulsifier or base cream to balance it out, helping to absorb excess oil. For instance, mixing in a small amount of unscented body lotion can lighten the texture beautifully. Try using a measuring spoon to ensure you’re incorporating the right amount-less really can be more.
Another common issue is separation, where your ingredients don’t hold together as they should. This can happen if you didn’t emulsify your oils and water properly. To fix this, you can reheat your moisturizer gently, stirring continuously as it warms. Once it’s warm, blend in a little more emulsifier until uniform. Always remember, blending at the right temperature is key to avoiding separation in the future-aim for a smooth emulsion that holds together.
Sometimes, the scent might not match your initial vision, which can be disappointing. If you find your homemade moisturizer lacking in fragrance, consider adding a few drops of your favorite essential oil. Just make sure to choose skin-safe options that complement the other ingredients. For example, lavender oil not only adds a calming scent but also provides additional skin benefits. Always start with a small amount, as you can always add more, but it’s challenging to tone down an overpowering scent!
Lastly, if you find that your skin feels irritated after use, it’s essential to review your chosen ingredients. Some natural oils or essential oils can cause sensitivity for certain skin types. Creating a patch test on a small area of skin before applying your moisturizer widely can save you from discomfort. If irritation occurs, consider swapping out problematic ingredients for lighter options, like jojoba oil or almond oil, both of which are generally well-tolerated and hydrating.
Embrace these challenges as part of the DIY journey. Every tweak brings you one step closer to the perfect blend! Remember, making mistakes is part of the process, and with a little practice, you will find your rhythm. Happy crafting!
Healthy Skin Routine: When to Apply Your Moisturizer
Incorporating a moisturizer into your daily skincare routine can make all the difference in maintaining radiant, hydrated skin. The key is knowing not just what moisturizer to use, but when to apply it for optimal results. For homemade moisturizers, timing can significantly impact their effectiveness and how your skin feels throughout the day.
The best time to apply your hand moisturizer is immediately after washing your hands or bathing. This timing ensures that you lock in moisture while your skin is still slightly damp. Applying your DIY concoction right after cleansing helps to seal in hydration and prevents water from escaping, making your skin feel softer and smoother. Additionally, consider reapplying your moisturizer during the day, particularly if you’re in a dry environment or after frequent handwashing.
Consider also the best times based on your activities. For instance, if you plan to be outside in harsh weather, applying a barrier moisturizer before you head out can protect your skin from wind and cold. Conversely, using a thicker cream or an oil-based moisturizer at night can promote a regenerative effect while you sleep, allowing your skin to absorb nutrients at its most receptive time.
To make this easy, create a simple routine:
- Morning: Apply your moisturizer after washing your hands or face, ensuring you start your day hydrated.
- Midday: Reapply as needed, especially if you’re outdoors or your hands feel dry.
- Night: Use a richer formula to deeply nourish your skin while you sleep.
Embrace this routine, and your hands will thank you for the care and attention! Remember, healthy skin is just a little prep away. You’ve got this!
Sustainable Practices: Eco-Friendly Ingredients to Use
Choosing eco-friendly ingredients not only enhances your DIY hand moisturizer but also contributes to a healthier planet. Did you know that by selecting natural and sustainable components, you can create a product that’s not just good for your skin but also minimizes your environmental footprint? Embracing sustainable practices means you can feel good about what you apply to your skin while caring for the earth.
When selecting your ingredients, opt for those that are both nourishing and eco-conscious. Coconut oil is a stellar choice; it’s moisturizing, antibacterial, and derived from renewable resources. You can also consider shea butter, which is rich in vitamins and helps heal dry skin. Look for fair-trade varieties to ensure that the production helps communities thrive. Another exciting option is aloe vera gel, known for its soothing properties; it’s a fantastic addition that can dramatically enhance the moisturizer’s hydration factor while being gentle on the skin and earth alike.
- Beeswax: This natural emulsifier not only helps blend oils and water but is also biodegradable. For a vegan alternative, try candelilla wax, which has similar properties.
- Essential Oils: When choosing scents, consider oils like lavender or tea tree, which not only smell divine but also offer skin benefits. Always select pure, organic options to ensure you’re avoiding synthetic additives.
- Local Ingredients: Whenever possible, source your ingredients locally to reduce transportation emissions and support local economies. Look for farmer’s markets or organic co-ops in your area!
By prioritizing these sustainable ingredients, you’re taking a significant step towards making your DIY hand moisturizer both effective and environmentally friendly. Remember, you can create luxurious, silky-smooth skin naturally while being a stewards of the Earth. It’s all about simple choices that make a big difference, and you have what it takes to craft a moisturizer that truly reflects your values. So gather those ingredients, and let’s whip up something magical together!
User Testimonials: Real Results from DIY Moisturizer
There’s something truly empowering about creating your own skincare products, especially when it comes to your hand moisturizer. Many DIY enthusiasts have shared their experiences, revealing not just the effectiveness of homemade moisturizers but also the joy and satisfaction of crafting them from scratch. For instance, Sarah, a busy mom of two, turned to DIY moisturizers after struggling with store-bought products that irritated her sensitive skin. She started with a simple recipe using coconut oil and shea butter, and within weeks, her hands felt softer and more hydrated than ever. “I can’t believe the difference! My hands often feel like sandpaper in winter, but now they’re silky smooth,” she beams.
Let’s take a look at some other inspiring testimonials. John, a passionate crafter, found that blending essential oils with his base created not just a moisturizer, but a therapeutic experience. He swears by the calming effects of lavender oil combined with coconut oil. “It’s more than just moisturizing; making it feels like a ritual. I love knowing exactly what’s in it and that it’s all natural!” This kind of personalization often leads to discovering new scents and combinations that suit individual preferences and skin types.
Highlighting user experiences can also troubleshoot common concerns. For example, a frequent issue with homemade moisturizers is texture-getting that balance right can be tricky. Jen, who loves to experiment, suggested adding a touch of beeswax to solidify her mix. “At first, mine was too runny, but when I added beeswax, I got a perfect creamy consistency that lasts all day!” By sharing these insights, you’re not just learning what works; you’re becoming part of a community that embraces experimentation and happy accidents.
Ultimately, these testimonials remind us that making your own hand moisturizer is not just a fun project-it’s a way to take control of your skincare routine, reduce waste, and show some love to your skin using ingredients you trust. You can dive into this creative journey too, armed with the knowledge and enthusiasm of fellow DIYers! So grab your ingredients and start experimenting; you’ll find not only hydration but also joy in the process.
Creative Packaging Ideas for Gifting Your Moisturizer
There’s nothing quite like gifting a handmade moisturizer to show you care. Not only is it a thoughtful gesture, but it’s also a unique way to share the love of natural skincare with friends and family. To make your creation even more special, let’s explore some delightful packaging ideas that are sure to impress.
Using beautiful containers can elevate your DIY hand moisturizer from a simple gift to an elegant treat. Consider glass jars with screw-on lids or vintage-style tins that can be reused. You might choose tinted glass, which not only looks stunning but also helps protect the natural ingredients inside from light degradation. For a personal touch, you can decorate these containers with washi tape or a ribbon that matches your recipient’s favorite colors.
Another charming idea is to create custom labels. Print out labels featuring the name of your moisturizing blend, along with ingredients and a sweet personal note. Handwritten notes add a heartfelt element that can make your gift stand out even more. If you’re tech-savvy, simple graphic design tools can help you create beautiful labels that reflect your personality.
To enhance the gift experience, consider adding a small sachet of dried herbs or flowers when gifting your moisturizer. Rosemary, lavender, or chamomile herbs can evoke the scents found in your moisturizer and make the gift feel plump with care. When packaging, place the sachet alongside your moisturizing jar in a simple cotton bag or an organza pouch, tying it with a ribbon for that extra flair.
Remember, it’s all about the details! The thought and creativity behind your packaging will resonate with those lucky enough to receive your homemade moisturizer. So, take the time to craft something beautiful-the joy of seeing your loved ones’ smiles when they open your thoughtful gift will be worth it!
Exploring Additional Uses for Your Moisturizer
Crafting your own hand moisturizer opens up a world of possibilities beyond just hydrating your skin. You’ll be amazed to discover that this delightful creation can serve multiple purposes around your home and in your self-care routine. The versatility of your handcrafted moisturizer means you can enjoy silky smooth skin while also utilizing it in innovative ways. Let’s dive into some additional uses that highlight the thoughtful, creative nature of your DIY endeavor!
One of the most delightful applications of your hand moisturizer is as a soothing treatment for dryness anywhere on the body. If you find your elbows, knees, or even heels feeling rough or cracked, a small amount of your homemade moisturizer can work wonders. Simply apply a pea-sized amount to the areas needing extra hydration. This same concept can extend to your cuticles – a quick massage of your moisturizer can nourish and soften nails, promoting healthier growth.
Softening Household Items
Not only does your moisturizer work wonders for your skin, but it can also help soften certain household items. For instance, if your wooden furniture or kitchen utensils are looking a bit dry and dull, applying a thin layer of your moisturizer can restore their luster and keep the wood nourished. Make sure to use a natural formula free of any harmful chemicals, ensuring safety for food-related items.
Revitalizing Your Lips
If you’re looking for a quick fix for dry, chapped lips, your hand moisturizer can double as a lip balm. In a pinch, just dab a little onto your lips to provide immediate moisture and protection. For a fun twist, why not blend in a hint of flavor or tint? A drop of essential oil or a bit of natural color can take your lip care to the next level, enhancing both your beauty and your skincare routine.
The beauty of DIY projects is the endless creativity they inspire. Remember, your moisturizer is not just a product, but a testament to your crafting skills and a source of joy and comfort in your everyday life. These tips encourage you to explore and enjoy all the wonderful possibilities your homemade products offer, making the process of creating and using them even more rewarding!
Frequently Asked Questions
markdown
Q: What natural ingredients are best for a DIY hand moisturizer?
A: The best natural ingredients for a DIY hand moisturizer include shea butter, coconut oil, and olive oil. These ingredients are rich in fatty acids and vitamins, providing deep hydration and nourishment. You can customize your blend based on your skin type by exploring options like jojoba oil for oily skin or avocado oil for dry skin.

Q: How do I choose the right essential oils for my hand moisturizer?
A: When choosing essential oils for your hand moisturizer, consider your skin's needs and preferred scents. Lavender is calming, while tea tree oil offers antiseptic properties. Remember to dilute essential oils with a carrier oil. You can explore various combinations to create a personalized scent profile that suits you [1].

Q: How often should I apply my DIY hand moisturizer?
A: It's effective to apply your DIY hand moisturizer 2-3 times daily, especially after washing your hands or exposure to harsh conditions. Incorporating application into your daily routine can ensure your skin remains hydrated and soft. Don't forget to focus on areas prone to dryness, like the knuckles [1].

Q: How can I enhance the shelf life of my homemade hand moisturizer?
A: To enhance the shelf life of your homemade hand moisturizer, store it in a dark, cool place and use glass containers to avoid chemical reactions with plastic. Adding a few drops of vitamin E oil can also act as a natural preservative, helping to extend its freshness [2].

Q: What are the signs that my DIY hand moisturizer has gone bad?
A: Signs that your DIY hand moisturizer has gone bad include unpleasant odors, changes in texture (like separating or becoming grainy), and discoloration. If you notice any of these signs, it's best to discard the product and consider making a new batch [3].

Q: Can I use my DIY hand moisturizer on other parts of my body?
A: Yes, you can use your DIY hand moisturizer on other areas of your body such as elbows and knees. These regions often require extra moisture. Plus, using a consistent blend can help maintain overall skin health [1].

Q: How do I troubleshoot if my DIY hand moisturizer is too greasy?
A: If your DIY hand moisturizer is too greasy, reduce the amount of oil in your recipe. Consider adding more beeswax or shea butter, which can help thicken the consistency without adding excess oil. Adjusting the balance will allow you to achieve a smoother feel [2].

Q: Why should I choose homemade moisturizer over store-bought options?
A: Choosing a homemade moisturizer allows you to control the ingredients, avoiding harmful chemicals and preservatives often found in store-bought products. Personalizing your moisturizer ensures it meets your specific skin needs, promoting healthier skin naturally [3].
To Conclude
Congratulations on creating your very own DIY hand moisturizer! By harnessing natural ingredients, you’ve not only given your skin the nourishment it craves but also embraced a sustainable approach to skincare. Remember, silky smooth skin is just a recipe away, and with slight tweaks, you can personalize your moisturizer to suit your unique needs. Don’t wait-try it tonight and feel the difference!
Curious about other natural remedies? Check out our articles on DIY Lip Balm and Natural Body Scrubs for more easy recipes that elevate your self-care routine. If you have any questions or want to share your experience, leave a comment below-your thoughts help build our crafting community! And if you’re looking for exclusive tips and updates, consider signing up for our newsletter. We’re excited to see you craft your way to healthier skin!
Get our latest guides, news, and insights highlighted in your Google Search & AI Overviews.