

Did you know that Manuka honey, prized for its unique antibacterial properties, can do wonders for your skin? If you’re looking for a quick and effective way to boost your glow, a DIY Manuka honey mask is the answer! In just five minutes, you can whip up a simple recipe that not only hydrates but also rejuvenates your complexion. This mask is perfect for anyone who feels overwhelmed by complicated skincare routines or expensive products. Whether you’re a skincare newbie or a seasoned DIY enthusiast, this easy-to-follow guide will empower you to create a luxurious and nourishing treatment right at home. Get ready to unlock your skin’s potential and embrace a radiant, healthy glow with this delightful DIY project!
Choosing the Right Manuka Honey for Your Mask
When it comes to selecting the perfect Manuka honey for your DIY face mask, not all honey is created equal! The unique properties of Manuka honey, specifically its high level of methylglyoxal (MGO), contribute to its incredible skin benefits. Look for honey with a high MGO rating, typically indicated on the label. A rating of 250 MGO or higher is ideal for skincare, as it showcases the honey’s potent antibacterial and anti-inflammatory qualities, perfect for soothing and rejuvenating your skin.
To ensure you’re purchasing genuine Manuka honey, check for certifications such as UMF (Unique Manuka Factor). This labeling system rates Manuka honey based on its purity and quality; aim for a UMF of 10 or above for effective skincare benefits. Also, pay attention to the origin-Manuka honey should be sourced from New Zealand. Support local producers where you can, as they often have the freshest and most authentic offerings.
Additionally, consider the texture and taste of the honey. A thicker, creamier texture often means higher quality, while a strong, almost herbal taste can be an indicator of its potency and freshness. Once you’ve found the right jar, keep it in a cool, dark place to preserve its beneficial properties, and get ready to glow with your homemade mask! Remember, the choice of Manuka honey can elevate your DIY mask experience, giving your skin that much-desired radiance and nourishment.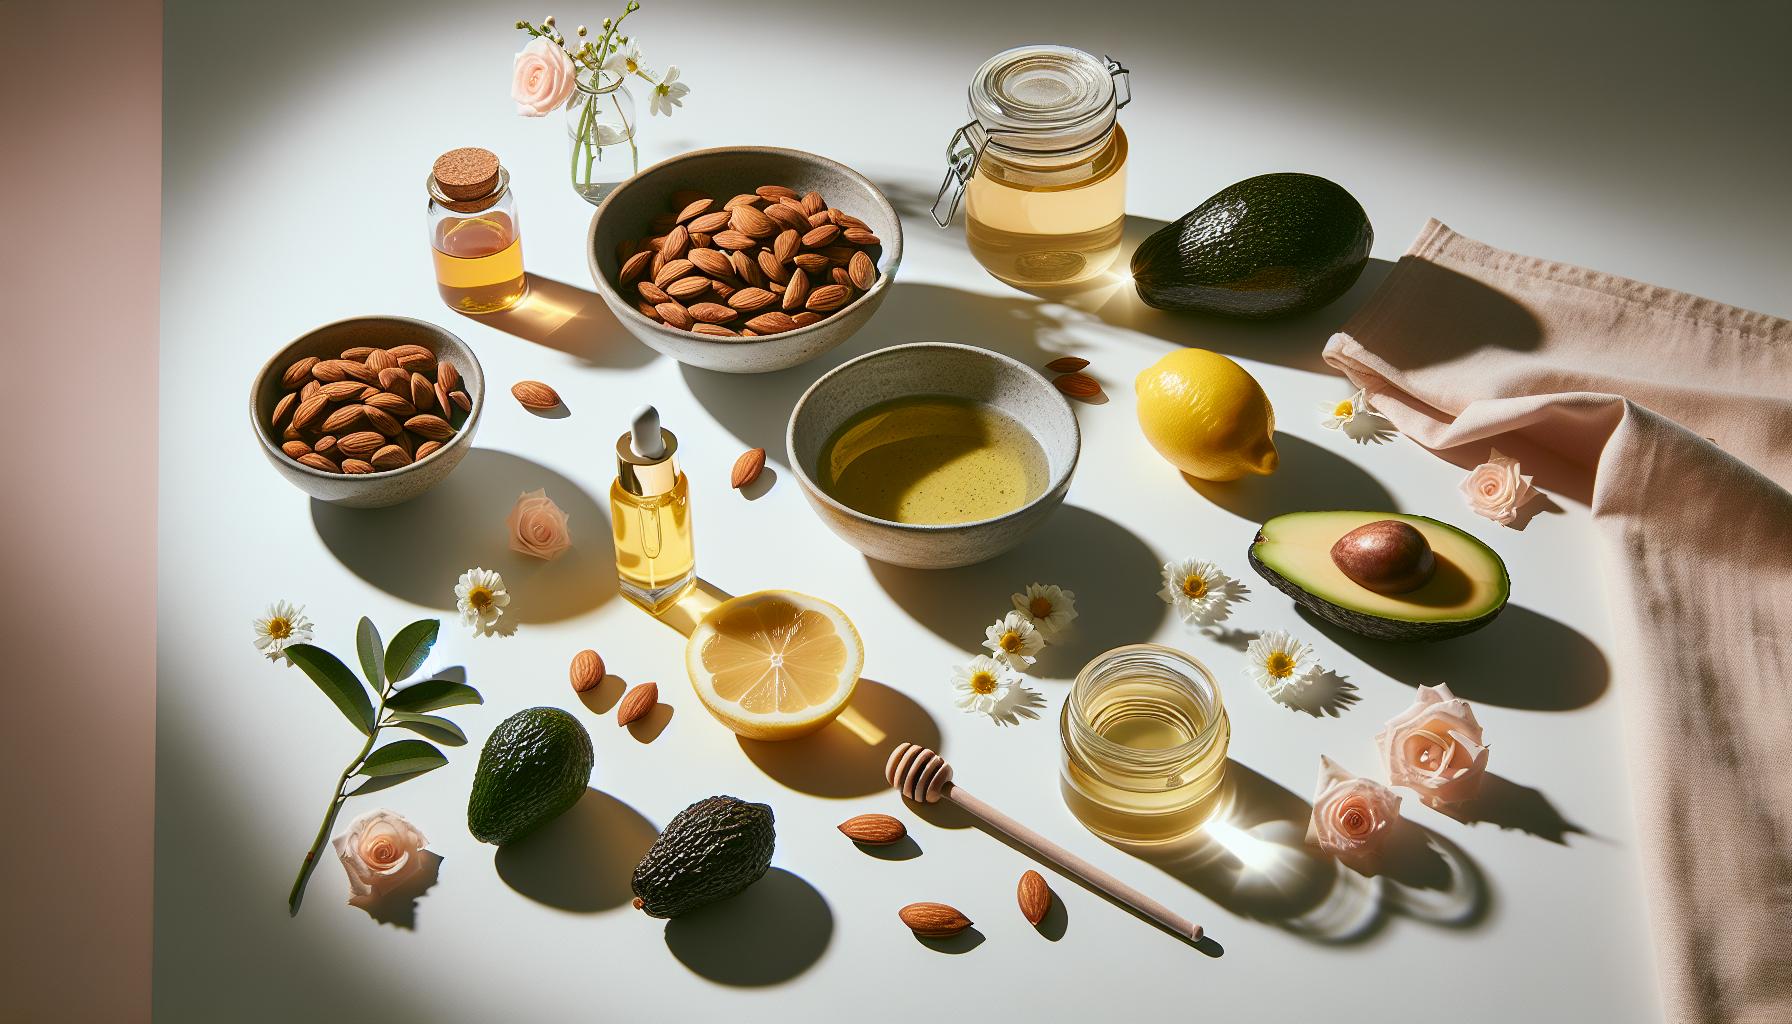
Essential Ingredients for a Perfect Glow
Looking for that luminous glow? Creating your own DIY face mask with Manuka honey is not only fun but also incredibly rewarding! In addition to the unique properties of Manuka honey, combining it with complementary ingredients can supercharge your mask and take your glow to the next level. Here’s what you need to add to your mix for that perfect radiance.
Start with the star ingredient, Manuka honey, which is packed with antioxidants and natural antibacterial properties. To further enhance your mask, consider including plain yogurt. It contains lactic acid, which gently exfoliates the skin, removing dead skin cells and revealing a fresh, vibrant layer underneath. A tablespoon of yogurt combined with the honey creates a smooth, cream-like texture that applies easily and feels great on the skin.
Another wonderful addition is fresh lemon juice. Just a few drops can brighten your complexion due to its natural astringent properties and vitamin C content. However, use it sparingly, particularly if you have sensitive skin. If you’re looking for hydration, a few drops of essential oils, such as lavender or rose, can be beautifully soothing and leave your skin feeling nourished. Always be cautious and do a patch test to ensure it won’t irritate your skin.
Finally, if you’re aiming for extra moisturization, add a splash of olive oil or coconut oil. These oils provide deep hydration and can help create a more luxurious texture to your mask. Simply combine all your chosen ingredients in a bowl, mix thoroughly, and you’re set for a wonderfully glowing experience.
Just remember, the key to achieving that gorgeous glow lies in the quality of the ingredients and how well they work together. With just a few simple components in your kitchen, you can whip up a fabulous face mask that not only feels good but also showcases your DIY prowess. Happy crafting-your skin will thank you!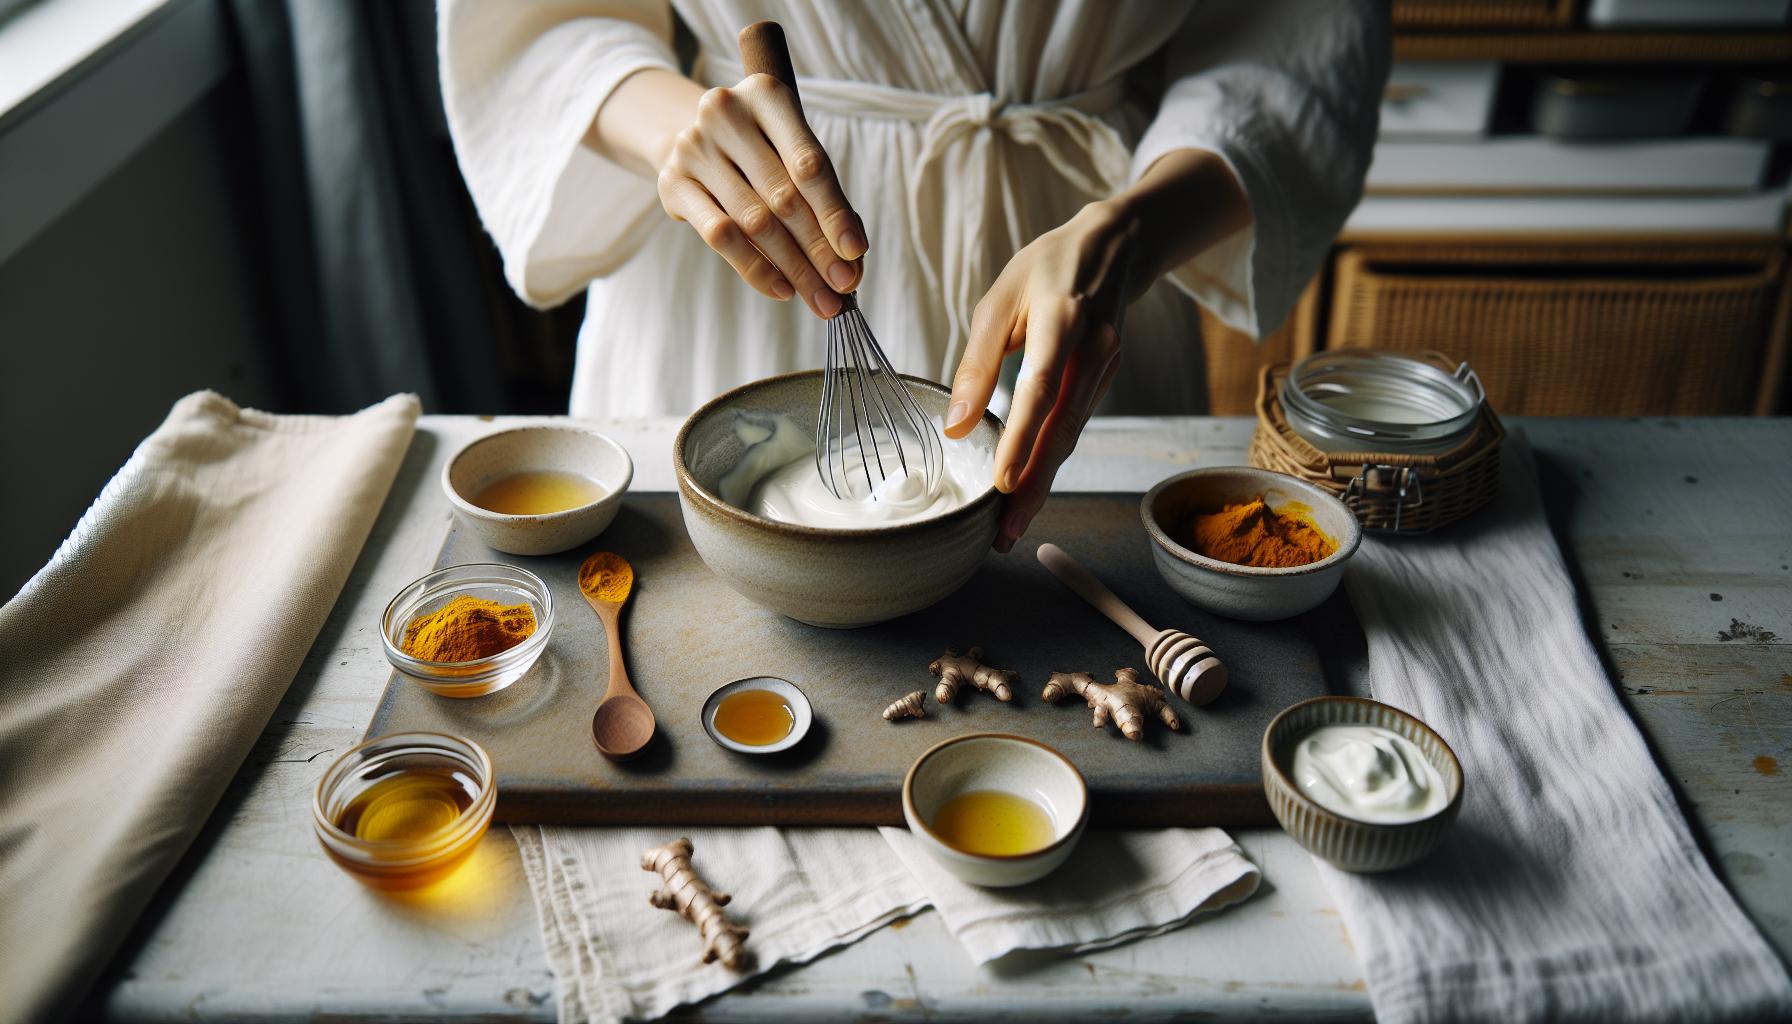
Step-by-Step: Crafting Your 5-Minute Mask
Crafting your own Manuka honey face mask is not only a delightful way to indulge your skin, but it can also be done in just five minutes! With this simple step-by-step guide, you’ll create a natural glow that makes you feel fabulous. All you need are a few kitchen staples and a little creativity. Ready? Here we go!
Start by gathering your materials. For a basic yet effective mask, you will need:
- 1 tablespoon of Manuka honey (look for a high UMF rating for maximum benefits)
- 1 tablespoon of plain yogurt (for exfoliation and creaminess)
- A few drops of fresh lemon juice (to brighten the skin)
Now, let’s move on to the crafting process:
Step 1: Mix Your Ingredients
In a small bowl, combine your Manuka honey and yogurt. Use a fork or a small whisk to mix them together until you achieve a smooth and creamy consistency. If desired, add a few drops of lemon juice. Remember, lemon can be potent, so start with just a little and adjust to your preference.
Step 2: Prepare Your Skin
Before applying the mask, wash your face with a gentle cleanser to remove any dirt or makeup. Pat your skin dry, then it’s time to apply the mask. Using clean fingers or a brush, spread the mixture evenly over your face, avoiding the eye area.
Step 3: Relax and Enjoy!
Let the mask sit for about 10 to 15 minutes. This is your time to relax! Use this moment to unwind-grab a book or just breathe deeply. Feel free to take selfies; you’ll look fabulous, even with a honeyed face!
Step 4: Rinse Off
After your time is up, rinse your face with warm water. You’ll likely notice a soft and hydrated glow immediately. Follow up with your favorite moisturizer to seal in all that goodness.
With these easy steps, you’ve not only whipped up a luxurious mask, but you’ve also given your skin a beautifully nourishing treat! Remember, the key to a great DIY mask lies in the quality of your ingredients and your joyful approach to creating it. Enjoy your newfound glow and the satisfaction of having made it yourself!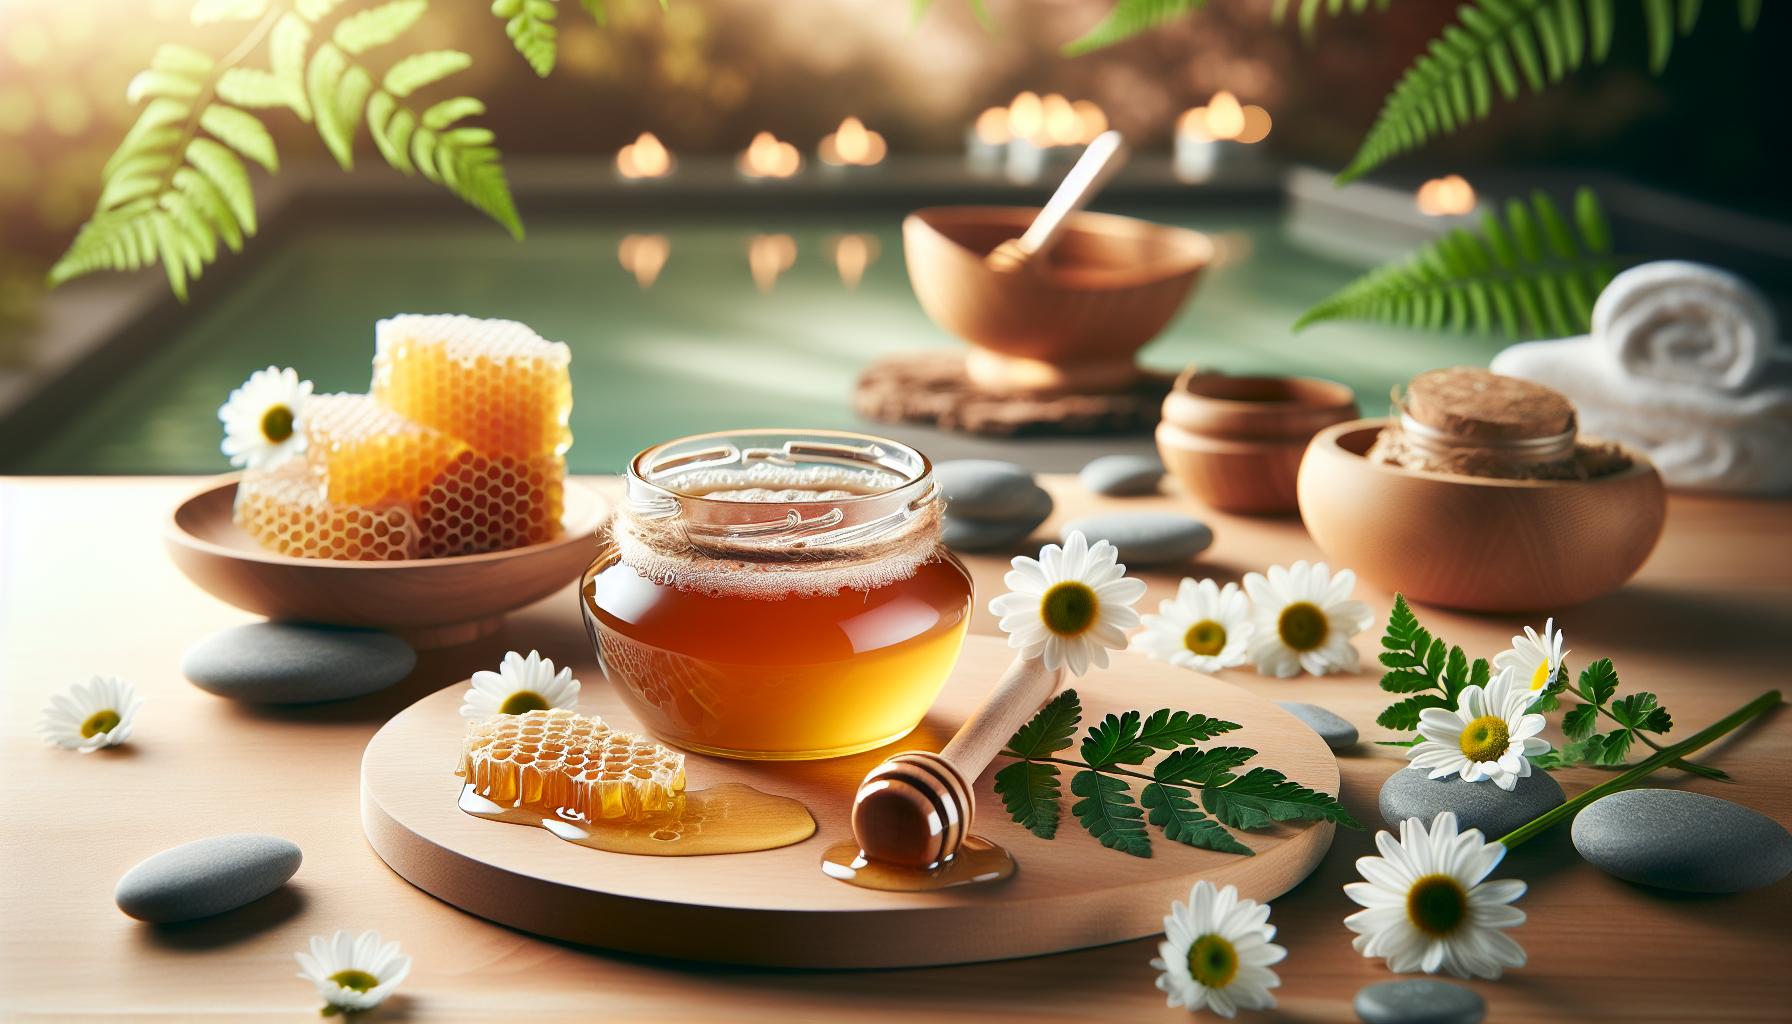
The Benefits of Manuka Honey for Skin
Harnessing the power of Manuka honey in your skincare routine is like inviting a little bit of nature’s magic into your home. This luxurious ingredient is renowned for its unique antibacterial and anti-inflammatory properties, making it an exceptional ally for your skin. Not only does it hydrate and nourish, but it also helps to combat common skin ailments such as acne and irritation. You might be wondering how this sweet elixir can transform your complexion. Let’s dive into the incredible benefits that come packed in this golden honey.
One of the standout advantages of Manuka honey is its ability to promote healing. When applied as a face mask, it works to soothe and repair the skin barrier, which is crucial for maintaining a healthy, glowing complexion. This is particularly beneficial for those with sensitive skin or conditions like eczema or rosacea. The natural enzymes present in Manuka honey help to gently exfoliate dead skin cells, revealing a brighter, fresher layer underneath. Additionally, its humectant properties draw moisture into the skin, providing that coveted hydration without leaving a greasy feel.
Moreover, Manuka honey is loaded with antioxidants that combat free radicals, which are notorious for accelerating the aging process. By incorporating this superfood into your skincare routine, you are not only treating your skin but also equipping it with the tools to defend against environmental stressors. Its anti-inflammatory properties can reduce redness and puffiness, giving you an instant boost in radiance. Imagine stepping out after just a single application with a soft, supple texture and a naturally dewy finish!
In your DIY mask, the combination of Manuka honey with ingredients like yogurt and lemon juice creates a powerhouse of hydration, exfoliation, and brightening effects. Based on the specific needs of your skin, feel free to modify the ingredients: add avocado for extra nourishment or oatmeal for even more gentle exfoliation. The sky’s the limit, and the best part? You can craft these solutions in just five minutes, so you can indulge your skin as often as you like. With regular use, you’ll discover a luminous glow that not only looks good but feels great too!
Enhancing Your Manuka Honey Mask with Additions
Nothing transforms a simple DIY face mask into something extraordinary quite like the right additions. By enhancing your Manuka honey mask with a few tailored ingredients, you can create a truly customized treatment that targets your skin’s specific needs and elevates your glow. The beauty of crafting these masks is that it’s as much about experimentation as it is about using what you have at home!
To give your mask an extra boost, consider incorporating the following ingredients based on your skin type and desired benefits:
- Yogurt: This ingredient is rich in probiotics and lactic acid, making it excellent for exfoliation. It helps to clear dead skin cells while keeping your skin hydrated and balanced.
- Avocado: Packed with essential fatty acids, avocado nourishes the skin and adds a rich, creamy texture to the mask, perfect for dry or sensitive skin.
- Lemon Juice: A natural astringent, lemon juice brightens the complexion and can help reduce the appearance of dark spots. Be cautious with this addition if you have sensitive skin due to its acidic nature.
- Oatmeal: This gentle exfoliator soothes irritation and calms inflamed skin, making it an ideal choice for those with acne-prone or sensitive skin.
- Coconut Oil: Known for its moisturizing properties, adding coconut oil can enhance hydration and provide a lovely slip, making the mask easier to apply.
Whichever ingredients you choose, it’s all about balance. Start with a base of Manuka honey and add your chosen ingredients in equal proportions. A good starting point is 1 tablespoon of honey to 1 tablespoon of your selected add-in. Mix them together until you achieve a smooth, uniform consistency-that’s when the magic happens! You’re not just slapping something on your face; you’re creating a luxurious, customized treatment that nourishes your skin from the inside out.
Once you’ve crafted your beautiful concoction, apply it to clean skin and let it sit for about 10-15 minutes for maximum benefits. You’ll likely notice a difference after just one use, with skin that feels refreshed, dewy, and soft. Remember, the key to achieving glowing results is consistency, so find your favorite combinations and make it a part of your skincare routine. Enjoy the process of creating and the joy that comes with pampering your skin! You can absolutely do this!
Tips for Storing and Using Your Honey Mask
Storing and using your homemade Manuka honey mask properly can make all the difference in keeping it fresh and effective for your skincare routine. If you’ve whipped up a batch and want to enjoy its benefits over time, here are some simple tips that will help you maximize your glowing results!
First, storage is key. After you’ve made your mask, it’s best to keep it in an airtight container. A small glass jar works wonderfully, just make sure it’s clean and dry before use. This will protect your mask from moisture and bacteria, preserving its natural properties. Store it in a cool, dark place like a bathroom cabinet; avoid exposure to direct sunlight or heat, as this can alter the honey’s quality. Generally, a DIY mask like this can stay fresh for about one week, but always check for any changes in smell or texture before applying it again.
When you’re ready to use your mask, begin with a clean face to ensure the best absorption. Scoop out your desired amount with a clean spoon to avoid introducing any contaminants. If you stored your mask in the fridge, let it sit at room temperature for a bit; cold honey can be harder to spread. Remember, applying a thin layer is best-this allows your skin to benefit fully from the honey’s nutrients without feeling overloaded.
After applying the mask, enjoy a little me-time; put on some relaxing music, or take a moment to breathe deeply. Allow the mask to work its magic for about 10-15 minutes, then rinse it off gently with warm water. Don’t forget to moisturize afterward, as this will lock in the glow and hydration from the Manuka honey. With these easy tips, you can savor your DIY mask experience and maintain that dazzling dewy glow! You absolutely got this!
Frequently Asked Questions About DIY Honey Masks
Did you know that Manuka honey is not just a delicious treat but also a skincare powerhouse? With its natural antibacterial and anti-inflammatory properties, it has gained popularity as a key ingredient in DIY face masks. If you’re diving into the world of homemade honey masks, it’s common to have questions. Let’s tackle some of the most frequently asked questions to help you get the most out of your DIY experience!
How do I know if my honey is pure Manuka honey?
When selecting Manuka honey, look for the Unique Manuka Factor (UMF) rating on the label, which indicates its purity and potency. A UMF of 10+ is generally effective for skincare purposes. Additionally, ensure that the honey is sourced from New Zealand, as only honey from this region can be classified as true Manuka honey. If there are no ratings listed, it’s likely not pure.
Can I use Manuka honey if I have sensitive skin?
Absolutely! Many people with sensitive skin find relief with Manuka honey due to its soothing properties. However, it’s always wise to perform a patch test before applying it all over your face. Apply a small amount on your inner wrist and wait 24 hours to see if any reaction occurs. If your skin feels good, you’re all set to enjoy the benefits!
How often should I use my honey mask?
For most skin types, using a honey mask about 1 to 2 times a week is ideal for maintaining a lovely glow without overwhelming your skin. If you notice any irritation or excessive dryness, scale back to once a week or every other week. Listen to your skin, and adjust based on its response.
What if the mask feels sticky or hard to wash off?
Manuka honey is naturally sticky, but if it’s too difficult to rinse, there are a few tricks to make it easier. Try applying the mask while slightly dampening your face first; this can help with spreadability. When rinsing, use warm water and a gentle cloth to assist in removing the mask completely. Always ensure you moisturize afterward to lock in hydration!
With these tips in mind, you’re well on your way to mastering your DIY honey mask. Remember, part of the joy of crafting these masks is not just in the results but in the process-time for yourself, indulging in self-care, and experimenting with natural ingredients. You got this!
Common Mistakes to Avoid When Making Masks
Making your own Manuka honey mask can be a delightful experience, but there are a few common pitfalls that you’ll want to avoid. Whether you’re a beginner or have some experience with DIY skincare, staying aware of these mistakes can help ensure you get the glowing results you desire!
One frequent mistake is assuming all honey is created equal. When choosing Manuka honey, it’s essential to check the Unique Manuka Factor (UMF) rating on the label. A higher UMF rating indicates higher antibacterial properties, which means better skin benefits. If the honey lacks a UMF rating, it may not deliver the results you’re looking for. Additionally, ensure it’s sourced from New Zealand-the only place authentic Manuka honey is produced. This attention to detail pays off, trust me!
Another common error is applying the mask incorrectly. For optimal results, spread a thin layer of your honey mask over clean, damp skin. This not only enhances spreadability but also helps your skin absorb the nutrients more effectively. A thick layer might seem tempting, but it can be harder to rinse away and may not provide extra benefits. Remember, less is often more when it comes to skincare!
Lastly, don’t underestimate the power of the rinse! After letting the mask sit for the recommended time (usually about 10-15 minutes), rinse with warm water. Avoid using hot water as it can irritate your skin. Finally, be gentle when removing the mask; using a soft cloth or your hands should do the trick. Take your time with this part to enjoy your self-care moment fully!
By steering clear of these common mistakes, you’ll enhance your DIY skincare experience and enjoy the nourishing benefits of your homemade Manuka honey mask. You can do this!
How Often Should You Apply Your Honey Mask?
Applying your homemade Manuka honey mask too often or not enough can make a noticeable difference in how your skin responds. The beauty of Manuka honey lies in its natural antibacterial and anti-inflammatory properties, making it a fantastic ingredient for promoting skin health. But finding the right balance is key to achieving that radiant glow you desire!
For optimal results, consider using your honey mask once to twice a week. This frequency allows your skin to benefit from the mask’s nourishing properties without overwhelming it. If you have particularly dry or sensitive skin, start with once a week and observe how your skin feels before increasing to twice. On the other hand, if your skin is oily or acne-prone, you might find that a twice-weekly application gives you the best results without any irritation.
When you apply your honey mask, pay attention to your skin’s response. A good practice is to check in with your skin’s texture and hydration levels. For example, if your skin is feeling overly dry or tight, it might be a cue to reduce the frequency. On the flip side, if you’re loving the results and your skin feels great, sticking to two applications per week can be very rewarding! Listen to your skin; it gives the best feedback.
Finally, remember that consistency is crucial! Just like any DIY skincare routine, patience pays off. Keeping a regular schedule helps ensure your skin receives ongoing nourishment, helping to maintain that glowing appearance. So get into the rhythm, enjoy the pampering process, and trust that you can achieve beautiful, healthy skin with your Manuka honey mask!
Real User Testimonials: Transformative Results
Every time I chat with fellow DIY enthusiasts about skincare, the topic of Manuka honey comes up in glowing terms. Users rave about their experiences with homemade Manuka honey masks, sharing transformative results that truly showcase the benefits of this natural ingredient. From soothing angry breakouts to providing an incredible glow, it seems that those who take just five minutes to whip up this mask often find themselves boasting about their skin’s newfound radiance.
One user, Lisa, shared her delightful experience after incorporating a Manuka honey mask into her weekly routine. She had struggled with dull skin and occasional breakouts, but after just a few weeks of using the mask, Lisa noticed her skin felt smoother and more hydrated. “It’s like my face drank a tall glass of water!” she exclaimed. She finds that using the mask twice a week provides her with consistent results, and she loves knowing it’s a simple, all-natural recipe she can easily prepare at home.
Another inspiring story comes from Mark, who initially approached the DIY mask with skepticism. Having tried various skincare products that didn’t deliver on their promises, he was pleasantly surprised by the immediate softness he felt after just one application. “I never believed a honey mask could do this! My wife keeps asking what I did to look so refreshed,” he laughed. His recommendation? Pairing the Manuka honey with a splash of lemon juice for an extra zing. It’s these kinds of creative tweaks that make crafting your skincare routine both fun and effective.
These testimonials highlight the joy of creating something special for your skin-it’s not just about the results; it’s about embracing the process. Whether you’re a beginner or a seasoned DIY master, remember that your skin deserves a little love and experimentation. So gather your ingredients, allow yourself to enjoy the crafting process, and prepare for compliments on your gorgeous glow!
Exploring Other DIY Face Mask Recipes
Creating your own face masks can be a delightful and rewarding experience, especially when you start exploring the myriad of options available beyond your favorite Manuka honey recipe. Whether you want to nourish, hydrate, or rejuvenate your skin, there’s a DIY mask for everyone. The best part? Most of these recipes use natural ingredients you might already have at home!
One fabulous alternative is a yogurt and honey mask. This mask combines the moisturizing properties of honey with the exfoliating effects of yogurt. Just mix 2 tablespoons of plain yogurt with 1 tablespoon of honey, apply it to your face, and leave it on for about 15 minutes before rinsing. This simple blend not only brightens your complexion but also helps soothe irritated skin and combat acne.
If you’re looking to pamper your skin with something a bit richer, try an avocado and honey mask. Mash half an avocado and mix it with 1 tablespoon of honey for a creamy, hydrating mask that will leave your skin feeling soft and supple. Avocado is packed with healthy fats and vitamins that help to nourish the skin deeply. Leave this mask on for about 20 minutes and enjoy the burst of moisture it provides.
For those with oily or combination skin, a clay mask could be just what you need. Mixing bentonite or green clay powder with water or apple cider vinegar creates a purifying paste that draws out impurities. You can elevate it by adding a teaspoon of Manuka honey for its antibacterial benefits. Apply it for 10-15 minutes until it dries, then rinse off for a fresh, clean feel.
Experiment with these recipes and don’t be afraid to mix and match ingredients based on your preferences and skin type. The joy of DIY skincare lies in discovery and personalization, so have fun crafting your own unique masks!
Frequently Asked Questions
Q: What is the best way to prepare my skin before applying a DIY Manuka honey mask?
A: Preparing your skin is essential for optimal results. Start by cleansing your face with a gentle cleanser to remove dirt and oil. A light exfoliation using a soft scrub or a washcloth can also help eliminate dead skin cells, ensuring your mask can penetrate better. Follow up with a warm towel to open your pores.
Q: Can I use other types of honey instead of Manuka honey for the mask?
A: While you can use other types of honey, Manuka honey is recommended for its unique antibacterial and healing properties. If substituting, look for raw or unprocessed honey to retain similar benefits. However, the results may vary compared to using genuine Manuka honey.
Q: How long should I leave the Manuka honey mask on for best results?
A: To achieve the best results, leave the Manuka honey mask on for 15-20 minutes. This duration allows your skin to absorb the beneficial nutrients effectively. Make sure to relax during this time to enhance the overall experience and effectiveness of the mask.
Q: Is it safe to use a Manuka honey mask if I have acne-prone skin?
A: Yes, a Manuka honey mask is generally safe for acne-prone skin due to its natural antibacterial properties. It can help soothe inflammation and reduce redness. However, perform a patch test first to ensure your skin does not react negatively.
Q: Can I enhance the benefits of my Manuka honey mask with other ingredients?
A: Absolutely! You can enhance your Manuka honey mask by adding yogurt for probiotics, avocado for hydration, or lemon for brightness. Experiment with ingredients based on your skin type and concerns, ensuring that any additions are suitable for your skin.
Q: How do I properly store leftover Manuka honey mask?
A: Store any leftover Manuka honey mask in an airtight container in the refrigerator. It should be safe for up to one week. Before reusing, review the mask for any changes in texture or smell to ensure it’s still good.
Q: How can I tell if my skin is reacting well to the Manuka honey mask?
A: You can tell if your skin is benefiting from the Manuka honey mask if you notice improved texture, glow, and reduced redness after use. A tingling sensation is normal, but if you experience severe irritation or itching, remove it immediately and consult a dermatologist.
Q: How often should I use a Manuka honey mask for optimal skin health?
A: For optimal results, using a Manuka honey mask 1-2 times a week is beneficial. This frequency allows your skin to gain the advantages without overuse. Monitor your skin’s response and adjust accordingly based on how it feels and looks.
Feel free to explore more about enhancing your DIY masks in our article sections for insightful tips!
The Way Forward
Congratulations on creating your own DIY Manuka Honey Mask! Remember, this simple 5-minute recipe not only hydrates your skin but also gives you that glowing radiance you’ve been searching for. Why wait? Dive right in and treat your skin to this nourishing mask today! If you enjoyed this project, you might also like our articles on DIY Facial Scrubs and Natural Skin Care Tips for a complete skincare routine.
Want to keep the glow going? Sign up for our newsletter for more easy DIY beauty recipes directly in your inbox! Don’t forget to share your results with us in the comments below – we love seeing your creations! And if you’re up for more DIY adventures, explore our crafting and home projects section to keep the inspiration flowing. Your skin will thank you, and we’re here to help every step of the way!
Get our latest guides, news, and insights highlighted in your Google Search & AI Overviews.