
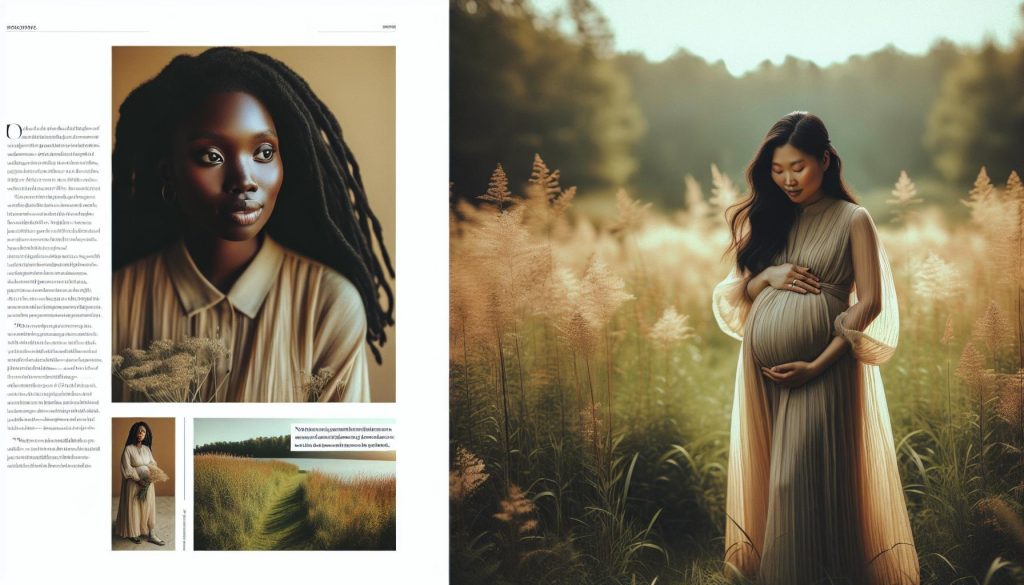
Capturing the beauty of your maternity journey doesn’t have to rely on a photographer or a professional studio. With just a little creativity and some basic equipment, you can take stunning pictures that showcase your growing belly and the love surrounding it. Did you know that many expectant parents find joy in creating their own maternity shoots? It’s an empowering experience that allows you to express your personality and style while making lasting memories.
Whether you’re looking for candid shots in the comfort of your home, stylish outdoor portraits, or even a cozy setup in a park, you can achieve remarkable results on your own. In this guide, we’ll walk you through simple yet effective tips to help you set up your DIY maternity shoot, from choosing the perfect location and outfits to maximizing natural light and posing like a pro. By the end, you’ll feel confident in your ability to create beautiful images that celebrate this special moment in your life. Let’s dive in and get started-you’ve got this!
DIY Maternity Photography: Why You Should Try It
Capturing the beauty of pregnancy through photography is a wonderfully personal endeavor that allows you to express your unique journey. DIY maternity photography not only saves you money but also gives you creative control over your images, letting your personality and style shine. When you take the reins of your maternity shoot, you can experiment with different looks, vibes, and themes that resonate with you, ensuring that your photographs reflect your authentic self. Plus, it can be an incredibly fun and empowering project to tackle!
By choosing to photograph yourself, you’ll also have a chance to create a deeper connection with the experience. You can invite your partner, children, or even close friends to join in, making it a special family activity that strengthens bonds while capturing memories. The process of setting up the shoot, selecting outfits, and deciding on poses becomes a shared journey of excitement and joy. And let’s not forget about the creative outlet it provides-dressing up in beautiful outfits and crafting stunning scenes can brighten your day and add an extra touch of magic to this special time in your life.
Ultimately, taking your maternity photos yourself allows you to capture moments that are genuine and personal. You can revisit these photos years down the line and relive the feelings of anticipation and love that surrounded your pregnancy. Once you experience the joy of creating your own maternity photography, you may find yourself inspired to document other milestones in your life just as creatively!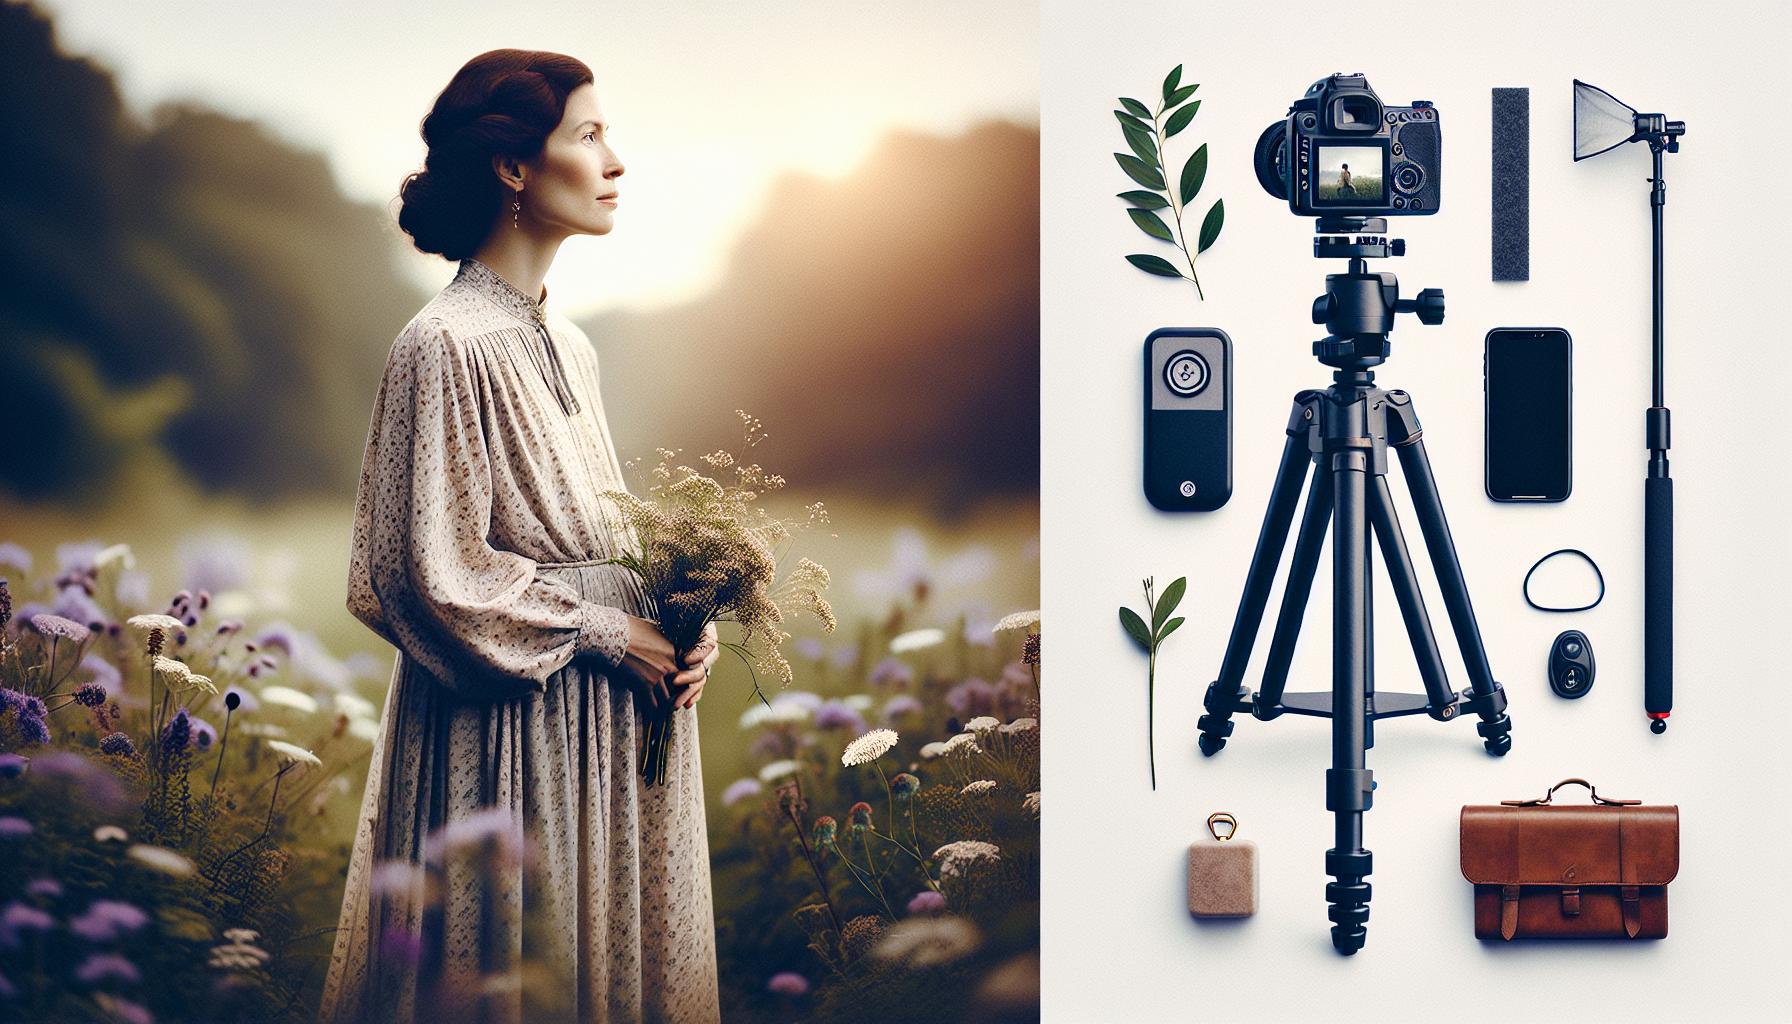
Essential Gear for Your DIY Maternity Shoot
Capturing your pregnancy journey through photography can be a magical experience, but to get the most out of your DIY maternity shoot, having the right gear is essential. You don’t need to invest in high-end professional equipment to create stunning photos; instead, focus on gathering items that enhance creativity and showcase your unique style. Below, we’ll explore the essential tools that will help you on this exciting adventure.
Camera Gear
A good camera is the heart of your DIY maternity shoot. If you have a DSLR or a mirrorless camera, great! But your smartphone can work wonders too. Most smartphones today have impressive cameras capable of taking high-quality images. Here are a few tips to consider for your camera gear:
- Tripod: A sturdy tripod is your best friend for steady shots, especially if you’re working alone. Look for adjustable models that can help you capture from different angles.
- Remote Shutter Release: If possible, invest in a remote shutter or use the timer feature on your camera or smartphone. This lets you pose without running back and forth to press the shutter button.
- Lenses: For DSLR users, consider using a prime lens with a wide aperture (like 50mm f/1.8). It creates beautiful depth of field and soft backgrounds.
Lighting Considerations
Good lighting can transform your photos. The golden hour-shortly after sunrise or before sunset-provides soft, flattering lighting that enhances your images. Additionally, here are a couple of lighting tools to improve your setup:
- Reflector: A reflector can bounce light onto your subject, filling in shadows and adding a nice glow. If you’re on a budget, you can make one using white poster board or a shiny car sunshade.
- Portable LED Light: If you’re shooting indoors or in less natural light, consider a portable LED light. This can help illuminate your scene without harsh shadows.
Styling Essentials
Your choice of outfits and accessories will breathe life into your photos. Here are some must-have styling essentials for your shoot:
- Wardrobe Selection: Choose outfits that highlight your baby bump. Flowing dresses, fitted tops, or even a simple lace gown can create stunning silhouettes.
- Accessories: Personal touches, like a floral crown or meaningful jewelry, can enhance your look. Consider items that represent your journey or cherished memories.
With these essential items in tow, you’re all set to create beautiful, meaningful maternity photos on your own. Embrace the process, enjoy the creative freedom, and remember: you can do this! Your maternity shoot will not only document this special time in your life but also allow you to express your style and personality.
Choosing the Perfect Location for Your Shoot
Finding the right backdrop for your maternity shoot can transform your photos from ordinary to extraordinary. The perfect location not only highlights your baby bump but also adds a personal touch that tells your unique story. Consider settings that resonate with you-whether it’s a cozy spot at home, a vibrant park, or even a dramatic beach scene at sunset. Each location has its own charm and can significantly impact the overall feel of your images.
When scouting locations, think about a few key factors that will enhance your shoot. First, the time of day matters. The golden hour, just after sunrise or before sunset, provides gorgeous, warm lighting that flatters your skin and creates a soft glow. Next, consider the weather if you’re heading outdoors; overcast days can provide beautiful, diffuse light without harsh shadows, perfect for capturing detail without the glare. Don’t forget to check for permits if you choose a public space; sometimes, a quick phone call is all it takes.
Popular Location Ideas
Choosing your setting can be an exciting part of the creative process! Here are some delightful options to explore:
- Your Home: A personal space can build intimacy in your photos. Use rooms filled with natural light or unique decor as beautiful backdrops.
- Local Parks: Parks offer a variety of natural landscapes-think lush greenery, blooming flowers, or scenic paths. Look for quiet corners to avoid crowds.
- Beaches: If you’re near a coastline, nothing says beautiful like the sunset over the water! The beach can add a dreamy element to your photos.
- Urban Settings: For a more modern twist, explore cityscapes with interesting architecture or street art. This can give your maternity photos a vibrant, trendy vibe.
- Fields or Gardens: Fields of flowers or botanical gardens can provide a colorful, serene atmosphere that enhances the beauty of your pregnancy glow.
You can do this! Trust your instincts about what feels right for you. Take the time to visit a few potential locations beforehand, and envision where you want to position yourself for the best angles. Whether you choose a familiar spot or an entirely new adventure, remember that the best location is where you feel the most comfortable and beautiful, allowing your joy to shine through in every frame.
Top Posing Ideas to Capture Stunning Moments
Capturing stunning maternity photos is all about finding poses that reflect your unique personality and the beautiful journey you’re on. The right poses can enhance your baby bump, showcase your glow, and tell your story in a captivating way. Here are some proven ideas to help you strike poses that will make your DIY maternity shoot truly shine!
Start by embracing natural, flowing movements rather than stiff poses. Stand in a relaxed position with your weight shifted to one leg, which creates a lovely shape and angle. Tilt your hips slightly, and let one arm rest gently on your belly while the other can hang down naturally or playfully touch your hair. This poses not only highlights your baby bump but also helps outline the curves of your body in a flattering way.
Additionally, consider incorporating elements of your surroundings or props to elevate your photography game. For instance, if you’re shooting outdoors in a park, try walking barefoot on the grass while looking down, which can create a whimsical vibe. Holding a small bouquet of flowers or cradling a pair of baby shoes can add a personal touch to the image, symbolizing your forthcoming joy. It’s all about letting your personality shine through your poses!
Make sure to experiment with different angles and perspectives. If you have a camera or smartphone with a timer, set it up at various heights-try shooting from below for an empowering perspective or from above for a softer view. Play with your expressions too-soft smiles, laughter, or dreamy gazes can bring warmth and emotion to your photos. Remember, the more comfortable you feel, the more genuine the images will look.
This is your moment, and you can absolutely do this! Embrace your beauty, enjoy the process, and don’t hesitate to try out different ideas until you find what resonates with you. With your creativity and these tips in hand, you’re well-equipped to create stunning memories that you’ll cherish forever.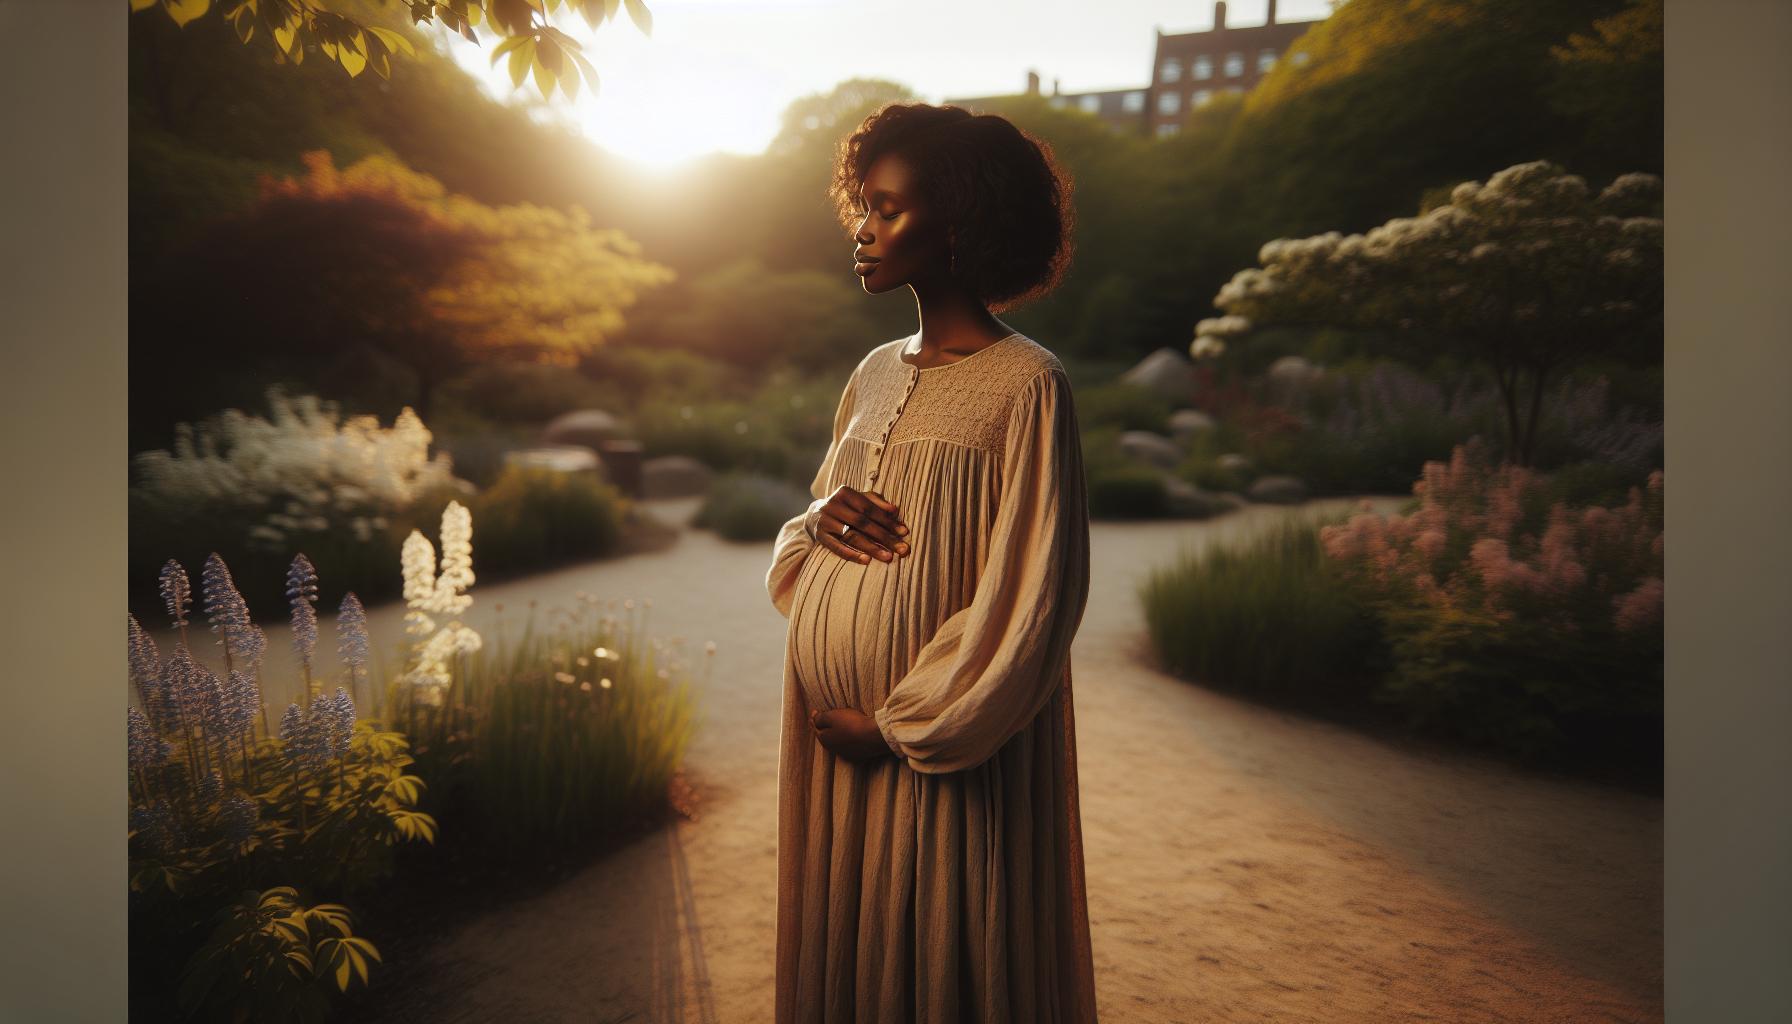
Lighting Tips for Gorgeous Maternity Photos
When it comes to capturing the beautiful glow of maternity, lighting can make all the difference in your photos. Natural light is your best friend, transforming ordinary scenes into magical moments. The soft, diffused quality of sunlight can create flattering shadows and highlights, emphasizing your baby bump and ensuring your skin looks radiant. Ideal lighting conditions are usually found during the “golden hour”-that’s the hour after sunrise and the hour before sunset. This is when the sun is low on the horizon, casting a warm, golden light that can make your photos feel dreamy and intimate.
For indoor shoots, leverage natural light by positioning yourself near windows. Aim for spots where the light gently pours in, avoiding harsh direct sunlight that might cause unflattering shadows. You can use sheer curtains to diffuse bright sunlight, softening the light further while creating a cozy atmosphere. If you’re shooting in a darker space, consider using reflectors to bounce light back. A simple white board or even a large piece of fabric can help illuminate your features without needing complicated setups.
Experimenting with angles can significantly enhance how light interacts with your subject. For instance, shooting slightly above your eye level helps to capture the light falling beautifully on your face while minimizing under-chin shadows. Try taking photos from different perspectives-some from the side to catch that glowing silhouette and others straight on for a beautiful engagement with the camera. Remember, natural light is always changing, so be ready to adapt quickly to ensure you’re taking advantage of the best lighting conditions.
Lastly, don’t shy away from including some playful ideas. If possible, incorporating additional light sources, such as fairy lights, can add a whimsical touch to your maternity shoot-perfect for those nights when you’re welcoming your little one. By embracing the beautiful natural world around you, you’ll create stunning images that not only capture this special time but also reflect the love and joy that come with pregnancy. You can do this! Trust in the light, and your images will shine just as bright as your spirit.
How to Style Your Maternity Outfits Effortlessly
When it comes to maternity photography, expressing your personal style is key to showcasing your beautiful journey. You don’t need to break the bank or go on a shopping spree for the perfect outfits. With a little creativity and foresight, you can style your maternity outfits effortlessly to make you feel confident and radiant in front of the camera. Remember, comfort is essential as your body changes, so focusing on outfits that embrace your bump while flattering your figure will make a world of difference.
Start by selecting a color palette that resonates with your personality. Soft pastels, bold hues, or earthy tones can all create stunning visuals depending on your backdrop. Flowy dresses are a fantastic choice; they not only highlight your shape but also allow for movement that can enhance your photos. Consider pieces that cinch at the waist or empire waistlines that accentuate your bump. If dresses aren’t your thing, opt for well-fitted tops that can be paired with stretchy jeans or leggings for a chic yet comfortable look. For layering, light cardigans or denim jackets can add dimension to your outfits without overpowering your silhouette.
Accessorizing can elevate your overall look with minimal effort. Think of statement necklaces, beautiful scarves, or even a flower crown that brings an ethereal touch to your photos. Accessories not only add flair but can also help draw attention to your face and the love radiating from you. Footwear is just as important-choose something that complements your outfit and feels comfortable enough to wear for your session. A nice pair of ballet flats or stylish sandals can keep you comfortable while showcasing your style.
Finally, don’t forget about incorporating textures into your outfits. Mixing fabrics like lace, chiffon, or knits can create rich visuals that add depth to your photos. Be playful with layering; a denim jacket over a soft maxi dress can create a casual yet polished look. Most importantly, wear what makes you feel good. Confidence truly shines through in photographs, and when you feel yourself in your outfits, it will reflect beautifully in every shot. You can do this-embrace the journey, and let your style narrate this beautiful chapter of your life!
Incorporating Props to Personalize Your Shoot
Incorporating props into your DIY maternity shoot can turn a lovely photo session into a deeply personal and memorable experience. Props not only add character and warmth to your photos but also provide opportunities to express your feelings and experiences as you anticipate the arrival of your baby. Whether it’s something simple, like a sonogram photo or a cherished item that holds special meaning, bringing these elements into your shoot can elevate your photos and help you convey your unique story.
Here are some prop ideas to consider:
- Sonogram Images: Highlight the early stages of your pregnancy by holding up your sonogram. This creates a poignant moment that connects you and your baby’s journey.
- Baby Shoes or Clothes: Incorporate tiny shoes or an adorable outfit to represent your upcoming addition. These props not only look charming but also symbolize the new life you’re welcoming.
- Banners or Signs: Use a cute banner with phrases like “Baby on the way!” or a custom sign that includes your due date. This adds a fun, playful touch to your photos.
- Personal Items: Consider using props that reflect your personality or hobbies, such as books, musical instruments, or a hobby-related item that signifies who you are outside of motherhood.
- Nature Elements: A floral crown or fresh flowers can infuse your photos with a soft, beautiful touch that enhances the aesthetic while celebrating the beauty of motherhood.
Make sure to select props that resonate with you and your journey. Don’t hesitate to get creative! For instance, if you have an ongoing family tradition or a favorite childhood toy, including such items can add layers of meaning to your photos. Remember, this is your moment; let your personality and style shine through these chosen elements. You can do this-by adding props that tell your story, you’ll not only create stunning images but also lasting memories that you can cherish as your family grows. Happy shooting!
Editing Your Photos for a Professional Look
You might be surprised how much a little editing can elevate your DIY maternity photos from “just okay” to stunning! With just a few simple techniques and some user-friendly software, you can give your images a polished, professional look that captures the beauty and excitement of this special time in your life. Don’t stress if you’re new to photo editing-many tools are designed to be intuitive and straightforward, making it easy for anyone to achieve great results.
First, choose a photo editing software that suits your skill level. Programs like Adobe Lightroom and Photoshop offer robust features for advanced users, but there are plenty of free options like Canva, Snapseed, or even your smartphone’s built-in editing tools that can perform wonders. Start by adjusting your photos’ brightness and contrast to bring out the colors and details. A little tweak can enhance the vibrancy of your images, making the emotions shine through.
Basic Editing Steps
- Crop and Straighten: Crop your images to focus on the subject-your beautiful belly! Straightening helps remove distractions from the edges.
- Adjust Exposure: Bring up the brightness if the photo is too dark or decrease it if it’s overexposed. This can highlight the features you want to showcase.
- Color Correction: Use the saturation tool to make colors pop, and adjust the white balance if the color looks off. You want those soft, warm tones to shine through for that dreamy maternity feel.
- Use Filters Sparingly: Filters can be fun, but use them lightly to maintain the natural look of your photos. Subtle edits often yield more appealing results.
Once you’ve adjusted the basics, consider adding a personal touch to your images. This can be as simple as including text overlays with your name and due date or as creative as utilizing artistic effects to convey the mood you want-whether that’s joyful anticipation or serene reflection. Remember, each photo tells a part of your story, so let your personal style and emotions guide your editing choices!
After you’ve edited your photos, take the time to look through them again. Select your favorites based on how well they capture your essence and joy during this beautiful journey. You can compile these into a digital album or a printed book, preserving your memories in a tangible form. Ultimately, the entire DIY editing process is about what makes you feel good and how you want to share your story with the world. Trust yourself-you can do this!
Sharing Your DIY Maternity Photos Online
When it comes to , it’s not just about posting any image; it’s about celebrating your journey and connecting with your community. The right platforms can help amplify your joy and creativity, enabling you to showcase your stunning photographs while also inspiring others. From social media channels to personal blogs, each option offers unique benefits that can enhance your sharing experience.
Begin by selecting the most suitable platforms for your audience. For instance, Instagram is perfect for its visual emphasis and supportive community. Create a dedicated highlight for your maternity photos, where followers can easily revisit your beautiful moments. Don’t forget to use relevant hashtags like #MaternityPhotography or #PregnancyJourney to increase visibility and engagement. Facebook groups for expectant parents can be an excellent venue to share your journey, as you might find encouragement, tips, and insightful comments from others in similar situations.
Another avenue is starting a personal blog or website. This gives you a space to elaborate on the story behind each photo, share tips on your DIY shoot, and document your journey in a more personal way. With a blog, you can also create a gallery of your work that is easy for family and friends to navigate. Be sure to craft engaging captions that reflect your emotions and experiences. Remember, your photos tell a story, and sharing those stories makes them even more impactful.
As you prepare to share, it’s also essential to keep privacy in mind. Decide what you’re comfortable sharing and remember that it’s okay to keep certain moments more private. Feel free to share images that focus on your belly or artistic shots that capture only parts of you, allowing for a more intimate and personal touch. Lastly, invite your followers to engage with your content-ask questions, encourage comments, and respond warmly. This not only builds a community but also fortifies the connections that come from shared experiences during this beautiful time in your life. You got this!
Creating Lasting Memories: DIY Photo Album Ideas
When you embark on your DIY maternity photography journey, don’t let those beautiful images fade away in the digital realm! Creating a physical photo album is an incredible way to cherish and relive those precious moments with your growing family. Plus, it’s a delightful crafting project that allows you to express your personal style. Here’s how to begin crafting a lasting keepsake that captures your pregnancy journey.
Start by gathering your materials. You’ll need an album that suits your aesthetic-a simple option could be a blank scrapbook or a pre-made photo book. Consider these essentials for your project:
- High-quality printed photos from your shoot
- Decorative papers or washi tape
- Cello tape or glue for adhering items
- A set of pens for captions and notes
- Embellishments like stickers or cut-outs to personalize pages
Next, plan the layout of your album. Think about telling a story that reflects your journey. You might choose to create sections based on milestones, like the announcement, your first ultrasound, or different stages of pregnancy. This not only adds a narrative but also helps organize your thoughts. Consider including notes next to photos that capture how you felt at each stage, making it a more intimate collection.
As you begin assembling your album, embrace the process-there are no strict rules here! Experiment with different designs for each page. For instance, you could create a collage of photos from a particular day intermingled with decorative elements, or have a single striking photo featured prominently on a plain background. Don’t forget to add captions or little anecdotes that periodize the memories; writing in your own hand adds a personal touch that digital text simply can’t replicate.
Finally, give yourself the time to enjoy this project. It may take a few sessions to complete, but that’s part of the charm! As you flip through the pages, you’ll not only celebrate the beauty of your maternity shoot but also create a heartfelt treasure that you can share with your little one in years to come. Remember, you can do this-your memories deserve to be cherished, and with a little creativity, they can be beautifully presented forever.
Q&A
Q: What are some creative DIY maternity shoot ideas?
A: Creative DIY maternity shoot ideas include using nature as a backdrop, incorporating meaningful props, and selecting unique outfits that reflect your personality. Consider shooting during golden hour for the best lighting, and connect with your partner for candid moments. This approach enhances intimacy and captures genuine emotions.
Q: How can I take flattering photos of my baby bump?
A: To take flattering photos of your baby bump, focus on angles that highlight your curves. Use soft lighting and avoid harsh shadows. Experiment with poses that show off your bump, such as side profiles or cradling your belly. Additionally, wearing form-fitting clothing can accentuate your shape.
Q: What are the best times of day for DIY maternity photography?
A: The best times of day for DIY maternity photography are during the “golden hour”-early morning or late afternoon-when the light is soft and warm. This natural lighting creates a magical atmosphere and enhances the overall quality of your photos, making them appear professional.
Q: How can I involve my partner in a DIY maternity shoot?
A: Involving your partner in a DIY maternity shoot can add depth to your photos. Plan poses together, such as holding hands on your belly or playful interactions. Capture candid moments that show your connection, making the shoot a shared and memorable experience that reflects both of you.
Q: What props work well for DIY maternity photos?
A: Props for DIY maternity photos can include baby shoes, ultrasound images, flower crowns, or personalized signs announcing the baby’s arrival. These items add a personal touch and make your photos unique while helping to tell your story visually. Just ensure they complement, not distract from, your theme.
Q: How do I edit my DIY maternity photos for a polished look?
A: To edit your DIY maternity photos, use user-friendly software or apps like Lightroom or VSCO. Focus on adjusting brightness, contrast, and saturation for vibrant images. Apply filters that enhance colors without overwhelming them. A consistent editing style can unify your collection, making it look professional.
Q: Which locations are ideal for a DIY maternity shoot?
A: Ideal locations for a DIY maternity shoot include parks, beaches, or even your home garden. Look for spots with natural light and an uncluttered background. Choose a setting that resonates with you, whether it’s serene and nature-focused or vibrant and urban, to reflect your personality.
Q: What should I wear for a DIY maternity shoot?
A: For your DIY maternity shoot, wear outfits that make you feel beautiful. Choose flowing fabrics or form-fitting dresses that highlight your bump. Bold colors and soft pastels work well. Accessories like flowy scarves or flower crowns can enhance your look while adding a whimsical touch.
Final Thoughts
Congratulations on embarking on your DIY maternity shoot journey! Remember, creating stunning photos without a photographer is not just an achievable opportunity; it’s a delightful way to capture the beauty of your pregnancy in your unique style. If you have any lingering questions or need a bit of extra inspiration, check out our related articles on “Perfecting Your Posing Techniques” and “DIY Backdrops for Memorable Photos.”
Don’t wait-it’s time to gather your materials and start planning your shoot today! Share your experiences, tips, or any doubts you may have in the comments below. We love hearing your stories and fostering a supportive community. Plus, don’t forget to subscribe to our newsletter for more DIY tips and tricks! You’ve got this, and we’re here to celebrate every step of your creative journey.
Get our latest guides, news, and insights highlighted in your Google Search & AI Overviews.