

Imagine transforming your love of books into a stunning display that showcases them beautifully and invites others to explore. Crafting your own lectern-style book display stand is not only a fun DIY project but also a practical solution for organizing your collection at home or in a classroom. In this tutorial, you’ll learn how to create a book display stand that is both functional and attractive, enhancing the visual appeal of your favorite reads.
Whether you’re a newbie eager to dive into a new project or an experienced crafter looking for a creative weekend activity, this step-by-step guide will empower you with the skills and confidence to bring your vision to life. With easily accessible materials and clear instructions, you’ll find that crafting your own display stand is not just achievable-it’s incredibly rewarding. So, let’s roll up our sleeves and get started on this enjoyable journey of making something truly special for your books!
Choosing the Right Materials for Your Lectern
Choosing materials for your lectern can be the difference between a piece that not only looks great but also stands the test of time. A well-constructed lectern should support your books, notes, or devices securely while reflecting your personal style. Start with assessing the purpose of your lectern: will it be used indoors or outdoors, for formal presentations, or casual reading sessions? Understanding this will guide you in selecting materials that complement your needs.
Wood is a classic choice, offering both elegance and sturdiness. Oak, maple, or birch are popular because they provide a robust structure and can be easily stained or painted to match your decor. When choosing wood, look for a thickness of at least ¾ inch to ensure stability. On the other hand, if you want something lighter or more modern, consider acrylic or metal. These materials can create a sleek, contemporary look. Metal legs combined with a wooden or acrylic top can also provide a striking contrast while maintaining stability.
Next, think about the surface of your lectern. A smooth, flat surface is essential for writing or placing devices. You might want to add non-slip elements or a slight lip at the edge to prevent items from sliding off. Pay attention to the finish of your materials; a sealed finish can protect against scratches and moisture. If you decide to incorporate electronics, ensure there’s space for cables and perhaps even some hidden storage for devices like tablets or laptops.
Ultimately, picking the right materials should reflect not only function but also your style. Whether you opt for shabby chic, rustic charm, or sleek modernism, there’s a combination out there just waiting for your creative touch. You’ve got this, and soon you’ll have a lectern that’s uniquely yours!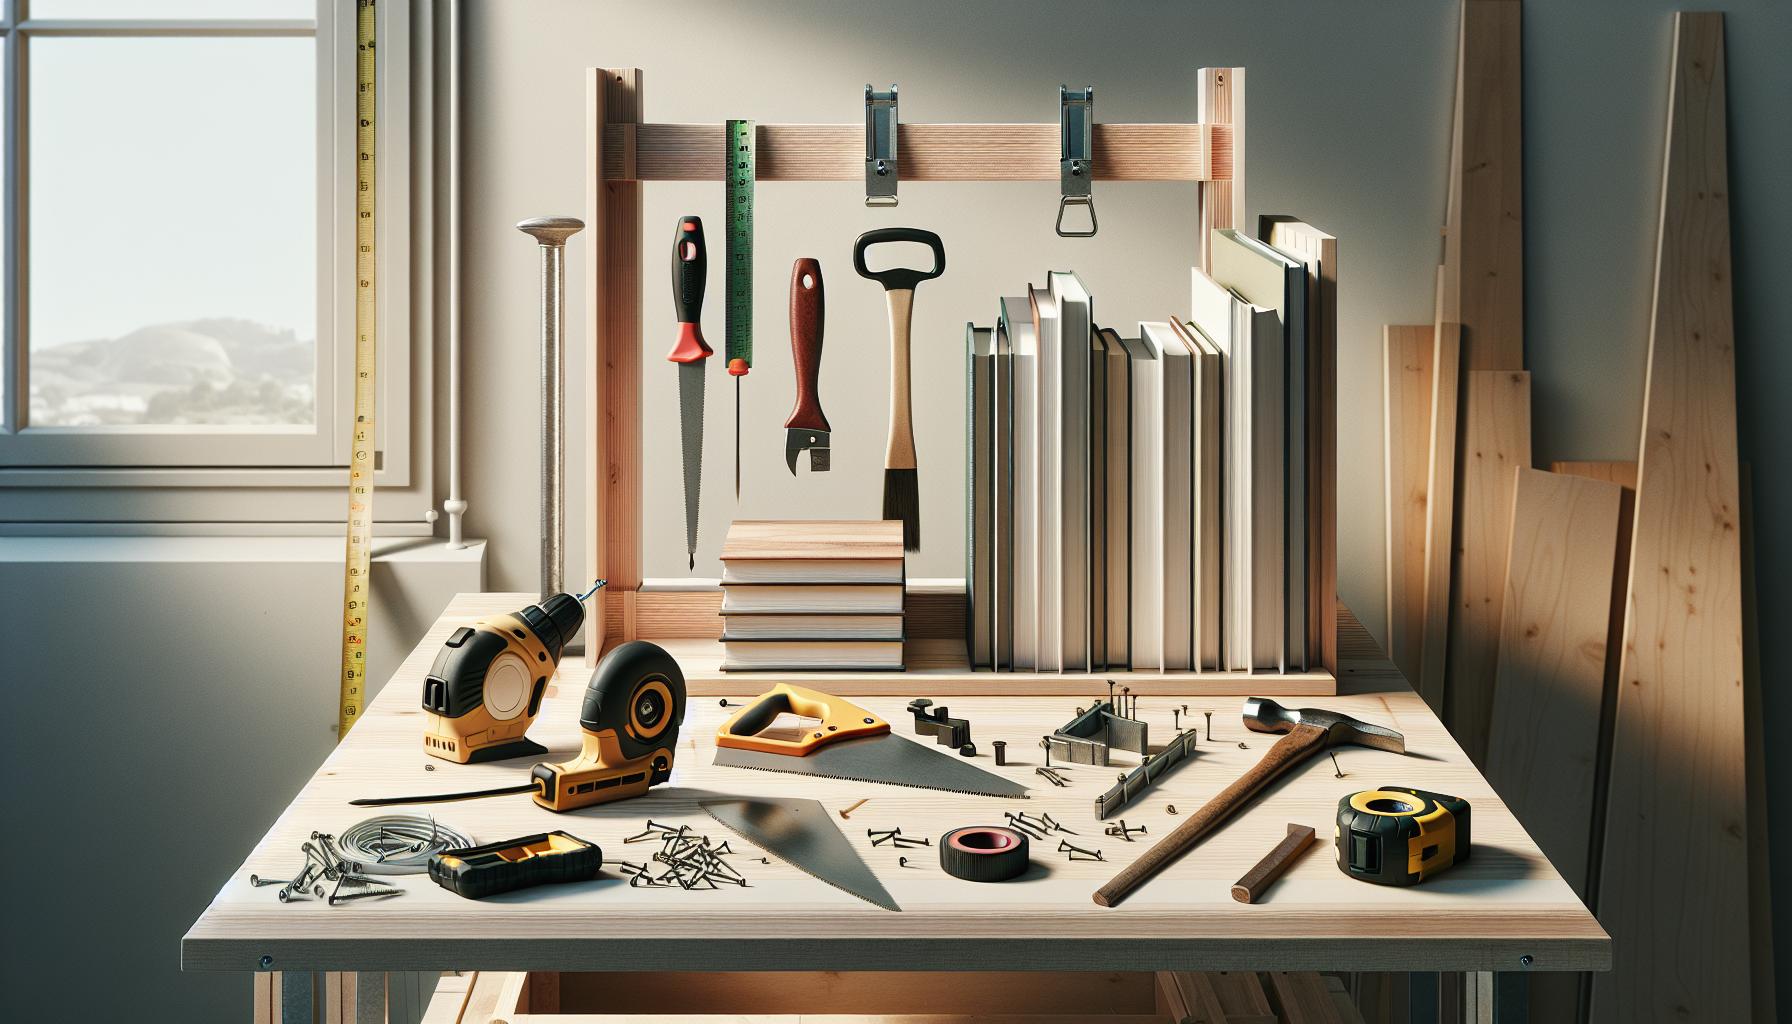
Essential Tools for Building a Book Display Stand
Creating your own book display stand is a rewarding project that combines creativity with functionality. To successfully craft a sturdy and visually appealing lectern, having the right tools at your side can make all the difference. Let’s dive into the essential tools you’ll need for this exciting DIY adventure!
Basic Hand Tools
At the core of your tool collection, you’ll want some trusty hand tools. These include:
- Measuring Tape: Accuracy is key! A standard measuring tape will help you mark your materials correctly, ensuring everything fits together seamlessly.
- Hand Saw or Circular Saw: For cutting your wood to size, a hand saw is perfect for simple projects. A circular saw speeds things up if you’re feeling more confident.
- Drill and Bits: A cordless drill is vital for making holes and driving screws. Select drill bits that are suitable for wood and ensure you have different sizes for versatility.
- Screws and Fasteners: Choose the right screws for holding your pieces together; wood screws or pocket hole screws work well for securing wooden components.
Power Tools for Efficiency
While hand tools are essential, power tools can elevate your project and save you time. If you have access to them, consider adding:
- Jigsaw: Great for cutting curved shapes and making precise cuts out of your wood. This is perfect if your design incorporates any unique angles or shapes.
- Router: If you want to add decorative edges or grooves, a router can add that professional finish with just a little practice.
- Sander: To achieve a smooth finish, a power sander can save you a lot of elbow grease. You’ll want both coarse and fine sandpaper for this job.
Safety Gear
Don’t forget to keep safety a priority while creating! Essential gear includes:
- Safety Glasses: Protect your eyes from dust and debris when cutting and sanding.
- Ear Protection: If you’re using power tools, earplugs or earmuffs help protect your hearing.
- Dust Mask: Wearing a mask will safeguard you from inhaling dust particles during cutting and sanding.
Armed with these tools, you’re ready to bring your book display stand to life! Remember, the journey of crafting is just as important as the final product, so take your time, enjoy the process, and celebrate each small victory along the way. You can absolutely do this!
Step-by-Step Guide: Constructing Your Own Lectern
To embark on the journey of constructing your own lectern, it’s essential to break down the process into easily manageable steps. With just a few materials and the right tools, you can create a beautiful, functional stand that showcases your books, notes, or presentations. You don’t need to be a seasoned woodworker; with enthusiasm and a little guidance, you can absolutely do this!
Start by gathering your materials. You’ll need sturdy wood boards for the base and platform-plywood or hardwood works wonderfully. Don’t forget screws, wood glue, and sandpaper for that smooth finish. The estimated time for this project is around 4 hours, depending on your experience and any custom features you might choose to add.
Step-by-Step Construction
- Measure and Cut: Begin by measuring the dimensions you want for your lectern. A typical height is about 45 inches, and the top platform could be around 24 by 18 inches. Using your measuring tape, carefully mark your wood boards and make precise cuts with a saw. Remember, it’s better to measure twice and cut once!
- Assemble the Base: Lay the larger piece of wood flat as your base. Attach the legs (smaller boards) using screws or wood glue. Make sure everything is square, as a stable base will ensure your lectern stands straight.
- Attach the Top: Position your top platform on the base structure. Secure it using screws from underneath to prevent visible fasteners on the top. If you’re feeling creative, you can round the edges using a router for a professional touch.
- Finishing Up: Now comes the fun part! Use sandpaper to smooth out all surfaces, paying special attention to edges and corners. This will help with paint or stain adherence. Eventually, you can apply a wood finish of your choice-paint, stain, or polyurethane varnish-to protect and enhance the beauty of your lectern.
- Final Touches: Once the finish is completely dry, consider adding felt pads to the feet of your lectern to protect your floors and provide extra stability. You might also want to add some personalized elements like decals or engraved designs to really make it unique.
As you work through each step, remember that crafting is a journey. Embrace any hiccups along the way-they often lead to creative solutions and personal touches that make your lectern truly yours. Whether it’s your first project or you’re adding to your collection of handmade items, the satisfaction of creating something functional and beautiful is unmatched! So gather your supplies and get started; you’ve got this!
Design Tips: Making Your Lectern Unique
When it comes to crafting a lectern that’s not only functional but also reflects your personal style, the design choices are endless. Adding unique touches can transform a simple stand into a stunning focal point for your presentations or gatherings. Start by considering the style that resonates with you-are you drawn to rustic charm, sleek modern lines, or perhaps something eclectic? The design you choose can tailor the lectern to the atmosphere you want to create.
One practical way to personalize your lectern is through the use of color and finish. Don’t be afraid to step away from traditional wood stains! Bright, bold paint can breathe new life into your lectern. For a softer touch, pastel colors can convey a sense of calm and creativity. Additionally, consider the finish-matte, glossy, or even a weathered look can dramatically change the character of your piece. Each choice not only affects the aesthetic appeal but also aligns with how you want your lectern to interact with its environment.
Incorporating custom features is another fantastic way to enhance the uniqueness of your lectern. Think about integrating functionalities that reflect your needs. Would you benefit from built-in storage for notes or a compartment for electronic devices? Perhaps you want to add adjustable height mechanisms for flexibility? These additions could make your lectern more versatile and user-friendly. Furthermore, decorative elements like stencils, carved designs, or even decals showcasing your favorite quotes or images can make your piece truly one-of-a-kind.
Lastly, don’t shy away from experimenting with shapes! While a classic rectangular top is functional, consider a round or uniquely shaped surface to cultivate interest. Play around with the overall silhouette-adding asymmetrical features or different leg styles can also lend intrigue to your lectern. Remember, the goal is to make your lectern a reflection of who you are. Enjoy the process, and celebrate those creative decisions that make your piece not just a lectern, but a delightful expression of your craftsmanship!
Finishing Touches: Painting and Staining Your Stand
Transforming your lectern with paint or stain is not just about looks; it’s about personal expression and bringing your vision to life. A fresh coat of color can turn a simple wooden stand into a stunning centerpiece that reflects your style. Whether you lean towards bold hues, soft pastels, or classic wood finishes, the options are endless, and the results can be truly rewarding!
Choosing Your Finish
First, decide whether you want to paint or stain your lectern. Each method offers different aesthetics and benefits:
- Paint: Provides vibrant color and a uniform finish. Perfect if you’re looking for something eye-catching or want to match a specific theme.
- Stain: Enhances the natural beauty of the wood grain, adding depth and character. Ideal for rustic or traditional styles.
Keep in mind the look you want to achieve! For a modern feel, a matte finish can soften bold colors, whereas a glossy finish can add a touch of elegance.
Preparation Is Key
Before you start painting or staining, proper preparation will ensure a smooth application. Begin by sanding the surface of your lectern to remove any rough spots. This also helps the finish adhere better for longer-lasting results. Here’s how to prepare:
- Lightly sand the entire surface with fine-grit sandpaper.
- Wipe down the lectern with a damp cloth to remove dust.
- Ensure the surface is completely dry before proceeding.
Applying Your Chosen Finish
Now comes the fun part! If you opted for paint, use a brush or roller for a smooth application. Thin coats are best, so apply two or three layers, letting each coat dry completely. For stains, apply with a clean cloth or brush, rubbing in the stain to achieve your desired color. Wipe off excess after a few minutes to prevent dark spots. Here’s a quick run-through:
- For paint: Start with a base coat; add details after it dries.
- For stain: Test on a small area first to check the color.
After applying the finish, let it cure as per the manufacturer’s instructions – this can take anywhere from a few hours to a couple of days.
Personalizing Your Lectern
Want to elevate your lectern even further? Consider adding decorative touches! Stencils, decals, or even a clear sealant with glitter can give a delightful flair. Whether you’re crafting for a large event or your personal workspace, these final artistic strokes make all the difference. Just remember, the key to achieving that magazine-worthy look lies in your creativity and the joy of making it uniquely yours. You got this!
Creative Ways to Use Your Lectern
A lectern isn’t just a piece of furniture; it can be the centerpiece of a whole range of creative endeavors! Whether you’re preparing for a big event, setting up your home office, or simply looking to organize your reading space, the uses for your homemade lectern are as diverse as your imagination. Allow your creativity to guide you!
One vibrant way to utilize your lectern is by transforming it into a fabulous display stand for books or art. Place it in your favorite reading nook, adorned with beautiful tomes that inspire you. Arrange your favorite novels, poetry collections, or even cookbooks on display to add a personal touch to your space. You can even decorate the lectern with plants or a cozy lamp to create an inviting ambiance that draws guests in. For added flair, why not incorporate themed decor? If you love a particular genre-be it fantasy, mystery, or nonfiction-display relevant items like figurines or themed bookmarks alongside your books.
Furthermore, consider using your lectern during events such as workshops, book readings, or even outdoor gatherings. It makes a great podium for speakers, offering them a stable platform to present their ideas. For workshops, set it up with materials and guides so participants can easily reference supplies and instructions. You can customize it with thematic decor tailored to the event-think tablecloths, signage, or even a digital display-making it both functional and visually appealing. Don’t forget to encourage interaction; use it for games or storytelling sessions, inviting everyone to gather around and get involved!
Lastly, your lectern can also serve as a crafting station! Set it up as a place to plan your next DIY project, complete with tools, materials, and inspiration boards. Organize crafting supplies like yarn, paints, or paper in baskets that are easily reachable, ensuring that your creative process flows smoothly. With the added height and structure, it minimizes bending and promotes a comfortable working position. You can even dedicate times to share your creations online with friends or fellow crafters, turning your lectern into a community connection point.
The possibilities truly are endless when it comes to using your lectern creatively. Embrace your inner maker; whatever ideas you dream up can be brought to life with a bit of effort and imagination. So go ahead-invite creativity into your space using that beautiful lectern you crafted!
Common Mistakes to Avoid When Crafting
When diving into your lectern crafting adventure, it’s all too easy to fall into a few common traps that can turn a fun project into a frustrating ordeal. One of the most frequent mistakes is miscalculating your material needs. Before you even pick up a tool, take the time to meticulously plan out your design and verify the quantities required for each component. Going to your local store with a vague idea can lead to underestimating wood or hardware types, resulting in multiple trips and escalating costs. A simple pre-project checklist can make all the difference!
Another pitfall is skimping on measuring and cutting. Precision is key when you’re building something like a lectern that requires stability and functionality. Always double-check your measurements before cutting, and consider using a miter saw or hand saw for clean edges. It’s worth taking an extra moment to mark your cuts clearly and use a square for straight lines. This aspect might seem trivial, but even slight inaccuracies can lead to a shaky or uneven lectern, which defeats the purpose of having a sturdy display stand.
Lastly, don’t overlook the finishing touches! Many makers rush through the final sanding and staining steps, but these are crucial for both aesthetics and longevity. Spend some time meticulously sanding your surfaces to ensure they’re smooth and pleasant to touch. This not only enhances the beauty of your lectern but also prevents splinters and other imperfections. A quality stain or paint can elevate your project and help protect the wood from wear and tear.
By keeping these tips in mind and avoiding these common mistakes, you’ll find that crafting your lectern becomes a smooth and rewarding process. Remember, the journey of creating something yourself is just as important as the finished piece-embrace the learning process, and enjoy every step!
Caring for Your Book Display Stand
To keep your lectern looking great and functioning well, it’s important to establish a simple care routine. Regular maintenance not only prolongs the life of your creation but also enhances its aesthetic appeal. Here are some key practices to consider:
Routine Cleaning
Start by dusting your lectern regularly with a soft cloth to prevent buildup. For more thorough cleaning, slightly dampen a cloth with water or a gentle wood cleaner and wipe down the surfaces. Avoid using excessive moisture, as this can warp the wood. If your lectern has any stains from book spills or other sources, treat them gently with a concoction of equal parts vinegar and water applied with a soft cloth.
Conditioning the Wood
To maintain its shine and protect the wood from drying out, consider applying a wood conditioner or furniture polish every few months. Look for products that are free from harsh chemicals to ensure you are not damaging the wood. Apply the conditioner using a clean, soft cloth, and buff it in small circular motions. This routine will help return the natural luster to your lectern and keep it feeling smooth to the touch.
Protective Measures
Lastly, place your lectern in an area where it is less likely to be knocked over or scratched. If you’re using it for display, consider using coasters or mats for any items placed on it, particularly food or drinks. If your lectern is made from softer woods, make sure to treat it with appropriate varnishes or sealants to guard against scratches and moisture. These little steps can make a big difference in maintaining the beauty and functionality of your lectern.
You can absolutely preserve the quality and charm of your lectern! Your handiwork deserves the best care. Enjoy every moment you spend with your creation, knowing that a little maintenance goes a long way in making it last.
Inspiration: Diverse Lectern Designs to Explore
Exploring diverse lectern designs can be a thrilling journey into creativity and functionality. With so many styles to choose from, you can tailor your book display stand to fit any theme or setting, making it not only practical but also an artistic statement. Whether you’re crafting for a garden, classroom, or your living room, a well-designed lectern can transform a simple book display into a focal point.
Consider the classic wooden lectern, which brings warmth and elegance to any space. You can use rich woods like mahogany or oak for a more traditional look, and add intricate carvings or custom engravings to personalize it. Alternatively, if you prefer a more modern aesthetic, a metal or glass lectern offers sleek lines and contemporary materials. Pairing metal bases with glass tops can create a striking contrast that feels both chic and professional. You don’t need to stick to conventional designs-think outside the box! A lectern with geometric shapes or asymmetrical lines can make a bold statement and showcase your unique style.
Another fun direction is to explore themed designs. For instance, a lectern shaped like a book-complete with faux pages-could be perfect for a reading nook. Or, a rustic design featuring reclaimed wood could add charm to a cozy corner in your home. If you’re looking for something that’s adaptable, consider a modular lectern that allows you to adjust its height or shape based on your needs. This way, you can create a multifunctional piece suitable for various occasions, whether it’s for a small meeting or a larger event.
Lastly, be sure to think about the functionality of your design. Integrating features like built-in storage for books or accessories, or even adjustable shelves can enhance practicality while keeping your lectern stylish. Each design decision not only impacts the visual appeal but also the usability of your lectern. Remember, your crafting project can reflect your personality and needs while showcasing your skills, so let your imagination run wild! You can absolutely craft a lectern that you and your guests will admire for years to come.
Market Options: When to Buy vs. DIY
If you’ve ever wondered whether to buy a lectern or take the plunge and craft your own, you’re not alone! Both options come with their unique benefits, making the decision largely personal based on your desires and capabilities. Buying a pre-made lectern offers convenience, saving you time and often guaranteeing a polished look. Commercially available lecterns come in various styles, from classic wooden designs that evoke elegance to modern metal and acrylic options that fit contemporary aesthetics. For instance, brands like Nucraft and Executive Wood offer beautifully designed lecterns with customizable features, ensuring you can find something that suits your space and purpose perfectly [[1]](https://www.nucraft.com/products/high-tech-lectern), [[2]](https://executivewood.com/product-category/podiums-lecterns/solid-wood-podiums-lecterns).
However, embracing the DIY route can lead to a distinctly personal creation that reflects your style and needs more closely. Crafting your own lectern allows for customization in both functionality and design. You can select materials that resonate with you, whether it’s the warmth of solid wood or the sleekness of metal, and integrate features like storage compartments or adjustable heights that tailored to your use. Plus, the satisfaction of creating something with your own hands can’t be beaten! If you’re a beginner, starting with a simple design can keep the project manageable. As you gain confidence, you can take on more intricate features. For example, a straightforward wooden frame can evolve into a complex piece with shelves and decorative elements that showcase your woodworking skills.
Consider your available resources and time. Buying a lectern might be ideal if you’re short on time or need something immediately for an event. In contrast, if you have a weekend free and relish the thought of crafting something unique, then gather your tools and get started! Ultimately, whether you choose to purchase or DIY, the goal is to end up with a lectern that serves your purpose and brings joy to your environment. Remember, the journey of creating or choosing a lectern should be fun and fulfilling-embrace whichever path excites you!
Enhancing Your Lectern: Adding Custom Features
There’s something truly rewarding about taking an ordinary lectern and transforming it into a unique centerpiece that reflects your personal style and meets your specific needs. Whether you’re presenting at a formal event or using it for casual gatherings, adding custom features can elevate your lectern from functional to extraordinary. Let’s jump in and explore how you can enhance your lectern with a few creative touches!
One of the simplest ways to customize your lectern is by incorporating built-in storage solutions. Imagine having a hidden compartment for notes, a small drawer for markers, or even a pull-out shelf for your laptop or tablet. Here’s how you can do it:
- Plan Your Layout: Before building, sketch out how you envision your storage. Consider where items will be accessed most frequently.
- Choose Your Materials: Using wood is a popular choice, but there are options like metal or acrylic that offer sleek finishes.
- Measure Twice: Ensure the dimensions will hold what you plan to store. This step is crucial to avoid costly miscalculations!
Another fantastic way to add a personal touch is through design elements like LED lighting or custom decals. Install LED strips along the base or shelves for a modern touch that not only looks good but also enhances visibility for written materials. Or, you could create a graphic that represents your brand, organization, or personal ethos. Consider these ideas:
Creative Customization Ideas
- LED Lighting: Install easy-to-use LED strips to illuminate your lectern and create an inviting atmosphere. It’s a fantastic way to stand out, especially during evening events!
- Custom Decals: Use vinyl stickers to showcase logos, motivational quotes, or personal designs. Many online services will print these on demand, making it easy to add flair.
- Adjustable Features: Consider a height-adjustable lectern for maximum comfort. This ensures you can present standing or sitting while maintaining an engaging posture.
Remember, it’s all about making the lectern work for you and showcasing your individuality. Don’t hesitate to experiment with colors, textures, and shapes that resonate with you. The beauty of crafting your own lectern is the endless possibilities at your fingertips. Whether it’s adding a unique finish, integrating tech for modern presentations, or simply using materials that speak to your personal style, the end goal is to enjoy the process of creating something that’s all your own. So gather your materials, unleash your creativity, and enjoy the crafting journey!
Sharing Your Craft: Engage with the Making Community
There’s a vibrant community of makers out there, eager to share their experiences and learn from each other. Engaging with fellow crafters can be one of the most rewarding parts of your crafting journey. Whether you’re just starting or you’re a seasoned pro, connecting with others can provide fresh inspiration, practical advice, and the support you need to push your projects further.
One of the best ways to share your craft is through social media platforms like Instagram, Pinterest, and Facebook. These platforms are great for displaying your finished lectern, sharing behind-the-scenes progress, and getting feedback from other enthusiasts. Consider creating a dedicated hashtag for your project to help others find your work and encourage them to share their creations too! For example, you could use something catchy like #MyCreativeLectern.
Don’t forget about local crafting groups and maker fairs! These events offer fantastic opportunities to showcase your projects, gather tips, and meet like-minded individuals. Bring your lectern to a local crafting meetup to demonstrate your techniques and gather ideas from others. You can also look for online forums and Facebook groups focused on crafting where you can ask questions, share resources, and swap ideas.
As you share your craft, remember to celebrate every small victory. Perhaps a simple adjustment made your lectern more functional, or you finally perfected the paint finish you dreamed of. Sharing those moments not only builds your confidence but also encourages others by demonstrating that crafting is a learning process filled with ups and downs. So, embrace the community spirit, share your journey, and inspire others to join in the fun of making their own beautiful items!
FAQ
Q: What tools do I need to build a lectern for books?
A: To build a lectern, essential tools include a saw, drill, sandpaper, and a measuring tape. You may also need clamps and a paintbrush if finishing touches are involved. These tools will help ensure accurate cuts and a polished final product, making your crafting process smoother and more enjoyable.
Q: How long does it take to craft a book display stand?
A: Crafting a book display stand typically takes about 3 to 5 hours, depending on your craftsmanship skill level and design complexity. Allow additional time for drying if you apply paint or stain. Planning helps streamline the process, so gather all materials beforehand for an efficient workflow.
Q: What design considerations should I keep in mind for a lectern?
A: When designing your lectern, consider the height, stability, and the size of books it will hold. Ensure the base is wide enough to prevent tipping, and think about aesthetic elements that can complement your decor. For inspiration, refer to the section on “Inspiration: Diverse Lectern Designs” in the article.
Q: Can I customize my lectern with unique features?
A: Absolutely! You can customize your lectern by adding features like adjustable shelves, compartments for storage, or decorative elements such as wood carvings. Personal touches enhance its functionality and aesthetics, making it a unique piece that reflects your style.
Q: Are there any common mistakes to avoid when crafting a lectern?
A: Yes, common mistakes include not measuring accurately, which can lead to an unstable stand, and neglecting to sand the surfaces properly, risking splinters. Always follow the step-by-step guide closely to avoid these pitfalls and create a sturdy, beautiful lectern.
Q: How should I care for my DIY lectern?
A: Caring for your DIY lectern involves regular dusting and ensuring it’s kept in a dry environment to prevent warping. If the finish starts to dull, a light coat of furniture polish can restore its shine. Refer to the “Caring for Your Book Display Stand” section for detailed maintenance tips.
Q: What materials are best suited for constructing a lectern?
A: Opt for sturdy materials like plywood, hardwoods, or MDF for a durable lectern. Each material has different finishing options, so consider how you want your stand to look and function in your space. The section on “Choosing the Right Materials for Your Lectern” provides more insights on material selection.
Q: Should I buy a lectern or make one myself?
A: Deciding whether to buy or make a lectern depends on your budget and crafting interest. DIY allows for personalization and potential cost savings, while buying can save time. Explore “Market Options: When to Buy vs. DIY” in the article for further guidance on this decision.
In Summary
Congratulations on completing your lecturn project! You’ve taken an important step in enhancing your display options for books and presentations. Now that you know how to craft a beautiful book display stand, why not take your skills further? Explore our related tutorials on crafting DIY display stands and custom bookends for even more project inspiration.
Remember, if you enjoyed this tutorial, please consider signing up for our newsletter for exclusive tips, new project ideas, and updates. And don’t hesitate to share your creations in the comments below; we love seeing your hard work and creativity come to life! For those looking to expand your crafting prowess, check out our guides on woodworking basics and display techniques. You can do this, and we’re here to support you every step of the way. Happy crafting!
Get our latest guides, news, and insights highlighted in your Google Search & AI Overviews.