
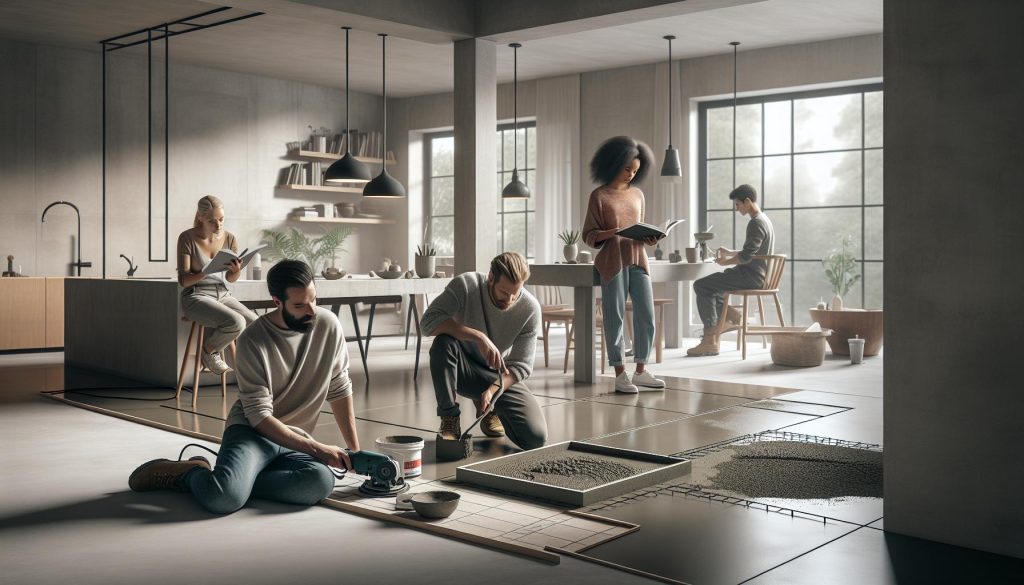
Did you know that polished concrete floors are not only stunning but also incredibly durable and easy to maintain? If you’re seeking a stylish, modern upgrade that can elevate your space without breaking the bank, DIY polished concrete flooring might just be the perfect project for you. This guide will walk you through the essentials, from understanding the materials to mastering the techniques. Whether you’re a complete novice or a seasoned DIYer, you’ll find that transforming your dull concrete into a beautiful polished surface is an achievable goal. Imagine the satisfaction of creating a high-end look in your home, all while knowing you tackled the project yourself! Ready to roll up your sleeves and get started? Let’s dive into the steps that will lead you to professional-looking results without the professional price tag. You can do this!
Understanding Polished Concrete Floors: A Beginner’s Guide
Polished concrete floors are not just a trend; they are a fantastic blend of durability, beauty, and low maintenance that can transform any space. Imagine walking into a room that exudes a sleek, modern vibe while being robust enough to withstand heavy foot traffic. This flooring choice is created by mechanically grinding and polishing the concrete to a high sheen, resulting in a surface that is not only aesthetically pleasing but also practical. With the right approach, you can achieve stunning results in your own home, making polished concrete an appealing option for DIY enthusiasts.
Before diving into the DIY process, it’s important to understand the unique characteristics of polished concrete. One of the significant benefits is its sustainability-most concrete is made from local materials, and polished surfaces require minimal maintenance compared to traditional flooring. Additionally, polished concrete can adapt to various design styles, enriching both industrial aesthetics and modern minimalism. If you’re considering this project, know that you can create a durable and stylish floor that lasts for years with just a bit of effort and creativity.
To get started, you’ll need to familiarize yourself with the essential tools and materials for polishing. The project typically requires a concrete grinder or polisher, various grades of diamond pads for different stages of polishing, and concrete sealer to protect your finished floor. Don’t worry if this sounds daunting; the satisfaction of stepping back to admire your work will make every step worth it! Whether you’re sprucing up a basement or finishing a new construction project, this guide will empower you with the know-how to take on polished concrete flooring like a pro. Enjoy the process, and remember: you can do this!
Essential Tools and Materials for Your DIY Project
When it comes to creating your own polished concrete floor, having the right tools and materials at your fingertips is crucial for achieving professional results. Imagine transforming a dull, gray slab into a stunning, glossy surface that reflects light beautifully and stands up to the wear and tear of daily life. With the right setup, you can tackle this project confidently and enjoy the process of crafting a durable and stylish floor.
To kick off your DIY adventure, you’ll need to gather a few essential tools. Here’s a quick list of what you’ll require:
- Concrete Grinder or Polisher: The star of the show! This will be your primary tool for grinding down the surface and bringing out that high sheen.
- Diamond Pads: These come in various grits, ranging from rough to ultra-fine. Start with lower grits (around 30-50) for grinding and work your way up to finer pads (800-3000) for polishing.
- Concrete Sealer: After you’ve achieved that desirable shine, a high-quality sealer will protect your floor and enhance its appearance.
- Dust Control System: Polishing concrete creates a lot of dust. Invest in a good vacuum attachment or a dust control system on your grinder.
- Safety Gear: Always prioritize safety with goggles, gloves, and a mask to protect yourself from dust and debris.
When planning your project, consider how much time you can dedicate each day. Polishing concrete is a multi-step process that requires patience, but it doesn’t have to be overwhelming. For instance, you might spend the first day preparing the space and starting with the grind. The next couple of days can focus on polishing and sealing. Break it down into manageable chunks, and before you know it, you’ll be enjoying your beautiful new flooring!
Remember, the satisfaction of a job well done is worth every ounce of effort. Many DIYers have successfully transformed their spaces, and you can too! With these tools and materials in hand, you’re ready to embark on your polished concrete journey. Get excited; you’ve got this!
Preparing Your Subfloor for a Perfect Finish
Preparing the subfloor is a critical step in achieving a polished concrete floor that looks professional and lasts for years. A well-prepared surface not only aids in the polishing process but also ensures that your new glossy finish adheres properly and is free from defects. Let’s dive into how you can prepare your subfloor for that perfect finish!
Start by clearing the area thoroughly. Remove any furniture, rugs, or debris so that you can inspect the concrete slab without distractions. Next, check for any cracks, holes, or imperfections on the surface. This is your chance to get proactive-fill any gaps with a concrete patching compound and smooth it out to create an even surface. Remember, imperfections can affect the final appearance of your polished floor.
Once the surface is patched up, it’s time to clean the slab to ensure a dust-free environment. Use a stiff broom to sweep away dust and particles, followed by a wet mop to wash away any stubborn grime. If the slab is particularly dirty, consider using a degreaser. Allow the surface to dry completely before moving on to polishing. Any residue left behind can interfere with the sealing and polishing processes.
Now that you have a clean, smooth surface, assess the moisture levels in your concrete. High moisture can lead to problems down the line, such as mold growth or peeling sealant. Use a moisture meter or perform a simple test by taping a plastic sheet to the floor for 24 hours. If moisture accumulates underneath, you’ll need to address that before proceeding to avoid future issues.
Lastly, if you have an old concrete slab, consider whether it needs to be ground down. This can help expose a fresher layer and create a better surface for polishing. A concrete grinder can do the trick; just be sure to follow this up with a thorough cleaning to get rid of any dust created from grinding.
By following these steps, you’re setting yourself up for success. Preparing your subfloor may seem like a chore, but it’s a vital part of achieving that beautiful polished concrete finish. You’ve got the tools and the knowledge, so embrace the process and remember-this is all part of creating something truly special in your home!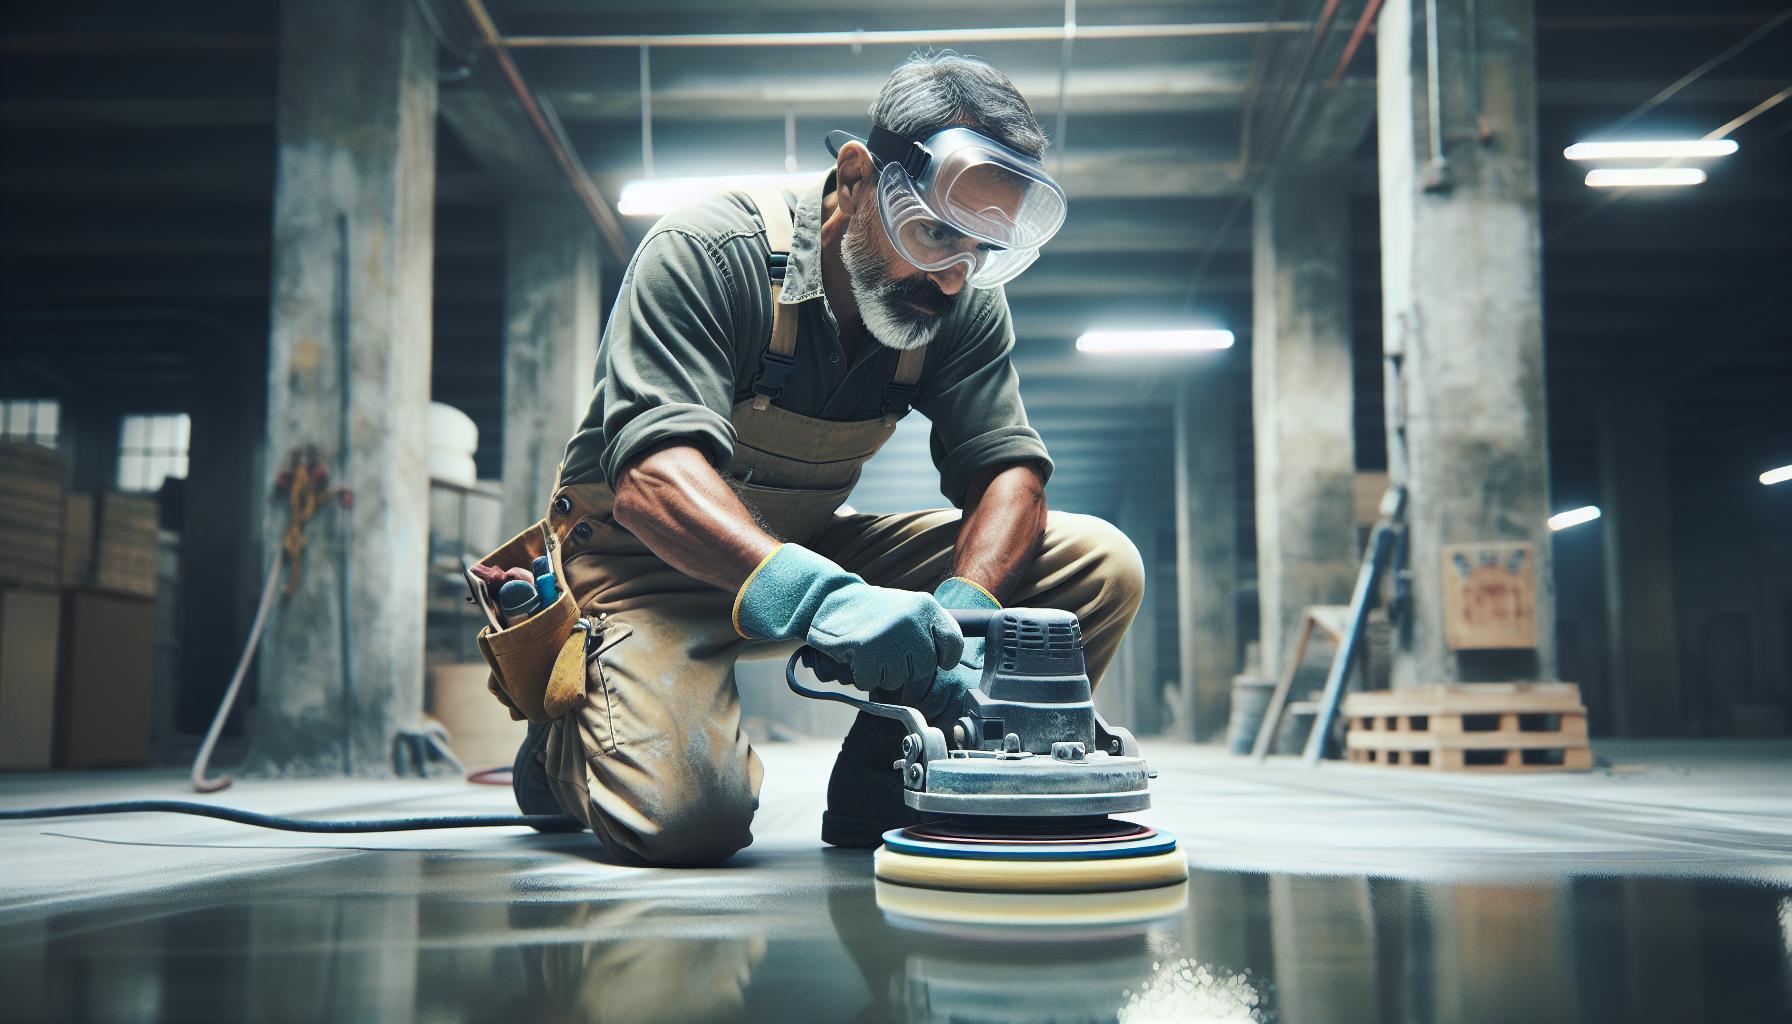
Step-by-Step Process to Polish Concrete Like a Pro
Polishing concrete might seem daunting at first, but with the right approach and tools, you can achieve a stunning finish that rivals professional results. This process transforms your dull slab into a glossy, durable surface suitable for any space. So roll up your sleeves, because you can absolutely do this!
Start with a quick assessment of the materials you’ll need. To achieve that sleek look, you’ll need a concrete grinder (or a floor buffer with diamond pads if you’re working on a small area), vacuum, polishing pads (typically ranging from 50 to 3000 grit), a concrete sealer, and safety gear like gloves and goggles. The process will typically take around 4 to 6 hours, depending on the size of the area and your experience level.
Now, let’s break it down step-by-step:
Step 1: Grinding the Surface
Use the concrete grinder equipped with a 50-grit diamond pad to remove any surface imperfections. Move the grinder in overlapping passes across the surface, similar to mowing a lawn. This is your time to shine! Keep an eye on the edges and corners, where the grinder may not efficiently reach-make sure to go back with a smaller hand grinder or a polishing pad.
Step 2: Honing the Concrete
Switch out to a 100-grit diamond pad to hone the surface. This step is crucial as it refines the texture from the grinding phase. Repeat the overlapping passes, ensuring you get an even finish across the slab. It’s normal for the floor to look a bit cloudy; this means you’re heading in the right direction!
Step 3: Polishing for Shine
Now it’s time for the magic! Attach a 400-grit pad and polish in the same manner. After this, continue polishing with finer pads (800, 1500, and finally 3000 grit) to achieve that high-gloss finish. Each grit will progressively enhance the shine, giving your floor that pro-like luster.
Step 4: Cleaning Up
With polishing complete, it’s essential to vacuum the area thoroughly to remove dust and debris. A clean surface will help the sealant adhere properly.
Step 5: Sealing the Floor
The final step is sealing. Apply your chosen concrete sealer with a roller or sprayer to protect your newly polished surface. Follow the manufacturer’s instructions for drying time to ensure maximum durability.
By following these steps, you’ll transform your concrete floor into a work of art that not only looks fantastic but will also hold up over time. Celebrate your hard work, invite friends over, and enjoy your new polished concrete floor! You’ve got this!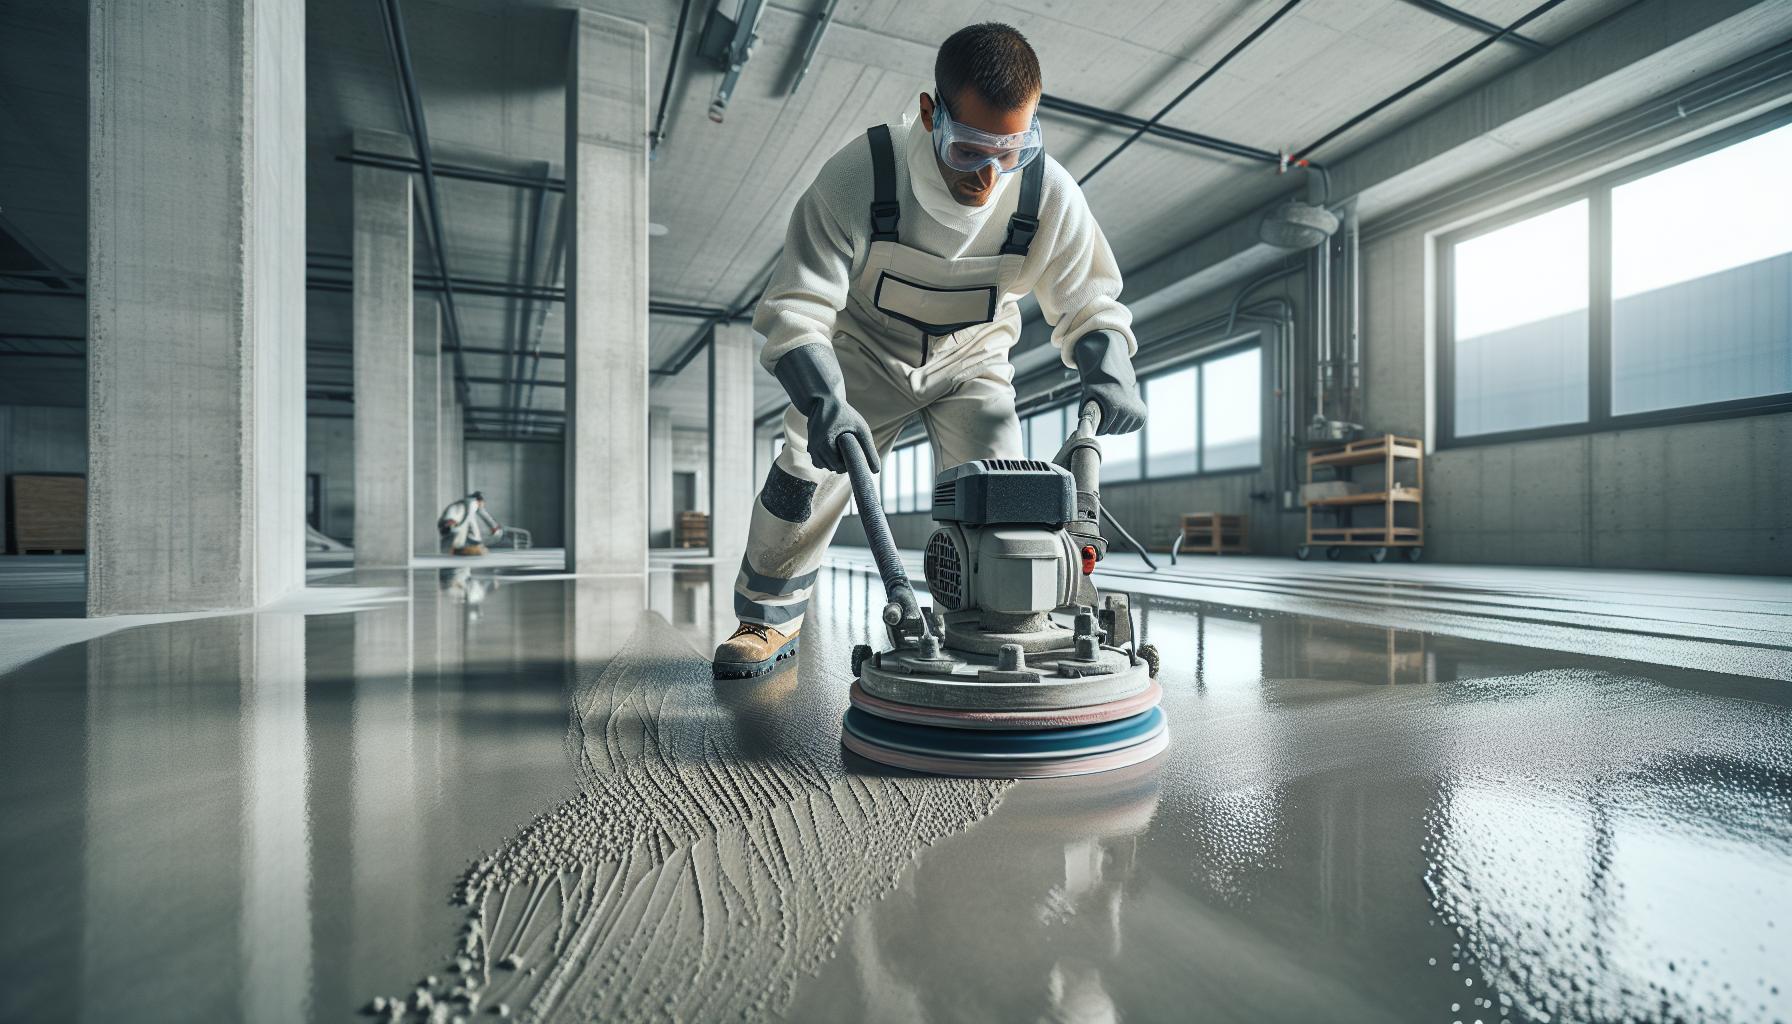
Common Mistakes to Avoid When Polishing Concrete
When diving into the world of polishing concrete, it’s all too easy to make a few common mistakes that can lead to frustrating results. One of the biggest pitfalls is not adequately preparing your surface before you start. Skipping the crucial step of cleaning and repairing the concrete can lead to imperfections that will be magnified once polished. Make sure to fill any cracks and remove all dirt and debris. Otherwise, your shiny new floor might end up looking uneven and dingy, which will definitely put a damper on your DIY victory.
Another frequent misstep is neglecting proper equipment or using the wrong grit sequence. Many DIY enthusiasts are eager to plunge straight into polishing with high grits for that glossy finish, but starting with a coarse grit (like 50 or 100) is vital for effective grinding. It sets the stage for each subsequent polishing step, allowing you to gradually achieve that brilliant shine without getting stuck at a cloudy finish. Remember, patience is key! You must follow the grit progression, moving up incrementally, or you might miss that smooth, reflective surface you’re after.
One often-overlooked detail is the importance of timing, especially when it comes to sealing your floor. Sealing too soon can trap moisture underneath, leading not only to bubbling but also to an unfortunate reduction in durability. After polishing, ensure the surface is completely clean and dry before applying any sealant. Following the manufacturer’s recommendations for drying times is crucial for ensuring your hard work pays off in longevity and lasting beauty.
Lastly, don’t underestimate the power of consistency in technique. Many find themselves rushing through areas or applying uneven pressure, which can result in a patchy appearance. Take your time! Approach the concrete in systematic overlaps, just like mowing a lawn. This careful attention to detail will ensure an even finish throughout the entire surface. Polishing concrete is definitely a process worth celebrating, and avoiding these common mistakes will help you achieve that professional look! You’ve got this!
Choosing the Right Concrete Stain and Sealant
can make all the difference in the beauty and longevity of your polished concrete floor. A well-chosen stain can add depth and character, transforming a plain slab into a work of art. Likewise, a high-quality sealant protects your investment, enhancing your floor’s shine and ensuring it can withstand the daily wear and tear. The best part? With a little guidance, you can confidently select the perfect products that fit your style and needs.
When picking a concrete stain, consider two main types: acid stains and water-based stains. Acid stains penetrate the concrete, reacting chemically to create rich, variegated hues. They tend to produce a more natural stone-like appearance, with earthy tones such as browns and greens. On the other hand, water-based stains offer a wider range of colors and are easier to work with, making them an excellent option for beginners. They sit on the surface rather than penetrating deeply, which means you can achieve a more consistent color. For the DIY spirit, start with water-based stains if you’re looking to experiment or create bold design choices.
Once your stain is applied and you’ve allowed it to cure, it’s time for sealing. The sealant you choose will largely depend on your use case. For residential spaces, a penetrating sealant provides good protection without changing the floor’s appearance. If you’re looking for a high-gloss finish, a topical sealant will give you that shiny look while also adding a layer of resilience against stains and scuffs. It’s crucial to ensure that the sealant is compatible with the type of stain you used; this will ensure a beautiful and durable finish.
As you embark on your DIY journey, remember to thoroughly read the product instructions and guidelines. Most stains and sealants require specific application techniques and drying times that can significantly affect your results. Plan for sufficient time to allow everything to cure properly before putting your new floor to the test. You can do this! With the right stain and sealant, your polished concrete floor will look stunning and withstand the test of time, making it a beautiful feature of your home.
Advanced Techniques for a High-End Look
Creating a polished concrete floor that looks high-end doesn’t have to remain a dream reserved for professionals. With some advanced techniques and a bit of creativity, you can achieve stunning results that impress both you and your guests. Let’s explore some innovative strategies that can elevate your DIY project to a whole new level.
One effective method to enhance the appearance of your polished concrete is through the use of aggregate exposure. By revealing the natural stones or aggregates within your concrete mix, you can create a visually striking surface. Start by grinding down the top layer of your concrete to expose the aggregates beneath. Depending on how much exposure you want, adjust the grit of your grinding tool. For a more polished look, follow up with finer grits after achieving the desired exposure. This technique not only adds depth but also makes each floor unique with its own color variations.
Another way to step up your design game is by introducing stenciled patterns or decorative scoring. Using a concrete saw or a handheld grinder, you can create geometric shapes or flowing designs directly onto the floor. This approach allows you to personalize your space and can be combined with staining techniques to add even more interest. For example, using a contrasting stain color in the scored lines can give your floor a stunning visual impact, creating a look reminiscent of high-end stone tiles.
You can also explore lighting effects to amplify the beauty of your polished concrete. Proper lighting can dramatically change the way your floor looks at different times of the day. Consider using recessed lighting or strategically placed lamps that cast soft shadows, highlighting the polished areas and creating a warm ambiance. If your space allows, LEDs can be incorporated to add color accents, making the floor a focal point of your interior design.
Finally, don’t underestimate the power of high-quality finishes. After you’ve polished your floor to your liking, applying a premium concrete sealer can significantly enhance the shine and longevity of your surface. Choose a sealant designed for high-gloss finishes that will not only protect your floor from stains and scratches but also amplify its shine, giving it that professional salon-worthy look.
With these techniques in your toolkit, you’re well on your way to creating a polished concrete floor that’s not just beautiful but also uniquely yours. So get inspired, roll up your sleeves, and remember: with a little effort and creativity, you can achieve professional results right at home!
Maintaining Your Polished Concrete Floor for Longevity
To keep your polished concrete floor looking stunning and to extend its lifespan, regular maintenance is key. Polished concrete is not just about that initial shine; maintaining that beautiful finish can easily become a straightforward routine if you approach it with the right mindset and techniques. Think of it like caring for a fine piece of furniture-consistent, gentle care will ensure it always looks its best.
Start with regular cleaning. Dust and debris can dull the surface over time, so create a habit of sweeping or vacuuming the floor at least once a week. For a deeper clean, use a damp mop with a pH-neutral cleaner specifically formulated for polished concrete. Avoid harsh chemicals or acidic cleaners, as they can damage the finish. Simply mix the cleaner according to package instructions and mop the floor, which typically takes about 30 minutes for an average-sized room.
To maintain that high-gloss shine, consider resealing your floor every 1 to 3 years, depending on foot traffic and how much wear your floor experiences. A high-quality concrete sealer not only enhances the shine but also protects against stains and scratches. Before applying a new coat of sealer, be sure to clean the surface thoroughly and allow it to dry completely. This step is crucial for ensuring the best adhesion and longevity of the sealant.
Additionally, pay attention to any scratches or scuff marks that occur over time. A simple solution is to use a polishing pad and some water to buff out minor imperfections. If you find deeper scratches, you may need to grind the surface lightly with a diamond polishing tool before resealing. This type of maintenance can usually be done in a few hours and will keep your floors looking fresh and new, allowing your DIY project to shine for years to come.
Embracing these simple maintenance tasks will not only help preserve your polished concrete floor but will also make you feel proud of your handiwork. Remember, with a little care and attention, you can keep your concrete looking like it just came out of the showroom, proving that DIY can indeed deliver professional results!
Creative Design Ideas to Enhance Your Space
Polished concrete floors are not just a practical choice; they are a blank canvas for your creativity! Transforming your space with innovative design elements can bring your polished concrete floors to life while showcasing your personal style. Whether you’re looking to add a pop of color or a touch of luxury, here are some inspiring ideas to enhance your space.
One of the most effective ways to personalize your polished concrete floor is through colored staining. With options ranging from earthy tones to vibrant hues, you can create a unique look that complements your decor. For instance, a rich red or deep blue can become a striking centerpiece in an otherwise neutral room. To achieve this, simply apply a concrete stain following the manufacturer’s instructions. Remember to prepare the surface properly and test the color on a small area first to ensure you achieve the desired effect.
Incorporating decorative aggregates during the polishing process is another amazing option. This technique allows you to showcase colorful stones, glass, or even shells embedded in the surface for a stunning visual effect. Choose aggregates that match your desired aesthetic-think bright and cheerful for a playful vibe or subdued for a more sophisticated look. When you finalize the mix, the aggregates will become visible after the polishing, creating a one-of-a-kind floor that truly reflects your personality.
For those who prefer a more subtle enhancement, consider using area rugs or textiles. A well-placed rug can soften the industrial feel of a polished concrete floor and add warmth to your space. Whether you opt for bold geometric patterns, soft pastels, or textured fabrics, rugs can tie your room together and provide a cozy layer. To keep the polished look intact, choose rugs with non-slip backing and avoid heavy materials that can mar the floor’s shine.
Additionally, think about incorporating light and reflection into your design. Strategically placed lighting can enhance the glossiness of your polished concrete, making your space feel larger and more open. Use pendant lights, floor lamps, or even LED strips to highlight architectural features or create an inviting ambiance. The interplay of light and reflections on the polished surface can dramatically elevate your room’s overall aesthetic.
By combining these elements-stains, aggregates, rugs, and lighting-you’re not just enhancing your polished concrete floors; you’re creating an environment that tells your story. Embrace these design ideas and let your creativity shine! You’ve got this, and the results will be both rewarding and beautiful, proving once again that DIY projects can truly transform your space.
Cost Breakdown: Budgeting Your DIY Project
When it comes to embarking on your DIY polished concrete floor project, budgeting effectively from the start can significantly influence both your enjoyment and success. Surprisingly, polished concrete can be a cost-effective option compared to traditional flooring materials, but understanding the elements involved is crucial. Typically, do-it-yourself projects can range from $2 to $10 per square foot depending on the materials, tools, and techniques you choose. Here’s a concise breakdown to help you navigate the costs and make informed choices.
Essential Costs to Consider
- Materials: The most significant component of your budget will be materials. Expect to pay between $1 and $3 per square foot for concrete. Additionally, concrete stains can cost approximately $25 to $100 per gallon, and sealants typically range from $50 to $150 depending on quality.
- Tools: If you don’t own them already, renting or purchasing tools such as a concrete grinder, floor sander, and various polishing pads will be necessary. Renting equipment could set you back around $100 to $300 per day.
- Labor (if applicable): Even for skilled DIYers, sometimes enlisting help can be beneficial. If you choose to hire a professional for specific stages, factor in $2 to $5 per square foot for their expertise.
- Miscellaneous Costs: Don’t forget to allocate about 10% of your budget for unexpected expenses. This could cover extra materials, repair supplies, or additional tools if something goes awry.
Sample Cost Breakdown
| Item | Estimated Cost (per sq. ft.) | Total for 200 sq. ft. |
|---|---|---|
| Concrete | $2 | $400 |
| Concrete Stain | $0.50 | $100 |
| Sealant | $0.75 | $150 |
| Tools Rental | $1 | $200 |
| Total Estimate | $4.25 | $850 |
With careful planning, you can definitely keep your project within your budget. Consider starting with a smaller area to gain experience before fully committing to a larger space. Remember, the satisfaction of creating a polished concrete floor that looks professional without breaking the bank is within your reach. With the right materials, tools, and a bit of creativity, you’ll achieve fabulous results that you’ll be proud to showcase! You can do this!
Showcasing Real-Life DIY Polished Concrete Success Stories
The beauty of transforming a dull, lifeless concrete slab into a stunning polished floor is nothing short of magical. Many DIY enthusiasts have taken the plunge and discovered their own creative potential in this rewarding project. Their stories are inspiring, proving that with dedication and a little elbow grease, anyone can achieve professional-level results right in their homes.
Consider Anna, who decided to turn her basement into a chic entertaining space. With a clear vision and a few online tutorials, she tackled her polished concrete floor. The process took her about a weekend and cost around $700 for materials and tool rentals. Anna initially struggled with the grinding phase but found that using a diamond grinding pad helped her smooth the surface more efficiently. In the end, she was thrilled with the high-gloss finish, which complemented her modern decor. Now, her basement is the go-to spot for gatherings, and she never tires of sharing her DIY journey with friends.
Then there’s Jake, who took on the challenge of polishing the concrete floor in his garage. He wanted a durable surface that could withstand his mechanics work while also looking good. Jake spent a bit more time-nearly three weekends-due to the meticulous grinding and polishing required to get the glossy finish he desired. The investment? A bit over $1,000, factoring in higher-quality sealants. He loved how he could personalize the look with a concrete stain that matched his favorite sports team colors. Now, his garage not only functions as a workspace but also doubles as a man’s cave that he proudly shows off to friends and family.
These success stories highlight that polished concrete isn’t just for aesthetics; it’s about creating functional spaces that reflect personal style. Whether you’re after a sleek modern look like Anna or a rugged, sporty vibe like Jake, remember: you can do this! Don’t be afraid to experiment and make it your own. Start small, gather your essential tools, and embrace the learning curve. Your polished concrete floors could be the next remarkable DIY story worth sharing!
Q&A
Q: What are the benefits of a DIY polished concrete floor?
A: A DIY polished concrete floor offers durability, low maintenance, and an elegant look. By taking on this project yourself, you can save money and customize the finish to suit your style. Plus, polished concrete can improve indoor lighting by reflecting light effectively.
Q: How long does it take to polish a concrete floor?
A: The time required to polish a concrete floor varies, typically ranging from a few hours to a couple of days, depending on the floor size and the complexity of the job. Preparation time and cure time are also factors to consider before starting your project.
Q: Can I use a regular vacuum for cleaning a polished concrete floor?
A: While you can use a regular vacuum, it’s best to opt for a vacuum designed for hard surfaces. This minimizes scratches and effectively picks up dust and debris without damaging the polished finish. Regular cleaning helps maintain the beautiful look of your floor.
Q: What type of concrete sealer should I use after polishing?
A: Using a high-quality penetrating sealer is recommended for polished concrete floors. These sealers protect against stains and moisture while allowing the concrete to breathe. Look for products specifically designed for polished concrete to ensure optimal results.
Q: How can I fix imperfections in my polished concrete floor?
A: To fix imperfections, you can fill cracks with an appropriate concrete filler and sand the area smooth before polishing it again. Using a finer-grit diamond pad can help achieve a flawless finish. For major issues, consider consulting a professional.
Q: Is it safe to polish concrete floors indoors?
A: Yes, it is generally safe to polish concrete floors indoors as long as proper ventilation is maintained during the process. Using dust control measures, like wet polishing and protective equipment, minimizes health risks associated with dust and chemical exposure.
Q: What happens if I skip sealing my polished concrete floor?
A: Skipping the sealing process can lead to increased porosity, making your floor more susceptible to stains, moisture damage, and wear over time. Sealing enhances the longevity of the polished surface, making it essential for maintaining its appearance and durability.
Q: Can polished concrete floors be installed over existing flooring?
A: Yes, you can install polished concrete over existing flooring, provided it’s in good condition. However, you may need to remove carpets or other overlays to ensure proper adhesion and a smooth finish. Always assess the existing floor before proceeding.
Future Outlook
Now that you’ve learned how to achieve pro results with your DIY polished concrete floor, it’s time to take action! Remember, transforming your space isn’t just a project-it’s a rewarding journey that you can tackle, no matter your skill level. If you’re ready to get started, make sure to check out our detailed guide on essential tools and materials to ensure you have everything you need for success.
For additional tips and inspiration, explore our articles on Concrete Finishing Techniques and Sustainable Flooring Options-they can provide valuable insights as you continue your home improvement journey. Don’t forget to comment below with your thoughts or share your project photos; we love to see what our community is making! Subscribe to our newsletter for exclusive tips and updates that can help you on your next DIY adventure. You’ve got this, and we’re here to support you every step of the way!
Get our latest guides, news, and insights highlighted in your Google Search & AI Overviews.