
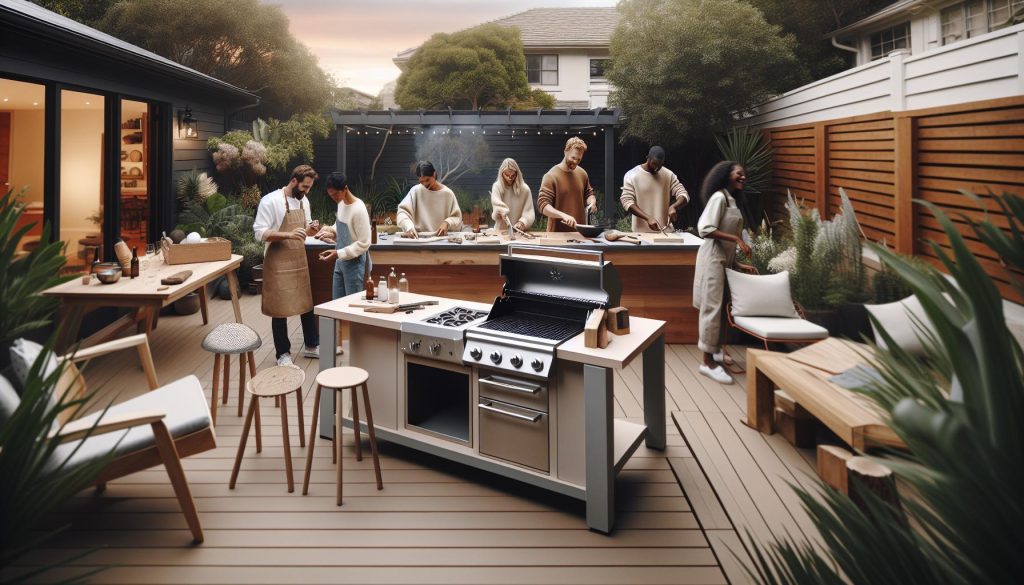
Imagine transforming your backyard into a culinary oasis where friends and family gather, savoring delicious grilled meals. Building your own DIY BBQ island not only elevates your outdoor cooking experience but also adds value to your home. This project is perfect for anyone looking to create a personalized space for entertaining, complete with a functional grill, counter space, and storage. Whether you’re a seasoned DIYer or just starting out, you can craft this inviting outdoor kitchen with simple materials and a little creativity. Ready to roll up your sleeves? Let’s dive into the exciting steps that will help you design and build your dream BBQ island, turning your backyard into the ultimate gathering spot. You’ve got this!
Choosing the Right Location for Your BBQ Island
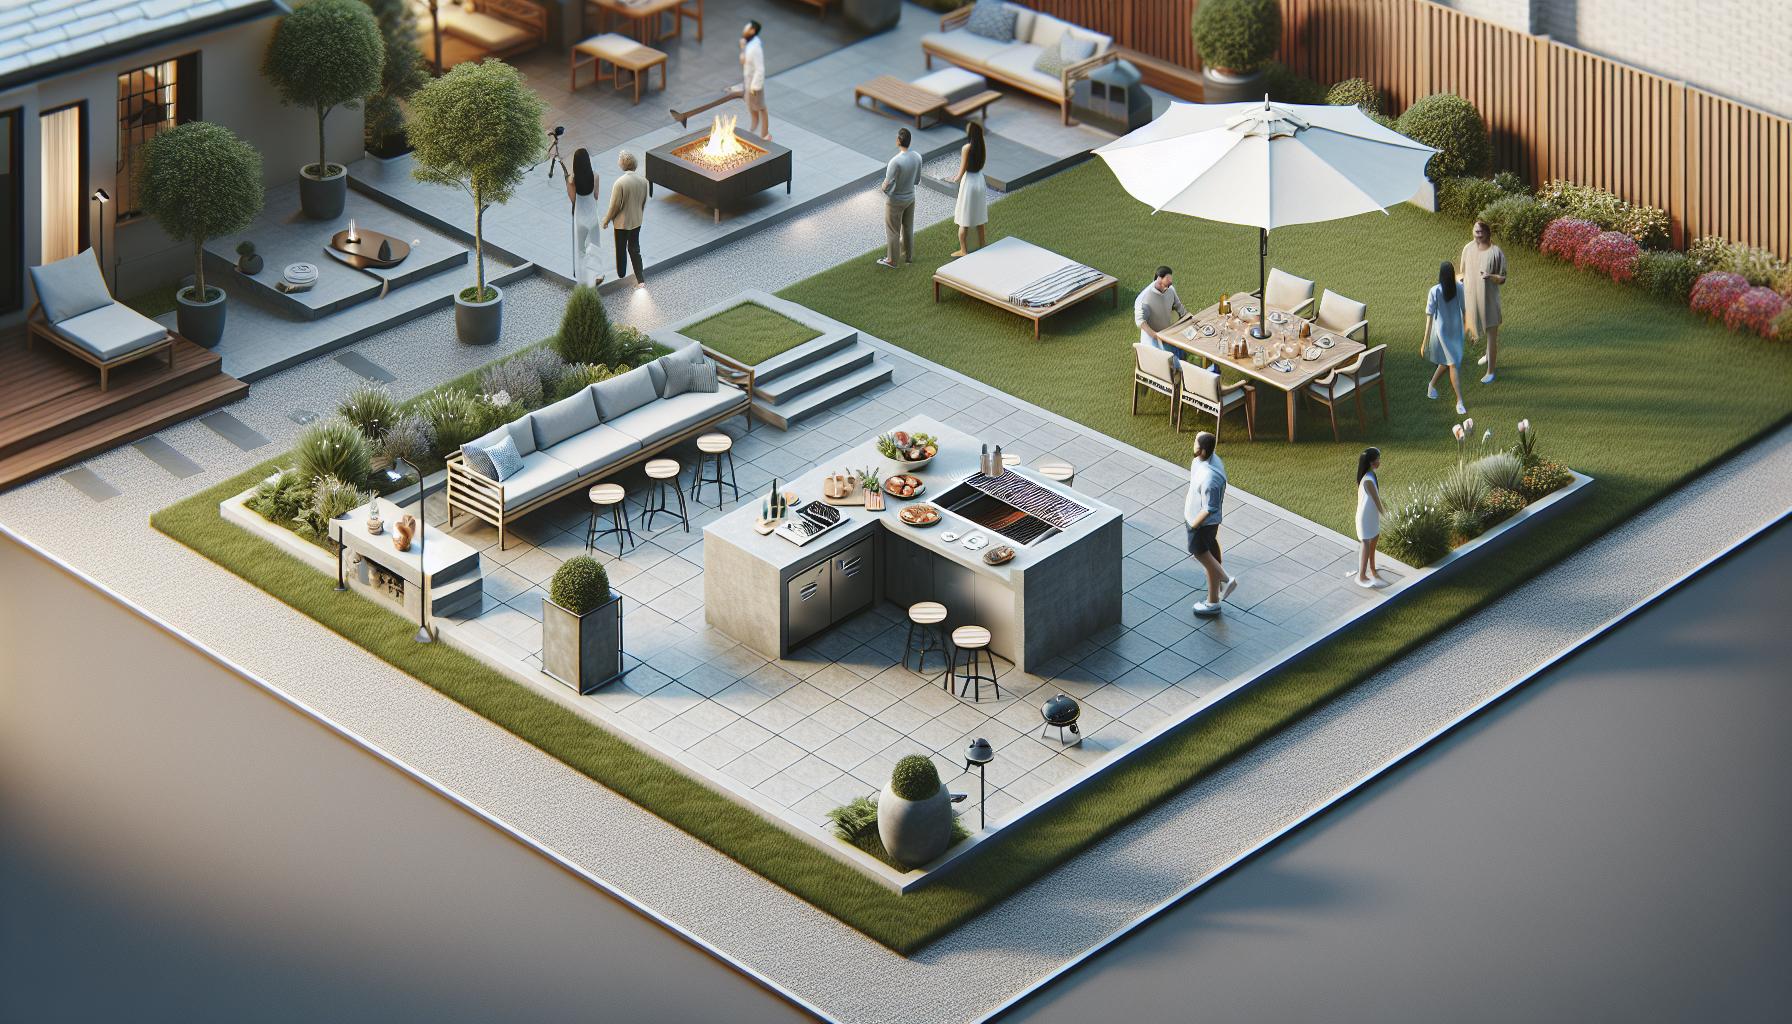
can transform your backyard from a simple outdoor space into a vibrant entertainment area. Imagine hosting summer cookouts while surrounded by friends and family, all thanks to a well-placed BBQ island. Before you dive into the actual building, let’s explore some key considerations to ensure your setup is functional and fun.
First, think about accessibility. Your BBQ island should be conveniently located near your kitchen or dining area, making it easy to transport food, drinks, and utensils. A location with easy access to your home also encourages seamless transitions between indoor and outdoor cooking. Additionally, consider the flow of movement around your island. You want guests to be able to move freely without bottlenecks. Positioning your BBQ island against a wall or fence can help create an open space while providing a sense of enclosure.
Next, pay attention to the sun and wind patterns in your yard. If your outdoor space is exposed to strong winds or direct sunlight for long periods, you may want to strategically place your BBQ island under a pergola or near a tree for some natural shade. This will help keep you and your guests comfortable during hot summer days or breezy evenings. Additionally, consider the visibility of your BBQ island from inside your home; a well-placed BBQ island can also enhance the scenic view of your patio or garden.
Lastly, think about safety and convenience. Position your BBQ island away from flammable materials, such as wooden fences or shrubs. Keeping it close to an outdoor water source is a smart idea, as it provides quick access for cleaning and fire safety. By considering these factors, you’ll ensure that your BBQ island not only enhances your outdoor cooking experience but also serves as a beautiful focal point in your backyard oasis. With the right location, you can create a space that invites everyone to gather, cook, and enjoy the great outdoors.
Essential Materials for Your DIY BBQ Island
Creating your own BBQ island is not just a fun project-it’s a way to enhance your outdoor cooking experience and elevate your backyard gatherings. To get started, you’ll need to gather some essential materials that will ensure your BBQ island is both functional and durable. With the right preparations, you can craft a space that not only looks great but performs well for years to come.
Begin with a solid foundation. The structure of your BBQ island will typically require materials like concrete blocks or cinder blocks for the base, which provide strength and stability. If you’re aiming for a more polished finish, consider using stucco or stone veneer for the exterior. These materials not only enhance the aesthetic appeal but also withstand the elements better than wood or other less durable options.
For the countertop, materials like granite, concrete, or stainless steel are excellent choices, each offering a blend of durability and style. You might opt for ceramic tile for a more customizable surface in terms of color and design. Remember, you’ll also need heat-resistant adhesives and grouts to finish off your surfaces effectively and ensure everything stays intact under high temperatures.
Don’t forget about the necessary utilities! If you plan on including a sink or refrigerator, be sure to gather plumbing supplies such as pipes and fittings, along with standard electrical supplies if you’re adding appliances. Additionally, outdoor appliances like grills or rotisserie kits should be taken into consideration; choose ones that suit your cooking style and space requirements. Lastly, add functional elements like storage cabinets or shelves to organize everything from utensils to spices.
With the right materials in hand and a clear plan, you’re well on your way to building a BBQ island that will serve as the heart of many memorable meals and gatherings. Believe in your abilities; this is a project you can tackle successfully, whether you’re a novice DIYer or a seasoned builder!
Step-by-Step Guide: Building Your BBQ Prep Area
Building your BBQ prep area is an exciting part of crafting your ultimate outdoor kitchen. It’s where you’ll marinate meats, chop veggies, and maybe even whip up sides-all while soaking in the sun and enjoying the outdoor atmosphere. Plus, having a dedicated prep space keeps your cooking organized and efficient, so you can focus on what really matters: delicious food and great company. Here’s how to get started on this fun DIY project.
Start by determining the layout of your BBQ prep area. Measure the available space and think about how you envision using it. You might include features like a countertop for food prep, a small sink for washing hands and vegetables, and storage for utensils and spices. With your dimensions in mind, sketch a simple layout to visualize the area. You can use inexpensive materials like pressure-treated wood for the frame and sturdy plywood for the countertop. This combination is affordable and provides sufficient weather resistance.
Once you have your design, it’s time to gather your materials. You’ll need:
- Pressure-treated lumber or stainless steel for the framing
- Plywood for the countertop
- Concrete blocks for added stability, if desired
- Paint or sealant to protect against moisture
- Hardware like screws and brackets to secure everything
Now, let’s get building! Begin by constructing the frame based on your layout. Cut your lumber to size and assemble it using screws for strength. If you’re including a sink, make sure to incorporate plumbing into your design at this stage. Once the frame is sturdy, attach the plywood to form the countertop, ensuring it’s securely fastened to withstand heavy use. Finally, apply weather-resistant paint or stain for durability against the elements.
Don’t forget the finishing touches! Add shelves or cabinets underneath for storage, and consider a small herb garden nearby to make your prep time even more enjoyable. With your well-planned prep area complete, you now have a dedicated space that enhances both functionality and the overall aesthetic of your BBQ island. You’ve taken a major step toward creating your perfect backyard kitchen-celebrate this achievement, and get ready to fire up the grill!
Creative Design Ideas for a Stunning BBQ Island
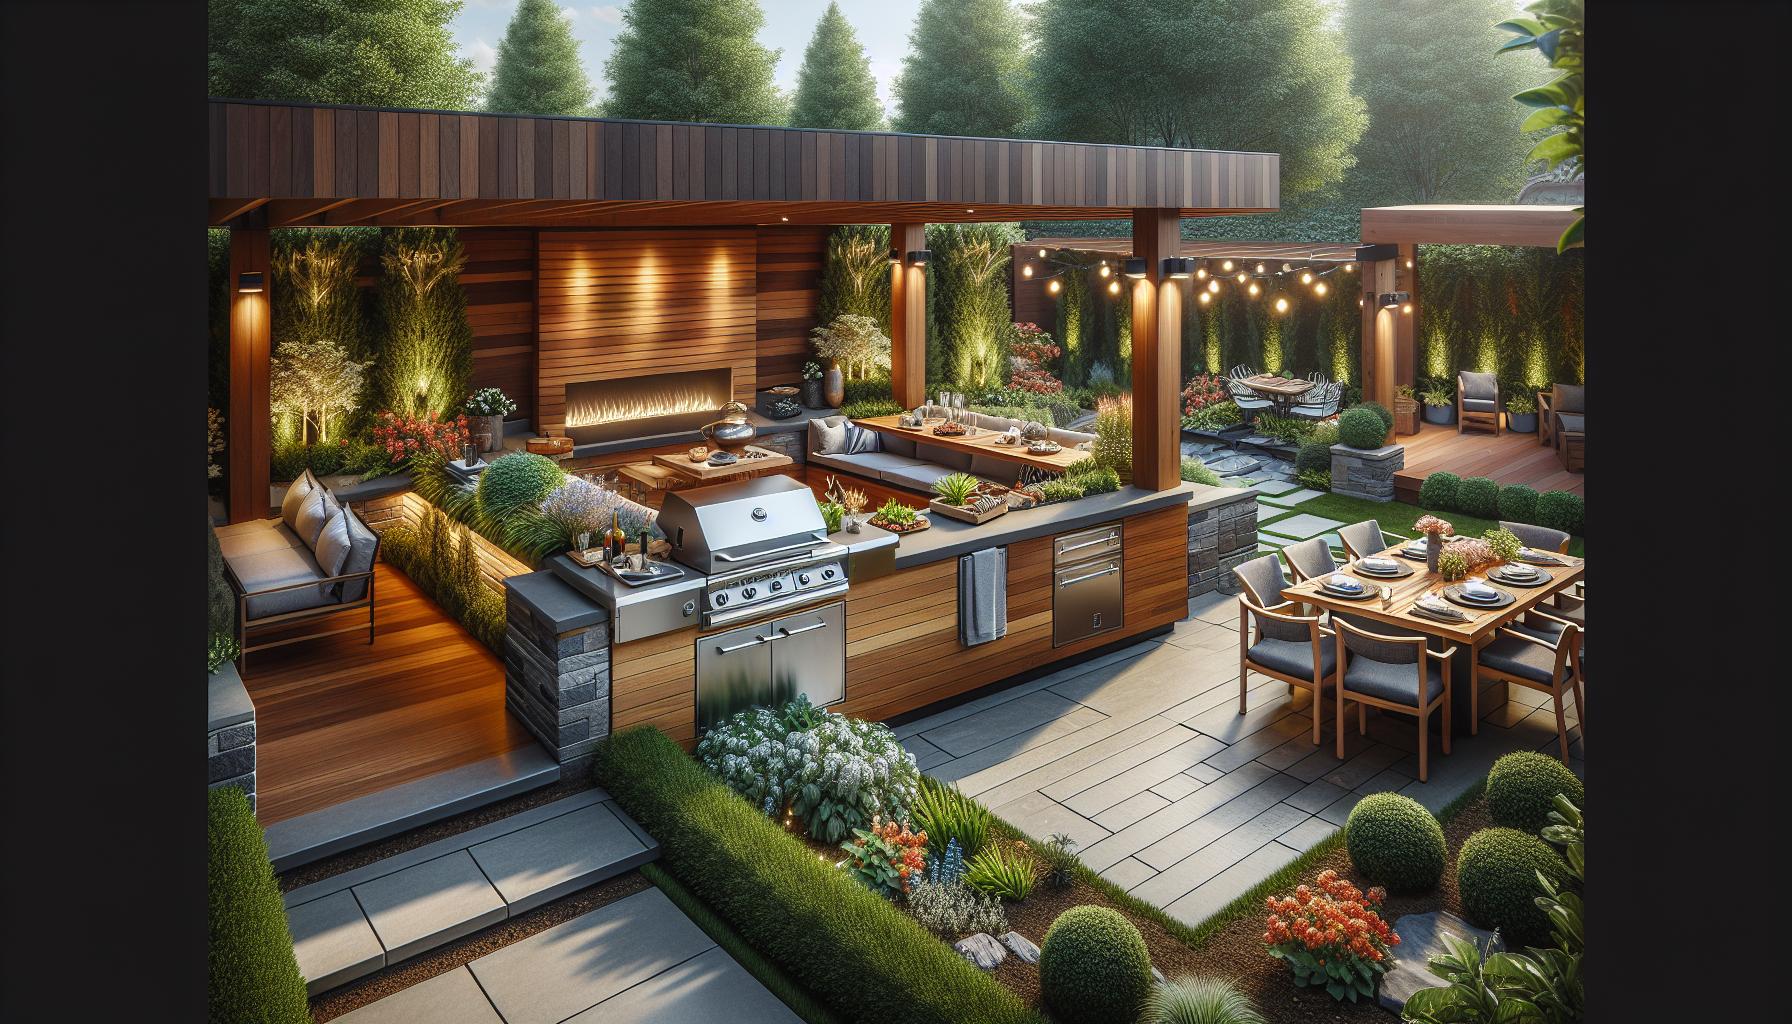
There’s something truly magical about transforming your backyard into a culinary oasis with a stunning BBQ island. It’s not just about the cooking; it’s about creating a welcoming space for family and friends to gather, laugh, and enjoy delicious meals under the open sky. Imagine enhancing your outdoor experience with features that combine practicality and style. Here are some creative ideas to elevate your BBQ island design and turn it into the ultimate backyard attraction.
Start by considering a multi-level design for your BBQ island. This approach can create visual interest and functional zones for different activities. For instance, a raised bar area can accommodate seating for guests while keeping the cooking area separate. Use sturdy materials like stone or concrete for the walls and countertops, which not only offer durability but also add a rustic charm. To make it easier for you, think about including built-in LED lighting along the edges of your countertops or below the bar, creating a cozy atmosphere as the sun sets.
Incorporating Color and Texture
Don’t shy away from color! Incorporating a vibrant backsplash made from colorful tiles can add a stunning focal point that captures attention. Patterns or mosaics can express your personality and bring life to the space. Pair these eye-catching colors with natural elements, like wooden accents or potted herbs, to create a warm and inviting ambiance. Additionally, consider using decorative stone panels or weather-resistant wood to add texture and contrast, contributing to a layered, dynamic look that draws people in.
Functional Additions
Think about what features would make your BBQ island even more enjoyable. A small outdoor refrigerator can keep drinks cool while you entertain, and a built-in cooler can hold ice for easy access to cold beverages. Incorporating a few extra storage drawers can help keep utensils and BBQ tools neatly organized. Even a simple herb garden integrated into your island design can serve both aesthetic and culinary purposes. You can quickly snip fresh basil or rosemary while cooking, adding that extra touch of freshness to your meals.
The best part? No matter your skill level, you can bring these ideas to life. DIY projects can be a rewarding journey where you learn something new and create something uniquely yours. So roll up your sleeves, let your creativity shine, and get started on building a BBQ island that you and your loved ones will cherish for years to come! You can do this!
Selecting the Perfect Grill for Your Dream Kitchen
When it comes to cooking outdoors, the right grill can make all the difference in your BBQ experience. Selecting the perfect grill for your DIY BBQ island is about more than just style; it’s about creating a tool that fits your cooking style, needs, and the types of meals you love to prepare. Whether you’re a casual griller or a BBQ enthusiast, understanding the options available can help you make an informed choice that enhances your outdoor cooking adventures.
Types of Grills
There are several types of grills to consider, each with its unique benefits:
- Gas Grills: These offer convenience and temperature control, perfect for quick meals. They heat up rapidly and are easy to clean.
- Charcoal Grills: If you love that rich, smoky flavor, charcoal is the way to go. They require more time to heat and clean but provide an authentic grilling experience.
- Electric Grills: Ideal for smaller spaces or areas with smoke restrictions. These are easy to use but might not give you the same charred taste as gas or charcoal.
- Pellet Grills: Combining elements of smoking and grilling, these use wood pellets for fuel, creating a unique flavor. They are versatile for both low-and-slow cooking and high-heat grilling.
- Built-in Grills: If you have a designated area in your BBQ island, built-in grills can add a sleek, professional look and save space.
Key Features to Consider
As you choose your grill, think about important features that will suit your cooking habits:
Size and Cooking Area
Make sure the grill has enough cooking space for the number of people you generally entertain. A larger grilling surface is great for big gatherings, while a smaller unit might suffice for intimate family dinners.
Heat Control and Features
Look for grills that offer multiple burners or zones, allowing you to cook different items at varying temperatures. Features like side burners or rotisserie kits can elevate your cooking options.
Materials and Durability
A quality grill should withstand the elements. Stainless steel is typically preferred for its durability and resistance to rust and corrosion. Check for reinforced grill grates and a sturdy lid for better heat retention.
Storage and Portability
Consider how much storage you’ll need to keep your grilling tools organized. Some grills come with built-in cabinets or shelves, which is a great way to keep everything handy while cooking.
By carefully evaluating the type of grill and these key features, you can tailor your selection to fit your personal style and needs. Remember, the right grill can turn your backyard into a culinary haven where you can hone your skills and create memorable meals. You’ve got this-choose the grill that excites you, and get ready to fire up those summer nights!
Incorporating Seating and Dining Space into Your Island
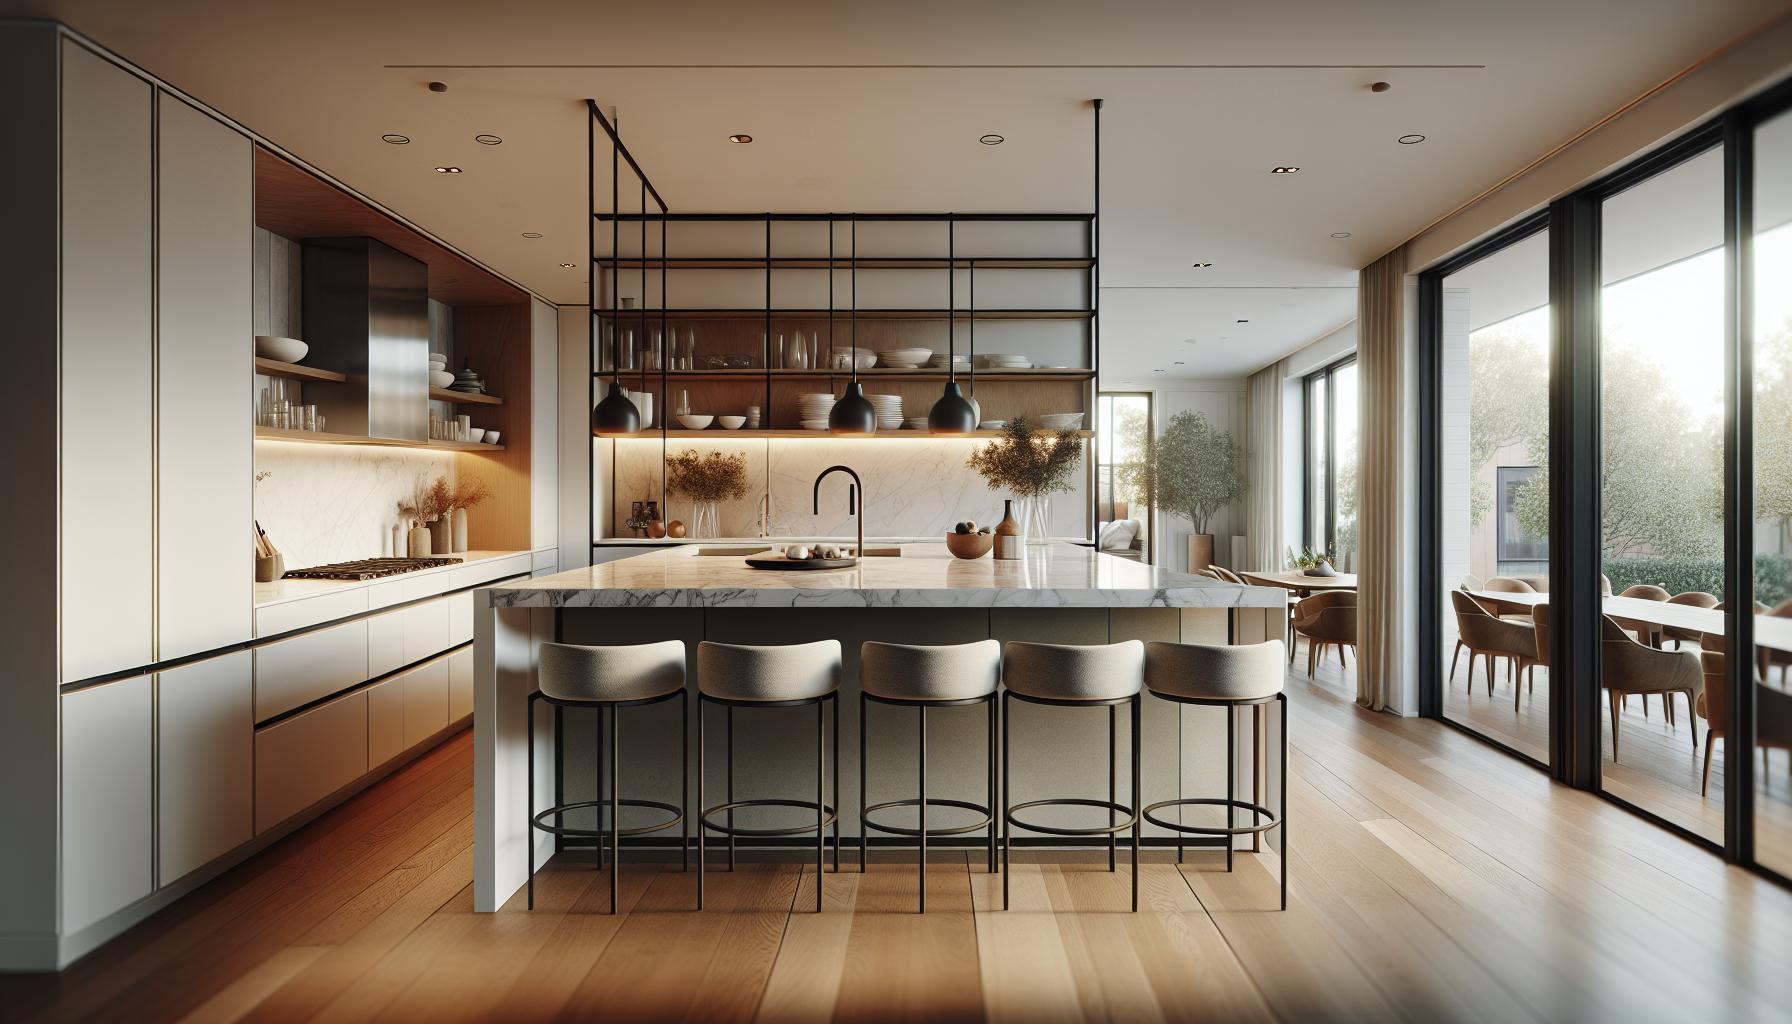
Imagine a summer evening, the grill sizzling away, good friends gathered around, laughter shared over delicious food. Creating a cozy dining and seating space in your BBQ island transforms outdoor cooking into a delightful social experience. When planning your space, consider the flow, the comfort of your guests, and how best to connect your cooking area with dining elements.
To start, aim for a layout that encourages interaction. A good rule of thumb is to position seating close to your grill so you can chat as you cook. Think about incorporating a bar-style seating arrangement with stools that can tuck beneath your countertop when not in use. This not only saves space but also allows for easy movement around the grill. Additionally, a few built-in benches or a full dining table can make a big impact. Use weather-resistant materials like teak or powder-coated metal for durability, which will keep your seating pleasant despite the elements.
Comfort and Style
When selecting seating options, prioritize comfort. Cushioned seats or throw pillows can add a touch of relaxation. Choose colors that complement your overall BBQ island design-bold colors can make a statement, while softer tones can create a serene atmosphere. Touches like string lights overhead or lanterns on tables can enhance the ambiance as evening falls, making your BBQ island a perfect social hub.
Don’t forget about dining essentials! Include a table that accommodates enough guests comfortably. If you’re tight on space, consider a drop-leaf table that can expand when hosting larger gatherings. Add a few decorative elements, such as an outdoor rug to define your dining area, or simple centerpieces using herbs or seasonal flowers that mirror your cooking themes.
With careful planning and a focus on comfort and style, you’ll not only create an appealing BBQ island but also a warm, inviting space that keeps your friends and family coming back for more. Embrace the joy of building this space; you can do this, and soon you’ll be hosting unforgettable outdoor feasts!
Adding Essential Features: Sinks and Refrigerators
Imagine the ease of washing your hands right where you’re cooking or grabbing a cool drink without running back into the house. Incorporating sinks and refrigerators into your DIY BBQ island elevates your outdoor cooking experience, making it not just efficient but also incredibly enjoyable. These features turn your space into a true outdoor kitchen, where convenience meets fun.
Installing a Sink
A sink is not just about cleanliness; it’s about efficiency. When selecting a sink for your BBQ island, consider a stainless steel option that’s durable and easy to clean. Look for a model with a single or double basin, depending on your prep needs. Installation is straightforward-ensure you have access to water lines, as you’ll need both hot and cold for versatility. Here’s a quick guide on the installation process:
- Materials Needed: Stainless steel sink, plumbing pipes, faucet, sealant, and connectors.
- Time: Approximately 1-2 hours, depending on your plumbing setup.
- Steps:
- Determine the location for the sink on your island.
- Cut an opening in the counter for the sink (follow the manufacturer’s guidelines).
- Install the faucet and connect the plumbing to your existing water supply.
- Seal any gaps to prevent water damage.
With your sink in place, prep work becomes a breeze, and you can keep the area tidy throughout the cooking process, allowing you to focus on entertaining rather than running back and forth indoors.
Adding a Refrigerator
A small refrigerator is another fantastic addition to your BBQ island. It keeps drinks cold, snacks handy, and ingredients fresh without the hassle of multiple trips to the kitchen. When choosing a refrigerator, look for outdoor-rated models that can withstand various weather conditions. Here’s how to integrate one effectively:
- Space Consideration: Check your layout to ensure there’s enough room for a refrigerator without crowding the area.
- Power Supply: Ensure you have a nearby outlet or consider running a weatherproof extension cord from your house.
- Installation Tips:
- Level the refrigerator for optimal function.
- Ventilation is crucial; leave enough space around the fridge for airflow.
Adding these essential elements turns your BBQ island into a fully functional kitchen, allowing you to spend less time managing logistics and more time enjoying the camaraderie of your guests. You can do this! With DIY projects like these, you’re creating not just a cooking space, but a gathering spot for friends and family. Celebrate your achievements, and soon you’ll be the host of unforgettable outdoor events!
Lighting and Decor: Transforming Your BBQ Space
Creating a captivating atmosphere in your BBQ space can turn an ordinary gathering into an unforgettable experience. The right lighting and decor not only enhance the look of your outdoor kitchen but also set the mood for fun and relaxation. Whether you’re grilling under the stars or enjoying a sunny afternoon cookout, thoughtful lighting and decor choices can elevate your outdoor cooking escapade.
Choosing the Right Lighting
To make the most of your outdoor cooking space, consider a combination of task, ambient, and accent lighting. Task lighting is crucial for safe food preparation and grilling. Under-counter lights or string lights can provide that necessary illumination, making cooking easier once the sun sets. Ambient lighting, like lanterns and solar-powered garden lights, creates a welcoming atmosphere. These could be placed in strategic spots around your BBQ island to make it feel cozy and inviting during evening gatherings.
- Materials Needed: String lights, solar lanterns, LED spotlights, extension cords.
- Time: About 1 hour to install; figure in extra time for planning the layout.
- Steps:
- Decide on the best locations for lighting based on your island’s layout and surrounding areas.
- Install string lights overhead, ensuring they are securely fastened and at a safe height.
- Place solar lights along pathways or around the island for added charm.
Decorating Your Space
When it comes to decor, think about elements that reflect your personality and make the space feel unique and inviting. Colorful outdoor cushions can add comfort and style to your seating area, while decorative plants can bring a touch of greenery. Consider placing a few potted herbs nearby; not only do they look great, but you can also use them in your cooking!
To personalize your BBQ island further, you can add decorative items such as a bold outdoor rug, wall art made from weather-resistant materials, or a fun chalkboard for the daily menu. These small touches can make your island feel more like an extension of your home’s interior space.
- Materials Needed: Outdoor cushions, rugs, potted plants, decor items (art, chalkboards).
- Time: Approximately 2-3 hours for shopping and setup.
- Steps:
- Select a color scheme or theme that complements your outdoor area.
- Arrange furniture and cushions for comfort and flow.
- Add decorative pieces and plants, ensuring they are durable enough for outdoor conditions.
With the right lighting and decor, your BBQ island will become an inviting place where memories are made. Remember, it’s all about creating a space that feels personal and enjoyable. Simplify your project into manageable steps-this way, you can easily transform your outdoor cooking space into a stunning backyard retreat. You can do this! Embrace the creativity involved, and soon enough, you’ll be hosting unforgettable BBQs with friends and family.
Maintenance Tips for Your BBQ Island
To keep your BBQ island in tip-top shape, regular maintenance is key. Just like any outdoor area, it will require your attention to ensure longevity and enjoyment. A little care goes a long way, and by building a simple maintenance routine, you can keep your barbecue haven looking fresh and functional year-round.
Start with a thorough cleaning after each use. This means scraping down the grill grates to remove food residue, wiping down surfaces with a mild detergent and water, and rinsing them well. Make this task easier on yourself by setting aside about 30 minutes post-cookout. Using a grill brush specifically designed for your type of grill can eliminate stubborn residues quickly. Additionally, check for any signs of damage or wear, such as rust spots or cracked seals around your appliances. If you spot any issues, address them promptly-this will help prevent bigger, more costly problems later on.
It’s also essential to protect your BBQ island from the elements. Consider investing in weather-resistant covers for your grill and furniture to shield them from rain, snow, and UV rays. This can dramatically extend the life of your equipment, making your investment work harder for you. Aim to uncover and inspect your BBQ island every season; this not only allows you to clean but also to prep for the next grilling session by organizing your tools and restocking necessary supplies, like propane or charcoal.
Lastly, don’t forget about the landscaping around your BBQ island. Over time, grass and weeds can encroach on your area, diminishing its visual appeal. Consider scheduling a quick landscape trim every few weeks to keep your space inviting. A well-maintained yard serves as a beautiful backdrop for your cooking activities and enhances your overall experience.
Frequent attention to cleaning, protection, and landscaping ensures your BBQ island remains a vibrant part of your outdoor living space for years to come. Remember, establishing a routine might feel daunting at first, but you can do this-turn it into a fun ritual and enjoy the fruits of your labor when you’re hosting friends for a delicious backyard feast!
Budgeting Your DIY BBQ Island Project
Building your dream BBQ island can be as fulfilling as it is exciting, but you need a clear budget to turn your vision into reality. Start by defining the essentials-what features do you absolutely want? Do you envision a full kitchen vibe with a grill, sink, and refrigerator, or are you leaning towards a simpler setup? A well-planned budget not only keeps your costs in check but also ensures you can enjoy your outdoor space without financial stress.
Begin by outlining your potential expenses. Create a list that includes the major components of your BBQ island, such as:
- Grill: $500 – $2,500 depending on brand and features.
- Countertops: $300 – $1,200, with materials like concrete or granite influencing the final cost.
- Sink and Plumbing: $200 – $800, including the faucet and installation.
- Electrical Work: $100 – $600 for outlets and lighting.
- Seating and Dining Area: $200 – $1,500 based on furniture selection.
- Miscellaneous: $100 – $500 for tools, paint, and accessories.
To help you get started, consider using a simple spreadsheet where you can itemize these components, adding the estimated costs alongside. This not only facilitates tracking your expenses but also enables adjustments as necessary. You might discover that by opting for a DIY approach in place of professional installation, or by sourcing materials from local suppliers, you can save a significant chunk of your budget.
Keeping a close eye on your spending throughout the building process is crucial. Remember, it’s okay to make compromises along the way. For instance, if your ideal grill is out of reach, look for a reliable mid-range option that still meets your cooking needs. With just a little creativity and flexibility, you can create a stunning BBQ island that’s both functional and budget-friendly. You’ve got this!
Common Mistakes to Avoid When Building
When embarking on the adventure of building your own BBQ island, it’s easy to get swept up in the excitement, but beware of some common pitfalls that can derail your project! Many DIYers underestimate the amount of planning and preparation required, which can lead to costly mistakes and frustrations. By being aware of these frequent missteps, you can keep your project on track and create the outdoor kitchen of your dreams without any unnecessary hiccups.
One major mistake is neglecting to plan for utilities. If you’re adding features like a sink or refrigerator, ensure you have access to water and electricity. Take the time to map out where your pipes and wiring will go before you start building. It’s often easier to install these elements during construction than to add them later. Measure twice, cut once! This adage rings especially true here. Accurate measurements ensure that your grill, sink, and countertops have enough space and are properly installed without any awkward gaps.
Another common misjudgment is not considering the placement of your BBQ island. You might be tempted to put it in a corner for convenience, but think about airflow and smoke direction. Position your island away from areas where smoke can blow into your home or where guests will be gathering. Include shaded areas, as cooking outdoors can get pretty toasty in the summer! This little bit of forethought will create a pleasant cooking environment and a more enjoyable entertaining space.
Lastly, don’t forget about storage. Builders often focus on the aesthetics of their BBQ island and overlook practical elements like drawers and cabinets for utensils, grill supplies, and serving dishes. Integrating sensible storage solutions will keep your space organized and ready for spontaneous cookouts.
By avoiding these pitfalls, you’re not just building a BBQ island; you’re crafting a functional, inviting space that will make your outdoor activities even more enjoyable. Remember, you can do this! Embrace the process; each step gets you closer to your perfect backyard oasis.
Inspiration: Real-Life DIY BBQ Island Projects
Building a DIY BBQ island can be a fulfilling project that transforms your outdoor space into a culinary oasis. Just take inspiration from DIY enthusiasts who have successfully created their stunning outdoor kitchens! Their projects highlight not only creativity but also practical execution. Many of these real-life examples showcase how simple tweaks can elevate functionality and aesthetics, proving that with some hard work and imagination, you can design a space that suits your personal style and needs.
One amazing example is a couple who built a rustic-themed BBQ island using reclaimed wood and stone. They integrated a built-in grill, prep space with butcher block countertops, and even a small herb garden on the side! By utilizing natural materials, they created a warm, inviting atmosphere that feels like an extension of their home. If you’re thinking of a similar look, consider sourcing materials from local suppliers or repurposing items to save costs while adding unique character to your island.
Another inspiring project is a modern BBQ island with an outdoor fridge and a sleek, minimalist design. The owners chose stainless steel appliances and topped it with a granite countertop. They even included LED lighting for a fantastic evening ambiance. This type of design focuses on clean lines and efficiency, which is perfect if you want a chic and modern outdoor cooking area. Don’t forget the little details-adding bar stools and a canopy can significantly enhance the usability of your space, turning it into a favorite hangout for family and friends.
As you consider your own BBQ island project, reflect on how these examples resonate with your vision. Ask yourself: What materials reflect your style? What features are essential for your cooking needs? You can start small, just as many DIYers did. Experiment with layout ideas in your backyard and sketch how you envision the island fitting into your outdoor life. The joy of DIY comes from making it uniquely yours. So roll up your sleeves-your dream BBQ island is waiting, and you can absolutely bring it to life!
Frequently Asked Questions
Q: How much does it cost to build a DIY BBQ island?
A: The cost of building a DIY BBQ island can vary widely, typically ranging from $1,500 to $5,000 depending on materials, appliances, and design. Budgeting for quality materials and essential features like grills and countertops is crucial. For detailed budgeting tips, check out our section on Budgeting Your DIY BBQ Island Project.
Q: What tools do I need for building a DIY BBQ island?
A: Essential tools for constructing a DIY BBQ island include a drill, saw, level, tape measure, and trowel. A miter saw and circular saw are also helpful for cutting materials accurately. Ensure you have these basic tools on hand to make the construction process smoother.
Q: How do I choose the right grill for my BBQ island?
A: Selecting the right grill involves considering size, type (gas or charcoal), and features like side burners. Ensure the grill fits comfortably within your design while catering to your cooking style. For more guidance, refer to our section on Selecting the Perfect Grill for Your Dream Kitchen.
Q: Can I install a refrigerator in my BBQ island?
A: Yes, you can install a refrigerator in your BBQ island. Look for outdoor-rated models to withstand the elements and ensure proper ventilation for safety. Check our section on Adding Essential Features: Sinks and Refrigerators for installation tips.
Q: What are common mistakes to avoid when building a BBQ island?
A: Common mistakes include underestimating the budget, neglecting proper ventilation, and poor planning of layout. Ensure you have a detailed plan and budget to avoid these pitfalls. For a comprehensive list, see our section on Common Mistakes to Avoid When Building.
Q: How can I make my BBQ island weather-resistant?
A: To make your BBQ island weather-resistant, use high-quality, durable materials like stainless steel and stone. Consider protective finishes for wood surfaces, and incorporate a roof or overhang. Find more details in our Maintenance Tips for Your BBQ Island.
Q: Is a DIY BBQ island worth the investment?
A: A DIY BBQ island is often worth the investment as it enhances your outdoor cooking experience and increases home value. It provides a dedicated space for entertaining and cooking, making it a great addition to any backyard. Check our Inspiration: Real-Life DIY BBQ Island Projects for ideas.
Q: How long does it take to build a BBQ island?
A: The time to build a BBQ island largely depends on your experience and the complexity of the design. On average, it can take from a weekend up to a week to complete. For a detailed step-by-step timeline, refer to our Step-by-Step Guide: Building Your BBQ Prep Area.
In Retrospect
Now that you’re equipped with the knowledge to build your very own DIY BBQ island, it’s time to fire up your creativity and get started on this exciting project! Remember, you can create a stunning outdoor kitchen that perfectly suits your backyard and lifestyle. Worried about the materials or design? Check out our guides on selecting the best outdoor materials and layout ideas for your space.
Don’t forget to share your progress and tips with us in the comments below-your experience could inspire fellow DIY enthusiasts! For more helpful remodeling tips, explore our articles on bathroom renovations and home insulation techniques. Ready to take the next step? Sign up for our newsletter and receive exclusive project updates and expert advice straight to your inbox. You’ve got this, and we can’t wait to see what you create!
Get our latest guides, news, and insights highlighted in your Google Search & AI Overviews.