

Updating your bedroom doesn’t have to break the bank! Creating a DIY upholstered bed frame is a fantastic way to add a touch of luxury to your space while saving money. This project not only elevates your room’s aesthetics but also gives you the satisfaction of building something unique that reflects your style. Imagine designing a beautiful, custom headboard that complements your decor-it’s a doable project that anyone can tackle!
Whether you’re a seasoned DIYer or just starting out, transforming a basic bed frame into a stunning upholstered piece is an empowering experience. Using readily available materials and a few simple tools, you can craft a bed frame that fits your vision and budget. Ready to learn how to achieve that luxe look for less? Let’s dive into the steps that will turn your dream bed into reality!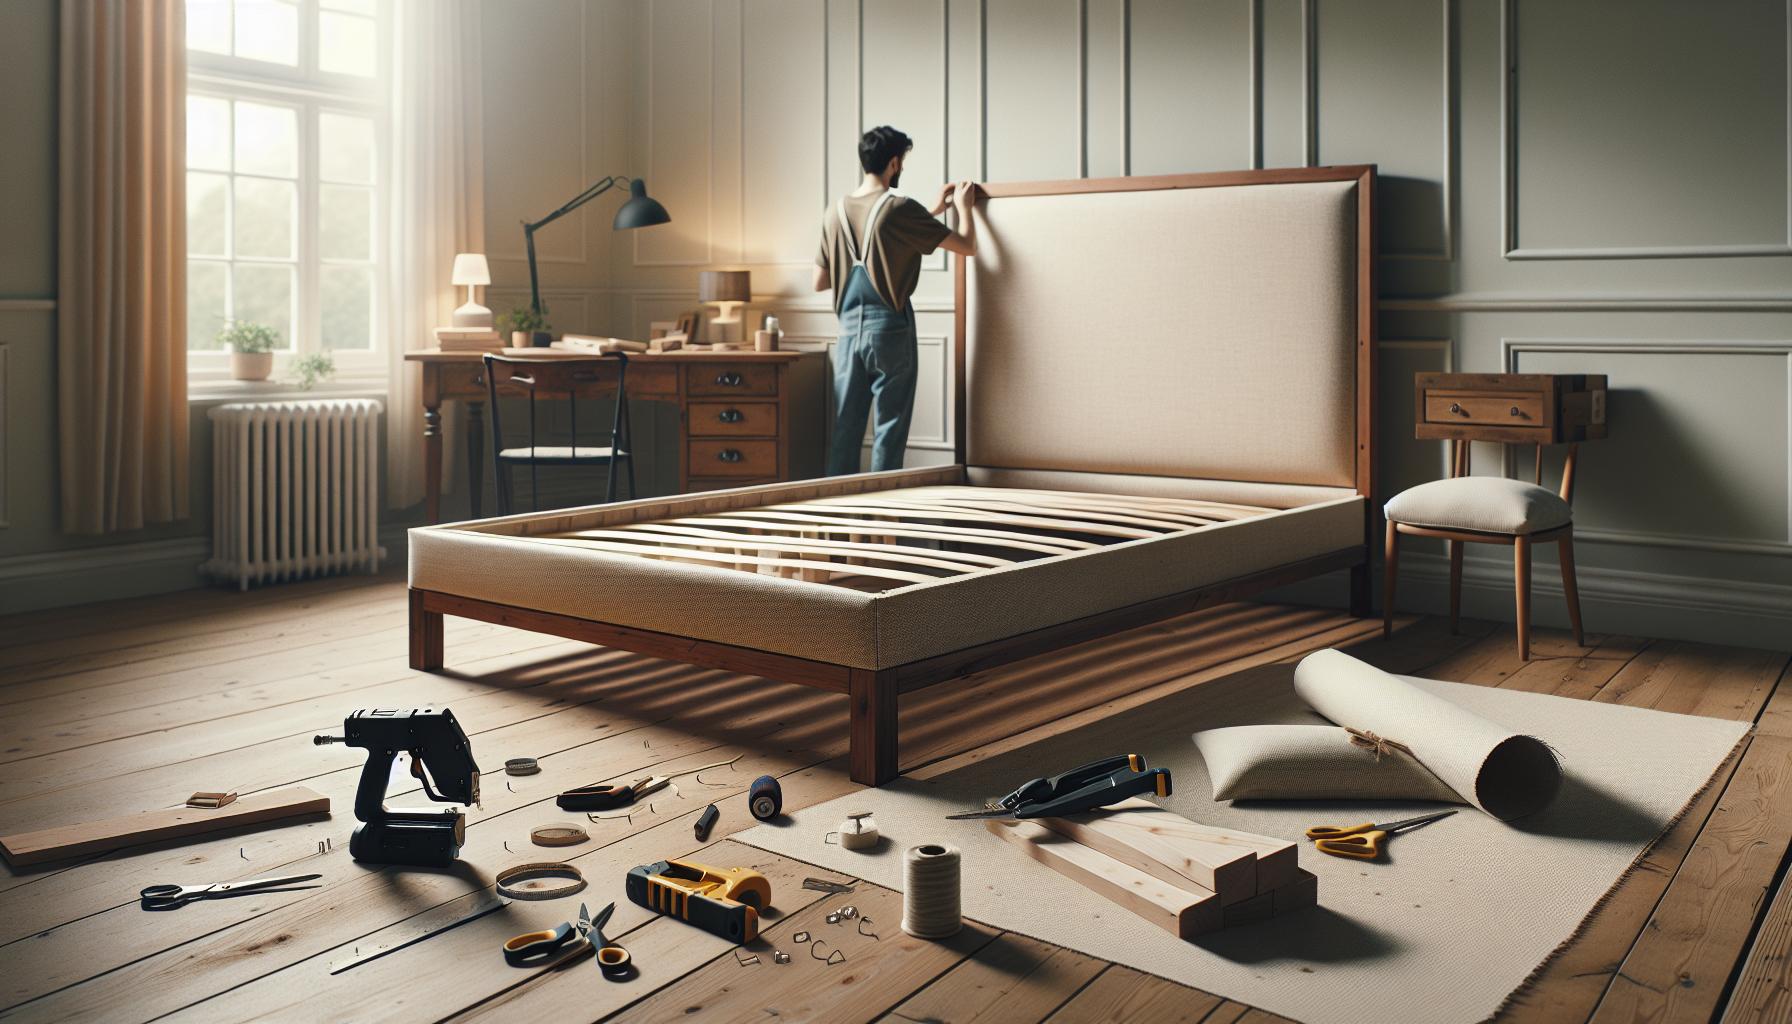
Understanding the Benefits of a DIY Upholstered Bed Frame
Building your own upholstered bed frame comes with a host of benefits that extend far beyond saving a few bucks. For starters, crafting your own furniture allows you to create a piece tailored to your personal style and space requirements. Imagine having the freedom to select the exact dimensions, colors, and materials that complement your decor. Not only does this ensure a perfect fit, but it also infuses your sleeping area with a unique flair that off-the-shelf options often lack.
Creating a DIY upholstered bed frame is also an excellent opportunity to save money without sacrificing quality. Store-bought upholstered bed frames can run into the hundreds or even thousands of dollars, especially for high-quality designs. In contrast, a DIY approach can result in a beautifully customized frame that maintains a luxe look yet can be assembled for a fraction of that cost. For example, one builder shared that they constructed a low-profile upholstered bed frame for just $70, illustrating how accessible this project can be for those on a budget [2].
Moreover, tackling a DIY project like this offers a satisfying sense of accomplishment and can boost your crafting skills. It’s an inviting way to engage with woodworking and upholstery techniques, regardless of your prior experience level. Whether you’re a seasoned DIYer or a complete novice, you can follow step-by-step guides and resources to help you through each phase of the process. The joy that comes from creating something with your own hands is not only fulfilling but also encourages a deeper appreciation for the pieces you choose to invite into your home. Remember, the ultimate reward lies not just in the finished product but in the journey of creation itself.
Essential Materials Needed for Your Project
Getting started on your DIY upholstered bed frame project is thrilling, especially when you realize how achievable it is with the right materials. You’d be surprised how a thoughtfully curated list can transform what might seem like an overwhelming endeavor into a rewarding experience. Before you jump in, gather everything you’ll need to ensure a smooth build.
Here’s a comprehensive list of essential materials for your project:
- Wood: Choose sturdy materials like plywood for the frame and solid wood for the legs. The size will depend on your mattress dimensions, so plan accordingly.
- Upholstery Foam: A 2-inch thick foam adds comfort and a plush look to your frame. You can find foam at most fabric stores or online.
- Upholstery Fabric: Opt for a durable yet stylish fabric. Common choices include linen, velvet, or canvas-each offering a unique look.
- Layer of Batting: To give a soft finish over the foam, use batting as it enhances the overall feel and appearance.
- Screws and Nails: These will be necessary to secure the wood properly, so choose heavy-duty screws for stability.
- Staple Gun and Staples: You’ll use these to attach the upholstery fabric to the wood frame securely.
- Wood Glue: This adds extra strength and durability to joints and connections.
- Tools: Essential tools include a saw (circular or hand), a drill, and a measuring tape. Having the right tools on hand will make your build more efficient.
Once you’ve gathered your materials, take a moment to visualize your finished product. Create a workspace that inspires creativity-this setup transforms not just the materials into a bed frame but also the space around you. Each step in this project brings you closer to a piece that is not only functional but also a unique work of art in your home. Remember, crafting is about the joy of building something with your own hands; embrace the process and have fun! You can absolutely do this!
Step-by-Step Guide to Building Your Bed Frame
Building your own upholstered bed frame can transform your bedroom while showcasing your handiwork. With a little patience and creativity, you can craft a stunning centerpiece that rivals anything you’d find in a store-all while saving money. Here’s a straightforward guide to help you turn your vision into reality.
Start by constructing the frame. First, cut your plywood to the size of your mattress, ensuring all dimensions are accurate. This will be the base that supports everything. Next, for the side rails, cut two long pieces of plywood; these will connect the headboard and footboard. Secure these with heavy-duty screws, ensuring everything is stable. A level surface is key, so double-check that your frame is balanced.
Once the frame is ready, it’s time to add the comfort factor. Lay your upholstery foam on top of the frame base, and cut it to match. Use a spray adhesive to attach the foam securely. Follow this by covering the foam with cotton batting, tucking it neatly over the edges. This layer gives a soft, rounded appearance and ensures a luxurious feel. Secure the batting in place using a staple gun, pulling it tight as you work your way around the frame.
Now comes the fun part-upholstering! Lay your fabric of choice (like velvet or linen) out, and place the frame on top, ensuring you have enough fabric to fold over the edges. Start at one end, pulling the fabric tight and stapling it down, similar to wrapping a present. Move around the frame, making sure the fabric is smooth and free of any wrinkles. Finally, trim any excess fabric and finish by adding decorative elements, like buttons or trim, to elevate the look.
Take pride in your creation! This project not only gives you a beautiful bed frame but also a sense of accomplishment. Remember, each step is a chance to learn, and even small imperfections will add character to your unique piece. So gather your materials, roll up your sleeves, and enjoy the process-you can do this!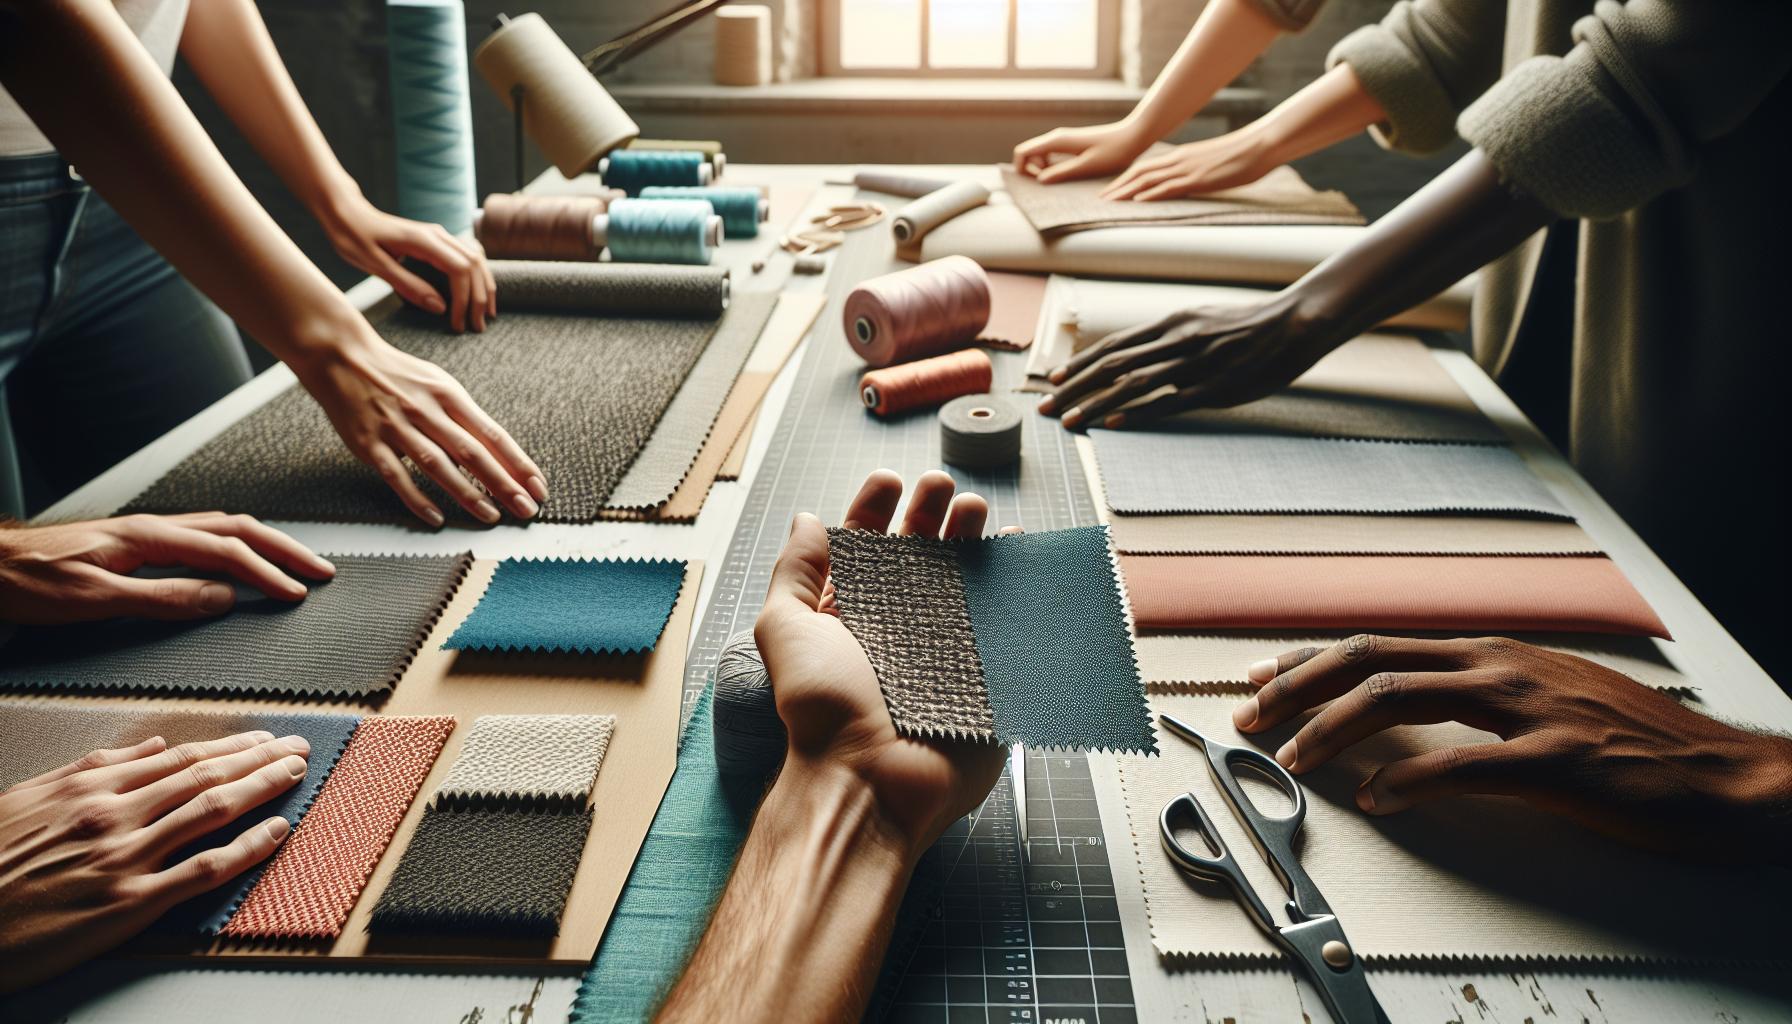
Choosing the Right Fabric and Upholstery Techniques
for your DIY upholstered bed frame can significantly elevate its aesthetic without draining your wallet. The fabric you select will not only define the look of your bed frame but also influence its durability and feel. For a luxe look, consider materials like velvet, linen, or heavy cotton. These fabrics provide a rich texture and come in a variety of colors that can help you achieve your desired style, whether it’s modern, rustic, or classic.
When picking a fabric, think about durability and maintenance. Fabrics with higher threads per inch are generally sturdier and more resistant to wear. If you have pets or children, consider stain-resistant treatments or performance fabrics specifically designed to withstand everyday use. A good tip is to bring home fabric swatches to see how they look in your room’s lighting and against your wall colors.
Next, let’s dive into the upholstery techniques. Start by ensuring your fabric is cut accurately; you want enough to allow for wrapping around the edges of your frame. Here’s a quick overview of effective upholstery techniques to consider:
- Pull and Fold: With your fabric laid out, pull it tight across the frame and fold it over the edges, securing it with a staple gun. This method helps avoid wrinkles and ensures a neat finish.
- Boxing Corners: For a more polished look, wrap the corners by creating pleats or boxing the corners to give depth and structure, similar to how you would wrap a present.
- Tufting: If you’re feeling adventurous, tufting can add a sophisticated touch. Use buttons or knots to create a plush look that both enhances the surface and provides visual interest.
Remember, you can practice these techniques on scraps of fabric to build confidence. What’s important is to stay patient and take your time. With each step, you’re not just crafting a piece of furniture-you’re creating something unique that reflects your style and effort. Don’t forget: imperfections might happen, and that’s perfectly okay! Each little quirk adds character to your beautiful handmade bed frame. You can do this, and it will be a stunning addition to your bedroom!
Creating a Luxurious Look on a Budget
Creating a high-end aesthetic for your upholstered bed frame doesn’t have to come with a hefty price tag. With a little creativity and some smart choices, you can achieve that luxurious look that turns heads and transforms your bedroom into a stylish retreat. One effective approach is to focus on the details that elevate the overall design without demanding a large budget.
Start by selecting fabric that mimics high-cost options. For example, velvet can give your bed frame an opulent appearance, and it’s often available at reasonable prices. Look for remnants or off-cuts, which can be budget-friendly and perfect for a DIY project. Consider pairing this fabric with a complementary contrasting color for added visual interest. Texture plays a significant role, too; mixing materials like linen or faux leather can give depth to your design, making it feel layered and rich.
Crafting Techniques for a Luxe Finish
Incorporating simple yet effective techniques can make a world of difference in the final look of your upholstered bed frame. For example, consider tufting-a method that can create a plush, sophisticated appearance reminiscent of high-end hotel beds. You only need a few buttons and some basic sewing skills to achieve this look. Alternatively, use decorative trim like piping or fringe along the edges to add a tailored finish, which can instantly elevate the bed frame’s style.
Adding LED strip lights or touch-activated lighting beneath the bed frame can also create a soft, ambient glow that enhances the luxe vibe. This not only adds ambiance but also makes the space feel more inviting and elegantly modern.
Final Touches: Accessories
Don’t forget about the finishing touches! Accessories such as decorative throw pillows or a plush blanket can complement your upholstered bed frame, giving it that curated look you admire in luxury spaces. Choose items that echo the primary fabric and color scheme. By selecting bold textures or elegant patterns, you’ll create an inviting space that feels both cohesive and striking.
You can absolutely create a stunning, luxurious bed frame on a budget. By focusing on fabric selection, employing smart crafting techniques, and finishing with the right accessories, your DIY project can shine with sophistication and charm. Enjoy the process, and remember, every step you take in crafting this piece is a reflection of your personal style and creativity. You’ve got this!
Tips for Customizing Your Bed Frame Design
When it comes to creating a personalized upholstered bed frame, the possibilities are endless! Customizing your design not only showcases your unique style but also allows you to infuse your personality into your bedroom’s aesthetics. Whether you’re crafting from scratch or updating an existing frame, there are some fun and functional ways to make it truly yours.
One effective approach to customization is to play with the shape and size of the headboard. Consider using a large, dramatic headboard to make a statement, or opt for a minimalist design for a sleek appearance. You can even experiment with different shapes-such as a scalloped or arch top-which can add a whimsical touch. For a more modern vibe, a straight-lined headboard with clean edges will work wonders. If you’re feeling adventurous, try combining elements like floating side tables with built-in storage to maximize both style and functionality.
Color and Fabric Choices
Choosing the right fabric is crucial for both comfort and visual impact. Don’t shy away from bold colors or patterns! A vibrant hue like emerald green or a geometric print can instantly elevate your bed frame’s presence. On the other hand, if you prefer a calmer feel, soft neutrals can create a serene atmosphere. Mixing fabrics-like pairing a velvet headboard with linen accents-can offer beautiful textural contrast. Use swatches to visualize combinations before committing, ensuring your selection harmonizes with your bedroom’s existing decor.
Personal Touches and Accessories
Adding your unique touches is what really brings your upholstered bed frame to life. Consider incorporating features like custom monograms on pillows or adding decorative nailhead trim along the edges for that extra pop of elegance. These subtle details can transform an ordinary piece into something extraordinary. You might even attach a soft throw or a collection of throw pillows in varying sizes and textures to not only create visual interest but also enhance your comfort during late-night reading or lounging in bed.
As you dive into your DIY project, remember that this is your creation. Embrace creativity, play with ideas, and trust your instincts. The customization process should be enjoyable, and your personal touches will ensure that your upholstered bed frame is both a reflection of your style and a testament to your crafting skills. You got this!
Common Mistakes to Avoid in DIY Upholstery
When diving into the world of DIY upholstery, it’s easy to get swept up in excitement and creativity, but there are some common pitfalls that can derail your project. Avoiding these mistakes will help you achieve that luxe look without losing your sanity or budget. For instance, one of the biggest blunders is underestimating the importance of planning. A well-thought-out design and materials list can save you time and frustration. Sketch out your ideas, measure your space accurately, and consider how different parts of the bed frame will come together. Trust me, spending a little extra time on this upfront will pay off in the end!
Another common error is skimping on materials. While it might be tempting to choose the cheapest foam or fabric, remember that using high-quality materials will significantly improve the durability and appearance of your bed frame. Cheap foam can lose its shape quickly, and flimsy fabric might wear out faster than you think. Instead, invest in medium to high-density foam for your cushioning and select upholstery fabric that stands up to use. Not only will this enhance the overall appearance of your piece, but it will also ensure longevity, making your hard work truly worthwhile.
Attention to Detail
As you tackle your upholstery project, don’t overlook the importance of tacking and stapling. Many DIY-ers rush through this process, leading to uneven edges and an unprofessional finish. Take your time and ensure that fabric is pulled taut and aligned properly before securing it in place. Use a good quality staple gun and consider investing in upholstery nails or decorative tacks to add a touch of charm. These small details can elevate the whole look of your bed frame and make it feel truly bespoke.
Measurement Mistakes
Lastly, never underestimate the power of accurate measurements. This mistake often leads to oversized or undersized components that can throw off the integrity of your build. Always double-check your measurements before cutting wood or fabric. A little extra care here can save you from headaches later on. Remember, you can do this! Your creativity, paired with a bit of focus on these details, will guide you to crafting a beautiful upholstered bed frame that reflects your style without breaking the bank. Happy crafting!
Adding Finishing Touches for a Polished Look
To give your DIY upholstered bed frame that polished, high-end touch, it’s all about the details. You’ve put in the work to create a stunning piece, and now it’s time to elevate it further with some finishing touches. These small enhancements can transform your project from great to absolutely luxe without breaking the bank.
Start by incorporating upholstery trim or decorative nails to frame your fabric edges. Not only do these elements add visual interest, but they also help secure your fabric in place, preventing any sagging over time. Choose a trim that complements your fabric – a sleek cord for a modern look or a fringed style for a more bohemian vibe. Once you’ve attached the trim, stand back and admire how these small details create a cohesive and complete look.
Another fantastic way to achieve that store-bought finish is through strategic padding. While you’ve likely already added cushioning to your headboard, consider adding similar padding to the sides of the frame or the footboard. This not only enhances comfort but also gives off that luxe feeling of plushness. To keep everything looking tidy and professional, ensure that any excess batting is trimmed neatly, and the fabric is taut before stapling. Wrap around the corners carefully to avoid awkward bulges – a smooth finish truly elevates the overall appearance.
Finally, don’t forget about the legs of your bed frame. A simple, yet effective upgrade can come from adding decorative feet or casters. These additions can change the entire profile of your bed, making it seem taller and more inviting. If you’re feeling creative, paint or stain the leg material to match your room’s decor or create a striking contrast. This attention to detail is what will draw the eyes and complete the piece beautifully.
Remember, adding these finishing touches is all about showcasing your unique style and creativity. You’ve already accomplished so much with your DIY bed frame project, and with just a few extra details, you’ll have a stunning focal point in your bedroom that feels luxurious – all while staying budget-friendly. Enjoy the process, and be proud of what you’ve created; you can do this!
How to Care for and Maintain Your Upholstered Bed Frame
To keep your DIY upholstered bed frame looking fresh and fabulous, you’ll want to implement a few simple maintenance routines. Just like your favorite pair of shoes or that cozy blanket you can’t live without, your bed frame deserves a little TLC to extend its life and maintain its luxe appearance. Not only does regular care prevent wear and tear, but it also makes your beautiful creation a source of pride for years to come.
Start with regular vacuuming to remove dust and debris. Use a vacuum cleaner with an upholstery attachment, and gently go over all surfaces of the frame, especially in crevices where dust likes to hide. Aim to do this weekly, or at least bi-weekly, to keep your bed frame clean and allergen-free. For spots or stains, address them immediately with a damp cloth. Use a mild detergent mixed with warm water and blot-not rub!-the affected area. This quick action can prevent stains from setting, keeping your project looking as good as new.
Deep Cleaning Tips
Every few months, it’s wise to give your bed frame a more thorough clean. If your fabric allows, consider using a steam cleaner for a deep clean that sanitizes and refreshes without harsh chemicals. Always check the manufacturer’s care instructions to ensure that your fabric can handle steam. Alternatively, professional upholstery cleaning may be a good investment, especially for delicate or stained fabrics.
Keep in mind that direct sunlight can fade upholstery over time. If your bed frame is situated in a spot where it gets sun exposure, use curtains or blinds to protect it. This small adjustment can make a significant difference in maintaining your fabric’s color and integrity.
Remember, you’ve created something with your own hands-a beautiful bed frame that adds character to your space. With just a little bit of ongoing care, you’ll keep it looking stunning, and you can rest easy knowing it’s in great shape. You can do this!
Inspiration from Stunning DIY Bed Frame Projects
Crafting a stunning upholstered bed frame can seem intimidating, but many DIY enthusiasts have transformed their bedrooms with incredible results, demonstrating that everyone can achieve a luxe look on a budget. For inspiration, take a peek at some real-life projects showcased online where makers have creatively approached their upholstery tasks. One standout project featured a plush headboard, upholstered in a rich velvet fabric that added depth and sophistication to a simple wooden frame. This DIYer cleverly used plywood for the headboard’s base, attaching foam padding and covering it with the vibrant velvet, demonstrating how fabric choice can elevate a design significantly.
Another project to spark your creativity is one that combines upcycling with upholstery. A DIYer took an old bed frame and revitalized it with a fresh coat of paint and new upholstery using a trendy geometric print. This not only provided comfort but also allowed the maker to showcase their personality through bold patterns. Such projects highlight the importance of selecting colors and patterns that resonate with your personal style-remember, the goal is to make a statement in your space while keeping your budget intact.
For those who enjoy a bit of glam, there are examples of DIY upholstered frames that incorporate tufting and metallic accents, which can take your project to the next level. Imagine a queen-sized bed with deep tufted buttons in a soft faux leather! By following simple tufting techniques and integrating toned legs painted gold or silver, you can create a frame that rivals high-end furniture while maintaining a DIY spirit.
Lastly, don’t forget to look for local workshops or online tutorials that can guide you through your own project. Whether it’s building from scratch or revamping an existing piece, the community of crafters online is supportive and brimming with innovative ideas. Remember, each project offers an opportunity for creativity; you can do this, and your dream bed frame is just a few steps away!
Budget Breakdown: Cost vs. Store-Bought Alternatives
Creating your own upholstered bed frame is not just a fun project; it can also save you a significant amount of money. When you compare the costs of building your own frame to purchasing one from a store, the differences can be striking. A store-bought upholstered bed frame often ranges from several hundred to over a thousand dollars, depending on the materials and design. In contrast, DIY options can be completed for a fraction of that cost, allowing you to invest more in high-quality materials or unique fabric choices that reflect your personal style.
To give you a clearer idea of the potential savings, let’s break down the typical costs involved in a DIY project versus what you might spend at a retail store. A simple DIY upholstered bed frame could include the following materials, along with their costs:
| Item | Estimated DIY Cost | Estimated Store-Bought Cost |
|---|---|---|
| Wood (for frame and headboard) | $50 | $200+ |
| Foam (for padding) | $30 | $100+ |
| Upholstery Fabric | $50 | $200+ |
| Legs | $20 | $100+ |
| Total | $150 | $600+ |
As you can see, opting for DIY not only gives you a chance to personalize your bed frame but can also result in a savings of over $400!
But it’s not all about cost savings; there’s also a satisfaction that comes from creating your own furniture. The sense of accomplishment when you lay down at night knowing you built your bed frame with your own two hands is priceless. Plus, the opportunity for customization means you can design a piece that perfectly fits your bedroom’s aesthetic. Whether it’s selecting a bold color or deciding on unique tufting for added flair, the possibilities are endless. Remember, the tools and techniques you might acquire in this endeavor can be applied to future projects, making every DIY experience a stepping stone to greater creativity. So grab those tools and start making your dream bed frame-a luxe look that truly reflects your style is within reach!
Frequently asked questions
Q: What are the cost-saving benefits of making a DIY upholstered bed frame?
A: Creating a DIY upholstered bed frame can significantly reduce costs compared to store-bought options. You’ll save on labor and markups by sourcing your materials directly, allowing for a more budget-friendly approach while achieving a luxurious look tailored to your style. Explore our budget breakdown for more details.
Q: How long does it typically take to build a DIY upholstered bed frame?
A: Building a DIY upholstered bed frame usually takes about 4 to 8 hours, depending on your skill level and the complexity of the design. Plan for additional time if you’re customizing or need to source materials. Check the step-by-step guide in the article for efficient time management tips.
Q: Can I use reclaimed materials for my DIY upholstered bed frame?
A: Absolutely! Using reclaimed materials can add character and save money. Just ensure they are safe and structurally sound. Incorporating unique wood pieces can enhance the overall aesthetic. Refer to the essential materials needed section to inspire your choice.
Q: What tools do I need for making a DIY upholstered bed frame?
A: Key tools for your DIY upholstered bed frame project include a saw, drill, staple gun, and measuring tape. A level is also helpful to ensure accuracy. For a complete list, see the essential materials needed section of the article.
Q: How do I maintain and clean my upholstered bed frame?
A: To maintain your upholstered bed frame, vacuum it regularly to remove dust and debris. For stains, use a fabric cleaner suitable for your specific upholstery material. Refer to the how to care for and maintain your upholstered bed frame section for more detailed maintenance tips.
Q: What upholstery fabric is best for a DIY bed frame?
A: The best upholstery fabric for a DIY bed frame depends on your style and usage. Durable options like microfiber or canvas are great for everyday use, while velvet can add a luxurious touch to your design. Check out the choosing the right fabric and upholstery techniques section for more guidance.
Q: How can I customize the design of my DIY upholstered bed frame?
A: You can customize your DIY upholstered bed frame by choosing unique fabrics, colors, or adding decorative elements like trim or buttons. Play with different headboard shapes for a personal touch. Visit the tips for customizing your bed frame design section for more inspiration.
Q: Is a DIY upholstered bed frame suitable for small spaces?
A: Yes, a DIY upholstered bed frame can be tailored to fit small spaces by opting for a minimalist design or building a platform style. This helps maximize floor space while adding comfort and style. Explore our inspiration from stunning DIY bed frame projects for space-saving ideas.
Concluding Remarks
Congratulations on embarking on your DIY upholstered bed frame journey! By choosing to create a luxe look for less, you’ve not only transformed your space but also developed valuable skills along the way. Remember, not only can you achieve a stunning visual impact, but you also gain the joy of crafting something uniquely yours.
Feeling inspired? Dive deeper into your DIY adventures by checking out our guide on building a stylish upholstered headboard here and learn how to elevate your home decor further with additional easy upgrades. Don’t forget to explore our full series on DIY projects that can add beauty and functionality to your home.
Weighing your materials or need extra help? Join our community by signing up for our newsletter for tips, tricks, and inspiration directly in your inbox! Share your finished projects in the comments below-we can’t wait to see your creativity in action! Remember, you can do this, and every step you take makes your home uniquely you!
Get our latest guides, news, and insights highlighted in your Google Search & AI Overviews.