
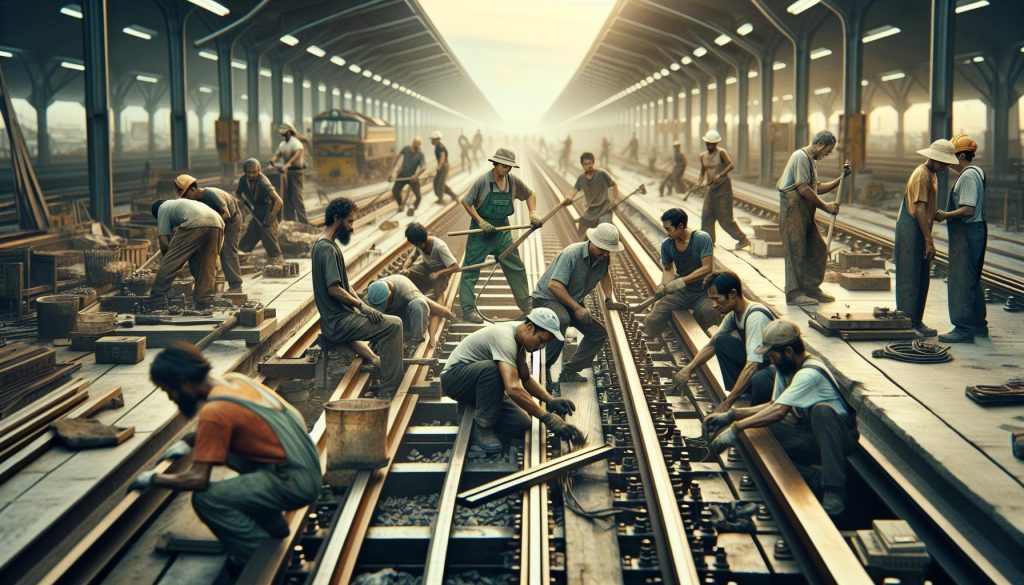
Crafting your own powered track system for rails is not just a fun project; it’s a gateway to creating immersive experiences in your model setups, whether for trains, gaming, or DIY decoration. Did you know that a well-designed rail system can enhance functionality and aesthetic appeal, making your layout truly stand out? This tutorial will guide you through every step of the process, ensuring you feel confident no matter your skill level. From selecting materials to constructing a reliable mechanism, you’ll find manageable steps to help you succeed. By the end, you’ll not only have a beautifully crafted powered rail system, but you’ll also gain valuable skills that will empower you to tackle more projects in the future. So grab your tools, unleash your creativity, and let’s get started-this is a journey you can absolutely handle!
Choosing the Right Materials for Your Powered Track System
When embarking on the journey of creating your own powered track system, the choice of materials can significantly impact both performance and durability. Whether you’re building a track for a model train, RC cars, or a custom project, selecting the right elements can elevate your creation to a whole new level. For instance, using materials that can withstand both outdoor conditions and the rigors of motion is essential for longevity and functionality. You can combine traditional materials like wood with modern, high-strength plastics or metals for optimal results.
Key Materials to Consider:
- Track Bed: A sturdy base like plywood or MDF can provide the necessary support and stability for your tracks.
- Rails: Consider using aluminum or stainless steel for their lightweight yet strong properties, aiding smooth gliding and reducing wear over time.
- Power Source: Choose wires and connectors that support your voltage and current needs; copper wire is often a strong choice for its conductivity.
- Joiners and Connectors: Plastic or metal joiners can help maintain track alignment and integrity, especially when bends or turns are involved.
After selecting your primary materials, consider additional factors like weight and weather resistance. If your system will face variable temperatures or moisture, investing in sealed or treated materials can save you from future headaches. Also, don’t overlook aesthetic choices; opting for materials that complement your overall design can bring your project to life visually while still delivering on functionality.
In your pursuit of crafting the perfect powered track system, remember that experimentation is key. Try combining different materials or even repurposing items to see what works best for your specific needs. This creative approach not only fosters innovation but also makes the process enjoyable and uniquely yours-after all, you can do this!
Step-by-Step Guide to Building Your Rails
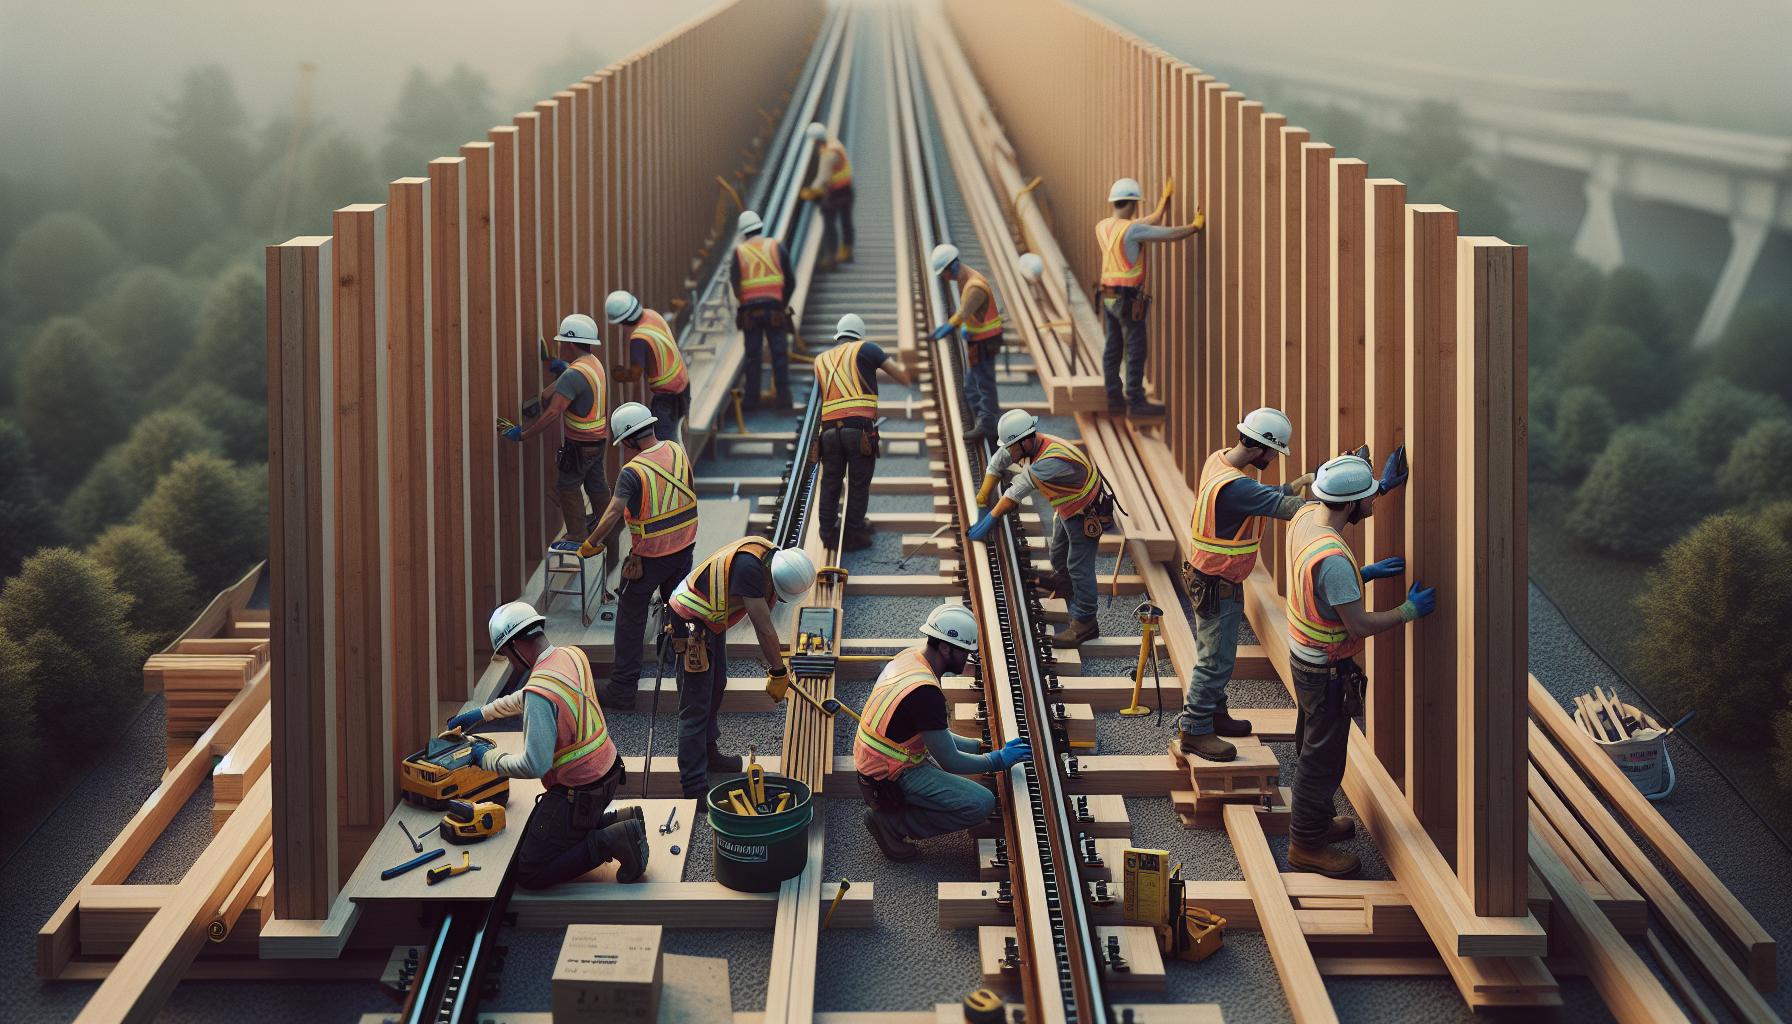
Building the rails for your powered track system can be incredibly rewarding, letting you customize your design while ensuring smooth operation. Whether you’re venturing into model trains, RC cars, or a unique project, you’ll find that with a few straightforward steps, you can create sturdy and reliable rails that enhance your entire setup. This process is accessible to makers of all skill levels. Let’s dive in!
Start by gathering your materials and tools. You’ll need rails (aluminum or stainless steel), a track bed (plywood or MDF), and a power source (copper wires and connectors). A basic toolkit with a cutting saw, drill, and soldering iron will come in handy. Depending on your design, you might also need screws, clamps, and a level for accurate measurements. Set aside a few hours for this project, as careful construction ensures long-lasting quality.
Next, follow these steps to craft your rails:
1. Cut Your Base
Prepare your track bed by cutting it to the dimensions you’ve planned for your layout. A sturdy base is crucial-make sure it’s flat and ready to support the weight and movement of whatever will traverse the tracks.
2. Shape and Secure the Rails
Cut your rails to the desired lengths. If you’re creating curves, ensure to bend them gently to avoid breaking. Secure the rails using brackets or screws, making sure they are evenly spaced. For a stable connection, consider using a straightedge to line them up.
3. Install the Power Source
Solder your wires to the rails, ensuring that they are securely attached. Proper connections are vital for efficient power transfer. Test the connections with a voltmeter to ensure everything is functioning before moving on.
4. Finalize the Assembly
Once the rails are in place and powered, conduct a test run with your model. Observe and adjust as necessary, ensuring smooth transitions at joints and curves. Keep an eye out for any areas that may need reinforcement.
With these steps, you’re well on your way to having a well-crafted rail system that’s ready for fun! Tinker with your designs and adapt techniques you learn along the way. The beauty of crafting your own powered track system is in the experimentation-you can truly make it your own. Embrace the process, and remember: you can do this!
Essential Tools for Crafting Rails Successfully
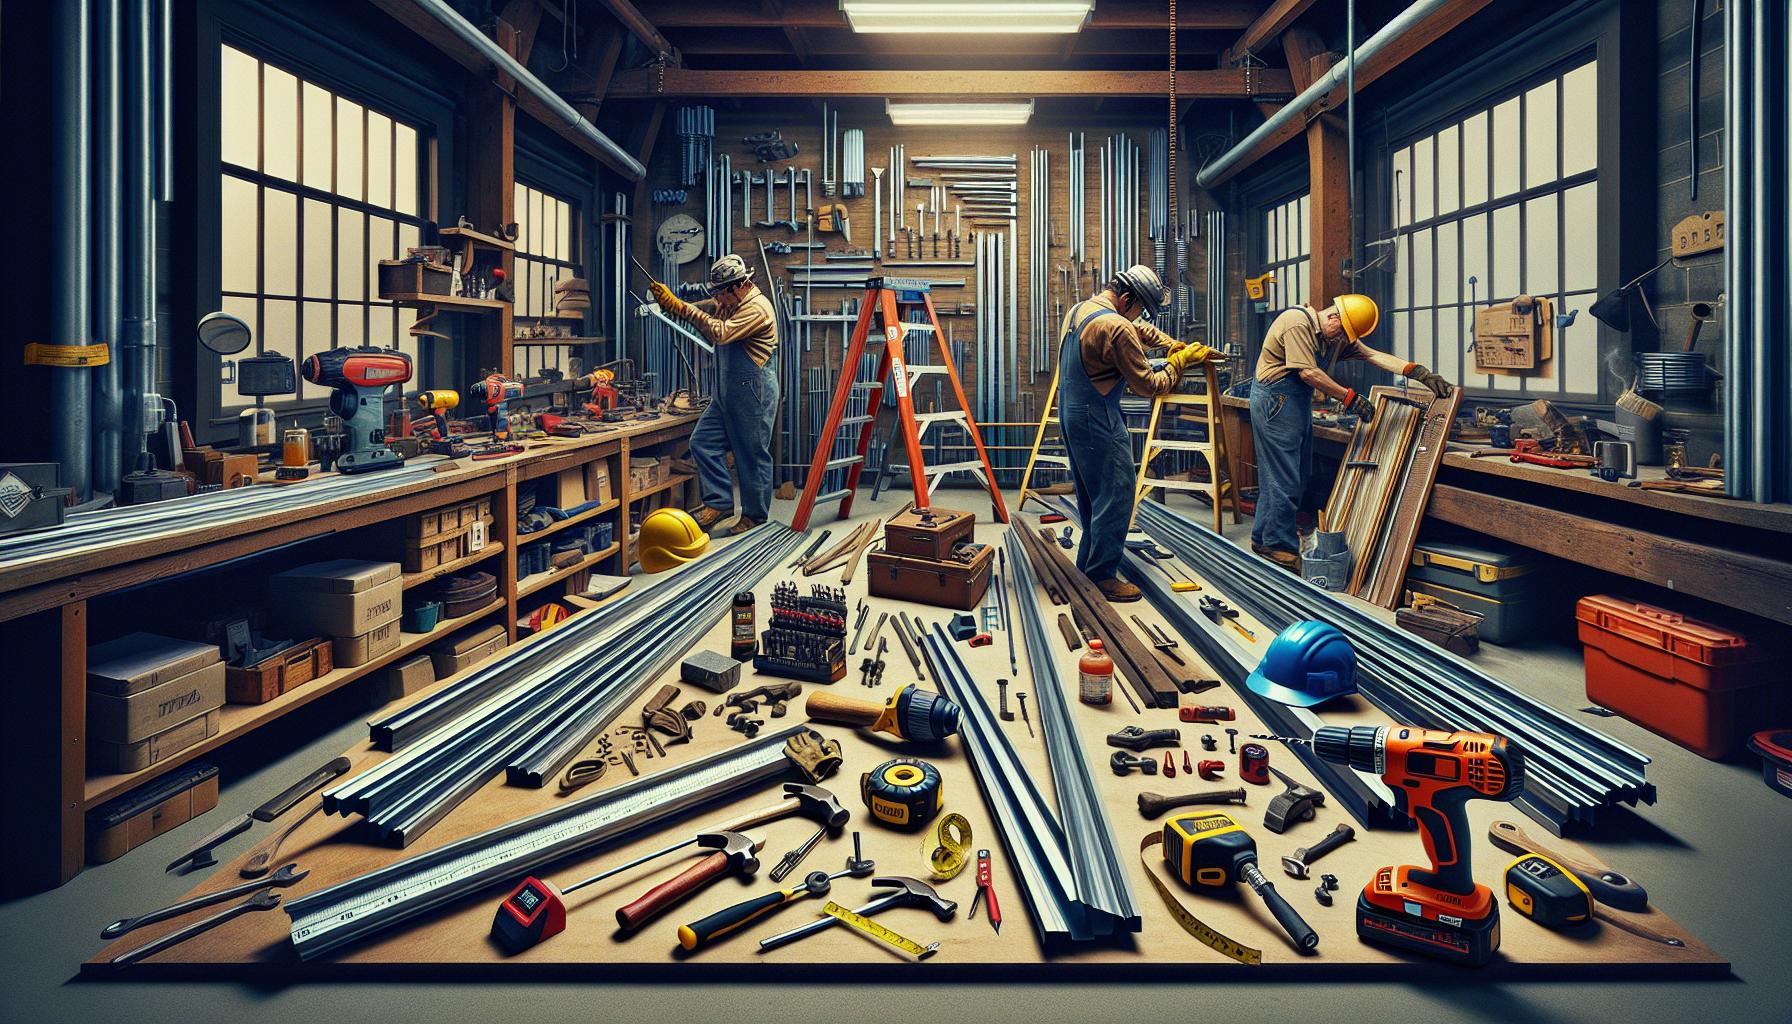
When embarking on the journey of crafting rails for a powered track system, having the right tools can transform a challenging task into an enjoyable experience. The right equipment not only increases your efficiency but also ensures that the final product is robust and ready for action. Regardless of your skill level, a well-equipped workspace can be your greatest ally in this creative venture.
Begin by gathering the basic tools required for rail crafting. Here’s a straightforward list to get you started:
- Circular Saw or Hacksaw: Essential for cutting your rails and track bed materials to size.
- Drill: Vital for making precise holes for screws and securing components together.
- Soldering Iron: Key for creating strong electrical connections between your power source and rails.
- Level: Ensures your trackbed is perfectly flat, avoiding issues during operation.
- Clamps: Helpful for holding materials in place while cutting and assembling.
- Wire Strippers: Necessary for preparing your electrical wires before soldering.
- Volt Meter: A handy tool for testing electrical connections and ensuring everything is functioning correctly.
With these tools in hand, you’re ready to tackle your project with confidence. It’s also wise to keep some additional supplies nearby. Items like screws, brackets, and extra copper wire can come in handy if adjustments are needed during the assembly.
As you dive into your project, remember that the crafting process is just as important as the final product. Don’t hesitate to experiment with different techniques or materials-this is where your creativity can shine! Every maker’s approach is unique, and there’s no “one-size-fits-all” method. Embrace your own style, and most importantly, have fun while crafting your powered track system. You can do this!
Understanding Track System Configurations
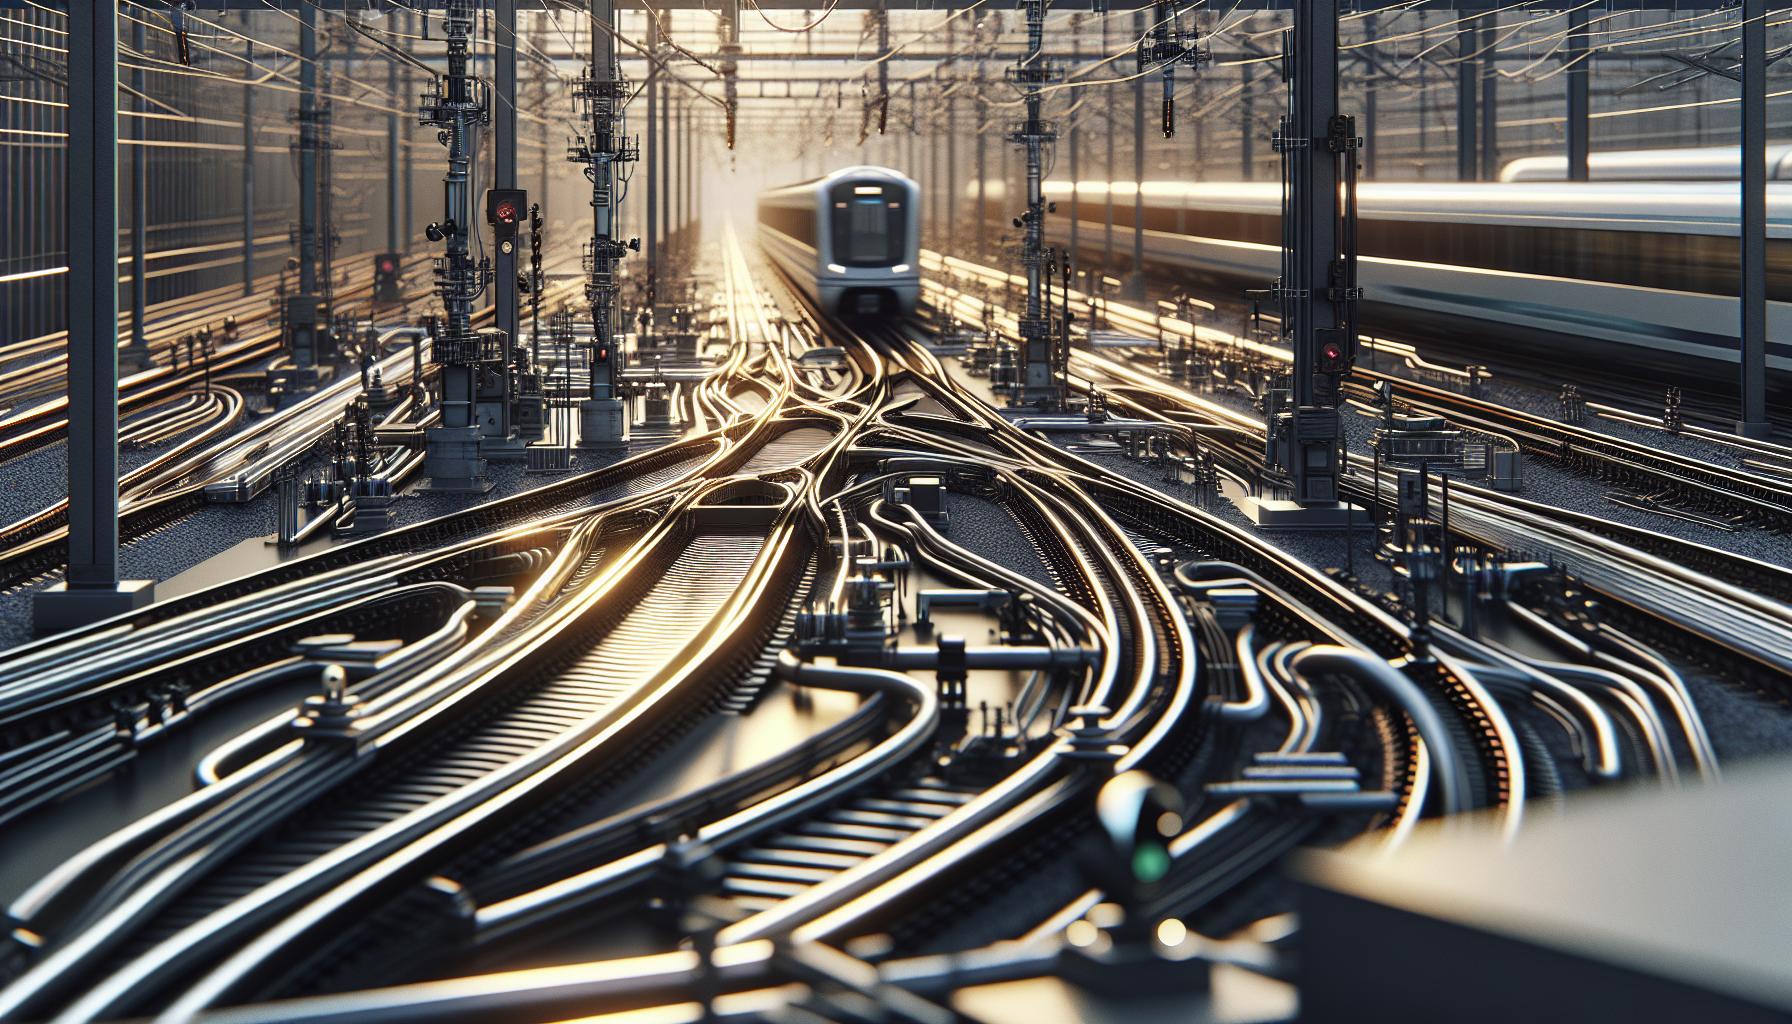
To create a successful powered track system, understanding the various track configurations is crucial. The layout of your tracks can greatly influence both the performance of your model and the overall project experience. There are several common configurations that cater to different needs and creative visions. Whether you aim for high-speed runs or want to incorporate interesting turns and loops, knowing your options will help you design an effective system.
A basic configuration often starts with a simple straight line-perfect for beginners or those looking to create a straightforward path. From there, you can branch out into more demanding setups. For example, adding curves to your track not only enhances visual appeal but also challenges your engineering skills. The different angles you create can affect speed and control, so consider using gradual curves for a smooth ride or sharper angles for more excitement.
Common Track Configurations
- Straight Tracks: Ideal for speed-focused designs, allowing for fast runs with little resistance.
- Curved Tracks: Adds dynamics to your setup, useful for making turns. Experiment with radius sizes for different effects.
- Inclines: Introduce hills or slopes to simulate realistic terrain. This can significantly impact power needs and stability.
- Intersections: Create points where tracks cross or connect, adding complexity and enhancing the interactive experience.
Be sure to plan your layout on a large piece of paper or a digital design tool before starting. Sketching your track configurations will help you visualize the flow and identify potential issues early on. Remember, you can always adjust the configuration as you see fit; creativity is key!
Ultimately, you can do this! Don’t hesitate to play around with different setups. This is where your creativity shines, so embrace the process. The more you experiment, the better your final powered track system will become, delivering joy and excitement every time you power it up.
Connecting Powered Tracks: Tips and Techniques
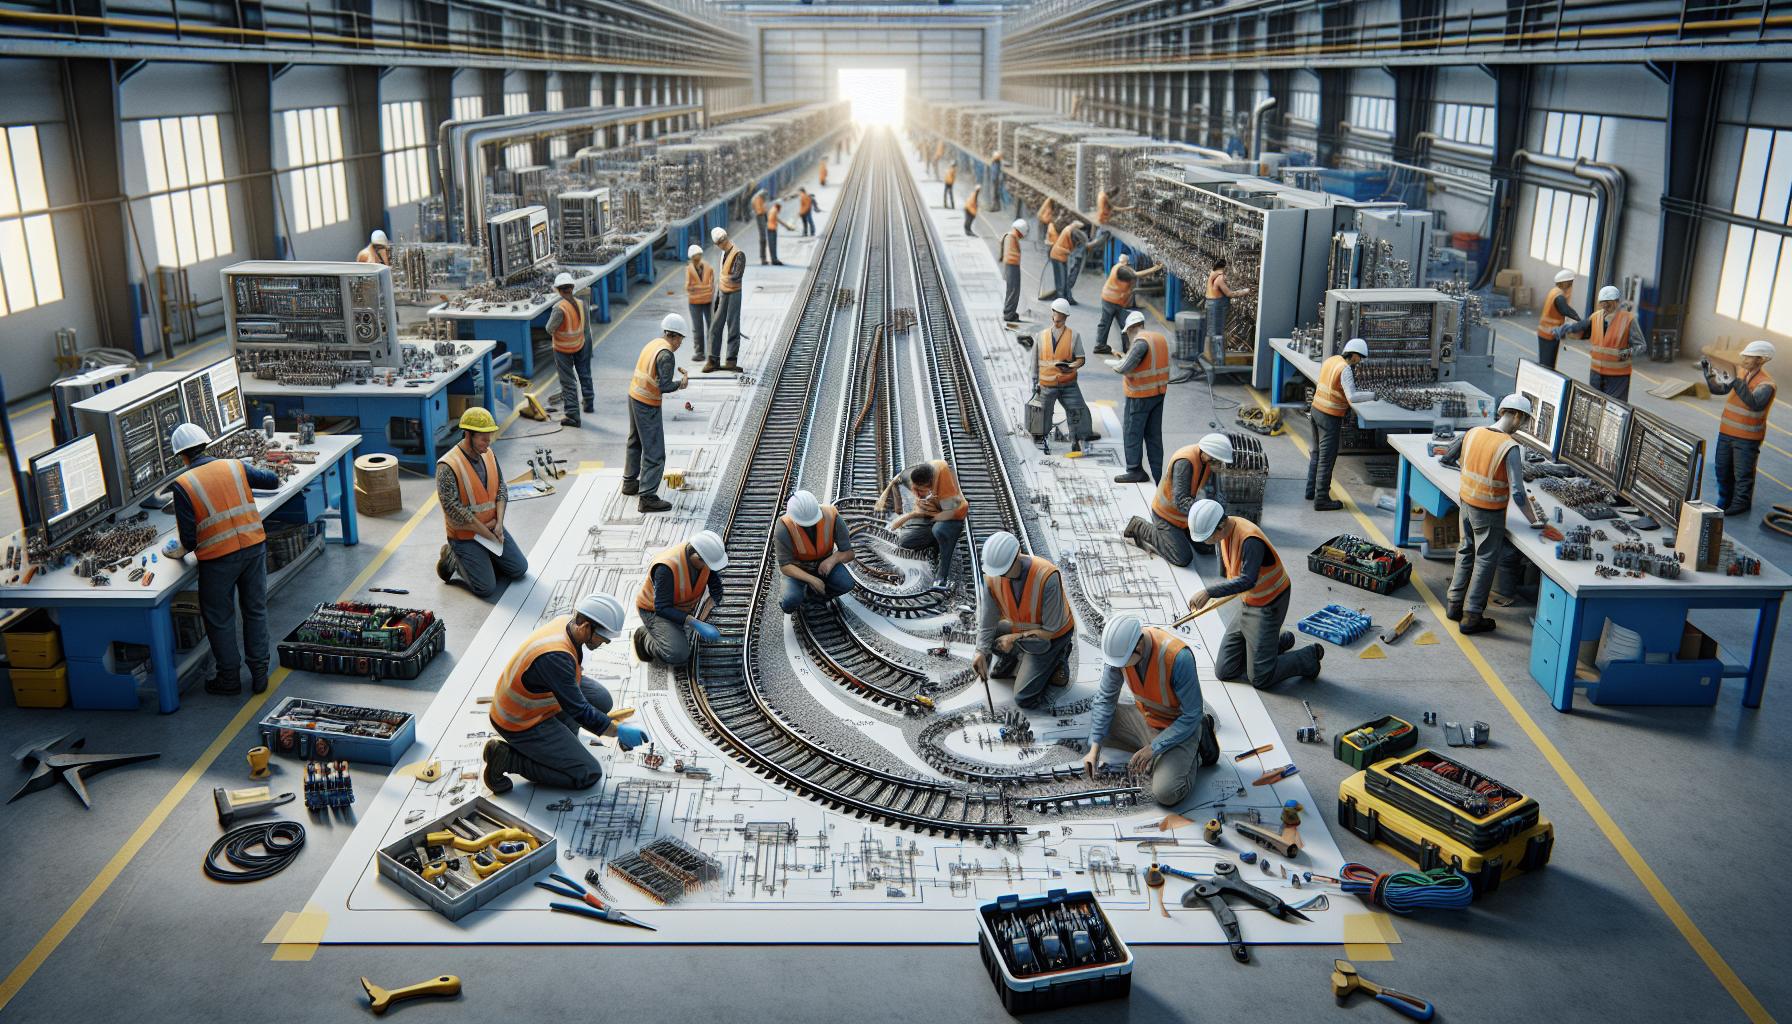
Connecting tracks can feel like a puzzle at times, but it’s also one of the most rewarding aspects of building a powered track system. The way your tracks fit together will determine both the flow of your layout and the functionality of your model. Let’s dive into some tips and techniques that will have you confidently connecting your powered tracks in no time.
To start, it’s essential to ensure that your tracks are compatible. Most track systems are designed to work together, but always check the specifications of each piece before diving in. A snug fit is crucial; gaps can disrupt the flow of power and hinder your model’s performance. If you’re using different brands or types of tracks, look for adapters or connectors that can bridge any differences. Once you have the right pieces, lay them out on a flat surface to visualize how they will connect. This step is like a warm-up before the main event, helping you get a sense of the space you’re working with.
Next, consider the wiring aspect. Connecting powered tracks means establishing a consistent electrical flow. Use high-quality wire and make secure connections to avoid interruptions during operation. A common approach is to attach power feeders at regular intervals along the track. This not only helps maintain a consistent power level but also minimizes the risk of dead spots. Take the time to test each connection before completing your layout to ensure everything is working properly.
Practical Connection Techniques
- Align Properly: Make sure that the ends of the tracks are flush with one another to create an uninterrupted path.
- Solder if Needed: For a secure electrical connection, consider soldering wire connections rather than relying solely on clips.
- Use Electromagnetic Connectors: If your system allows, these can make connecting and disconnecting tracks a breeze, especially during modifications.
- Test Continuously: As you connect, frequently test your system to catch any issues early on.
You can do this! Remember, each small accomplishment brings you closer to a fully functioning powered track system. Embrace the process of trial and error as you learn what works best for your setup. The more you experiment with techniques and configurations, the more confident and skilled you’ll become. With patience and a bit of creativity, your powered tracks will be ready to roll, delivering countless joyful moments each time you power up your creation!
Troubleshooting Common Issues in Your Track System
Creating a powered track system is an exciting adventure, but like any project, it comes with its own set of challenges. Whether you’re a beginner or a seasoned crafter, knowing how to troubleshoot common issues will keep your journey smooth and enjoyable. The good news? Many problems have simple solutions, and once figured out, they can turn minor setbacks into learning experiences.
One of the most frequent complaints among hobbyists is inconsistent power delivery, which can lead to sluggish movement or complete stops. If you notice that your model is not moving as smoothly as it should, check the connections and integrity of your wiring first. Make sure that all power feeders are securely attached and that you’re using quality connectors. Gaps between track pieces can also disrupt the electric flow, so inspect the alignment and ensure every section clicks together. If your setup allows it, consider adding additional power feeders at intervals along longer stretches of track to maintain a steady flow of electricity.
Another issue many encounter is electrical shorts or flickering operations. This can often happen due to excess debris or track corrosion. Start by cleaning your track with a suitable track cleaner or a mild abrasive. If you’re using metal tracks, shiny contacts are key for reliable power. Next, inspect your wiring for any frayed connections or exposed copper that might lead to shorts. If you’re soldering connections, ensure they’re not only secure but also insulated properly to prevent accidental contact. Continuing with good practices here will go a long way in enhancing the longevity of your powered system.
Quick Troubleshooting Tips
- Check Connections: Ensure all connections are secure and without gaps.
- Test Continuity: Use a multimeter to check for electrical continuity along your wires.
- Clean Regularly: Keep your tracks free of dust and debris for optimal power flow.
- Inspect for Damage: Look for any signs of wear on tracks and connections, replacing parts as necessary.
Remember, the process of troubleshooting is all part of the crafting experience. Stay curious and open-minded-each challenge is a chance to learn something new. With persistence and practice, you’ll not only resolve issues as they arise, but you’ll also enhance your confidence and skills in building your powered track system. You can do this! Each small fix is a victory that gets you closer to a fully functioning, joyful model railroading experience.
Enhancing Your Track System with Accessories
Imagine your powered track system buzzing with life, each train gliding smoothly along its route while delightful lighting effects illuminate the scenery. is not just about aesthetics; it’s about creating an immersive experience that captivates both you and your audience. From adding realistic scenery to integrating sound systems and lighting, there are plenty of ways to take your setup to the next level.
Start by considering landscaping options around your tracks. Incorporating scenic elements like miniature trees, buildings, and figures can transform a simple rail system into a vibrant world. You can use materials such as foam board for hills or plaster cloth for more detailed terrains. Don’t forget to add weathering techniques to your models, which can be as simple as dry brushing paint to create texture-this can bring your layout to life and add depth.
Another impactful way to enhance your system is through technology. Consider installing sound modules that mimic the sounds of trains, such as whistles or engine roars. Pairing these with a remote control system allows you to activate sound effects as the train passes certain points on the track. Additionally, lighting kits for your train cars or decorative lamps along the tracks can create striking visual effects, especially in a dimly lit space.
Lastly, think about connectivity. Accessories like automated switches or route controllers can make your layout more interactive and engaging. These tools enable you to design complex rail paths, allowing trains to change tracks automatically. For DIY enthusiasts, design your own accessories using Arduino or Raspberry Pi-there are endless possibilities, and this can add a tech-savvy twist to your crafting experience.
Never forget, this journey of enhancing your track system is about expressing your creativity and enjoying the process. You can do this-experiment with different accessories and discover what works best for your unique setup. Each addition can turn your powered track system into an extraordinary showcase of your passion and creativity!
Advanced Modifications for Unique Rail Systems
Adding advanced modifications to your rail system can not only elevate its visual appeal but also enhance functionality and engagement. Imagine a setup where your trains can make strategic stops, change tracks automatically, and respond to environmental changes. Achieving this requires a mix of creativity, technical know-how, and a bit of experimentation-which is where the fun begins!
One great modification is to incorporate automated track switches. These allow trains to change direction at the push of a button or by using sensors. You can easily integrate these switches with Arduino or Raspberry Pi for control. Here’s a simple approach to get started:
- Gather Your Materials: You will need a microcontroller (like an Arduino), servo motors for the switches, and some wires.
- Install the Switches: Position your track switches at strategic points. Ensure they are aligned and properly secured to prevent derailment.
- Connect the Electronics: Wire the servo motors to your microcontroller and program it to react to input (like a button press or a sensor detecting a train).
- Test and Adjust: Run a few tests to make sure everything flows smoothly. Make adjustments as necessary.
Another engaging modification is introducing lighting effects. Using LED strips along your tracks can create a stunning visual effect, especially at night. You can wire them to light up when a train approaches, mimicking real rail systems. Consider these steps:
- Choose Your LEDs: Opt for waterproof LED strips if your setup is outdoors.
- Create a Control Mechanism: Use a basic relay module connected to your microcontroller to manage the lights.
- Install the LEDs: Befit them along the track or under train cars, depending on your design.
- Program for Automation: Code your microcontroller to turn the lights on and off based on train movement or specific triggers, such as passing a designated point.
When experimenting with sound systems, think about enhancing the atmosphere with ambient sounds. You can employ small speakers connected to your power source, enabling train sounds, bells, or even background music. Here’s how:
- Select Your Sound Module: Consider modules like the DFPlayer Mini, which can be programmed to play multiple sounds.
- Setup: Connect the module to a speaker and ensure it’s in a safe, accessible location.
- Add Controls: With your microcontroller, link buttons or sensors to trigger specific sounds on demand.
- Enjoy and Share: Test with your trains running to check sound timing and quality. Adjust as needed for the best experience.
These modifications can turn your powered track system into an extraordinary display that reflects your creativity and technical skills. You can do this! Whether you’re a newbie or have been crafting for years, the journey of building and modifying your own rail system is both rewarding and fun. Keep experimenting, and enjoy every step of the process!
Safety Considerations When Crafting Powered Tracks
When working on a powered track system, safety should always be a priority. It’s essential not only to protect your project but also to ensure the safety of everyone involved in its operation. Whether you’re building model trains or elaborate rail systems, taking proactive measures can save you from potential mishaps and create a more enjoyable experience.
Firstly, power source considerations are crucial. Always use the appropriate voltage and current ratings for your components. Overloading your system can lead to overheating, which is a fire hazard. It’s a good practice to incorporate a fuse or circuit breaker in your setup. This simple addition can help protect your entire system from short circuits and excessive current draw, offering peace of mind while you enjoy your creations.
Handling Power Connection Safely
When connecting components, make sure you are working in a dry environment and keep your work area free from any liquids. Ensure that all connections are secure and insulated. You may want to use heat-shrink tubing or electrical tape over exposed wires to prevent accidental shorts. Remember, a poorly connected wire is often the source of electrical problems, so double-check your work.
- Turn Off Power: Always disconnect the power supply when working on the circuit.
- Use Wire Strippers: Invest in a good quality wire stripper to ensure clean cuts and better connections.
- Test Before Use: After assembling or modifying your track system, conduct a test run with no trains involved first. This step allows you to identify any electrical issues without risking your trains.
Ensure Physical Safety
Beyond electrical safety, consider the physical setup of your powered track system. Ensure that your layout is stable and well-supported. Use sturdy materials for the base to avoid collapses that could damage your trains or hurt someone nearby. If your system has moving parts, such as automated switches or track layout changes, keep fingers and loose clothing well clear of any areas where pinching or entrapment could occur.
Lastly, always supervise young builders or operators. Encourage a culture of safety where everyone understands the importance of handling tools and electrical components carefully. By creating this environment, you not only protect your project but also foster a shared enthusiasm for crafting and engineering.
With these safety considerations in mind, you’re set to dive into building your powered track system confidently. Embrace the joy of creating while keeping everyone safe-you really can do this! Each small step enhances not just your skills but also the thrill of watching your creations come to life.
Inspiration: Creative Uses for Your Track System
Imagine transforming an ordinary room into a lively landscape where trains navigate twists and turns, delivering excitement and joy. A powered track system isn’t just for model railroads; its applications can spark creativity in countless ways! Whether you’re a beginner or an experienced maker, there are endless possibilities for fun and innovative uses of your track system that go beyond traditional layouts.
One thrilling idea is to integrate your powered track system with other hobbies like robotics or automation. For instance, you could design a mini railway that interacts with remotely controlled vehicles or even connect it to a smart home system. Picture a train delivering supplies to a specific spot, prompted by an app or a sound sensor. This type of project not only enhances your technical skills but also allows you to merge various interests into one imaginative creation.
DIY Interactive Displays
Consider crafting an interactive display for special occasions, like a birthday party or a holiday celebration. By using your track system, you can create a vibrant centerpiece where small figurines or gift boxes are transported around a themed environment. Use colorful materials and LED lights to amplify the visual appeal. Kids and adults alike will be amazed as they watch their favorite characters embark on a journey right before their eyes.
You can also encourage learning through your track system! Set up educational tracks that simulate real-world scenarios, such as a delivery system for a city layout. This not only sparks curiosity about logistics and engineering but also makes it a fun and engaging way to teach concepts like physics and circuitry. Using a few supplies you may already have at home, such as cardboard for landscapes and battery-operated vehicles, you can create a unique educational experience.
It’s all about letting your imagination run wild! With a powered track system, you can build a miniature world limited only by your creativity. Embrace the challenge, experiment with different configurations, and most importantly, have fun bringing your ideas to life. You can do this! Each project not only hones your skills but brings your visions into reality, making every crafting session an adventure.
Maintaining and Upgrading Your Rail System
To keep your powered track system running smoothly and looking great, regular maintenance and thoughtful upgrades can make a world of difference. Just like a car needs oil changes, your tracks deserve some TLC to prevent wear and ensure optimal performance. You’ll want to schedule maintenance sessions regularly based on usage, but even a quick inspection now and then can save you from bigger problems down the line.
Start by checking for any debris or dust that may have accumulated on your tracks. It’s amazing how a clean track can drastically improve the performance of your train. Use a soft brush or a microfiber cloth to gently wipe away any dirt without damaging your layout. Also, inspect your tracks for any warps or misalignments-these can be fixed easily by adjusting the track or adding some support underneath. If you notice any power issues, make sure all connections are secure and free from corrosion. A well-connected system will run more efficiently and provide a seamless experience.
Upgrading your rail system can add excitement and functionality to your project! Consider enhancing your power source-perhaps by integrating a rechargeable battery pack or exploring different power adapters to improve efficiency. You could also look into adding sensors or lights that respond to the train’s movements. This brings an interactive element to your layout and can inspire creativity. Incorporating accessories like tunnels, bridges, or themed scenery not only embellishes your system but creates engaging storytelling opportunities for anyone who uses it.
Moreover, if you’re feeling adventurous, you might try modifying your train cars for additional features. For example, adding small LEDs to your cars can make night runs mesmerizing. Don’t forget, you can do all of this at your own pace-there’s no rush! Embrace the process of keeping your rail system in top condition, and remember, every tweak you make brings you one step closer to creating that perfect miniature world.
FAQ
markdown
Q: What materials do I need for a powered track system?
A: To craft a powered track system, you'll need conductive materials (like copper or aluminum), rails (plastic or metal), a power source (battery or power adapter), and connectors. Don't forget to gather tools like a screwdriver and soldering iron for assembly. For more details, refer to the section on Choosing the Right Materials for Your Powered Track System.

Q: How can I enhance my powered track system's performance?
A: You can enhance performance by ensuring smooth connections between tracks, using higher quality motors, and regularly upgrading your power source. Additionally, consider adding accessories like track switches or signals for better control. Check out Enhancing Your Track System with Accessories for more ideas.

Q: What are some common issues with powered track systems?
A: Common issues include poor connections resulting in power loss, track misalignment, and motor failures. Regular inspection and maintenance can help. For solutions, refer to the Troubleshooting Common Issues in Your Track System section.

Q: How do I maintain my powered track system?
A: To maintain your powered track system, regularly clean the tracks, check for loose connections, and test the power source. This will ensure longevity and reliability. For a deeper dive, see Maintaining and Upgrading Your Rail System.

Q: Can I customize my powered track system?
A: Yes! Customization can involve altering track layouts, choosing different materials, or adding unique accessories. Explore advanced modifications for your unique rail systems to unleash creativity.

Q: What safety precautions should I take when crafting powered tracks?
A: Always work in a well-ventilated area, use protective gear, and ensure the power is disconnected when assembling. Additionally, keep tools and materials organized to prevent accidents. Learn more about Safety Considerations When Crafting Powered Tracks for detailed guidelines.

Q: When is the best time to upgrade my rail system?
A: Consider upgrading your rail system when you notice decreased performance, if you're adding new accessories, or at regular maintenance intervals (every 6 to 12 months). Check the Maintaining and Upgrading Your Rail System section for timing guidance.

Q: Why is track alignment important in powered systems?
A: Proper track alignment is crucial for ensuring that the vehicles run smoothly and do not derail. Misaligned tracks can cause additional wear on parts and reduce overall system efficiency. For more on this, refer to the section on Understanding Track System Configurations.
Final Thoughts
Now that you’ve mastered crafting your own rails for a powered track system, it’s time to put your skills to the test! Remember, this project not only enhances your creative space but can also add an exciting dimension to your DIY adventures. If you have questions, or want more tips on optimizing your builds, don’t hesitate to check out our guides on advanced track design techniques and safety measures for DIY projects.
Feeling inspired? Don’t wait-start your next project today! Share your creations with us in the comments or tag us on social media. And if you want to keep improving your crafting skills, be sure to subscribe to our newsletter for exclusive tutorials and insights designed just for makers like you. Together, let’s celebrate the incredible journey of crafting!
Get our latest guides, news, and insights highlighted in your Google Search & AI Overviews.