
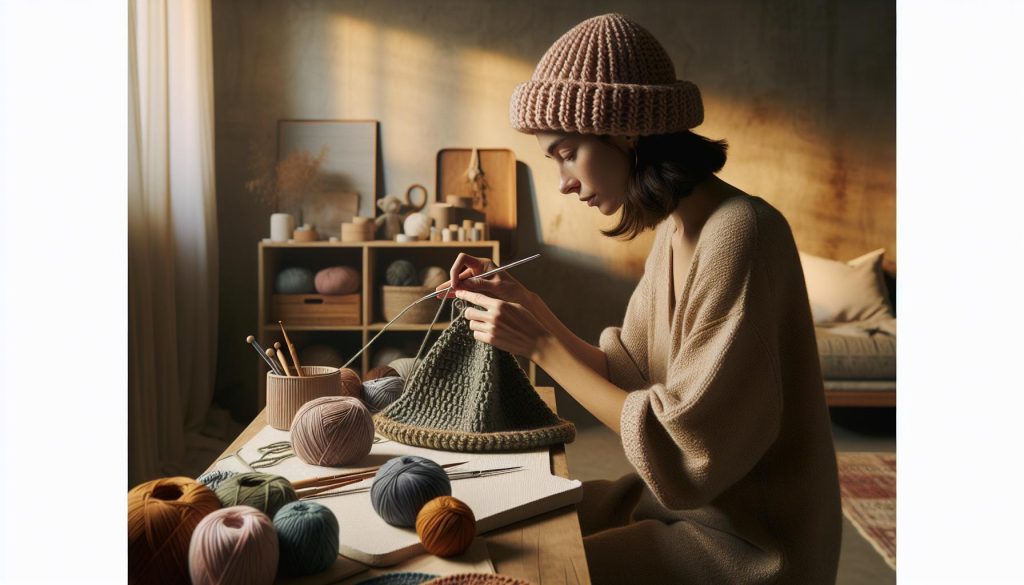
Ready to dive into a cozy and stylish project? The Half Double Crochet Hat Pattern is an ideal gateway into the world of crochet, perfect for beginners and seasoned crafters alike. This simple stitch tutorial not only helps you create a warm and fabulous hat but also boosts your crocheting confidence. With just a few materials and a bit of time, you can craft a piece that showcases your unique style while keeping you snug during those chilly days. Whether you’re looking to make a thoughtful gift or a trendy accessory for yourself, this pattern is an enjoyable way to express your creativity. Get ready to grab your yarn and hook, because you can absolutely do this! Let’s explore the steps together and bring your new favorite hat to life.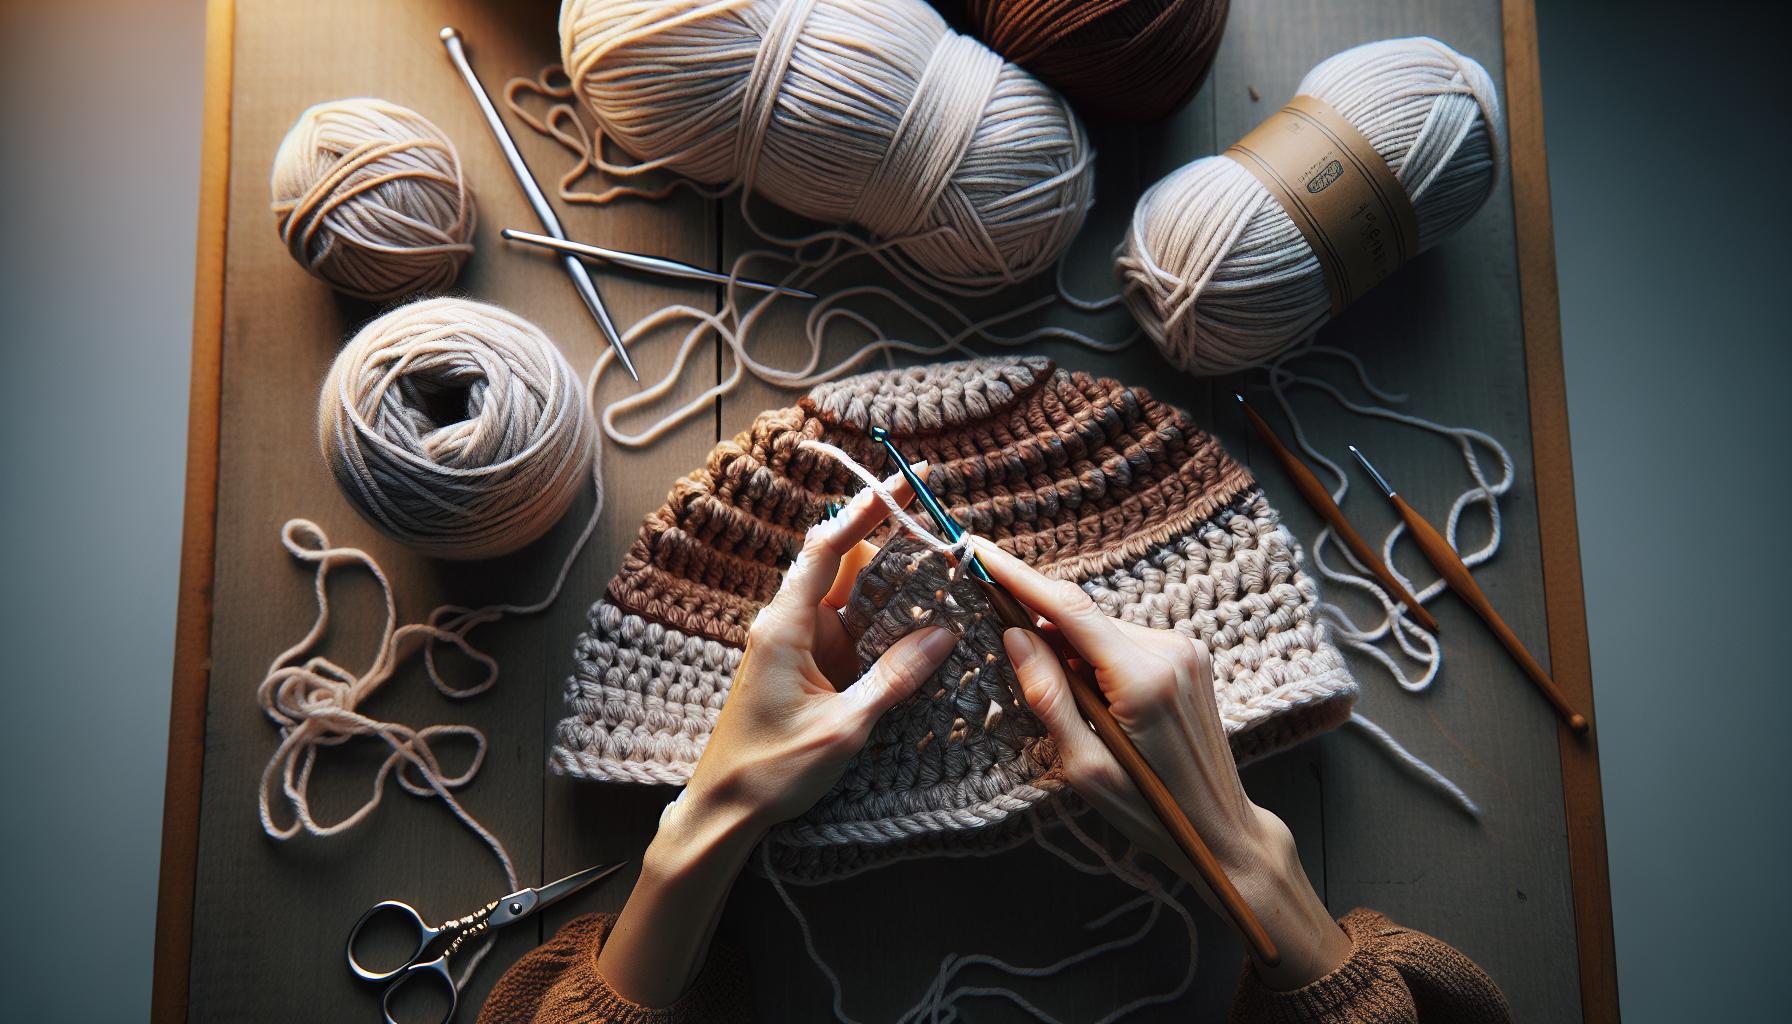
Choosing the Right Yarn for Your Crochet Hat
is essential for achieving the perfect look and feel. The type of yarn you select can dramatically affect the texture, warmth, and style of your finished project, so it’s worth taking a moment to consider your options. Did you know that choosing a yarn with the right fiber content can make your hat more comfortable to wear and easier to care for? Whether you’re crafting a cozy winter beanie or a lightweight summer cloche, your yarn choice will set the foundation for your design.
When selecting yarn, it’s important to pay attention to the fiber content. For winter hats, you might favor acrylic or wool blends for their warmth and softness, while cotton yarns are fantastic for warmer weather wearables as they breathe well and are lightweight. Look for yarns specifically labeled for hats to ensure they are durable enough to withstand everyday use. Additionally, consider the yarn weight; worsted weight yarn works beautifully for most hat patterns, but you can also explore DK or bulky weights if you want a quicker project or a chunkier look.
Next, take the color and pattern into account. A solid, bold color can make a statement, while variegated or self-striping yarns can add a unique flair without any extra effort on your part. If you’re new to crochet, starting with a medium to dark color can help mask any small mistakes along the way. Most importantly, choose a color that reflects your personality or the intended recipient’s tastes-this adds a special touch that makes your handmade item feel all the more personal.
Before you start, be sure to check the care instructions for your chosen yarn. Some may be machine washable while others require hand washing. This can influence your decision, especially if the hat is for a child or someone who might not handle delicate items with care. With these tips in mind, you’re now ready to select the perfect yarn for your crochet hat. Remember, the joy of crafting is in experimentation, so don’t hesitate to try different yarns and discover what works best for you!
Essential Tools for Making a Half Double Crochet Hat
To create a beautiful half double crochet hat, you need the right tools to streamline your crafting process and enhance your experience. Having the essentials on hand not only makes your project more enjoyable but also empowers you to focus on developing your crochet skills. So, let’s dive into the must-have tools for your hat-making journey!
First and foremost, you’ll need a good quality crochet hook. For a half double crochet hat, a size H (5.0 mm) or I (5.5 mm) hook is typically recommended, depending on your yarn’s weight. Choosing an ergonomic hook can also make long crafting sessions more comfortable. Look for hooks with a comfortable grip, especially if you tend to crochet for hours at a time.
In addition to your hook, gather some basic crochet notions to complete your toolkit. This includes stitch markers, which are incredibly helpful for keeping track of your rounds and any increases or decreases. A yarn needle is essential for weaving in ends when you’ve finished your hat. Scissors or a yarn cutter will also be necessary to snip your yarn cleanly. Keeping these items organized in a small pouch or container can save you time and frustration, allowing you to focus more on the fun part: crocheting!
Another helpful tool is a measuring tape. Whether you’re adjusting the size of your hat or just checking your progress, having a measuring tape handy ensures your project stays on track. If you’re feeling adventurous, consider using a row counter too; it can simplify the process of tracking your stitches, especially as you master the half double crochet technique. Remember, with these tools, you’re setting yourself up for success. Embrace the process, and enjoy crafting your stylish half double crochet hat!
Step-by-Step Guide to Half Double Crochet
To dive into creating your half double crochet hat, you’ll need to get familiar with the half double crochet (HDC) stitch, which is a fantastic middle ground between single and double crochet. It’s not only easy to learn but also works up quickly, making it ideal for your project. Let’s walk through the steps, ensuring that you’re confident and ready to crochet your beautiful hat!
Start by gathering your materials. For a simple half double crochet hat, you’ll need your chosen yarn (a worsted-weight is commonly recommended for this type of hat), a crochet hook (size H (5.0 mm) or I (5.5 mm) works well), and of course, some scissors and a yarn needle for finishing.
Now, let’s get started:
Step-by-Step Process
- Make a Slip Knot: Begin by making a slip knot on your hook. This is your starting point.
- Chain the Foundation: Chain a number that fits the desired diameter of your hat. For adults, aim for about 70-80 chains. This will give you a nice base to work from.
- Half Double Crochet in the 3rd Chain: Yarning over, insert your hook into the third chain from your hook. Yarn over again and pull through; you should have three loops on your hook. Yarn over once more and pull through all three loops. Congratulations, you’ve created your first HDC!
- Continue HDC Across the Row: Yarn over, insert your hook into the next chain, and repeat the process across the row. At the end of the row, you’ll have transformed your chain into a lovely row of half double crochet stitches.
- Turning and Building Height: To start the next row, chain two (this counts as your first HDC). Turn your work and HDC in each stitch across the row again. Repeat this until your piece reaches the desired height, typically around 8-10 inches for a standard hat.
Finishing Touches
Once you’ve reached your desired height, it’s time to shape your hat. You can decrease stitches for the crown by skipping stitches at the beginning and end of your rows. Lastly, ensure to leave a long tail to sew the top closed and weave in any ends with your yarn needle. Remember, practice makes perfect, and it’s all part of the learning process. You can do this!
With your new skill set, you’re well on your way to creating a beautiful half double crochet hat. It’s a wonderful way to express your creativity, and each hat will be uniquely yours. Enjoy the journey, and happy crocheting!
Adjusting Size: Customizing Your Hat Fit
Finding the perfect fit for your crochet hat can make all the difference between a cozy accessory and one that just doesn’t feel right. The good news is that adjusting size is simpler than you might think! Whether you’re making a hat for yourself, a friend, or even a little one in your life, customizing the fit is an empowering part of the process that allows you to create something truly unique.
To accommodate different head sizes, you’ll start with measuring the person’s head where the hat will sit. Use a flexible measuring tape and wrap it around the widest part of the head, typically just above the ears and eyebrows. This measurement will guide how many stitches you chain at the beginning. For example, an adult-sized head is usually around 21-23 inches, so you’d want to chain enough stitches to reach a comfortable circumference in your desired yarn. A good way to approach this is to make a swatch using your chosen yarn and hook size to see how many stitches equal the required inches.
Making Adjustments
If your initial chain doesn’t match the desired width, don’t fret! Here are some quick ways to tweak the size:
- Wider Hat: To increase the size, add more chains at the beginning. Generally, you’ll need 2-4 extra chains per half inch increase.
- Narrower Hat: Decrease the initial number of chains if the hat is too loose. Again, a reduction of 2-4 chains per half inch works well.
- Adjusting Row Height: If the hat is too short, add additional rows to the height. Conversely, skip a row or two if it’s overly tall.
When the hat reaches the desired height, you might also want to account for the stretch of the yarn. A snug fit is important since most crochet hats will relax slightly after a few wears.
Final Fit Check
As you’re crocheting, try it on periodically. If you’re gifting it, asking for a head measurement can work wonders, or opt for a general size for the person’s age (children typically have smaller sizes). Remember, you can always unravel a few stitches if it’s too tight or add more if needed. It’s all part of the learning process.
Creating a hat that fits perfectly is not just functional; it’s a statement piece, too. You can do this! Enjoy the joy of crafting, and before you know it, you’ll master the art of customizing hats that everyone will want to wear. Happy crocheting!
Exploring Color Combinations for Creative Designs
Color is a powerful tool in your crochet arsenal; it can transform an ordinary half double crochet hat into a stunning personal statement. When exploring color combinations, consider not just the aesthetic appeal but also the mood it imparts. Colors can evoke emotions and capture seasons or occasions, making your accessory not just warm but expressively vibrant as well. Whether you opt for bold, contrasting shades or soft, harmonious tones, these choices will lead you to create a hat that feels uniquely “you.”
Start by creating a color palette that reflects your vision. Utilize the color wheel as your guide: complementary colors (those opposite each other on the wheel) make a striking combination, while analogous colors (those next to each other) offer a more cohesive look. For example, pairing a deep navy with a bright coral can yield a stunning contrast, while hues like mint green and soft blue create a serene, unified appearance. Additionally, consider channeling seasonal themes-earthy tones in autumn or vibrant pastels for spring can bring a delightful seasonal flair to your hat.
Once you’ve established your palette, playing with yarn textures can heighten the visual impact of your design. If you’re using multiple colors, consider how they might flow together in stripes or color blocks. Here are a few ideas to get started:
- Stripes: Alternate rows of different colors for a bold, playful look. Think about varying the width of the stripes to create visual interest.
- Ombre: Choose shades of the same color and transition from light to dark or vice versa. This gradient effect adds depth without overwhelming the original stitch.
- Color Blocking: Switch colors every few rows for a modern, geometric effect. This technique also allows for fun combinations that can highlight your crochet skills.
Finally, don’t be afraid to experiment! Crochet is wonderfully forgiving, so if you find a color combination isn’t working as you imagined, let it inspire you in another direction. Swatch bits of your palette before starting on your hat to visualize how they play together. You might also gather inspiration from nature, artwork, or even fashion trends-so take a stroll, browse through magazines, or check out some online resources to ignite your creativity. Most importantly, trust your instincts; you have the power to create something beautiful and personal. Happy crocheting!
Common Mistakes to Avoid When Crocheting Hats
Creating a half double crochet hat can be an immensely rewarding experience, but even seasoned crafters can stumble on a few common pitfalls. Understanding these mistakes before you start will not only save you from frustration but also enhance the joy of crocheting your cozy accessory.
One of the most frequent errors is misjudging the tension. Whether you’re pulling your yarn too tight or leaving it too loose, improper tension affects the overall look and fit of your hat. Remember, maintaining a consistent tension is key to achieving a uniform appearance. If you find yourself struggling with this, consider using a larger hook for practice or crocheting a swatch to help find a comfortable rhythm before tackling the hat.
Another common mistake is underestimating the importance of gauge. Not checking your gauge can lead to a hat that’s either too small or too large. Always take the time to create a gauge swatch based on your pattern. Measure it after completing a few rows to ensure your stitches correspond to what the pattern calls for. This step is crucial if you are using a different yarn or hook size than those recommended.
Ignoring specific pattern instructions is also a trap many fall into. Each pattern is designed with particular stitches and techniques in mind. For instance, when crocheting in rounds, ensure you mark your starting point. This will help avoid confusion and maintain a steady height across the rows. Missing such details can lead to uneven edges and a hat that’s less visually appealing.
Lastly, don’t be shy about taking breaks. Crocheting for long stretches can lead to fatigue, which might encourage errors! Frequent short breaks can sharpen your focus and enhance your creativity, making your crafting session more enjoyable and productive.
With a little attention to these details, you’ll navigate your crochet projects with confidence. Remember, every mistake is a stepping stone on your crafting journey, giving you a chance to improve and create something beautifully unique! Happy crocheting!
How to Finish and Weave in Your Hat Ends
Finishing off your half double crochet hat might seem like a small task, but it can make all the difference in the overall look and durability of your finished piece. Taking the time to properly weave in your yarn ends ensures that your hat not only looks neat but also withstands wear and washing without unraveling. Whether you’re a beginner or more experienced, you can master this crucial step with just a bit of guidance.
To start, gather your materials-specifically, the yarn you used for your hat and a yarn needle, which should have a large enough eye to accommodate the thickness of your yarn. Begin by trimming the yarn tail to about six inches; this length will give you enough to work with without excess bulk. Thread the yarn tail through the needle and prepare to weave it in.
Steps for Weaving in Yarn Ends
- Choose a stitching direction: Decide whether to weave the ending on the inside or outside of the hat. Weaving on the inside is typically preferred, as it keeps your finish hidden.
- Weave under stitches: Insert your needle under the first few stitches, moving in the same direction as the stitches themselves. Go through one side and back out, gently pulling the yarn so it’s snug but not tight, as you don’t want to warp your hat shape.
- Change direction: After weaving a few inches in one direction, turn and weave back through the stitches in the opposite direction. This helps secure the end and prevents it from coming undone.
- Trim any excess: Once you feel the yarn end is well-secured (and you can’t pull it out without a fight!), trim the end close to the fabric of your hat.
If you’re using a fuzzy yarn or one that tends to slip, consider adding a dab of fabric glue to the end before trimming to ensure everything stays in place. Remember, taking the time to weave in those ends isn’t just for looks; it helps your creation last longer, saving you from having to redo any sections later on.
Celebrating the cozy finish of your crochet project is just as important as the crafting itself. Every time you wear your hat, remember that weaving in those ends was a crucial step that adds to its charm and function. You’ve got this-finishing touches are just another opportunity to shine as a maker! Happy crocheting!
Adding Embellishments for Unique Touches
Adding personal touches to your half double crochet hat can truly transform it from a simple project into a unique piece of wearable art. This is your chance to let your creativity shine and showcase your style! Whether you prefer a playful pom-pom, a charming flower, or a touch of sparkle, embellishments can elevate your hat and make it stand out.
To get started, consider exploring various embellishment options that suit your personal style. Here are some ideas to inspire your creativity:
- Pompoms: Adding a fluffy pompom to the top of your hat gives it a whimsical look. You can make one using matching yarn or a contrasting color to create a fun pop.
- Flowers and appliqués: Crocheted flowers or appliquéd figures can add a beautiful touch. Try creating a simple flower pattern and sewing it onto the side or front of the hat.
- Buttons and beads: For a quick and easy embellishment, sew on buttons or beads. These can add a playful texture and a touch of elegance; just be mindful of using non-choking hazards if the hat is for a child.
- Ribbons or fabric strips: Weaving a ribbon through the hat’s brim or tying it around the base can introduce a lovely color contrast and softness.
Once you’ve chosen your embellishments, the next step is to secure them properly. When attaching pompoms, ensure they are sturdily fastened to withstand wear. For flowers or fabric strips, simple stitches or a crochet hook can do the trick. Remember, there’s no right or wrong way to embellish; the key is to express yourself and have fun with the process.
As you embrace these creative touches, you’ll not only enhance the style of your hat but also feel a sense of pride in making it uniquely yours. So go ahead and explore these ideas – you can do this! Your half double crochet hat is just waiting for your personal flair to bring it to life. Happy crafting!
Caring for Your Finished Crochet Hat
Taking care of your finished crochet hat is essential to ensure it remains a cozy and stylish accessory for years to come. The good news is that keeping your handmade creation looking fresh and vibrant doesn’t have to be complicated! With just a few simple steps, you can maintain its shape, color, and overall quality while cherishing the handiwork that went into creating it.
To start, always check the label on the yarn you used for your hat. Different fibers have various care instructions, and taking note of these can save you from accidental damage. For most crochet hats, gentle hand washing is often the safest route. Here’s how you can do it:
- Fill a basin: Use lukewarm water and add a mild detergent or wool wash.
- Submerge your hat: Let it soak for 10-15 minutes. Gently agitate the water, but avoid scrubbing.
- Rinse thoroughly: Drain the soapy water and rinse your hat under cool running water to remove all detergent.
- Remove excess water: Gently press the hat against the side of the basin to eliminate excess moisture. Avoid wringing it out, as this could distort its shape.
- Dry flat: Lay your hat flat on a clean towel, reshaping it as necessary. Allow it to air dry away from direct sunlight and heat sources.
Once dry, consider carefully storing your hat. Use a hat box or a drawer, ensuring it’s laid flat or hung properly to prevent creases or stretching. If you live in an area with humidity, silica gel packets can help absorb excess moisture and keep your accessories fresh.
If you notice any loose ends or pilling after a few wears, do not fret! A fabric shaver can quickly take care of those minor touch-ups. Regular care keeps your half double crochet hat looking as lovely as the day you made it. With a little attention, you’ll ensure that your crochet hat not only showcases your unique style but also serves as a treasured piece for numerous wearings! Happy crafting!
Inspirational Hat Patterns to Try Next
Creating hats is not only a practical venture-it’s also a delightful way to express your creativity! If you’re looking for your next crochet project, there are so many inspirational half double crochet hat patterns to explore. Let’s dive into some patterns that cater to all skill levels, bringing fun and style to your crochet collection.
Simple Beanie
For beginners, a classic simple beanie is the perfect project. Start with a soft, medium-weight yarn, and a size H (5 mm) crochet hook. With just a few rounds of half double crochet, you can create a cozy hat that is both warm and stylish. Once you’ve mastered the basic beanie, consider customizing it with stripes or a pom-pom on top for added flair! This project typically takes around 2-4 hours, which makes it great for gifting or personal use.
Textured Half Double Crochet Hat
If you’re a bit more experienced and want to try something innovative, look into textured patterns like ribbing or shells using half double crochet. These designs give a more intricate look without overly complicating the stitches. Experiment with different color combinations or even variegated yarns to elevate your creation. This pattern usually takes about 4-5 hours, depending on your speed, and results in a hat that’s visually striking yet comfortable.
Slouchy Hat
For a more modern twist, slouchy hats are incredibly trendy and very forgiving on fit. These hats can be worked up in half double crochet with added rows to create a looser style. Use bulky yarn for extra warmth, and feel free to play with an extended stitch pattern or stripes along the body for a unique personality. Expect to spend 3-6 hours on this project, making it a delightful weekend craft.
Embellished Hat Ideas
Once you’ve completed a basic hat, the fun doesn’t stop there! Think about embellishing your hats with flowers, buttons, or even appliqués that reflect your style. Adding these personal touches not only makes the hat uniquely yours but also allows you to practice more advanced crochet techniques like surface slip stitches or crochet flowers.
Each of these projects offers a chance to enhance your crochet skills while creating something practical and beautiful. Remember, you can do this! With patience and creativity, you’ll craft hats that you’ll be proud to wear or give as gifts. So grab your yarn, pick a hook, and let your imagination soar-your next fabulous crochet hat is just a few stitches away!
Troubleshooting Half Double Crochet Projects
If you’ve ever found yourself tangled up in yarn or staring at a half-finished hat that just doesn’t look right, you’re not alone! Troubleshooting your half double crochet projects can seem daunting at first, but with a few practical tips, you can turn those bumps in the road into stepping stones toward crafting success. Whether it’s an odd shape, uneven stitches, or that pesky curling at the brim, there are ways to get your project back on track.
Common Issues and Solutions
- Hat Too Small or Too Large: Check your starting chain. If your hat doesn’t fit as intended, you may have either chained too few or too many. A simple way to ensure proper sizing is to make a gauge swatch before starting your hat. Measure it and adjust your chain to match the desired measurements.
- Uneven Stitches: This often happens due to inconsistent tension. Keeping your grip on the yarn and hook steady will help. Try to crochet with the same amount of tightness throughout-practice helps! If you notice a mistake, just pull out the stitches and redo them until they look even.
- Curling Edges: If the brim of your hat is curling up, it might be too tight. To fix this, ensure you’re using the right hook size. A slightly larger hook can loosen the stitches and help the edges lay flat. You can also try adding a round of single crochets at the edge, as this can sometimes help stabilize the fabric.
- Turning Chains: When starting a new row, many beginners overlook the turning chain needed for half double crochet. This can lead to an uneven row height. Remember, when you turn at the end of a row, make sure to chain two before starting your new row to maintain proper height throughout!
Helpful Tips
If all else fails, don’t shy away from asking for help! Joining a local crochet group or an online community can provide fresh insights and encouragement when you hit a snag. Additionally, watching online tutorials can clear up any confusion with visual demonstrations that make learning easier. Remember, every crafter faces challenges! Keep your head high, and enjoy the learning process. Celebrate each stitch as a step toward improvement. You can do this!
With your determination and creativity, there’s nothing stopping you from mastering the art of the half double crochet hat! Keep these troubleshooting tips handy, and let each project teach you something new. Happy crocheting!
Resources for Learning More Crochet Techniques
Whether you’re looking to refine your half double crochet skills or explore new techniques, there are plenty of resources available to help you on your crochet journey. The thriving crochet community is full of talented makers and rich learning opportunities. Embracing these will not only boost your confidence but also enhance your creativity.
Start by checking out online platforms that offer free patterns and tutorials. Websites such as Joy of Motion Crochet provide a plethora of detailed instructions, from beginner to advanced projects. You’ll find video tutorials that can make complex stitches more accessible, demonstrating the half double crochet in action so you can follow along at your own pace. For a broader selection, AllFreeCrochet features an extensive database of free patterns, including various styles of hats and accessories to challenge and inspire you.
Local crochet groups and online communities can also be fantastic resources. Engaging with fellow crafters allows you to share experiences, troubleshoot challenges, and exchange tips. Platforms like Ravelry or dedicated Facebook groups offer spaces where you can post questions, share your projects, or simply bask in the enthusiasm of fellow yarn lovers. Don’t hesitate to ask for advice; often, the most valuable learning happens through discussion and shared experiences.
Moreover, consider investing in a few instructional books focused on crochet techniques. Many crafters swear by classic texts that cover everything from basic stitches to advanced pattern design. Your local library might have an excellent selection, or you can browse online for e-books. Remember, each resource brings you one step closer to mastering the beautiful craft of crochet, and engaging with these communities and tools will empower you to tackle your half double crochet projects with confidence. You can absolutely do this!
Q&A
Q: How do I start a Half Double Crochet Hat?
A: To start a Half Double Crochet (HDC) hat, create a slipknot and chain a multiple of your desired hat size. Join in the round, then yarn over and insert your hook into the first chain to begin your HDC stitch. For detailed steps, check the Step-by-Step Guide to Half Double Crochet section in the article.
Q: What types of yarn are best for a Half Double Crochet hat?
A: The best yarn for a Half Double Crochet hat is a soft, medium-weight yarn, such as worsted or DK. Look for yarn that has good drape and warmth, ideal for hats. For more tips on choosing yarn, refer to the Choosing the Right Yarn for Your Crochet Hat section.
Q: Can I customize the size of my Half Double Crochet hat?
A: Yes! You can easily customize the size of your Half Double Crochet hat by adjusting the foundation chain length or the number of rows. To ensure a perfect fit, use the Adjusting Size: Customizing Your Hat Fit section for guidance on measurements.
Q: What are common mistakes when making a Half Double Crochet hat?
A: Common mistakes include using the wrong yarn weight, incorrect gauge, and forgetting to count stitches. To avoid these pitfalls, review the Common Mistakes to Avoid When Crocheting Hats for helpful insights throughout your project.
Q: How do I add embellishments to my Half Double Crochet hat?
A: Adding embellishments, like pom-poms or flowers, is easy! Attach them after you complete your hat, using yarn or a needle. For creative ideas, check the Adding Embellishments for Unique Touches section for inspiration on stylish finishes.
Q: How do I care for my finished Half Double Crochet hat?
A: To care for your finished hat, hand wash in cold water and lay flat to dry. This helps preserve the yarn integrity and appearance. For complete care instructions, see the Caring for Your Finished Crochet Hat section.
Q: How can I troubleshoot uneven stitches in my Half Double Crochet?
A: Uneven stitches often result from inconsistent tension. Practice maintaining an even grip on your yarn and hook. For detailed troubleshooting tips, refer to the Troubleshooting Half Double Crochet Projects section for practical solutions.
Q: What other hat patterns can I try after mastering Half Double Crochet?
A: Once you master the Half Double Crochet hat, try patterns like the beanie or slouchy hat. The Inspirational Hat Patterns to Try Next section offers various patterns to explore your creativity further.
To Wrap It Up
Congratulations on completing your Half Double Crochet Hat! You’ve taken an important step in mastering this fun and versatile stitch. Remember, practice makes perfect, and each hat you create will help build your confidence and skills. Don’t forget to explore our other beginner-friendly tutorials, like the Single Crochet Washcloth or the Classic Granny Square, both perfect for expanding your crochet repertoire!
Feeling inspired? Share your creations with us in the comments, and don’t hesitate to ask any questions you have along the way. If you loved this tutorial, consider signing up for our newsletter to stay updated on new patterns and resources just for you!
Now, let’s keep that creativity flowing. Take a moment to browse our site for more crochet techniques and tips, and remember-every stitch you make brings you one step closer to becoming the crochet master you aspire to be! Keep crocheting, and happy crafting!
Get our latest guides, news, and insights highlighted in your Google Search & AI Overviews.